When you click on links to various merchants on this site and make a purchase, this can result in this site earning a commission. Affiliate programs and affiliations include, but are not limited to, the eBay Partner Network.
Stock Problems/IssuesDiscussions related to warranty related issues and repairs, or other problems with the OEM parts and software for MINI Cooper (R50), Cabrio (R52), and Cooper S (R53) MINIs.
Live on the wild side! I'm at 215K and the front end is ripped off and I'm leaving the supercharger oil. I was talking to Way a few years back about it and he recommended to just leave it until it makes noise. Service mode is only 30 minutes away and in a few hours you'd have the intake tract torn down. Spend your time on something more important...or mods...yeah mods!
I dont know if I'm that adventurous. I'm taking off about 2 weeks in December for XMAS and New Years. So I want to put together a list of things to replace while I am off instead of whenever something fails. I find that helps me control the equation somewhat. (barring just a failure of something)
I will attempt to take as many pics as I can to document the procedure (for me) and hope it may help someone else out.
The list so far:
Replace water pump (tentative)
Refill/Service supercharger oil (tentative)
Remove/replace radiator and hoses
New MINI radiator fluid
Remove/replace thermostat and housing
Replace camshaft position sensor o-ring
Remove/replace oil pan dipstick o-ring
Remove/replace power steering lines
Remove/replace power steering fluid
Remove/replace power steering fan
Remove/replace oil pan gasket
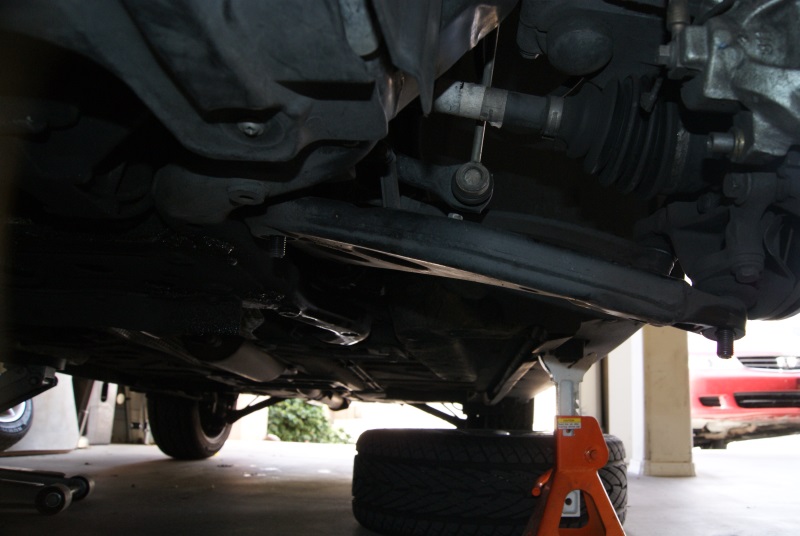
Remove/replace lower control arm bushings
Remove/replace lower ball joints
Remove/replace springs with TSW Springs
Remove/replace shocks with Koni Yellows
Remove/replace top shock mounts
Remove/replace upper and lower spring pads
Remove/replace front and rear endlinks
Remove/Replace rear swaybar with H-Sport Comp Bar
Get an alignment
I figure this will be a decent 110k mile refresh for the car to last me many more years.
Brakes => Front - 10mm; Rear - 10mm
Tires => Front - 3/32” (tires coming soon); Rear – 9/32”
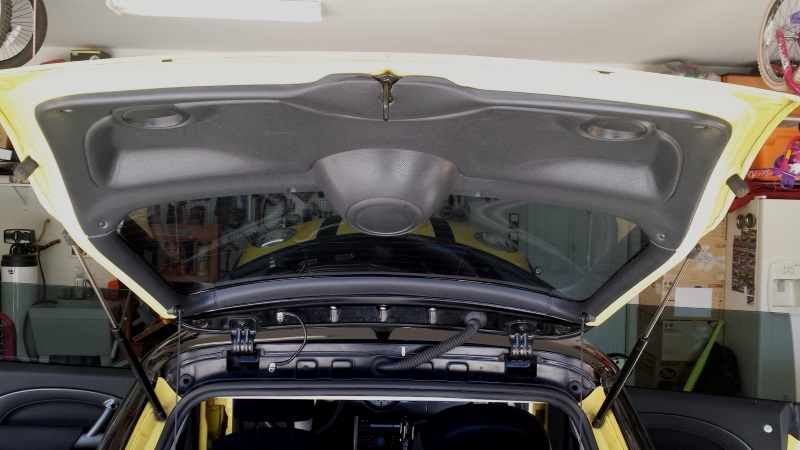
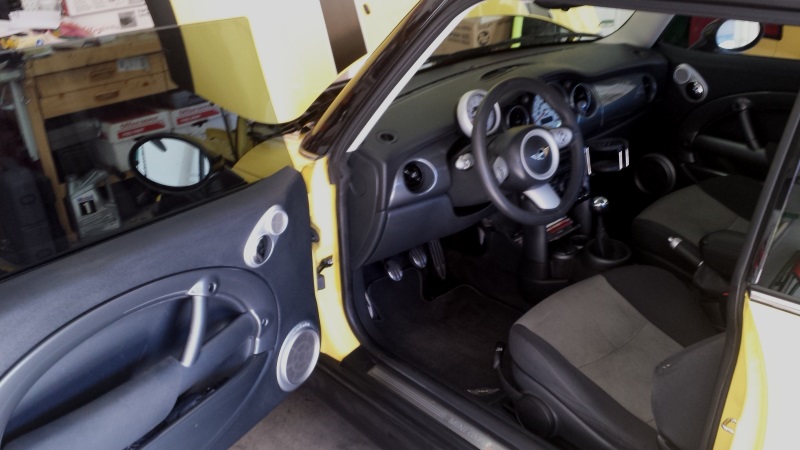
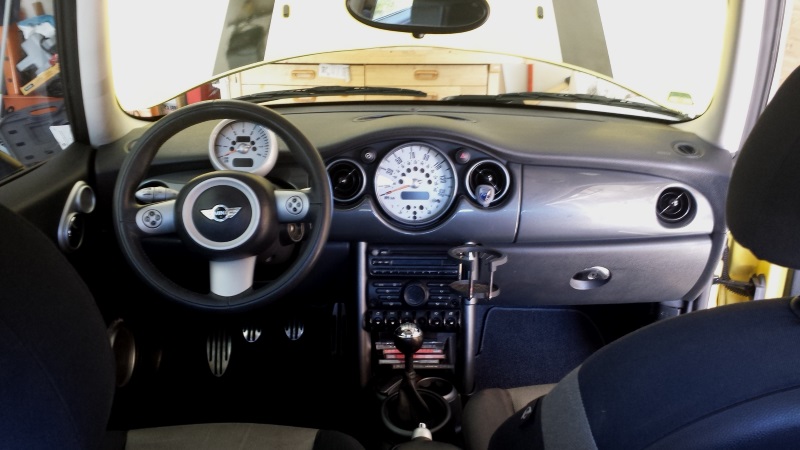
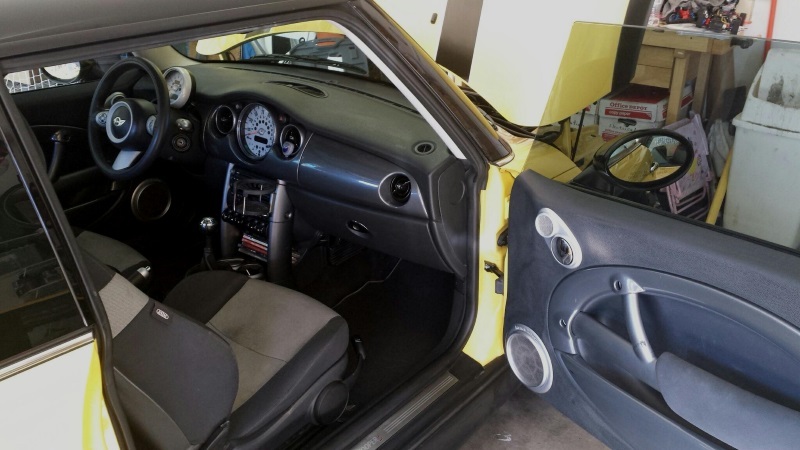
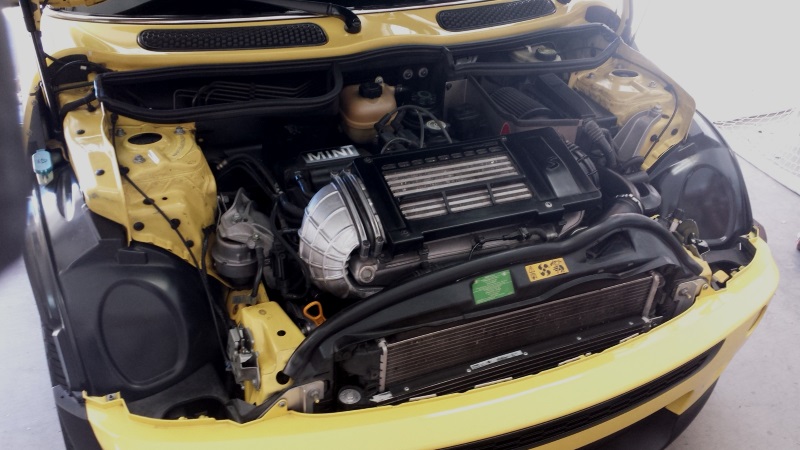
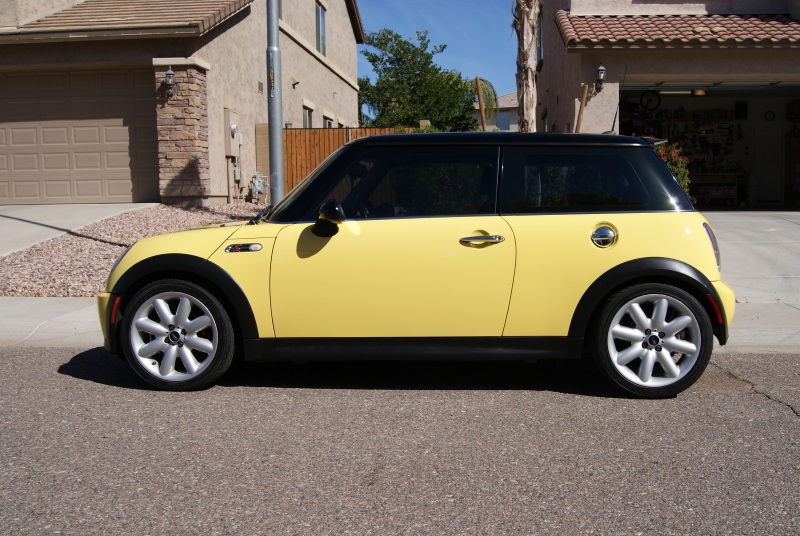
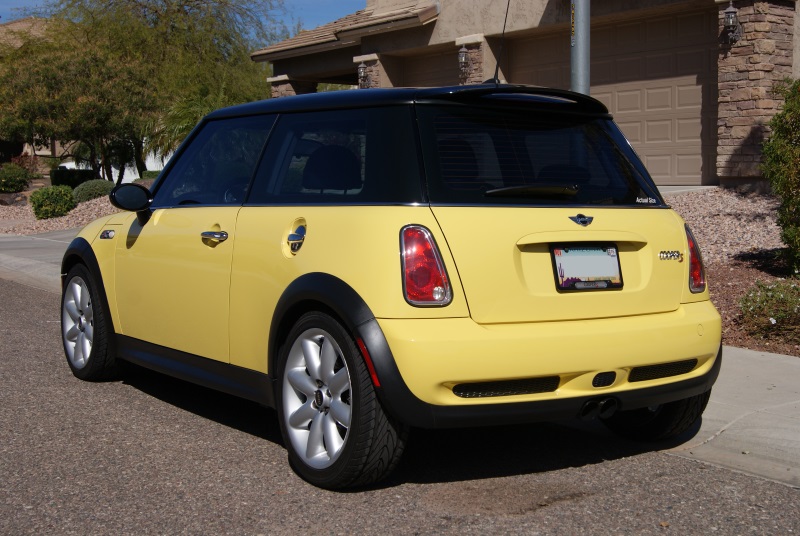
I took some time to clean up the boot area, the interior and the engine bay. I’m hoping to detail the exterior tomorrow so I should be good to go until May.
I have a bit of work coming up around Christmas, so I am trying to clean everything up to get that out of the way before cranking on him.
Boot Area:
Interior:
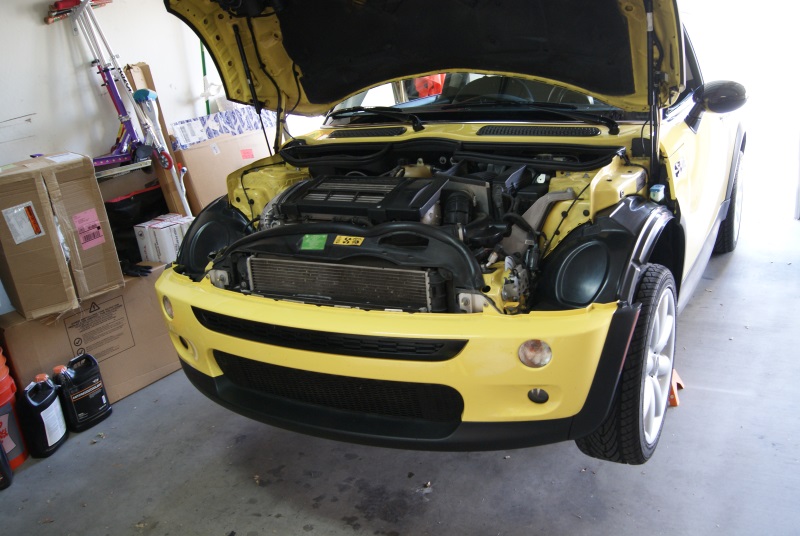
Engine Bay:
Last edited by CooperSAZ; Nov 21, 2015 at 02:18 PM.
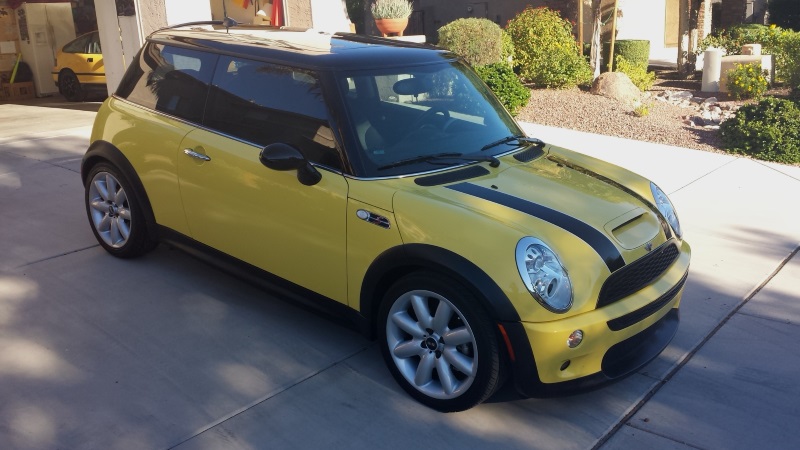
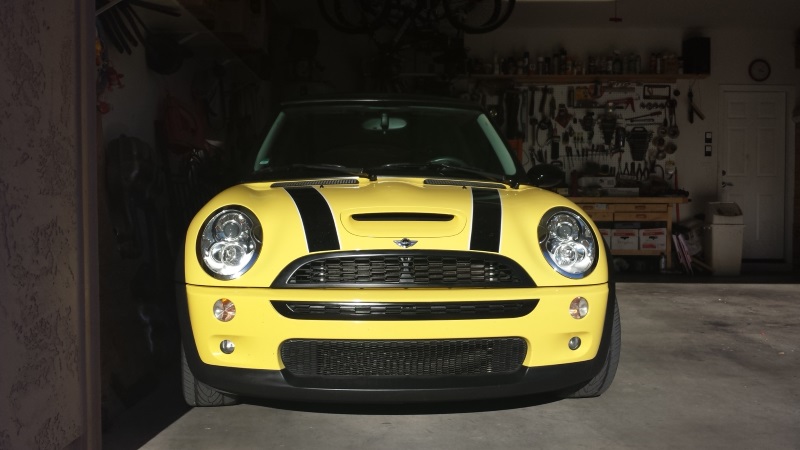
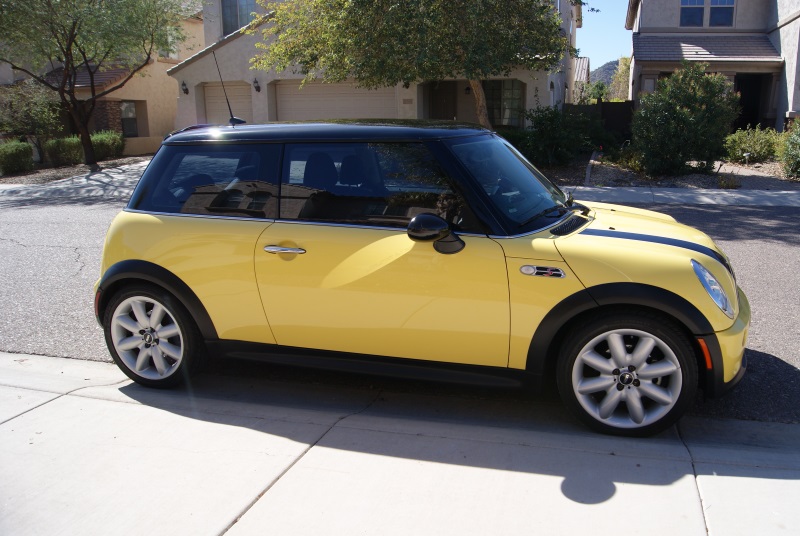
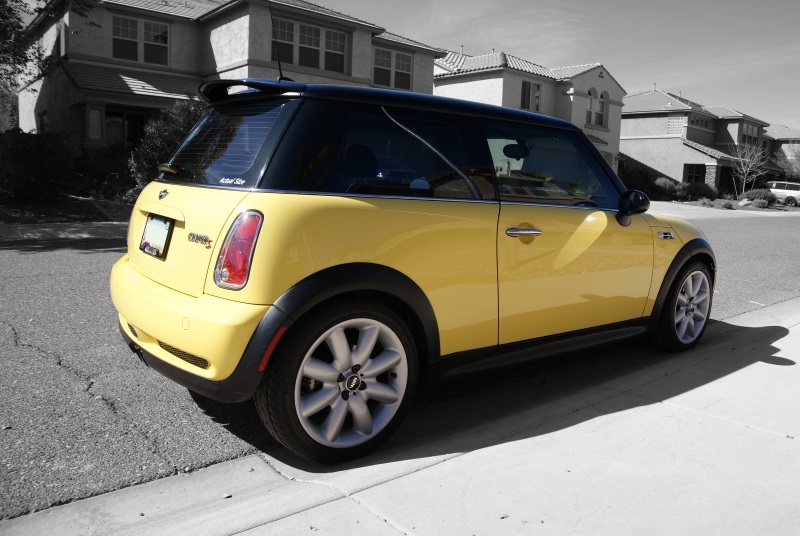
Spent some time working on the exterior with the new polisher. It worked well. Ran out of time for sunlight pics so I had to take what I could before heading out for the evening.
Thanks! Hoping to spend some time underneath spraying everything down with an engine cleaner or brake clean once all o-rings are replaced and oil pan gasket swapped. In theory anyway.
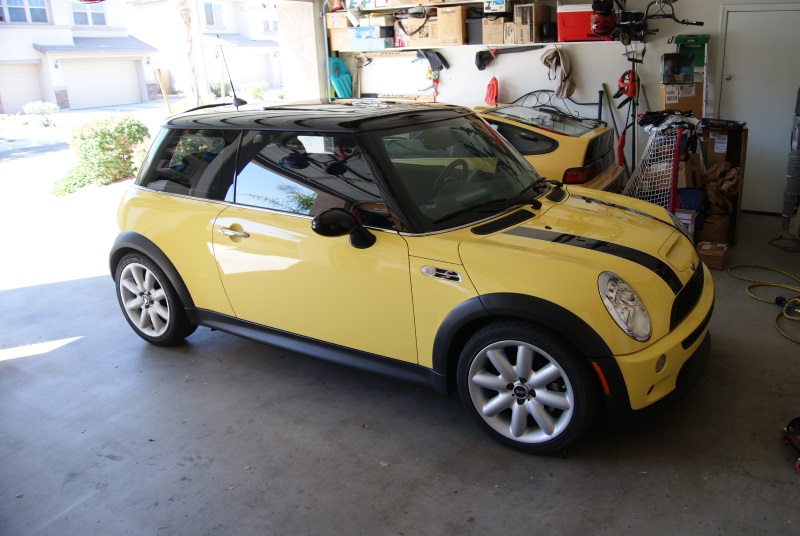
So jealous of your paint! My liquid yellow looks nothing like yours. I was wondering if you had a build thread; didn't think to check the stock problems/issues subforum
So jealous of your paint! My liquid yellow looks nothing like yours. I was wondering if you had a build thread; didn't think to check the stock problems/issues subforum
Really enjoying the read.
Thank you! Yes, I started this thread in a different location and one of the moderators moved it to stock problems/issues. I believe it was in the "Hatch Talk" forum??? I honestly have NO idea why... half tempted to have them move it back. I like to document this AS things come up so others can follow along IF they wish to... I dont want to be a source of "stock problems/issues"...
Thank you for the kind words. I try to keep him clean as best I can and I detail him twice a year. (May and Nov) Wash the bay, underneath, clay bar, compound, polish and then wax. The porter cable helps out tremendously.
Good luck with the name change... the moderators/administrators are all but non-existent by now.
I wish the previous owner had been as meticulous as you. I believe it was repainted at some point and there are runs, overspray, and trapped contaminants all over the car. Not terrible, but very bothersome for people like us.
I am very grateful for your writeups; I will surely reference them when I begin more involved work on my R53.
So I decided the tackle the infamous lower control arm bushings. All in all, took me about 4 hours to fumble through it. I could probably get through it quicker now that I am more comfortable with the process. The press I bought to extract the old bushings and press in the new Powerflex bushing died. Very disappointing. So I had to run to the store to �make� a suitable alternative to completing the project.
Very very happy with the bushings. Only have twenty miles post install and the car feels great! No idea why I waited this long or why someone would install the OEM bushings. I thought about going with the MINI bushing again, but why, after 40-50k miles, they would fail again. This seems pointless. I get it if you have no options, but I do and I exercised them! Hehe
Pics
Safety first
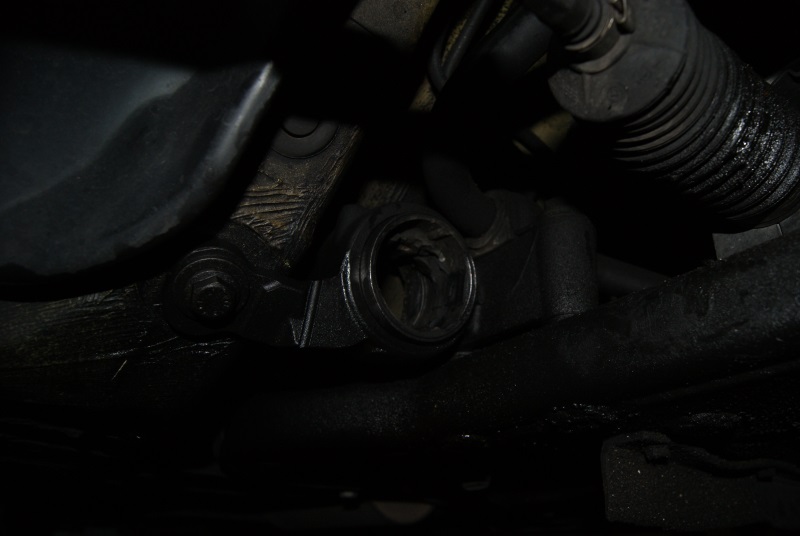
Here a pic of the left lower control arm. I used the impact to remove both the inner ball joint bolt(21mm) and the outer nut (18mm).
I tried to be considerate of my neighbors so I lowered the garage door down to try and capture some of the sound from separating the lower control arm from the lower ball joint. Anyone know has done this knows the pop/crack sound it makes. May startle unsuspecting people�
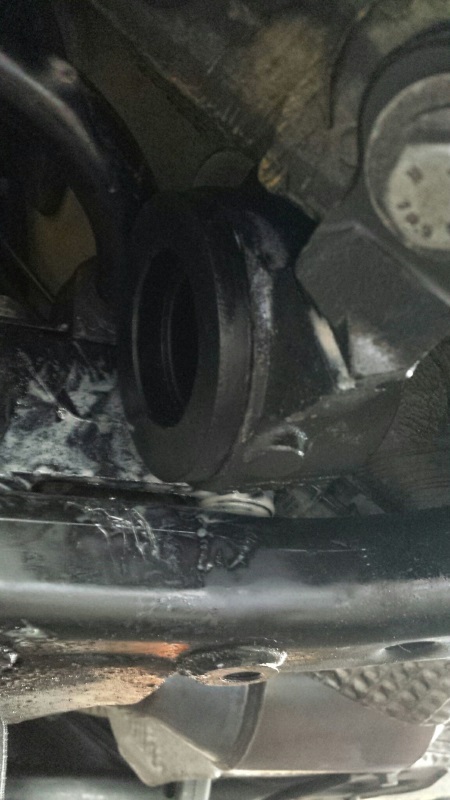
Left control arm out of the vehicle. The left bushing was not nearly as bad as the right side. I actually had to pry/pull this arm out of the steel collar.
Target sized up. Center of the pic (circular hole) is where the old dead bushing is being held by the bracket.
So I purchased this neat little kit to press out the old bushing/steel collar. Looked decent so I set it up and hoped that it would remove the old bushing sleeve.
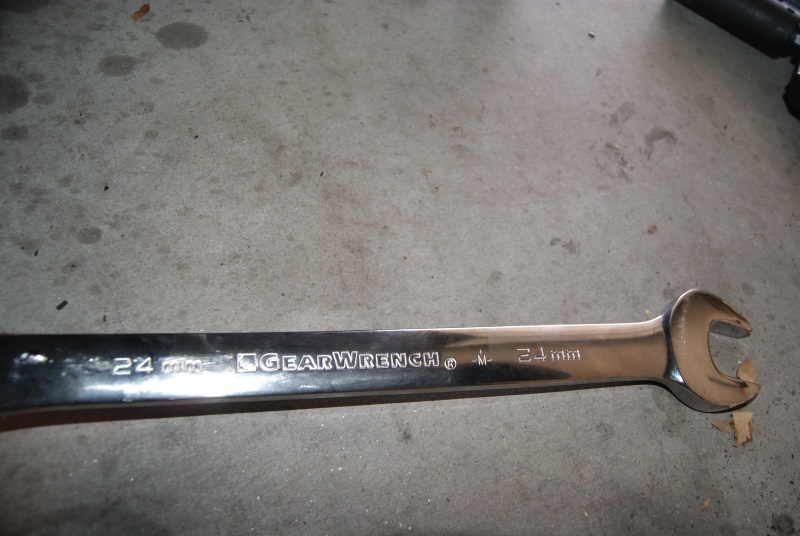
24mm wrench is needed to turn the nut that pulls out the old bushing collar.
As luck would have it, the kit I bought to press everything out and back in is crap. The main thread bolt snapped at the weakest spot. Incredibly frustrating.
So instead of being cheeky, I broke out the saw and went to town on the steel collar. This saw sawed through the collar in about 2-3 minutes. Key is to get through the collar to breach it without beating up the bracket that is left in place.
Here is the old bushing/collar after I used the saw to cut through it. Once you cut through the collar, its integrity has been compromised and can be removed from the bracket still on the car.
I needed to use my dremel cut through what was left of the old bushing that was attached to the control arm. Did not take long.
Naked control arm with the old bushing removed
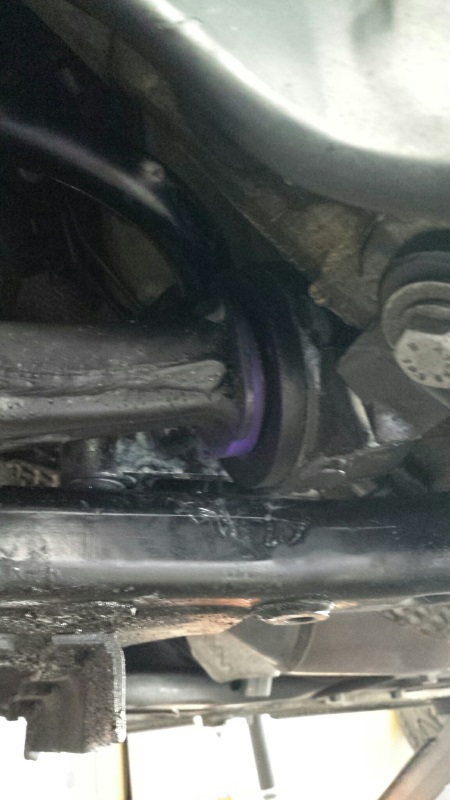
Here is a pic of the same control arm with the Powerflex bushing attached to the control arm
Left side bracket with the new Powerflex PU bushing pressed in and ready to go
The Powerflex bushing comes with a small packet of lubricant to apply to the control arm bushing. Once applied, it is time to re-install the control arm back into the bracket. Not difficult, a little muscle is required so wiggle the control arm into the bracket. Eventually, it slides into place and all is well.
Outside lower ball joint pic
Here is a status pic of the left side arm buttoned back up and torqued.
Passenger side lower control arm. I impacted the inner ball joint nut loose and then impacted the outter nut. I knew the passenger side bushing was DEAD so you have to becareful when removing the control arm. It will literally fall out.
Passenger side bracket, steel collar of the bushing.
Picture of the steer collar after the saw had its way with it. Comes out nice and easy
Passenger side bracket with LCA bushing removed
Passenger side lower control arm with new Powerflex bushing installed
Passenger side bushing pressed in. Keep in mind, this is not a simple plug and play. I had to devise a NEW press so the Powerflex bushing would be pushed into place. This took a bit of time and patience. But that goes a long way.
So the passenger side control arm went in the same way. A little muscle and a little wiggle and the control arm slides into the bracket/bushing. Once in place, you can align the inner ball joint bolt and outer ball joint bolt. Turn on each nut and torque them down to spec.
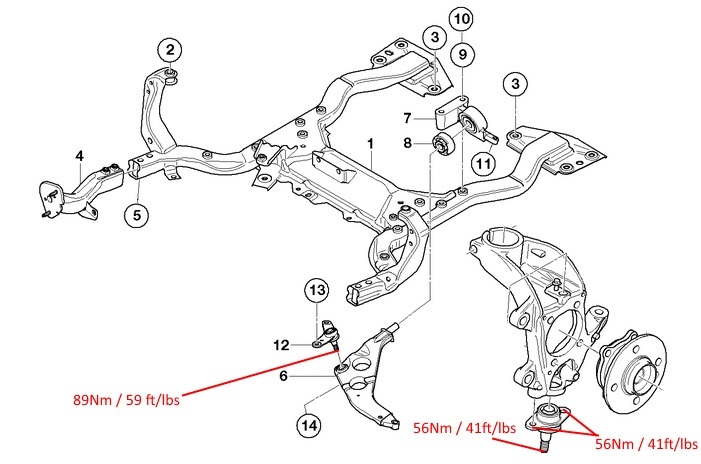
I created this roadmap for torque specs. But I recommend that you conduct your own research and see if you come to the same setting.
Mini is all complete, every nut/bolt is torqued and he is cleaned up for the upcoming week. Back to motoring!
I've been working on mine since October! Although I went ahead and did everything that needed replacing in that general area (balljoints, shocks, springs, oil pan gasket, o-rings, you name it...).
Now that warmer weather is coming I'm hoping to finish her up!
I've been working on mine since October! Although I went ahead and did everything that needed replacing in that general area (balljoints, shocks, springs, oil pan gasket, o-rings, you name it...).
Now that warmer weather is coming I'm hoping to finish her up!
Thank you! I need to post the pics of the outer ball joints being replaced.
I have the inner ball joints but was not excited about dropping the subframe.
I have an axle that needs replacing so I think I will do the inner ball joints then. With the axles removed (fluid change as well), you can swap out the inner ball joints and call it day. I think I may try that approach.
Agreed, my shocks are dead at 110k. Need to save up for new Konis and springs. I have everything else for shock replacement... (e.g. mounts, nuts, spring pads etc)
So the passenger side control arm went in the same way. A little muscle and a little wiggle and the control arm slides into the bracket/bushing. Once in place, you can align the inner ball joint bolt and outer ball joint bolt. Turn on each nut and torque them down to spec.
I created this roadmap for torque specs. But I recommend that you conduct your own research and see if you come to the same setting.
Mini is all complete, every nut/bolt is torqued and he is cleaned up for the upcoming week. Back to motoring!
Nice updates and pics, looks very nice. Very helpful.
Nice updates and pics, looks very nice. Very helpful.
Thank you! I try... If it helps someone else out with tackling a job, great. I find it helpful if I have to come back to a job to recall what it is that I did in order to complete the job. That helps too.
I have both Odyssey axles to replace this weekend and I have to order this pneumatic brake bleeder for the cars. I purchased a larger compressor now and it can run the bleeder.
I think this will help removing as much of the power steering fluid that I can before swapping out the power steering lines on the MINI. That will be on-deck after the axles.
I love following your updates and projects. I just finally rebuilt the front calipers last night on my 2005 MCC , after 260K they needed the seals replaced.
I love following your updates and projects. I just finally rebuilt the front calipers last night on my 2005 MCC , after 260K they needed the seals replaced.
Hopefully much dryer now.
Oh good, thank you.
260k is NOT bad at all! It is funny to me... there are some pieces on the MINI that last an extremely long time! And then there are pieces that last about half as long as they should. That is why I appreciate the aftermarket world... chances are, they have come up with something to extend the life of the parts that crap out early.
How was replacing the seals on the front calipers? Straightforward? Challenging? Replacing the front calipers looks straightforward IF needed. But why make the rear calipers so difficult to work on? haha (e.g. e-brake connection)
Yep, I know , but it was time. I have the stock R52 brakes calipers on now ( with ECS brake lines ) from the JCW 4 piston mod r56 JCW brakes ( with ECS brake lines R56+), as my 15" snow tires/ wheels will not fit. :(
Not bad, just have to make sure everything is clean, and unbolt the caliper and plug the lines, getting the piston out when the piston has that many miles, it does not like to move very easily , i put a piece or wound up cloth ( making it smaller and smaller ) to add a little pressure while i pumped the piston out with the brake pedal, easiest way to do it, that is withe the pads gone and the rotor gone also. Its popped , then clean, clean , clean. You don't want the piston to shoot out like a rocket and get damaged, otherwise you will mess up the bore and the cylinder.
The outside seal ( bellow ) was fused to caliper a bit. Once back together, not more sticky front brakes. Yea !
Interesting, thanks for the pics. That helps with the visual as you read.
With the outside seal fused to the caliper� is that a normal, over time, wear and tear item? Is that a product of being in an environment? OH vs AZ. Good to know.
Yes, I used to run SuperBlue as well! Loved the idea of the fluid and its color. Makes leak identification (if you have one) that much easier based on the color. Or was� Now back to the Amber�
The Motive bleeder helps out a lot! If you are into a one man job.
OHIO winters = rust behind boots, , dont have to worry about that much down in AZ , the seals might need replaced if you track or I guess the boots could crack in very dry areas.
The ATE type 200 is more clear, then you could swap to super blue and know when you were done. Now just bleed like crazy. lol


 Yea !
Yea !