When you click on links to various merchants on this site and make a purchase, this can result in this site earning a commission. Affiliate programs and affiliations include, but are not limited to, the eBay Partner Network.
I been out of town for 7 mos. and will be replacing the headliner when I get back.
I don't remember the colour of the fabric and is it foam backed?
If there is anyone who had done the MC40 can you tell me where you purchased the fabric?
Thanks
When I did mine I ordered from yourautotrim.com. Their foam backed "light gray" material is a perfect match to the stock horizon gray.
Be sure to order 3 yards of material as you need just a little more than 2 to get full coverage.
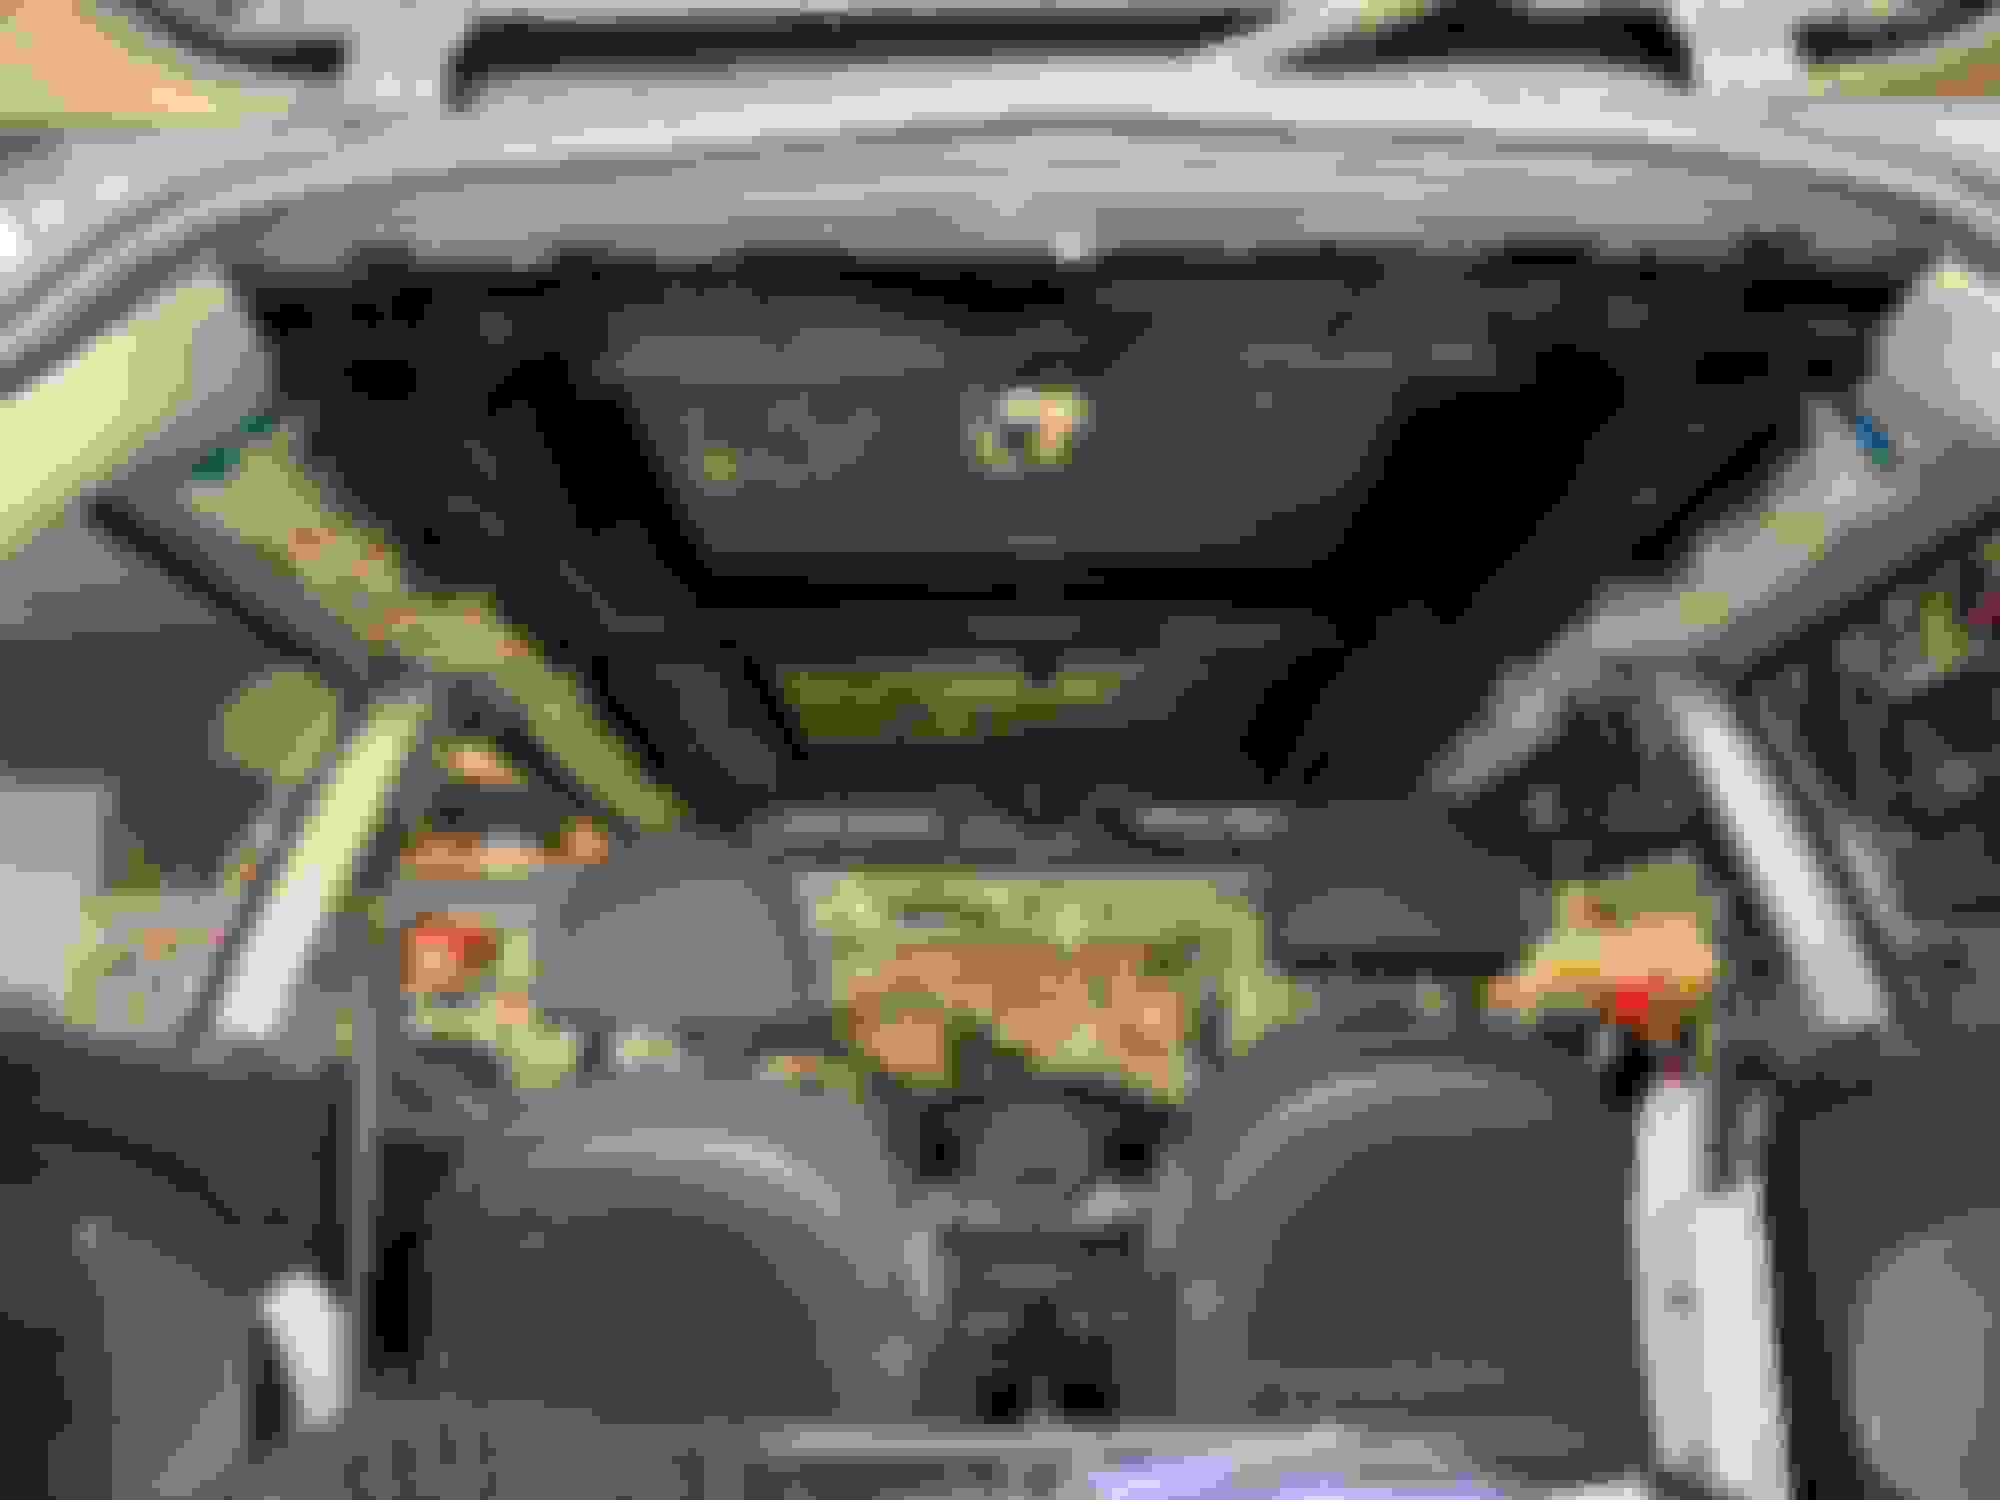
A couple of comments regarding the DIY link above.
I was not able to get the headliner out through the back hatch - I had to remove both front seats and wiggle it out through the passenger door. This is the way the factory manual says to do it so be prepared if you run into the same issue.
Be very meticulous getting all the old adhesive off the backerboard. 3M makes and "adhesive remover" in an aerosol can that works great. Any residual adhesive will compromise the quality of the new adhesive.
It can be tricky to get all the bubbles and creases out of the fabric, take your time and be patient. Having a second pair of hands is very helpful.
When I did mine I ordered from yourautotrim.com. Their foam backed "light gray" material is a perfect match to the stock horizon gray.
Be sure to order 3 yards of material as you need just a little more than 2 to get full coverage.
A couple of comments regarding the DIY link above.
I was not able to get the headliner out through the back hatch - I had to remove both front seats and wiggle it out through the passenger door. This is the way the factory manual says to do it so be prepared if you run into the same issue.
Be very meticulous getting all the old adhesive off the backerboard. 3M makes and "adhesive remover" in an aerosol can that works great. Any residual adhesive will compromise the quality of the new adhesive.
It can be tricky to get all the bubbles and creases out of the fabric, take your time and be patient. Having a second pair of hands is very helpful.
Interesting how some are able to slide it out the back.
Interesting how some are able to slide it out the back.
Most do get it out the back successfully. You do need to bend it somewhat. If you’re careful, you won’t damage the headliner. It is a little more flexible if you have a pano roof. No need to remove the Apiillar cover completely, but will need to remove rear seats, rear trim, remove B pillars, loosen C pillars. Sometimes good to look up the trim pieces on Allmag etc. so you can see where the clips and tabs are.