When you click on links to various merchants on this site and make a purchase, this can result in this site earning a commission. Affiliate programs and affiliations include, but are not limited to, the eBay Partner Network.
This guide will help anyone who needs to remove the sunroof assembly. Two people will be needed when lowering and removing/reinstalling the sunroof. This project will probably take a few hours, so give yourself a half day or so in case you run into any issues.
While we didn't replace the sunroof seal during this process, it is recommended. This would also be a good time to check your sunroof drain lines and make sure they are functioning properly.
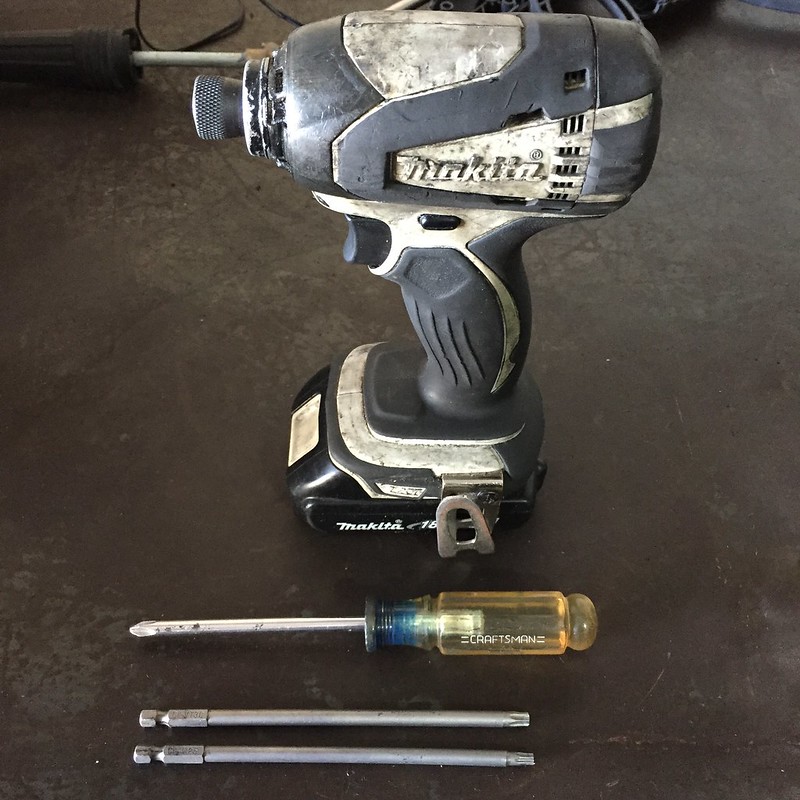
Tools Needed:
Power Drill
Phillips Head Screwdriver
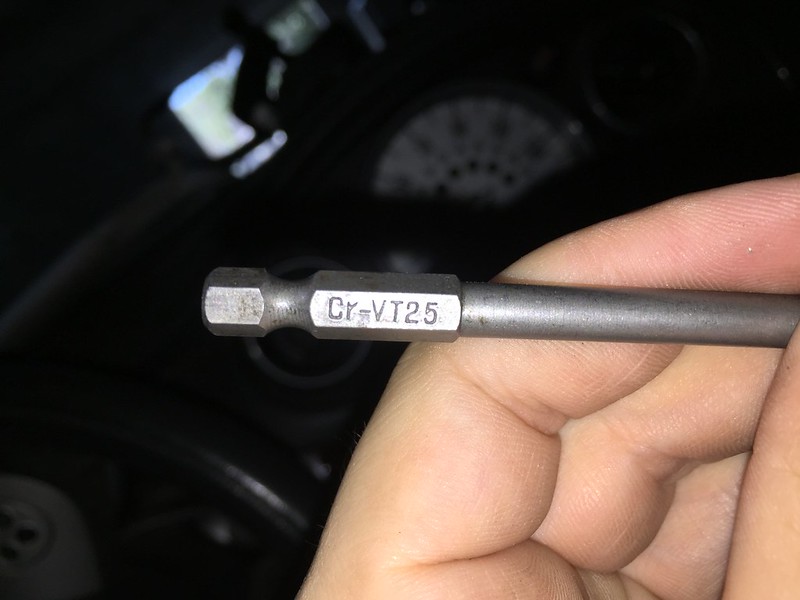
Torx T25
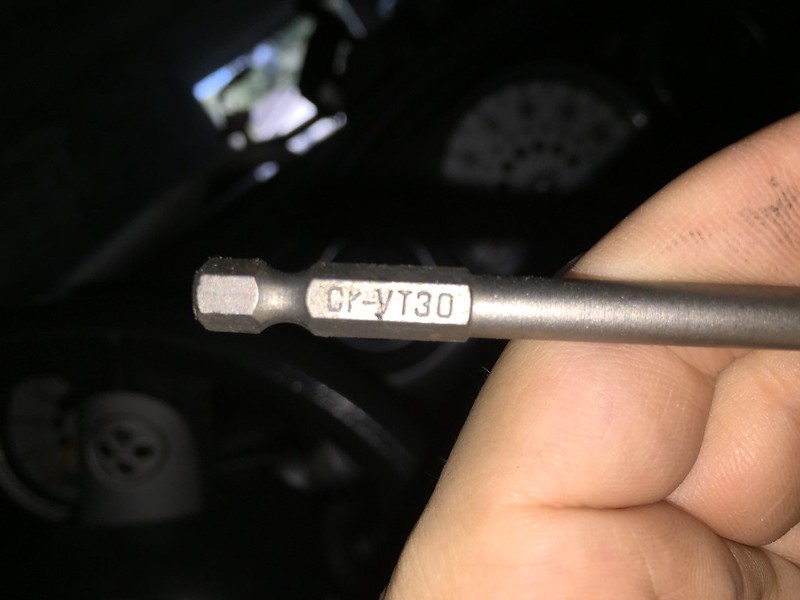
Torx T30
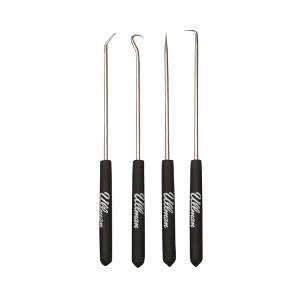
Small Pick Tool Set (for removing the headliner trim pieces)
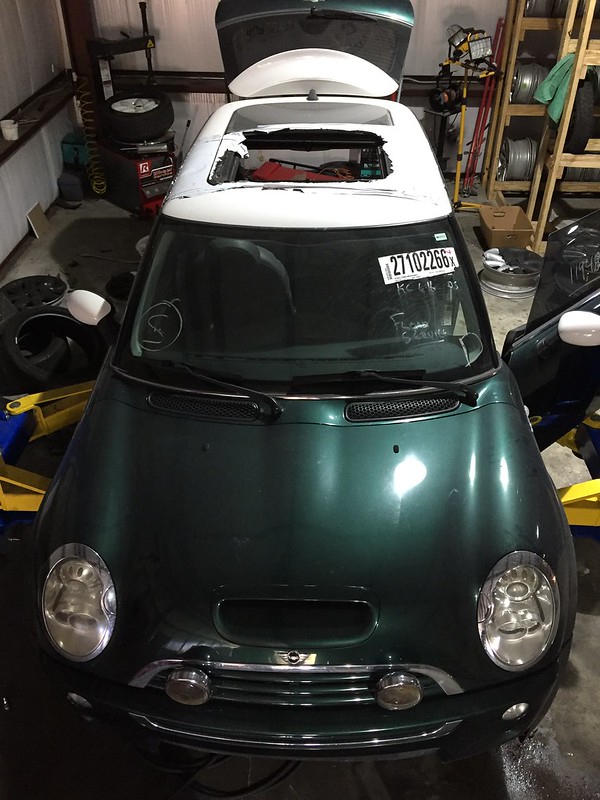
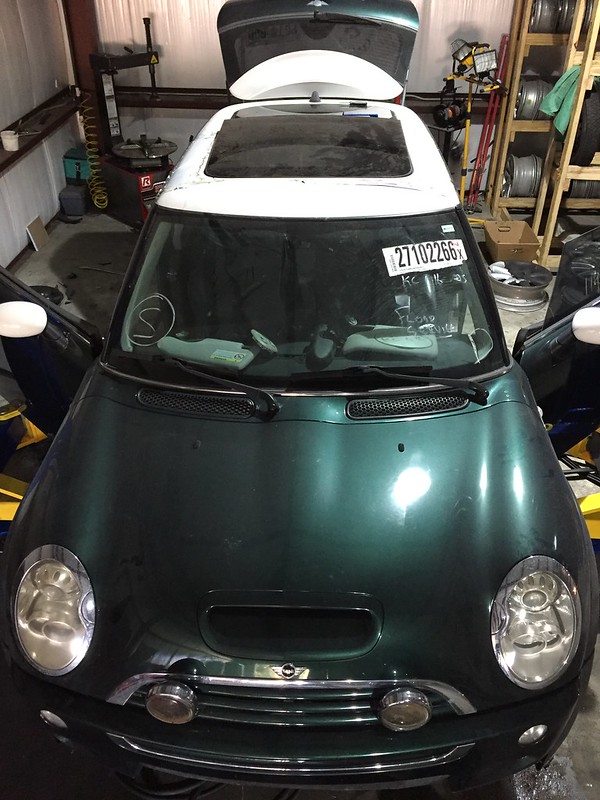
Our shop car will be used for this DIY. We got it with a broken front sunroof glass, so we thought this would be the perfect opportunity to create a DIY for all of you guys and girls here at NAM
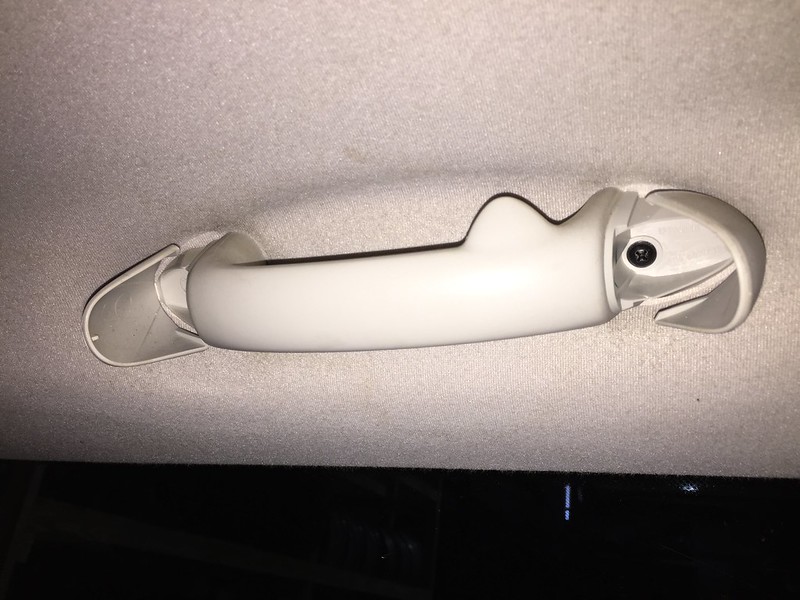
We'll start with the rear headliner grab handles.
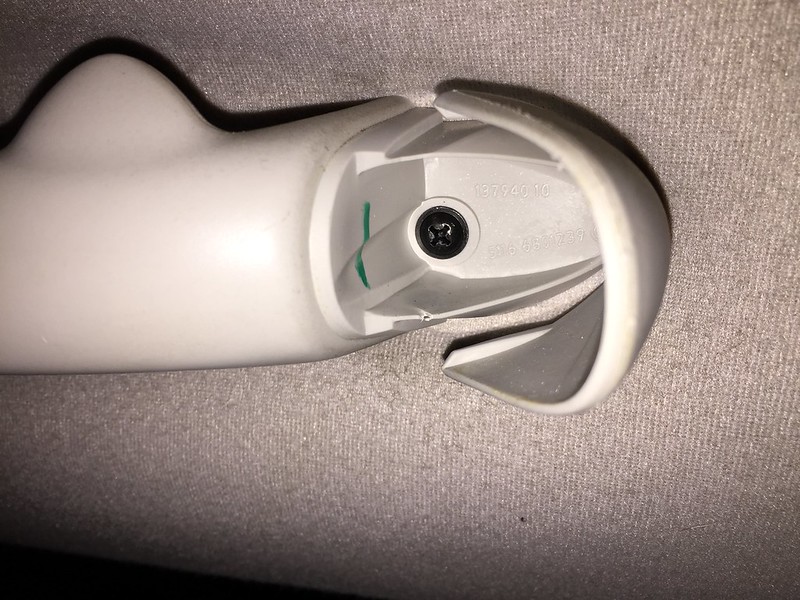
Use your small pick tools to pop open the sides of the handle (one on each side of the car).
You will see two Phillips head screws that need to be removed.
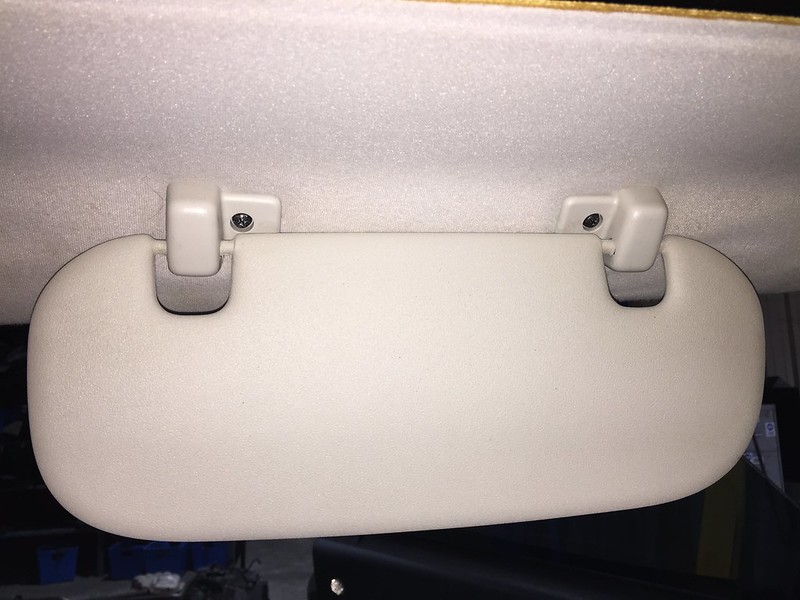
Next we will move towards the front of the car and remove the driver side lateral sun visor.
Remove both Phillips head screws.
There is also a handle on the passenger front side of the car. I do not have pictures of removing this handle. You will need to use your pick tools to pop open a small cover which reveals both Phillips head screws.
Next we removed the center dome light. You will need your pick tool to remove the clear plastic cover. After you remove the cover, there are two Phillips head screws securing the dome light. Remove them both and unplug the connector.
We can now remove both front sun visors.
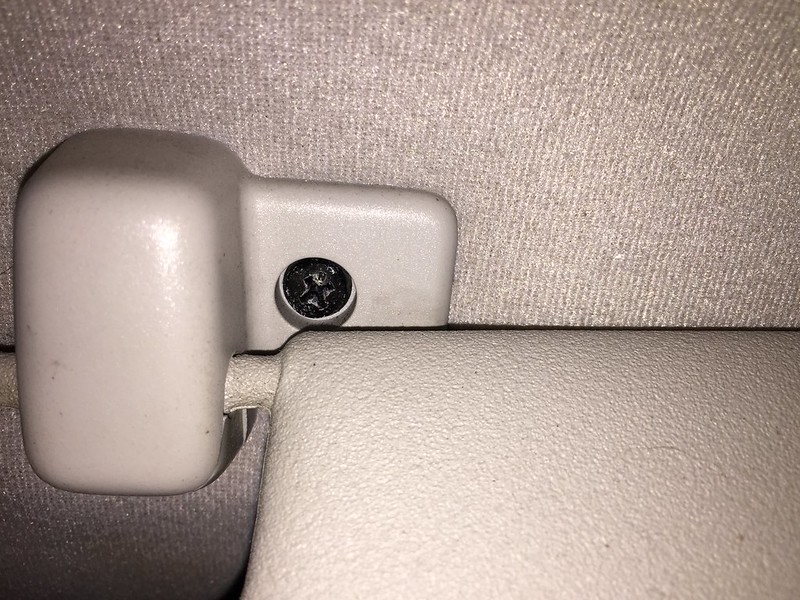
Lets start with removing the sun visor clips. Use your pick tool to pop open the small cover to access the Phillips head screw.
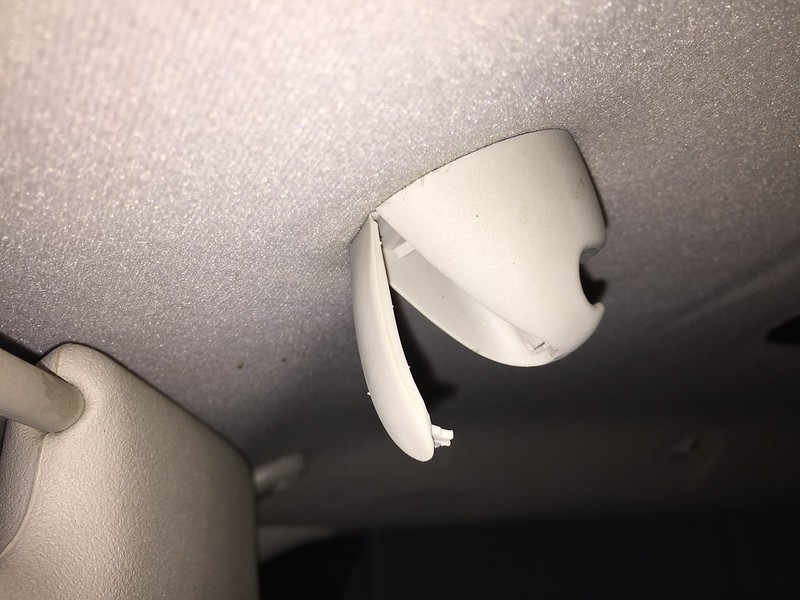
Next we'll want to remove the sun visor. Use your pick tool to remove both small trim pieces that cover the Phillips head screws.
Here is the trim piece once it is removed.
Once you remove both screws, you can unplug the sun visor connector and set them aside.
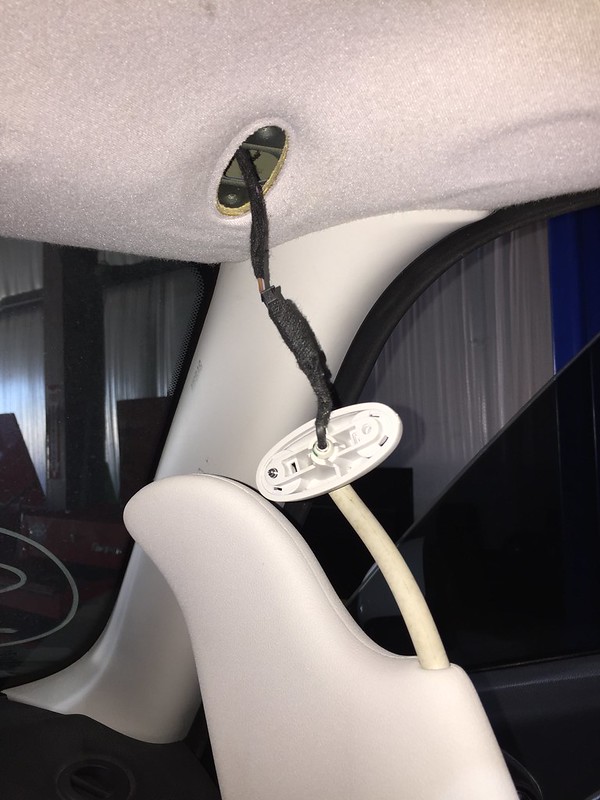
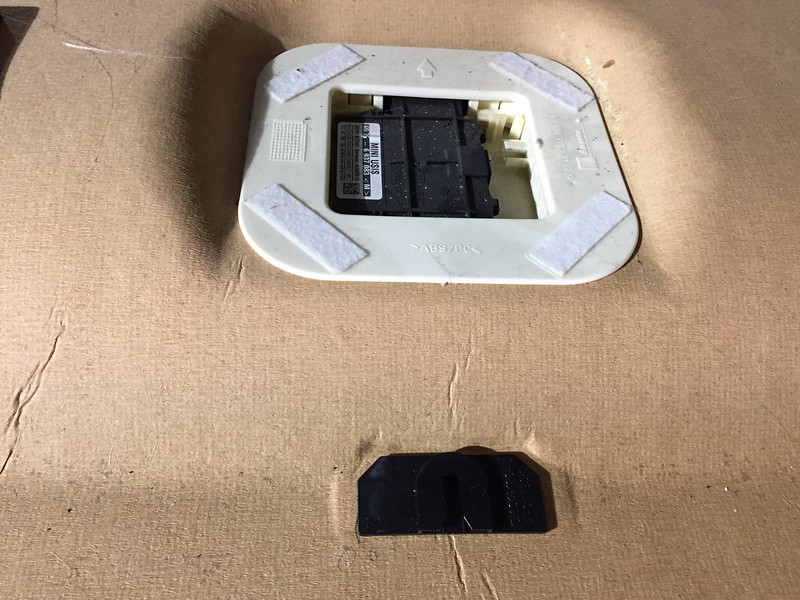
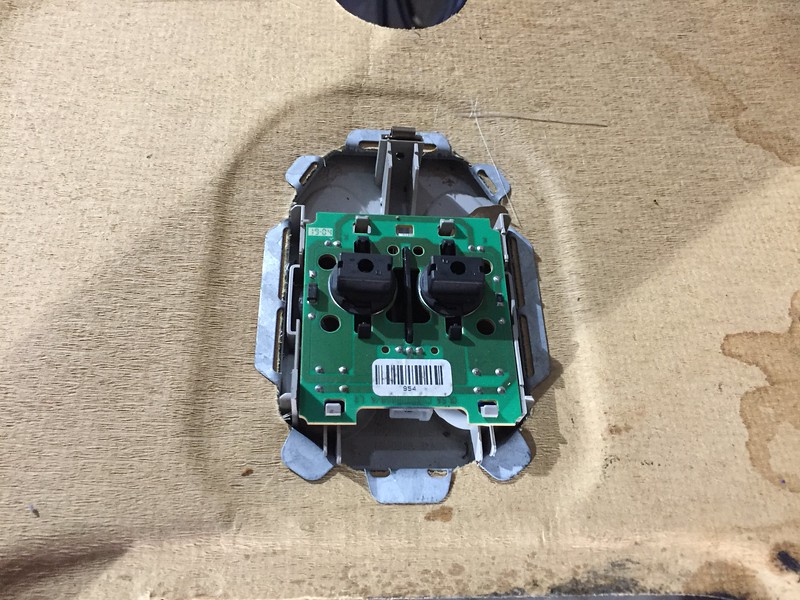
Next we will remove the rear view mirror. All you have to do is grab the mirror assembly and rotate it clockwise, it will release from the rear view mirror mount.
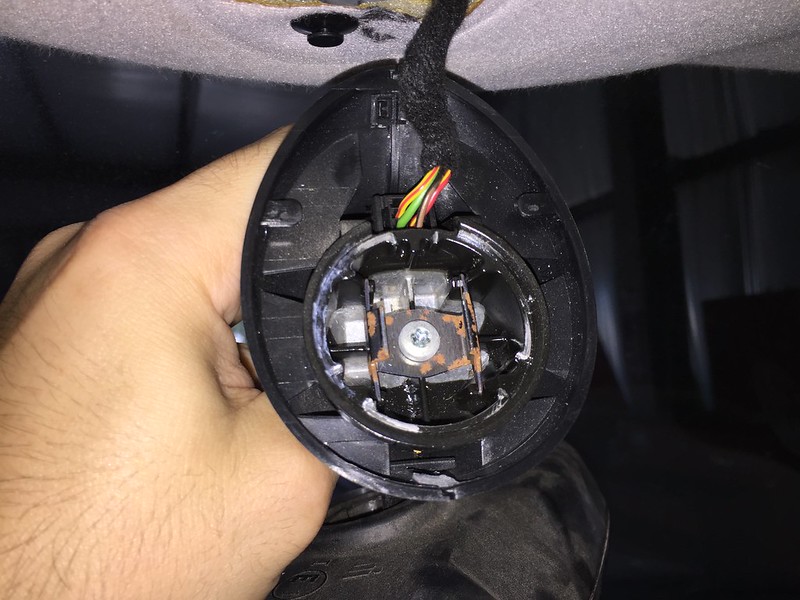
Here is what the base of the mirror looks like.
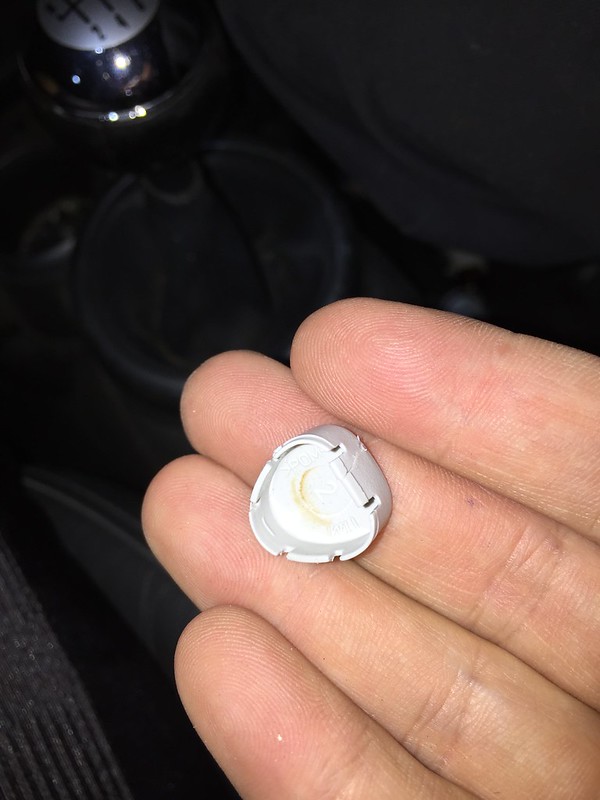
There is a small black plastic clip that you need to remove. Use a small pick tool to pull the center head of the clip down enough to remove the whole clip.
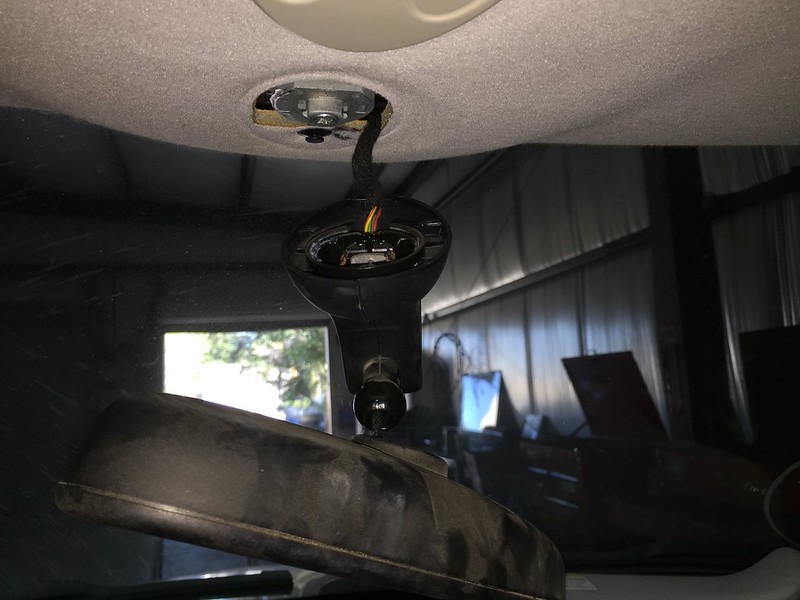
Then pull the wiring for the mirror down and unclip the connector.
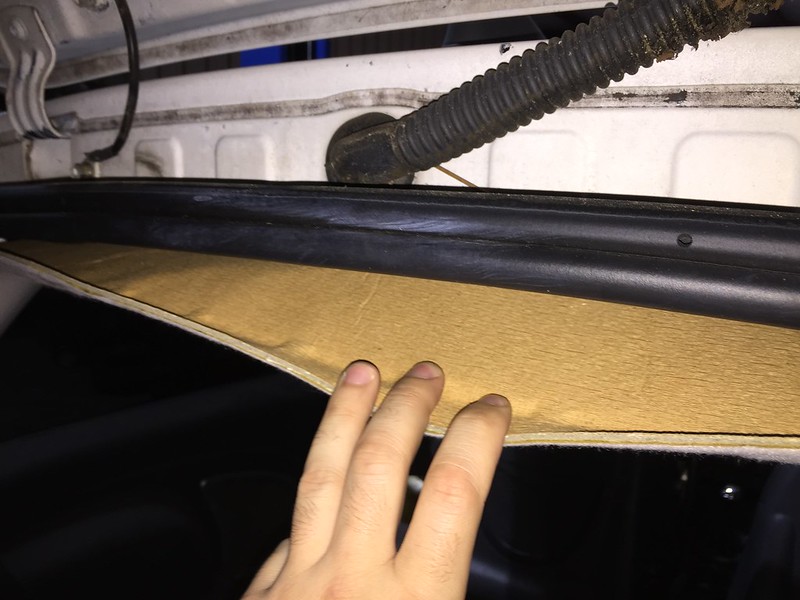
We can now remove the front and rear sunroof trims.
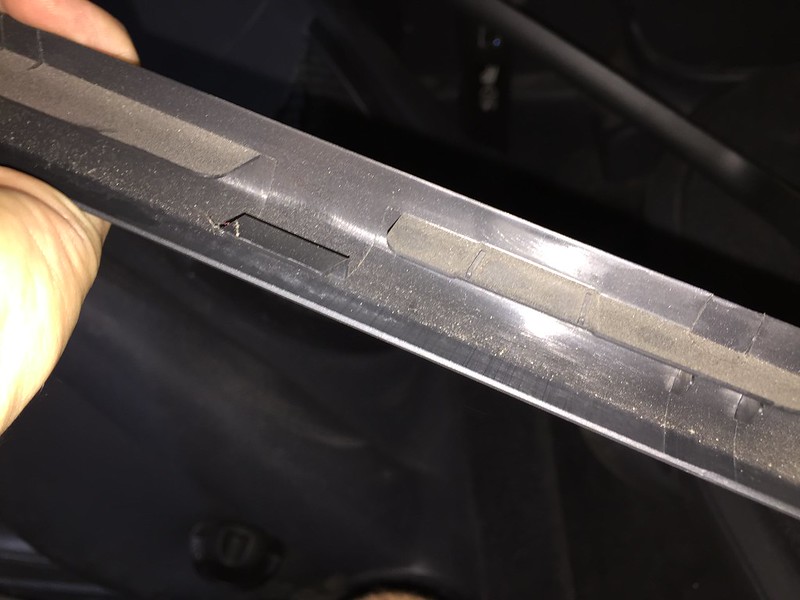
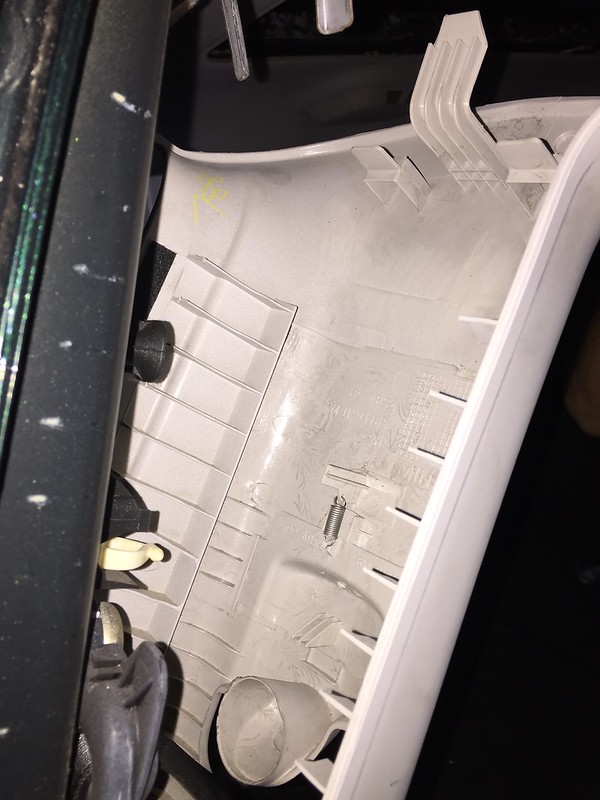
Pull one side of the sunroof trim towards the center of the trim and down at the same time. You will see it easily pops out of the headliner. Here is a picture of the clips on the sunroof.
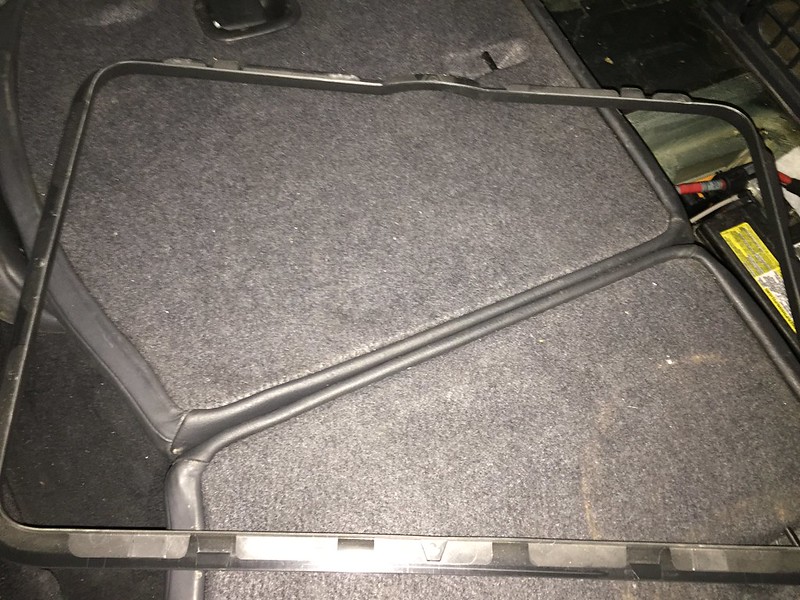
Just be careful not to break any of the sunroof trim clips, these trims are very flimsy. Here is a picture of the rear trim once removed. It is the same process for the front sunroof trim except you have to unclip the front part. It is held in with plastic clips, so just pull down carefully and unclip any connectors.
We will now loosen the rear C pillar trims. All you really have to do is grab them from the top and pull to release the clips. We did not fully remove the A and C pillar trims to remove the headliner.
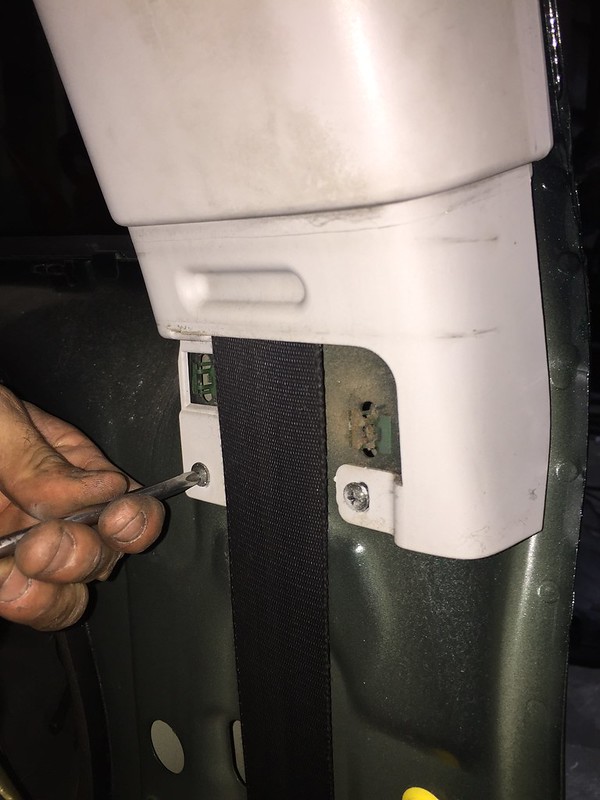
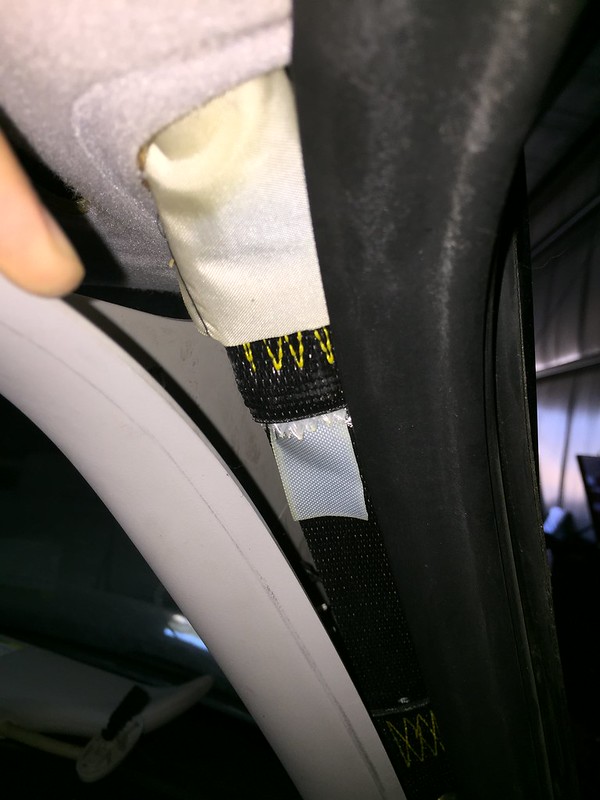
For the B pillar trims, again just pull from the top to loosen the trim. There is a hook at the top of the trim that will be a little tough to get out. You will have to pull somewhat hard to snap it out of place.
You will also have to pull the corner of the rear interior trim away from the pillar trim to access two Phillips head screws. Once you remove these, you can remove the B pillar.
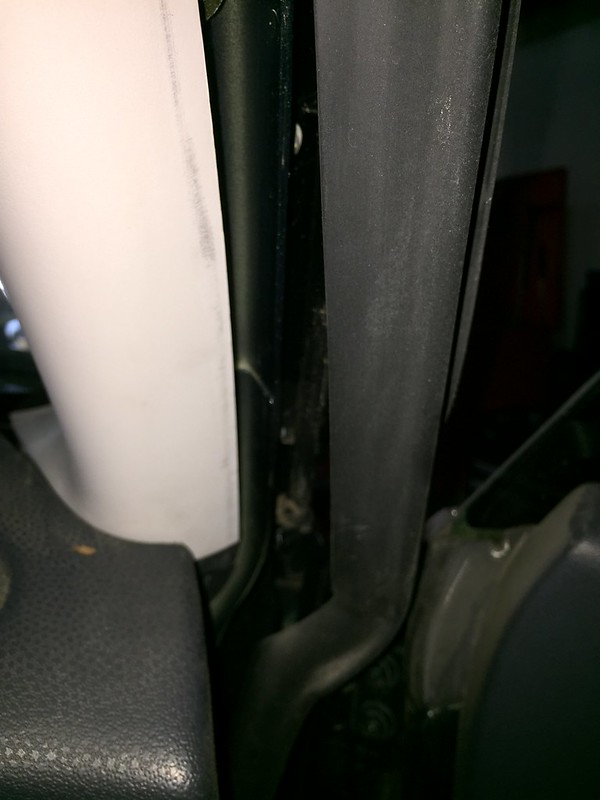
Now we can loosen the A pillar trims. Start by pulling the rubber door seal where the A pillar trim meets the dashboard. Pull it away enough so you can have access to the whole A pillar.
Now just pull the top part of the A pillar trim until it pops out of place. You don't have to fully remove this piece.
You should now be ready to lower the headliner.
Start from the rear and pull the headliner down below the rear hatch seal like so.
From there you will have to maneuver the headliner past the pillar trims (you might have to bend the edges of the headliner a little bit).
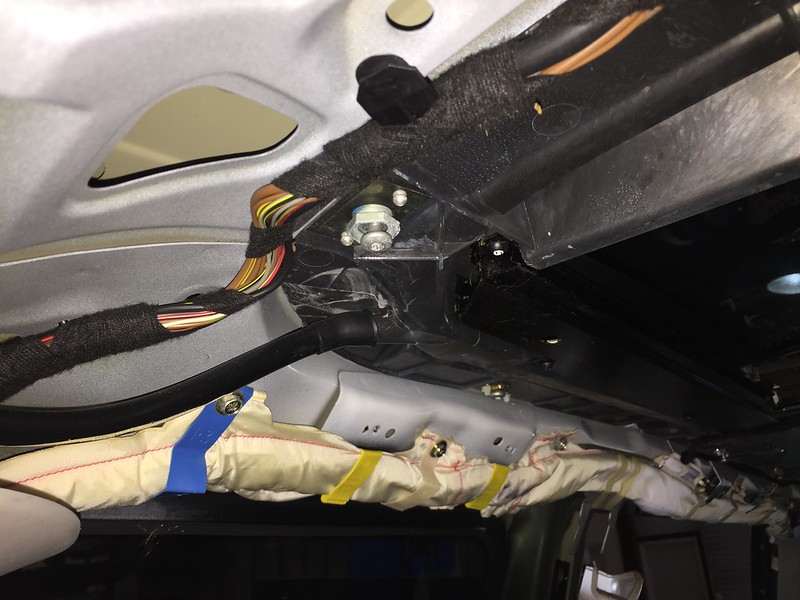
There will be some electrical connectors you will have to disconnect before you can completely remove the headliner.
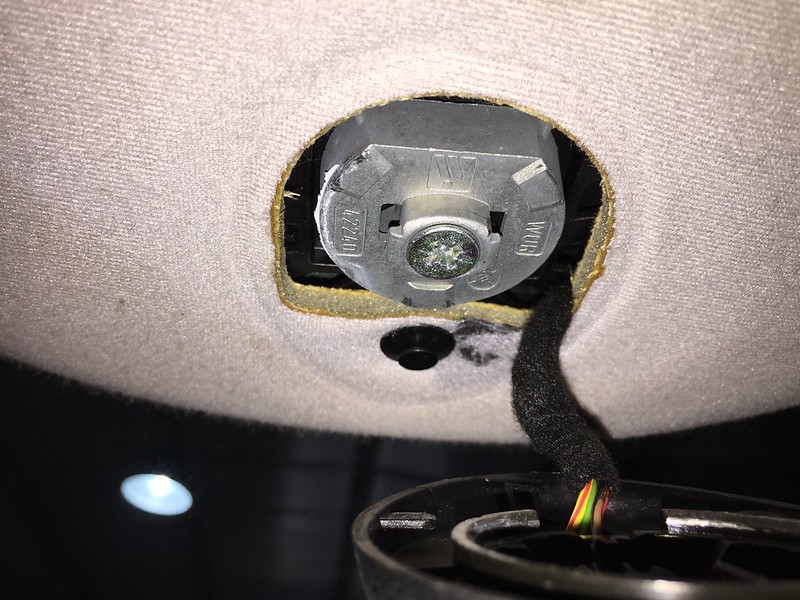
You will have to disconnect the wires plugged into this ultrasonic module (if your Mini has one installed).
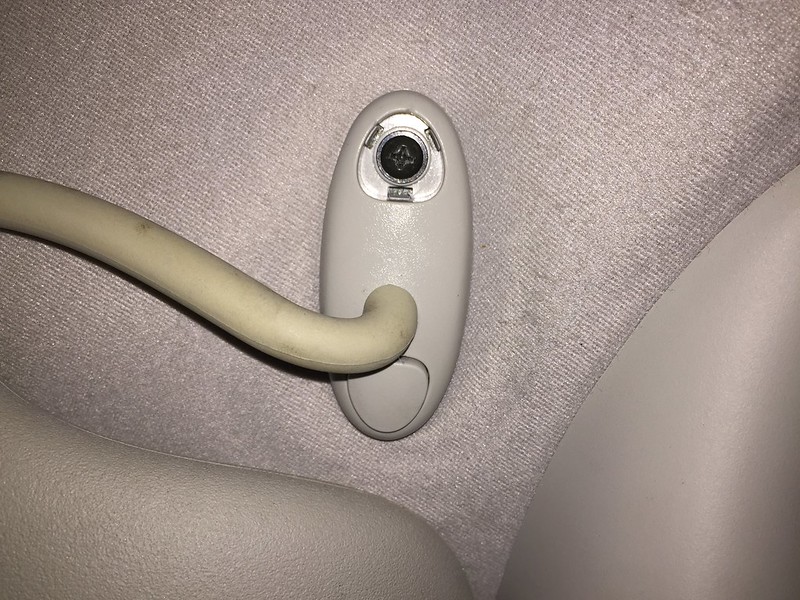
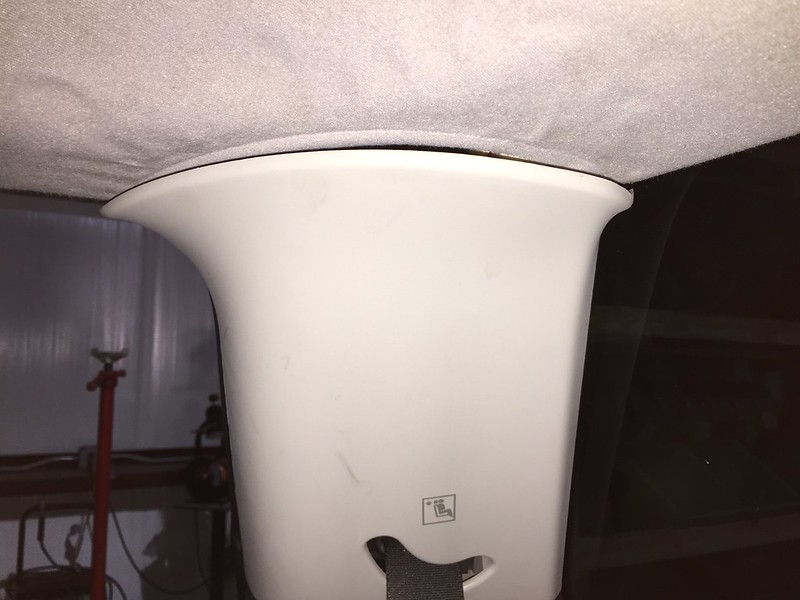
Towards the front of the car you will have to disconnect the wires plugged into this reading/map light assembly.
Finally, you will be able to completely remove the headliner from the rear of the car. Angle the headliner so it comes out of the car easier. (Sorry we don't have any pictures of this)
Now you can start to remove the sunroof!
First off, we want to remove the sunroof motor towards the front of the car. You will see 3 Torx T25 screws. Remove all 3 of these.
Now disconnect the wires to the sunroof motor!
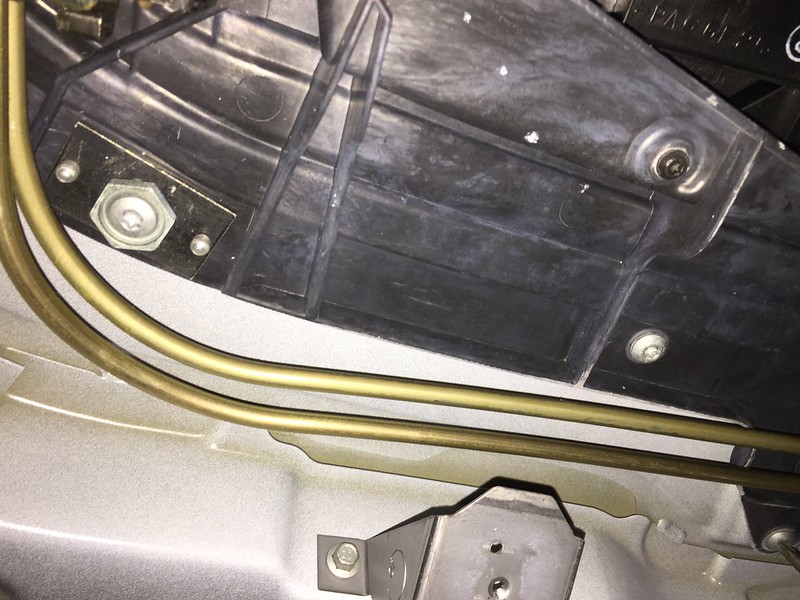
You'll want to remove all of the rubber sunroof drain hoses now. There is one in each corner. We completely removed the front drain hoses, and partially disconnected the rears.
For the rears, just pull gently until they slide away from the sunroof.
You can see the front drain hose here. You can either pull it away from the sunroof or completely remove it. It is only a few inches long.
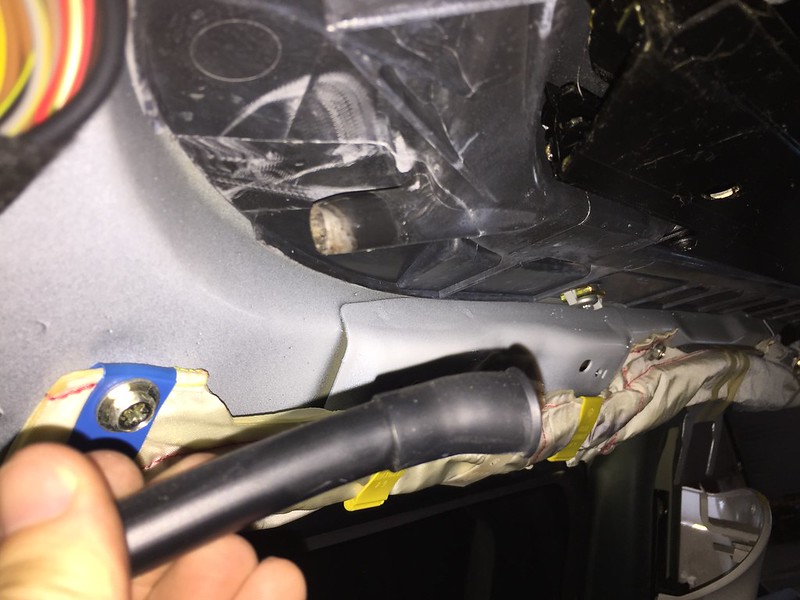
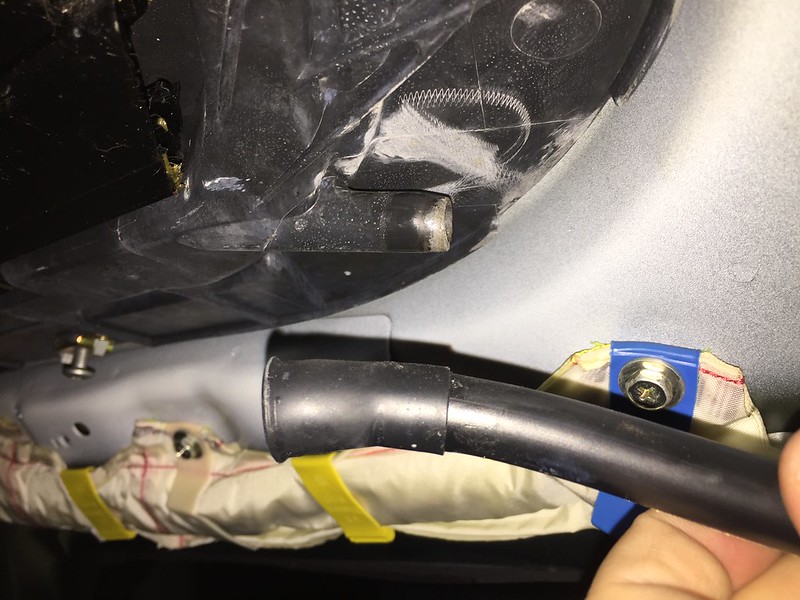
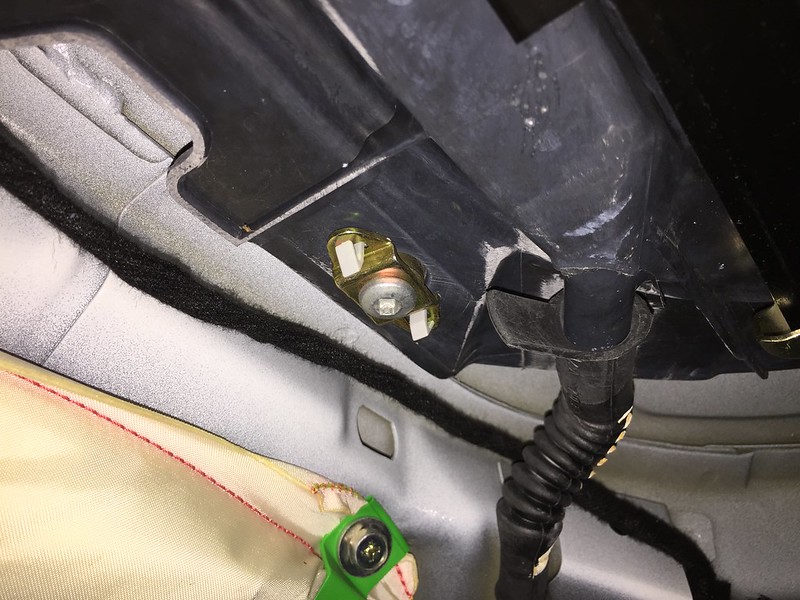
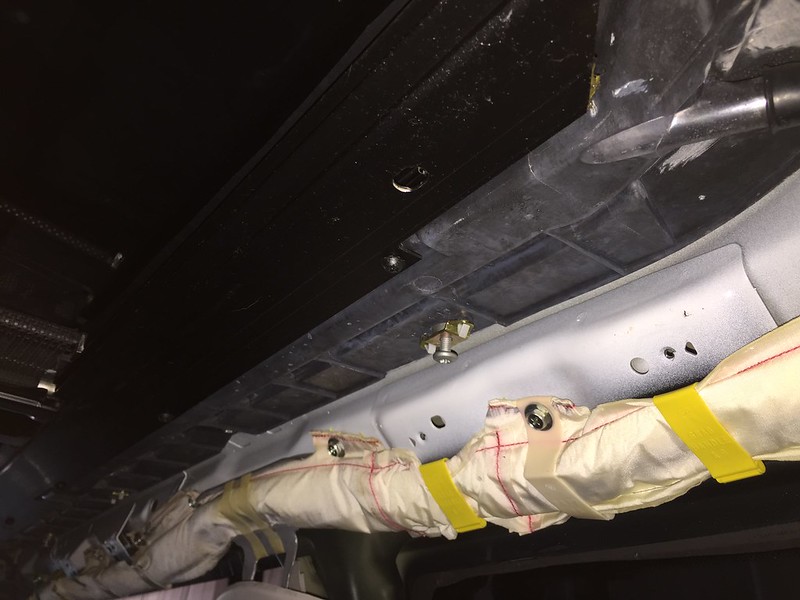
Finally, use the Torx T30 bit and remove all of the screws holding the sunroof assembly to the roof of the car. There are quite a few of them, so be prepared.
Here are a few pictures of the screws.
At this point you'll need to slowly lower the sunroof and remove it by pulling it out of the rear of the car. Like I said earlier, you'll definitely need some help with this step.
Here is one of our used sunroof assemblies reinstalled in our shop Mini!
Take a break and have yourself a nice cold drink and reflect upon the this great task you have just completed! This is not for the faint of heart Installation is the reverse of removal
This has been our first in-depth DIY write up, so if you have any comments/criticism please feel free to share.
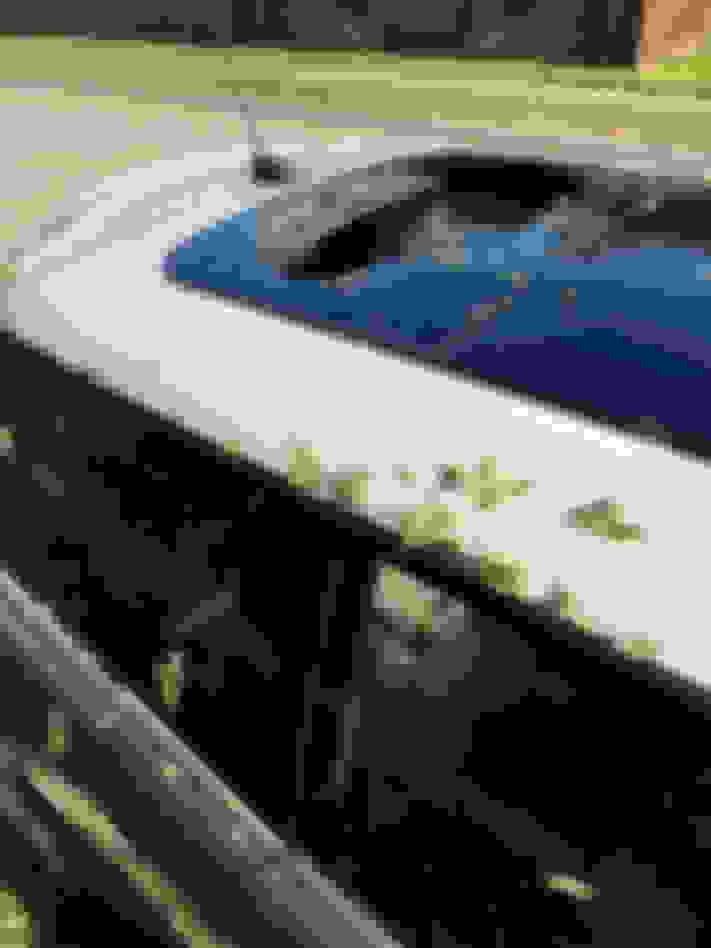
My sunroof seal was losing it's friction fit and was sagging down, not level with the roof line. I ordered the superseded part from MINI. It ended up being a black piece of trim with double sided tape to affix to the edge of the opening INSTEAD of the factory U-grooved friction fit rubber trim that came on the car.
I sent it back, it was cheap POC. I used the old strip then with thumb and forefinger squeeze/pinched the old black "U-grooved" trim which ended up creating a tighter fit when put back on, and no longer drops when glass seats it self when closing....
Figured I'd add this so folks don't get dooped into buying the poorly made
superseded part from MINI, better off with original piece folks!....
A hailstorm just took out our rear sunroof, just got an $1100 quote just for the labor. If I read this right, the swap isn't hard, just time consuming. Anyone want to weigh in for this being a 1 day driveway job?
We are going to have to reglue some fabric that was their prior to the sunroof, but the shell in intact (at least prior to taking it out). Thanks for the writeup, looks like I have a weekend project ahead.
I guess I am going to take Gray Raven's advise about reusing the seal, will just have to go slow and steady.
Though I have an R52 and it doesn't directly help me I do appreciate additional content that will help the group. Most are putting content on YouTube, which would be fine also.


 Installation is the reverse of removal