When you click on links to various merchants on this site and make a purchase, this can result in this site earning a commission. Affiliate programs and affiliations include, but are not limited to, the eBay Partner Network.
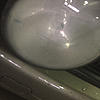
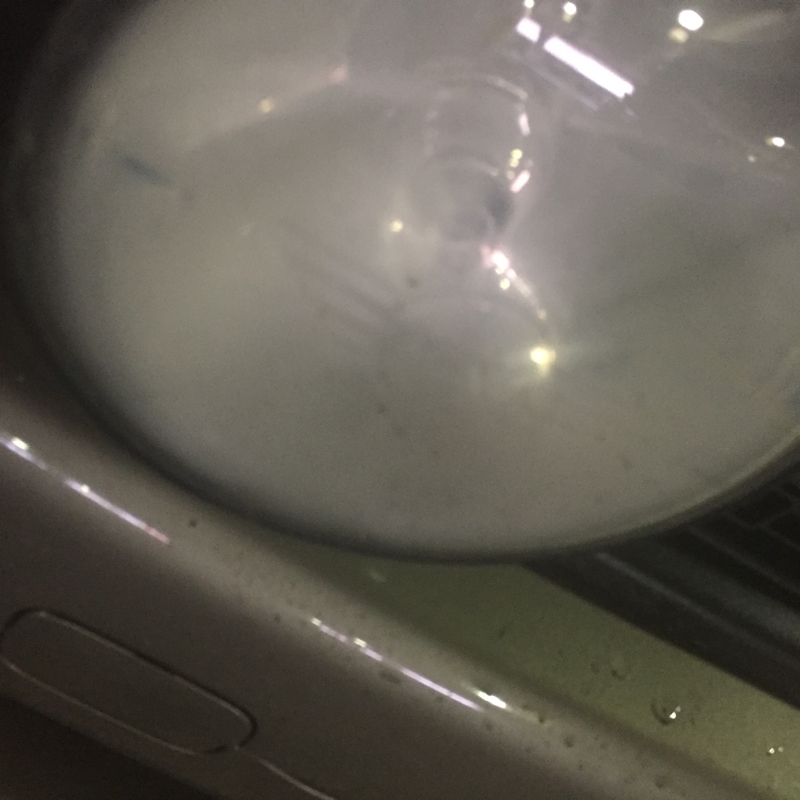
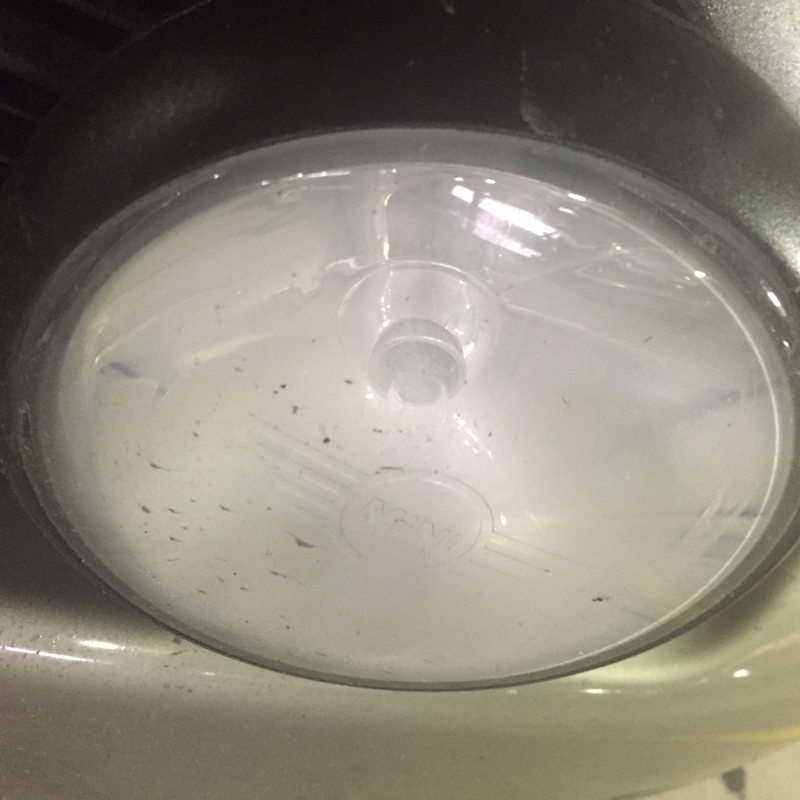
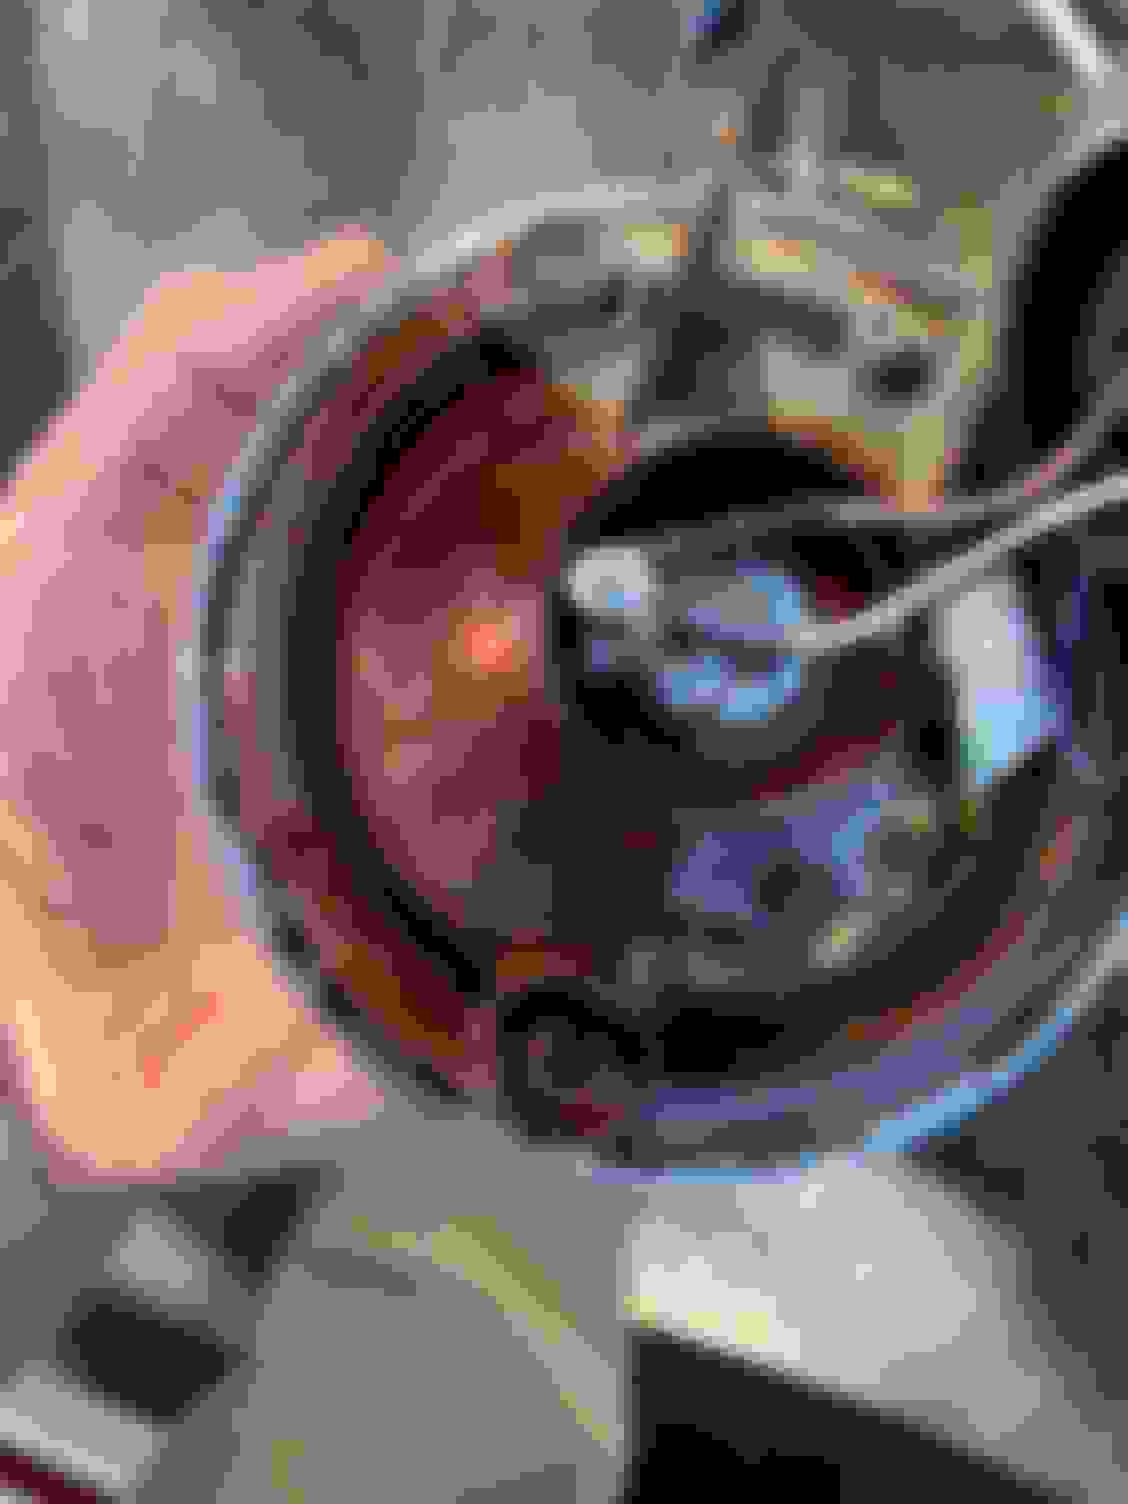
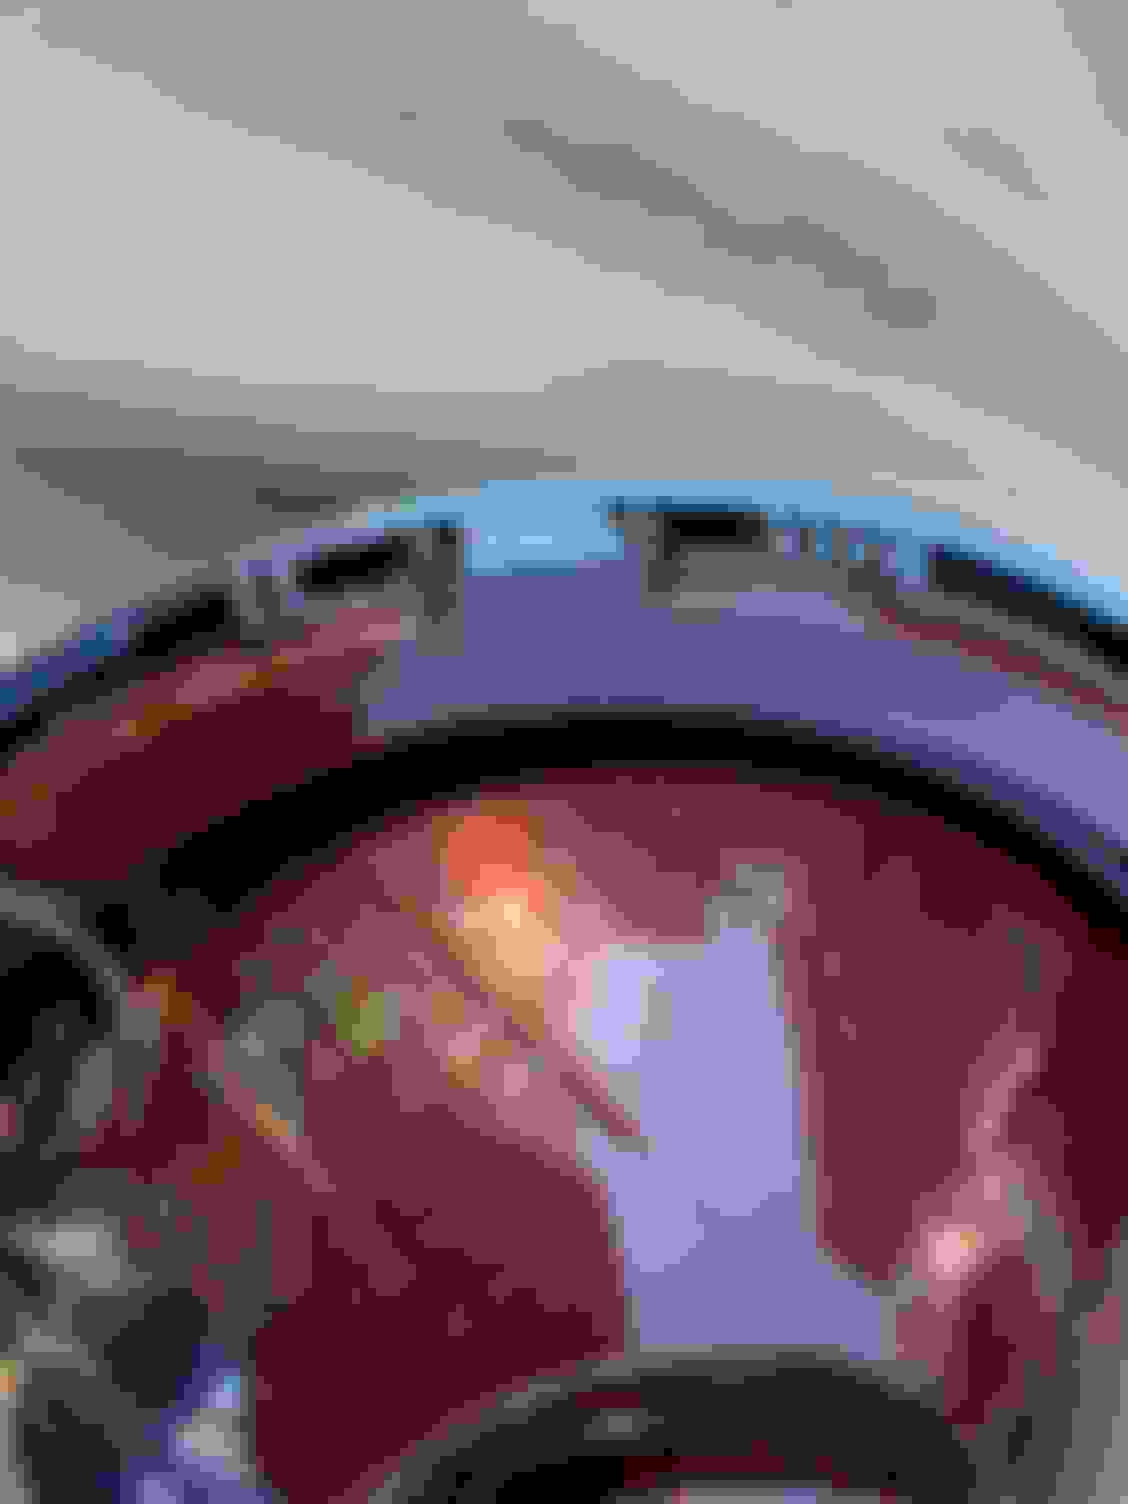
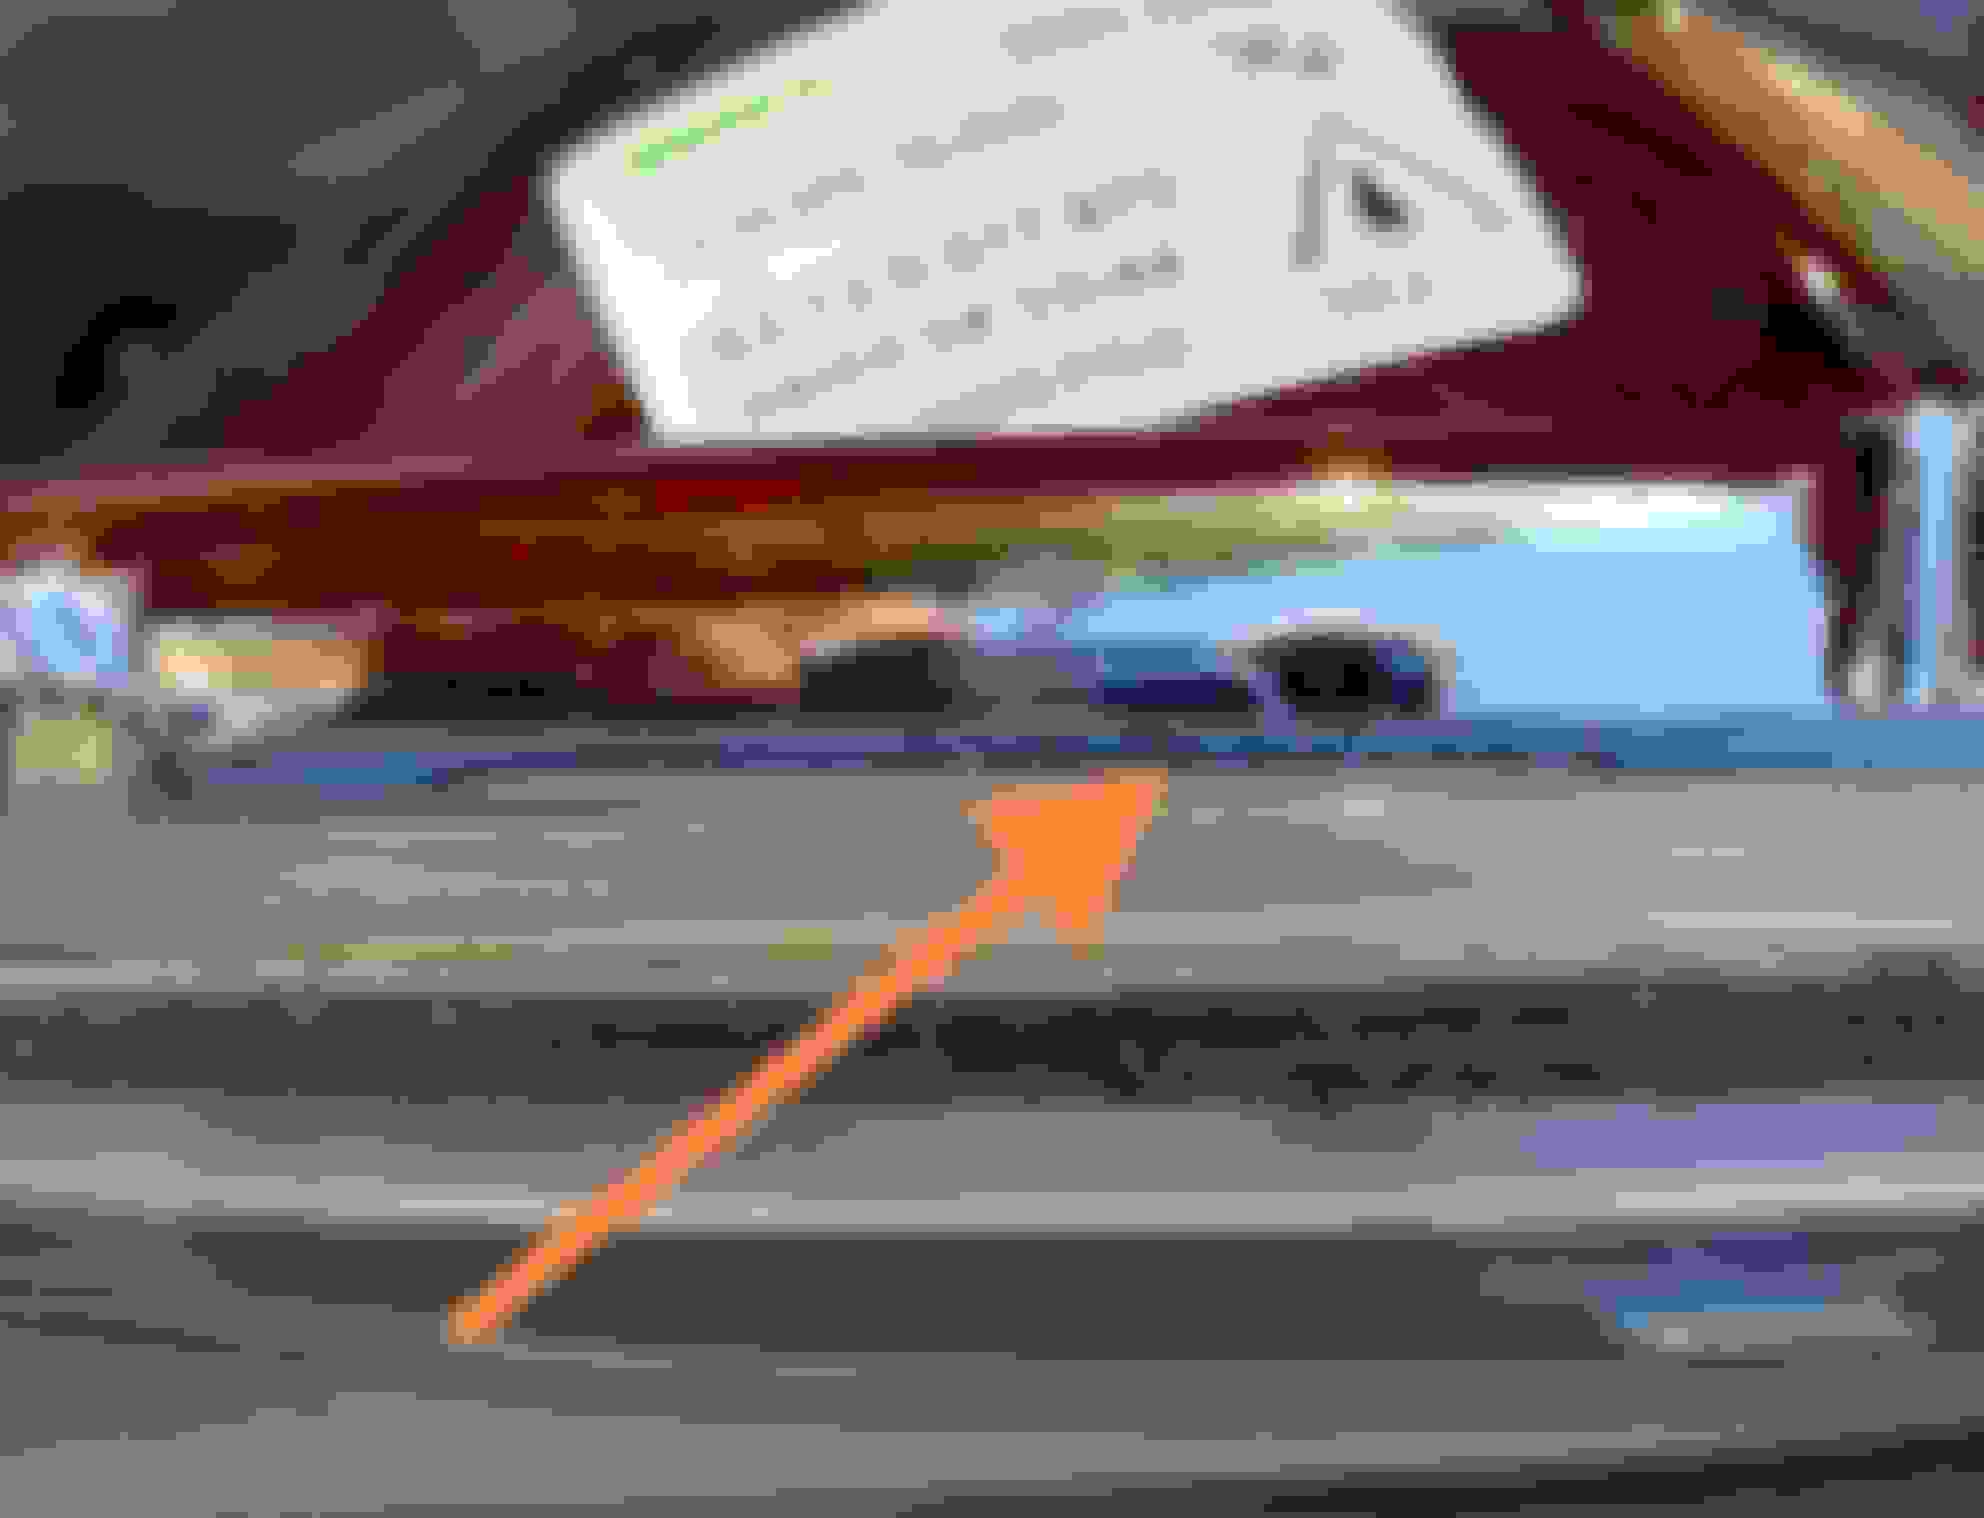
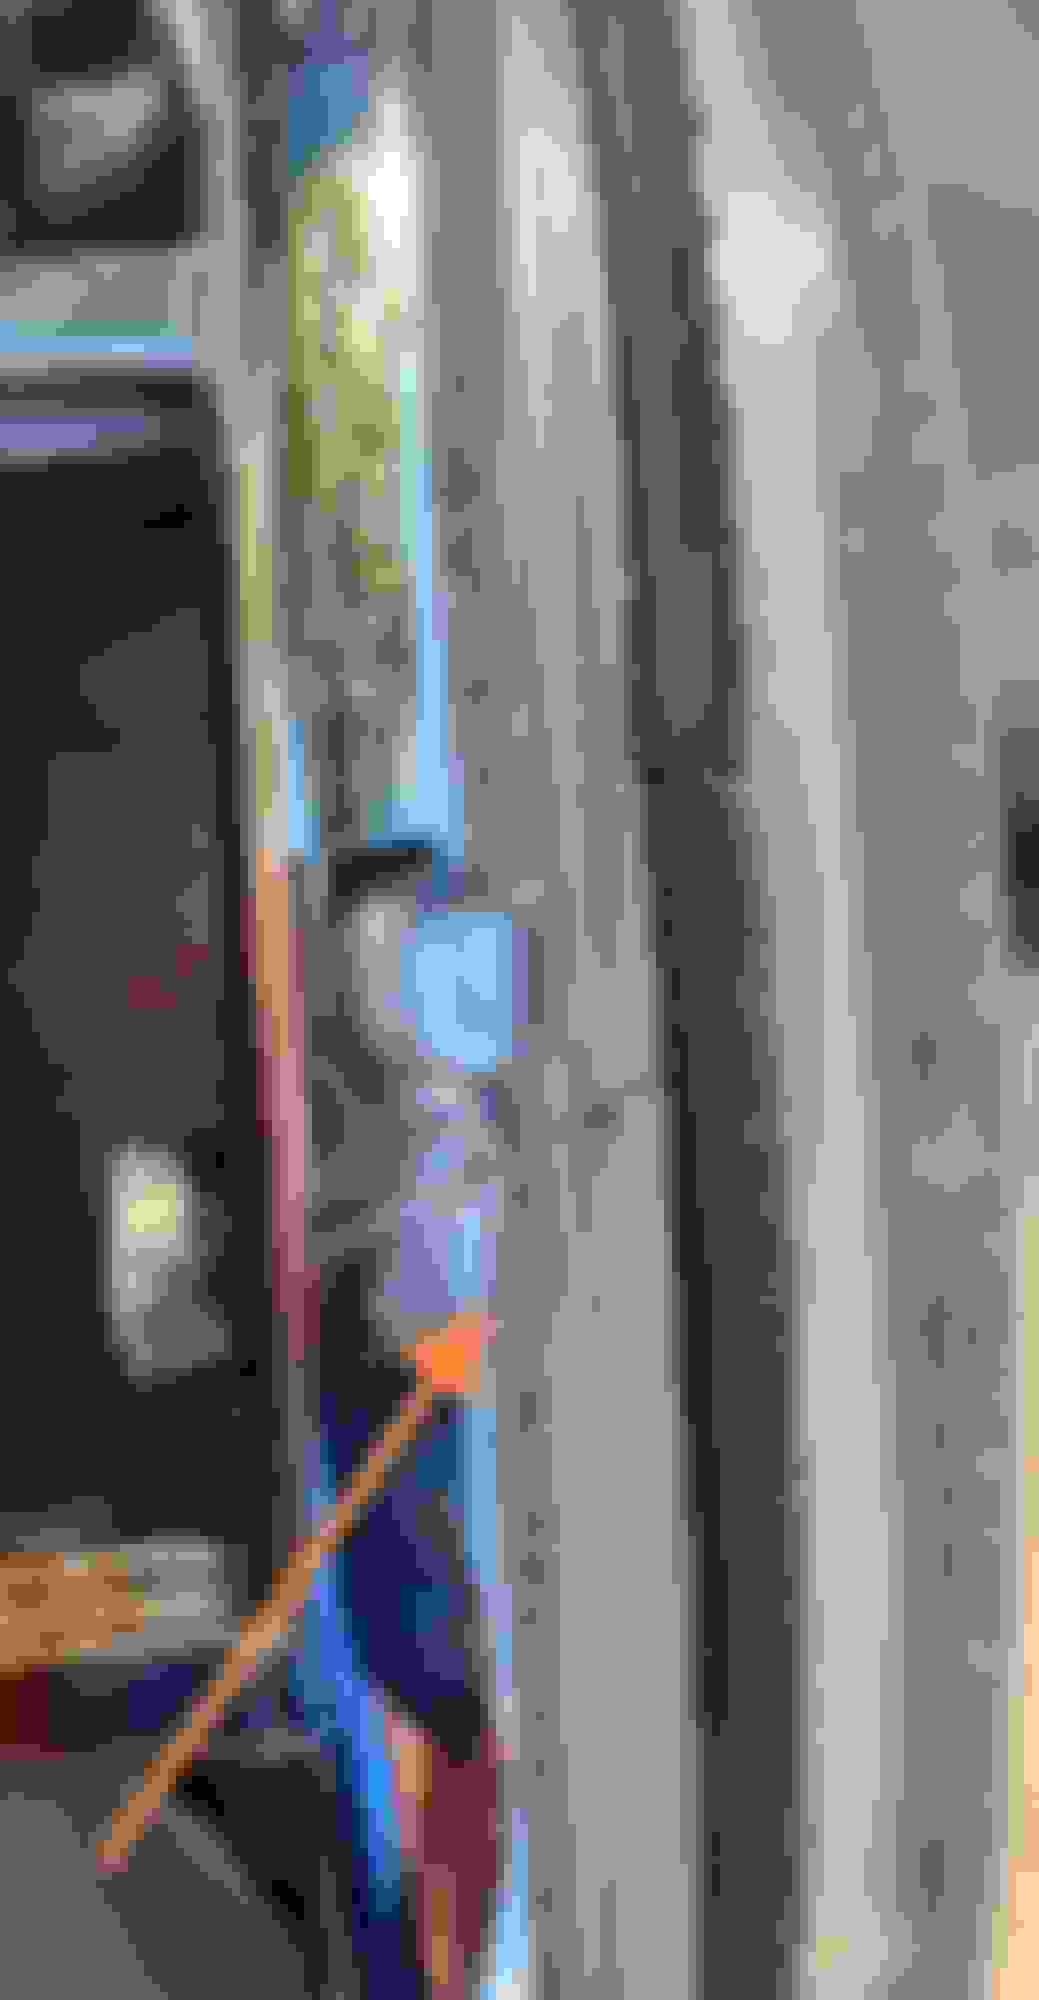
I was walking up to my r56 and noticed something weird about my rally lights. They look really hazy/cloudy. It's on the inside of the light assembly but it's not condensation. It almost appears like the plastic is burnt? I haven't had any aftermarket bulbs or anything installed.
Not sure about the OEM lights but if they are glass I doubt they are burnt. From the photos to me looks like total condensation. Can you take it apart? I guess if it is indeed condensation turning them on for a while will change thickness of the condensation once the bulb heats up, do you notice anything once they are hot?
Not sure about the OEM lights but if they are glass I doubt they are burnt. From the photos to me looks like total condensation. Can you take it apart? I guess if it is indeed condensation turning them on for a while will change thickness of the condensation once the bulb heats up, do you notice anything once they are hot?
I am going to run them while I drive around today and see if they'll dry out.
You can DIY this if you can crack the old glass out, clean out the seal , replace the glass and reseal with silicone. That's the job. Otherwise any glass place could be this.
My rally lights are similar in condition, not quite as bad as pictured. I've attempted to disassemble the housing. I'm not sure how to pop the retaining ring off without damaging something. Thus I'm holding tight until I can come across a procedure to disassemble the light housings.
I put my rally lights on and they have been covered since day one. I like the way they look covered and the xenon lights are so bright, I don't need any extra lighting. My lights are hazed too and it is not from any leak. I think it is from the plastic inside. I have mine off while I replace my transmission and before I put them back on, I'm going to remove the lenses and clean them. I think they are just dirty like windows get on the inside of a car.
They are sealed, thats just gets you to the back connection of the housing to sealed beam.
Yes. I realize that but those instructions show that there is a T10 torx screw on the back. Once you are able to separate the two plastic outer coverings, you can manipulate the clips to remove the front piece.
I just did this and the silicone seal is no joke. I'm not sure how you're supposed to break that seal. I had to reassemble everything and leave the inside of the lens streaky.
3 years later and I have the identical problem with haziness on the inside. I’m going to pursue removing one and seeing if I can get to the inside of the glass. It appears that a seal has broken to me. Suggestion of running with the rally lights on is valid. May or may not work.
Post back if you succeed. One of mine shattered on MTTS, so I just replaced both, but would rather not do that again and I'm sure the haziness will come back in time.
Started working on this today. Get all the way to the glue but had to stop for the day.
I'm going to try to put the assembly into a warm oven (the lowest setting I have is 170F = 77C). I prefer that to the heat gun if I can get away with it.
And, just for the record, it isn't silicone if it softens with a little heat. Silicone cures and resists temperatures over 400F, 500F, etc. Would be good to know what sealant it is.
The general process was very easy - remove the two mounting bolts (left and right side) that hold the rally light to the mounting bracket (5mm allen key I think).
Then remove the T10 torx screw holding the back cover on - that lets you separate the two halves.
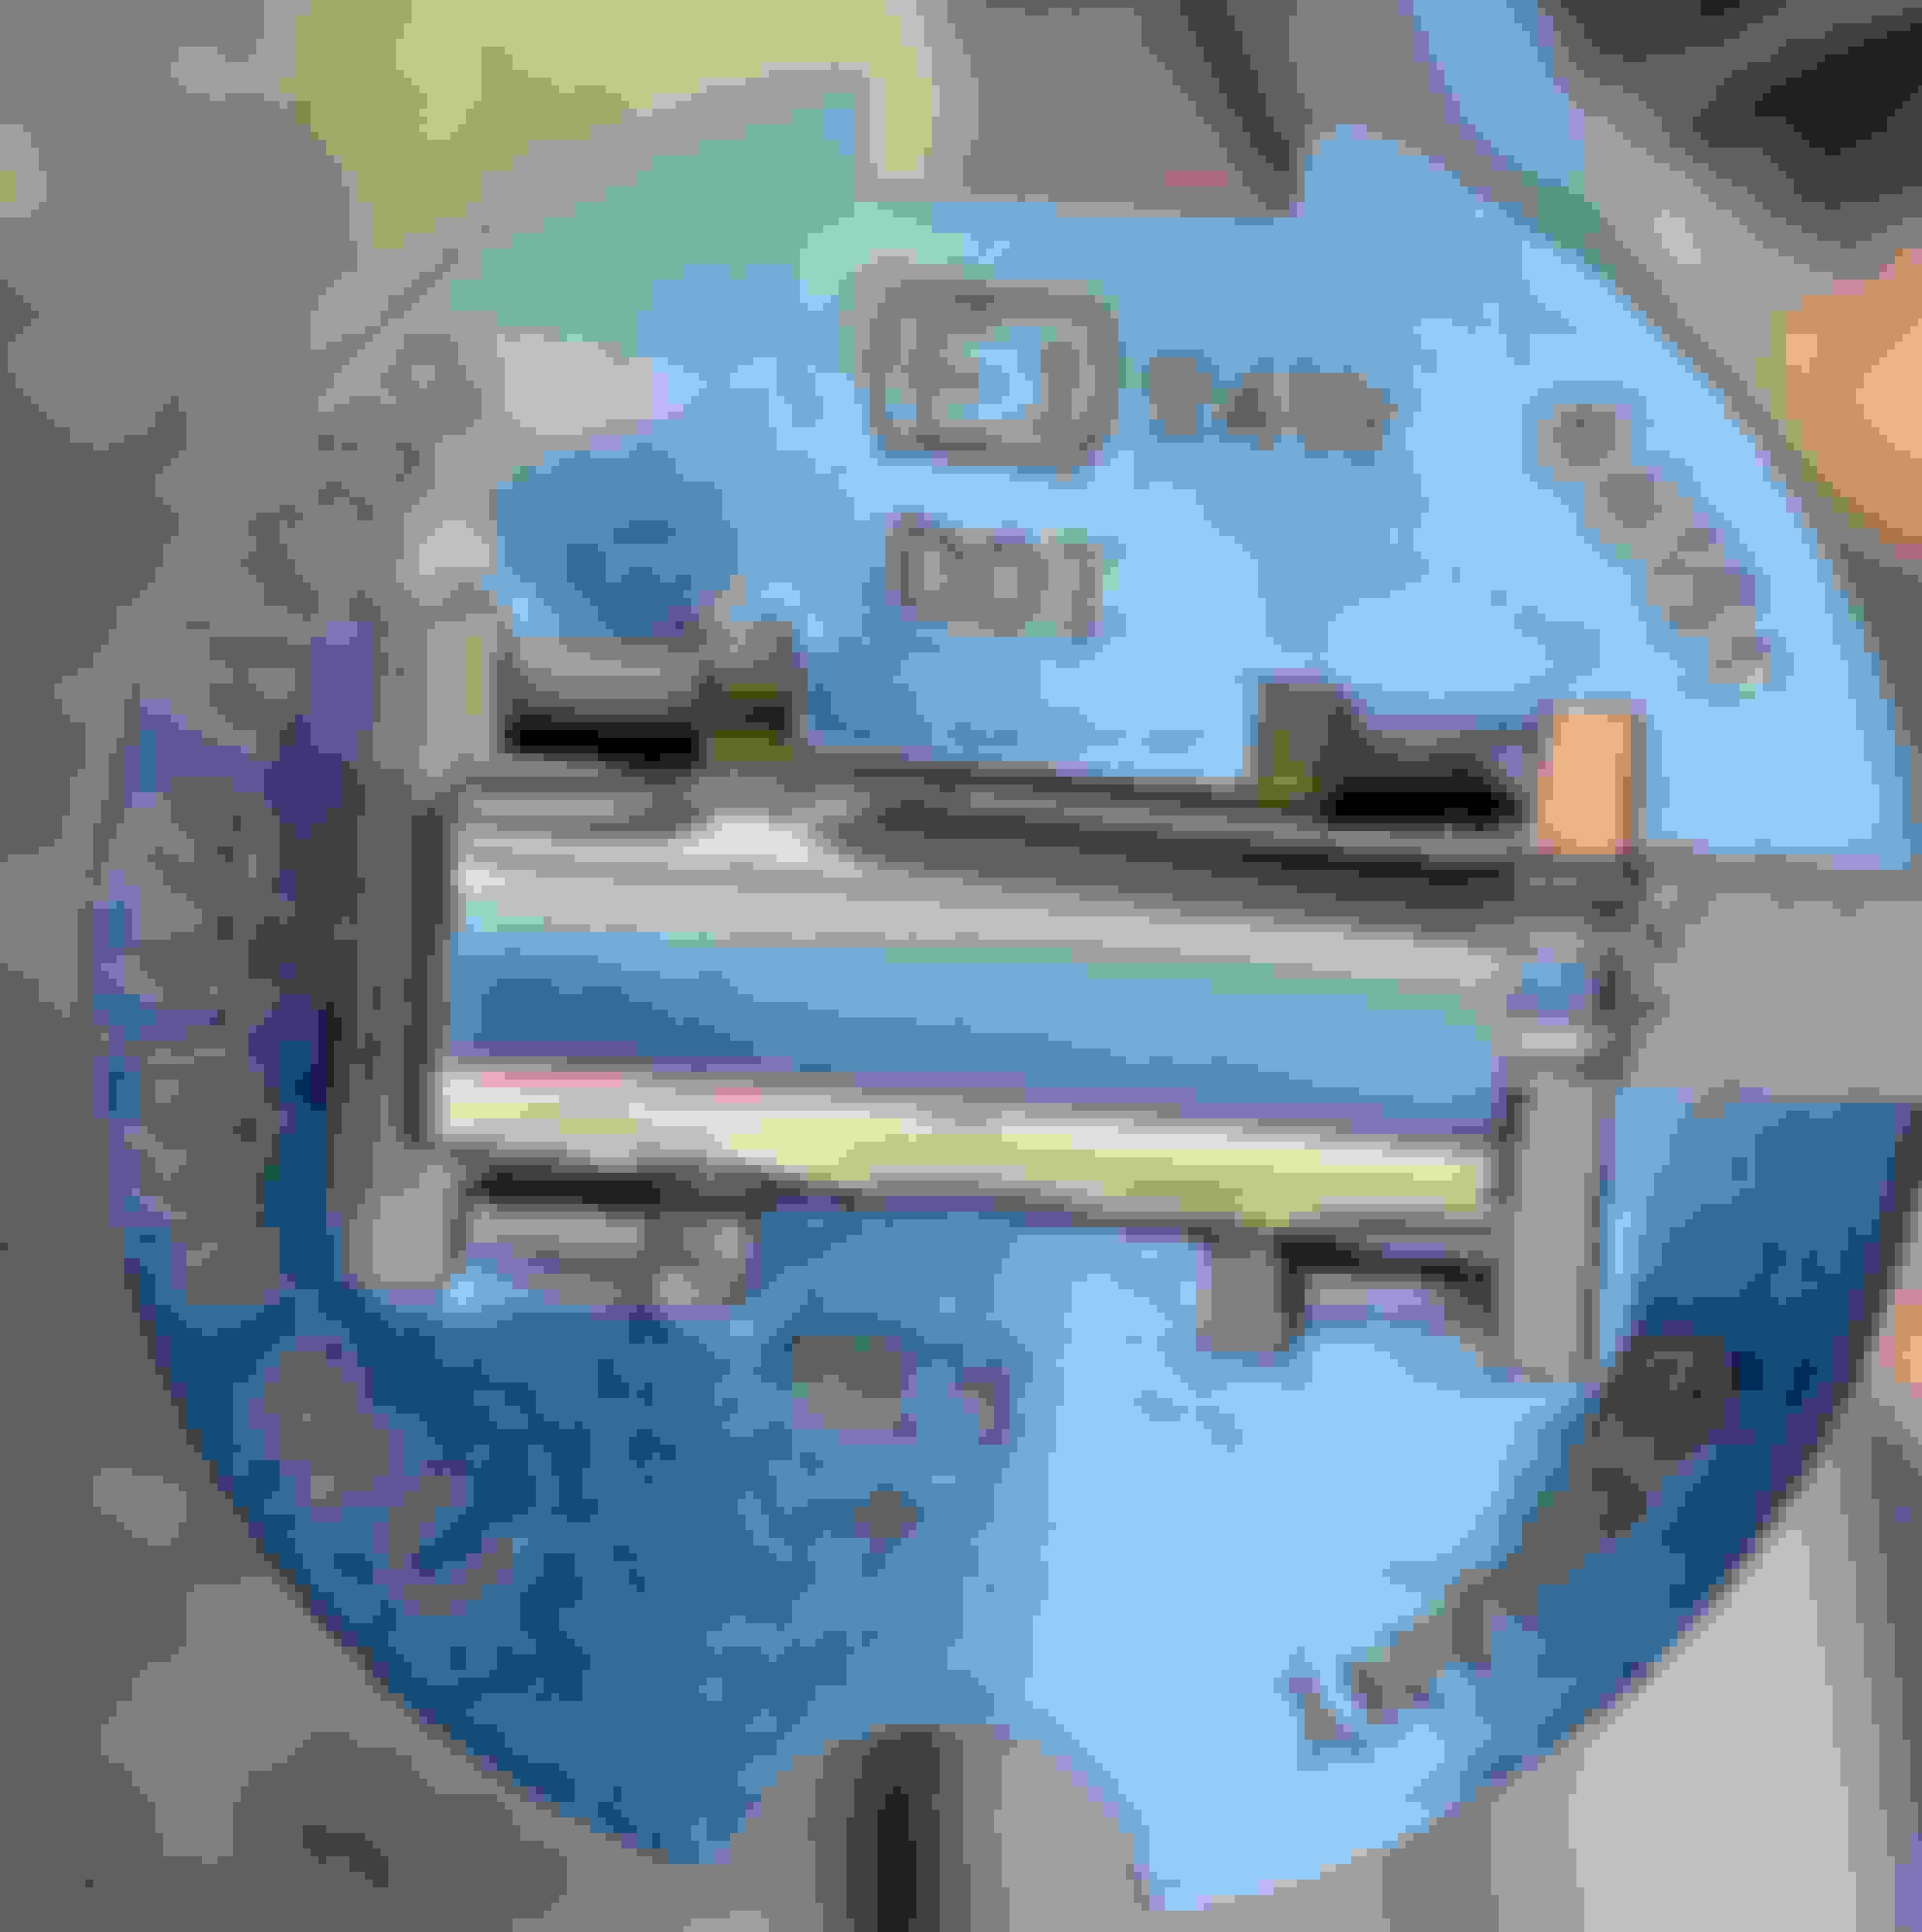
Then loosen the rubber cover for the wires, and unscrew a torx security screw that holds the bulb in place (and the ground). The front half can then be removed from the car completely. The bulb is an OSRAM 64151 (55W H3)
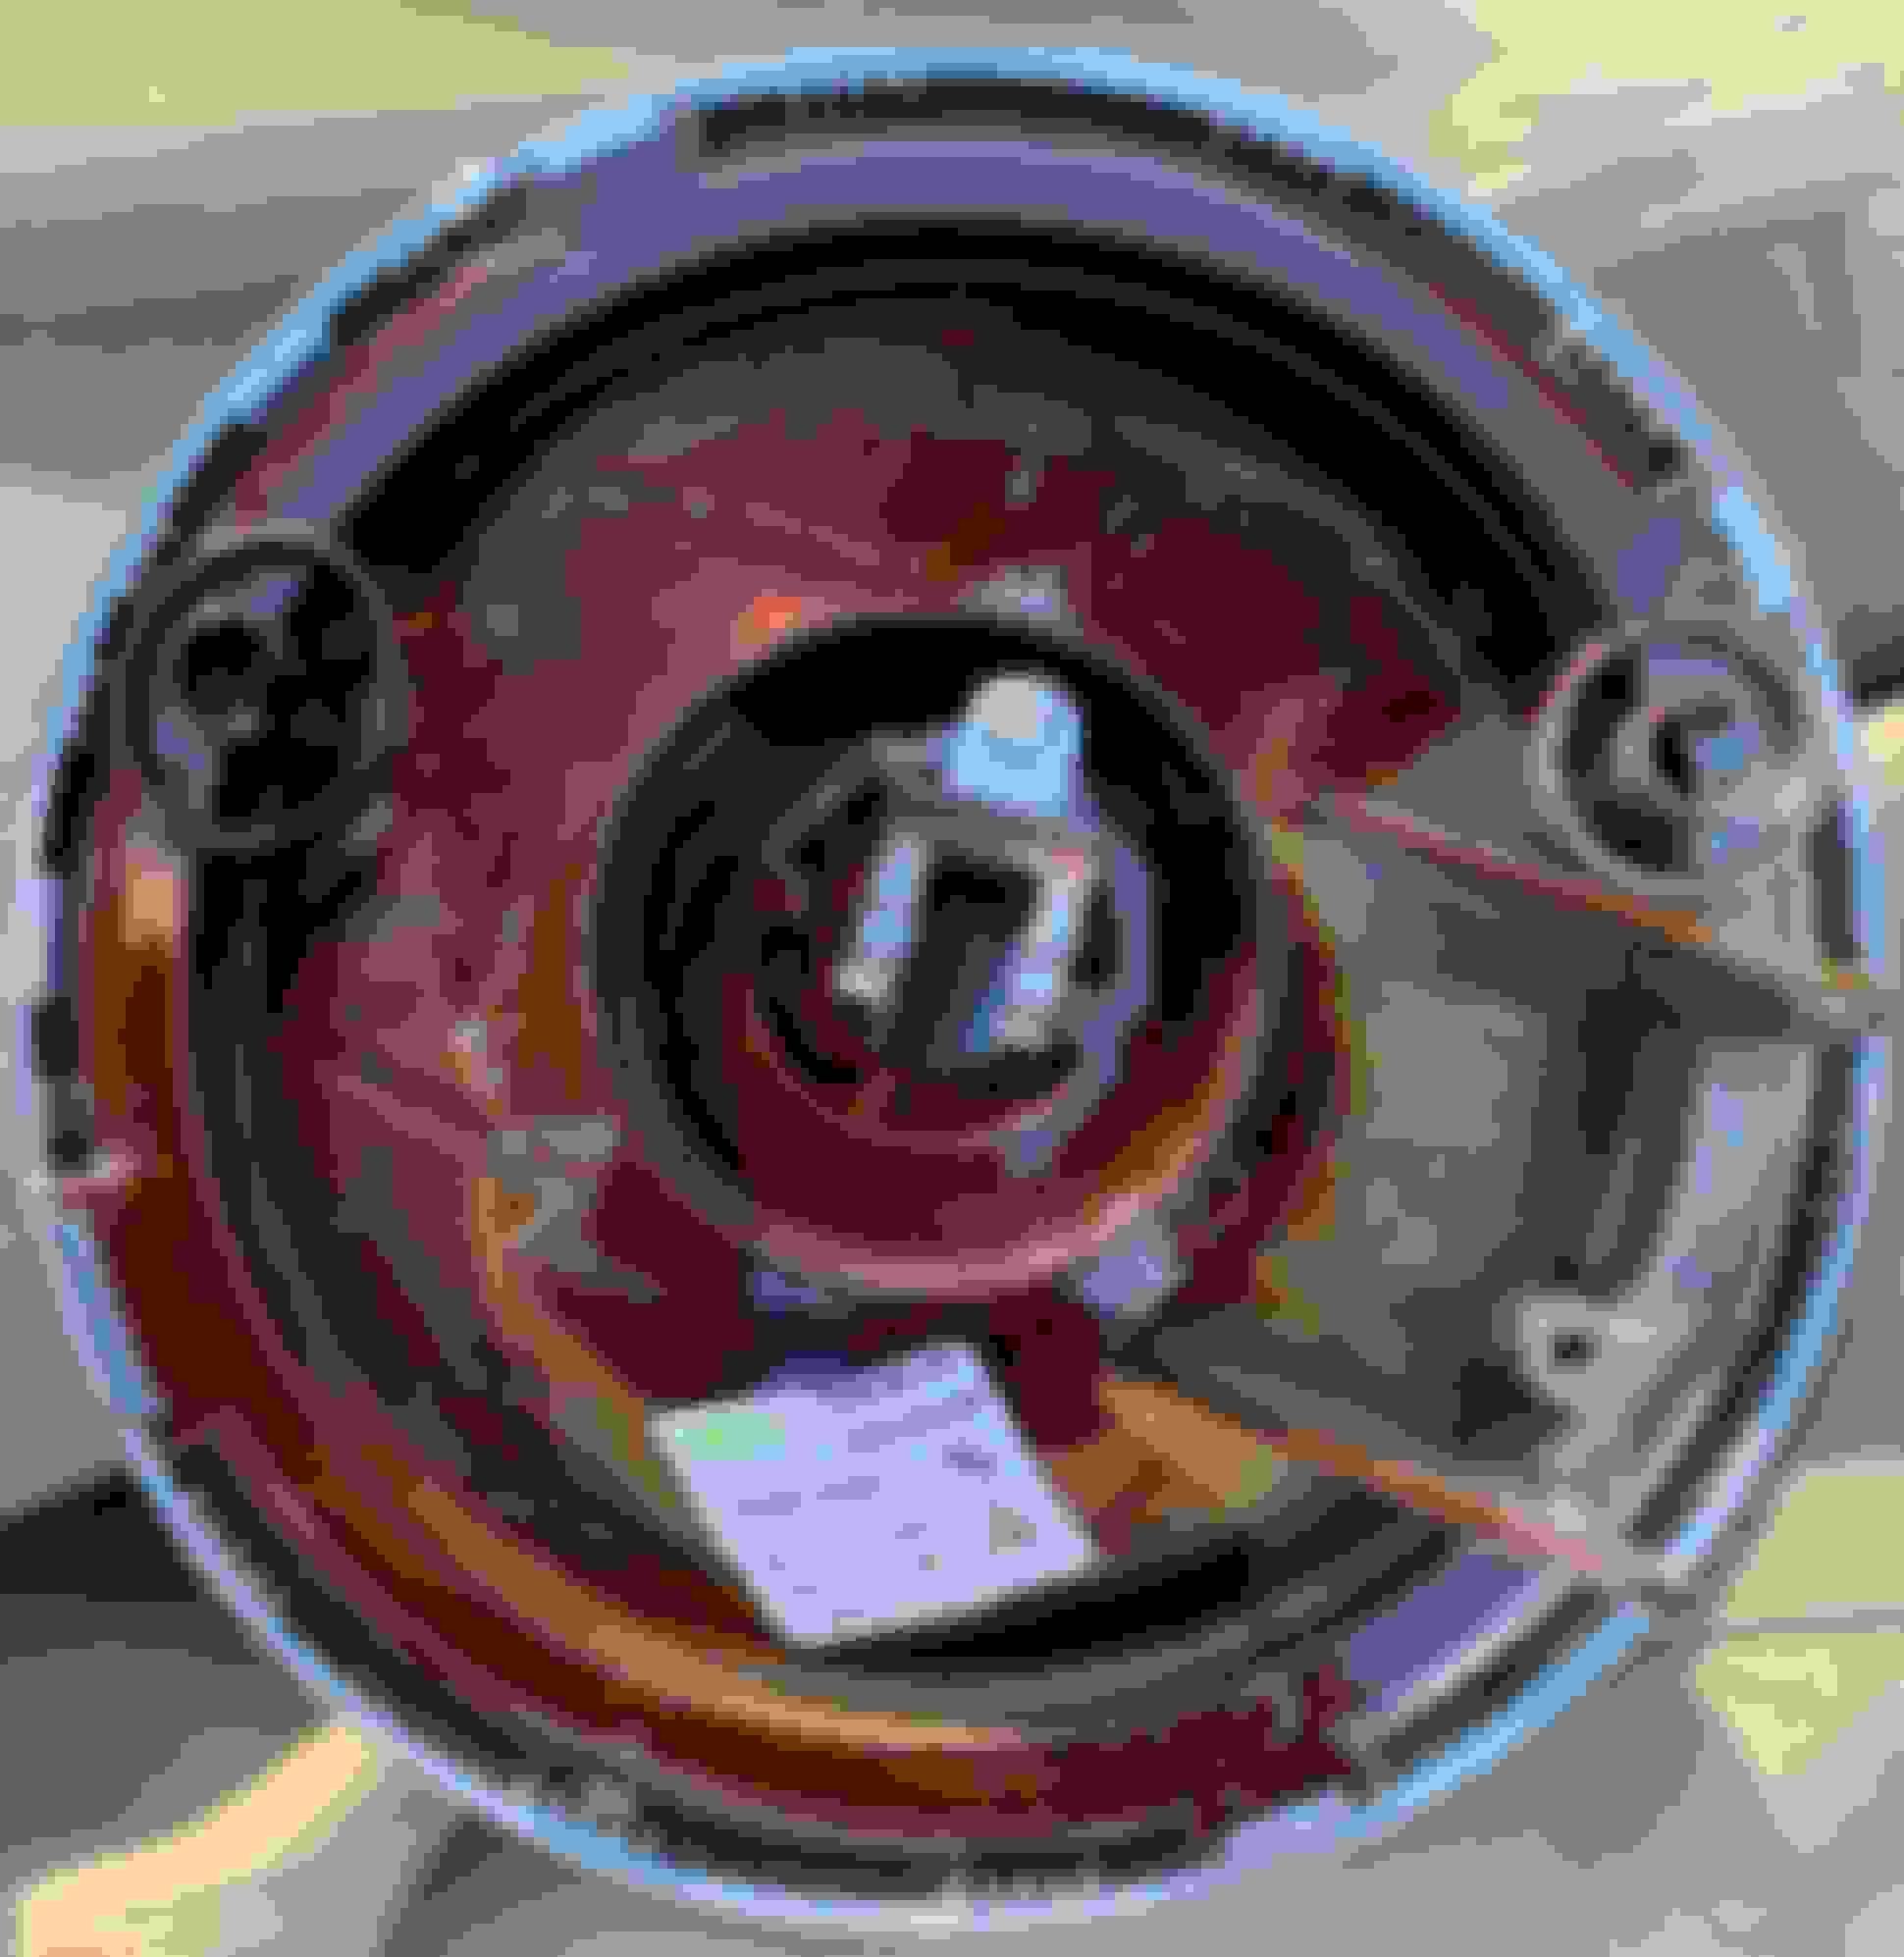
There is another plastic piece that unclips with four tabs around the perimeter, revealing where the glass is glued to the rear reflector (which feels like metallized glass). I think these two parts should be fine in a 170F oven and soften the glue enough.
Haven't tried it yet, but think there is enough room to fit an H3 LED bulb to replace the halogen H3. Will try to get one and test fit it.
I tried the headlight opening oven trick (to open butyl sealed headlights) at 200F for 10 mins and then 250F for 10 mins and the adhesive didn't budget at all, so likely it really is silicone and not butyl. I don't think heat will work, and convinced the back half is plastic, not glass, so not sure how hot I can go. Valeo headlights are supposedly the hardest to open, and this is made by valeo, so perhaps it would soften at higher temps if I had the courage...
Tried another approach that seemed to work - you can clean the inside of a wine decanter by putting a spoonful of uncooked rice inside with soapy water (dish soap - low residue) and swirling it around. I did that and it seems to have scrubbed all the haze off from the inside. Rinsed it repeatedly to get the soap and rice out. Was a bit of work getting all the rice out through the little bulb mounting hole, but the whole washing routine was done in about five minutes. The last two pesky grains of rice lifted out with a q-tip.
Blew the remaining water out with compressed air and then back into the oven at 200F to dry it thoroughly.
So, if you are just worried about the haze on the inside, I think you can get away with dismantling it, cleaning it, and putting it back together without replacing the glass lens.
Will post before and after shots tomorrow when its all cooled down.
I was a little worried about the metallization, but it seemed to be unaffected. Will know better tomorrow when I can inspect it after it cools down.
Last edited by David.R53; Sep 20, 2020 at 08:19 PM.
To save a lot of energy, you might consider just replacing the OEM lamps with something better.
A pair of Hella 500 driving lamps is around $75, fit the OEM brackets & most auto stores carry them.
LEDs vary enormously in quality. They are liable to work better in a projector-style mounting - in a reflector, I suspect there will be a lot of glare & not much usable light. I'd be interested to know your experiences.