
R50/53 Oil filter wrenches


Thread Starter
|
3rd Gear
Joined: Mar 2016
Posts: 188
Likes: 6
Oil filter wrenches
Does anyone have pictures of what they use to remove the oil filter cover with. I have a cut down 36 mm socket and a 1/2” breaker bar, but it is a pain in the butt. There has to be a better way.


2nd Gear


Joined: May 2018
Posts: 81
Likes: 10
This is the best way:
https://www.amazon.com/CTA-Tools-257...gateway&sr=8-3
Many makers, but this is what it should look like!
https://www.amazon.com/CTA-Tools-257...gateway&sr=8-3
Many makers, but this is what it should look like!

5th Gear
Joined: Oct 2016
Posts: 985
Likes: 97
From: Atlanta Georgia
This is the one I use:


__________________

MINI Guru/ MINI Owner Since 2004 | NEW Lifetime Part Replacement | Local Pickup
Milltek | Genuine MINI | Forge Motorsport | NM Engineering | ECS Performance | M7 Speed
Customer Service Hours: 8am-8pm EST|Sales Team Hours: 8am-11pm | SAT 10am-7pm 800.924.5172
MINI Guru/ MINI Owner Since 2004 | NEW Lifetime Part Replacement | Local Pickup
Milltek | Genuine MINI | Forge Motorsport | NM Engineering | ECS Performance | M7 Speed
Customer Service Hours: 8am-8pm EST|Sales Team Hours: 8am-11pm | SAT 10am-7pm 800.924.5172
6th Gear
Joined: Jul 2018
Posts: 2,360
Likes: 753
From: DFW, TX
Trending Topics

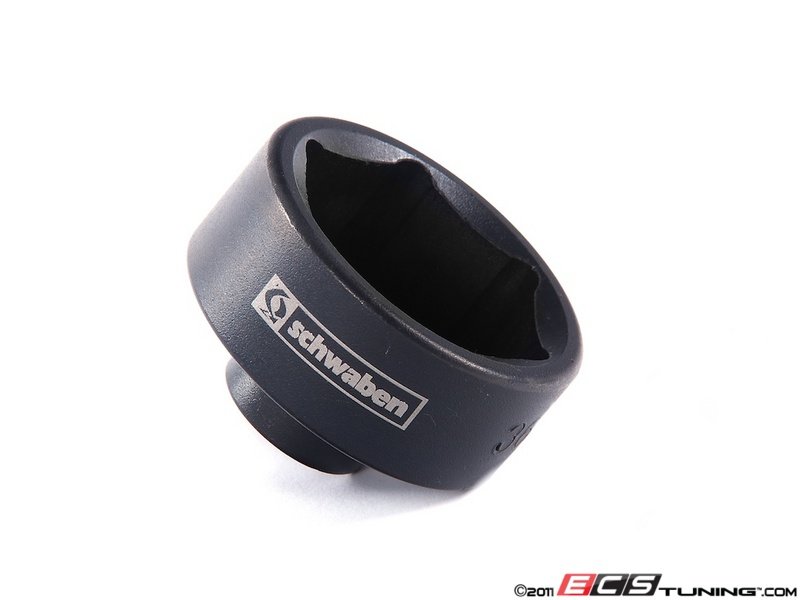
I have the Schwaben shown in the ECS post. Works great with a Craftsman 3/8 drive ratchet. If you think that its a pain in the rear to get it off, wait till you try to put it back on with a new filter fitted. Sometimes I find it easy peasy, other times it is a right royal PITA. Be careful not cross thread the cap on the housing. I always use a small dentist-style mirror to check that it is going on evenly. Torque to 18 ft/lbs.
https://www.northamericanmotoring.co...ilter-cap.html
https://www.northamericanmotoring.co...ilter-cap.html
2nd Gear
Joined: May 2018
Posts: 81
Likes: 10
i have the schwaben shown in the ecs post. Works great with a craftsman 3/8 drive ratchet. If you think that its a pain in the rear to get it off, wait till you try to put it back on with a new filter fitted. Sometimes i find it easy peasy, other times it is a right royal pita. Be careful not cross thread the cap on the housing. I always use a small dentist-style mirror to check that it is going on evenly. Torque to 18 ft/lbs.
https://www.northamericanmotoring.co...ilter-cap.html
https://www.northamericanmotoring.co...ilter-cap.html
5th Gear
Joined: Oct 2016
Posts: 985
Likes: 97
From: Atlanta Georgia
I originally tried it with a 36mm and wobble extension, still was harder than it needed to be. I just ordered the specialty socket, easy peasy... .


OVERDRIVE
Joined: Jul 2006
Posts: 7,037
Likes: 283
From: Melbourne, FL
ah, the memories ..... bought my first S in 2002 and hence became one of the early birds to DIY oil changes and went thru the "what the heck will fit" dances
First bought a socket of the correct size and a new driver cuz the big socket only came in 1/2 drive ..... qickly learned loosing the cap enuf to do much, had the socket and wrench wedged against the firewall
So no problem ..... I cut down the socket .... still didn't work. Back then the word came out that the SEARS / Craftsman socket would work but I hadn't believed the brand would make a difference but broke down and bought one and it DID allow for the cap to get loose and still leave room to get the wrench and socket off.
Today's sockets like the Schw' pictured are better yet .....
Having been doing GEN1 oil changes since 2003 for myself and others I'll offer a couple of hints / lessons learned
when removing the cap .... first, pack the area around the cap with rags or paper towels to catch any potential spills. It is nice to keep spills away from the control arm bushings especially if you still have rubber. Long term exposure of rubber to oil & heat is not a great thing .... then get the cap loose enuf to break the o-ring seal but let it sit for a minute before you actually remove the cap ... this allows oil caught in the filter to drain down - there is usually a vacuum lock holding oil in the filter can (if you don't do this you can get a mess spilled out of the cap hence the rag pack)
when putting things back together I find a firm grip helps and that cap is smooth ... wearing a disposable rubber glove gives me a much better grip. Then when you get the cap (and filter) situated and begin to screw it on PRESS DOWN FIRMLY. The assembly fits tight and resists going together but I've found that firm down pressure while turning the cap gets it seated easy and then I can feel when the rubber o-ring begins to engage ..... and then I can never seem to get the cap fully seated without applying a wrench (contrary to the usual rule of thumb for an oil filter being just hand tight)
IME more torque then the recommended # is usually required just to get the cap flush to the housing so I'd be cautious about pulling that out too soon in the process.
Even tho I don't own a GEN1 anymore I have friends that do and have opened my garage and tools to folks not so fortunate (apartment dwellers mostly) so I still play with a few . .

4th Gear

Joined: Jun 2008
Posts: 532
Likes: 28
My last oil change (only my second on the R53), I struggled getting the housing to go down far enough to engage the threads at all. What helped is taking the filter element and pushing *cough*forcing*cough* it down on to the feed tube on the engine first, then pulling it if and inserting it into the housing as usual. It stretched the fabric of the filter’s hole enough to allow it to go on a little easier. I was surprised that the hole was so small, and posted a question about whether I’d gotten the right filter. It was really hard to put into the engine, and into the housing. Doing a little “pre-stretching” helped.
As for removing it, I’ve done it was both the shallow sockets shown above, and using a pliers-type oil filter tool (my preferred wrench after many years of using others) and the socket was by far the easiest.
As for removing it, I’ve done it was both the shallow sockets shown above, and using a pliers-type oil filter tool (my preferred wrench after many years of using others) and the socket was by far the easiest.

Thread
Thread Starter
Forum
Replies
Last Post
ECSTuning
Vendor Announcements
0
Nov 14, 2013 06:47 AM