When you click on links to various merchants on this site and make a purchase, this can result in this site earning a commission. Affiliate programs and affiliations include, but are not limited to, the eBay Partner Network.
I have two spots on my wife's 2006 Cooper S R53. I pulled the taillight out to inspect and sure enough it's rusting right through the folded seam.
I think I might be able to sand/grind away the rust and build it back up with bondo. That's not an area of strength and I think Bondo should be able to do the trick.
Of course the 12 year rust warranty is over now so that sucks for me.
Anyone else tackled this problem? Any suggestions on products to use? I'm thinking of ordering paint from www.paintscratch.com and also considering spraying some kind of undercarriage coating after painting.
I have the same issue. For the record, I took mine to Mini last month as my build is 10/2006. They just got done trying to get another guys Mini covered, but they made the rules so tough not many were successful. You basically had to have had all services done on time by Mini from new to be approved. I just acquired the Mini and few records of service at Mini.
Please keep us posted on how you fix it. I periodically see the tail light section cut out on Ebay by salvage lots. They seem wise to the issue.
I guess the dealer replaces the entire quarter panel. I'd think a small amount of filler may be a better route and less invasive.
What causes the water problem under the door seal? Is it the seal itself? Curious, before I spend $600 for new door seals. I noticed a lot of slime under the seals in the lower section and a the start of some rust top of the spot welded joint. About 1/4 inch section. I guess I’m going to have to take it to a body shop and see how much it will cost to fix the rust before it grows into a problem.
Rust occurs because water enters into the taillight area and gets kind of trapped underneath it. Eventually it managed to penetrate the folded over sheet metal that was simply painted over. I think if Mini had put some rubberized coating or a sealant there this wouldn't be an issue. I think I've caught it sort of in the nick of time because it looks like it's just started to push through the paint. I've worked with bondo on wood and it was really amazingly straightforward. Given this is a relatively small area I think I will order some products.
One thing I'm not entirely convinced on is this rust converter stuff - it supposedly transforms the rust into a paintable primer and prevents further rust from developing. If this stuff really works I can see how it could be super useful underneath the car - I can see my control arms and subframe showing signs of rust as well.
And yes, I checked the door seals and they look fine. This is a much bigger problem.
What causes the water problem under the door seal? Is it the seal itself? Curious, before I spend $600 for new door seals. I noticed a lot of slime under the seals in the lower section and a the start of some rust top of the spot welded joint. About 1/4 inch section. I guess I�m going to have to take it to a body shop and see how much it will cost to fix the rust before it grows into a problem.
There are a few different theories, but sadly, I don't think there has been a consensus on what the actual cause is, so it's really sort of unknown what kind of solution would work best in the long run.
I did some proactive preventative work on my 2006 GP today (not the wife's since she drove it to work).
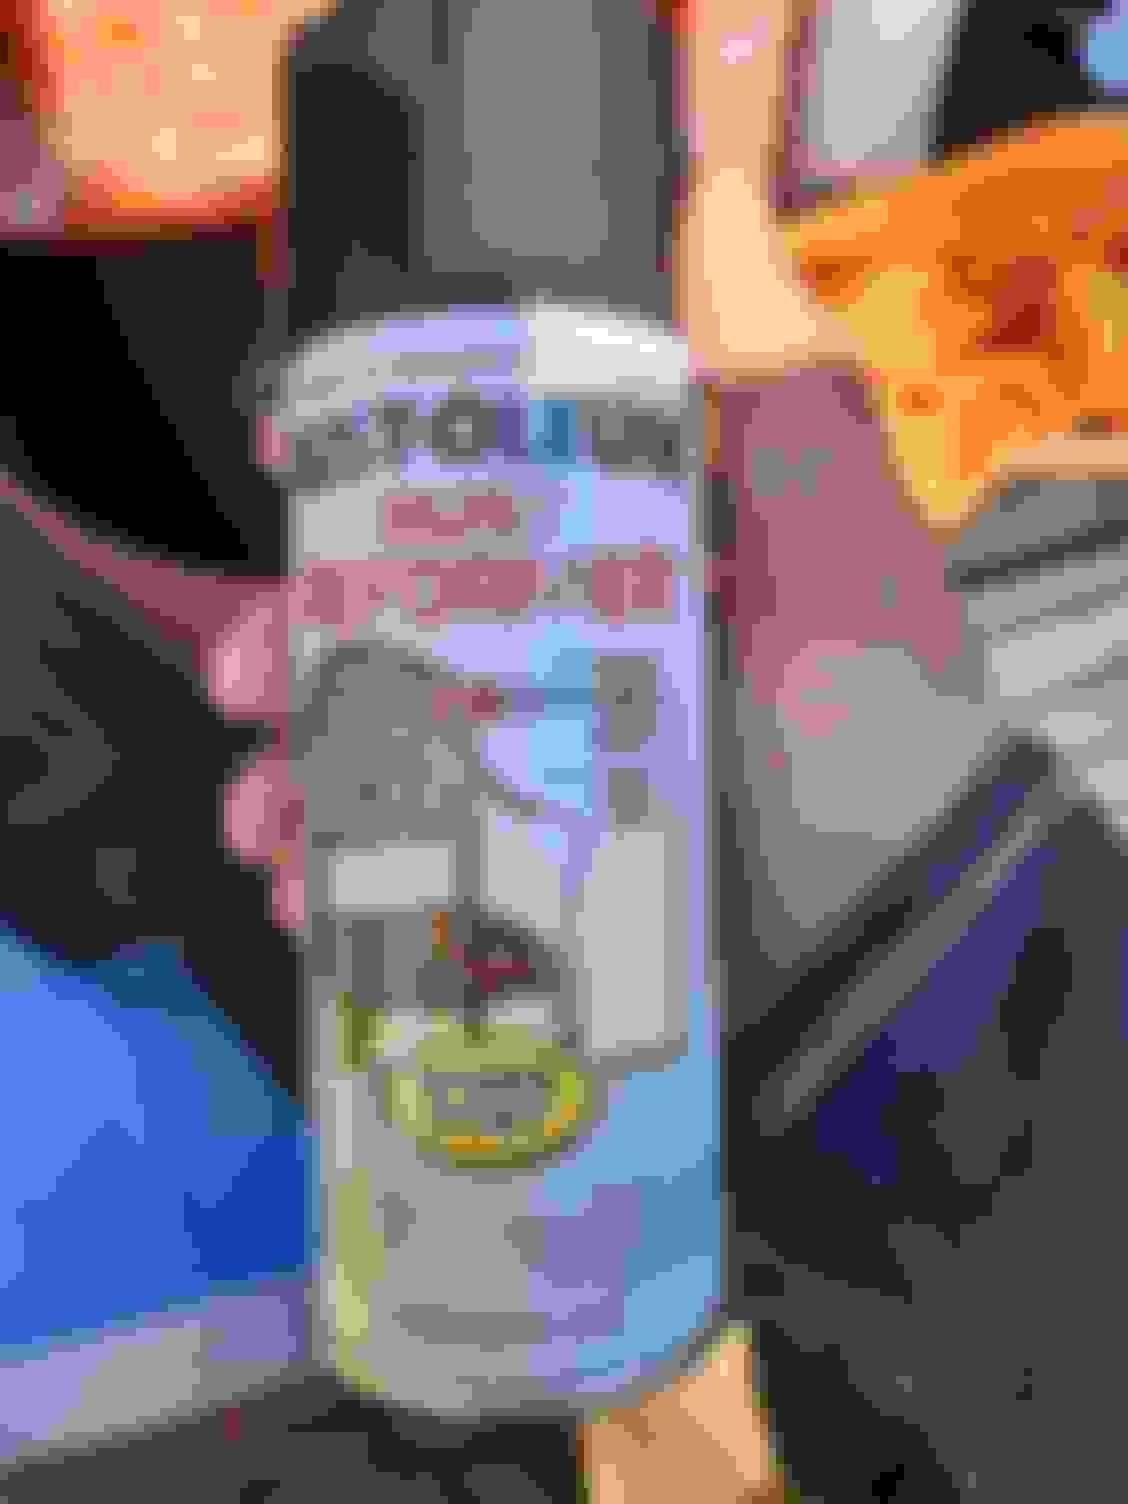
I took out the taillights, used a stiff wire brush, scraped away what I could. I didn't see any rust in the seam but just to be safe I sprayed some Rust-Oleum Rust Reformer I got from Home Deeps all along the seam and up a bit on both sides. Let it dry in the sun and since it's going to rain tomorrow, I decided to top coat it with Rust-Oleum LeakSeal Flexible Rubber Coating.
I took this opportunity to look at the door sills and the driver side was pretty clean - maybe a spot or two - but the passenger side had some rust as you can see. I must have spray painted it before as a band-aid but obviously that did nothing. Scraped the whole sill down as there were quite a few spots on the passenger side and did the same procedure.
So a few things I noticed:
1. The rubber flex seal is pretty runny and it's really easy to make a mess. Make sure to tape up the bumper like I did - I had splatter that would have annoyed me to no end had I not taped.
2. The rust reformer goes on super smooth.
3. Make sure to check the INSIDE of the taillight through the cavity in the boot. I found this out the hard way when I went to plug the connector back in I noticed a spot of rust right at the bottom of the corner at the backmost part of the car. I will have to take out the taillight, clean up the factory grease, scrape away any chunks of rust, and then try and spray some of that rust reformer blindly from the outside.
Based on what I saw I think the plan to grind down the wifey's car and then build it back up with bondo should work. Rear bumper will come off but other than that the cavity area is basically empty. If needed I can bend a piece of wire mesh to support the bondo.
I can't believe that nobody has tried to build it back up with Bondo. When I stuck my hand behind the taillight cavity there was some factory grease there for some reason. There did appear to be some water pooled as well. That will be nice and tasty to clean up. :(
I'm thinking the dremmel will probably come in handy to sculpt the bondo as well. Waiting for a bunch of stuff to come in...
Ok well wouldn't you know there was a nice sizeable chunk of rust beneath it all. Luckily the outside metal is good on the inside and the majority of the rust was sandwiched between the two sheets of metal. I ended up using a dremmel and cutting out quite a chunk of metal.
Sanded it down with 80 grit sandpaper, used a metal wire brush, ground down the tough spots with the cutting wheel, vacuumed everywhere, wiped down with brake cleaner, made to sure to plug up the rest of the body cavity with towels, and applied rust-oleum rust reformer. I think there is plenty of metal there to support the Bondo .I will tap it inwards with a hammer after the reformer dries and maybe still use the mesh. The passenger side seems ok - I will scrape down, apply the rust reformer, and spray some of the rubberized costing on that side.
i can't post pics for some reason on my phone so that will have to wait until I get back from Grand jury duty .
Last edited by LordOfTheFlies; Nov 7, 2018 at 02:01 PM.
Going to let the reformer dry overnight. It's a bit windy so I'm hoping 16 hours is enough (as opposed to 24). I need to get this done before it starts getting super cold and it's going to start raining thursday too. Ugh.
Great pics and process. I unfortunately have some rust beneath the passenger tail and the beginnings of ruts on the driver side. I have access to a welder and the tools, but after rebuilding fenders by hand on my last honda, I don't know if i have the time or patience to make it look alright on the mini with multiple bends and angles. Using the bondo may actually accomplish everything welding metal in would accomplish and hopefully not take as long. Looking forward to how it looks when you're done! Keep posting the pics!
Thanks. Your name is extremely familiar. I'm pretty sure I've either met you or I've spoken to you before on a thread or two. Heh heh.
Made some more progress. Put a second coat of the bondo glass since I had to build up to match the existing metal. Then I sanded like crazy by hand because of the curves. Used a foam sanding pad as a block for the outside parts...
Had some issues with little bubbles showing up so that was rather annoying. Put the gold filler on (note: gold filler requires a bit less hardening agent than glass as my first attempt set up in like a minute and I had to stop). Second coat of gold filler, then more sanding with 80 grit this whole time..........then finally sanded with 220, applied the glaze putty, and now it's dark and cold and it's going to rain tomorrow.....so I just used some cellophane to hack the water proofing under a car cover. Heh heh.
Having been in the market for an r53 recently after being away from MINIS for a while, I found that tail light rust was pretty much unavoidable.....was on about every car I looked at around here in Indiana (in my price range). My 06 has rust bubbling around the passenger light like yours did and there is some rust in the seam beneath the drivers side light.
i decided to have a body shop work on mine.....got a quote to have the bonnet painted (and a dent removed) and to have the rear quarter rush repaired and resprayed......$950 which I thought was super cheap......so this winter I�m going to have them do the work.
Great progress! Did you sell those engine dampeners back in the day? I think i bought one from you (still have some of the parts in my tool box)! Maybe we did some rally's as well, back when it was only 1st gens! From NJ or NY?
I am having my rust taken care of next week by a local body shop. Minimal but its there so might as well try and slow its progression a bit. I'd post an image but I do not want to hijack this thread and take away from the educational clinic LordOfTheFlies is putting on.
Last edited by Joemamasmini; Nov 9, 2018 at 06:53 AM.
Reason: attributing post to Fastlane
Thanks! And yes, the engine dampers was me. I'm in NY. I immediately thought you had a blue car (don't ask me why!) and then I just looked at your profile and sure enough IB! Hahahah that's weird. It must have been a rally! Hahaha.
Btw slightly off topic but ever since I put in the ATI Super Damper crank pulley I've found the cars (I have two 06s) have waaaaaaay less vibrations and doesn't need my damper any more. Heh heh.