When you click on links to various merchants on this site and make a purchase, this can result in this site earning a commission. Affiliate programs and affiliations include, but are not limited to, the eBay Partner Network.
Having been in the market for an r53 recently after being away from MINIS for a while, I found that tail light rust was pretty much unavoidable.....was on about every car I looked at around here in Indiana (in my price range). My 06 has rust bubbling around the passenger light like yours did and there is some rust in the seam beneath the drivers side light.
i decided to have a body shop work on mine.....got a quote to have the bonnet painted (and a dent removed) and to have the rear quarter rush repaired and resprayed......$950 which I thought was super cheap......so this winter I�m going to have them do the work.
looking forward to seeing your �after� shots!
$950 almost seems too cheap to be honest. The problem with the rust is.....if it has spread on the inside past where the sandwich of sheet metal is.........it's going to be a lot more work and a lot more $$$. If you take out the taillight you can use the phone to video the inside of the cavity to see what's going on there.....
Originally Posted by Joemamasmini
@Fastlane
$950 for that work seems like a really good deal.
I am having my rust taken care of next week by a local body shop. Minimal but its there so might as well try and slow its progression a bit. I'd post an image but I do not want to hijack this thread and take away from the educational clinic LordOfTheFlies is putting on.
I don't mind you posting a picture of your rust! It'll be good to compare and contrast what you started with and what you end up with. :D
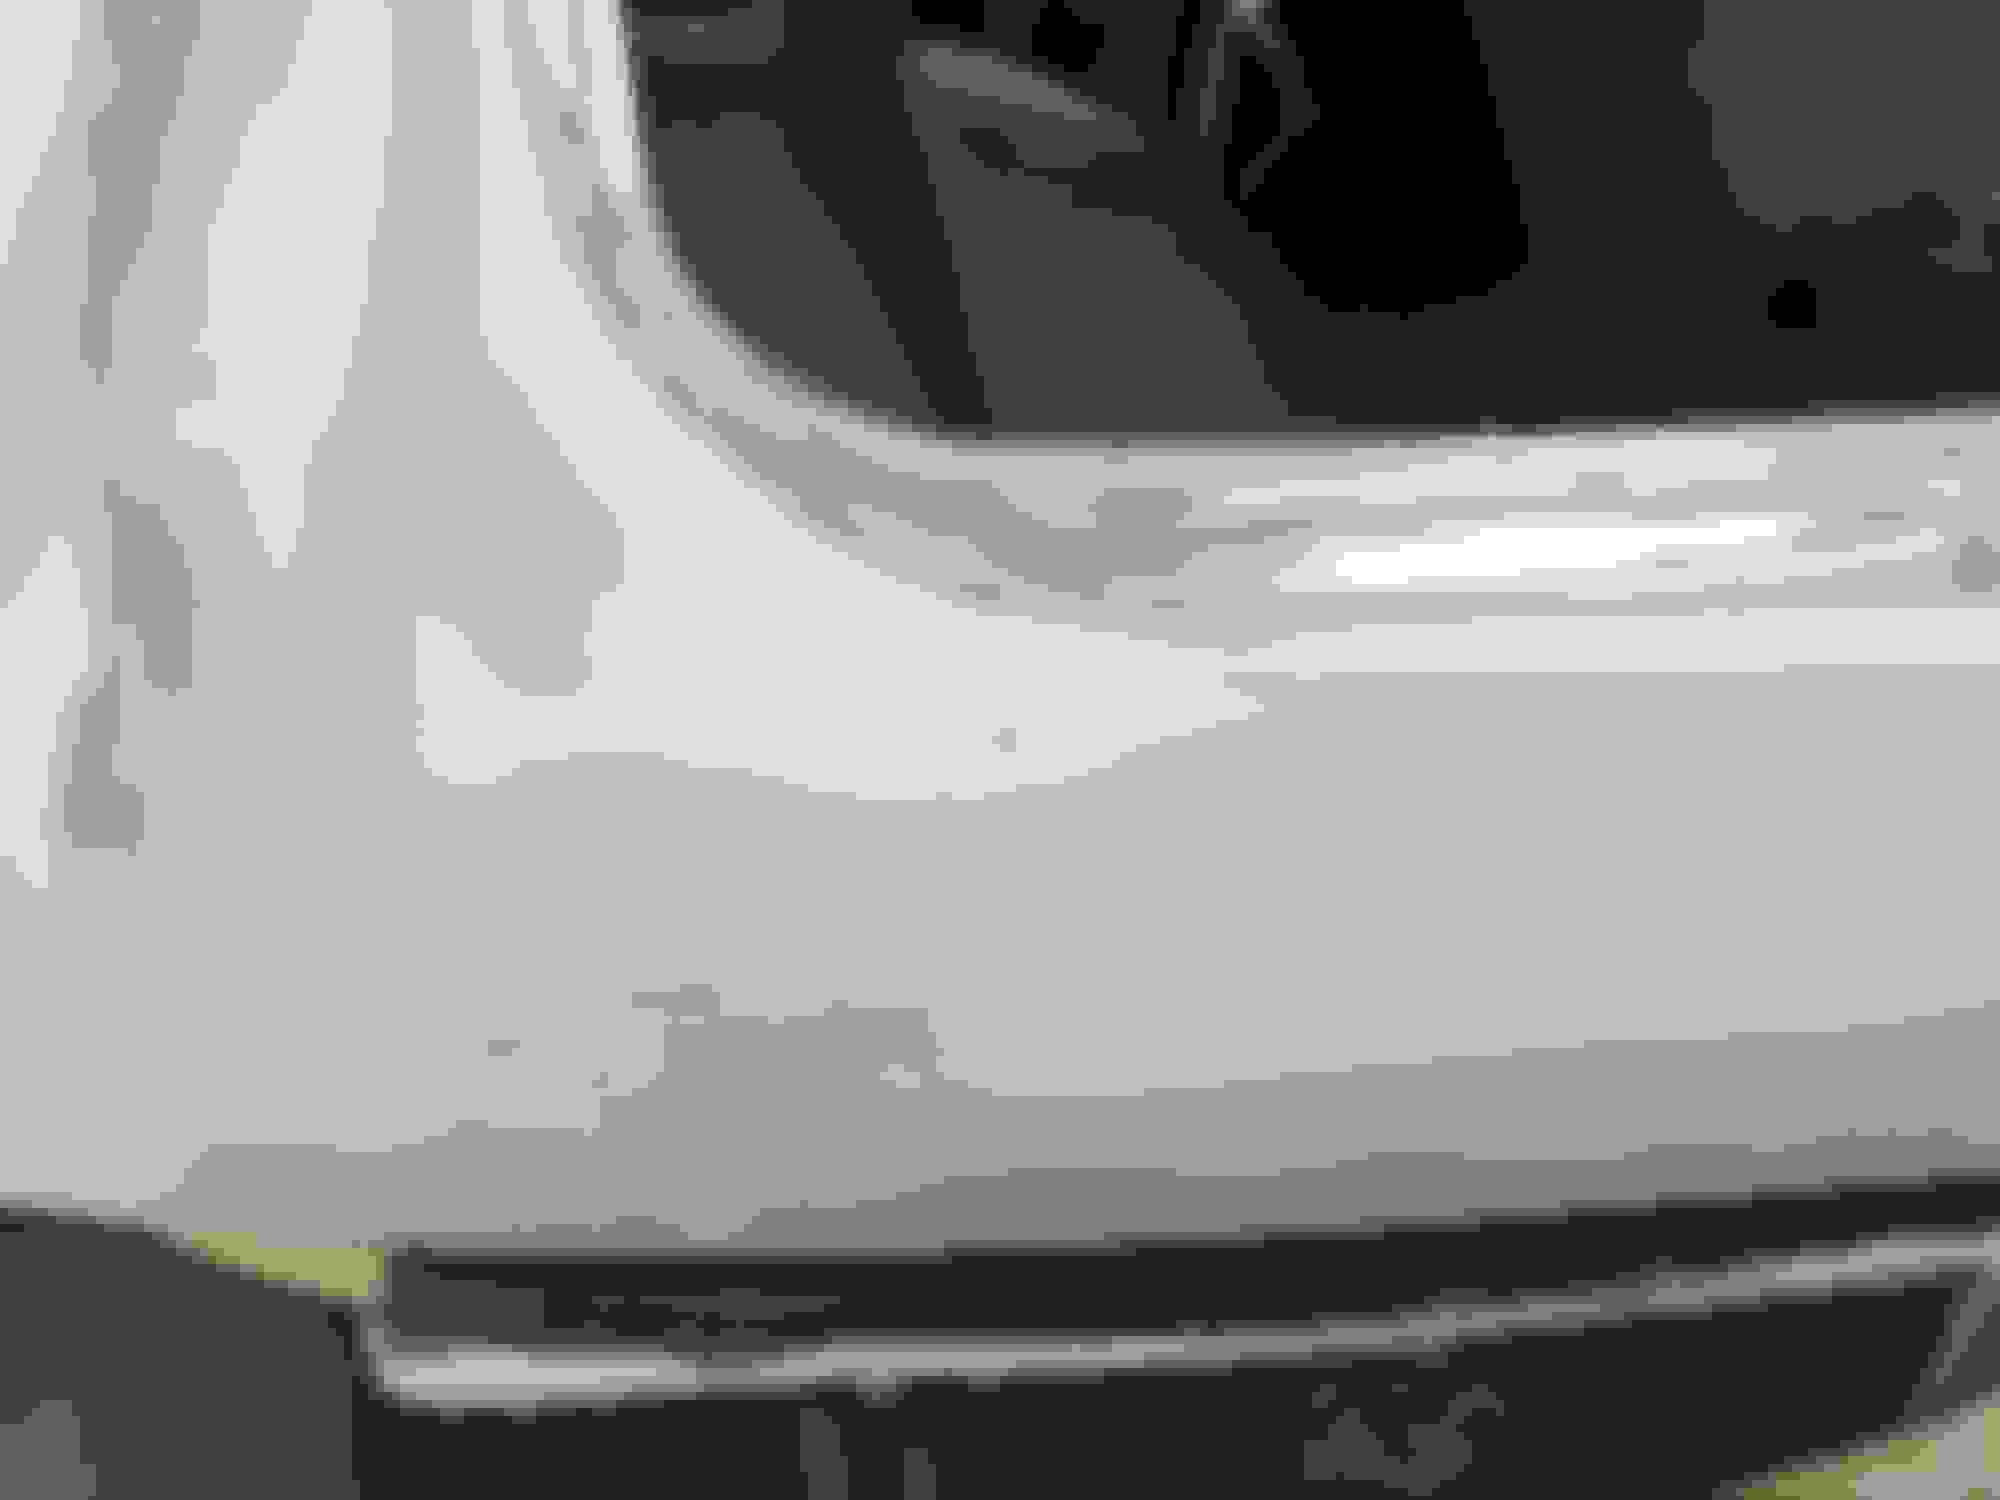
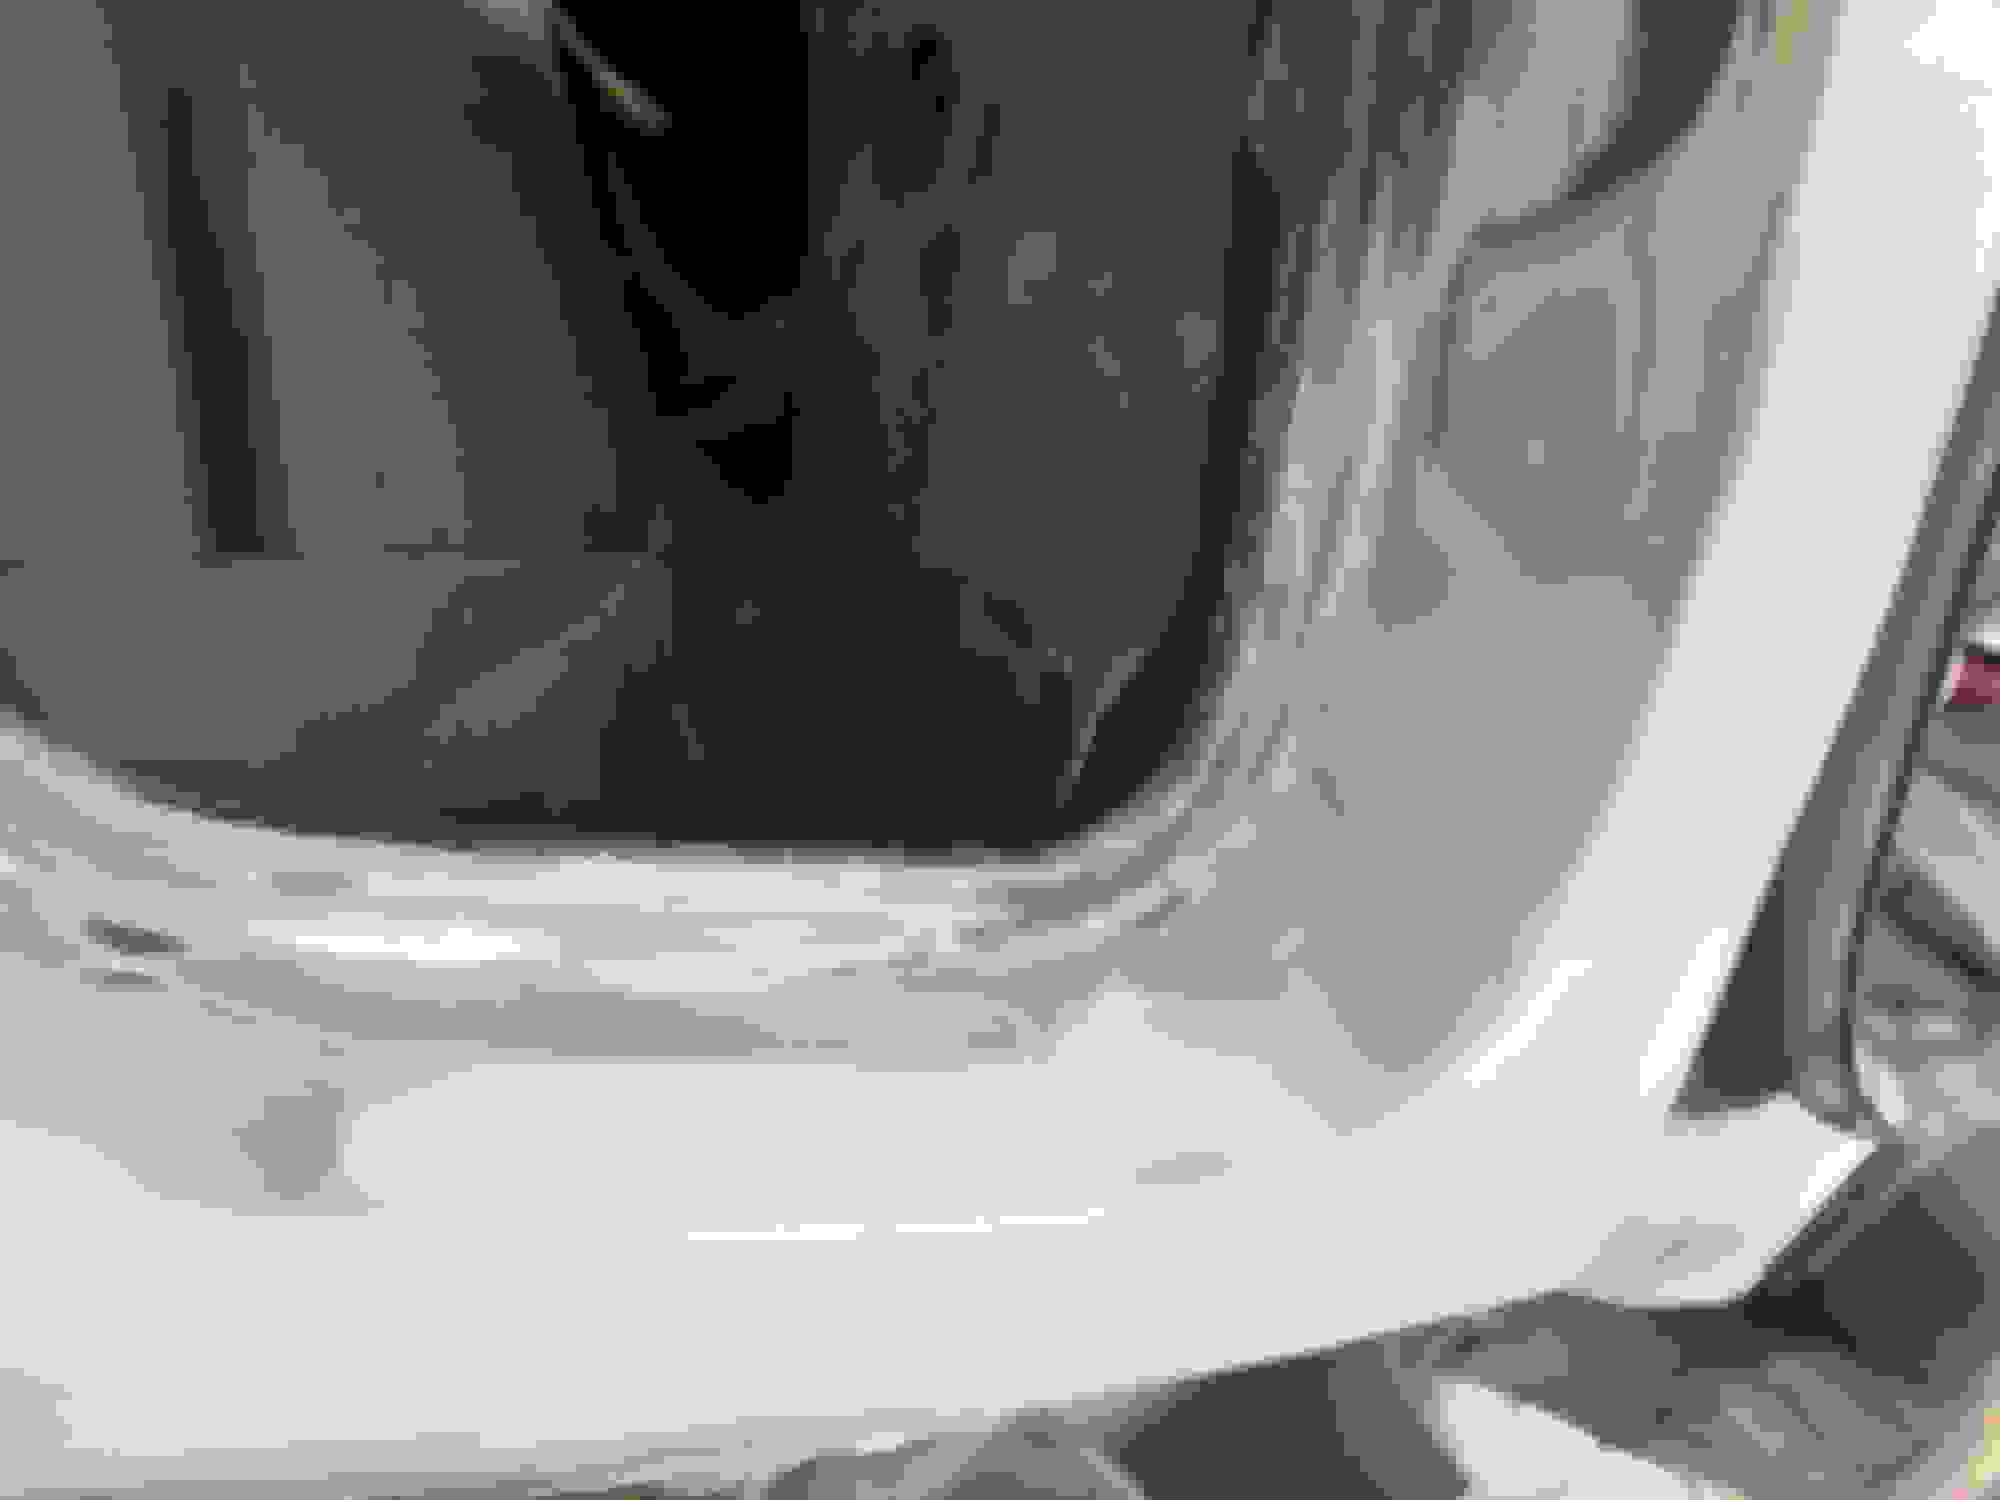
Driver side rust spot. I am also going to have the body shop clean up the area under the hatch handle which has some rust. I want to catch it when before it gets out of hand. Being in Minnesota this actually is not bad for a 2006 Mini Cooper S. I see some that are rotted through.
Yeah surprisingly mine was worse than yours. You gotta make sure that inside is clean though. Take out the taillight and get some video of it. That way if the shop doesn't deal with the rust inside you have proof.
$950 almost seems too cheap to be honest. The problem with the rust is.....if it has spread on the inside past where the sandwich of sheet metal is.........it's going to be a lot more work and a lot more $$$. If you take out the taillight you can use the phone to video the inside of the cavity to see what's going on there.....
I agree that it sounds too good to be true, but this is a pretty legit (small) shop I’ve used in the past and a few friends of mine have used numerous times for various repairs....I trust them to fix things properly. I bought the car with a crunched rear bumper....found a replacement at a scrap yard and they refinished it for $200.....exact color match and flawless paint. Tradeoff is that they are not the quickest....will likely be without the car for a couple of weeks....ok by me.
I agree that it sounds too good to be true, but this is a pretty legit (small) shop I�ve used in the past and a few friends of mine have used numerous times for various repairs....I trust them to fix things properly. I bought the car with a crunched rear bumper....found a replacement at a scrap yard and they refinished it for $200.....exact color match and flawless paint. Tradeoff is that they are not the quickest....will likely be without the car for a couple of weeks....ok by me.
It's good that you found a place to trust. I don't trust anyone. That's one of my problems and one of my virtues. :D If I can do it myself, I'd rather do that. Heh heh.
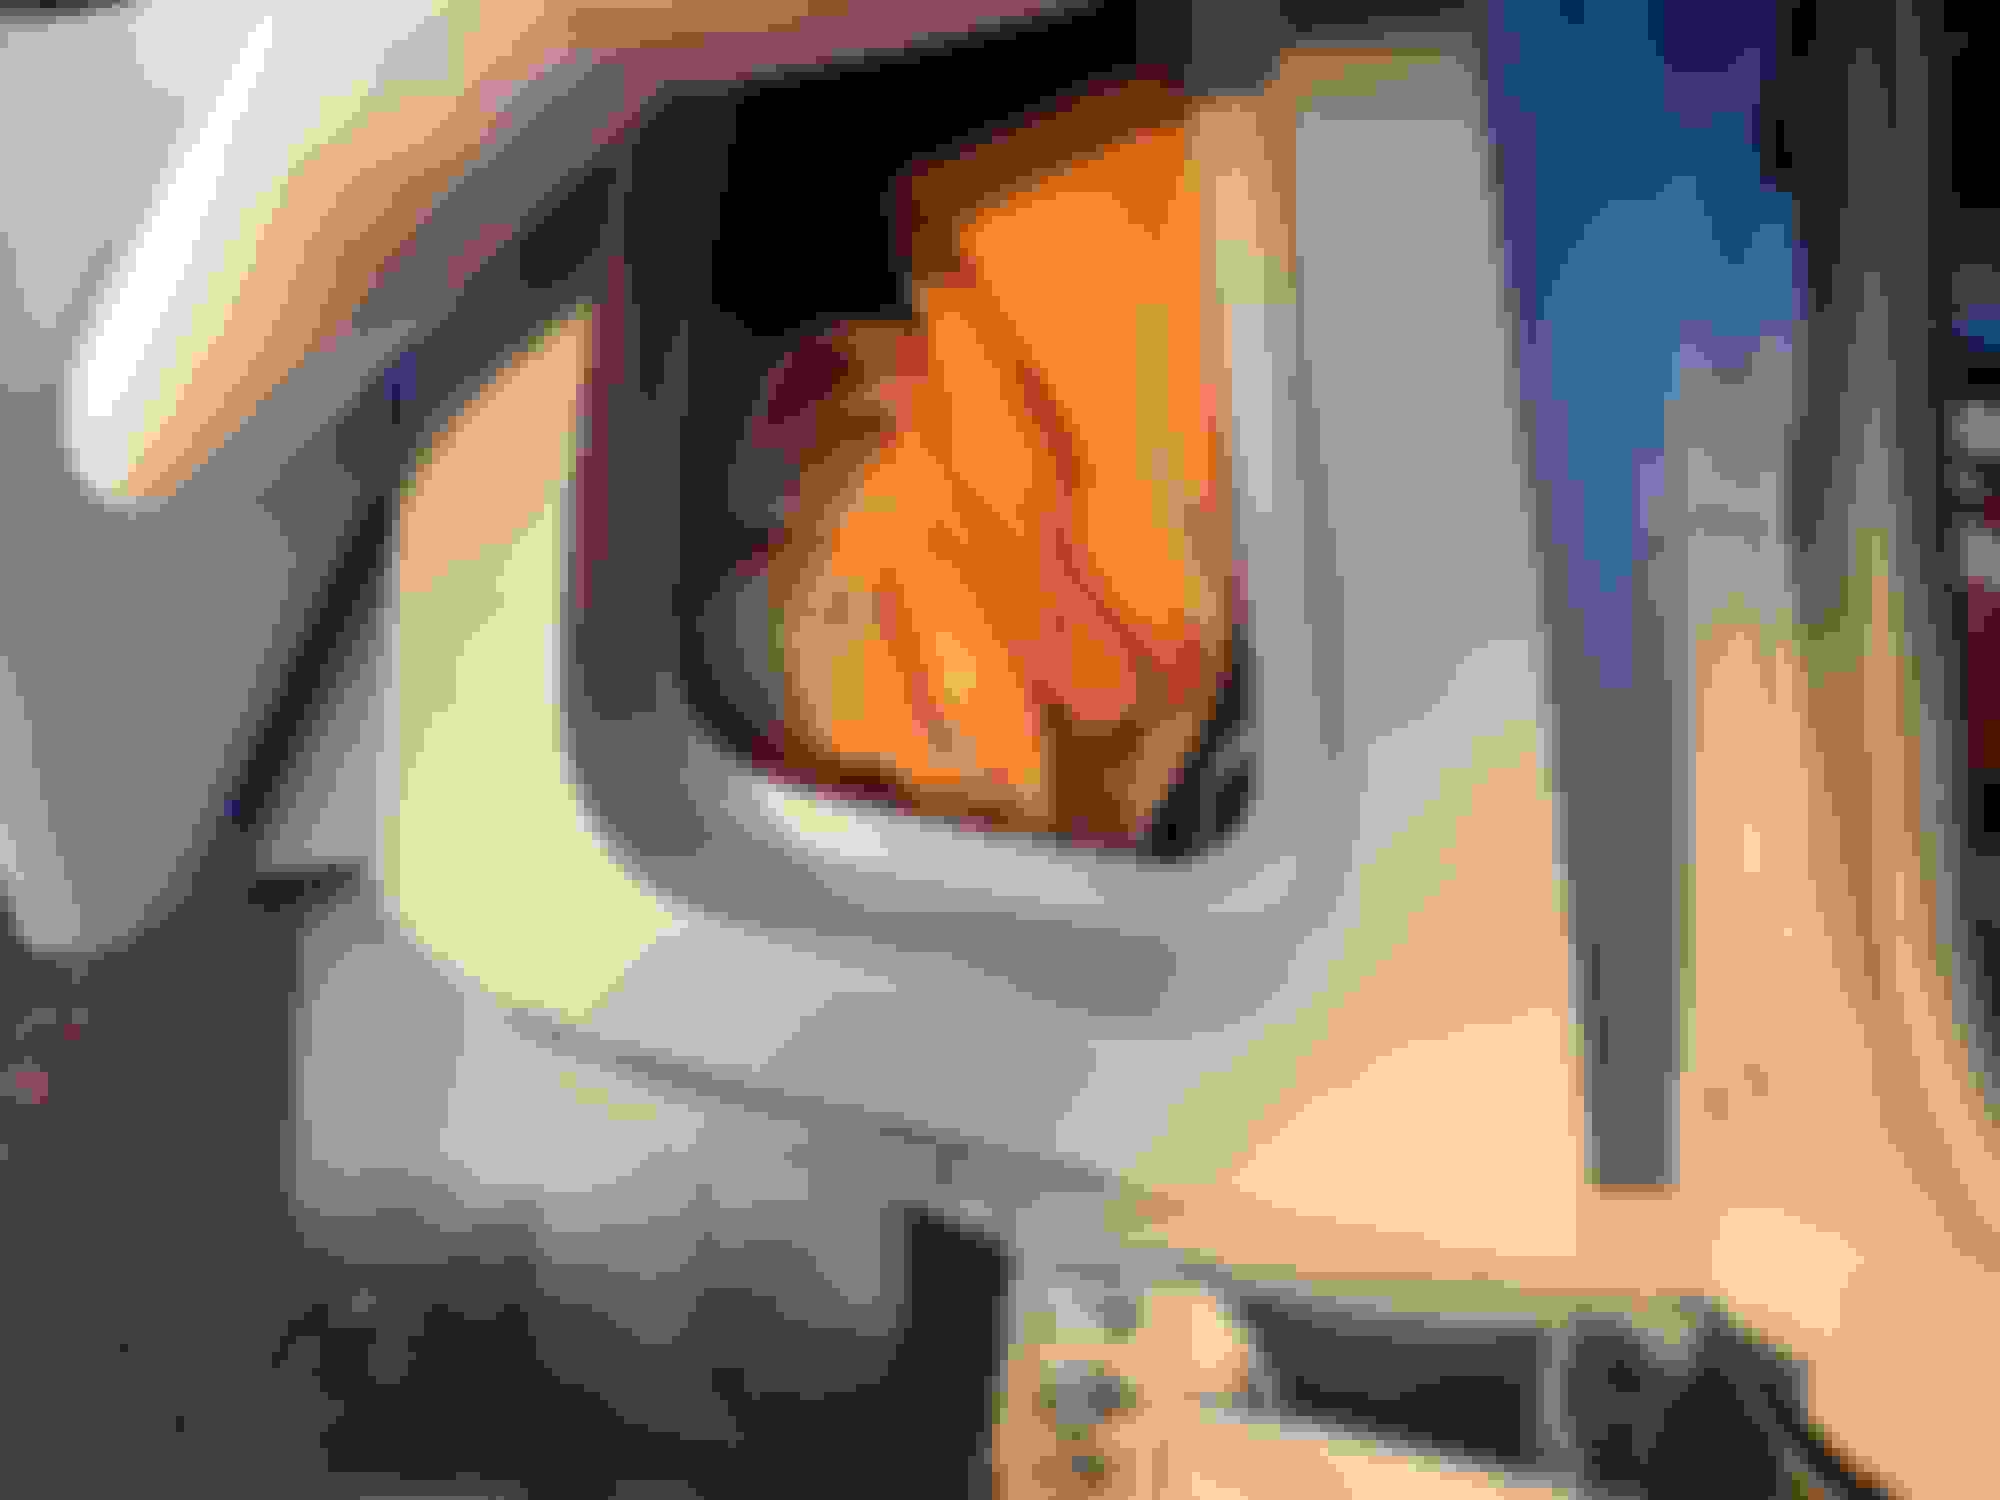
Sunny day, going to sand the glazing putty, use a razor blade and a tiny amount of putty to fill any additional holes, and going to lay on a coat of Duplicolor Filler Primer. I can't wait till Thursday for my paint to arrive. Even with just primer I'm not happy about leaving it out in the open except for the fact that it's pretty windy and no rain except for Tuesday.........Fingers crossed.
Sanded down the glaze putty with 320 dry sandpaper and man it's looking good I say!
It's feeling pretty damn buttery smooth. I'm going to look for some additional pin holes (had to take a break to warm my butt) and then it's onto primer. Unfortunately my damn color matched paint from paintscratch.com isn't coming till Thursday but I'll just ghetto waterproof it again. I also have a few spots on the other taillight area (a rock chip) that I have to do as well. While I wait for the paint to arrive I can tackle the door sills.
Ok I got 3 coats of primer on there. I had a bit of a drip issue with the first coat. Paint didn't come out right. I should have known better as it was definitely getting chilly. Wind was blowing a little too much for my liking on top of the 40 degree temps. Ended up putting the can in a plastic container of 130 hot water from the faucet, then in another bowl with water as well. That did the trick. Subsequent coats were much better. I wet sanded with 600grit and got rid of almost all the drips. I think I missed one though. Oh well.
IT AIN'T PERFECT BUT I'M OK WITH IT GODDAMN IT. :D
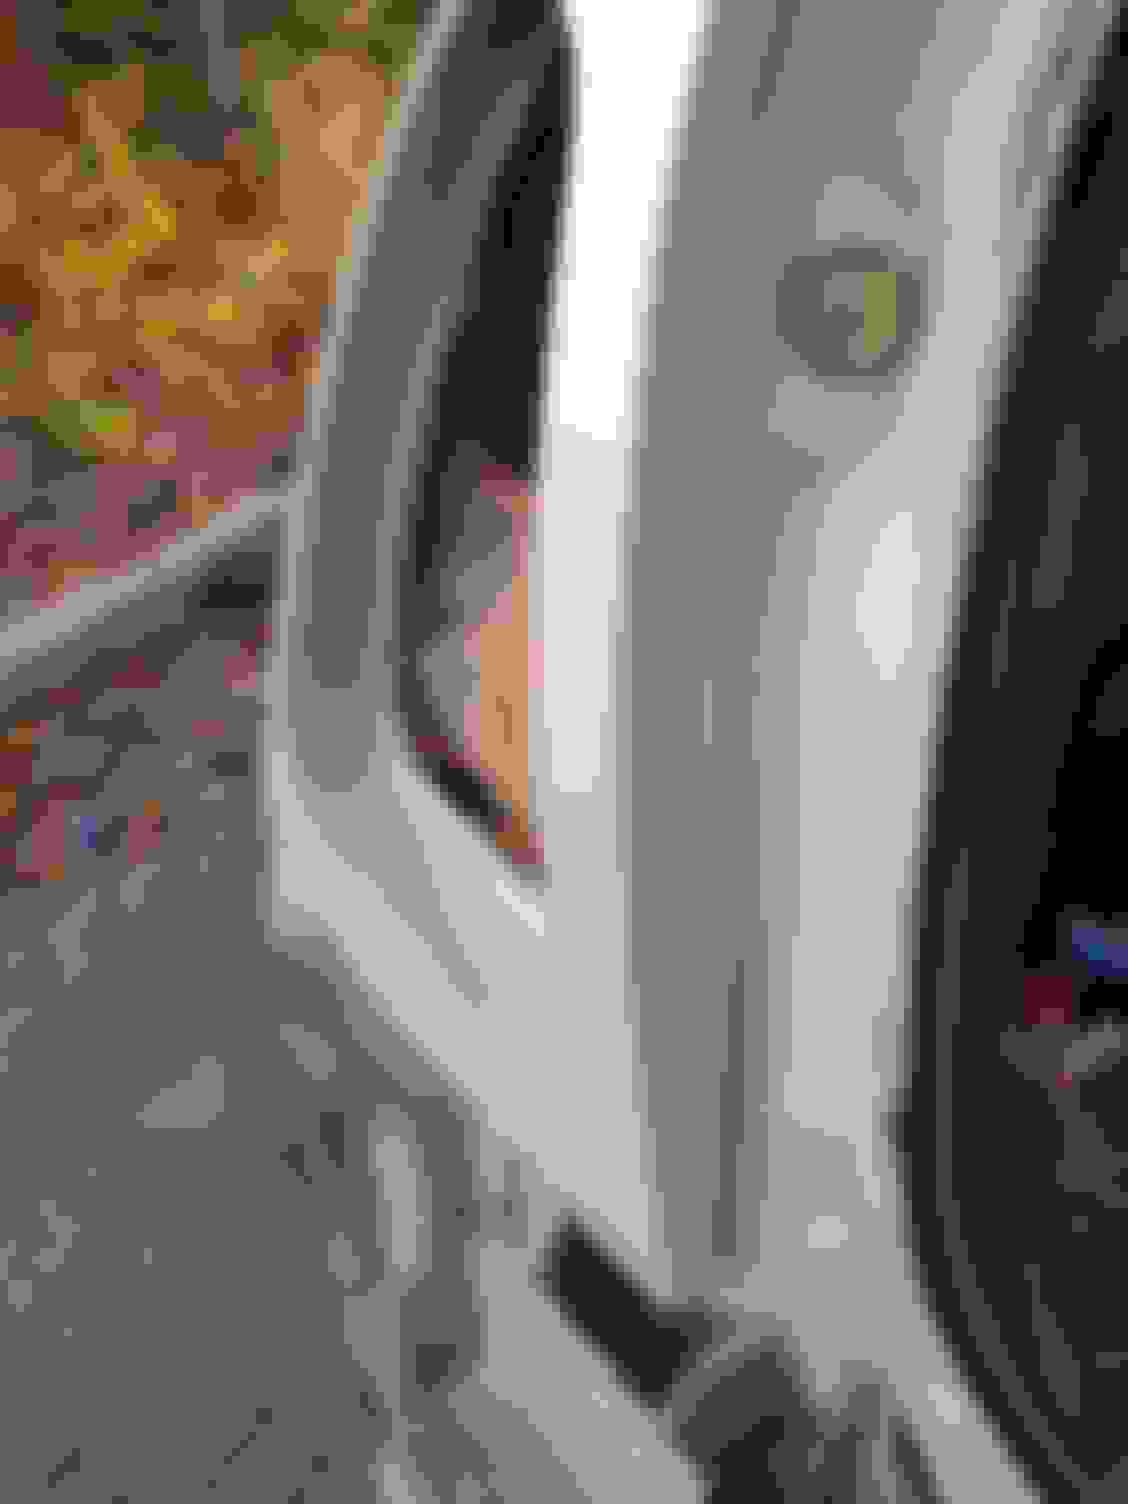
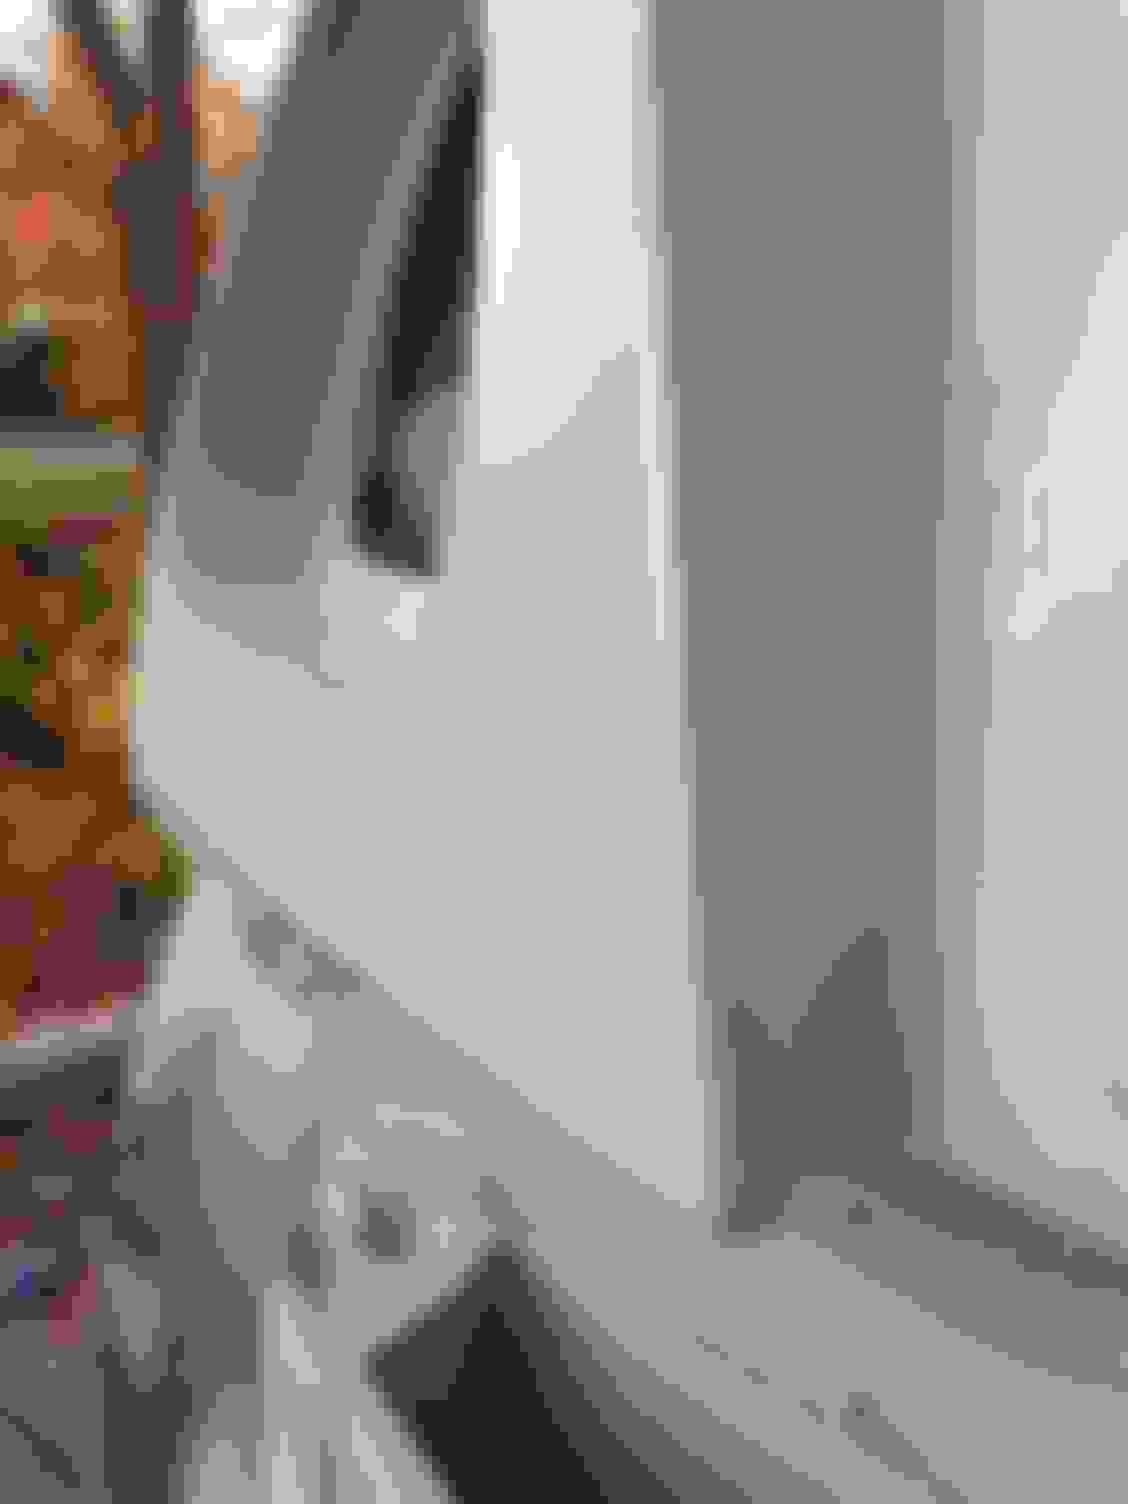
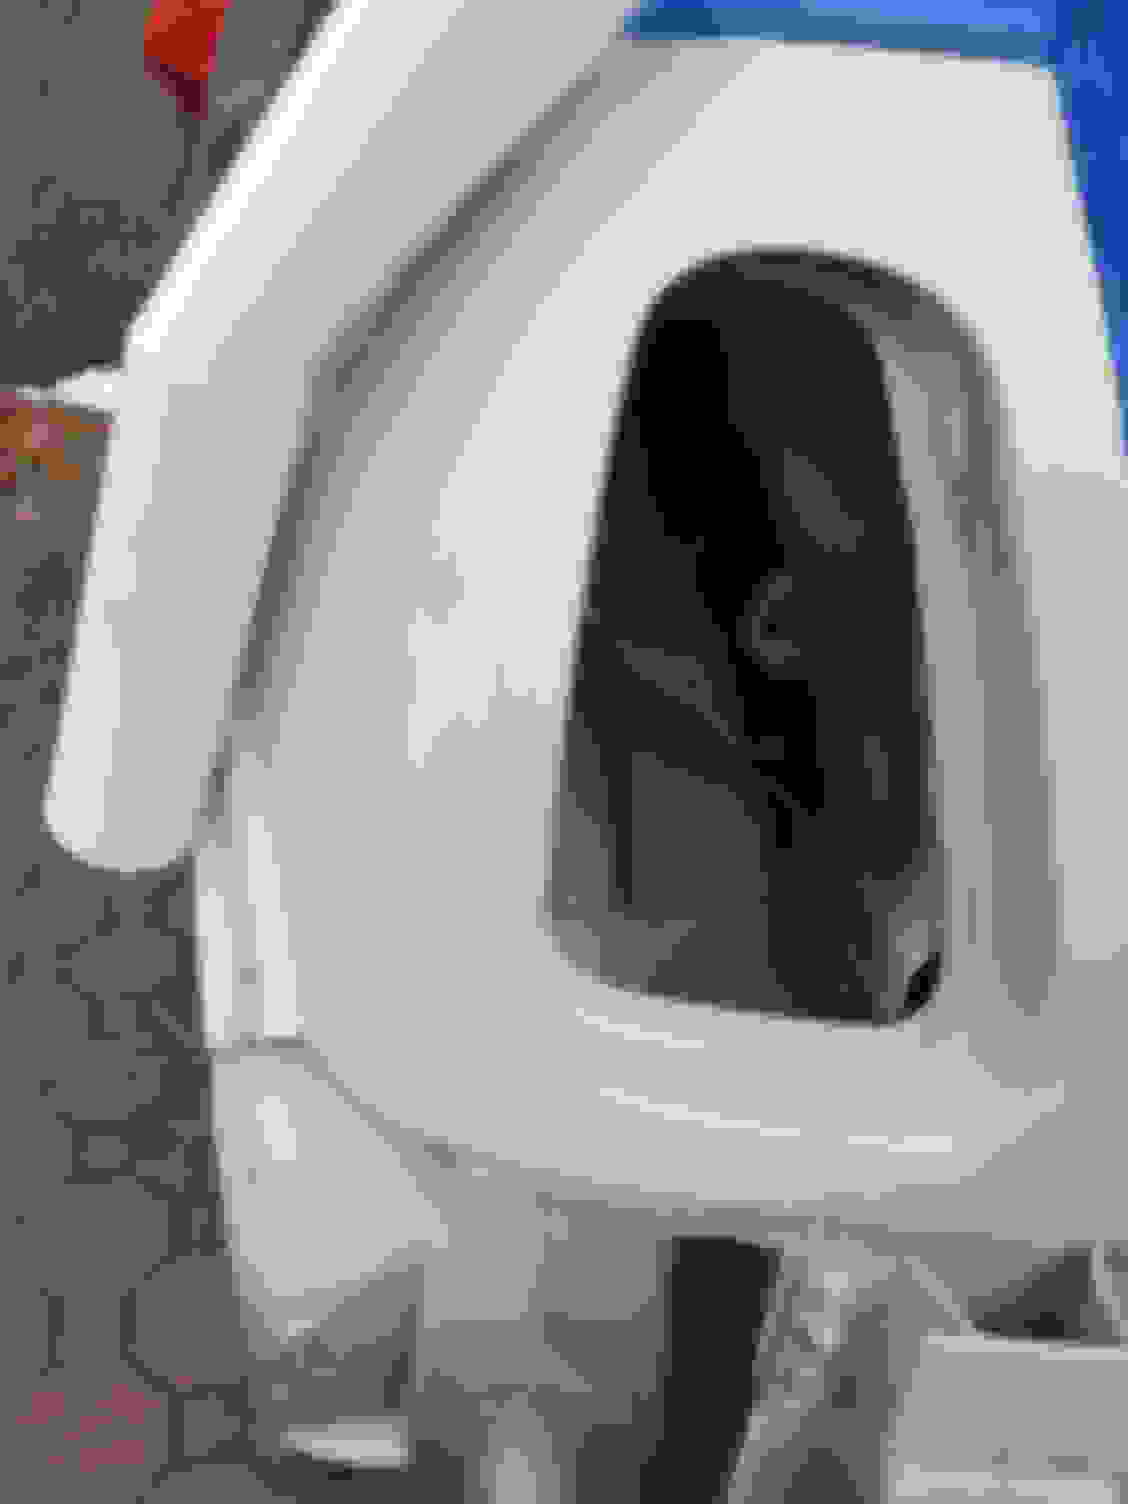
Hopefully it's a little warmer tomorrow. Still have to prime two spots on the passenger side, then sand this side with 600 (dry). After that I'll do the door sills. I had to pull up the rubber gasket and wouldn't you know there was rust INSIDE the rubber part that at first I thought was on the metal but luckily it wasn't.
On a related note my wife drove my GP through the thick of the storm and she said she was passing trucks, suvs, tractor trailers, and all sorts of cars just stuck in the middle of the road.
That's what happens when you have some nice Blizzaks on (albeit a little worn and need to be replaced before next season).
Looking good with the progression! How are you going to feather in the new paint on the tails?
It was crazy down here in Jersey! Everyone forgot how to drive! I've been driving my CRV as I didn't get the snows on the Mini yet, but I'm looking forward to seeing how it handles with the Quaife and some decent snow tires. Doubtful it'll be as good as the Crv with its snows and ground clearance, but im sure it'll still be really good!
Ugh. Where are you located? We had 1/4� of ice yesterday here in Indiana.....schools closed, etc.
looking forward to completion pics.....whenever the weather breaks!
I'm just north of NYC (20 miles).....Snow melted away. Good thing I used the snowblower when I did or else it would have been way heavier and more annoying to move.
Originally Posted by Soul Coughing
Looking good with the progression! How are you going to feather in the new paint on the tails?
It was crazy down here in Jersey! Everyone forgot how to drive! I've been driving my CRV as I didn't get the snows on the Mini yet, but I'm looking forward to seeing how it handles with the Quaife and some decent snow tires. Doubtful it'll be as good as the Crv with its snows and ground clearance, but im sure it'll still be really good!
I'm using the "folded-paper-soft-edge" technique from the video. Here's the link again.
Your work is exceptional !!!!!!
Professional all the way !!!!!!
You could.....and maybe should advertise that repair as your speciality !!!!!!
I would sure recommend you
I was lucky enough that Mini replaced BOTH rear quarter panels and BOTH doors !!!!
Whole car painted !!!
Good Luck with finishing!!! I'm in Boston and cold/snow has come WAY too early today
VERY LUCKY !!!!
Thank you for the kind words. Not "professional" yet - this is my first time painting the body of a car. I've painted the interior panels/dash of my old 04 MCS and also some cowl scoops (which need to be sanded and clearcoated again).
Ok I sanded the primer, used the folded paper technique, and laid down 3 coats of pepper white paint. Waited about 5 minutes in between each coat but probably a little less - waited until it was dull and not shiny anymore. Had a tiny bit of run on the inside of the driver side taillight recess but I'm ok with that. As long as there's no runs on the body!!!!
Now I have to wait about an hour before I apply the 3 coats of clear. Making progress!
It's not done yet. I screwed up the clear - because of the cold weather I don't think I waited long enough and the clear lifted a bit of the paint. So now I've sanded it down (the bad spots) and reapplied the paintscratch.com primer.........but it's gotten a bit more cold since.......and that was cracking the minute I laid it on. I think I laid it on too thick............
So now I get to sand the primer off AGAIN........and I will just lay a mist of primer on, let it flash for maybe 2 minutes........then apply another thin coat.......and so on.
I ain't counting my chickens until they actually hatch! :D
What temp are you painting at? Needs to be at least 60F in my experience.
Yesterday I did some spray paint in cold (40F) garage but had a quartz heater pointed at the surface. Also heated the paint can before hand. Even then the solvent was slow to flash off.