When you click on links to various merchants on this site and make a purchase, this can result in this site earning a commission. Affiliate programs and affiliations include, but are not limited to, the eBay Partner Network.
I've found myself in the position more than once where the elegant solution I envisioned before I started didn't seem nearly as beautiful once I was several hours and fully committed to doing it.
My only helpful input would be to put something in the slot to try to minimize noise from the plastic rubbing/vibrating together.
Thanks, and ain't that the truth. The devil is in the details...
I have some heavy duty duct tape that almost the same color. That's it. A little unlike me but screw-it, it's behind the tire.
Good news, bad news, good news.
I got the drivers side rear panel on after some struggle. Not quite as difficult as the passenger side but still a bit of a challenge. The front of the bar was bolted in so that was done. I did get a bracket and a fire extinguisher to mount to the passenger side, just cause. Sorry no photos. Next time.
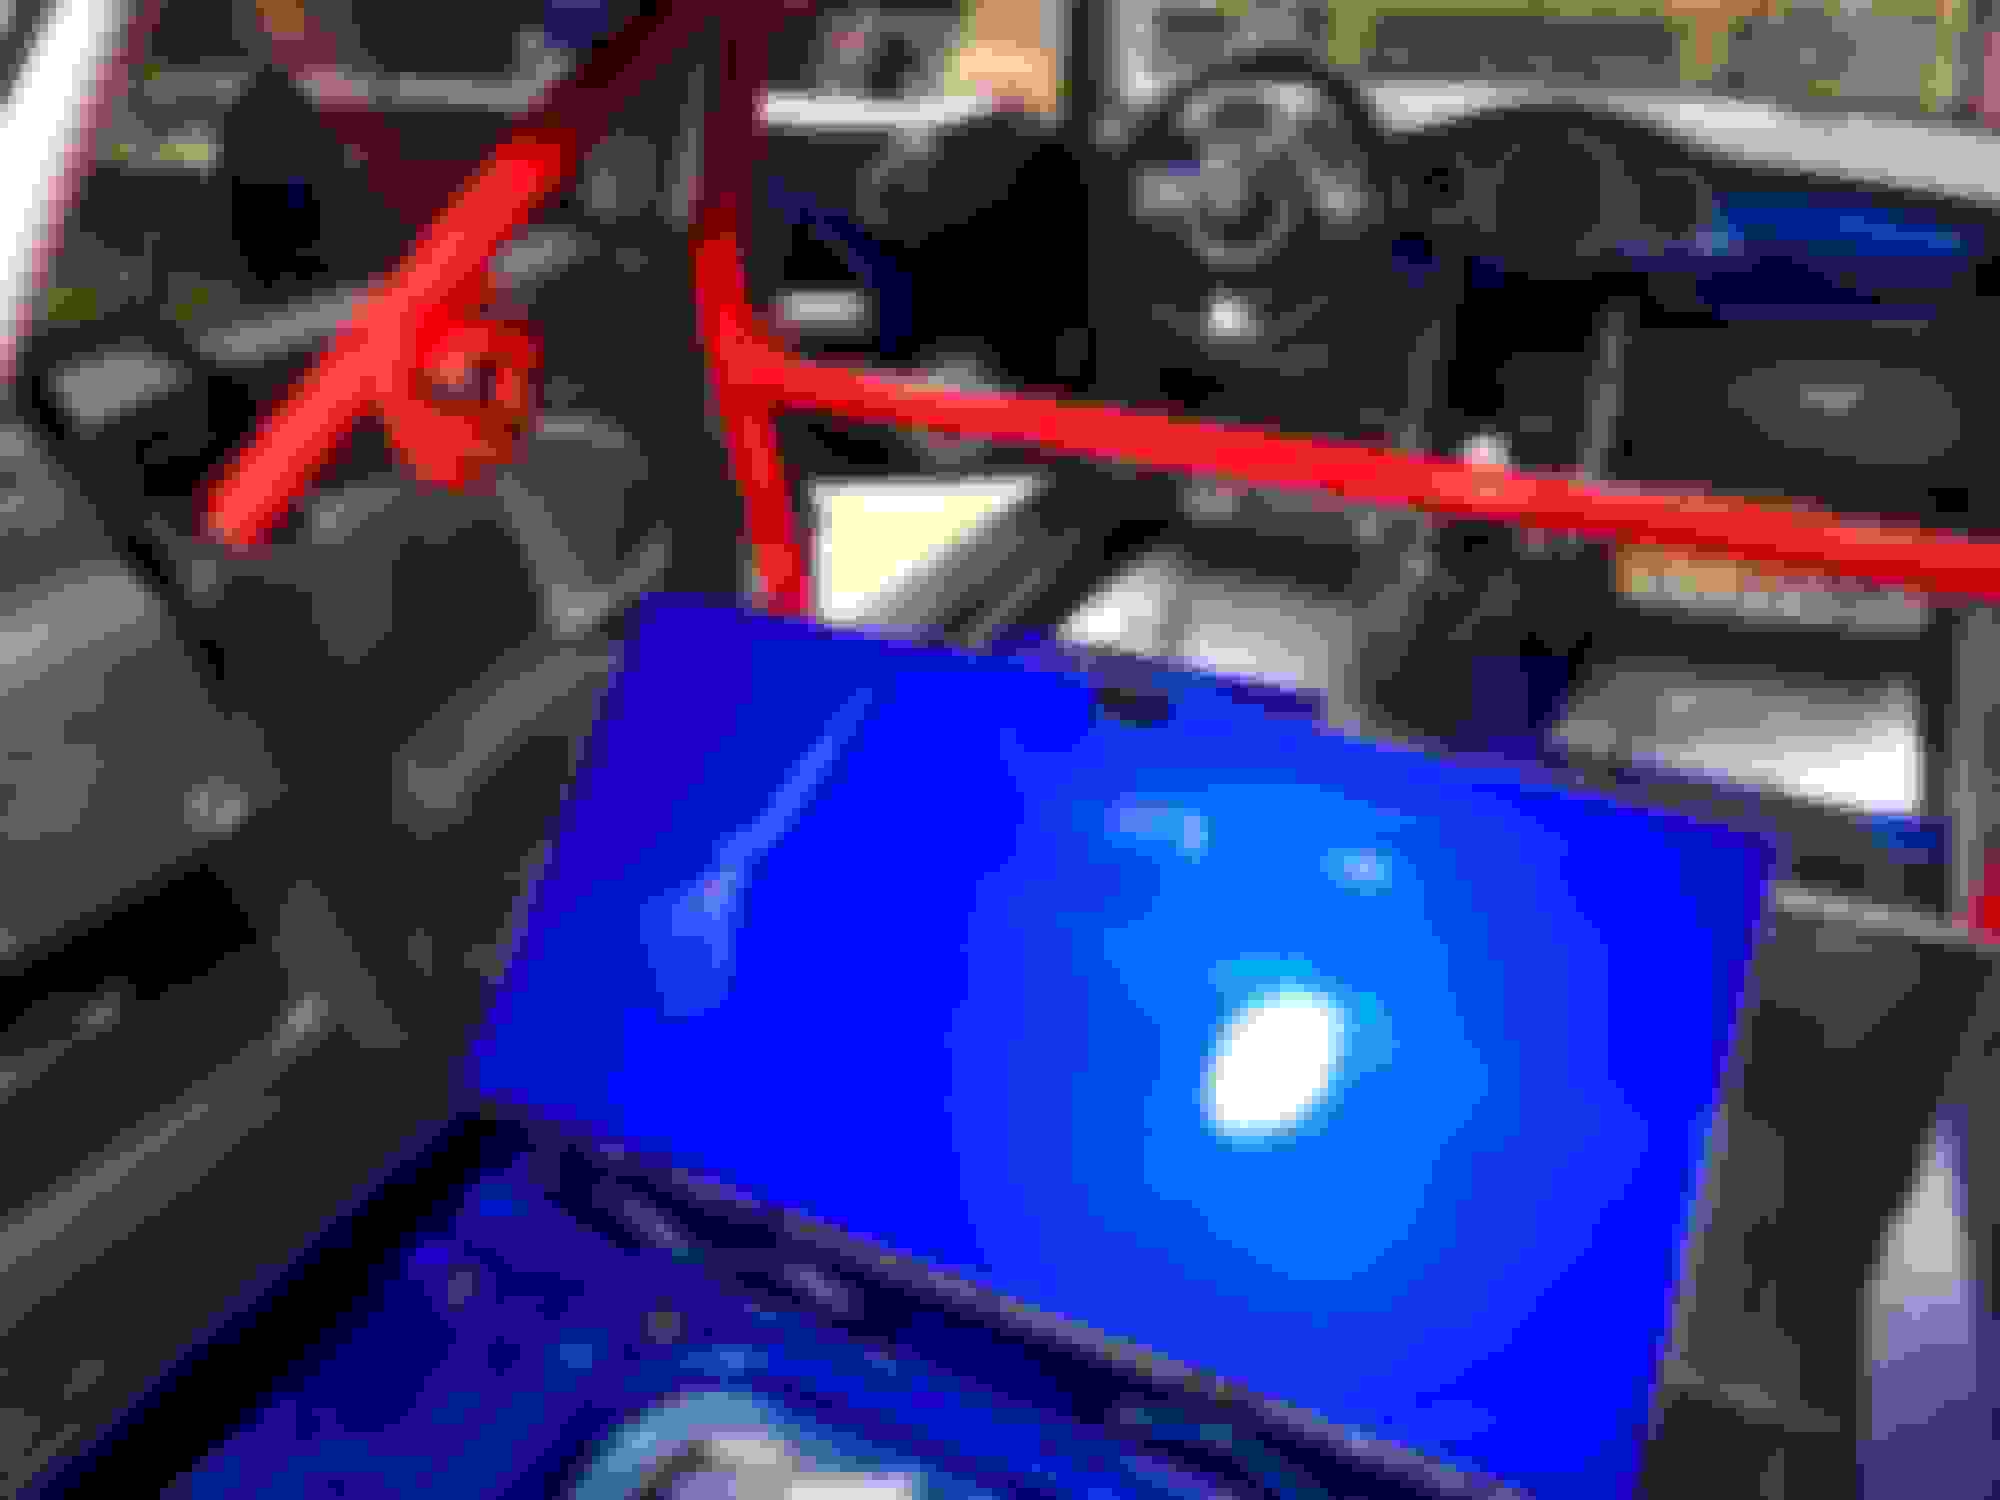
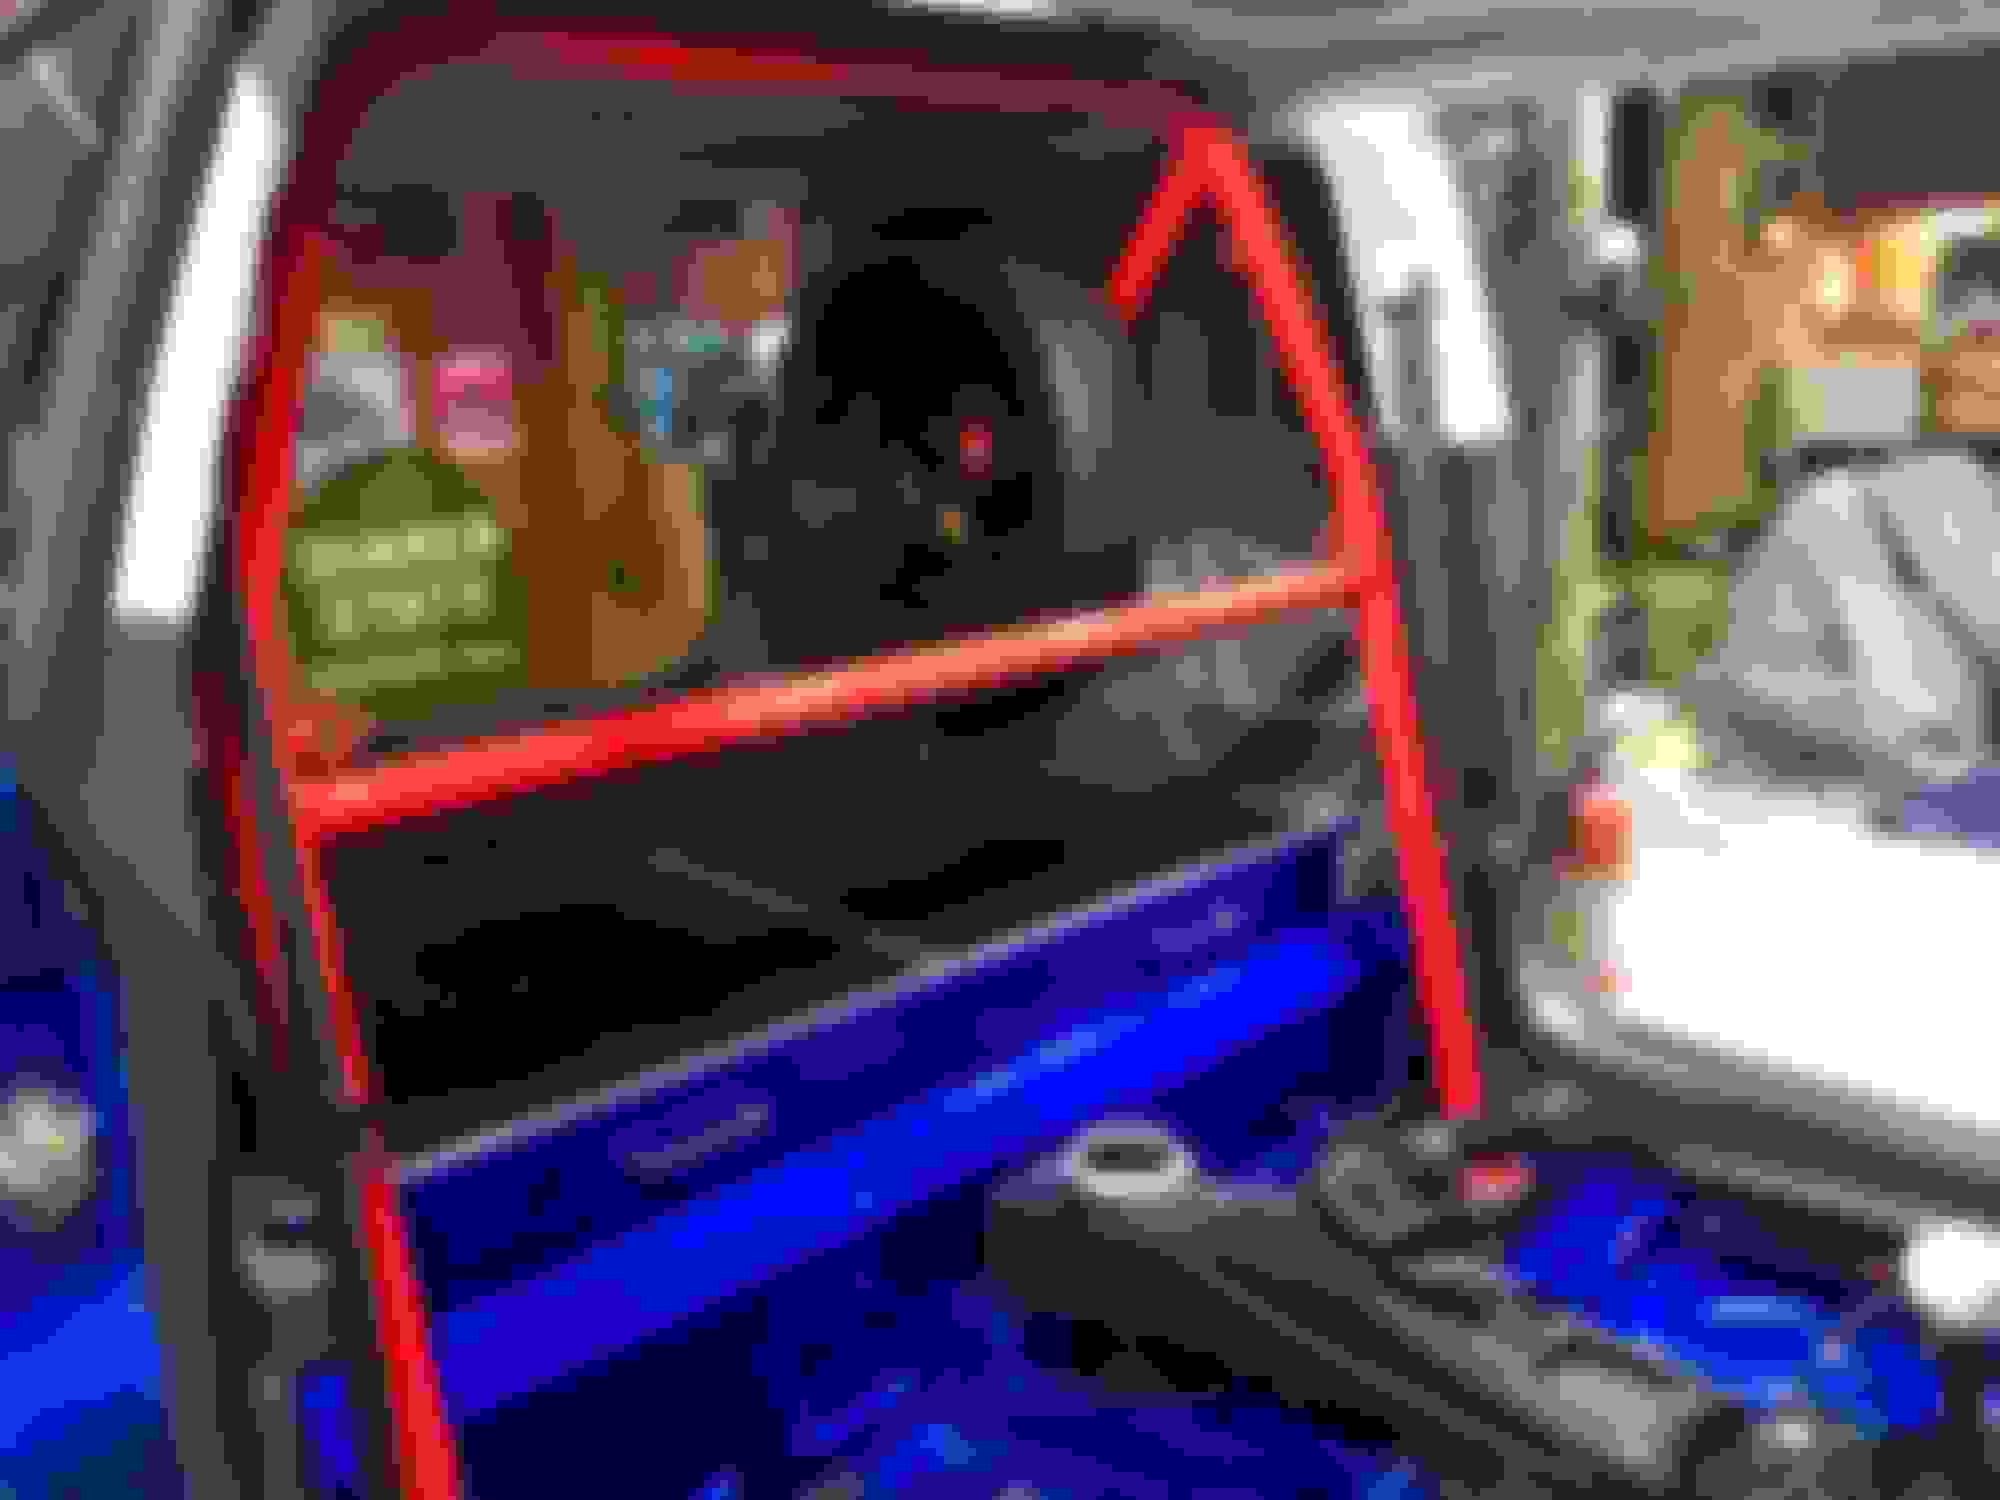
That left painting and installing the rear seat delete. This was somewhat problematic probably as I didn't light a candle or kill a chicken to obtain the required spray gun blessing.
The plywood had been coated with 2-3 sanded coats of West System Epoxy to seal it then a coat of rattle can primer which after sanding showed the highs/lows. Then putty, then eventually 2-3 coats of urethane 2 part primer.
Then the fun started. The first shot on the first piece resulted in a few fish eyes the size of quarters. I wiped the piece with lacquer thinner and tried again. Still fisheyes.
I let that dry overnight and sanded again, and wiped it down with alcohol.
Tried spraying again and this time, lots of little fisheyes. Grrr...
I stopped by the paint store and talked with owner and he offered a number of suggestions including everything from a worn out compressor, [a possibility] to a contaminated air hose.
I took the filter apart and no sign of oil so that wasn't it. But thinking about it, I learned a long time ago it's very important to wipe a part down BEFORE any sanding to avoid grinding contaminants into the surface. I think I may have forgotten to do that.
So, I wiped each part down 2 times with prep-sol which doesn't evaporate as quick as alcohol. The paint shop guy discouraged using alcohol as it doesn't stay on the surface long enough to dissolve the contaminant and I think he was onto something with that.
A light sanding and another wipe down with Prep-Sol, then a coat of primer/sealer, then base coat then clear coat. The bottom was treated as the important side as the top will be covered with rubber mat.
Turned out pretty well for plywood...
Pics, [good and bad] below.
rob
Dreaded fisheye...
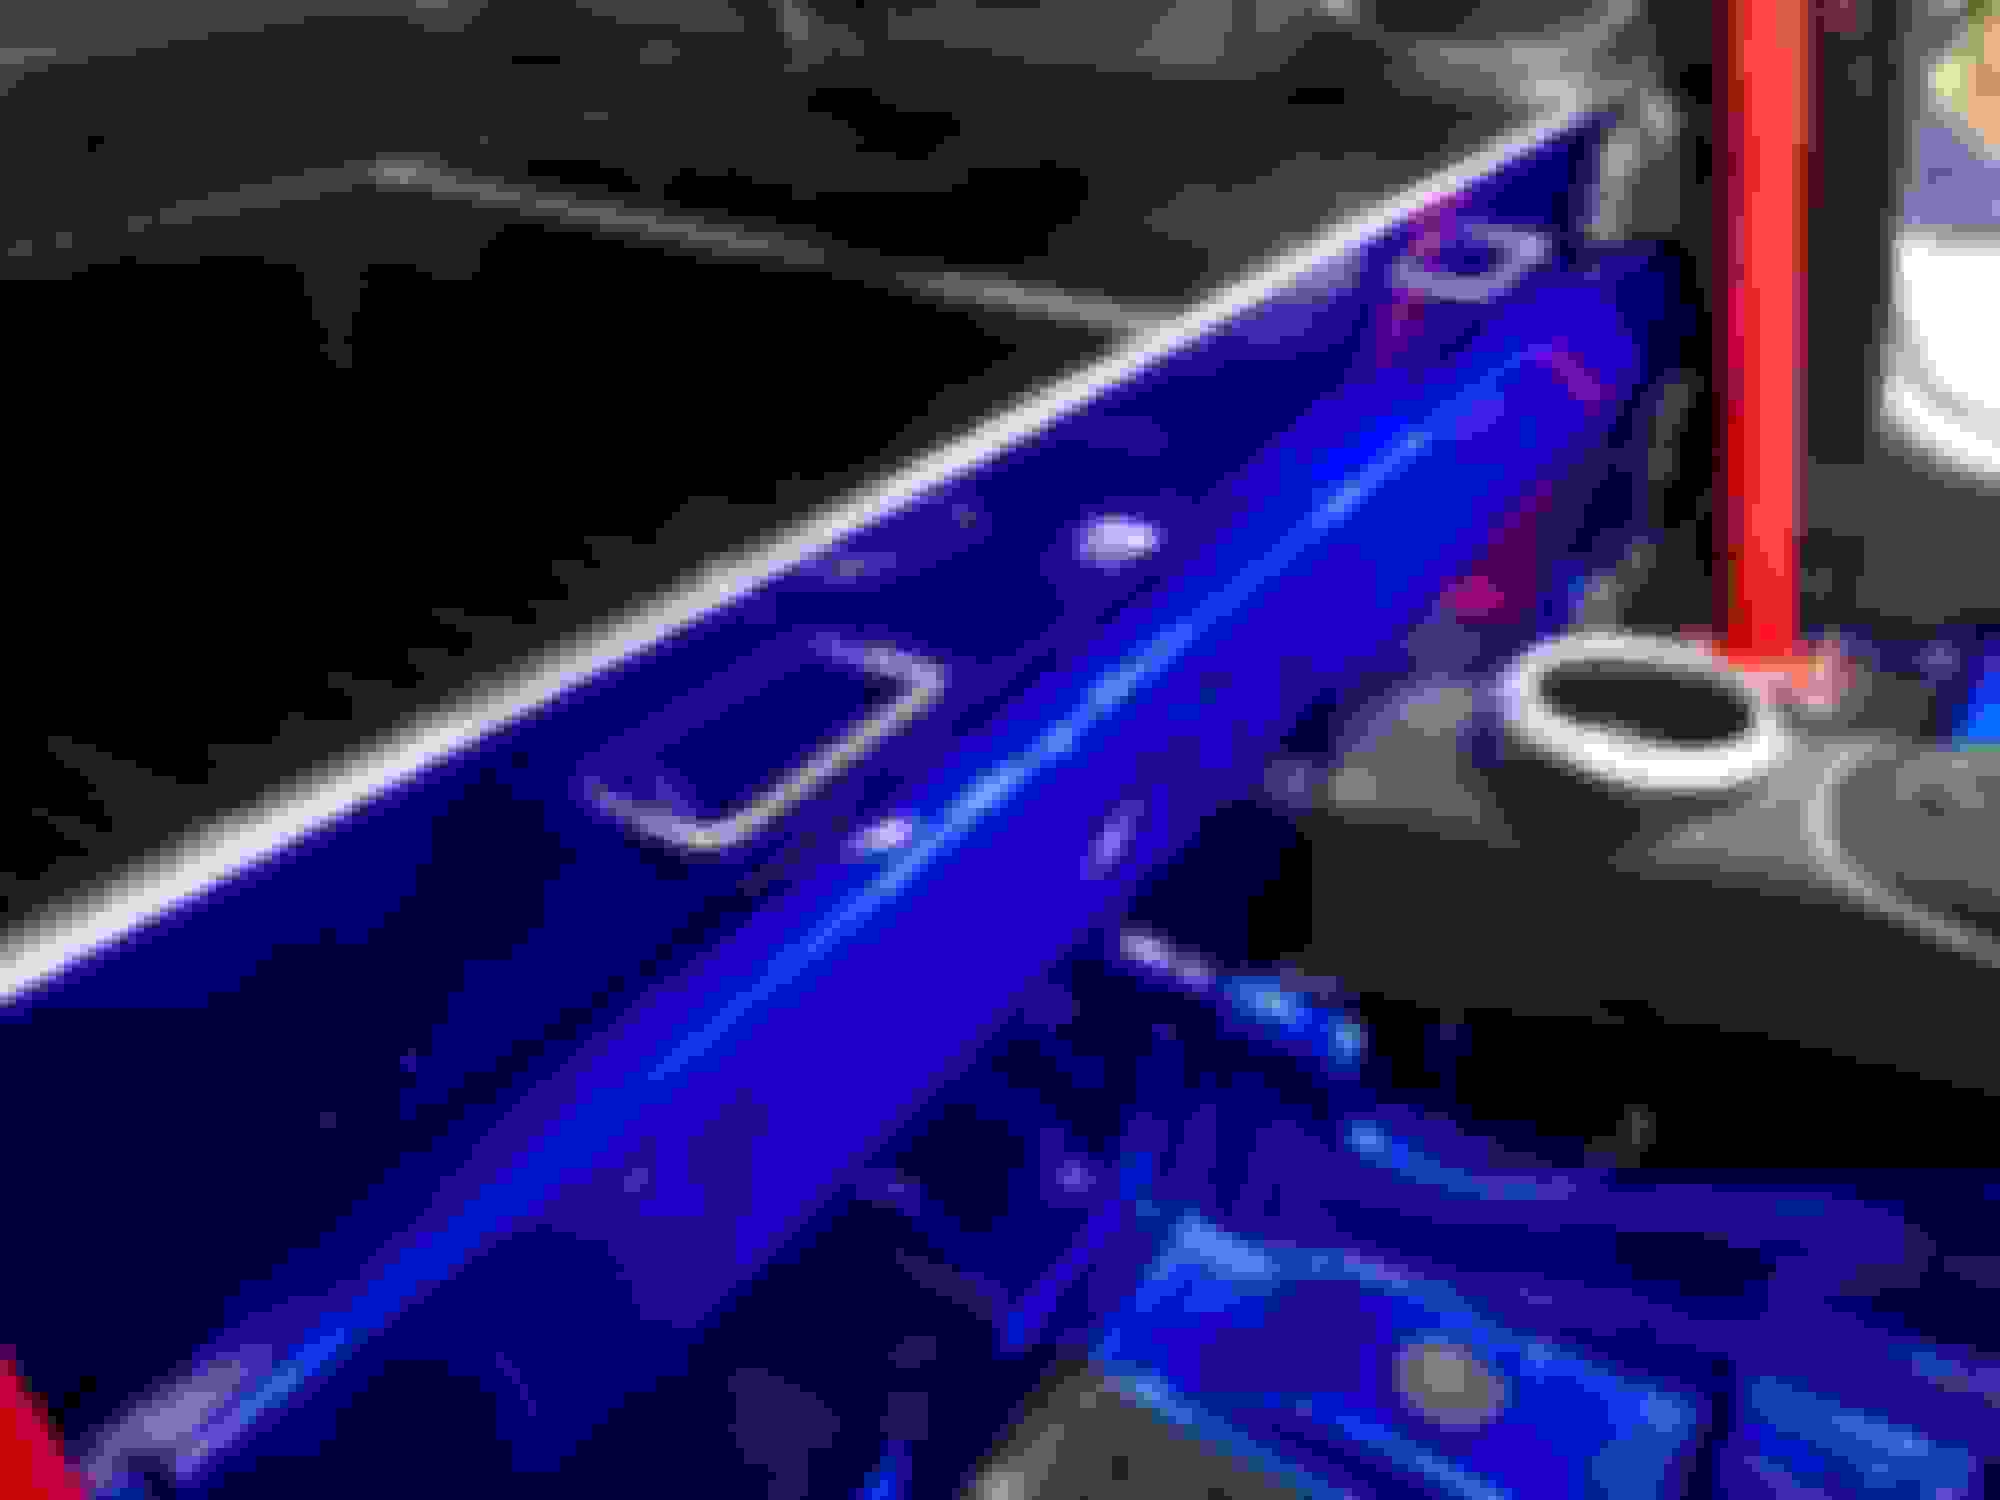
Third try was the charm. First coat of clear.
Yellow circle is the reflection of the ceiling light.
Not bad for plywood.
I'll let it sit a day or so... Plywood. I'm good with it.
Not bad for plywood if I have to say so myself.
But keep in mind I was painting on a horizontal surface, the results on a vertical surface may "vary", Ha!
When I start to have trouble getting things to look like they should I get a little stubborn and if I have to do it 10 times to get it right I just do it. I figure as you solve the problems you learn what not to do next time.
The top side looks almost as good, there's just some over-spray that would certainly polish out, but I did put only one, somewhat heavy coat of clear on the top, knowing it would be covered.
Next is figuring out the procedure for installing the mat and doing that without messing the paint up. With contact cement it's pretty much one and done so it needs to go on right the first time. I think I'm going to use test pieces of mat to install the hinges and trim off the car so the screw holes are all pre-drilled and in place, Then glue the mat on the lids before they are installed.
The angled piece has to be screwed down then the mat installed so that has to be done in place, which means masking to prevent adhesive overspray. The lids will have to masked off for the same reason.
I might let the lids sit for another day just so it's good and hard and I don't pull up a chunk of paint removing the masking.
Lot's of room for error, wish me luck.
rob
P.S. Husky, I do a number of things well but photography isn't one of them.
P.P.S. Just went to the shop thinking I would set the parts out in the sun to really dry. Then had second thoughts. If I went back and the paint had cracked or anything from the heat, I would be pretty huffed. I left them in the bottom part of the shop and opened the bay doors. Not in direct sun but plenty warm enough.
Although I posted some photos in Hatch Talk, for the sake of the continuity of the build thread I figured I would add a few here as well.
A very rewarding, if time consuming project. Not without a few ups and downs. I really have no clue but I'm guessing maybe 200 [plus?] hours invested. The roll bar, spare mount, paint on that, painting the floor, painting and putting the mat and trim on the RSD took 6 weeks of relatively steady work. The original design and construction of the RSD itself was probably a week or 2 of evenings and weekends.
But it looks pretty darn "factory" to me so it was worth the attention to detail.
A few issues;
Painting the floor went pretty easy. A quick wipe with alcohol and paint. The RSD was a different story. First was 2 coats of West System Epoxy to seal the plywood, then 2 coats of high build primer, then fairing and some body putty then another coat of primer, and more sanding.
Then when I went to paint the base coat, fisheyes... After wiping, [alcohol] sanding and wiping again, fisheyes. I went to the "old guy" at the paint store and he suggested a number of things, worn out compressor pumping oil, oil in the air line, any number of things.
I bought a new air hose and checked the filter which was clean with no sign of oil. So it had to be on the surface or in the primer. One thing the guy said was alcohol evaporates too quick and doesn't keep the contaminates dissolved long enough to wipe them off. I think that was part of the problem so I switched to wiping with Prep-Sol, a Dupont product.
But, I think the original problem was me forgetting to wipe the epoxy off prior to sanding. I knew better but just forgot. what happens is without wiping, the "blush", [slight waxiness] That forms on cured epoxy was ground in by sanding, then "floated" to the top with each coat of primer.
So I wiped each piece off 2 times with Prep-Sol, then sanded, then a third wipe, then a coat of primer-sealer, then straight to base coat, then directly to clear coat with no sanding in-between.
So one little brain fart created a lot of extra work.
The other issue, in my effort for close tolerance the second trim piece wouldn't fit on the fixed portion of the rear hatch. It fit when the plywood was bare but I guess between epoxy and paint, the gap tightened up enough that it just would not fit. So I skipped that, but should have taken the paint etc... into account when fitting up.
Of course there were 3 screw holes in each side on the fixed part so after installation I had to putty those up, sand, tape everything off and rattle can base and clear both edges. Grrr...
The other small thing was I really wanted the lines in the rubber to match up and took great pains to do so when cutting them. Well the front 2 hatches and the rear hatch match but the center section is about 1/16" off. The problem is/was, once contact cement is on both pieces, once they touch, there's no adjusting. None. But it's probably only noticeable by me, so, "Oh Well".
Next up, Dyno on Wednesday. Really curious what that shows.
As my original horns sounded like the bleat of a sick goat and wouldn't scare a fly off the hood, I upgraded, [replaced] the horns.
I checked the connections and 12v. there so it was def. the horns. I ordered a set of Hella which went in fine and sound decent as well as loud enough. Plug and play, no extra relays needed and factory wiring snaps in place. I think $35-40 so cheap enough.
I did make one little mod, a relief cut so I didn't have to go to service-mode to get then in.
I hardly ever find a need to use my horn but when/if I do at least it will be heard.
Patiently waiting for my dyno appointment.
robj
In case you didn't know what a horn looked like. I did use the oem factory brackets as they were a little heavier duty than what came with the new ones and I had already painted them. And, I had mounted them without taking a photo. Duh...
Model number if you're interested.
My little "cheat" to avoid a lot of unbolting. A little rub of flat black and no one will notice...
I was supposed to go on the Dyno on Wed. but they had to cancel so today it was. I was figuring that stock, 168H.P. [at the crank, new engine] and a 17.5% driveline loss [29.5 H.P,, so call it 30] would result in about 138 H.P. at the wheels in stock trim.
I have a 2005 Mini S, 165K miles with a recent, [1500 miles ago] supercharger service, plugs, wires, all new sensors, with a Madness Motorworks CAI with the open back panel, a 15% pulley and Borla "Aggressive" exhaust. [Not that loud, sounds just right to me].
The first run was the best but initially I just about sh*t as it was displaying 139.9 H.P. and 150 Ft.Lbs. [the first graph] Quite a bit lower than what I was expecting from reading the results of others. Then the operator explained that they use a "Mainline Dynolog Chassis Dyno" which reads at least 20% lower than the typical Dynojet which many shops use. He ran the numbers using the "Dynojet Correction" of 23.7 [est.] and that result was 163.8 H.P. and 173 Ft.Lbs, much more in line with what I was expecting and more like what the seat of my pants was telling me. I especially liked the torque figure as for scooting around my local country roads, that's the "seat of the pants" feel that we know and love.
So all in all, a 25H.P. gain from stock, again, estimated]. It was running pretty rich around 12 after starting out at 14, so leaning it out a little could result in a slight gain. He also mentioned the there seemed to be a bit of a delay in the boost and I was considering a "Detroit Tuned" Bypass valve anyway, so that might be the next thing.
I also have 380cc injectors on the bench, but I was thinking about getting a "Tune" from "Adrianci", Then back on the dyno, then the injectors if Adrianci would do a "mini-tune" afterward to account for the injectors. But the byPass Valve will be the first/next thing.
Without further adieu, the results are below; The original "non-adjusted" runs. They actually did 4 pulls, 3 in a row with the first being the best, then a half-hour cool down and a fourth pull which was close to the first run.
Corrected to "Dynojet" numbers.
I'll post a video as soon as I figure out how. Also, I ordered the "Detroit Tuned" bypass valve last night so we'll see what that does for the seat of the pants. If the butterfly fits tighter might generate another 1 HP...
I'm pretty happy with the results, esp. the torque numbers, as that's what you "feel".
That sounds typical of what I have read in other dyno threads and most people will say they are only good for looking at differences; a before and after doing something to see gains or losses. Dynos are all different and perform differently depending on the time of day and phase of the moon. So, getting an absolute reading is a guess at the best. Sounds like your shop is well versed in this and has probably taken a lot of grief from people who don’t know this.
Glad it matches the Butt Dyno...
The GEN I JCW was something like 208 hp from the factory. So about 180 at the wheels? I’m sure I have seen a dyno thread somewhere on NAM... Might be interesting to see what others have gotten.
"The GEN I JCW was something like 208 hp from the factory. So about 180 at the wheels? I’m sure I have seen a dyno thread somewhere on NAM... Might be interesting to see what others have gotten."
Although not a math whiz, if using the 17.5% drive line loss, that's 36HP. So 171HP at the wheels??
Although the numbers are interesting, what I really wanted was a baseline for future modifications. But the 175 Ft.Lbs of torque is what you really feel in "sporty" driving.
Any hints on D/L a video as I'm a computer dumba**...
I apologize to everyone for my lack of recent posts. There are a number of reasons;
1. It's running very well with no issues so I'm having fun just driving it. [except for the last 2 weeks- see #5]
2. The Detroit Tuned Bypass Valve is still on the workbench. I'm working on it.
3. Busy "restoring" a 1960 rowboat for my daughter and son-in-law. They bought a new house with a big pond. The rowboat was a house warming present... due a year ago!
4. My best buddy bought an old pilothouse sailboat and I've been busy making parts for that.
5. And last but not least I dropped a 5 pound block of steel on my big toe and really F'ed it up. Two weeks ago and just drove the Mini for first time. [clutch foot] Going to a car show tomorrow so getting better.
So, after rowboat and friends sailboat, hopefully I'll get back on schedule.
Until then, stay safe and wash your hands.
Sorry to hear about the toe, Rob! Glad it's feeling better. Was talking with a coworker about shoes and he made the switch to safety toes after dropping a brake rotor on his toes. I was actually out working in regular shoes, today. I usually wear my safety toe work boots.