When you click on links to various merchants on this site and make a purchase, this can result in this site earning a commission. Affiliate programs and affiliations include, but are not limited to, the eBay Partner Network.
After a few posts about my $500 Bargain Mini, it was suggested I do a "Build Thread". I'm closing in on 68 years old so if there are a few blog transgressions here, well, get over it...
To digress, I had always wanted an original Mini, at least since I was a kid and rode my Swinnn Stingray bicycle to neighbors about 5 blocks away to sit at the end of his driveway to look at and discuss with my buddy Larry the non-runner tha neighbor had, This was just after a Mini had won the Monte Carlo Rally. I always rooted for the underdog.
Fast forward 55-60 years and now the originals are 20-25K for one that's not a POS.
When I heard that BMW was bringing out a "Mini" and they we going to be featured on the morning show, "Good Morning America", [I think] in 2001-2002, I forget, I went into work late the watch and they actually had 2-3 of them parked on the street outside of their studio. OK, they weren't the originals, and they were a little porkey looking but close enough.
Fast forward to 2018 and my neighbor has one that he drove for 155K miles and parked due to a tensioner and belt failure. I drove past it for 1.5 years until finally I asked him what he was going to do with it. Well it was eventually going to salvage, [$400] so we struck a deal for $500. [I also take in stray dogs]
A year ago I bought a 2002 Chevy 2500 with an 8.1 liter engine with 58K, mint, and I mean mint condition. This issue is with 497 C.I., that's just about what it gets, 8.1 MPG. So I figured between the mini and the truck I'll average about 28 MPG and I'm good with that, and, I don't drive far.
Being an old "hot rodder", street racing a '57 Chevy in high School, I'm not completely new to spinning wrenches, but that being said, my "boy racer" years are pretty much in the rear view mirror.
So my plan was, take care of the deferred maintain from the P.O., [prior owner", add a little more than stock in the oomph department and address some of the BMW engineering , let's call it what it is, "failures"
So, I'm going to repost some of the prior posts I'm made and add to it. If anyone has any suggestions of a better way to proceed, I'm all ears.
[My original post] Another new guy. 2005 R53 S. Bought it from a neighbor for cheap. It had a bad idler pulley, threw the belt and sat for a year. Put a new battery in and even after sitting it started right up. Currently apart for supercharger service, 15% pulley, water pump, T-Stat and housing, along with new hoses. Alternator was stuck so new one of those along with a belt tensioner, belt and colder plugs. While everything is apart a knock sensor and a crank position sensor. Oh, also rotors and pads along with parking brake cables. So cheap isn't quite so cheap anymore with taking care of all the P.O.'s deferred maintenance. Waiting on a few hoses so a little cleaning up was on order. Foaming aluminum cleaner and a fine wire brush. Waiting on some Por-15 for the block. Some re-assembly required!
Anything else I should be looking at while it's all apart? Thanks, rob
P.S. The POR-15 came in and the bottom photo is tha cast iron engine block painted.
The saga continues. New Bargain Mini, some details found here; https://www.northamericanmotoring.co...rgain-r56.html Bought from my next door neighbor, threw the belt, [bad idler pulley] he had it towed home where it sat in his driveway for about a year. I couldn't stand it any longer and gave him $500 for it.
And I take in stray dogs as well.
Anyway after a thorough look, I ended up ordering about $2600 in parts, [and climbing] The last tow job broke the bottom of the bumper cover, the radiator support and the belly pan. [and crushed the bottom of the radiator, [Rock Auto] After spending all that on hard parts I was reluctant to spend a bunch on plastic. About $300 after market, who knows, OEM?
As my current big project it restoring a 30' ChrisCraft, I thought I'm pretty familiar with epoxy and F.G., I can fix this.
A large chunk of the spoiler was missing and what was left had sooo many scars from bottoming out. I live with country roads with a high crown so 2 - 3 inches of clearance is not the way to go.. I could see me making that worse with parking lot stoppers, etc... so I cut the spoiler off and epoxied 3/4" plywood plates for support where the cover bolts to the frame as the spoiler was part of the attachment.. The result was stronger that OEM. So, epoxy and mat works if you would rather buy hard parts than plastic.
P.S. The inside of the bumper will get painted flat black before installation. Outside will be gloss black with a blue body. Maybe folks will think it's carbon, ha! Plus I had some gloss black on hand., The roof and mirrors are black some it almost seems intentional!
After all it is/was a $500 car, [now 3k] but who's counting...
As one of the axles has a torn boot and feels a little rough I'm replacing both. With 155K it was suggested it would be a good time to look at the ball joints and Lower Control Arms.
My question for both is how loose is too loose?
Obviously if they're flopping around [ball joints] there's no question but how tight should they be,? No movement at all?
For the LCA's, any lateral movement at all? Or is some normal due to the rubber bushings?
Thanks,
robj
P.S. After taking the Ball Joints out there was at least 1/16 up and down movement so they were shot. All new ball joints and Lower Control arm bushings.
PPS Sorry I'm loosing some great replies from these prior posts. Just trying to "catch up" on the build thread!
Back again. Had an oil leak at the front of engine at the cylinder head. Thought it was the valve cover gasket but right below the gasket looks pretty clean. I'm now thinking the Cam Position Sensor O-Ring. Especially as everything else with an o-ring seems to leak on these guys.
I can get the Sensor or just the O-Ring. Does the Cam P.S. have any history of going bad? Blue car has 155K on the clock.
Think I should go ahead and replace the sensor or just the O-Ring?? Any trick to that or does it just go in one way?
One thing, this will sure make the belt tensioner installation easier. Thanks, robj
P.S. I ended up replacing the entire sensor considering the miles and how difficult some parts are to get to. Also, as any part with an o-ring, seems prone to leaking, I took the advice of another member and I've been putting a tiny film of gasket maker around the area of the o-ring. I'm also cleaning the opening where it goes with a rag and alcohol.
So the prior owner, [from here forward known as P.O., or more affectionally, Dumb *ss], put a dumb sticker of the inner fender where the Vin sticker is located. [correction; paint code] I'm big on stickers but only on my shop beer fridge so I pulled it off. [In an effort of transparency it was a "Pelican Parts" sticker. Love them but now hate their stickers.]
The sticker left the glue behind and using what I thought was the weakest solvent, [alcohol] I tried to remove the residue and it took the paint off! I have never seen this before. Lacquer thinner, sure but never alcohol!
So, be careful. Probably should have gone with simple orange or whatever it is but live and learn As to me under the hood is just as important as above, I taped it off, scuffed it up and painted. I used touch-up spray from www.theautopaintdepot.com and I have to say it was a nice match and sprayed in a nice atomized mist. I'm not sure I would want to do a fender or hood with a rattle can but it worked well here.
Anyone else have issues with what seemed to be mild solvents and Mini paint?
Oh well, all's well that ends well. Just another well spent evening in the shop.
robj
PS As the area where the sticker was turned out so well I also painted the frame horns as they were pretty dinged up and "grungy" and are actually visible when the hood is raised.
Edit; So a shout out to "The Paint Depot ". Although pricy and I wouldn't want to paint a hood or a door, but for little stuff it sure beats mixing then cleaning the gun. I had a can that sprayed a little "funny". I was ably to use it as I was painting the disc brake dust shields which laid flat, but I had to use it in short bursts. I wrote to them for suggestions as I knew I had shook it up well, and cleaned the tip, etc.... They asked me a few questions, yes, it was a new can and yes I shook it up well and they sent me a new can without me asking. Like I said pricy but good customer service, that's for sure!
I removed the supercharger and water pump for supercharger service as one unit, that is not removing the water pump separately.
I put the water pump back onto the supercharger but now I'm wondering, should I install the supercharger first, then install the water pump? It looks like it might be easier to manipulate everything installing as 2 separate units.
I tried bolting the S.C. and the water pump up separately [before torquing everything] and it was definitely a no go.
They have to go on as a unit and there's just enough room to tighten the two [2] 6mm that hold the water pipe inlet to the block. You do need to torque the water pump to S.C. bolts first as you can get to 2 of them but not the third, [at least not with my torque wrench].
As JAB suggested the water pipe bolts were left just loose enough that it could move a little and the pump slipped right in. The small hose I had attached on one end, [toward the metal pipe] and used a tiny bit of dish detergent on the other end and that slipped right in at the same time.
Don't forget to put the clamp on the hose fro the pump end before installing everything. It's much easier to do both at once as opposed to putting the small hose on later.
All in all it went on quite smoothly.
So now, one less thing. It's nice to be putting things together as opposed to taking them apart.
In refreshing everything on my 155K mile, new to me Mini I read the posts regarding the OEM balancers disintegrating. So, as I really want to do all this once I ordered an OEM type[with a 10 year warranty, for whatever that's worth] as at this point I couldn't see $300 plus for a really good one.
I pulled mine off and not only did it look good there isn't one drop of oil from the seal. The P.O. tossed all his receipts and has little recollection as to what's been done to the car.
I have the feeling this is a fairly new replacement pulley and oil seal. Looking at the photos can anyone tell if this is OEM or a replacement?
Edit; I never got a reply to this but my gut feeling is this was a replacement balancer.
[I was contemplating if I should replace the crankshaft seal or not as it didn't appear to be leaking]
Well my hand was forced with the seal when I realized I had bought the seal for a later model. Maybe fate was telling me, "if it ain't broke don't fix it".
I did put the new balancer on even though the one I took off looked like it was pretty new. The OEM type I put on has a 10 year warranty so maybe it's made a little better.
Anyway, I paid $500 for the car and am up to about 3K in parts. I figure the balancer is pretty easy to get to so no big deal if it needs another, but with 155,000 miles on it now it might not end up my problem anyway.
So other than bolting on the new Alternator , A/C compressor and the new radiator the engine is pretty much cleaned up and buttoned up. They are nice looking engines with the supercharger. It's a shame it's all hidden from view!
So far, Supercharger serviced , wire brushed, cleaned and clear coated with Eastwood Metal Clear, %15 pulley, new Water Pump, new Crank Position Sensor, Cam Position Sensor and Anti-knock Sensor, Cleaned Throttle Body, all new Hoses, Thermostat and new Aluminum Thermostat housing, new Belt Tensioner with Alta Tensioner Stop, new Belt, new Damper, Oil and Filter. new Alternator. A/C compressor cleaned up and C.C. New colder plugs and new plug wires.
Engine and Transmission Mount Castings bead blasted and painted with Alumia-Blast, new engine mount. Madness Mini Cold air Intake. Every nut and bolt polished with a wire wheel and clear coated. Pretty much all the aluminum engine parts wire brushed and C.C. Engine Block cleaned and painted with Por-15. Frame rails and frame horns at the end of the rails sanded and painted. Intercooler ends polished and C.C.
New Pads and Rotors, new parking brake cables x2.
Broken Radiator Support repaired, cleaned and painted, [to be installed] Belly Pan repaired and painted, both grilles cleaned and painted. OEM Scoop for Power Steering Pump, [to be installed after axles and suspension bits]].
To do; Axles, possible Ball Joints, possible Control Arm bushings. [Maybe the whole set in Poly?] One Ball exhaust Mod.
I think I'm going to decide about struts and shocks after I've actually driven it further than from my neighbors house to mine, [about 100 yards].
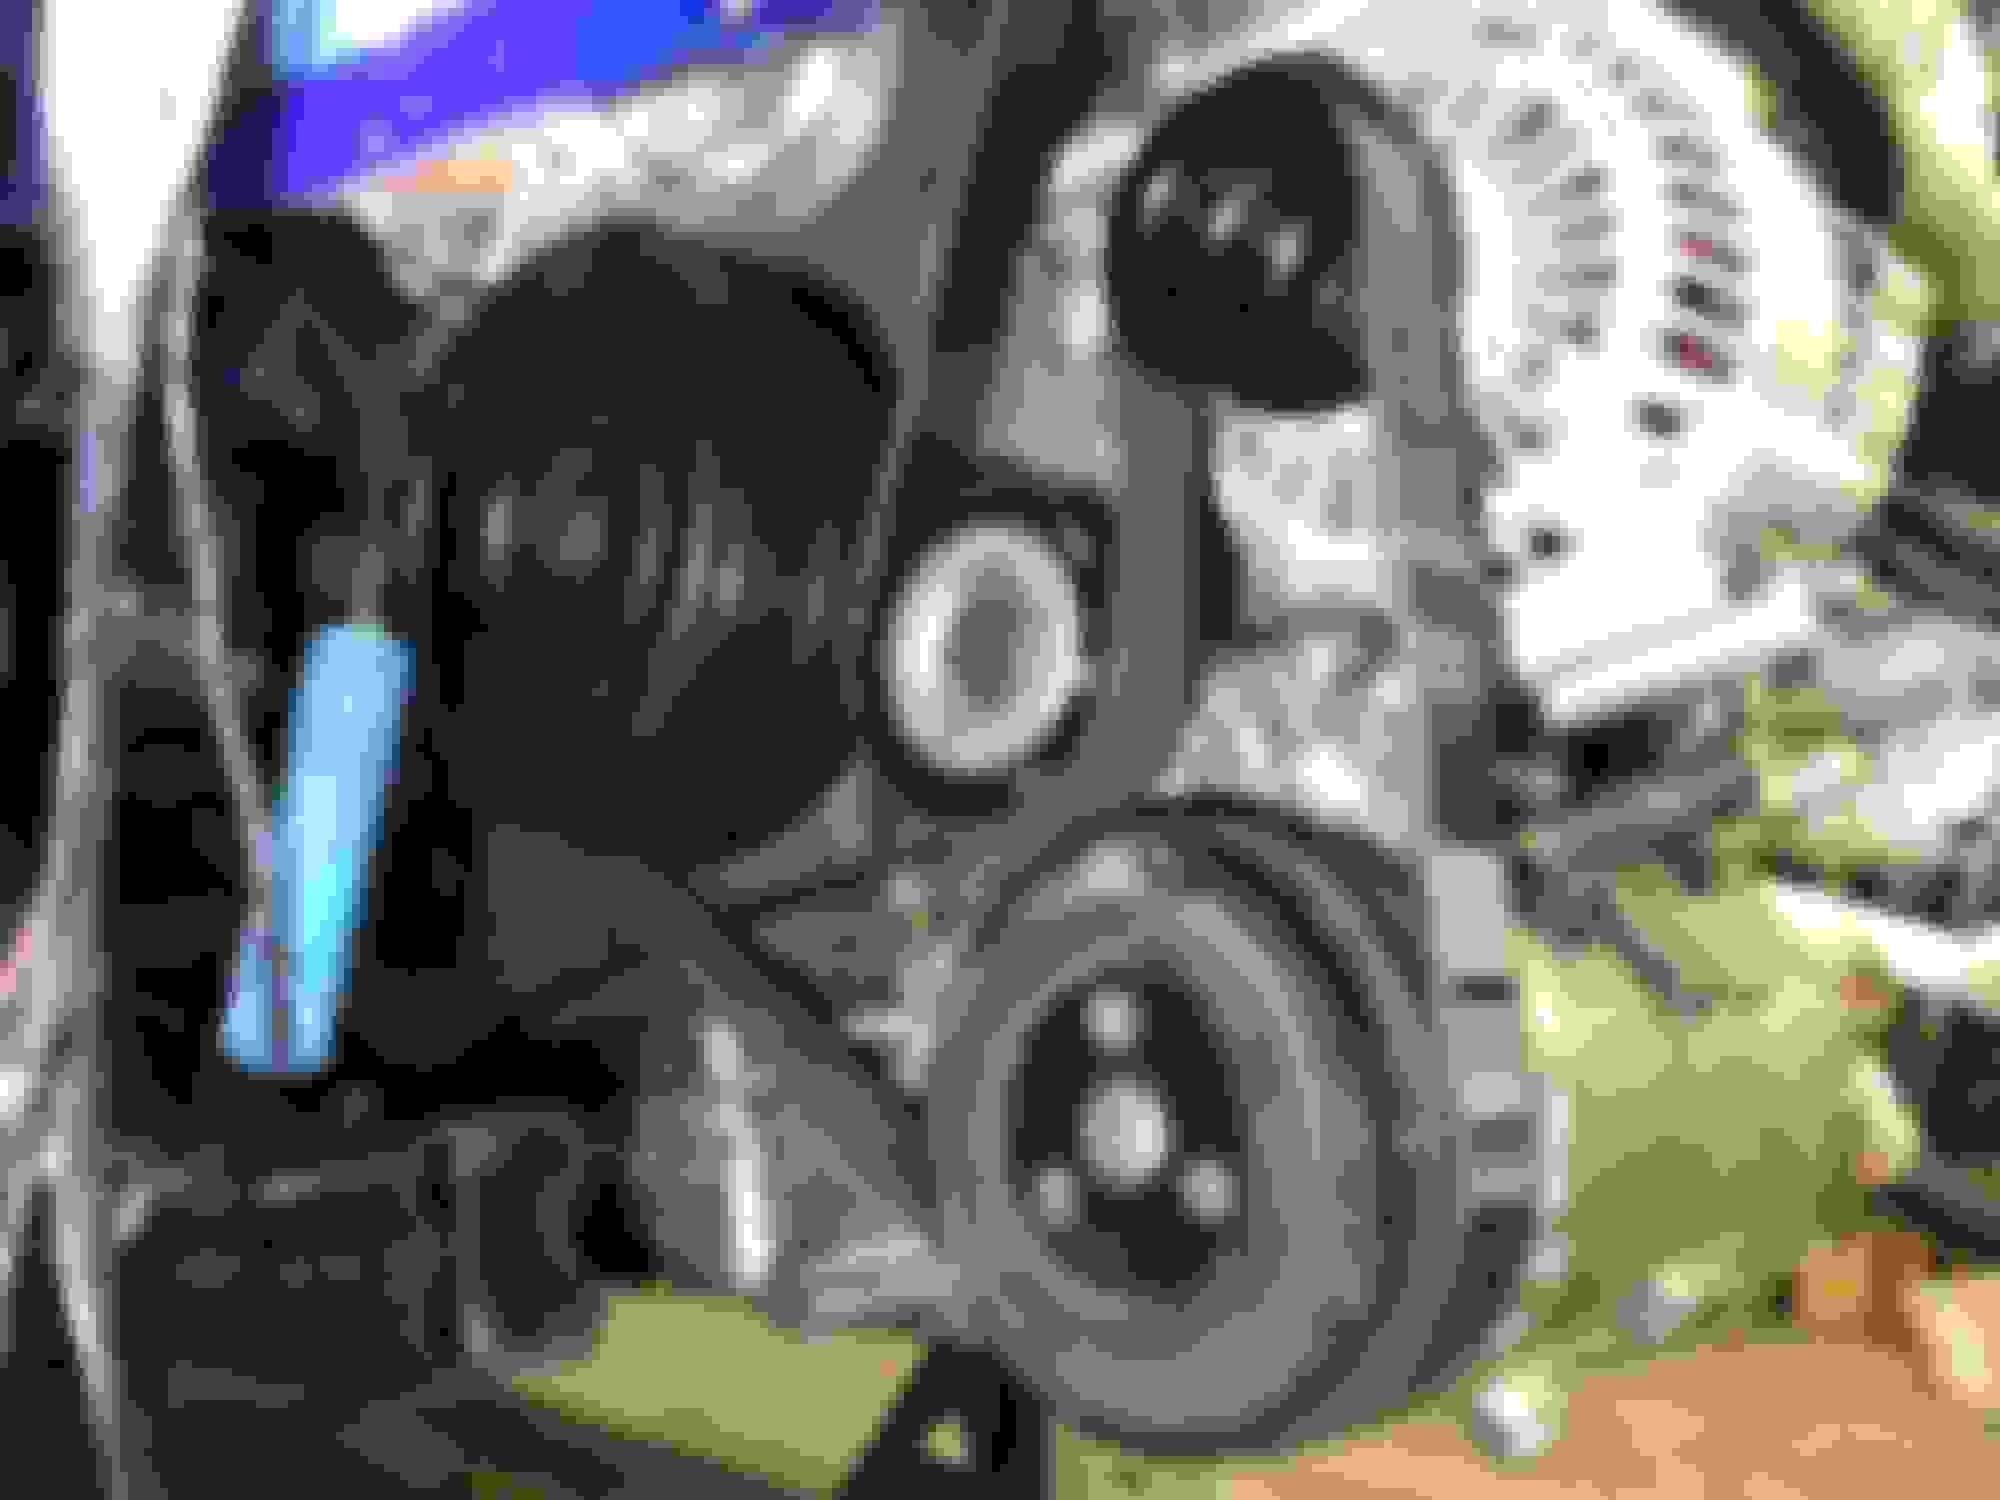
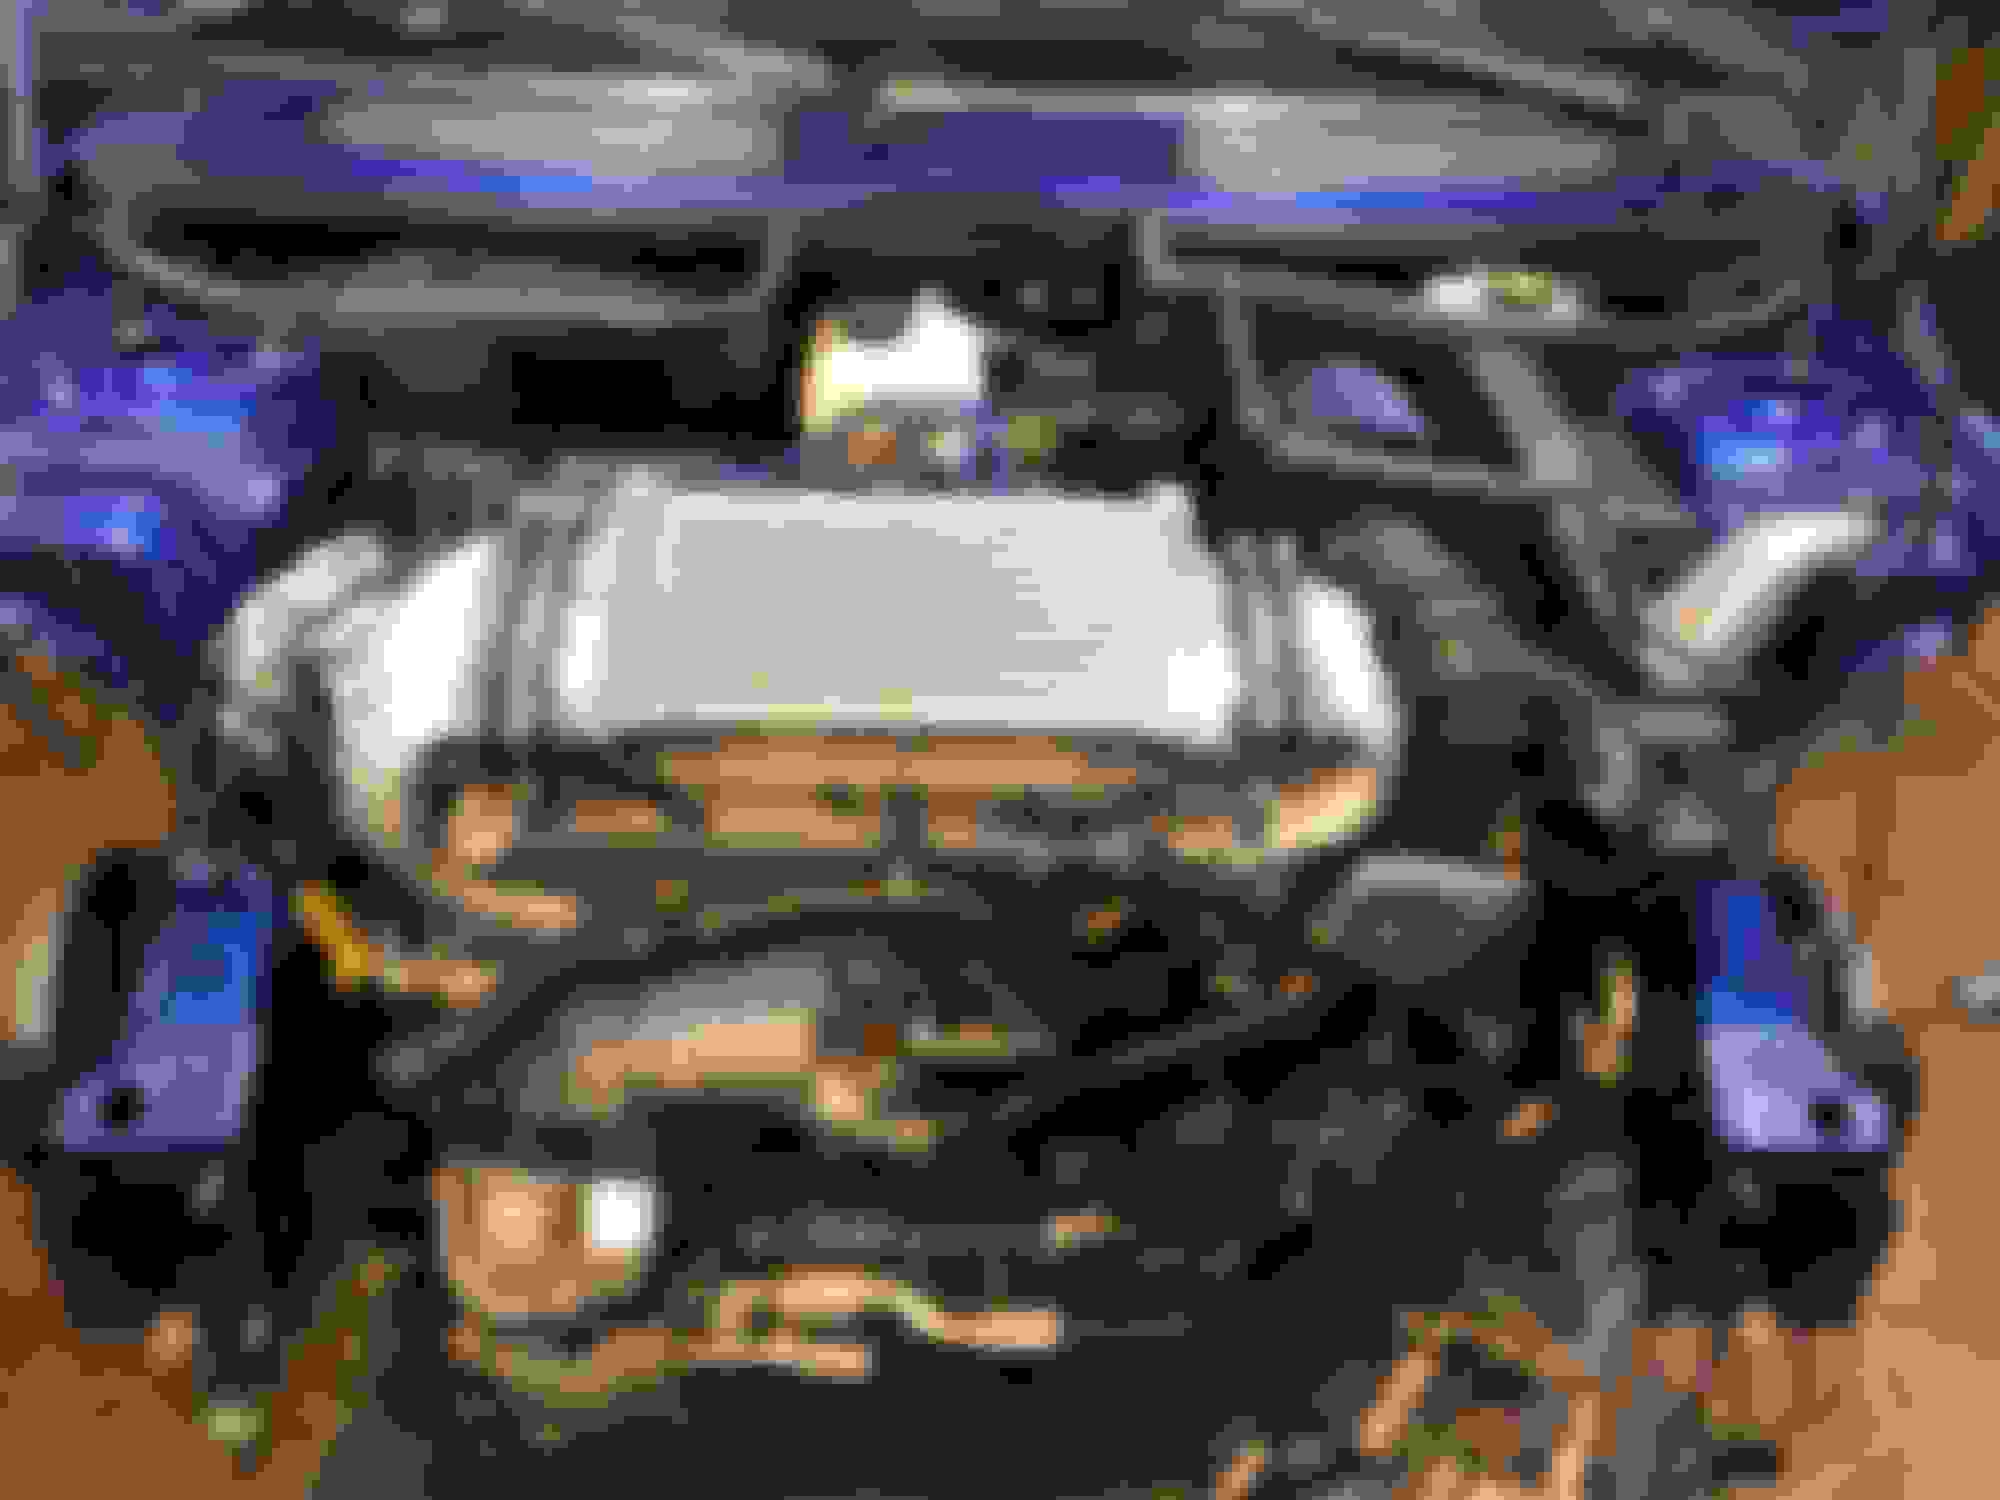
But at least the engine is pretty much buttoned up. Kind of a crappy photo but you get the idea. Maybe I'll try to take a better one. I was on my way out the door. robj
Edit; Ended up getting new Bilstein shocks, all new ball joints and poly LCA Bushings...
A better engine bay photo. Took a little longer to do all the P.O.'s differed maintenance with wire brushing and clear coating all the various parts but I think it was worth the effort. It started out looking pretty crusty as cleaning was also something the P.O. "deferred".
Looks pretty decent for an '05 with 155,000 miles if I have to say so myself!
Next up; axles and suspension. Oh, and the belt, didn't get to that last night.
And a big thanks to this forum and to Pelican Parts for their 'How To's' . Both have been a great help! robj
I followed the directions carefully placing the stop on, replacing the stock damper, without tension, then when installed lengthened the stop until slight resistance is felt then giving it 1/2 additional turn. The belt is routed correctly and seems to be seated on all of the pulleys.
My concern is; #1 the belt seemed somewhat tight to install but with the installation tool it did go on. #2 once installed, the hole in the post where the pin is installed to hold the tensioner in position for installing the belt is above the portion of the tensioner the pin normally rests.
Is this common with the shorter belt sold with the 15% pulley kit? Thanks, robj
This is what I was trying to achieve in the first place.
Remove that and reinstall the tensioner shock.
That fixed turnbuckle doesn't allow the belt to stay tight under load or at higher rpms as it is fixed so the tensioner can't move out and keep it tight. And if you try to tighten it up it will be too tight at idle and low rpm harming bearings and such.
With the engine pretty much buttoned up, on to the axles and suspension. I checked the ball joints and they were definitely loose, [1/16 up and down play on the outer] so all that's being replaced, along with new struts, strut bearing, pads, sway bar links, etc...
When removing the axles, I saw the splines had "rust dust", obviously a sign of wear. I couldn't feel any looseness but unless the spline is about to fail I doubt the wear can be felt. The bearing did feel smooth though.
Having come this far I ordered new wheel bearings and hub assemblies to go with the new axles.
The question is, should the splines be lubed [I assume they should be] but with what type of grease?
Thanks, robj
PS I won't post the responses but the consensus was, they don't need grease to function but some grease or never-seize will reduce rusting and make future removal easier.
What's that song, "one thing leads to another"? Engine pretty much done. Checked ball joints, [sloppy] 155K miles so might as well do struts, strut bearings and hubs to go with the new axles. Ball joints, Poly LCA bushings, and what the heck, poly sway bar bushing and links.
So here we are... But the wheel supports and caliper brackets are bead blasted and painted pretty so that's something. And all that cost was a can of paint! robj
This is the kind of trouble you get into while waiting on parts and have a bead blast cabinet. Color matched dust shields and metal clear [so they don't rust] on hub bearings, [no, the bearing weren't bead blasted, just cleaned real well with alcohol]. Of course the inner cast section of the bearings were taped off and painted with the same POR-15 stainless color I painted the steering knuckles with... And I even found stainless metric torx screws for the dust shield on McMaster-Carr, so of course, why not?
Someone stop me...
Robj
P.S. I sent these photos to one of my garage buddies. He said, "take a pill". I replied "I don't think they make a pill for what I've got". $500 Mini..Right.
So, I think I'm moved most of my prior post from Hatch Talk to this build thread. I'm sorry I couldn't take the time to repost some of the great replies to the posts but if you're real interested they are still in Hatch Talk.
Hoping I did all this correctly.
At this point I'll attempt to make my posts a little more "instructive" including problems I ran into and how they were solved.
Next up; Stripping the sub-frame and broken bolts...
So in the process of removing the subframe as I was installing new struts as well, I removed the steering knuckles from the strut. Passenger side, piece of cake. On the drivers side, the impact just bounced on the 12mm bolt holding the strut to the knuckle.
I tried a breaker bar and didn't budge with medium weight on it.
I learned long ago, "heat before hammer" so I heated up the threaded side pretty good, [at least what I thought should have been good enough]. Tried the impact and again it just bounced.
Put the breaker bar on, put some weight on it and the head snapped off the bolt! Whaaat?
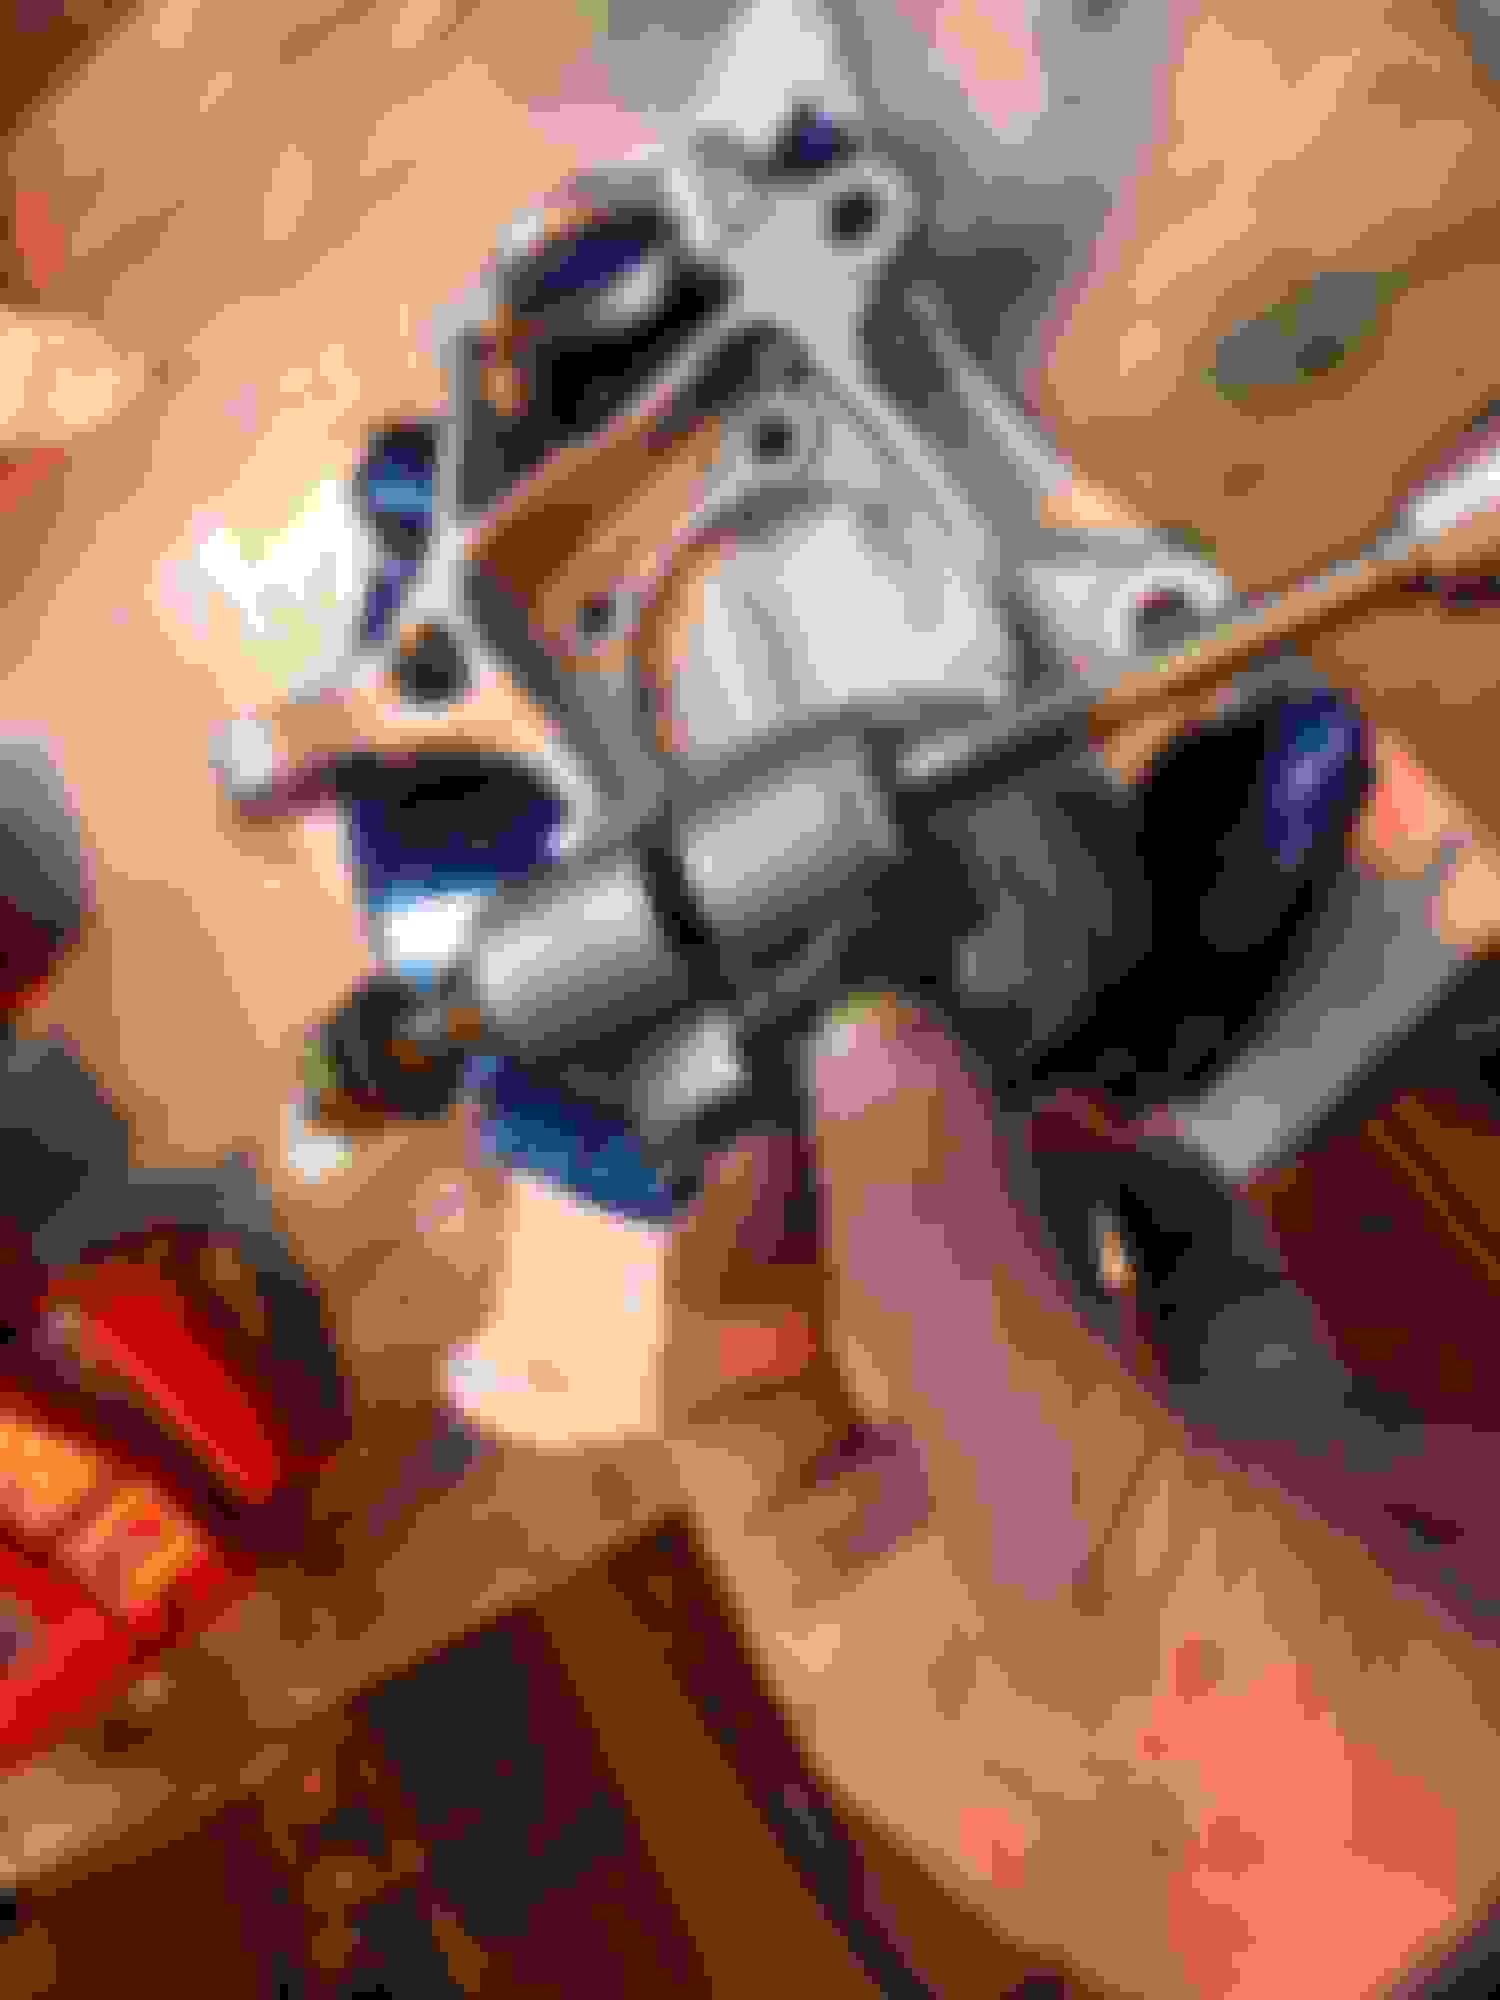
When getting the broken bolt out, [first cutting it in half through the slot] I realized the threaded side was more or less free. It was the non=threaded side that was stuck! I'm not sure I had ever seen that before. The non-threaded side was a very close fit to the bolt, enough that over time it seized, and seized really good.
The bolt is shown going through the non-threaded side. The little chunk was the piece seized on that side.
So, a word to the wise, If these bolts are stuck, heat both sides as theres no way to tell which side [or both] might be seized.
thanks,
robj
With the subframe out, I wanted to remove all the parts attached to have my friend sandblast it for paint. Plus the mounts for the sway bar had to come off for the lower control arm bushing.
After breaking the bolt on the strut mount I proceeded with the utmost caution when none of the 4 bolts came out with my impact.
The bolts go through the sway bar mounts about 2" and into a threaded lug on the frame. I wasn't sure if I could be running into the same situation where the bolt could be seized in the non-threaded portion as well or in addition to the threaded portion .
So I got out the big gun, the oxygen/acetylene rig and heated up the support and the lug, top and bottom. Of course the sway bar rubber bushing started to smoke and burn from the proximity to the heated parts. What a nasty, smokey mess.
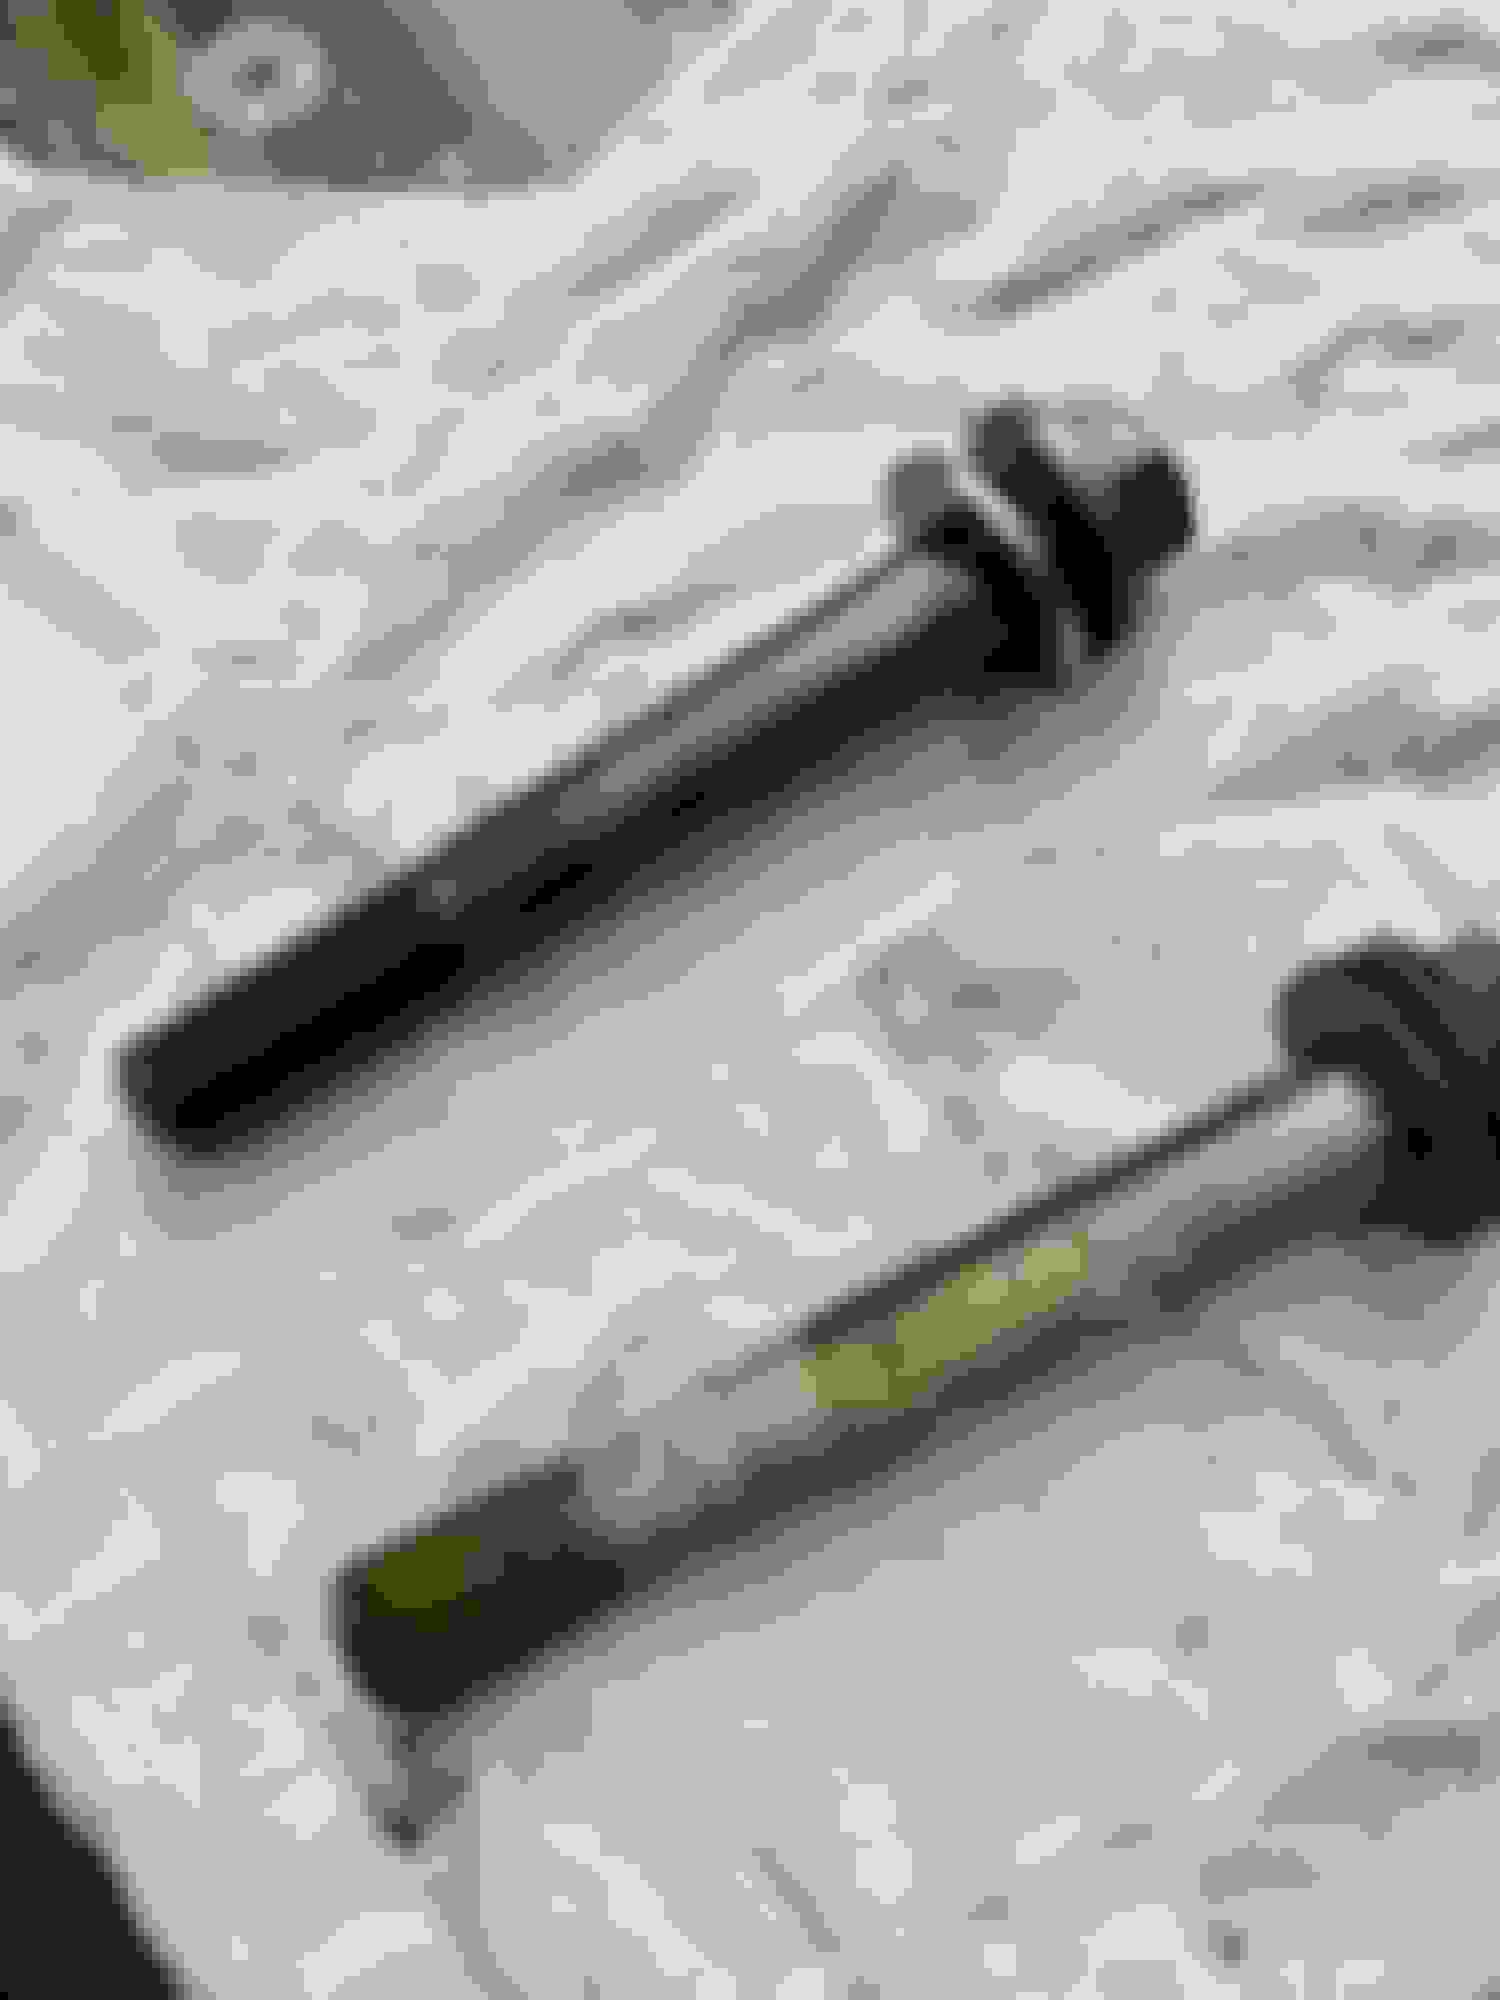
It turns out the fit between the bolts and the mounts here are quite loose [as opposed to the strut mount] and if yours are stuck, you really only need to heat the bottom threaded portion of the lug. But after my previous fun I wasn't taking any chances.
You can see on the cleaned bolt and the one that's not been cleaned it was stuck only on the bottom.
I'm not quite as vintage as you , but am a restorer at heart as well (my addiction is Mustangs). I try to restrict my detail work like this to my project car, and limit myself to maintenance and performance mods on the Mini, but sometimes I'm not as successful at staying focused as I'd like.
While I'm at it are the four most expensive words I've ever uttered.
Husky,
I actually have a 30x80 barn at my house converted into a workshop. The problem is the boat won't fit in it! I'm renting a warehouse space that's about 25' x 50' [but 16' high] and was supposed to be here for a year of so. I completely underestimated the time it takes to do a boat so 2 years later I'm still here. It's in a POS warehouse complex that my buddies call "Thunder Dome", an apt description. There's about 8 different business's here, auto repair, body shop, auto recyclers, and 2 metal fab shops. About half the people here speak English as a second language. It's been quite an experience, that's for sure. I'm the only here not trying to make a living here so I'm the weird guy...
This is known as "Rob's World Marine Division". The barn is just "Robs World", where men are right and women are by invitation only...
I just scrolled through all my photos and don't have one sigle shot of the outside on the barn. I'll have to fix that.
At 155K miles I figured the struts needed replacing and as I've come this far, what the heck?
I read about the shock tower mushrooming and although mine looked ok, I ordered the "Madness Motor Works", strut tower reinforcement plate, [the one that goes under the top on the inside of the tower as that seemed a better reinforcement than bolting something on top].
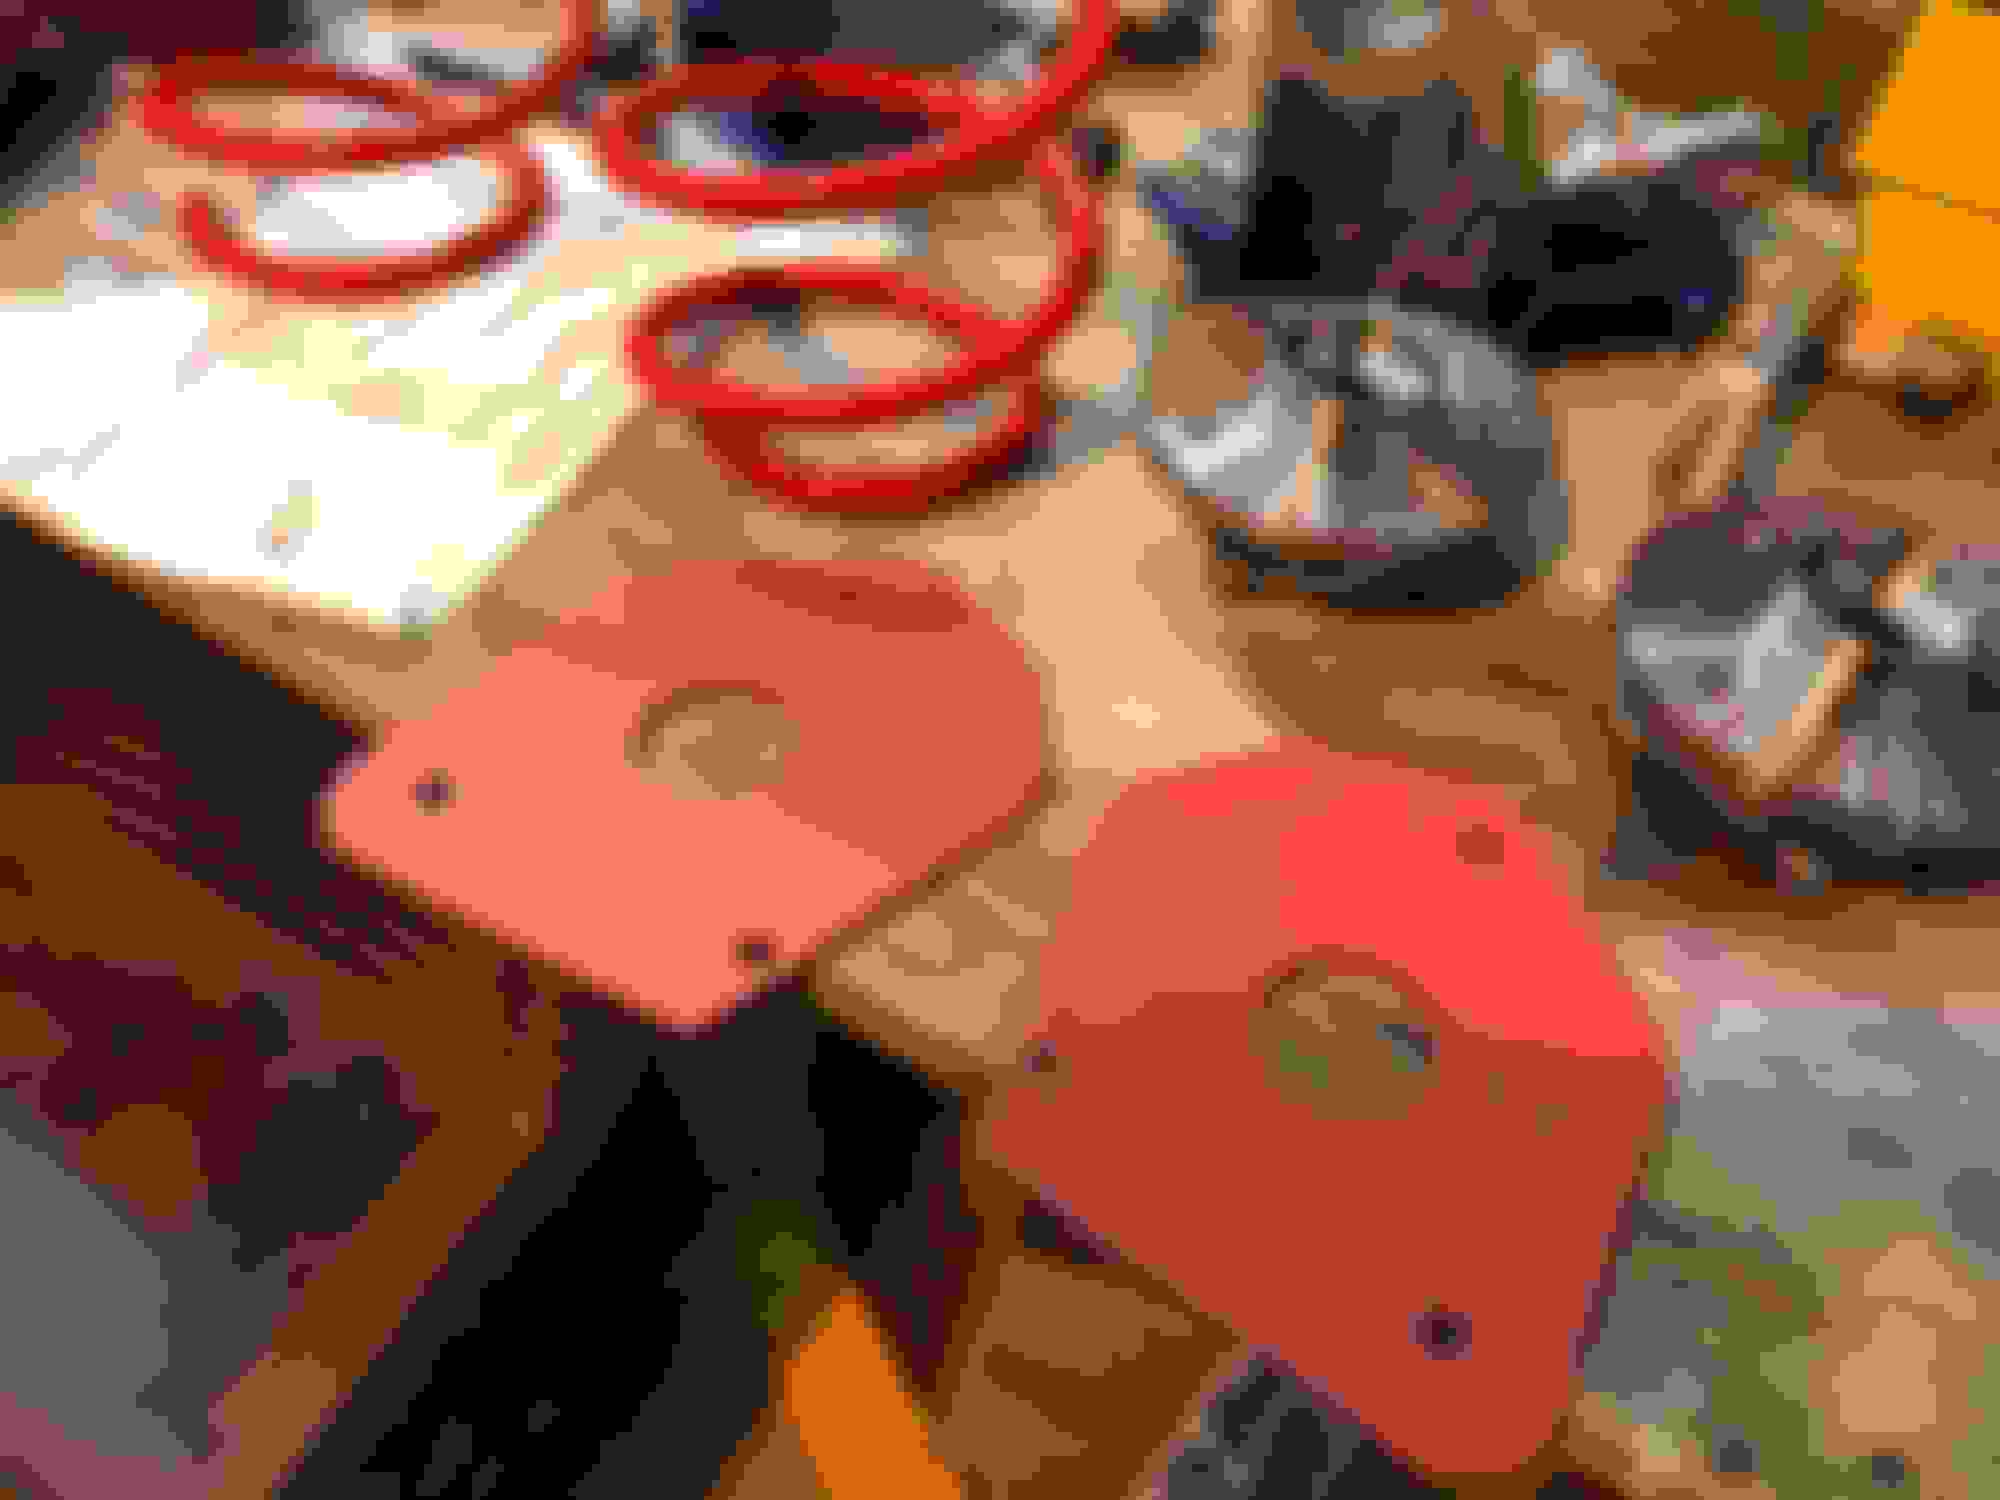
On Friday a friend that had a wall mounted strut compressor took the strut apart for me. I'm painting the stock springs red, just "because" and to match the calipers. [Keeping stock springs as I'm old and live on country roads and I get my insides bounced enough on my Zero Turn mower.]
Anyway, despite the lack of mushrooming, the top of the strut support was cracked. Glad I found it as it would be pretty ugly if it let go.
I had already ordered new ones with the struts but the problem is, I don't see where the reinforcing plate would help prevent this one little bit. Hmmmm....


 , but am a restorer at heart as well (my addiction is Mustangs). I try to restrict my detail work like this to my project car, and limit myself to maintenance and performance mods on the Mini, but sometimes I'm not as successful at staying focused as I'd like.