When you click on links to various merchants on this site and make a purchase, this can result in this site earning a commission. Affiliate programs and affiliations include, but are not limited to, the eBay Partner Network.
So I've got a new key issue and an airbag light issue. I posted questions on both but I'm not sure I'm getting anywhere. I've got a fews bucks to spend so I'm going to try a well reputed independent shop.
To save time and to recap, here's my reply to Husky in "Hatch Talk". In the meantime I'm keeping busy with my Rear Seat Delete" so I'll post about that for a while.
Hey Husky,
These are the things with Mini's that to be honest made me hesitant to start this project. Effing complicated electronics just for complexities sake.
Not that it's not worth it as the car's a blast. I'm a pretty good mechanic/fabricator but computers and electronics, I was on the boat that already sailed before that ship even docked...
I've read a ton of information, half voodoo, half guesswork, and half without enough information to be helpful. [three halves I know]
Anyway I found an independent shop and asking around, they seem to have a solid reputation. So rather than trying to swim upstream in a river I'm unfamiliar with, I sent then a long email about what I've done, just to set the groundwork that I'm not some "rube".
So after the long introduction I sent this;
But, a few issues...
Airbag light came on 2 days ago and I cannot clear the code. Connections under seat seem good. Haven't had the steering wheel off yet.
1. I would like to clear this code and see if it comes back [if possible]. If not I would like the problem diagnosed.
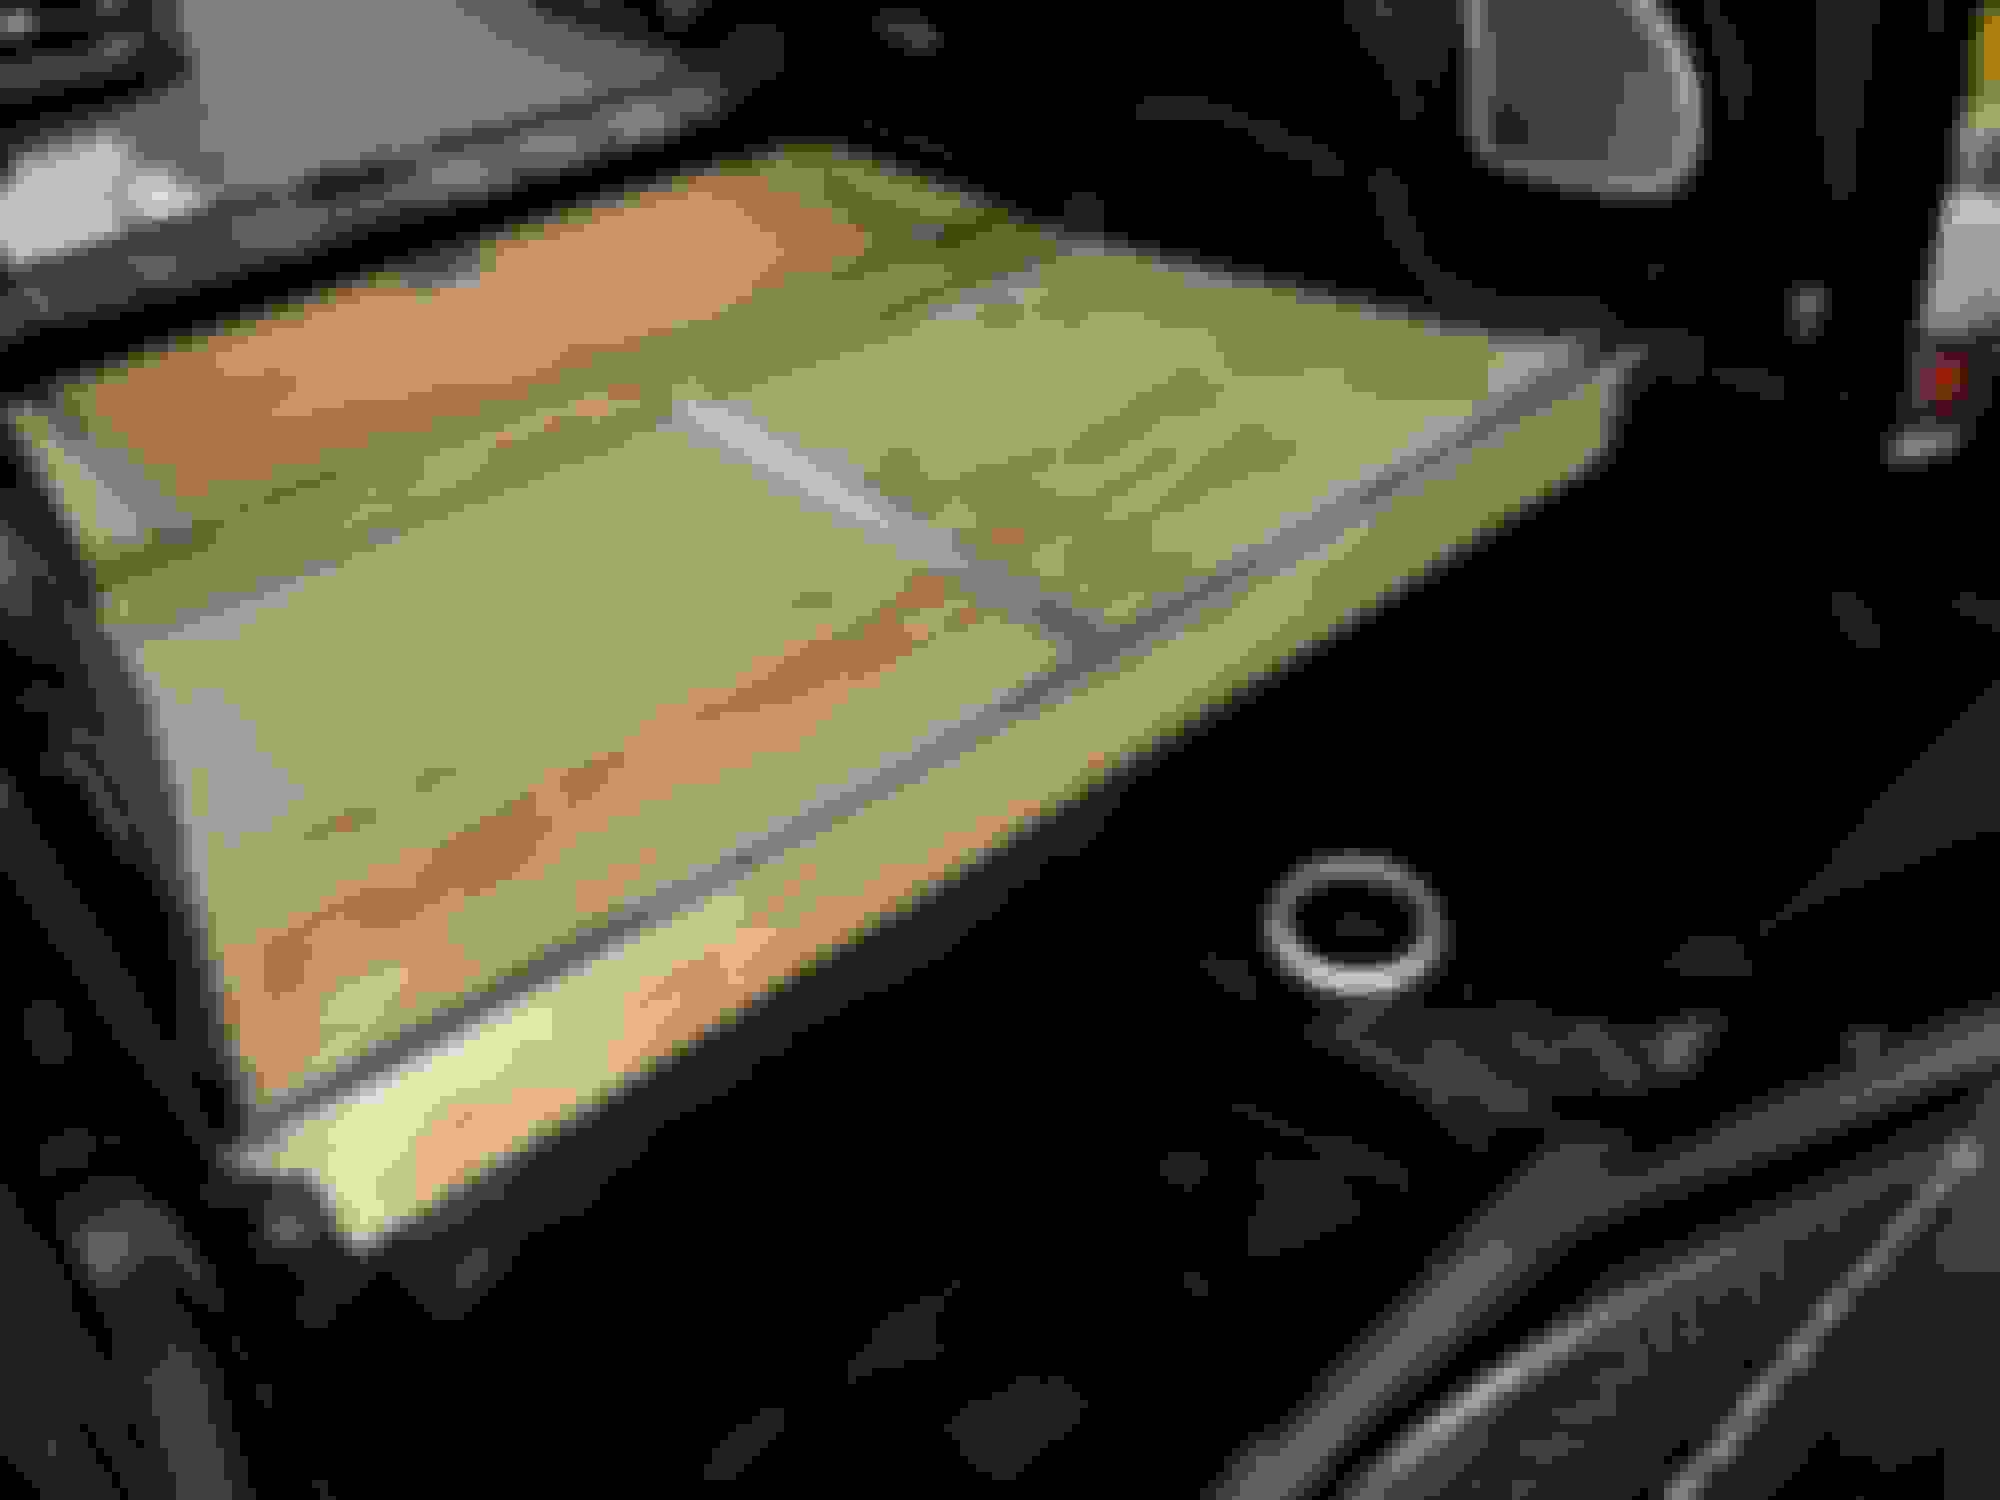
Bought a new key from Towson BMW and it won't work. Tech at Towson Mini said it was probably corrosion at the mirror connection due to moisture. [this deduction from the deteriorated headliner due to age] This was in the service lane and not on a "ticket" so he spent almost no time on it.
I took the mirror off and as I suspected, no corrosion.
2. I would like the new key to work, and/or determine if I need a new mirror.
3. Re-set the "Service Engine Soon" warning. I tried that with the Schwaben Scanner I have but it appears I'm a pretty decent mechanic but suck at computers.
If you're familiar with the Schwaber scanner, I'll pay extra for you to show me how I'm being stupid.
My schedule is pretty flexible as I'm semi-retired.
I wrote a DIY to fix the keyless entry a few months ago. The corrosion is on the actual receiver board inside the mirror. You have to take the mirror apart to get access to it. I had the same issue with no keyless entry working and this fixed it. Here is the thread for that (the diy is a few posts in): https://www.northamericanmotoring.co...diagnosis.html
I wrote a DIY to fix the keyless entry a few months ago. The corrosion is on the actual receiver board inside the mirror. You have to take the mirror apart to get access to it. I had the same issue with no keyless entry working and this fixed it. Here is the thread for that (the diy is a few posts in): https://www.northamericanmotoring.co...diagnosis.html
tej,
Thanks for that link!
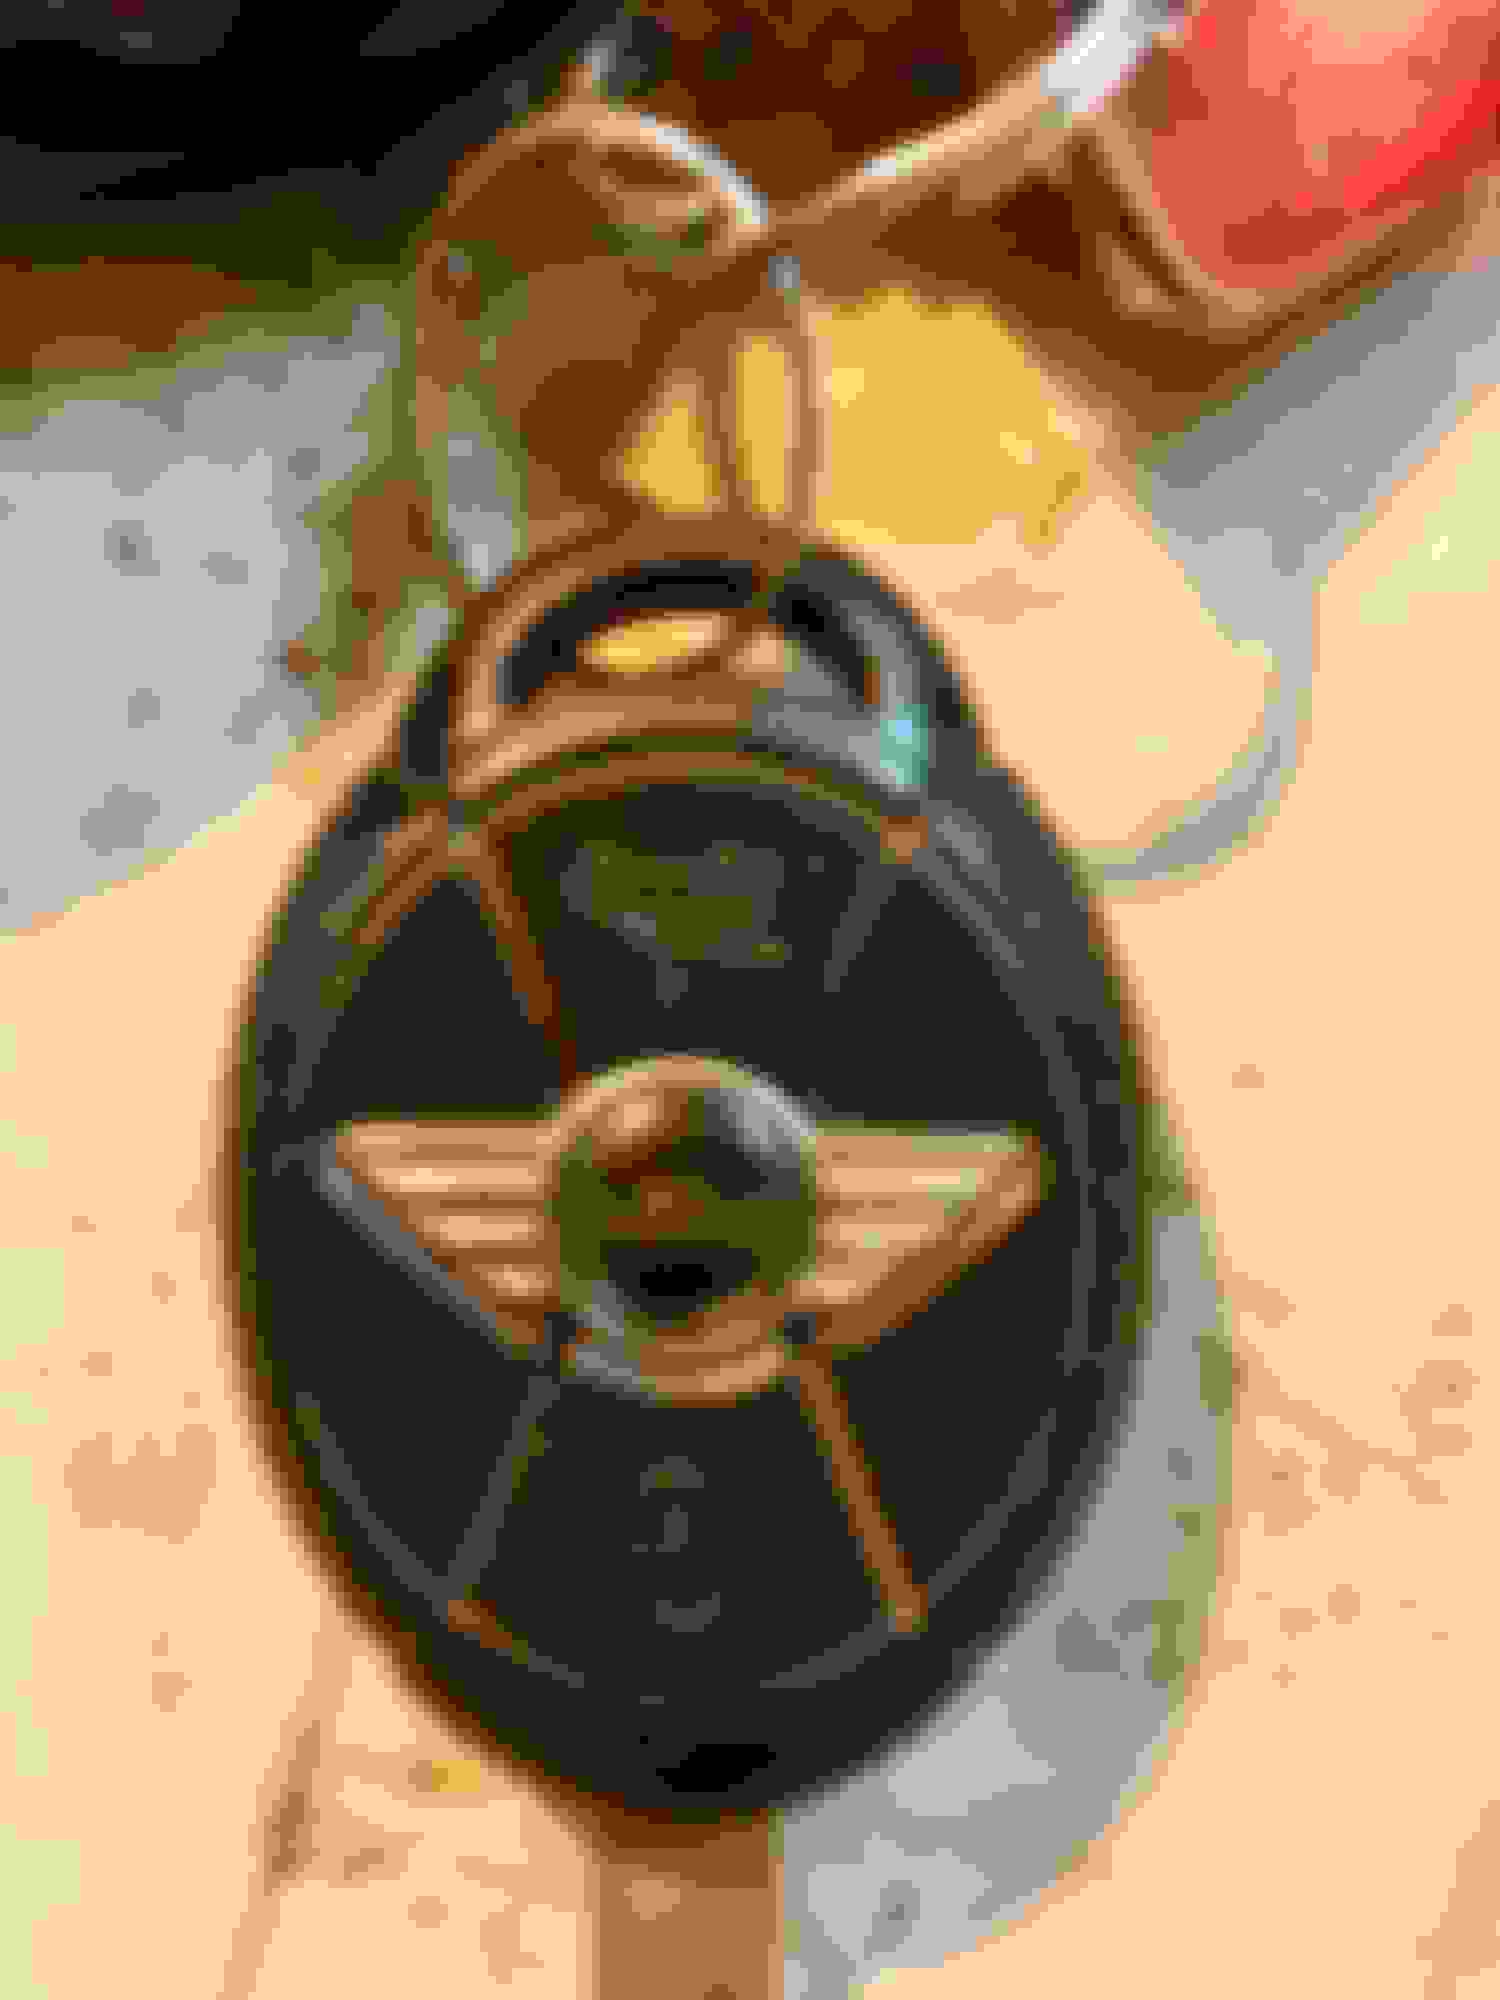
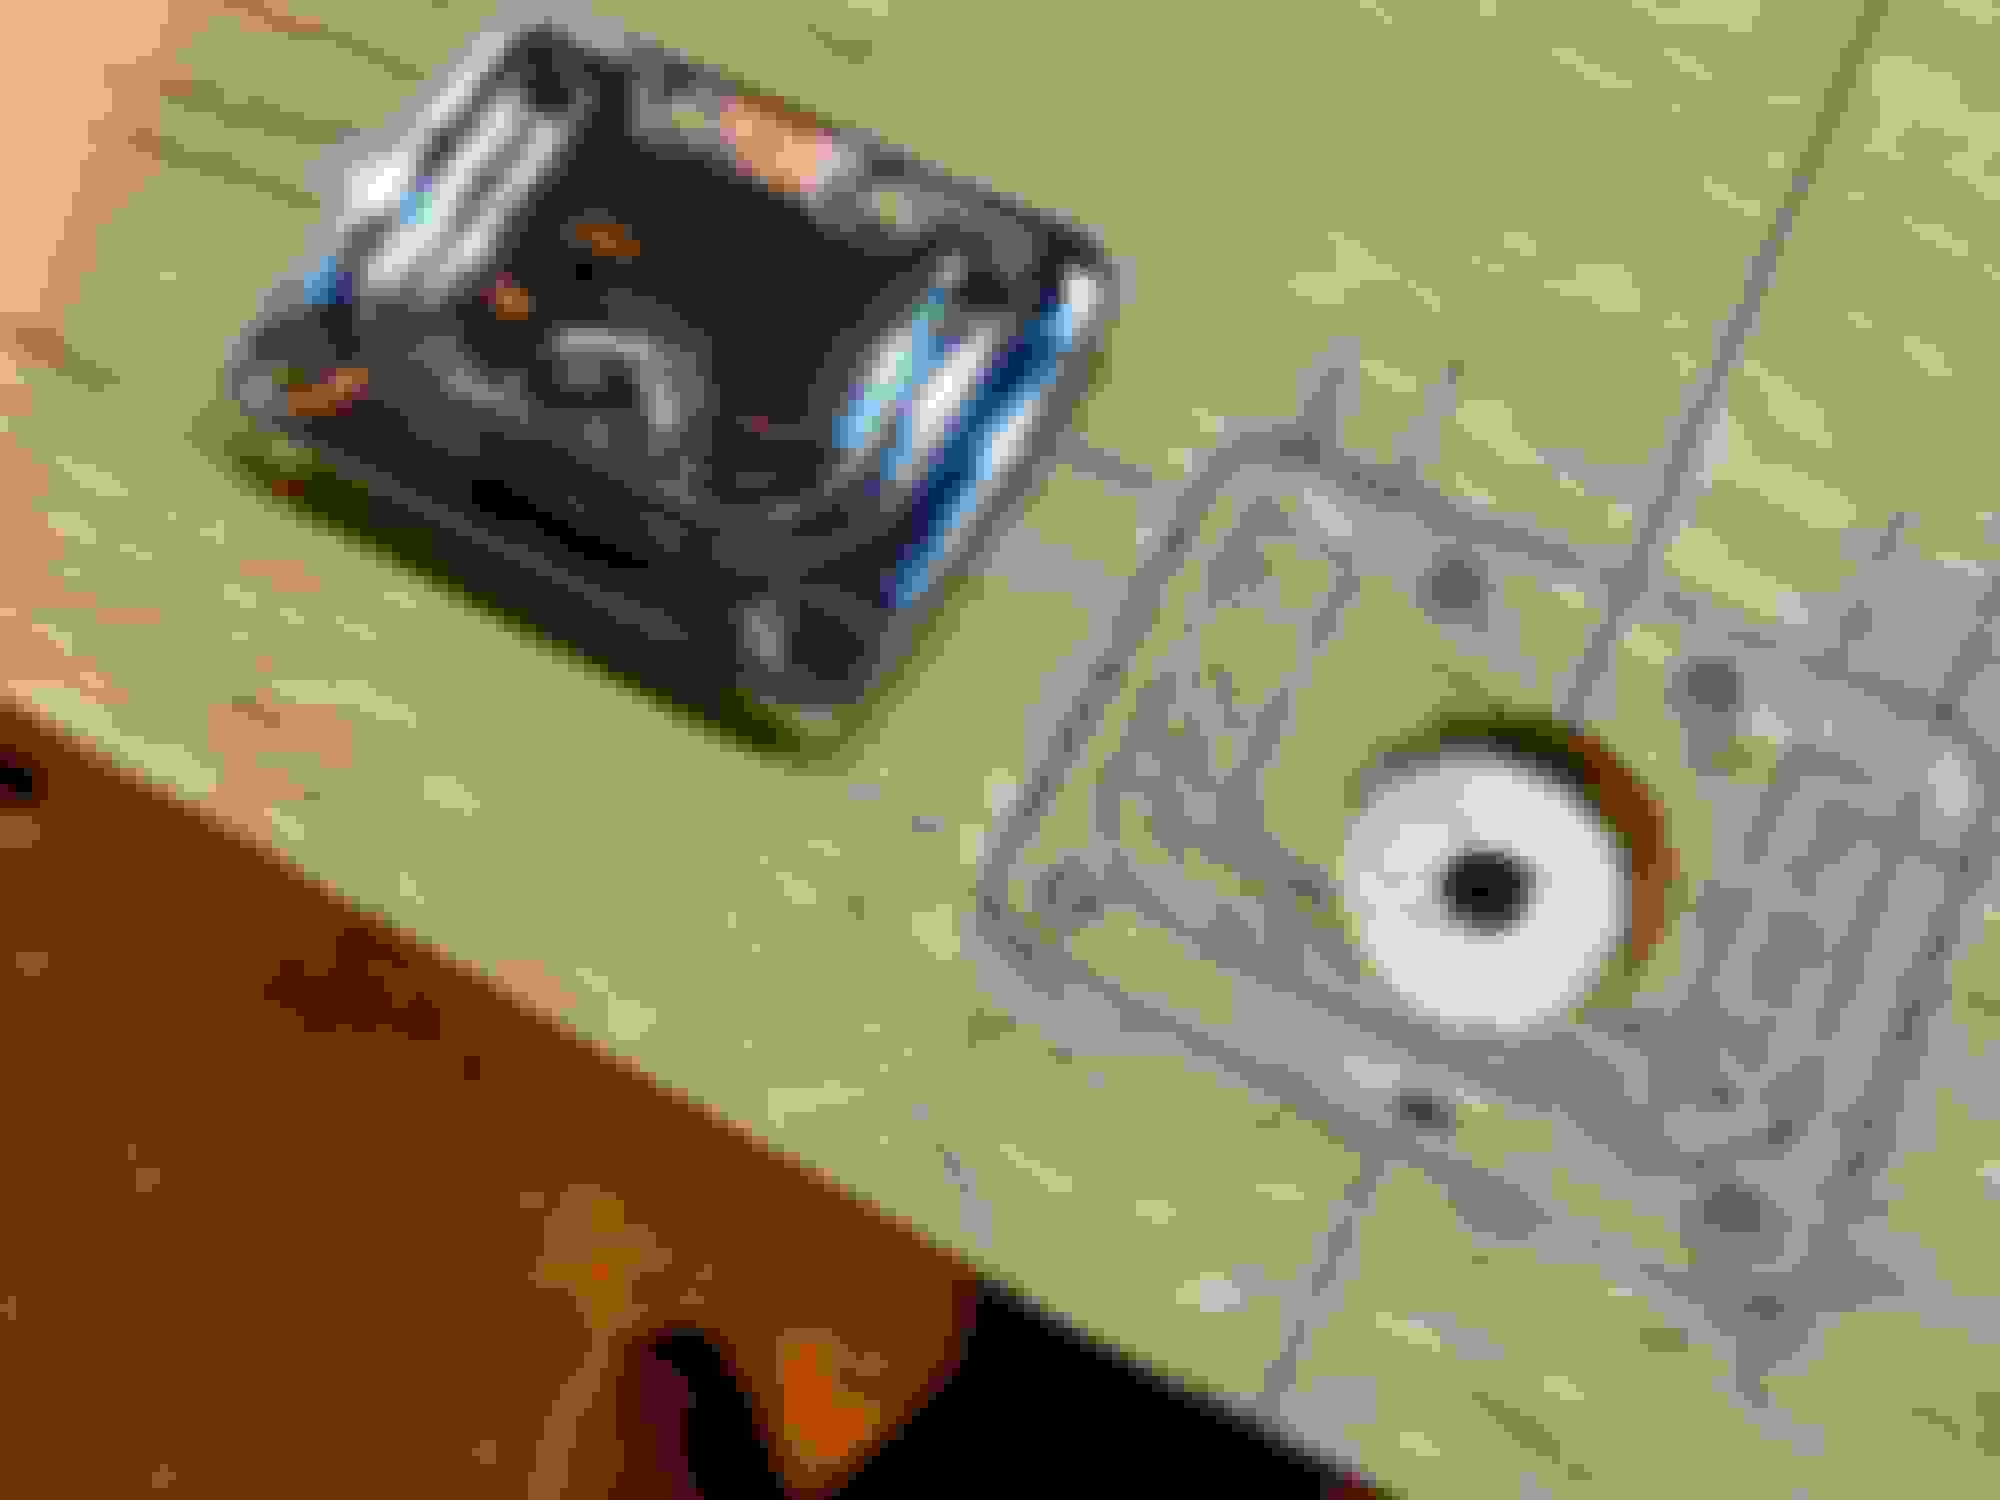
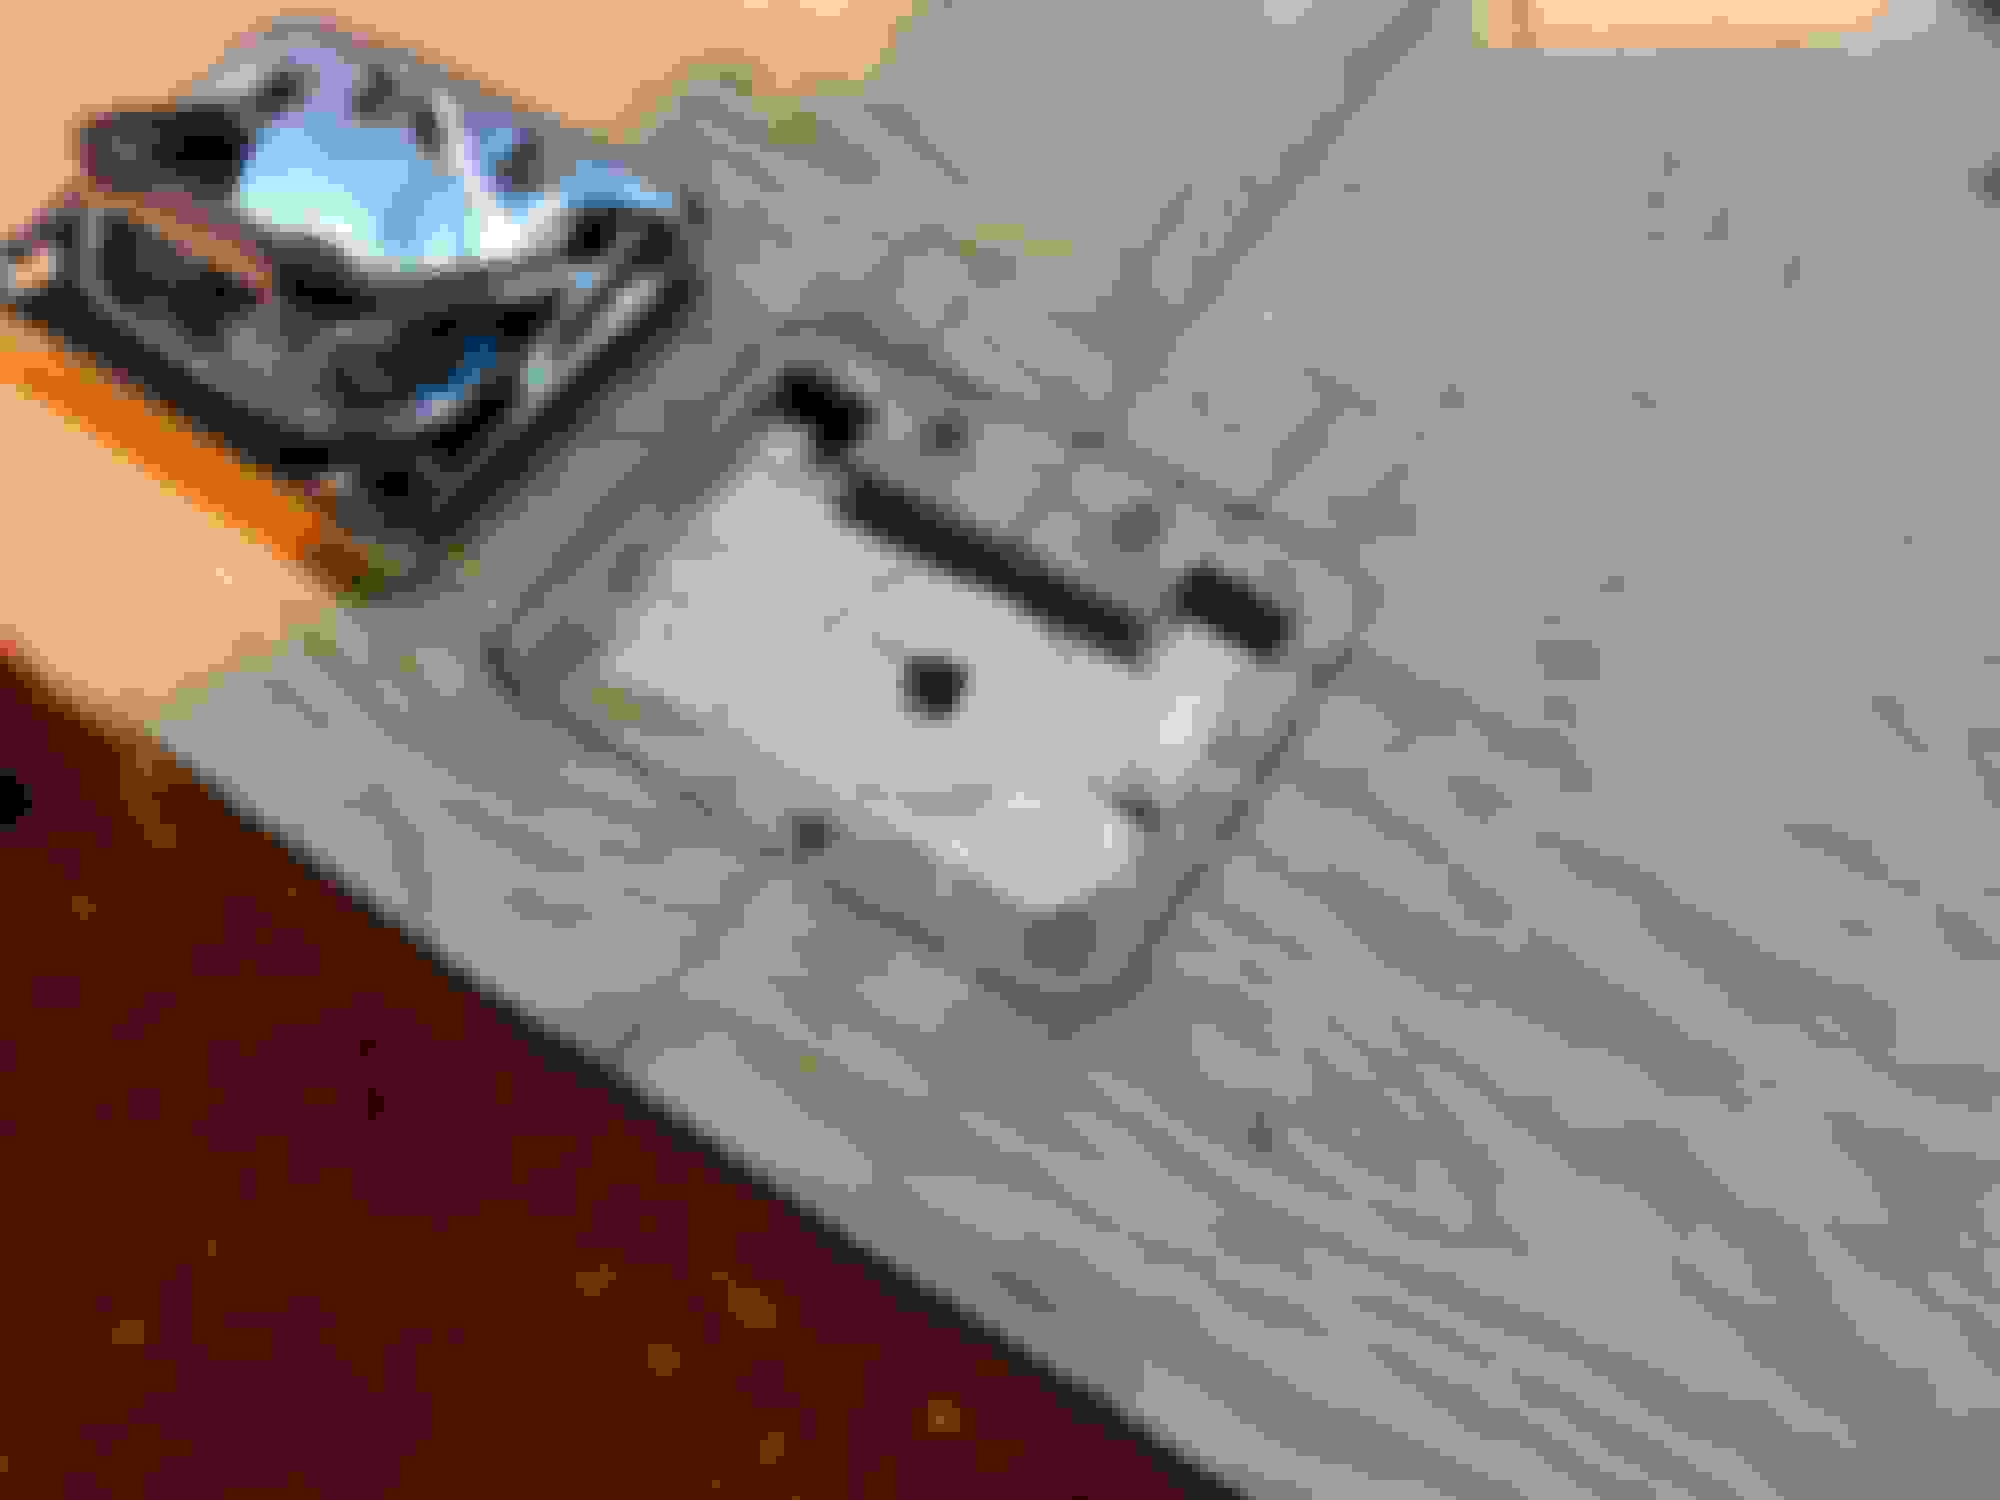
So I took the mirror apart, [mines the one with everything, [Auto-Dim, etc..] but I didn't see any corrosion unless I'm missing it.
In your photo I "think" I saw what you were talking about, but it was hard to tell. Would it be possible for you to describe where it was from the photo below?
I sprayed the sh*t out of everything with contact cleaner anyway.
So geez, if it's not corrosion, where do I go from here???
Thanks,
rob
looked clean to me. Pulled the plug on and off a few times and sprayed the heck out of it anyway
[I guess this is like the carburetor on an old motorcycle. Take it apart, see nothing wrong, put it back together and it runs]
From 10-15' away I can hit the center Mini button and everything locks, makes one beep noise and the lights flash once, everything. I can even make the sunroof open.
But when I press the "unlock" button it makes 2 beeps and 2 flashes but nothing unlocks.
When I press the hatch open button, 2 flashes, no sound and no unlock.
I think I'm doing this right. WT heck.. I guess this is progress.
Any hints?
I wrote a DIY to fix the keyless entry a few months ago. The corrosion is on the actual receiver board inside the mirror. You have to take the mirror apart to get access to it. I had the same issue with no keyless entry working and this fixed it. Here is the thread for that (the diy is a few posts in): https://www.northamericanmotoring.co...diagnosis.html
Where were you a week ago when I was trying to figure this out???
I really searched the forum,but didn't find this thread. Found a new mirror, thinking I was going to need to replace the board. I did have visible corrosion, and this did the trick!
To distract myself from frustrating electrical gremlins I figured I would continue with the rear seat delete project.
I looked at what others had done and most are similar, the major difference being in the execution. Although this was pretty much an "engineer as you go" sort of thing, I did figure the rear section will have a one piece hatch, while the front will be split into a left and right.
I had some 1" marine plywood on hand so that's what I used. Probably a little over-kill. 3/4 would have been fine.
Easier to explain with photos and captions.
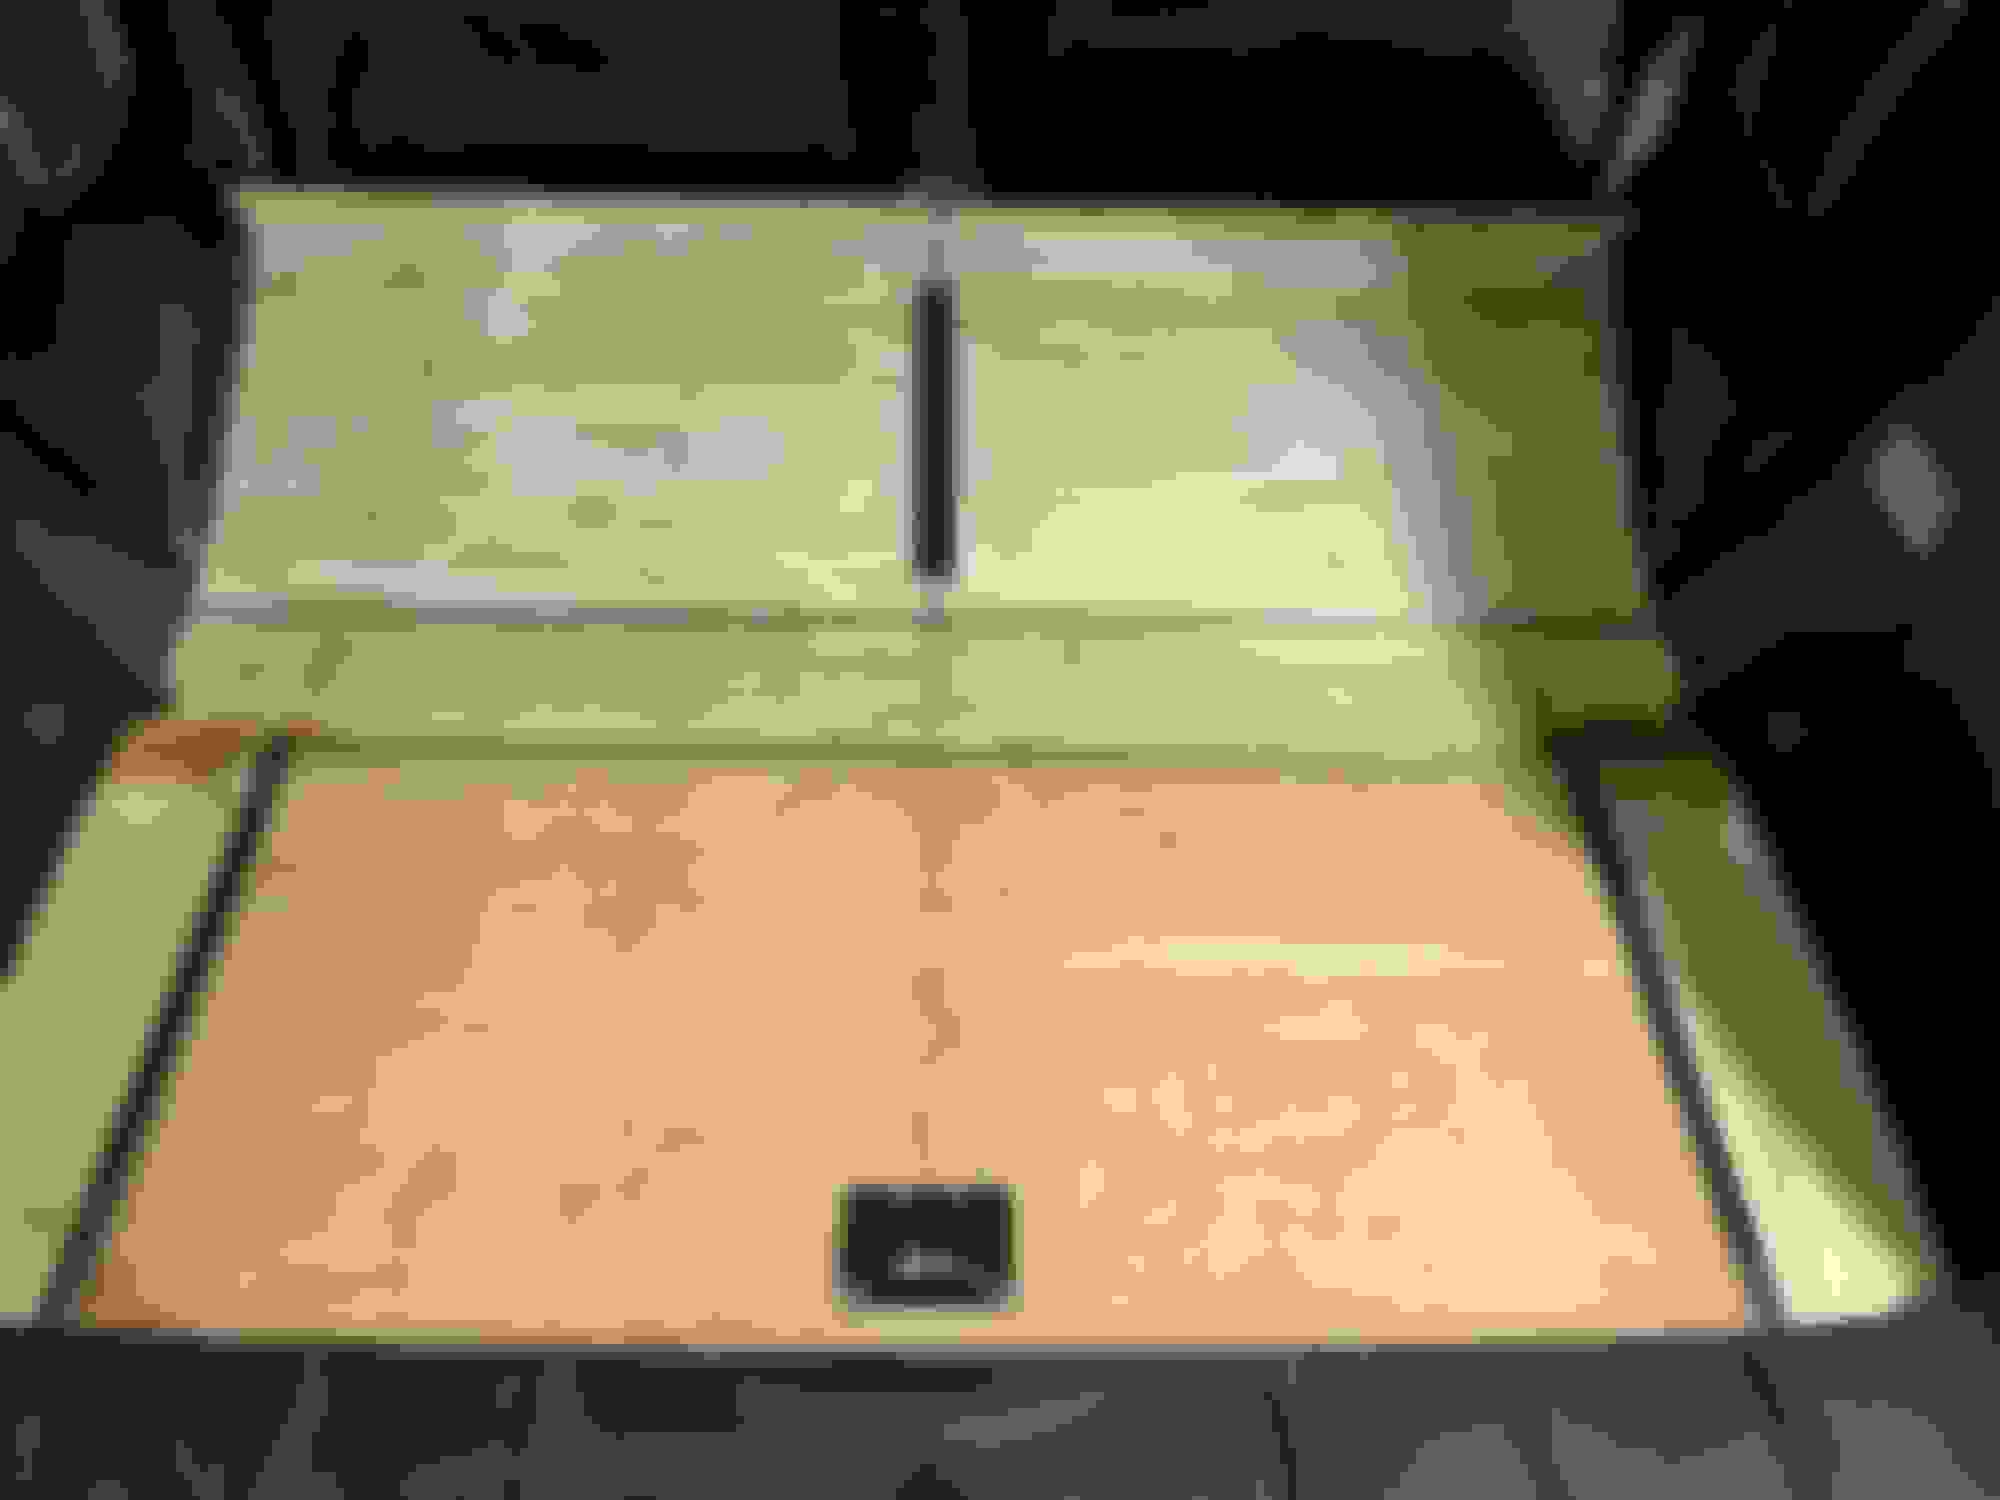
Figuring out the lay of the land. It's pretty much level with the front a hair higher to help resist things sliding forward. Not enough to be noticeable but might help a tiny bit.
The center support isn't level/flat so the board screwed to that had to be ripped at an angle. Sorry I didn't note the angle as it would have been helpful others, Opps..
The first board needed a relief on the ends to clear the original seat bracket.
To support the rear I cut a piece of 1" aluminum angle. I cut a notch so it would rest on top of the 2 factory hooks/brackets. They will carry whatever weight there it. The center section is riveted to the plastic, just to keep it in place.
Center rear bracket riveted.
Next a piece of plywood on top of the first board, screwed only so it's removable. I used 1" plywood as I had a sheet of marine ply that thickness. Might be a little overkill but it's not going to deflect, and I already had it. 4" wide.
This was a little tricky working alone. Ripping a 4" strip from an almost full sheet.
Making patterns for the sides, [fixed in place] Accurat patterns can take some time. Best stuff I've found is 1/8 foam center tagboard for Office Depot. Stiff enough and cuts easy with a razor knife.
two side patterns done. Start with a larger piece than you'll need, scribe with a compass. A larger piece as it usually takes 2-3 tries to get it right. Then trim the chunk from the other, non-scribed side to get the right size. Here it was important the opening was square for the hatch.
Cut the side pieces. I forgot to take photos but I used a biscuit joiner and biscuit and epoxy to join the side piece and the cross piece.
Where we stand. I've got piano hinges and some aluminum trim but I'm still pondering exactly what I'll use where. I had thought about making the rear hatch bi-fold but I later concluded it was unnecessary complexity. Next up, the front section.
Rob,
....
I also did the seat delete and wrote it up, but your fab skills +OCD will put my work to shame.
Called it.
It would never have occurred to me in a million years to use a biscuit joiner to build a seat delete. I'm guessing it hasn't occurred to a single other MINI owner either. Ever.
Husky,
You are too funny! Your's looks great. I guess it's the 60 years of fixing stuff gives me a few extra tools in my arsenal. Ya learn one or two things in 60 years even if you're NOT paying attention...
Some additional progress tonight. I was going to do the front, but took 2 loads of "stuff" in my truck from the boat shop to my shop at home and I didn't feel like the additional "exercise" of climbing around in the rear seat area so I worked on the rear section.
Straight to the pics...
First up was to cut the hinge to length. I cut a little off each end so the screw holes would be centered. I think it was important to get the revel, [the amount the hinge sticks up proud of the plywood] just right. Just enough that it'll be slightly proud of the rubber mat, but not too tall that things catch on it. That was a little fiddly, took about an hour at least.
Best way to cut mat. Clamp it down and a new blade. Hold the blade at the lowest angle possible. I'm still pondering how to do the scribed portions neatly.
Found some nice aluminum edging on McMaster-Carr. I cut a little off each end so the "center" screw hole would actually be in the center. No one will see it of course...
In order to get the right dimension for the hatch I needed to install the trim. One piece on the fixed part and a second piece on the hatch. I used a piece of mat under the edge to set the height of the trim.
Second piece of trim mocked into place for the hatch measurement. 2 razor blades for spacers.
Pattern for hatch mocked up.
Must have been something wrong with my band saw, my cut line was a little a little off. [Ha!] But I always cut on the "fat" side of the pencil mark so I can trim to exact. Nothing this bad boy won't fix. My grandfathers joiner plane. When men were men!
Fit seemed ok. Fitting the other side of the hinge.
Looks decent but needs a little fine tuning.
Second piece of trim fit fine on the passenger side.
But, the drivers side was a little too tight to get the second trim strip in. I need to cut. about 1/32 nd off that side. Tomorrow.
Nothing hangs up so that's good.
Not bad. Almost "factory"...
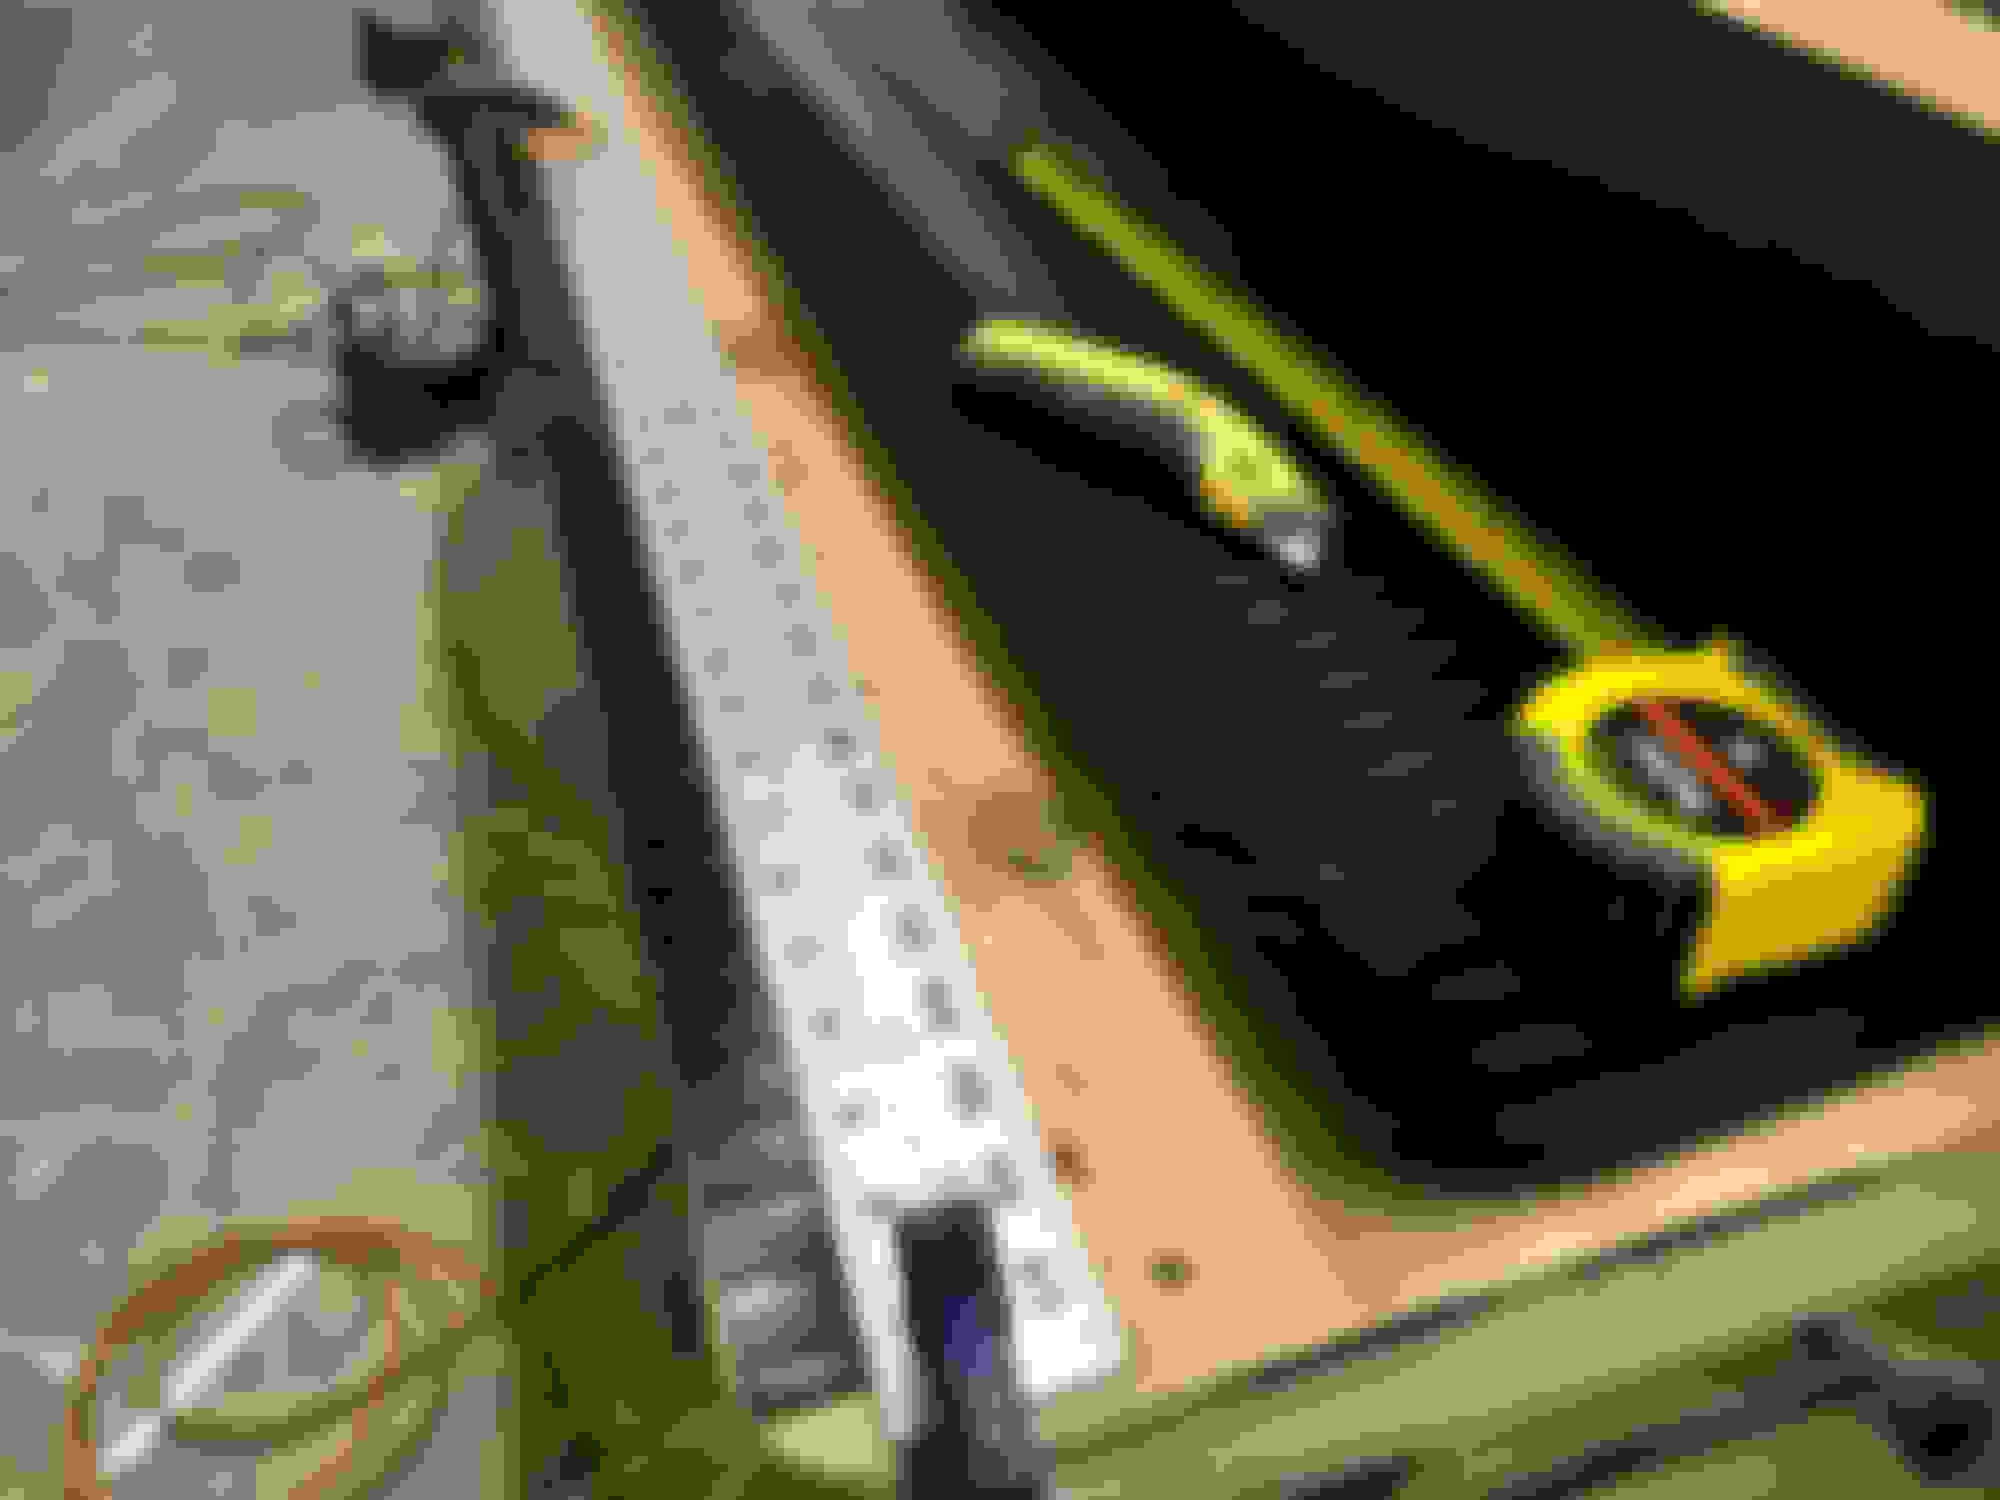
Room for some tools and some little stuff. The OEM rug will go back in.
Some other things to do. Nuts and bolts from fixed platform to the aluminum angle. Once everything is cut and fit, I'll take it all apart and give it a coat of epoxy. Mostly for the tall part at the very front. That'll be coated and painted gloss black with a piece of trim on top. But the contact cement for that mat will work better on a sealed surface as well.
So a ways to go yet. Still pondering how to cut the contoured rubber edges. Maybe aluminum trim there as well.
That is the best pump I have come across, and I have had need for it over the years. I have 4 cars and there is one in each car. It is mostly metal, and moves a lot of air...
And if you are in need of metal, this is my go to place. If there is one near you, they are fantastic. They do small orders of metal, large orders, and then they (at least mine does) have a “drop” bin where you can buy leftovers by the pound. https://www.metalsupermarkets.com/
If not too late already make a traced pattern of every piece you cut. Could sell copies.
Jab,
That "might" work, but the pattern for the 2 fixed pieces is different from side to side. I'm not sure if that's a variation of my car in particular or if they are all like that. I have saved the patterns I've made so far.
My gut feeling is it's best to make patterns for your specific car.
Eddie,
I have another plane from my grandfather that's even longer than that one. It's used for edge joining boards and a half hour with that WILL make a man out of you. The one I've always used most is the small block plane. I have diamond stone in 3 grades of coarseness and take great pride in keeping them all razor sharp. Nothing more frustrating than a dull plane. More so with plywood which is the most difficult to plane.
I was thinking about trying to find a small hydraulic jack to fit in there. That and a space saver spare and making a mount for it to sit upright on one side like the older Jeep Cherokees. I was planning on tinting the 2 side quarter widows dark so it couldn't be seen.
Future project.
I've been pondering on how to cut the rubber mat, especially the scribed edges. I "think" I'm going to disassemble everything then lay the plywood out on top of the mat and use the plywood itself as the guide. That will probably happen before epoxy and prior to permanently attaching the front board to the front flat section so that can be section can be used as a guide.
This "plan" is subject to change.
So this RSD is starting to take on a life of it's own, mostly due to my OCD. The struggle is the fact that the sides on the interior not only taper, but slope at a different angle and a close fit requires some 3 D "artwork", and I'm no artist.
Lets just go to the photos shall we?
First thing on the front section, I used so spray adhesive to glue the carpet down then cut around the plates for access to the fuel pump and filter. Screwed a piece of oak to the front crease piece to help keep it straight. Screwed down perpendicular for maximum strength.
Husky, another biscuit just for you. A temporary support to support the panels for the patterns.
Put a center line down the support and made the front patten in 2 pieces. kept trimming the outside edge of the pattern until it was right, then cut the inside to the centerline.
Both sides scribed and trimmed. Cut the second pattern to the center line and taped them together for one full width pattern.
Here's where it gets really artsy-crafty...Fitting the ply to confirm to the side edge as well as the elevation. [still working on that-thought I was done but no such luck]
This is what I ended up with in each front outboard corner. Still adjusting this...
More of the same. One way to gauge your progress [from side to side] is to use the laminate glue lines of the plywood as a gauge. Getting pretty artistic here.
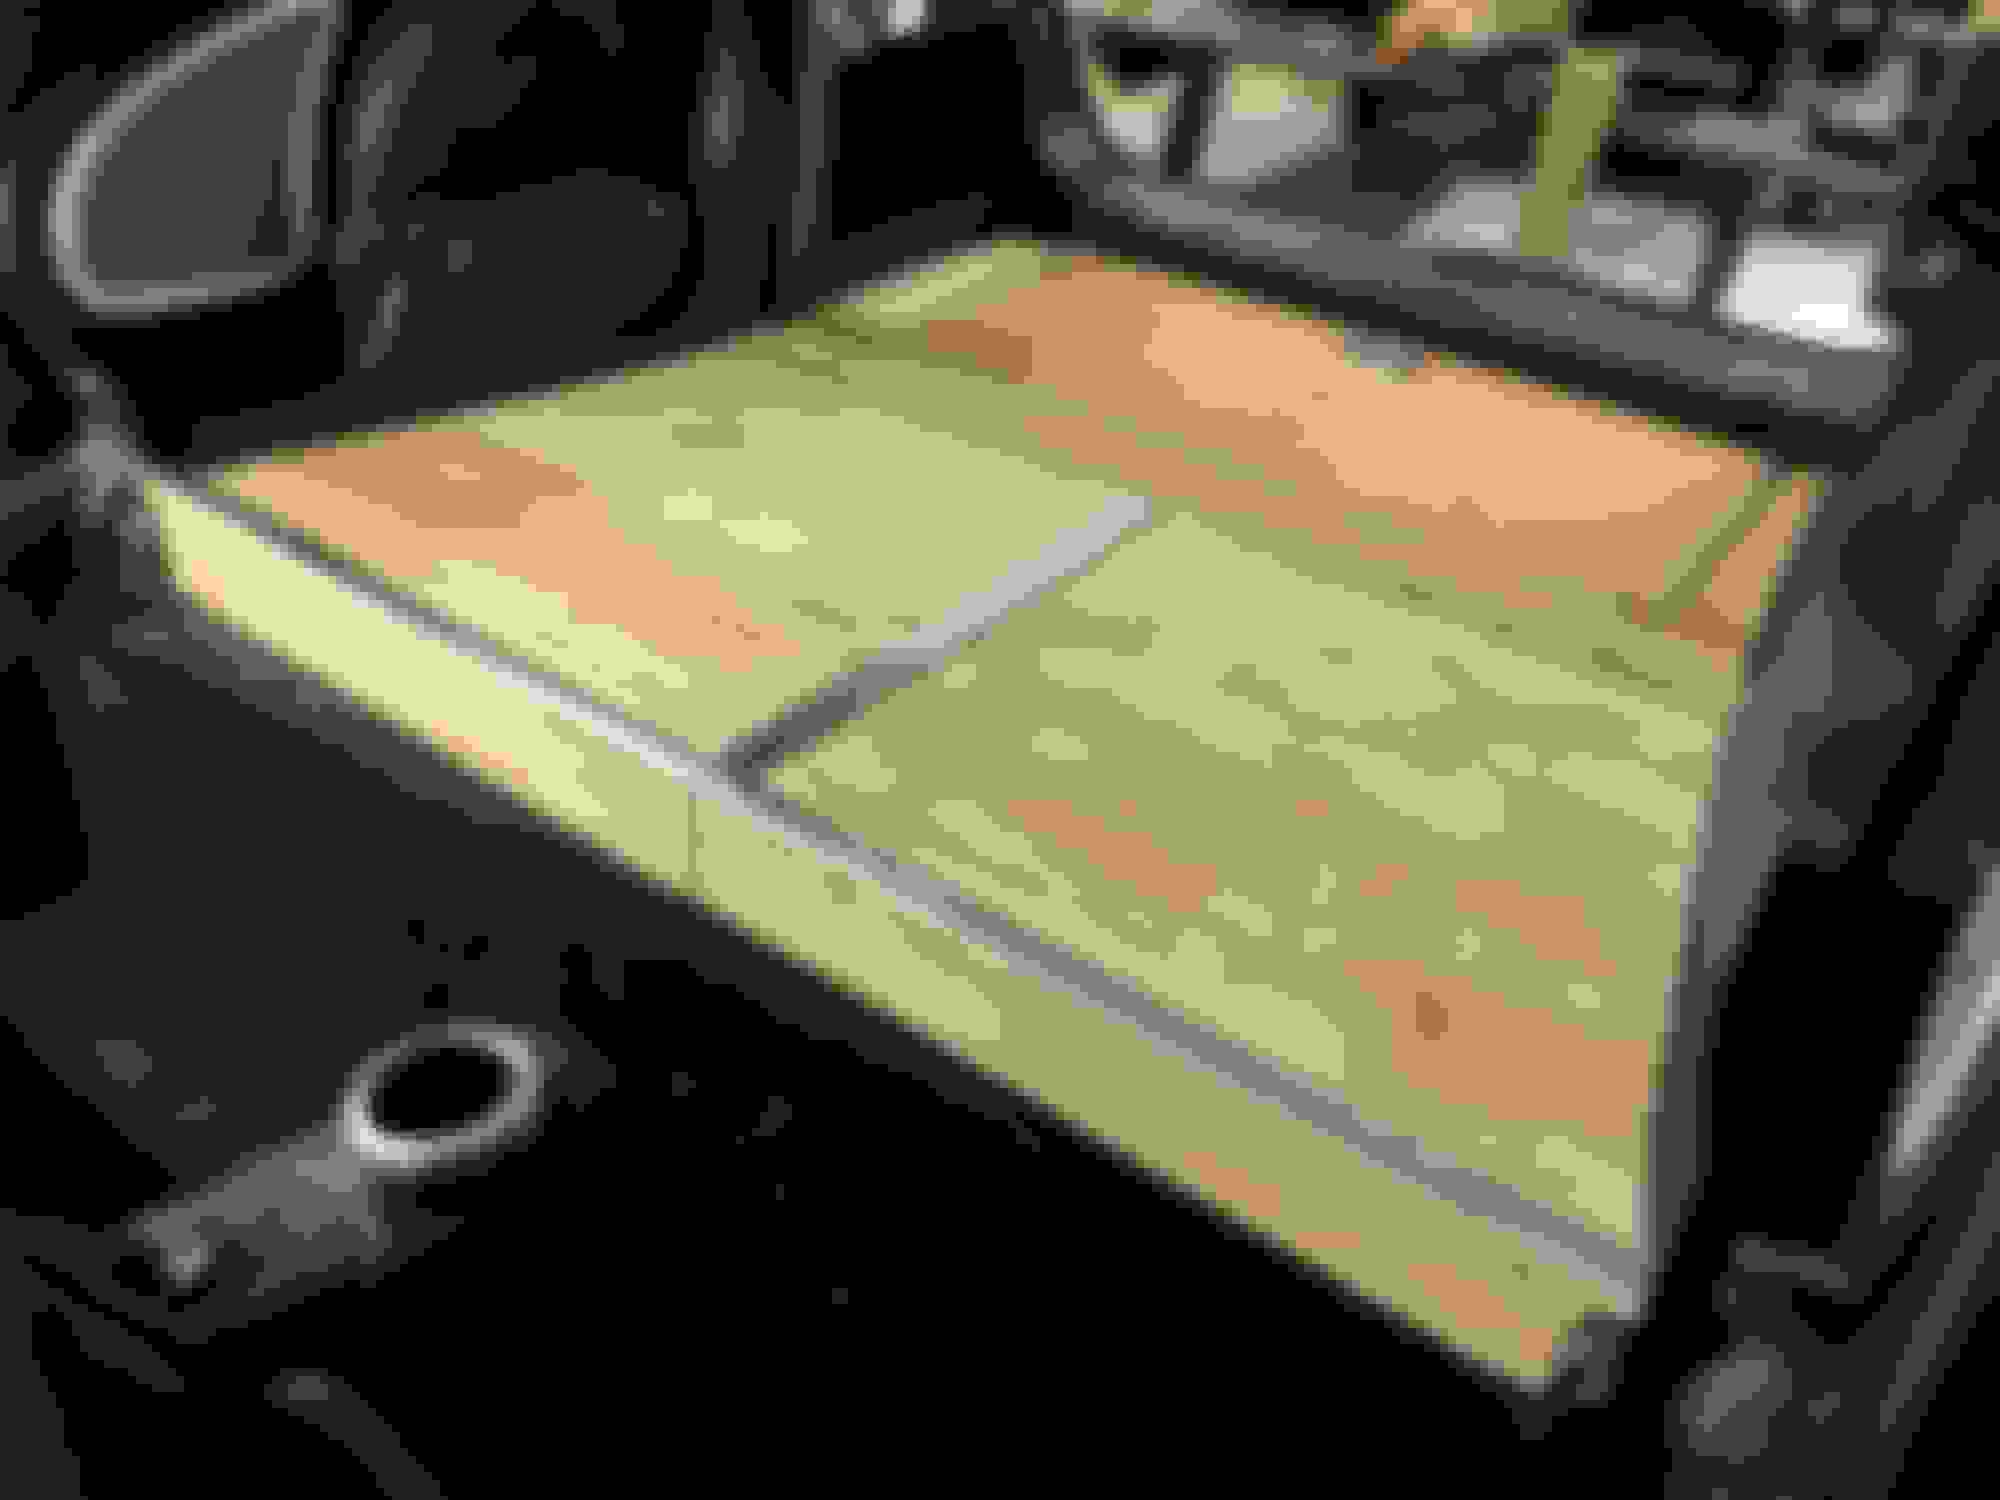
Getting close but I didn't know I had about 3-4 hours of "fitting" to go. The photo is a little weird as the front and rear sections are top and bottom. makes it look like the front goes uphill, because of the color. Take my word, they're level.
I needed a little break from climbing in and out of what used to be the rear seat. Found a nice flush lift bracket from my stock of boat stuff. It just needed to have a relief cut in the ply to fit flush. The spade bit cut was fit the round part of the bracket, and as a depth gauge for the rest of the relief,
Not my best work but I only had 2 chisels, one a little too big, one a little too small. but it worked, sat flush and won't be seen. Plywood is a bit of a pain to do neatly anyway.
Here's what I do to get the screws in straight and where they belong. Circle the hole with a pencil as it gives a better visual as to the center of the hole lies. Make an indentation with a pick.. Drill a real small hole in the spot where the ***** is , then drill to the screw size,. Takes a little longer. [ok, a lot longer] but It helps keep everything centered.
I contemplated cutting the mat around the around the lift hook for a more flush fit. I don't think that will work as the mat will sit slightly proud of the lift hook and could get caught on things sliding in and out.. Attaching the hook over the mat, allthough the hook will sit slightly proud of the rubber mat, the plate will help hold the rubber down and it will only sit proud about 1/16". Not an issue.
Looks ok...
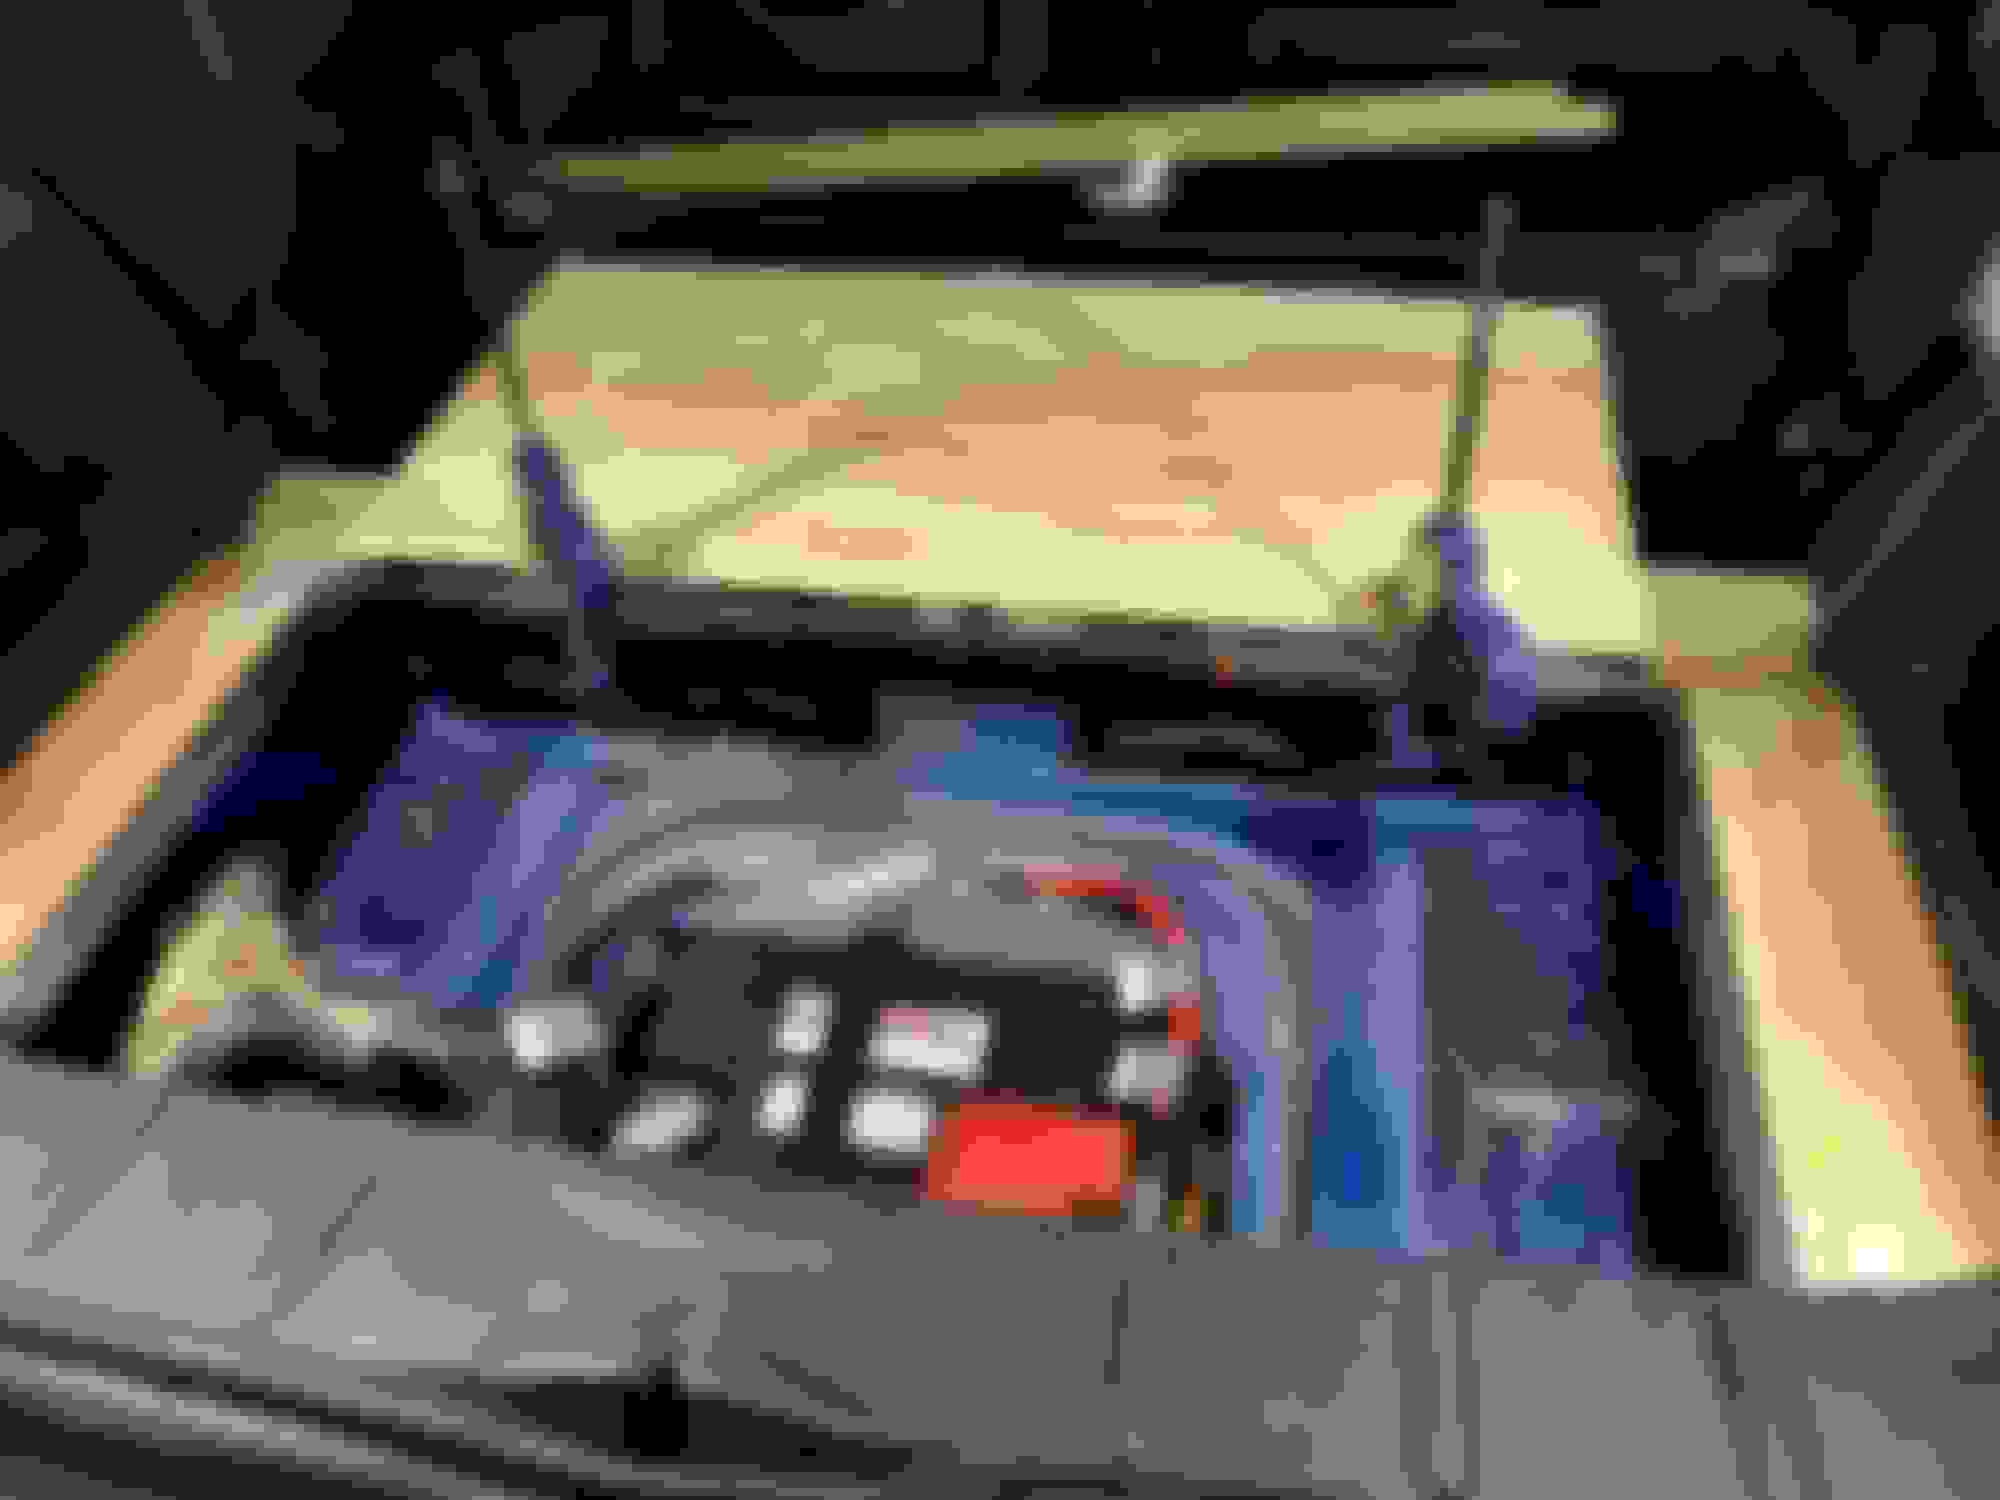
Stocked up! Tool bag, duster, spray detailer, Windex, paper towels, Micro-soft, flashlight, That's about all that fits in the back.
Next step was to cut the 2 front sections in half as I wanted to be able to life each side independently. But the gap needed to allow for the 2 pieces of trim. The miter saw cut just about the right width. The short front piece was easy. With the wider piece, I cut one side then turned the board around and cut the other half. Worked out pretty good.
So cut in half. Before epoxying everything together I went back to fitting to up. Two hours and still not done. Grrr..Then hinges.
The front outside corners are still being troublesome. When cut, the two front edges were pushed together by the slope/tapered front out side corner leaving insufficient gap for the 2 trim pieces. [the sloppiness of the Home Depot hinges didn't help-should have got them from Mcmaster-Carr, they're a little more heavy duty if IRC.]. Close, but not there yet. I wanted to get the fit for the gap just right. I want it snug enough that they don't vibrate, but enough clearance the hatch closes without rubbing/friction.
Picky arn't I?
So that's it for now. Little more fiddle with the front corners, then hinges. That's going to be fiddly as well I think. Then take it all apart and epoxy everything. then paint on the front. A ways to go,,,,
I totally get this and get the same way with projects. I've really been trying hard not to be so fiddly with thing over the last few years so that I actually get them done!
I find interesting to see how people tackle projects like this. Great work. And the pictures are always a bonus.
My rear seat delete was just that. A board that went over the spot where the seat was. I used the seat clips in the car body to hold it in place. I needed to keep the boot well open for carrying stuff to the race track as well as 4 spare tires. Space was at a premium. And I need to be able to easily remove the piece for being out on the track and to access the rear seat belt buckles for my harness. Form follows function...
I wish I had thought to make the rear section with a square door and fixed sides. Cutting mine so the sides were tight to the body panels but allowed it to open fully was a pain. I ended up with gaps in the back, but the carpet hides then well.
"I wish I had thought to make the rear section with a square door and fixed sides."
Husky,
I stared at it a few minutes before this bell went off. To clear the sides and open fully I was first thinking bi-fold but that seemed overly complicated. Then thought of the fixed sides, more straight forward and you can open the lid all the way. [my real goal]
So a little more progress. A slight bit of sanding/artwork on the front passenger side until the bottom of the cross piece sat on the carpet and didn't rub on the side at all,
[ which pushed the two front pieces together, reducing the gap between the two sides, causing interference].
The seat belts were bugging me and I didn't want to just cut them. I unbolted them from the floor, then removed the little button thing and most of the belt would then retract. I then screwed what was originally the bolted end to the rear plastic where it would be out of the way and wouldn't vibrate on anything. Screwed the bolts back in the floor to fill the holes, [with plenty of never-seize]
Next was to install the hinges on the top section. [the bottom section of the hinge would come later]. Then the top oval trim piece for the top front. All in all looking pretty factory. To install the bottom hinge more accurately I screwed the two sides together with a plywood cleat.
I need to do the bottom of the hinge, then live with it unfinished for a few days to make sure everything is good. Then disassemble, coat with epoxy, fill random screw holes, and sand, then join with epoxy, then paint the front section, then layout and cut the rubber mat which might be the hardest part to do well. Then glue that down and reassemble. Still waiting on chrome handles for each side of the front.
But it's looking decent so far...
The gap between the 2 front pieces I was looking for. The hateful front corner of the plastic was still touching the plywood on the front pass. side forcing it inward. A little more artwork with the sander and it sat on the rug, not influenced by the plastic sides. At last!
Button on the seat belt web that was drilled out to remove the button and move the clasp close to the buckle end. I was getting a little tired of the rear seat belt getting in the way. Something needed to be done.
Screwed to the plastic trim with a large S.S fender washer, [polished of course] and positioned where it won't touch or vibrate on anything. The screw hole for this is the only thing will show if someone wants to return it to original. The belt rolled up leaving no slack. I think it will be fine.
Hinges, center trim and oval front trim installed. Cut the trim so the screw holes are symmetrical . Easy to type, 4 hours to accomplish!
Think it going to work out.
Edges look good.
To [hopefully] make installation of the lower portion of the hinge a little more manageable I used a cleat to join the two sides together. I think as one piece it'll be a little easier to get the placement right.
Time for a few "beauty shots". Still need the bottom of the hinges drilled and screwed, [tomorrow] , everything taken apart, epoxied, sanded, holes filled and rubber cut and glued then reassembled. Even after all of this, the paint and the installation of the rubber mat is really going to determine just how "factory" this will all look.
Beauty shots;
I like it...
Bam! Despite the visual illusion it really is level + - a 1/32", maybe 1/64th.
Looks great. That might better belong in a living room as a multi purpose coffee table...
I'm not sure about the living room but thanks. [The Den maybe? Ha]
I pretty much work on everything the same way. Like I tell the guys that work for me, it's all in the details...
To be honest I'm a little worried as if I don't get the rubber mat down just right, it'll look like sh*t despite the details.
I "think" I have a plan for that, now whether it works or not, we'll have to see.
A different topic, Rennsport track pads etc... Pricy but I just couldn't help myself. My birthday is next week so I'm blaming it on that. [Fricken 68, how the heck did THAT happen!!!]
I just got the Rennline Track Pads, floor boards and clutch rest I ordered. Did I need them? No Do they do anything? Not really. Do they look cool? Heck yes!
Now the track pads come with velcro, a big piece and I was hoping the hook part would grab the carpet. It doesn't [guess it would need to be loop pile] Does the loop sticky side stick to the carpet? Not really.
After about 2 hours of trimming I got the drivers side to slip in the slot in the gas pedal base and it's pretty much jammed in by the other side. On the passenger side not so much. But with the floor board screwed down, with and extra 3 screws that holds the track pad in place.
And the plate behind the floorboard, more effing velcro that doesn't work. And us need to place the back support by where the front part sits to drill the holes for the back. What? I ended up drilling 2 new holes in the back support that were accessible through the holes in the front piece. Screwed it down to keep it in place with the front still attached, then took the front off for the other screws. I also added one small screw in the center to screw it to the track mat to help hold that in place.
These are NOT plug and play.
Then I went to install the drivers side and THEY SENT ME 2 PASSENGER SIDE floorboards AND NO DRIVERS SIDE!!!
Really? The Track Matts I got 2 weeks ago so the floor boards were a separate shipment. They packed and shipped 2 things and got half of it wrong!!!
A 50% failure rate! I'm waiting for a response. I didn't rant as I'm not perfect but really, 2 passenger sides? How difficult is this?
Anyway some shots and comment on the Rennline Track Mats, etc...
Oh, by the way, I actually bought the Track Mats first, thinking it was everything in the photo in the listing and for the price I thought it might be. It's slightly deceiving. anyway when just the mats came I ordered the floor boards at $125 for the Pass. side and $95 for the drivers side. A little pricy to me but they do look neat, Or at least one side does!
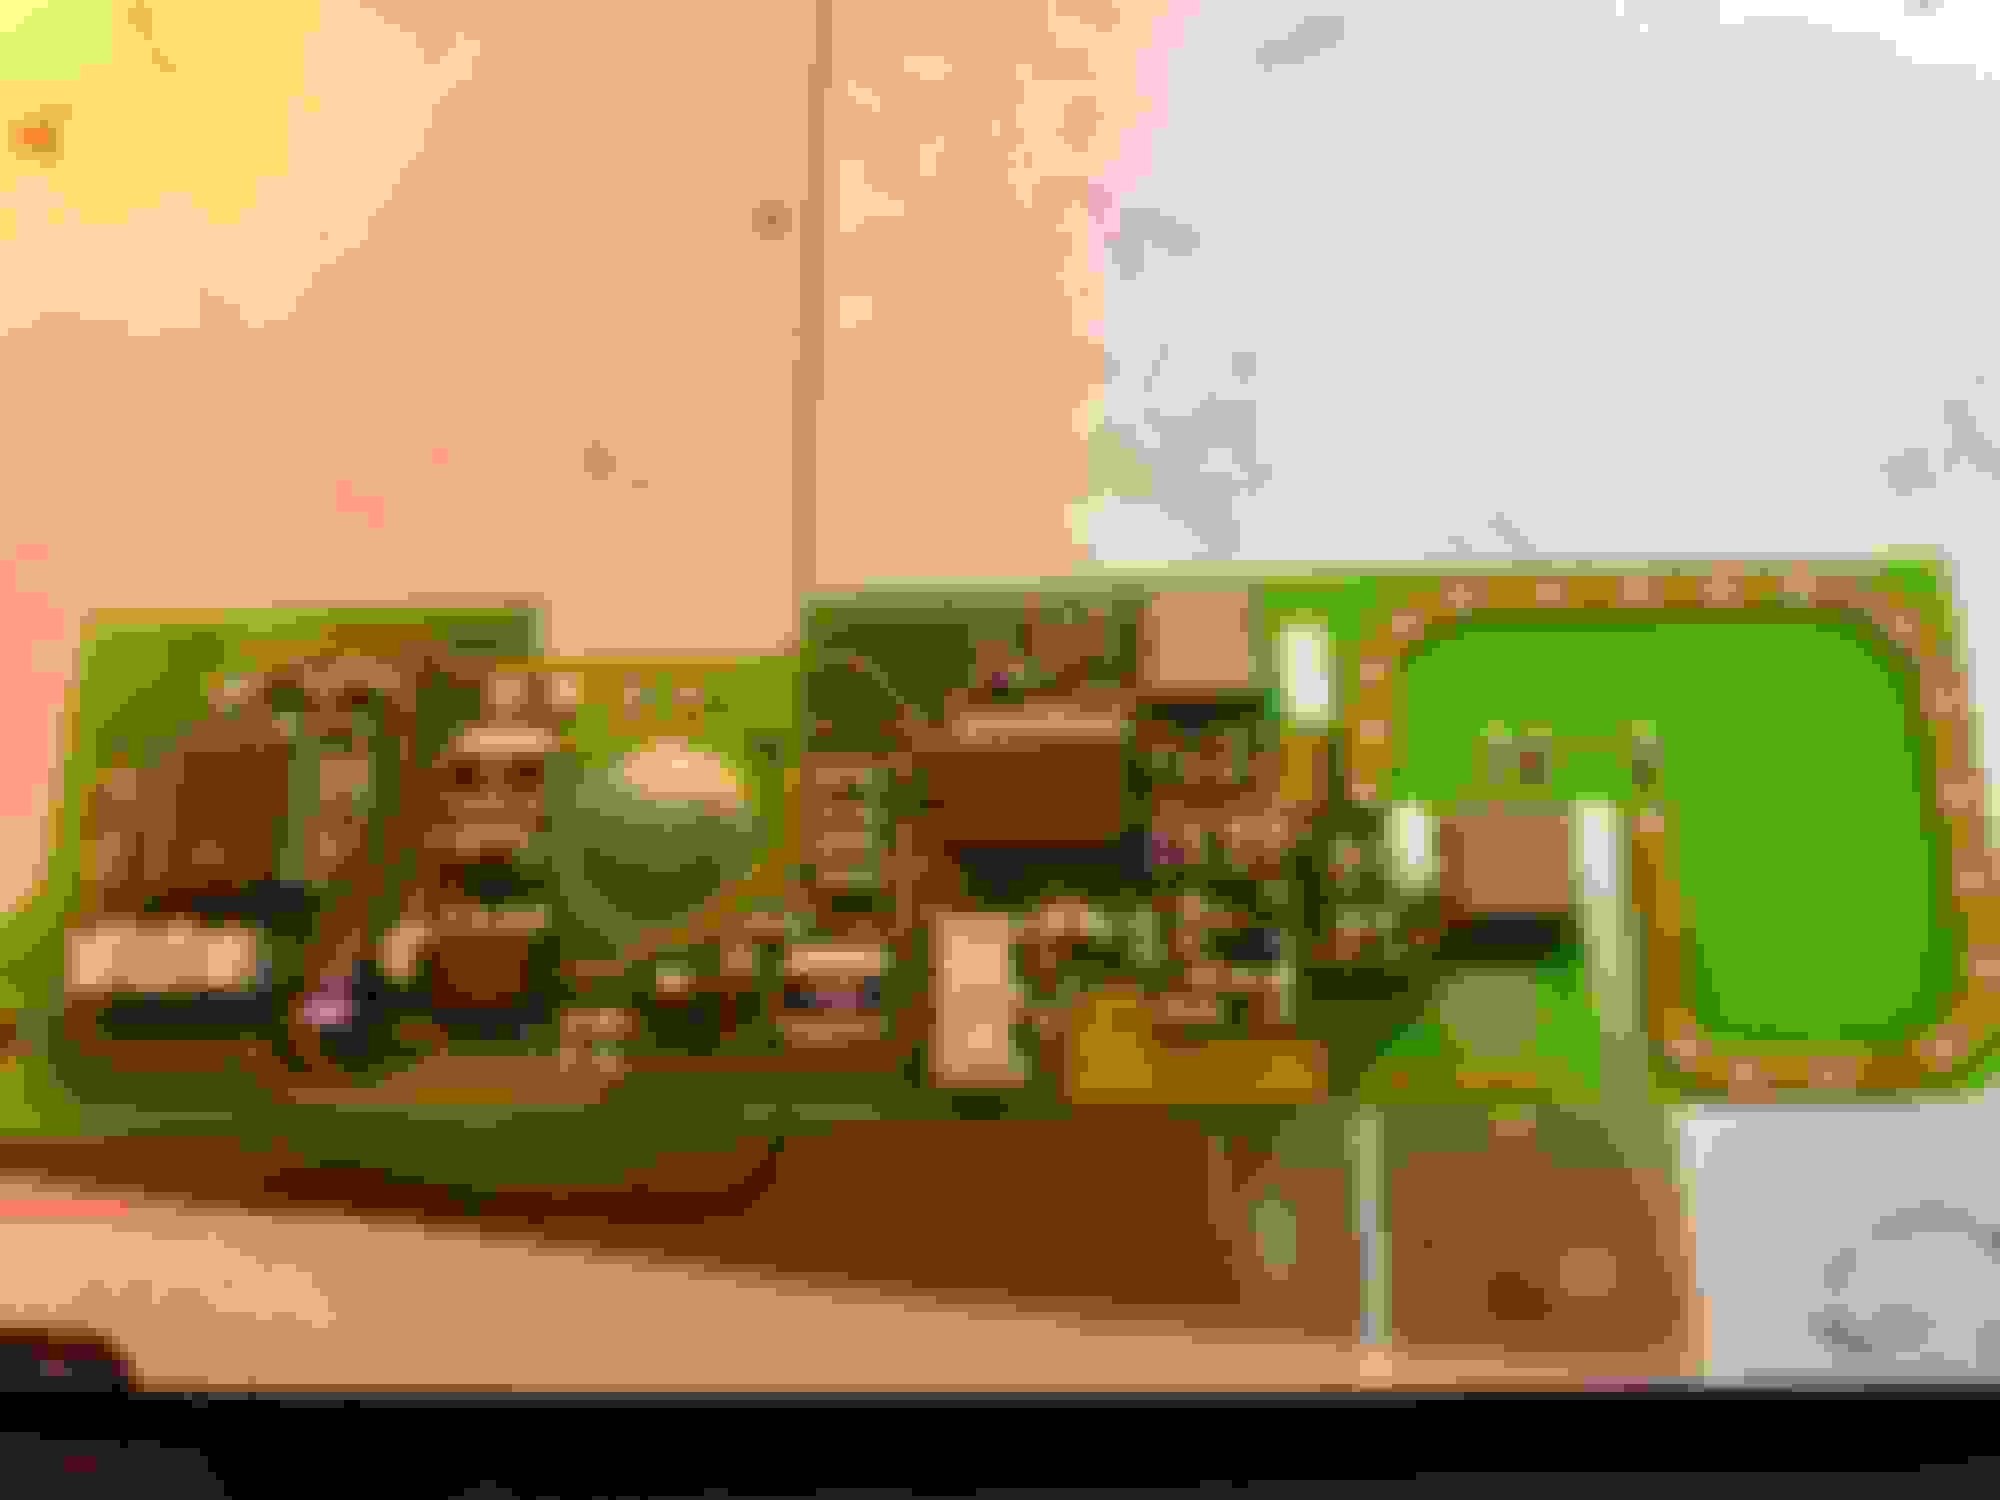
This was the photo in the ad for the Track Mats. No description so I was thinking it was the whole deal, Silly me...
To be continued. My photos are loading really slow for some reason and I want to get the bottom part of the front hinge on the RSD done tonight.
I'll be back,


 03-19-2020, 06:56 PM