When you click on links to various merchants on this site and make a purchase, this can result in this site earning a commission. Affiliate programs and affiliations include, but are not limited to, the eBay Partner Network.
Pretty poor photos if I have to say so myself. I should back in the shop this evening to install the subframe. Maybe I'll have a do-over with these shots...
rj
Pretty poor photos if I have to say so myself. I should back in the shop this evening to install the subframe. Maybe I'll have a do-over with these shots...
rj
Oh, I don't know... When I zoom in I can see the fisheyes in the blue.
Ha! Was was going to comment on that what appeared to be "runs" are actually painted over factory undercoat. But only about 12' of the middle behind the strut will show anyway and none of that will even show with the wheel on. But, there it is, OCD in action...
rob
Great work here! The level of detail I wish I had the time and space to get into on our R53.
I like your tip for the pipe cutting, and have myhavn take on that. I usually put a wrap of painter's tape around the pipe to help guide my cut, usually with a cutoff wheel.
Last shot of the meticulously detailed subframe before installation where it will never be seen again.
Installation was pretty straightforward , a little fiddily getting the P.S. reservoir up through at the firewall. Working alone with the jack on the round center part on the bottom and jacking a little at a time seemed to work best. Lined up the front frame mounts with the pins, put a bolt in but loose, then jacked it up so the rear bolt holes line up, then tighten everything up. Don't forget to torque the bolts! Other than being 68 and getting up and down and crawling under the car a dozen times it all went pretty smooth.
Like I said, never to be seen again. A pity...
Next up, bargain aluminum coolant overflow tank for Bargain Mini...
robj
I'm actually waiting to retire for the first time. I have my own business and I'm there about 6-7 hours a day then in the shop about 6 or 7, [or 8]. At work I pretty much drive a desk so this is my therapy. I don't watch much, [any] TV.
I have the Mini on pause for a bit as I'm building a playhouse for my granddaughter for Christmas. Plans, [well just a photo really], are one of those "build it out of pallet wood" deals. Whatever dumba** thought this was a good Idea never took pallets apart. I need 62 boards by my count and after 6 hours of prying and pulling nails I'm halfway there. Hopefully I'll finish that part up tomorrow after work, [but I suspect my arms and shoulders could be a little sore, so some beer medicine might be in order, and slow work accordingly....]
The last Mini-bit before the playhouse.
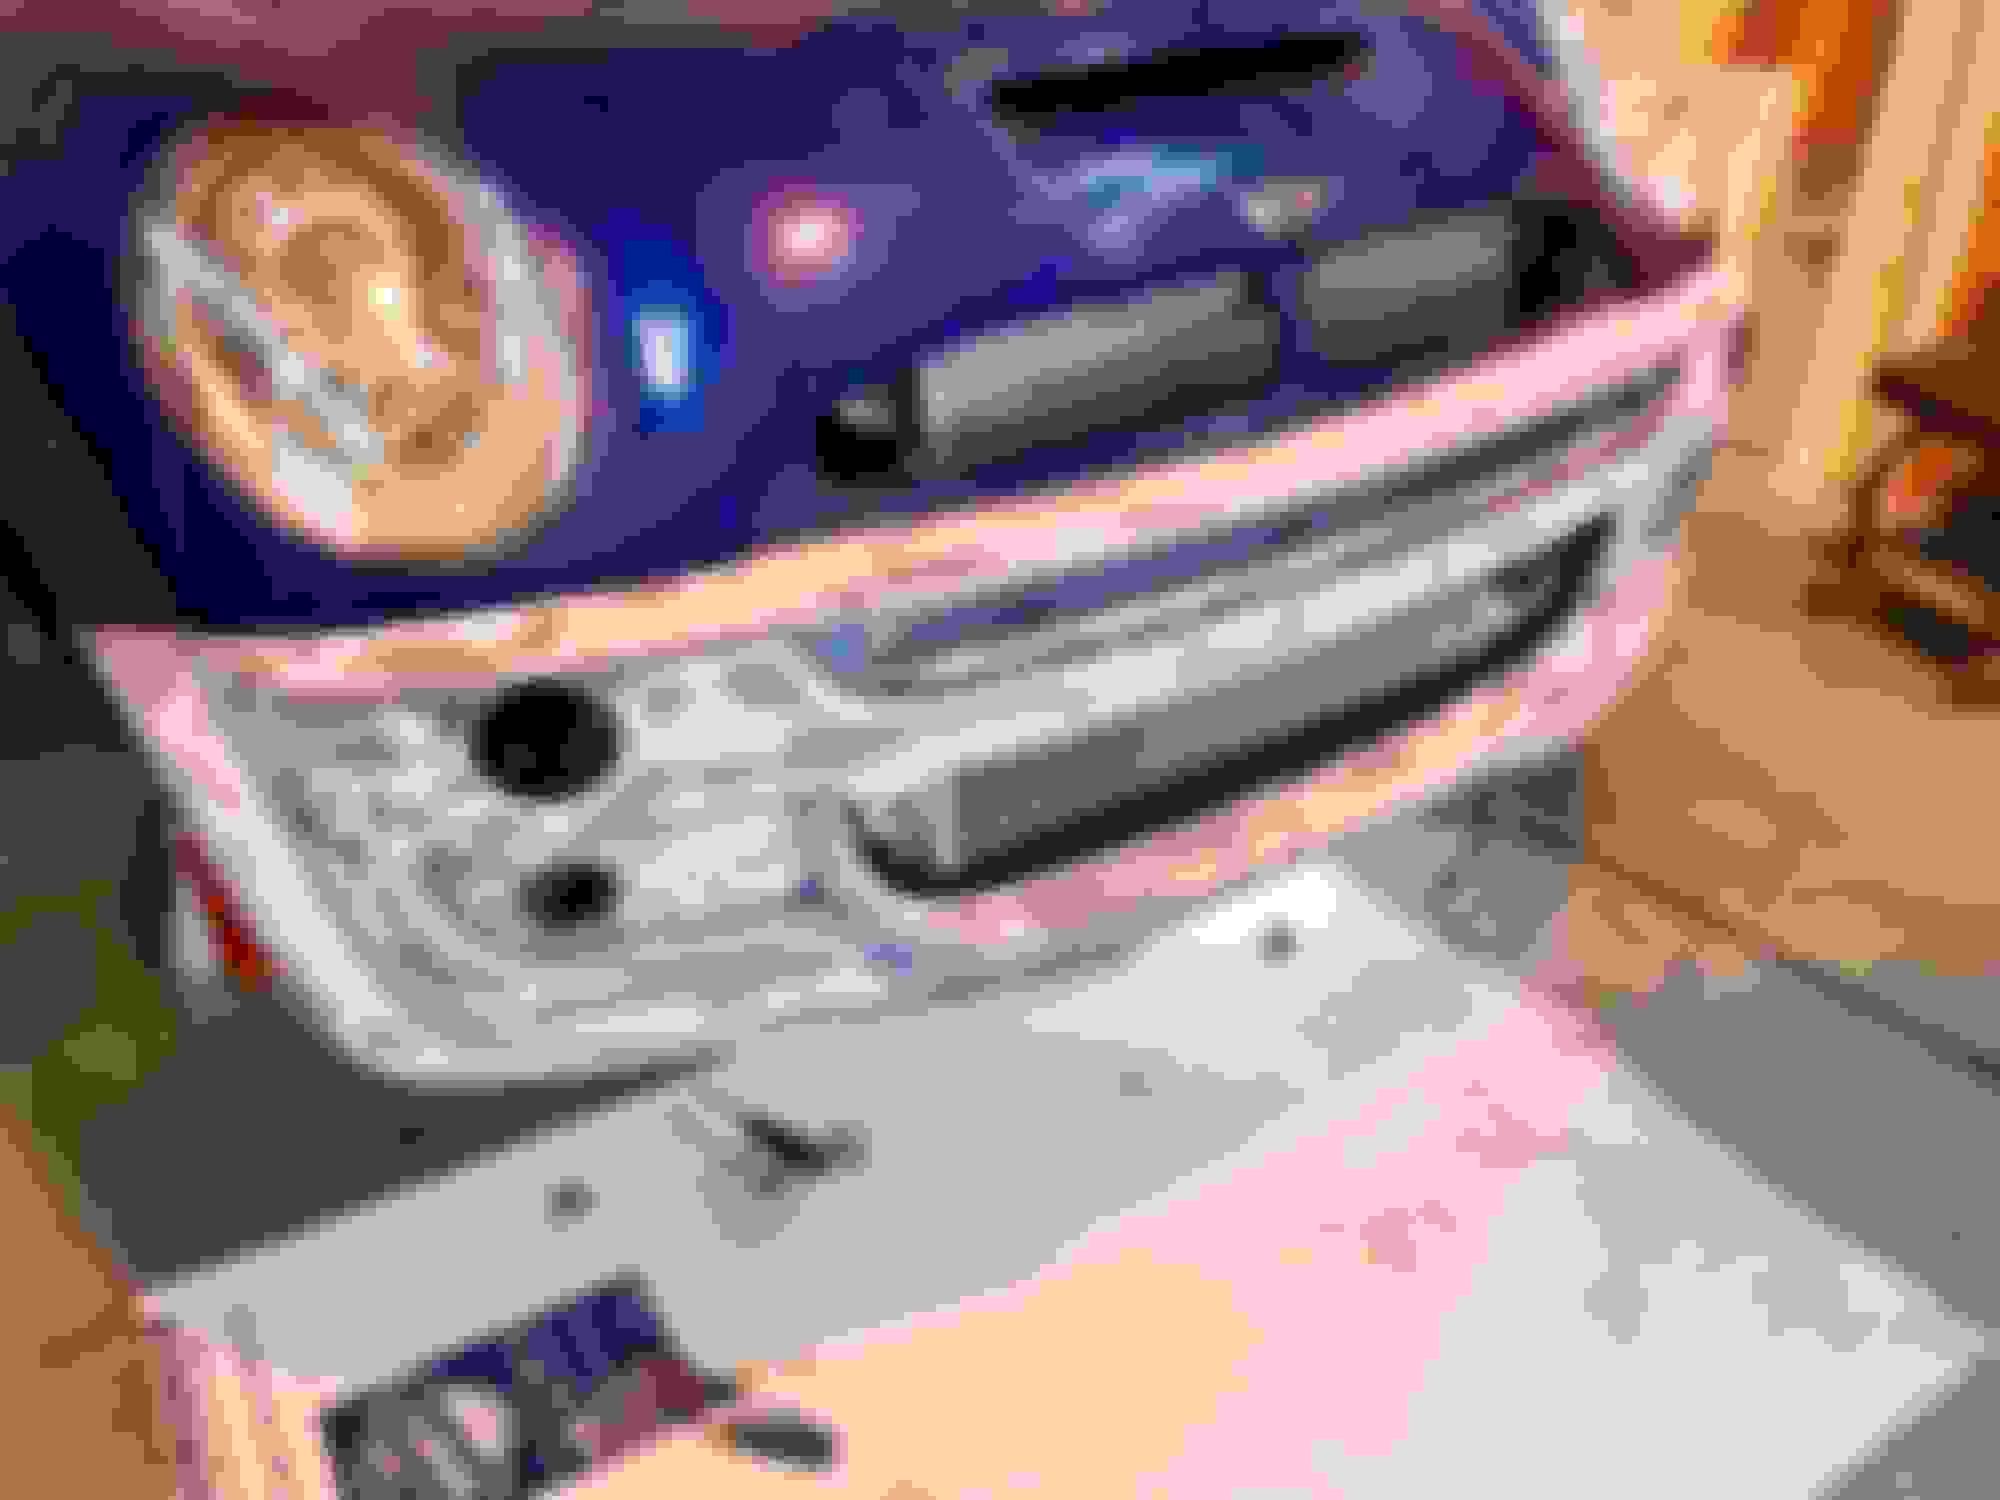
I had read where the OEM plastic radiator overflow container was prone to splitting. Not good.The ones I looked at seemed to be in the $150 range then I saw a post where someone bought on off Amazon for like $100 and he happened to have both and said he couldn't tell the difference. But there was a complaint that the bottom bolts were nearly impossible to attach through the OEM bracket into the bracket on the housing. Despite removing the coil for a little more working room I could see it was going to be pretty tricky.
In the photo below you can see, [sort of] where the screws go up from the bottom into the bracket. Socket head screws at that, [but that was probably better then hex bolts]
The screwdriver is pointing to the threaded lug on the bracket.
I figured getting a nut on a stud would be a lot easier then trying to screw a bolt in there. I had some S.S. bolts long enough so I screwed them in with a little loctite.
Worked out pretty well and getting a thick washer and a locknut on the stud was pretty easy compared to trying to get a screw in there!
All in all after a little figuring, all went well. And I saved $50. I don't have a shot of the completed installation but I'll fix that.
Next up installing the one ball exhaust, [after my granddaughters playhouse that is...]
Man, I don't get why these tanks are so expensive. The VW ones are less than $30, plus like $12 for a new cap. The aluminum one looks nice in there!
Really? I paid $23 for mine with a cap on Fleabay and it looks identical to the leaky OEM one it replaced. Have to agree the aluminum looks nice but be careful not to touch it after driving any length of time.
Really? I paid $23 for mine with a cap on Fleabay and it looks identical to the leaky OEM one it replaced. Have to agree the aluminum looks nice but be careful not to touch it after driving any length of time.
The OP said he was seeing them for $150-ish. I haven't had to buy one, but $23 sounds much more appropriate than $150.
My first and last "pallet wood" project. Plain rough pallet wood didn't cut it so each board went through the planer 5-6 times. I like wood working Ok, but I think I like mechanical work a little better.
Cleaning up Boss...
In my experience, free pallet wood is no bargain. It takes a lot of time to process and isn't that good to begin with. However, if you can find a source for "Reel Pallets", those are worth getting. They are made of hardwoods like oak, ash, maple or even walnut and are much thicker than normal pallets and have very few fasteners.
This is one of the reel pallets I scavenged. They are 8 foot by 3 or 4 foot and don't fit in my 6 foot truck bed!
Playhouse done and after an 8 hour clean up, no sawdust to be found.
The one ball mod went in without a hitch, but I left things a little loose. The heat shield at the rear between the gas tanks was pretty much corroded away where the bolts go. Normally I would have said the heck with it and just tossed it but as the exhaust there runs between two plastic fuel tanks I figured it might be necessary. [Safety third!] I ordered a new one for $68 [I think] so that needs to go in yet. I did get a new muffler support and the installation of that goes MUCH easier if the bolts supplied are replaced with ones about 1/2" longer. Makes getting them started much easier. The shield on the battery box has yet to be installed in the event I have to drop things for the new pipe heat shield.
I'm not really sure if this will be too loud for my taste, of if it will even last as I do hear debris in the muffler when moving it around. I just didn't feel like putting out the bucks for a nice exhaust before I've even driven the car...
Not a great photo but I am working on the ground.
robj
Started putting the front end back together. New axles, painted struts with Ireland Engineering plates, springs, outer ball joints, new calipers, pads, SS brake lines. I first started with installing the struts then attempted to install the hub carrier but with the new paint, [thicker I guess] I ended up taking them back off and installing the hub carrier on the strut then installing as a complete unit. I think it's a much easier way to go especially if you have everything apart.
I ended up tapping a small tapered chisel in the space where the pinch bolt goes to open it up slightly to get the the shock tube into the carrier. again probably due to the color matched, [thicker] paint, but it went on with very minimal scratching of the paint.
For a little extra support I got some SS fender washers and SS nyloc flange nuts from McMaster-Carr. then hit them on the buffer. A little bling never hurts...
Again it looks nice but will probably never be seen again. don't recall if I previously mentioned it, I did sand and paint the inner fenders as a little bit of that shows when the liners are installed.
Confession; Despite bagging and tagging the nuts and bolts, as well as putting the bagged and tagged stuff into large mixing cups labeled with components groups, I lost the nuts for both tie rod ends... [or I put them somewhere where I wouldn't lose them! ] Anyway, ended up ordering new tie rod ends. Then I thought, as every other component has been replaced may as well do those too, then everything is new.
Tomorrow I hope to finish the passenger side up and move to the drivers side, baring any other brain farts.
rob
Shame it'll never been seen...
Nice SS fender washers and SS nyloc flange nuts. Notice the little red dot of paint? Whenever I've torqued a nut or bolt I put a dot of paint on it to show it's been done. Saves rechecking when I can't remember if I did it or not. The Ireland engineering plats are pretty nice. Plenty of bolt left for a strut tower brace.
Got the drivers side put back together tonight. A little bit of a pain figuring the wire routing. [note to self, take even more photos dumb***]. lot's more to do, but I'm not sure right now I remember what it is. Let's see, heat shield for the exhaust, Sway bar links. I just ordered a strut tower support with Christmas Amazon cards. Exhaust heat shield install, sand and paint bumper cover, install radiator and core support, lean control sensor, [no, I didn't mark it prior to removal, again, dumb***] but, the table with new parts is starting to look bare. Oh, recondition wheels, [the outer edge of clear powder coat is all f'ed up] Break tires down sand and paint. The decision now is silver or blue to match the car. I'm sure I'm forgetting 20 other things, but one step at a time...
Tomorrow, sway bars links and steering shaft joint.
robj
My sons dog Chloe [I have joint custody] has to be right next to me while I'm working, so she's included. I had to move her bed closer to the car as she was wearing herself out walking back and forth following me. The only down side of all this togetherness is when I'm laying under the car working on something she has to crawl under and lick my face and I can't see what the heck I'm doing. She's quite persistent in this regard. Even the impact gun doesn't dissuade her.
Too bad all your extra effort and detail will be hidden. Nothing beats the feeling of doing a job the best way possible, even if you’re the only one that knows. Can’t wait to see the finished product.
I need to step up my game with my rebuilds. You’ve definitely raised the bar. Great job!
Texas,
Thanks so much. Sorry to have raised your bar, it's a slippery slope into "nuckin futz". I know it will only be close to perfect the day it rolls out the door then it's all down hill.
But I live for that one day. I own my own business and this is my therapy. But I've come to realize I might need therapy for my therapy!
I have fun doing it, and it's satisfying to crack a beer and admire my little vain attempt at perfection. I always say if you don't aim for perfection you'll only hit mediocrity.
It's all good!
I sent a photo of the subframe to a garage buddy that's restoring a 1932 Cadillac. He said I needed to "take a pill". I said they don't make a pill for what I've got....
Another brain fart! I forgot to install the headlight position sensor when putting the inner ball joint on the subframe. To add insult to injury, there's no room to get the bolt out due to the position of the axle. I would need to remove all the brake components, the bearing carrier and the axle.
I decided the heck with that so I cut a slot in the bolt hole for the position sensor so it will slide in under the bolt. I think the self-leveling and the washer on the headlight is complexity with little benefit. I'm thinking about ditching the whole works and getting Halogen headlights.
I did get most of the bumper cover sanded. FILLED with stone chips. I think I'm going to just paint that black. Black roof, black wheels, black mirrors, and I already have black paint!
Also, does anyone know how this little dohicky goes in? Mine was missing and I bought a replacement thinking it snaps right in but that doesn't appear to be the case.
P.S. please ignore the paint chip. A little touchup and some wet sanding and it'll disappear, [enough for a $500 Mini anyway]
I forget exactly how the headlight washer cover goes on. I ditched that system on ours as it wasn't working anyways. Hopefully the rest of the washer squirter is there for it to attach to.
I highly recommend the Helix/Depo halogen projector headlights. They fit reasonably well, maintain the auto-leveling function, and have great light output. We installed a set to replace the faded, malfunctioning HIDs in our 2003.
Also, does anyone know how this little dohicky goes in? Mine was missing and I bought a replacement thinking it snaps right in but that doesn't appear to be the case.
I don't remember either. Bentley manual or possibly Pelican Parts website helped me figure it out. I initially ordered just the cover, and in the process of trying to replace it broke some clips on the squirter thingy, and wound up buying the whole assembly to fix it. 😡
Thanks.
After starting at it stupidly for about 1/2 a beer, Then pushing the piston up and putting a small vice grip on it so it would stay up, I realized I was trying to install the clip into the clip. Duh...
It appears only the chrome part of the cover was lost and the rest of the clip was still in place. It's held on by 2 small press clips on either side of the round portion that you need to press in with a tiny screwdriver.
I could get one side pressed in but try as I might I couldn't get both pushed in at the same time. I ended up using side cutters to snip the 2 little loops and it came right off. And or course the new one popped right on.
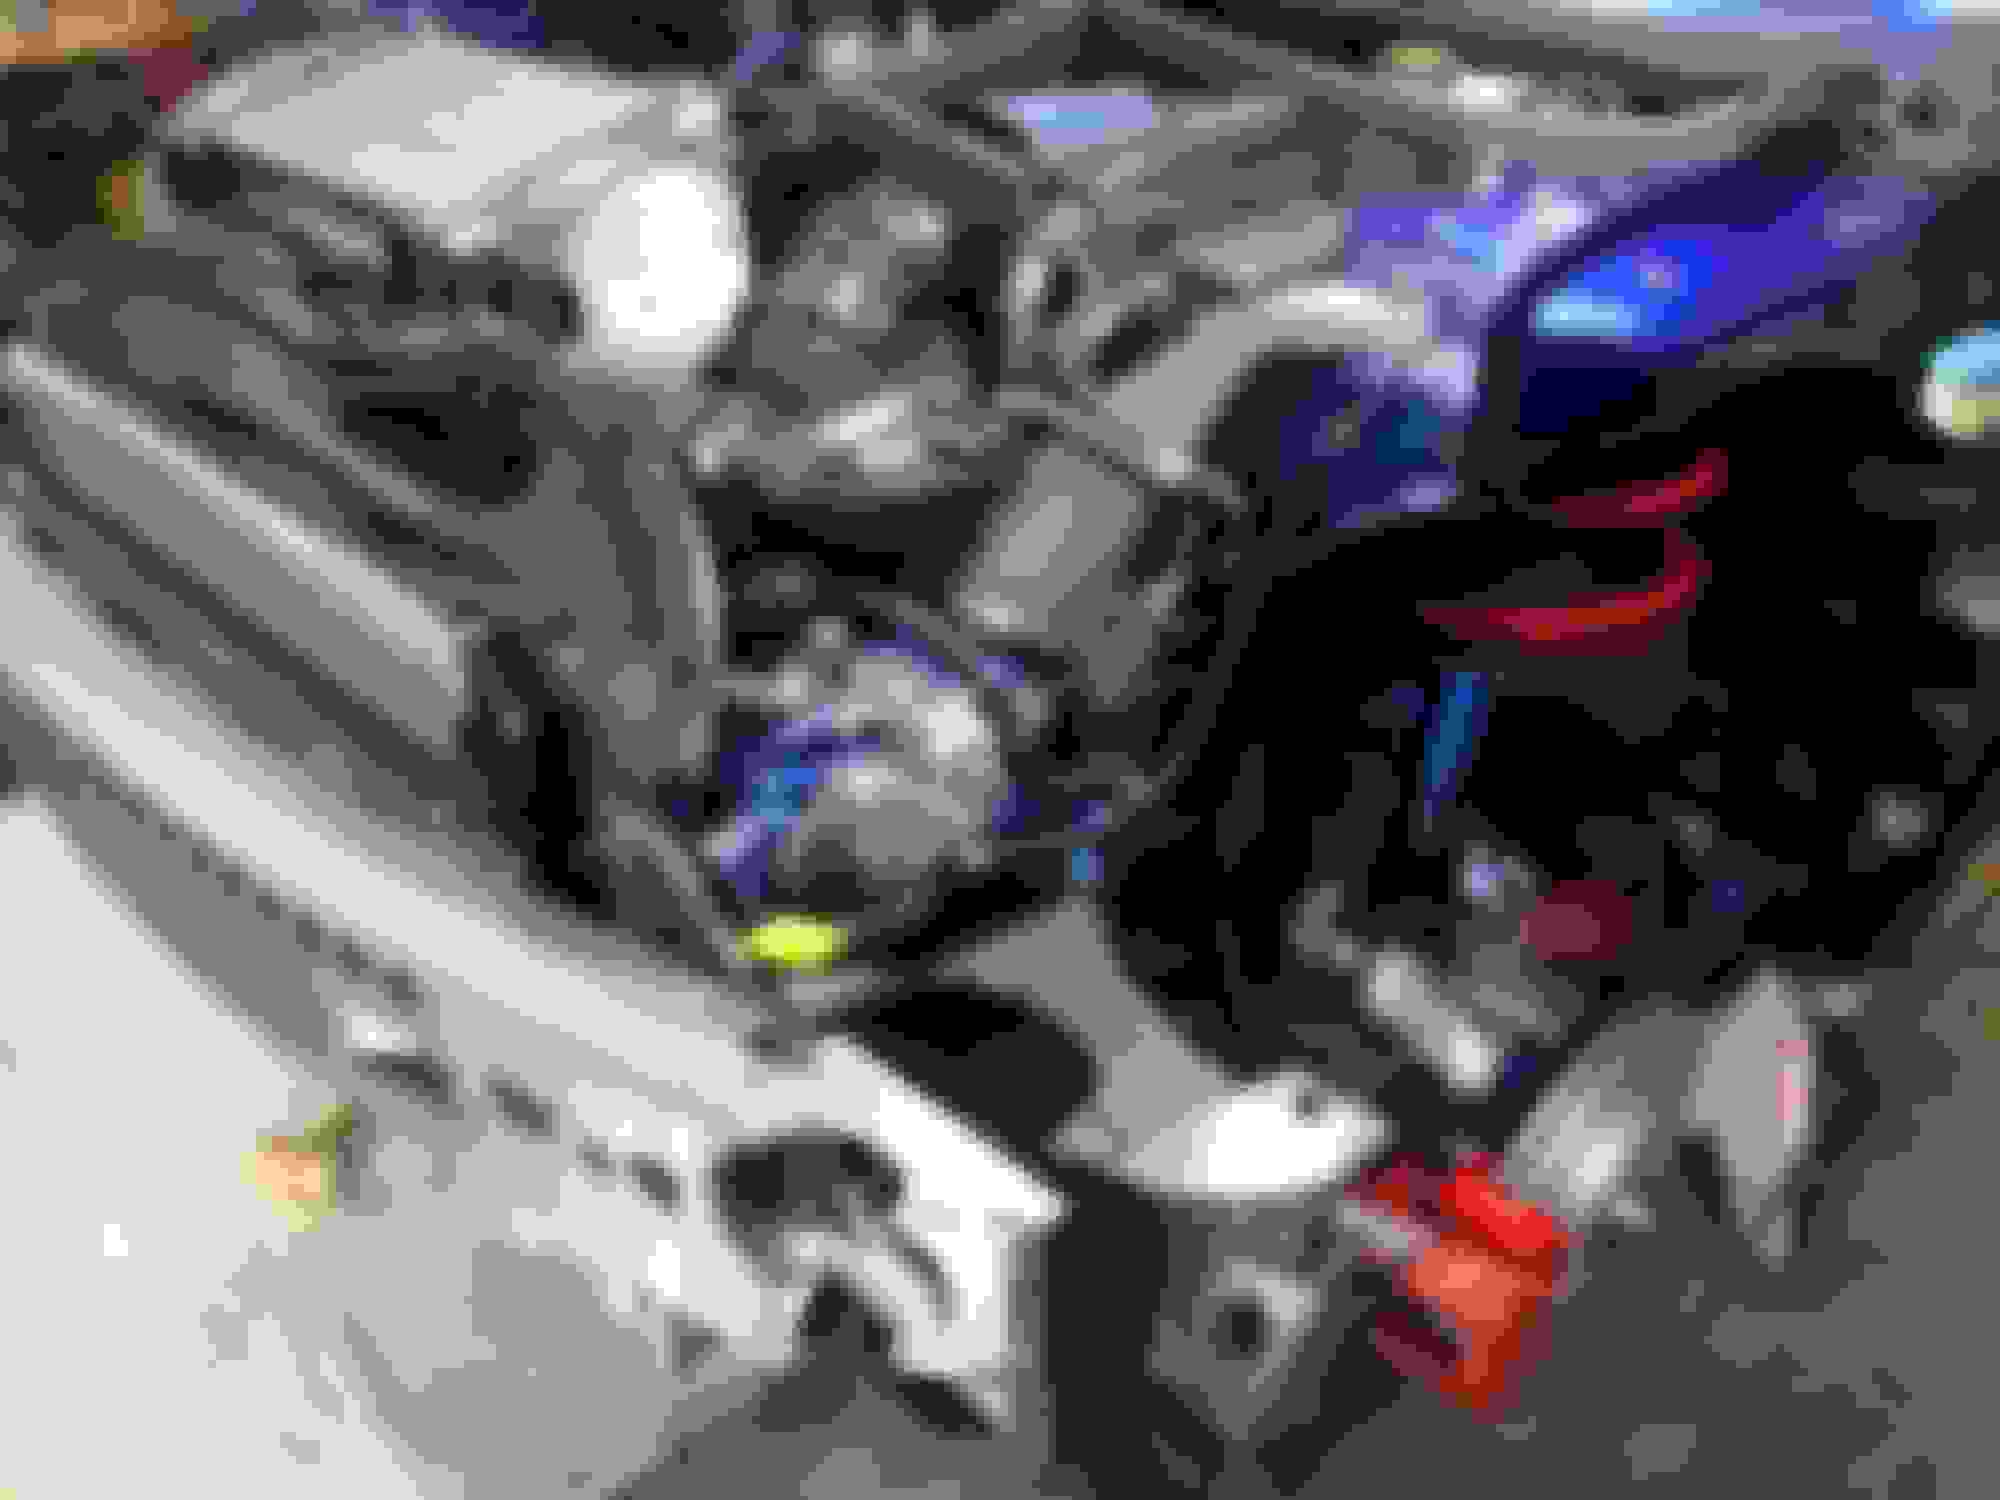
I need to catch up. The radiator support is in, bumper support is in and working on the engine pan and fitting the P.S. "scoop".
rob j
This is the original piece with the missing chrome cover. The new one, [that I forgot to take a photo of] includes the black piece shown. So I was trying to put the part into the part. Sometimes ya can't see the forest for the trees. At least I didn't ry to tap the new one in...
Let's see.
Leveling position sensor. After the brain fart of forgetting to install the sensor under the left front, inner front ball joint bolt, as the bolt can't be removed all the way with the axle in place, my choice was;
1. Take everything apart on the drivers side, caliper, rotor, bearing carrier, axle, etc...
2. Or, cut a slot in the sensor bracket, loosen the one ball joint bolt, slide the bracket under the bolt and tightened to what my arm felt like the correct value.
[plus I would have negated all the little red dots I put on the nuts and bolts after their final torque].
Worked like a charm.
Effing bolt is a little hard to see but it's right under the driveshaft boot.
After that a quick detour to install the front "Speed Bleaders" on the calipers. I hope they work with replacing the rotors and the flexible lines with stainless, I'm going to have some bleeding to do.
Next up, radiator support and bumper support.
I already had the new radiator in the support, and the cracks in the support [from incorrect towing] repaired with West System Epoxy. [The towing bent the bottom of the radiator, broke the core support in half and broke the engine pan cover]
I was reading the different processes for reinstallation of all of the above, and, "installation is the reverse of removal", get's me every time. Well I put the bumper support crush tubes on first, then held the radiator support up and even a rocket scientist like me could see that wasn't going to work. So I took the crush tubes back off, put the 100mm long bolts in for the "severice mode" and hung the core support again.
Then I connected the upper and lower radiator hose, making note of where the business end of the clamp would end up, [orientation wise] after everything was back together. just in case they would need to come off without taking the entire car apart, again...
Then some housekeeping details like the bracket for the fan connection and the clamp for the a/c line port.
Then, LOOSELY installed the crush tubes, then the bumper support. [please notice that the bumper support was sandblasted at the same time as the subframe and painted with POR-15 Stainless paint].
Overkill I know but it looked good. and it made me feel better. The bare aluminum looked like s**t.
Hard to tell here, but take my word for it, it's painted.
So then, tighten up the bolts and nuts for the radiator support and the bumper support and snug those up.
Just in case anyone thought I was slipping in what might be mistakenly construed as "haste", [or as others may say, "progress"], the nuts and the 2 bolts were wire brushed and clear coated. I'll save you the agony of photos of them, but take my word for it, it was done.
Finally tighten and torque the crush tube bolts.
Then, although the bumper cover is sanded but not yet painted, a trial fit there. At first the gap was nice on the passenger side, but about 3/4 of an inch on the drivers side. A few tries of moving the left side hood latch and the gap is pretty darn good if I have to say so myself...
Ok, that's all for now. My 2 fingers are tired.
Last night and tonight I was working on the engine belly pan installation and the installation of the P.S. pump scoop. Wasn't exactly straight forward due to the modifications [elimination] of the little spoiler below the bumper cover and mods to the bumper cover itself.
Details to follow.
 12-07-2019, 08:20 AM