When you click on links to various merchants on this site and make a purchase, this can result in this site earning a commission. Affiliate programs and affiliations include, but are not limited to, the eBay Partner Network.
R56 Halogen to OEM Bi-Xenon Conversion - Start to Finish
Hey guys, yes I know another one of these. Well in all my searching the forum I managed to find thread after thread on this particular topic and most of them started out strong and eventually just kinda fizzled out. Well I will tell you now you can successfully convert the R56 from halogen to OEM Bi-Xenon's with relatively little effort. Some slight modifications to wiring are required, I tried to find the factory headlight connector online to simply make a jumper harness but wasn't able to so I modified the wiring in the headlights which I'll cover below.
To do this conversion on a late 2011, you will need a few things (I say on a 2011 as other years may have slight variations):
Bi-Xenon housings ~$360-450ea - The whole reason I started this project was because I stumbled across a screaming deal here on the forum for a pair of low mile housings and had to jump on them. Sadly one broke in shipping so I ended up needing to buy a new one anyways but hey you can't win em all.
OEM Xenon Ballasts $$$ - Price varies pretty wildly on these. Part number 63 11 7 356 250 for the triangle style I needed. I picked up a low mile OEM set off eBay for ~$160 for the pair and they work great. If you choose to go this route YMMV go with a reputable seller and test them as soon as they arrive. I used oem_xenon_parts.
D1S Bulbs $50-250 - Again price varies pretty wildly depending on where you shop and whether you stick with OEM. I went with a pair of Philips D1S 4300k bulbs off Amazon for ~$100
Headlight Washer Covers $15 - These are more straightforward and are available from any of the vendors here.
Coding - This is going to be required, if you're not prepared to code your FRM and CAS then stop now. If you can't find someone who can do it for you then stop now.
Alright so with all that out of the way we should probably start with one of the more critical bits, NCSExpert. I had one HELL of a time tracking down a working version of this that was complete and in English. I tried umpteen different editions and had actually given up, a couple months ago I decided to give it one more go for some other items and managed to find this one posted by Joseph here on the forums in the NCSExpert for Beginners thread. He'll even help you out with the install/coding if needed, which I think is amazing.
Install files - http://www.mediafire.com/folder/a7jvirbs559ib/Software
Email - codemyride@gmail.com
Joseph I hope you don't mind I included your info here, if you do just shoot me a pm and I'll pull it.
So once you've got the coding machine setup and ready to rock and roll you're ready to get started. First thing to tackle, wiring.
The Bi-Xenons are going to have a slightly different pinout. On my car I was looking at the following. - NOTE: do yourself a favor and test these pins to ensure you're working with the proper wires before you make any changes. You'll be kicking yourself if you spend the time to modify any wiring and find out you need to change it again.
Factory Halogen harness:
-Power on Pin 3
-Ground on Pin 4
-High Beam Pin 6
-Turn Signal Pin 12
HID Headlight: Magnetti Marelli
-Power on Pin 3
-Ground on Pin 2 and 4
-High Beam Pin 5
-Turn Signal Pin 12
As you can see most of them actually line up aside from an additional ground on the headlight and our high beam being on the wrong pin on the harness side. Both are a very easy fix, the main thing to remember is if you want this mod to last the wiring needs to be sealed tight to avoid corrosion damaging the wiring. Thankfully, headlights are much more protected from the elements by design so you have a much better chance of it surviving the elements if you make the mods to the headlight. Plus it means your car is unmolested and easily reverted.
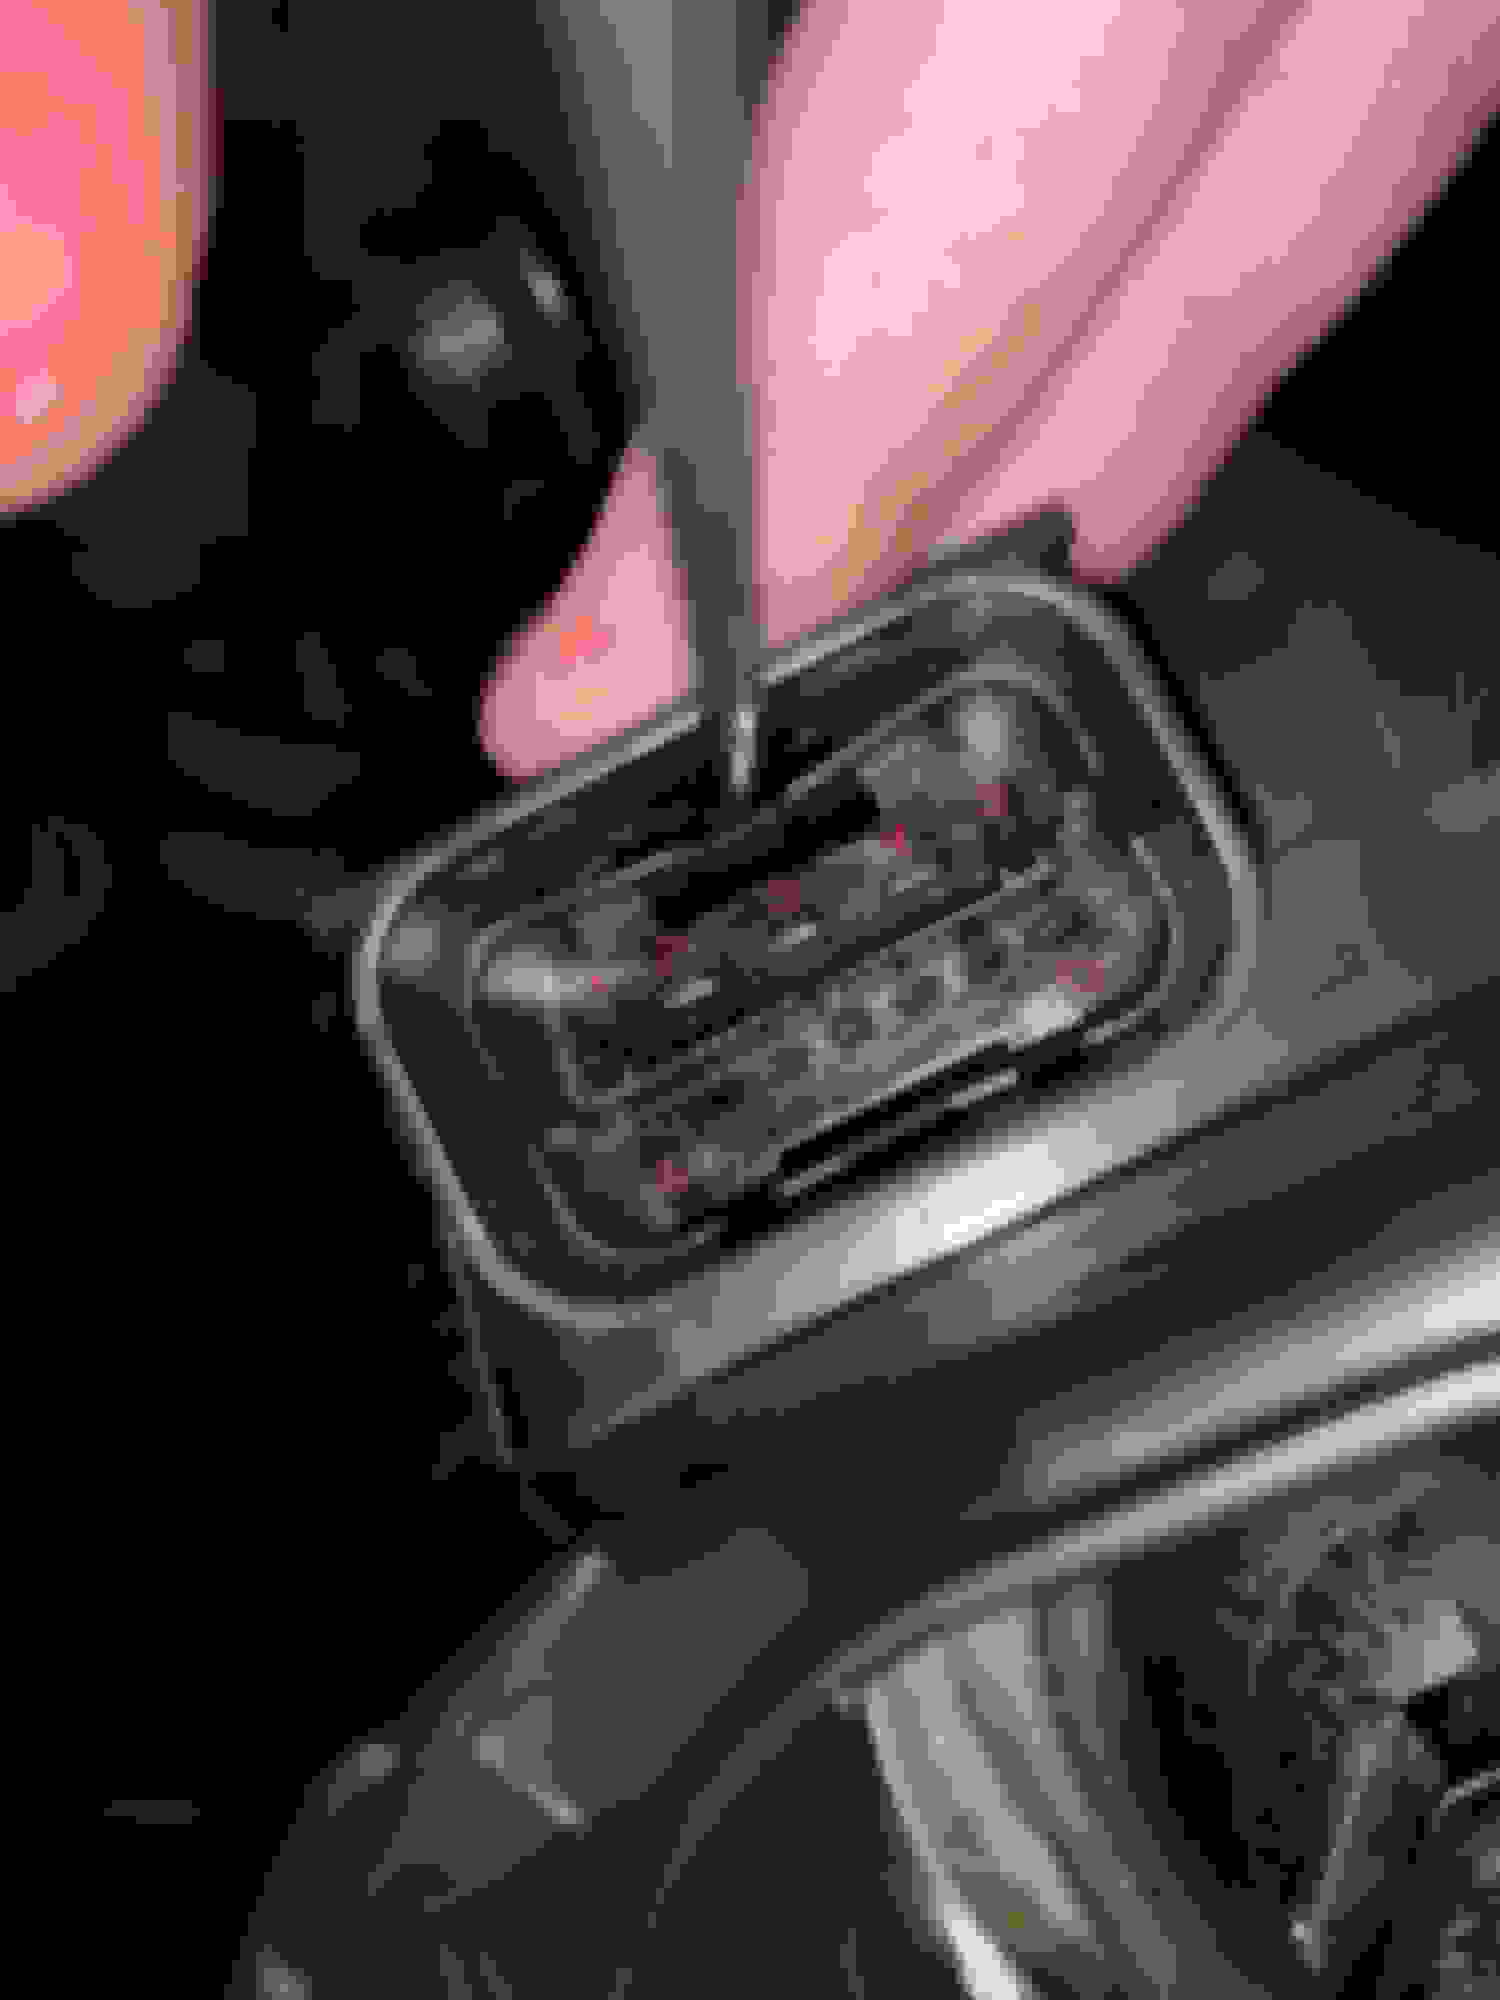
You'll need to insert a tool between the plug in the headlight and the side of the case to pry it away from the tab holding it in place from behind. I held a pick in-between them like so and used another pick to push the plug into the housing until it passed the nub. Rinse and repeat for opposite side, you'll need to keep some pressure on the plug or it may pop back up over the nub. Also note I've numbered the pins, they are numbered in the plug themselves but this makes it easier to read.
In that photo I had already moved Pin 5 to Pin 6, this was taken during re-assembly. Tabs that hold the connector in the housing.
Ok so now we've got the plug loose in the housing now what? You only need enough slack to slide the plug out of the access hole on the bottom of the housing used to change the turn signal bulb. There are 2 wire mounts holding the plug wiring into the housing, one headlight I was able to simply apply some pressure and they popped out, the other ended up breaking one of the wire ties so YMMV.
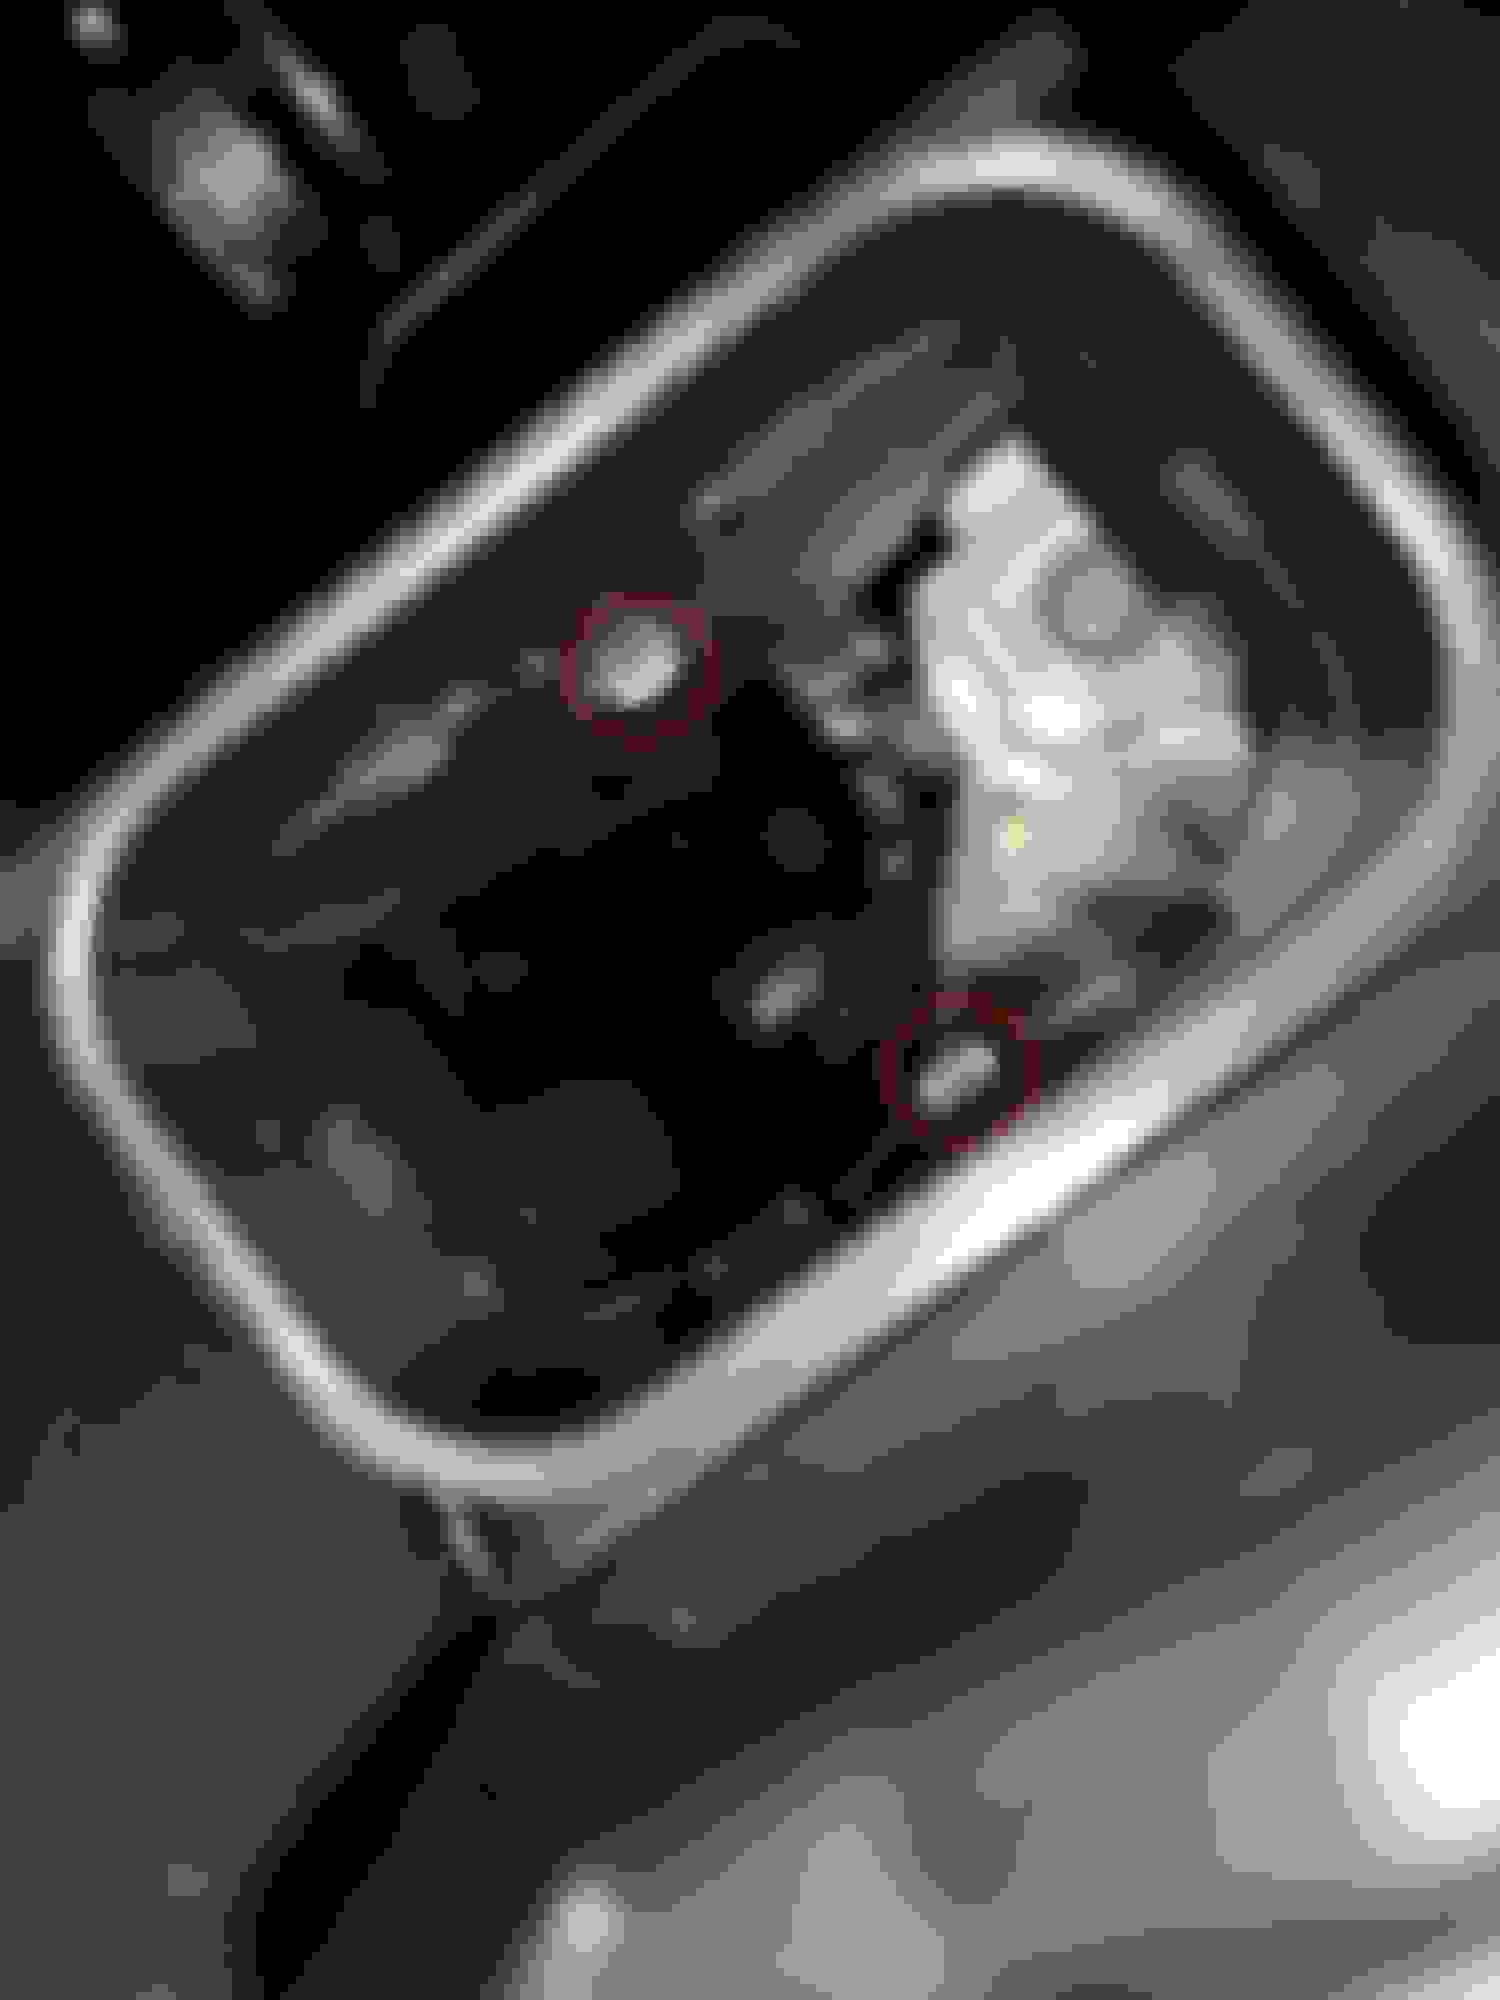
With the plug out of the housing with enough room to work we need to move the pin in port 5 to port 6. You'll see these little "wing" like sections on the sides, these are locking plates. You'll need to insert a pick or similar tool in to the small gap at the bottom corner, then pull the wing straight down and away in the direction of the arrows to open it up.
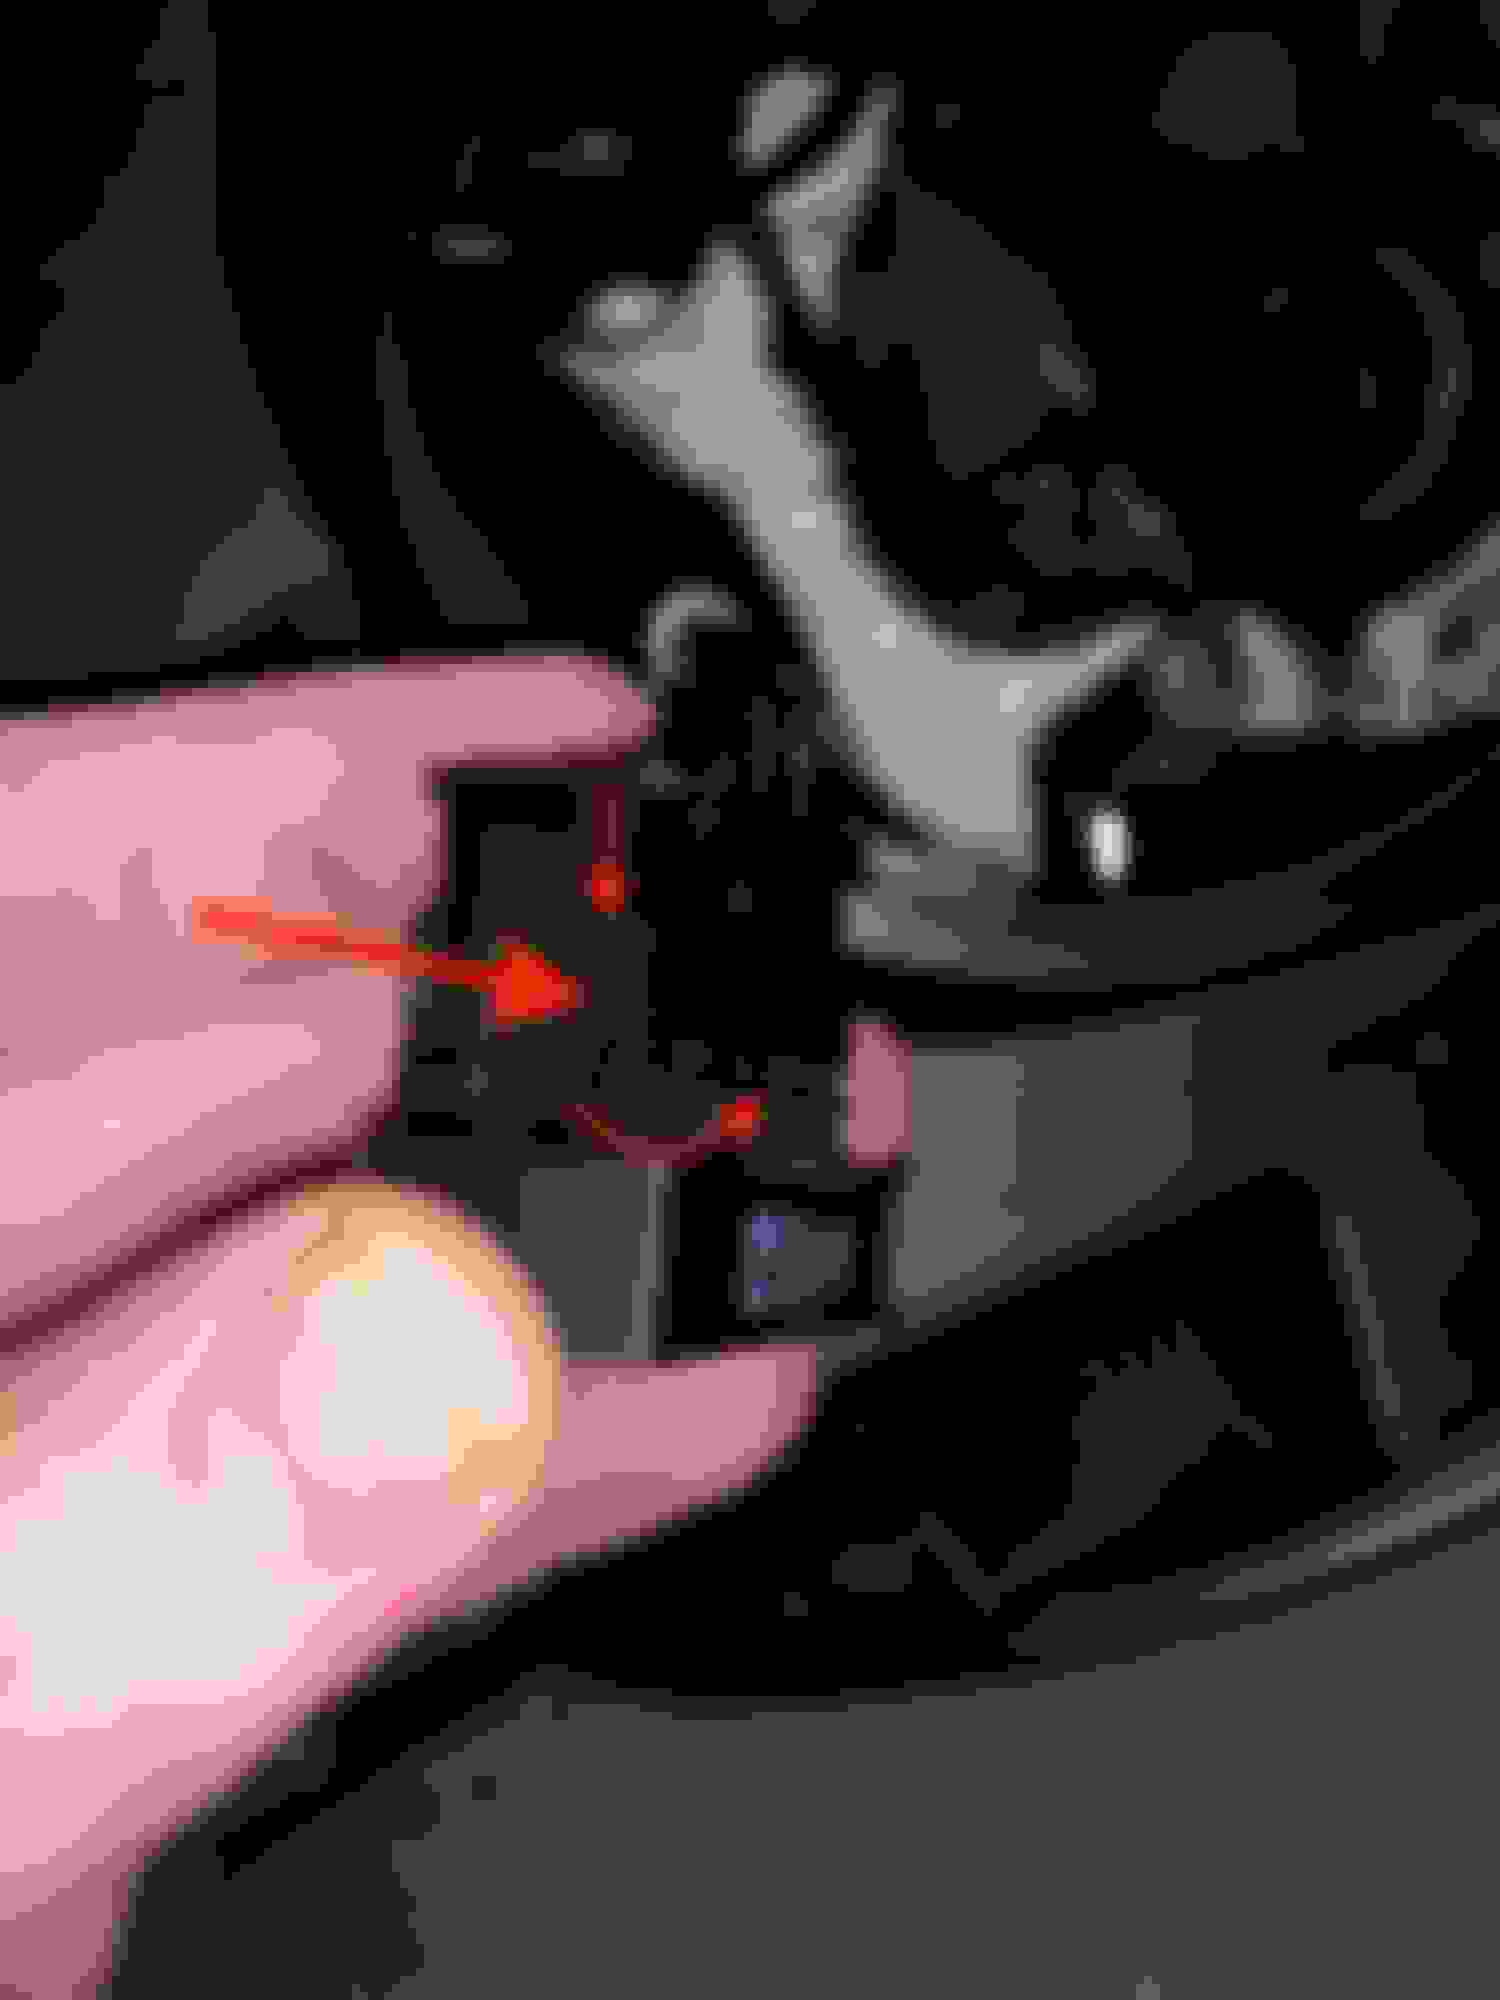
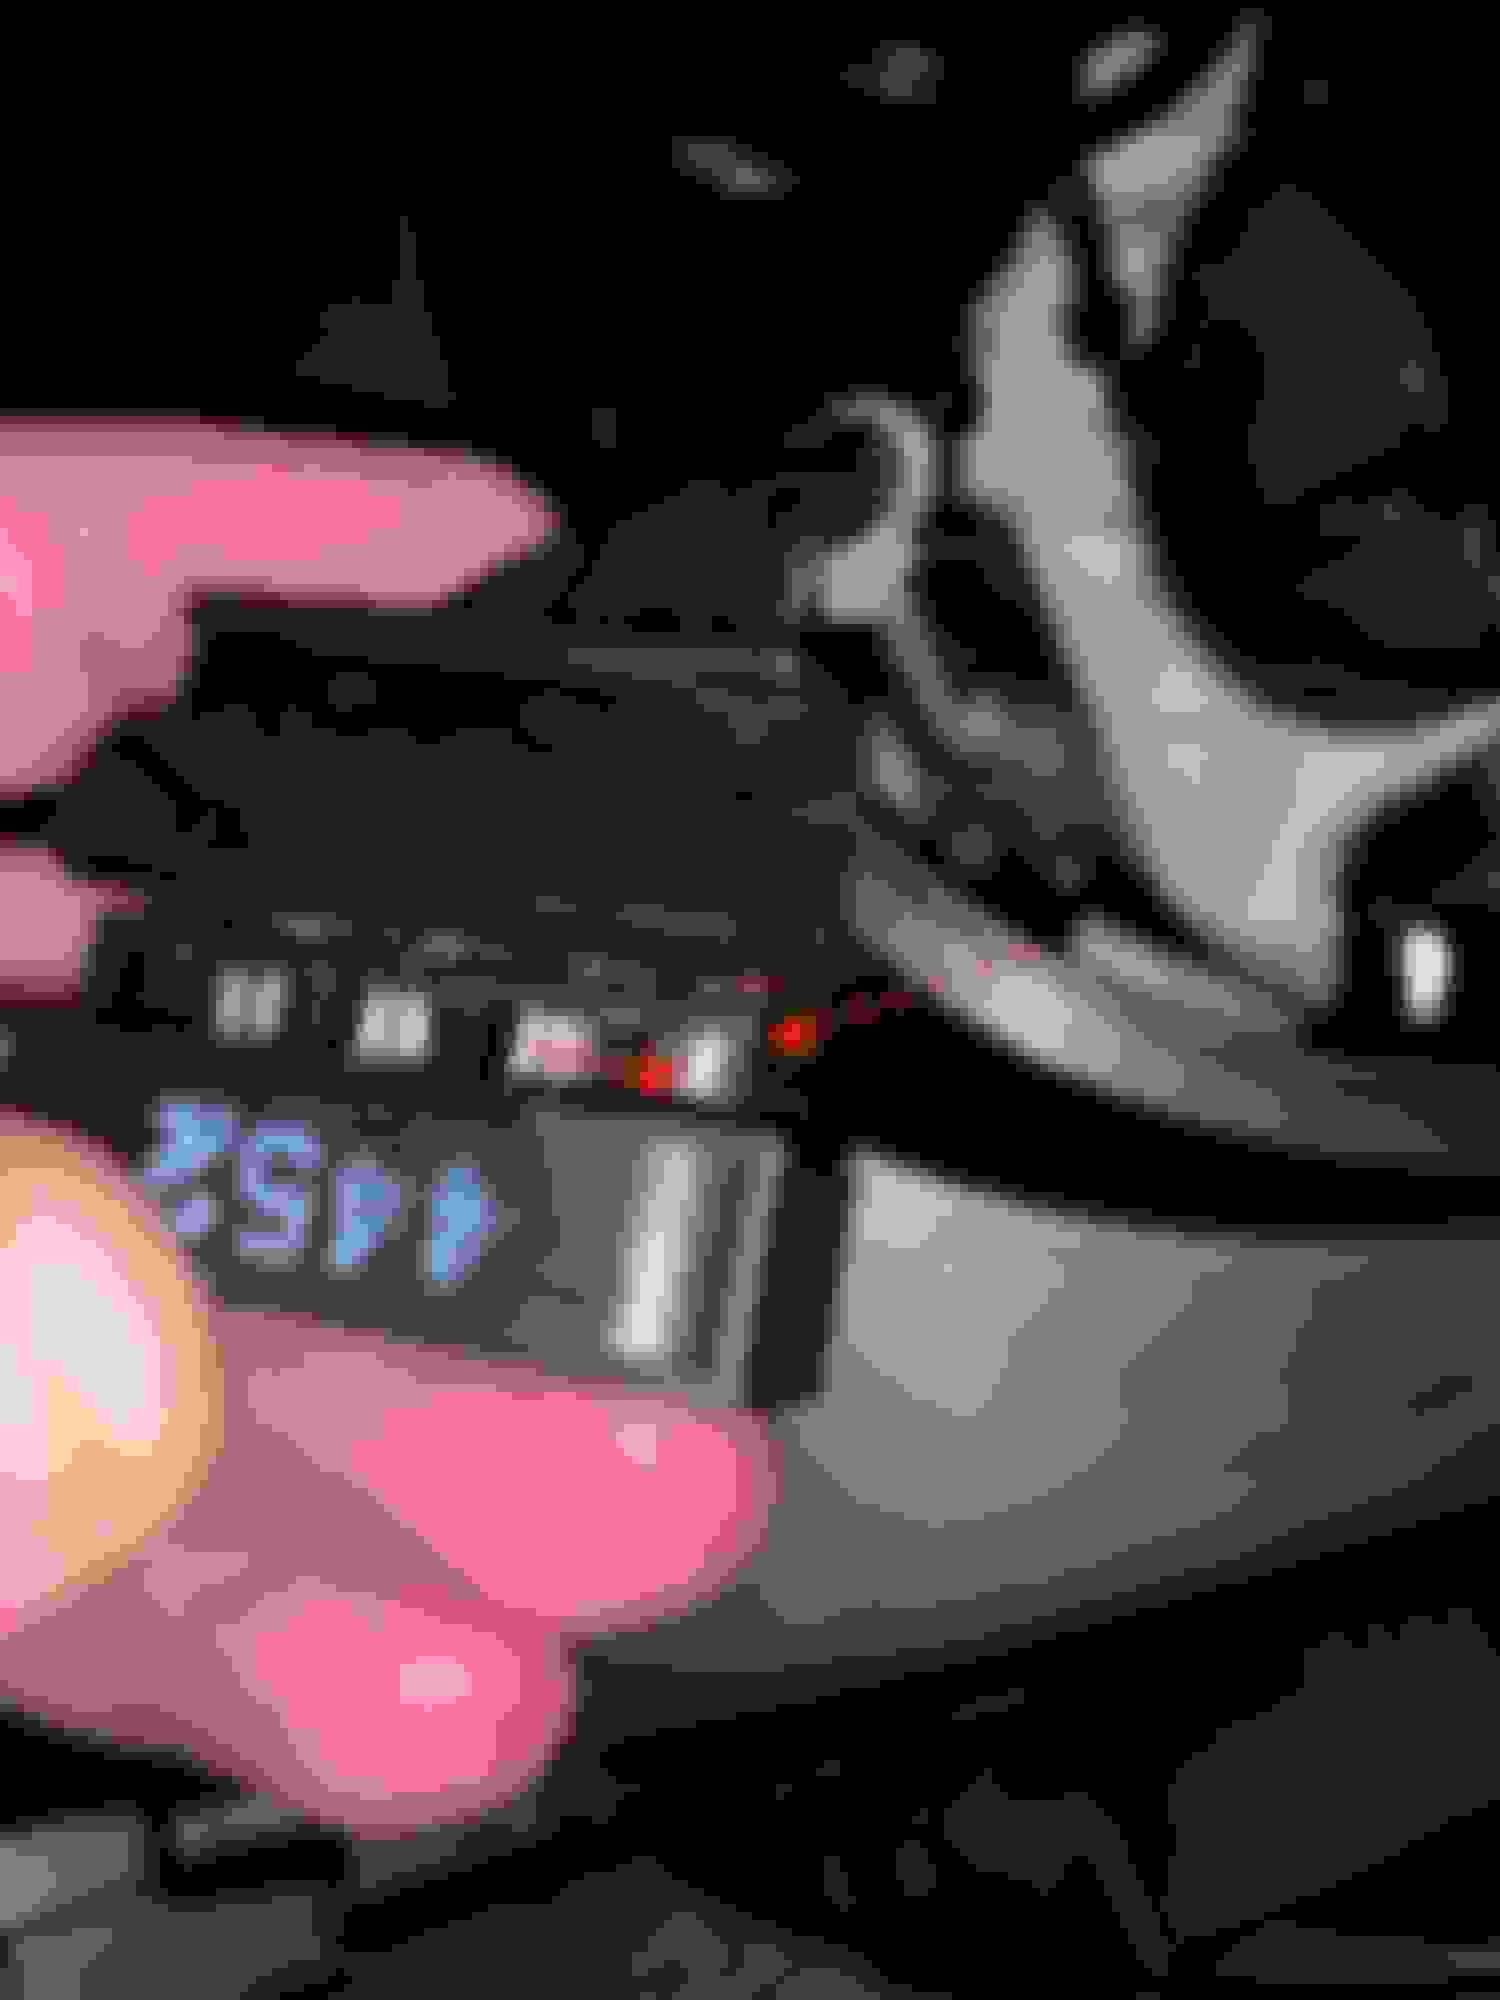
Once the wing is open we need to remove the pin, there is a locking tab on the front of the pin that locks it in place press this in towards the opposite side of the plug. Dashed arrow indicates the pin we're working with. Standard large arrow points to the position of the tab that needs to be depressed. Smaller arrow points to the next spot you may have to depress the tab again while pulling the pin out of the connector.
The box is around the tab that locks the pin in the plug.
Reinstallation in Port 6 is simple, just push it in. If you don't hear it click into place, pull the pin back out and bend that tab slightly away from the body of the pin. Now press the wings back together on the body and you're done tweaking the pin arrangement.
Now we need to deal with the grounds, the Bi-Xenon has a ground on pin 2 and 4 while the Halogen harness only has a ground on pin 4. The easy fix is to cut the wires on the headlight plug side and join wires 2 and 4 to the wire coming off pin 4 in the connector (Don't worry, the additional ground is for the Hi beam shutter which pulls almost no current, you're not going to hurt anything combining these wires). Done
Now reinstalling the plug in the housing and you're done inside.
The next fun topic is the washer covers. I've seen people gluing them in place or picking up a set of used washer assemblies and installing them on those. I went an alternative route, with the intention of being able to replace them easily in the event they get chipped, fade or simply break without too much trouble I used bailing wire to attach them to one of the factory mounts for the washer assembly. I fished a separate wire through the top and bottom mounting holes and you twist them to tighten it up. The covers don't move at all, be careful not to over tighten though they are just plastic. Time will tell how well this holds up to NVH from driving.
The beauty of keeping the OEM setup is the ballasts install to the headlight housing so there's no goofy wiring or ballasts to hide in the engine bay (least favorite part of HID conversions).
So onto the coding, the fun and dangerous stuff (I myself think I managed to accidentally code my Aux water pump to no longer run by accidentally hitting process car so BE CAREFUL)
Using NCS Expert:
Load Profile > Feature Coding
F1/Start
F3/Chassis > R5x
Select FRM as ECU - It will then read out the VIN and VO on that computer.
F2/EditVO - Confirm chassis, confirm VIN
In the attribute field type $522 and click add
F6/Back
F4/Process ECU - Select FRM
F2/Change Job - SG_CODIEREN
F3/Execute Job - this will write the new VO to the FRM, changing any default settings for Bi-Xenons
Once it�s complete, F1/Change ECU - Select CAS
Make sure job is still as above
F3/Execute Job
Now you need to edit the config a bit so we�re going to select the FRM again.
F2/Change ECU - Select FRM
F4/Read ECU
Now open BMW Coding Tool
Select Chassis from dropdown
Select FRM Module, you may have an FRM1, 2 or 3.
Click Load TRC File - This will load up the current config you just pulled down in NCS Expert by running Read ECU.
Now search for the following items and change their values to: Disables auto-leveling
AUTO_LWR_ENABLE
nicht_aktiv
Also disables auto-leveling
DYNAM_LWR_ENABLE
nicht_aktiv
I did not add the auto leveling system, if you do you'll obviously want to leave the first two above enabled.
Once all adjustments are made, click Save MAN File, backup the existing TRC and MAN file naming them how you see fit.
Once that�s complete the BMW Coding Tool will inform you to go back to NCS Expert, F2/Change Job to SG_CODIEREN again, ensure FRM is the selected ECU and click F3/Execute Job.
Once coding is complete your car will now be setup for Bi-Xenons, flash to pass etc should all work properly and you won�t get codes for the missing auto levelers.
That's it, bolt in your new headlights and make sure to align them. All in all this project cost me ~$900 and was absolutely worth it, the light output is leagues above the halogens. I used to hit my fogs anytime I was driving in the dark and now you have to LOOK to make sure the fogs actually turned on. I've always had HID's on my vehicles and was very regretful it was a feature not included on the Mini I grabbed but for very little effort and cost I was able to add them and it also adds to the resale value of the car (to people who care about this stuff so maybe not haha).
Anyways hope this helps some people out, and if I've violated any rules or if there are any suggested changes please let me know and I'll tweak it.
Hallelujah. I've been looking for a concise thread of everything needed. I've been jumping around threads trying to find the wiring pinout and x-referencing newtis for what needs to go where on the harness. I've got the headlights and everything, now I just need to start it. Thanks for this, should be just about the same on my '10 from what I can tell so far.
Now I've read under the PWM_FL_BEI_BIXENON that wert_01 needs to be there 2x on separate lines. Were you not able to do that, or did the single wert_01 entry work fine for yours?
EDIT: For clarity, since you're changing the pins on the headlight itself, doesn't it mean you move the high beam shutter's pin 5 to pin 6 to match the high beam pinout on the car's halogen harness? If that makes sense.
Last edited by ChrisTaco; May 7, 2019 at 10:49 AM.
Reason: Question about the wiring scheme.
Thank you for sharing your experience in this. I want to do the same in my r56 but in my case which is an 08 I think I need to change the footwell module because it is a pre lci.
Does anyone know if i need to change the footwell module in a pre lci in order to do this?
Hallelujah. I've been looking for a concise thread of everything needed. I've been jumping around threads trying to find the wiring pinout and x-referencing newtis for what needs to go where on the harness. I've got the headlights and everything, now I just need to start it. Thanks for this, should be just about the same on my '10 from what I can tell so far.
Now I've read under the PWM_FL_BEI_BIXENON that wert_01 needs to be there 2x on separate lines. Were you not able to do that, or did the single wert_01 entry work fine for yours?
EDIT: For clarity, since you're changing the pins on the headlight itself, doesn't it mean you move the high beam shutter's pin 5 to pin 6 to match the high beam pinout on the car's halogen harness? If that makes sense.
Ah thanks for catching the pin flip, funnily enough I did that more times than I can count during the swap too. Had to keep double checking everything, updated the post.
For the PWM coding, everything I stumbled across showed wert_01 on two separate lines but when coding I believe it only had the single entry but will double check at some point this week hopefully.
Glad to hear the thread is helping you out man! I went through the same frustration looking for solid info when I started this project so I know how it feels. Definitely double check the pinout wiring on your headlight connector with a voltmeter though, if Mini is anything like my past Mitsu's they may have changed things from batch to batch.
Hey guys, yes I know another one of these. Well in all my searching the forum I managed to find thread after thread on this particular topic and most of them started out strong and eventually just kinda fizzled out. Well I will tell you now you can successfully convert the R56 from halogen to OEM Bi-Xenon's with relatively little effort. Some slight modifications to wiring are required, Once coding is complete your car will now be setup for Bi-Xenons, flash to pass etc should all work properly and you won’t get codes for the missing auto levelers..
Thank you for the great writeup. I was able to modify the wiring and we were able to change the coding. I'm not sure if we missed something. Everything looks good until the car is started. Then about 10 seconds after starting the car, the lights start to flicker then shut down. Any suggestions? I found this in a related thread:
Originally Posted by willgar
Success. The problem was in the hardware, not the software. I had to cut the negative wire running from the ballast to the solenoid and run it directly to ground. Not sure why the ground for the solenoid comes from the ballast but everything is working perfectly now.
Thanks!
Last edited by techgearpro; Mar 9, 2020 at 07:08 PM.
Thank you for the great writeup. I was able to modify the wiring and we were able to change the coding. I'm not sure if we missed something. Everything looks good until the car is started. Then about 10 seconds after starting the car, the lights start to flicker then shut down. Any suggestions? I found this in a related thread:
Thanks!
Hi there, wish to know whether you manage to resolve the problem or not as im having the same issue here.
Hello Everybody, I am going to dig up this thread. I did the conversion according to the above instructions. I also did code $522 option and disabled auto leveling. However I am still getting a fault 009CB2 in ISTA: FRM: Headlight vertical aim control potentiometer defective. Do you also have it? Since there is no extra documentation of this fault in ISTA I am suspecting that it might be caused by the fact that my car did not have the manual adjustment of the halogen lights, the one that is one the steering column. On the other hand cars with factory xenon light also don't have it.
Just a quick Q. Looking in NCSEXPERT I see a option "Turn off lowbeam while starting engine" would it be a good idea to enable this to stop any voltage drops / spikes damaging the ballast units while the engine is cranking over if the lights are on?
Also how would you add the headlight washer hardware?