
Interior/Exterior DIY blackout HL & TL rings - grill surround R56S guide


Thread Starter
|
2nd Gear
Joined: Feb 2008
Posts: 140
Likes: 0
From: Cenral CT
DIY blackout HL & TL rings - grill surround R56S guide
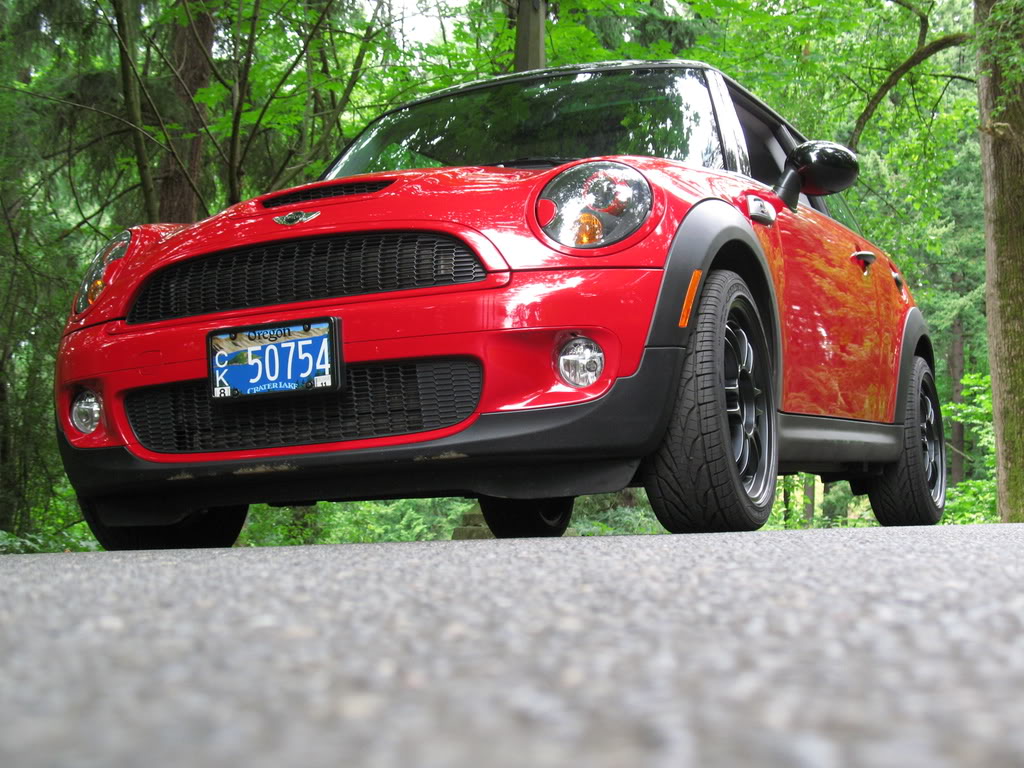
Recently I had blacked out my head light rings, grill surround, and tail lights. I followed instructions meant for a different version of Mini, and ended up breaking a couple tabs - but in the end everything worked out.
So I'd like to take this opportunity to provide a comprehensive DIY for any members interested in taking on this project with the same vehicle. Many members have already completed this project on their own and they look fantastic, so please provide help tips for the process!
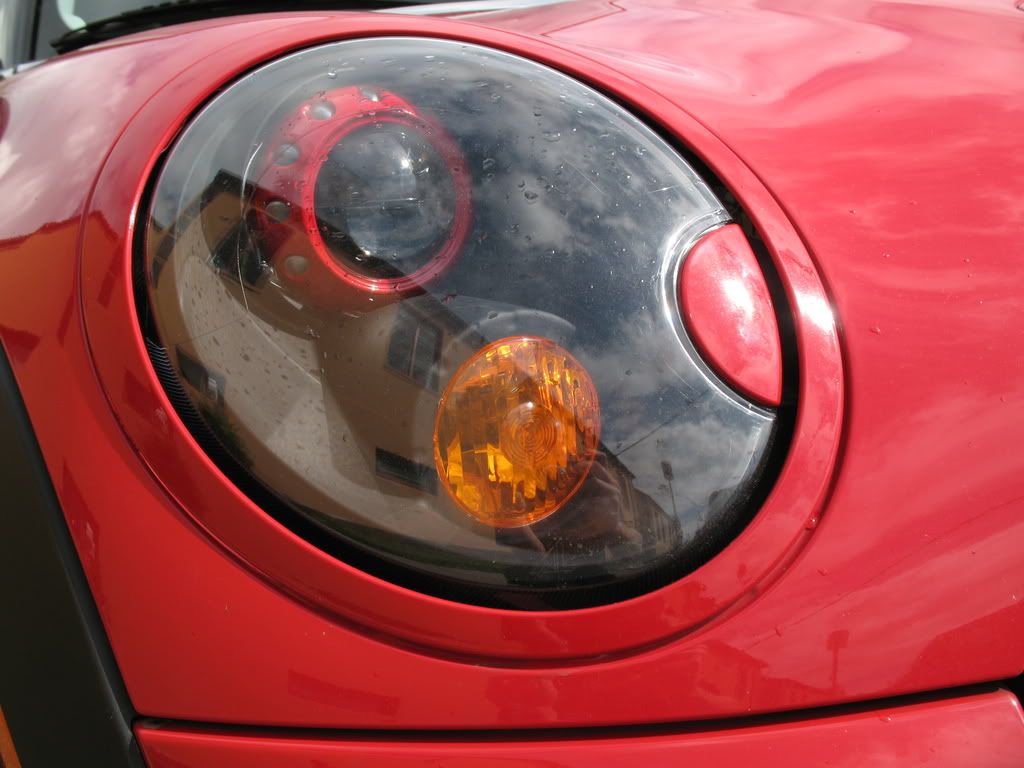
Step 1: Headlight Rings

Step 2: Grill Surround
Top Grill


Bottom Grill
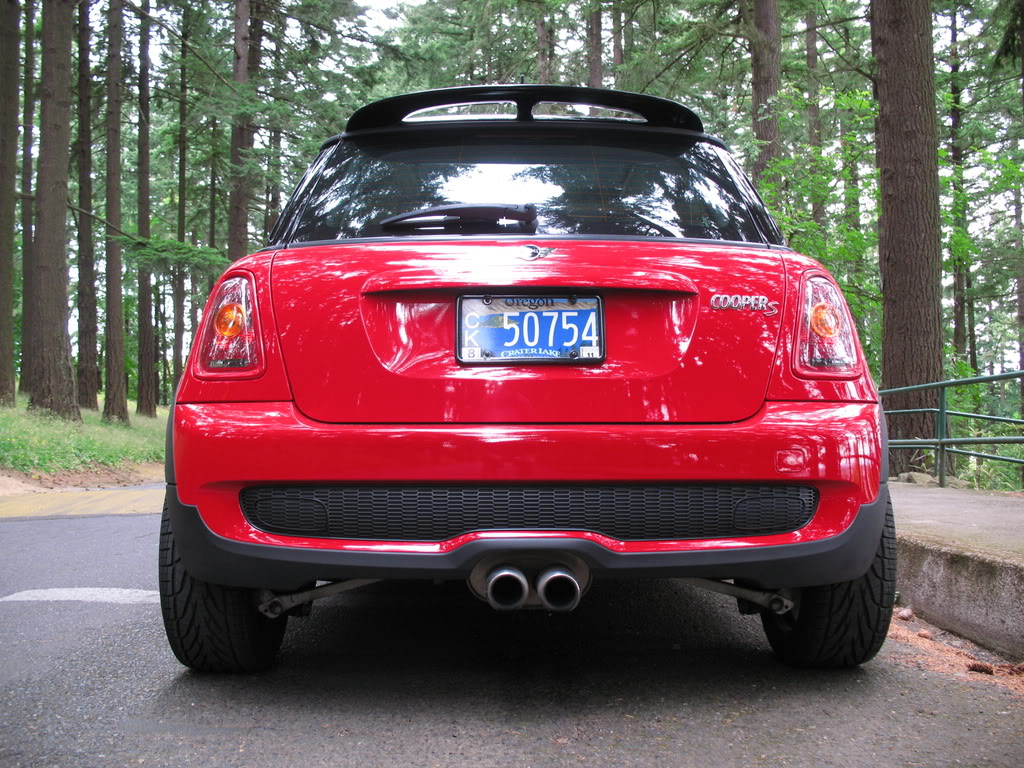
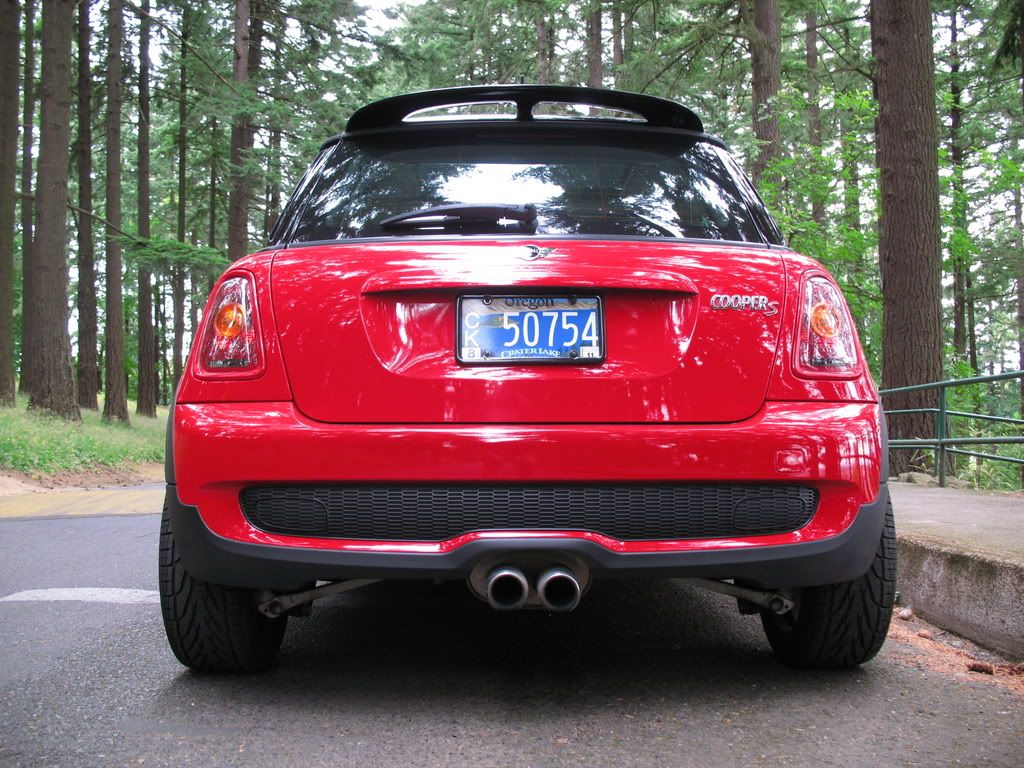
Step 3: Tail light Rings


Blackout:
After wiping the chrome down with a paper towel and Windex, I laid the rings over newspapers and sprayed it with 2-3 coats of Plasti-Dip. You can research this aerosol at its website. I purchased it from The Home Depot in the spray paint aisle for $5.22. I used 2 full cans of it.
I did the same for the tail lights.
The grill surrounds may be tricky, I used some chopsticks and stuck them in my lawn like wooden stakes. Then I rested the grill surrounds on them so I can spray them from all angles. 2-3 Coats every 20-30 minutes. Do it on a windless day, wind makes the spray difficult to apply evenly.


So I'd like to take this opportunity to provide a comprehensive DIY for any members interested in taking on this project with the same vehicle. Many members have already completed this project on their own and they look fantastic, so please provide help tips for the process!
Tools:
- Small Phillips head screwdriver
- Small flathead screwdriver
- Needle nose pliers
Step 1: Headlight Rings
- Open bonnet
- Place small flathead screwdriver between silver & black tab
- Gently pry (push) away from you, towards the headlight hole
- The chrome piece should literally pop off
- Do not morph silver plastic tab
Step 2: Grill Surround
Top Grill
- Remove 4 screws with Phillips head screwdriver
- Use needle nose pliers to squeeze tip and gently push up & pull at same time
- Repeat for rest
- Try not to pull off/break tabs when pulling grill, use pliers wisely
Bottom Grill
- Use flat head screwdriver & pry out black screws from black honeycomb grill for more work space
- While slightly pushing down, pull black grill out of its fitment, you can see its slots
- If you�ve taken the whole grill off, you may gently pry or pull off the grill surround, this should �pop� off as well.
- The grill surround may be attached with a bit of glue, so apply pressure if needed
Step 3: Tail light Rings
- Take the very same flathead screwdriver and go between the tail light (lens) and ring � from the inside.
- Locate the tabs (3 on top) and gently pry away from you, do the same around
- This piece should pop off as well.
- Do the top first then push downward to take ring out of its place
Everything should pop right back in.
Blackout:
After wiping the chrome down with a paper towel and Windex, I laid the rings over newspapers and sprayed it with 2-3 coats of Plasti-Dip. You can research this aerosol at its website. I purchased it from The Home Depot in the spray paint aisle for $5.22. I used 2 full cans of it.
I did the same for the tail lights.
The grill surrounds may be tricky, I used some chopsticks and stuck them in my lawn like wooden stakes. Then I rested the grill surrounds on them so I can spray them from all angles. 2-3 Coats every 20-30 minutes. Do it on a windless day, wind makes the spray difficult to apply evenly.
Last edited by chinq6t; Jul 31, 2008 at 10:50 AM.


2nd Gear
Joined: Aug 2007
Posts: 139
Likes: 1
From: Sacramento, CA
great write up. i painted my headlight rings and im waiting for them to dry. is it difficult or is there a trick to putting them back on? i havent tried to put them on yet but just thought id ask just in case
thanks
thanks
Thread Starter
|
2nd Gear
Joined: Feb 2008
Posts: 140
Likes: 0
From: Cenral CT
all of your comments are much appreciated! tpmini: it's real simple and quite straightforward, when you feel the time is right go for it. The Plasti-Dip peels right off (so I've heard - I haven't tried).
CaMiniMe: everything literally snaps right back on. It may sound that you have snapped something 'off' but the parts just pops in. The bottom grill surround may be a little tricky, a little force and the right angle will do just fine.
Be patient, and things will turn out brilliant.
Tom
CaMiniMe: everything literally snaps right back on. It may sound that you have snapped something 'off' but the parts just pops in. The bottom grill surround may be a little tricky, a little force and the right angle will do just fine.
Be patient, and things will turn out brilliant.
Tom
Trending Topics

Auto on Sport Button guy
Joined: Apr 2007
Posts: 702
Likes: 2
From: Portland, OR
Nice write up! I painted my trim pieces with body match paint from Minspeed. All the black parts, the gas cap, door handles and side repeaters are done in satin vinyl wrap form Vinylstyles.


2nd Gear
Joined: Aug 2007
Posts: 139
Likes: 1
From: Sacramento, CA
well i painted them yesterday and put them back on today. it was very easy and straight forward. as for the results, it came out perfect. i ended up going with the plasti-dip and i love the finish. it feels very durable and the finish look almost identical to that of the black plastics on the wheel wells. i think the black plasti-dip flows perfectly with the rest of the car. ill post pics soon. again great write up 


where did you find the paint on minispeed's website? I've been looking all over to get some.

2nd Gear
Joined: Apr 2008
Posts: 92
Likes: 0
From: So Cal
wow great write up! now i am very tempted to de-chrome my car! does anyone know or show me how to take off the rear view mirror? i am thinking of getting the checker one but cant figure out how to take the darn thing off!


CLICK HERE! For more details!

OVERDRIVE
Joined: Mar 2007
Posts: 5,602
Likes: 107
From: Arizona
Has anyone blacked out the tail light clear covers? I saw a car here in Prescott with that done, looks nice. Haven't seen it at night though. His car is AB/B and needless to say it's color scheme is..........BLACK.