
Interior/Exterior DIY blackout HL & TL rings - grill surround R56S guide


1st Gear
Joined: Aug 2008
Posts: 40
Likes: 0
Definite possibility, They will probably peel if they get a little rash as apposed to just some chipping with the paint. A complete peel clean and re-spray with plastidip will probably take the same or less time then a proper repair to the painted wheel. For me anyway, I can be a little to much of a perfectionist with paint and take longer than most.
glad to hear it works on rims! I have a set of old beat rims for winter tires and I think Im going to try it out!
Also want to do the front grill surround on my MINI but cannot decide to get the JCW one because its shinier or just plastidip it...hmm.. i have the aero kit so there is no lower grill chrome, and no black arches to match the paint to...opinions?
Also want to do the front grill surround on my MINI but cannot decide to get the JCW one because its shinier or just plastidip it...hmm.. i have the aero kit so there is no lower grill chrome, and no black arches to match the paint to...opinions?

5th Gear
Joined: Jan 2008
Posts: 871
Likes: 0
From: St. Louis, MO
Has anyone tried this is cold weather. I'm planning on doing the entire plasti dip deal but I may need to wait until it gets warmer. Does this stuff dry in cold weather at all (talking 30s and 40s).
it dries, but will likely turn out with cloudy spots, which are lighter shade of black.
if your pieces are small enough, spray them, let them air out for a few minutes, then bring them inside and pop them in the oven to speed the drying process.
if your pieces are small enough, spray them, let them air out for a few minutes, then bring them inside and pop them in the oven to speed the drying process.
5th Gear
Joined: Jan 2008
Posts: 871
Likes: 0
From: St. Louis, MO

I sprayed in my house like a moron a few months ago with this stuff...again, bad idea. my air purifier turned black, as well as any wall within 3 feet of it. Not pretty, and a $80 purifer down the drain. But it was worth not having to wait, i think the joey mod turned out well with the plastidip....but im a little biased lol


Last edited by MUShadd; Dec 9, 2008 at 11:57 AM.


3rd Gear
Joined: Mar 2008
Posts: 180
Likes: 1
From: Boynton Beach FL

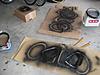
Well, I actually did this before reading this thread. The grill surround and front headlight rings were easy. The handles, gas cap and rear light surrounds were taped off. The side scuttles came out rather easily. It would of saved me some time this way instead of taping everything off. The belt line is next

Nice write up


3rd Gear
Joined: Feb 2009
Posts: 169
Likes: 0
From: mty, Mexico
im gona do my front headlight, rear, and grill, possibly the rear view mirriors.
im kinda worried that Pasti dipping everything will make my rally lights look out of place so maybe il plasti dip those too.
has anyone plasti diped the side fenders, and side skirts? im thinking this would be easier to get clean since its a trouble to get them 100% clean.
also, about removing it... does it end up just as new? like you cant tell the difference? if so il be doing it on my rims too, and if i dont like it il take it off.

The side mirrors adds a nice touch. I did mine to take away the gloss black look and the plasti dip made it a perfect match to the surrounding plastic of the housing.
Yeah when you peel it off its just as new. You are literally applying a layer of rubber-like material so it sticks, but does not bond like paint. Just peels off
Yeah when you peel it off its just as new. You are literally applying a layer of rubber-like material so it sticks, but does not bond like paint. Just peels off
im gona do my front headlight, rear, and grill, possibly the rear view mirriors.
im kinda worried that Pasti dipping everything will make my rally lights look out of place so maybe il plasti dip those too.
has anyone plasti diped the side fenders, and side skirts? im thinking this would be easier to get clean since its a trouble to get them 100% clean.
also, about removing it... does it end up just as new? like you cant tell the difference? if so il be doing it on my rims too, and if i dont like it il take it off.
im kinda worried that Pasti dipping everything will make my rally lights look out of place so maybe il plasti dip those too.
has anyone plasti diped the side fenders, and side skirts? im thinking this would be easier to get clean since its a trouble to get them 100% clean.
also, about removing it... does it end up just as new? like you cant tell the difference? if so il be doing it on my rims too, and if i dont like it il take it off.


svtcobra - it looks great
Now it's time for aftermarket rims or painting your bridge spokes - If you paint them, they will look great -
here: https://www.northamericanmotoring.co...41-post40.html
Now it's time for aftermarket rims or painting your bridge spokes - If you paint them, they will look great -
here: https://www.northamericanmotoring.co...41-post40.html
Looks awesome! Gunna put an SVT badge on it? That would really get some questions from people  My old 96 tbird had an SVT badge with some cobra emblems...sure not authentic, but looked killer and would make me crack up when people say they have heard of this special model
My old 96 tbird had an SVT badge with some cobra emblems...sure not authentic, but looked killer and would make me crack up when people say they have heard of this special model

1st Gear
Joined: Jan 2009
Posts: 44
Likes: 0
Looks awesome! Gunna put an SVT badge on it? That would really get some questions from people My old 96 tbird had an SVT badge with some cobra emblems...sure not authentic, but looked killer and would make me crack up when people say they have heard of this special model
My old 96 tbird had an SVT badge with some cobra emblems...sure not authentic, but looked killer and would make me crack up when people say they have heard of this special model http://www.youtube.com/watch?v=fxYQU...e=channel_page

1st Gear
Joined: Jan 2009
Posts: 44
Likes: 0
svtcobra - it looks great
Now it's time for aftermarket rims or painting your bridge spokes - If you paint them, they will look great -
here: https://www.northamericanmotoring.co...41-post40.html
Now it's time for aftermarket rims or painting your bridge spokes - If you paint them, they will look great -
here: https://www.northamericanmotoring.co...41-post40.html
I'm holding out for when I can afford a set of these I think though..

3rd Gear
Joined: Feb 2009
Posts: 169
Likes: 0
From: mty, Mexico
thanks for the encouragement guys.
i went out after seeing this thread and got inspired by the overall outcome and bought 8 cans of palsti dip.
used 1 yesterday to paint HL, TL and gas cap.
took around 2-3 hrs since i was going back and forth to the store, washing my car and reading forums.
i went out after seeing this thread and got inspired by the overall outcome and bought 8 cans of palsti dip.
used 1 yesterday to paint HL, TL and gas cap.


took around 2-3 hrs since i was going back and forth to the store, washing my car and reading forums.
3rd Gear
Joined: Feb 2009
Posts: 169
Likes: 0
From: mty, Mexico
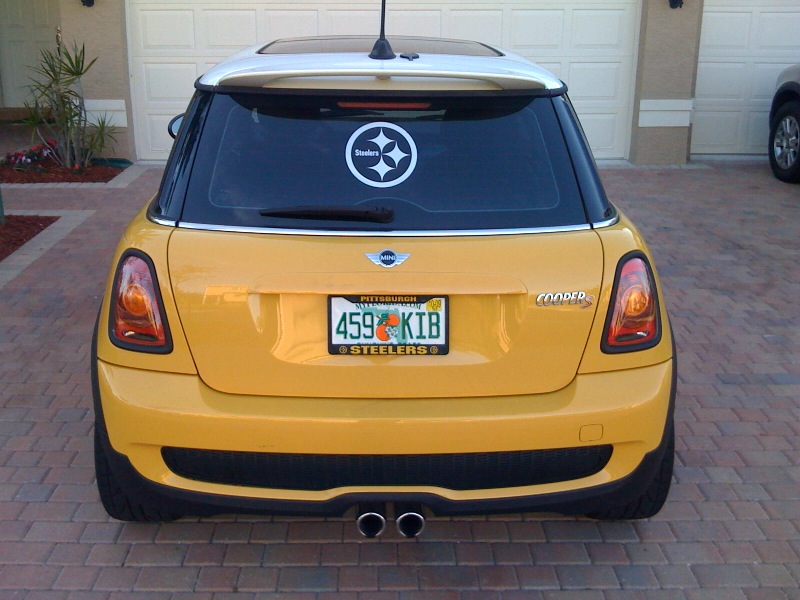
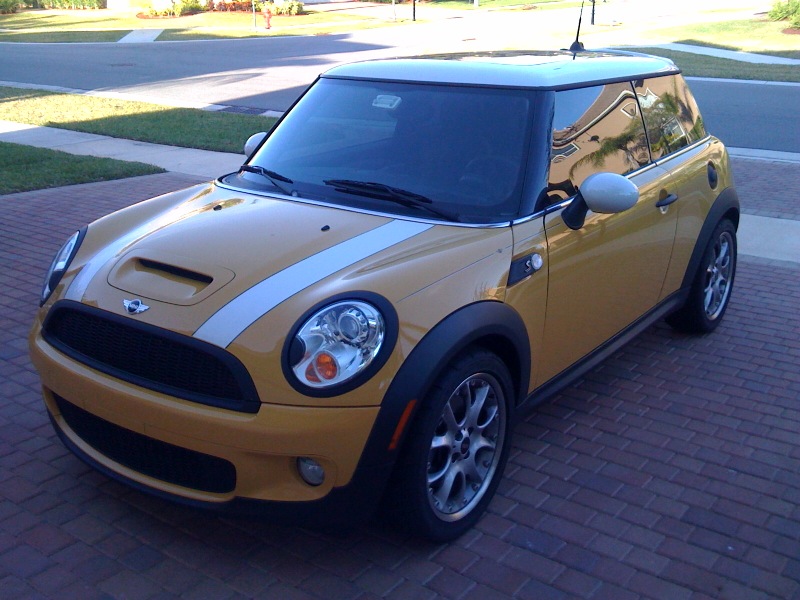
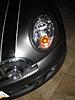
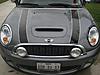
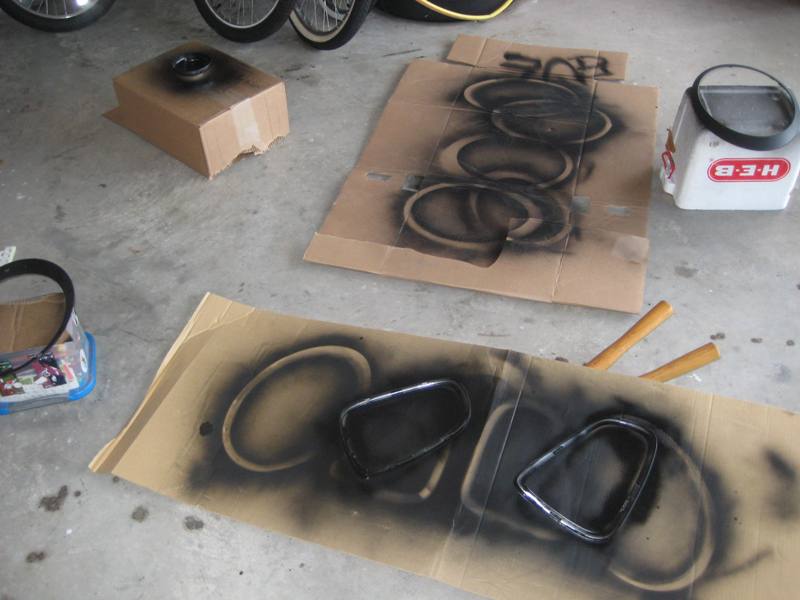
got the bug again today and even though the weather is not suitable for paiting i went ahead and said lets do this.
ended up doing front grill, and side vents.
took some work to move the rally lights so i could paint the grill.
im thinking of painting the housing for the rally lights too, but im concerned that it may heat up too much.
also, i was gona do the side view mirrors but i didnt know how to get the off without breaking anything so decided not to.
same thing with the rear lip (the lip above the license plates)
Can anyone help me out and tell me how to get the side mirror covers off, and also the rear lip thingy?
ps; almost forgot, how do i get the headlight whiper thingy off so i can paint that as well.
thanks for the support and encouraging photos guys!
here are the end results.
5th Gear
Joined: Jan 2008
Posts: 871
Likes: 0
From: St. Louis, MO
Can someone tell me how their Plastidipped parts are holding up? Especially the grill and headlight surrounds.
I'm torn between doing this and getting the snap on parts from Aesthetic Creations...the $300 is holding me back though.
Your car looks great BTW!!!