
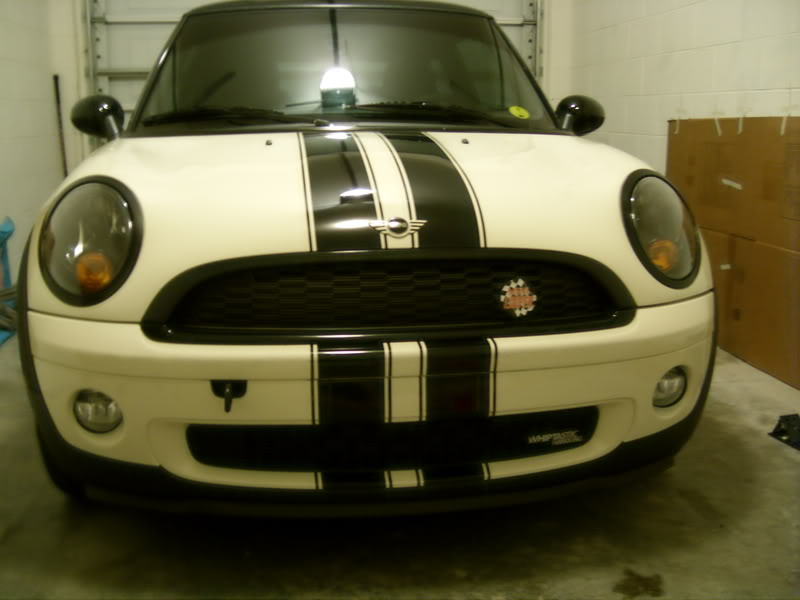
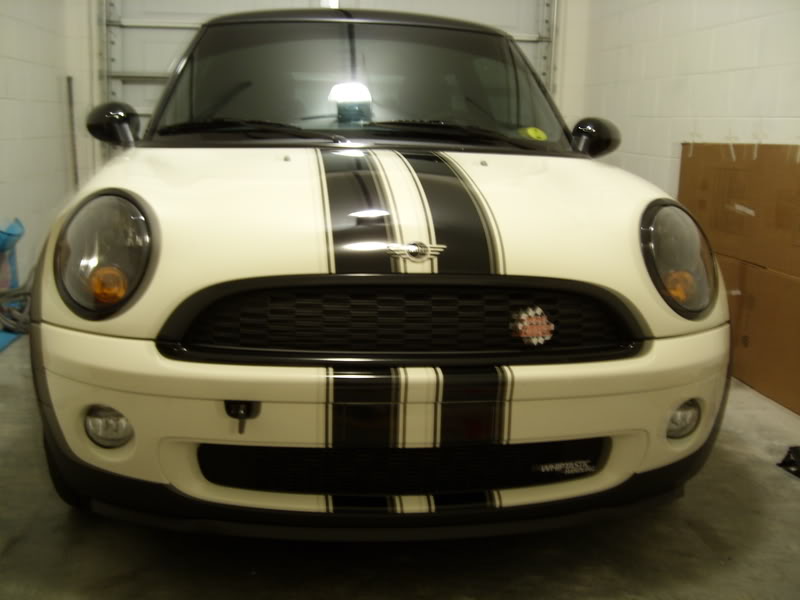
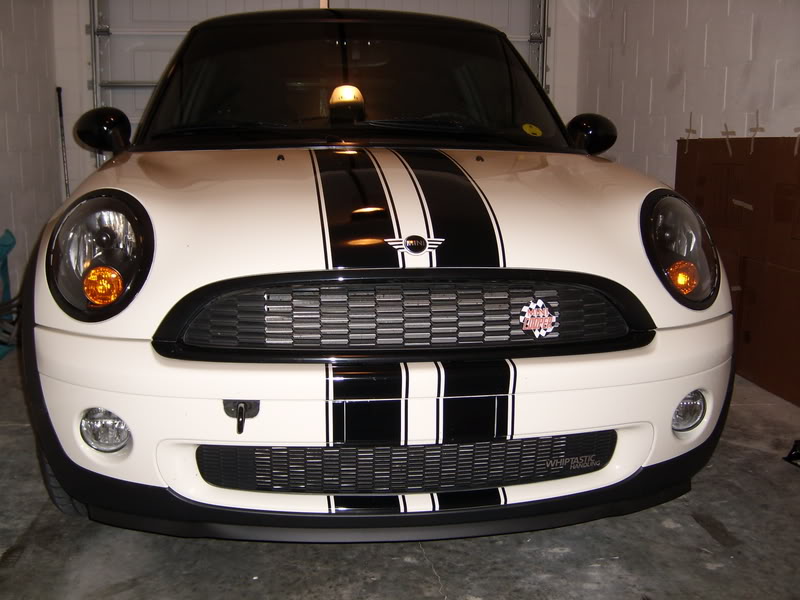
How To DIY: Home Depot front lip

verified at 85mph, no change. Assuming you have enough screws in it. I even had experience scraping the front of my MINI the other day on a steep pull-out. I heard the sound and immediately said "there went my DIY lip." I got out, and it was fine...the air dam scrapes before the lip will. And i have factory suspension so you know it was a pretty steep incline.


1st Gear
Joined: May 2008
Posts: 41
Likes: 0
From: Spokane, Washington
...to be honest, I won't have my car until next week - brand new - but I'm looking at very inexpensive things that will add those subtle "racier" looking touches.
Do you know if there's any difference with putting SCREWS through the R56 bumper vs the R53?
Do you know if there's any difference with putting SCREWS through the R56 bumper vs the R53?

1st Gear
Joined: Dec 2007
Posts: 26
Likes: 0
From: North Florida
If it had a cool sticker that came with it to go on the windows, it would another 5 HP. Just kidding, looks good. I like looking at all the DIY projects. Put the new paint job comes next........
Just kidding. I would always be waxing the hood for some reason. I already live in the garage according to my wife.....
Just kidding, looks good. I like looking at all the DIY projects. Put the new paint job comes next........ Just kidding. I would always be waxing the hood for some reason. I already live in the garage according to my wife.....


i did not used any of those.. just have to make yrself low to the ground.. i have not screw them yet and only used 3m heavy duty outdoor tape..
just have to make yrself low to the ground.. i have not screw them yet and only used 3m heavy duty outdoor tape..

1st Gear
Joined: May 2008
Posts: 41
Likes: 0
From: Spokane, Washington
So, I just tried to do the mod. DIDN'T WORK (yet...). Just got the car two days ago and the plastic bumper cover still has quite a bit of wax or oil or something. So I 409ed it to take off some grease but the adhesive tape still didn't work. (I used the exact same stuff from Home Depot). However, I'm optimistic that tomorrow after I get the drill, bit, and screws, it'll look great on the '08. I'll post pictures soon...

6th Gear
Joined: Oct 2006
Posts: 1,511
Likes: 3
From: Las Vegas
You don't have to reply to subscribe...just click on thread tools at the top and select subscribe.

Well I got all the material I need to do it 
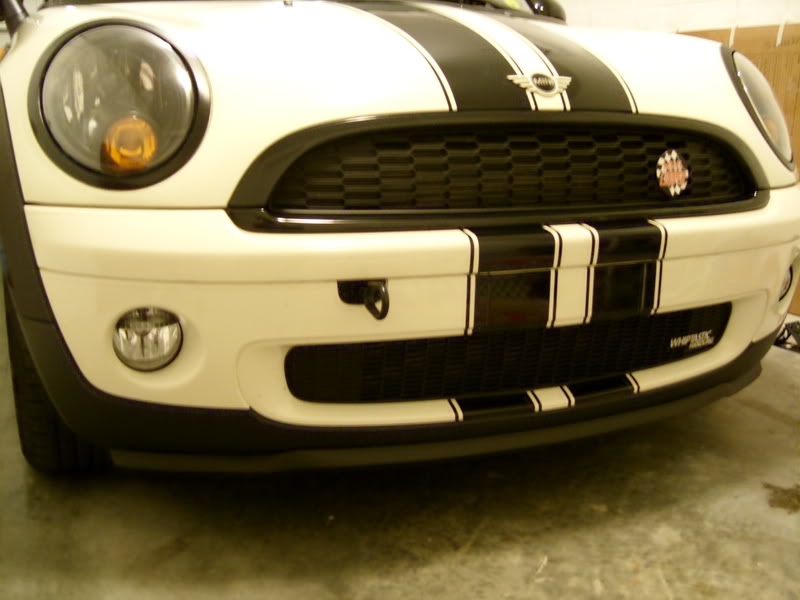
I noticed that with the R56 non-S, the bumper has a little section that poses a bit of difficulty, but once I figured it out by hand, I think the curve it will produce will look amazing.
Instead of screws, I opted to try those screw wedges. I forget what they are called already, but they are the same basic thing used to hold the top portion of the R56 grill on. The are plastic anchors basically that you screw in the screw sticking out to pop the anchor out.
Hopefully I can get this done tomorrow night
1st Gear
Joined: May 2008
Posts: 41
Likes: 0
From: Spokane, Washington
I'll get some photos up once I wash the car. We had some bad weather leaving raing spots. However, I did confirm the Home Depot lip made it fine through a carwash.
I'll perfect the lip next time I do it...meaning when I get time to redo it. Any tips from the originators on how to make the lip look smooth all the way across the front. Mine has very small "waves" if you look closely where the screws are...
I'll perfect the lip next time I do it...meaning when I get time to redo it. Any tips from the originators on how to make the lip look smooth all the way across the front. Mine has very small "waves" if you look closely where the screws are...
Got it done today
It wasn't looking to promising at first because the curve on the non-S is a little tricky, but I got it to work. What I used where plastic rivets. They are very similar to what is used to hold a ton of things already on the car. I only bought 6 so I ran out for the very middle. I had to use 2 per curve and then 1 on each end. Went on the highway and it holds up fine, but I will still get a few more rivets for the center because I'm sure the double stick tape will loose its umpfff soon
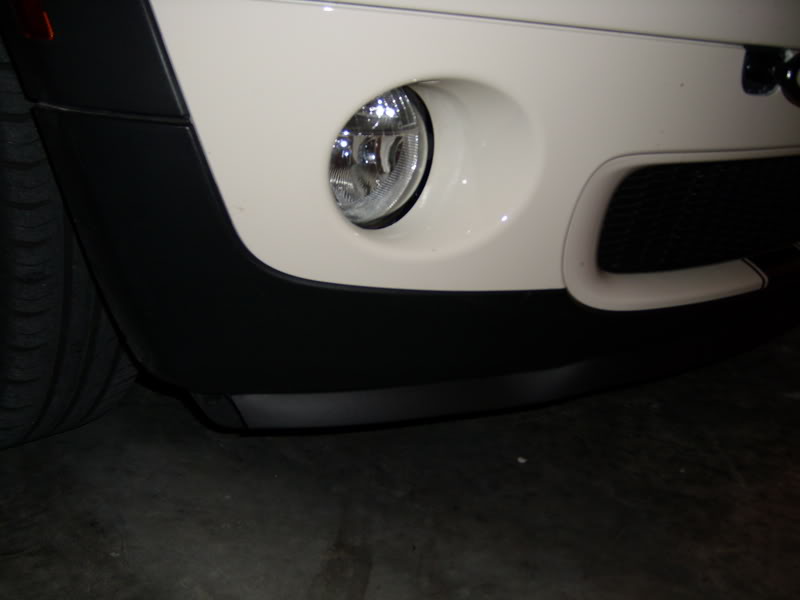
It wasn't looking to promising at first because the curve on the non-S is a little tricky, but I got it to work. What I used where plastic rivets. They are very similar to what is used to hold a ton of things already on the car. I only bought 6 so I ran out for the very middle. I had to use 2 per curve and then 1 on each end. Went on the highway and it holds up fine, but I will still get a few more rivets for the center because I'm sure the double stick tape will loose its umpfff soon