When you click on links to various merchants on this site and make a purchase, this can result in this site earning a commission. Affiliate programs and affiliations include, but are not limited to, the eBay Partner Network.
General MINI TalkShared experiences, motoring minutes, and other general MINI-related discussion that applies to all MINIs, regardless of model, year or trim.
Put the R50 on the trailer and hauled it to the shop, with suspected failure of AC pulley. It suddenly had a very disturbing rattling noise, voltage dropped (it has the factory optional extra oil pressure and voltage gauges at the bottom of the center pillars), and puff of smoke from the right front. 298k miles, original AC compressor and alternator, so it was about time. Turns out to be the crank pulley/harmonic balancer. Back in action tomorrow.
Pretty much, most people think its a hard top convertible. Rare to see them around and even rarer to see the soft top roadster.
Hard top much better looking IMO. I wanted one, but wife likes the first gen more, soo I compromised and got two first gens LOL
There is a local person around me that has one of those in black with red stripes, but your right its soo rare to see them, like once every other month I might see one.
Today I Bought a used engine hoist with a bad hydraulic ram, then bought a ram at harbor freight, put the two together and viola! A working hoist.also got 2 more jackstands so I have 4 total now.
Just got rear up on jackstands, got one wheel off so we can clean up the brake calipers and give them a base coat of Vht caliper silver then top coat of red caliper paint so they don’t look so unmatched to the JCW fronts…
then so much joy, I get to figure out how to get the front half of the car apart and engine out, lol.
Last edited by Onizukachan; Jul 1, 2023 at 12:01 AM.
Well some success today. Got 2 keys cut for my mini. 70 dollars U.S. Then used my AK90 programmer to code the keys to my R52. A boom works like a champ. Mini fired right up.
Use heat gun to cook and harden the paint, then We scrubbed the back sides of the wheels to get old caked on brake dust and grime off them. They aren�t perfect but a lot lot better now. Also had to use the rubber eraser wheel to remove years of stick on balance weight residue etc.
remounted and the whole thing just looks so much cleaner appearing. It�s too bad the polished lips have failing clear coat because otherwise they�d look really great!
It’s a bit teenie bopper but I did cause I didn’t want to deal with the integrated parking brakes to paint on the bench.
Masked off most of the rotor surface, sprayed it all silver 2-3 light coats till full coverage, then came back and masked everywhere but the red, then one dust coat red followed by light coat red then a couple heavier red coats to get it to flow out.
then with a rag and alcohol wiped the overspray off the unmasked section of the rotor’s swept Surface area and anything else that needed it. You can also use a brass cup brush on a drill to burnish the surface and clean it too.
then cured it with a heat gun before reinstalling the pads antirattle spring (silver for contrast) across the front.
If you get tired of them - let me know I have a Blue R57 S. Are those 7.5 or 7 wide ? ET ? If 7.5, that is a great weight !
On a side note - I 'heard' that 7.5 vs 7 inch wide wheels help to minimize torque steer on the 2cd gens ( I assume given everything else is equal ). Don't know if it is true ...
Originally Posted by jcolletteiii
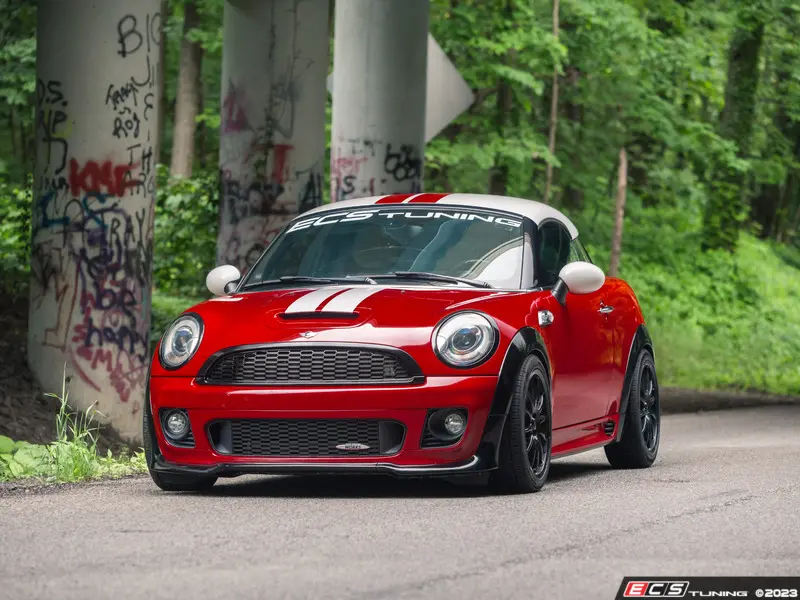
SSR GTX01 wheels in 17" dark silver. Gorgeous. Light. And they take the standard conical 14mm wheel bolts.
Nonetheless I can't help seeing something even more stunning to me in the background... ....That big beautiful air compressor!!!!
LOL - I know. I'm not sure which thing I was more excited by myself! I got a big blue rolling tool chest today as well! Just finished setting up the compressor a few days ago. Oil/water separator, large capacity desiccator/dryer, and a 5 micron filter on the clean side. Desiccant was supposed to be here today, but the USPS basically does crap on days before holidays, so my out for delivery package is now 'delayed in transit' after arriving in my town Sunday at noon. Truth be told, 3 out of 4 Mondays we don't receive mail at all. We've been at full employment in ND since before the great recession, weird economy up here. So hard for any businesses to find employees, but probably especially so for ones that demand mandatory overtime.
But, I am nearly set up to spray! All of my paint arrives on Wednesday. MAY seal the panels by the weekend!
Fixed: Wibbly-wobbly fuel filler hinge without removing wheel liner
Didn't take photos, but fixed the wonky fuel door hinge on hers.
Vids I've seen online say you have to remove the fender liner and disconnect the fuel filler hose to get the painted cone and plastic liner with the hinge mechanism out of the fender panel. You don't though.
Apparently it is fairly common for the upper hinge pin to fall out - it's retained by a spring, so it doesn't get lost, it just allows the hinge to become jiggly. You need to first remove the plastic painted cone. I used a pair of harbor freight panel removal tools to get that out along with a tiny screw driver to pry up the four tabs that lock it in place. Once that is out, remove the torx bolt holding the metal fuel filler lid - otherwise there won't be enough clearance to jiggle the hinge out. Then, pry up the four tabs on the black plastic assembly until it's loose.
Next is the tricky bit - you have to open the hinge to get a tiny bit more room, and rotate the whole mechanism to the right and outward at the same time. This will start the rubber surround coming off the right side of the fuel filler. However, that rubber surround bunches up at the same time on the left side of the fuel filler causing the whole assembly to feel like it can't come out. But - if you lube that rubber surround with a little soapy water, that bunched up part will slide free and with a little tensional force (e.g. - a sharp pull), the whole thing will pop right out. Then just pup that little hinge pin back into place (it has a flat face for alignment), and pup back in. Actually putting it back in was *much* easier than figuring out the removal procedure. Had it back together in literally 3 minutes. Having it apary really allows you to clean all of the grunge out too.
Can see the offending white hinge pin in this image. Apparently, that falls out with some regularity.
Sadly, that was a last gift from me to her little '06 Pepper White R53. It goes to continue life with a very nice couple who bought it as a run around fun car this evening. Sold for asking price within a day. People love these cars, and it's easy to understand why. Will miss the little PW.
Last edited by jcolletteiii; Jul 5, 2023 at 09:22 PM.
Reason: added image
All 4 corners got the spring upgrade and the shocks are replacements for the well used B8s that were on there. Not shown are the K-Mac caster camber plates up front.
For anyone who has not yet replaced their OEM shocks on their Gen 1 or 2 MINI, do it, but not with MINI OEM replacements. The Bilstein shocks are sooooooo much better than the really craptastic MINI shock, it is unbelievable. These make the RFT tires tolerable. No kidding.


 I have a Blue R57 S. Are those 7.5 or 7 wide ? ET ? If 7.5, that is a great weight !


:max_bytes(150000):strip_icc():format(webp)/Makita-4.2-Gal.-2.5-HP-Portable-Air-Compressor-5cc8d5ce85204a86890b612aed6bf845.jpg)


