When you click on links to various merchants on this site and make a purchase, this can result in this site earning a commission. Affiliate programs and affiliations include, but are not limited to, the eBay Partner Network.
I know some have had this problem, water in the boot, and it was resolved by the dealer under warranty. I have a 2015 MCS F56 and discovered water in my boot a month ago. A lot of water, maybe a gallon and a half worth of water. I discovered it by hearing what sounded like a sink draining as the water rushed forward out of the lowest cavity of the boot(where the tow hook and tools are in thier styrofoam holder) into the area under the back seat as I backed out of the driveway. I was shocked as to the amount of water when I opened lid over the back compartment. I initially thought the hatch was not closed good with a heavy rain that had just occurred a few days before my discovery. But then it happened again. Another heavy rain. Everything seemed to be sealing well, the rubber gasket for the hatch seemed nice, not dried out or coming up, nothing. I proceeded to remove all the rear interior carpet and panels, backseat and plastic covers. I was determined to find the source of the leak and fix myself.
I searched here and a few more places and found others have had this problem. All the posts claimed the fix was a new rubber gasket for the hatch and were replaced under warranty. With my warranty out, I was going to fix this myself.
A few experiments with a water hose and I determined that the water was getting into the boot in three places, but the main source was the water getting under the main gasket for the rear hatch. But how? The gasket seemed in good shape so why was it failing?
I ordered the parts I needed and I have some quarantine time to tackle the problem.
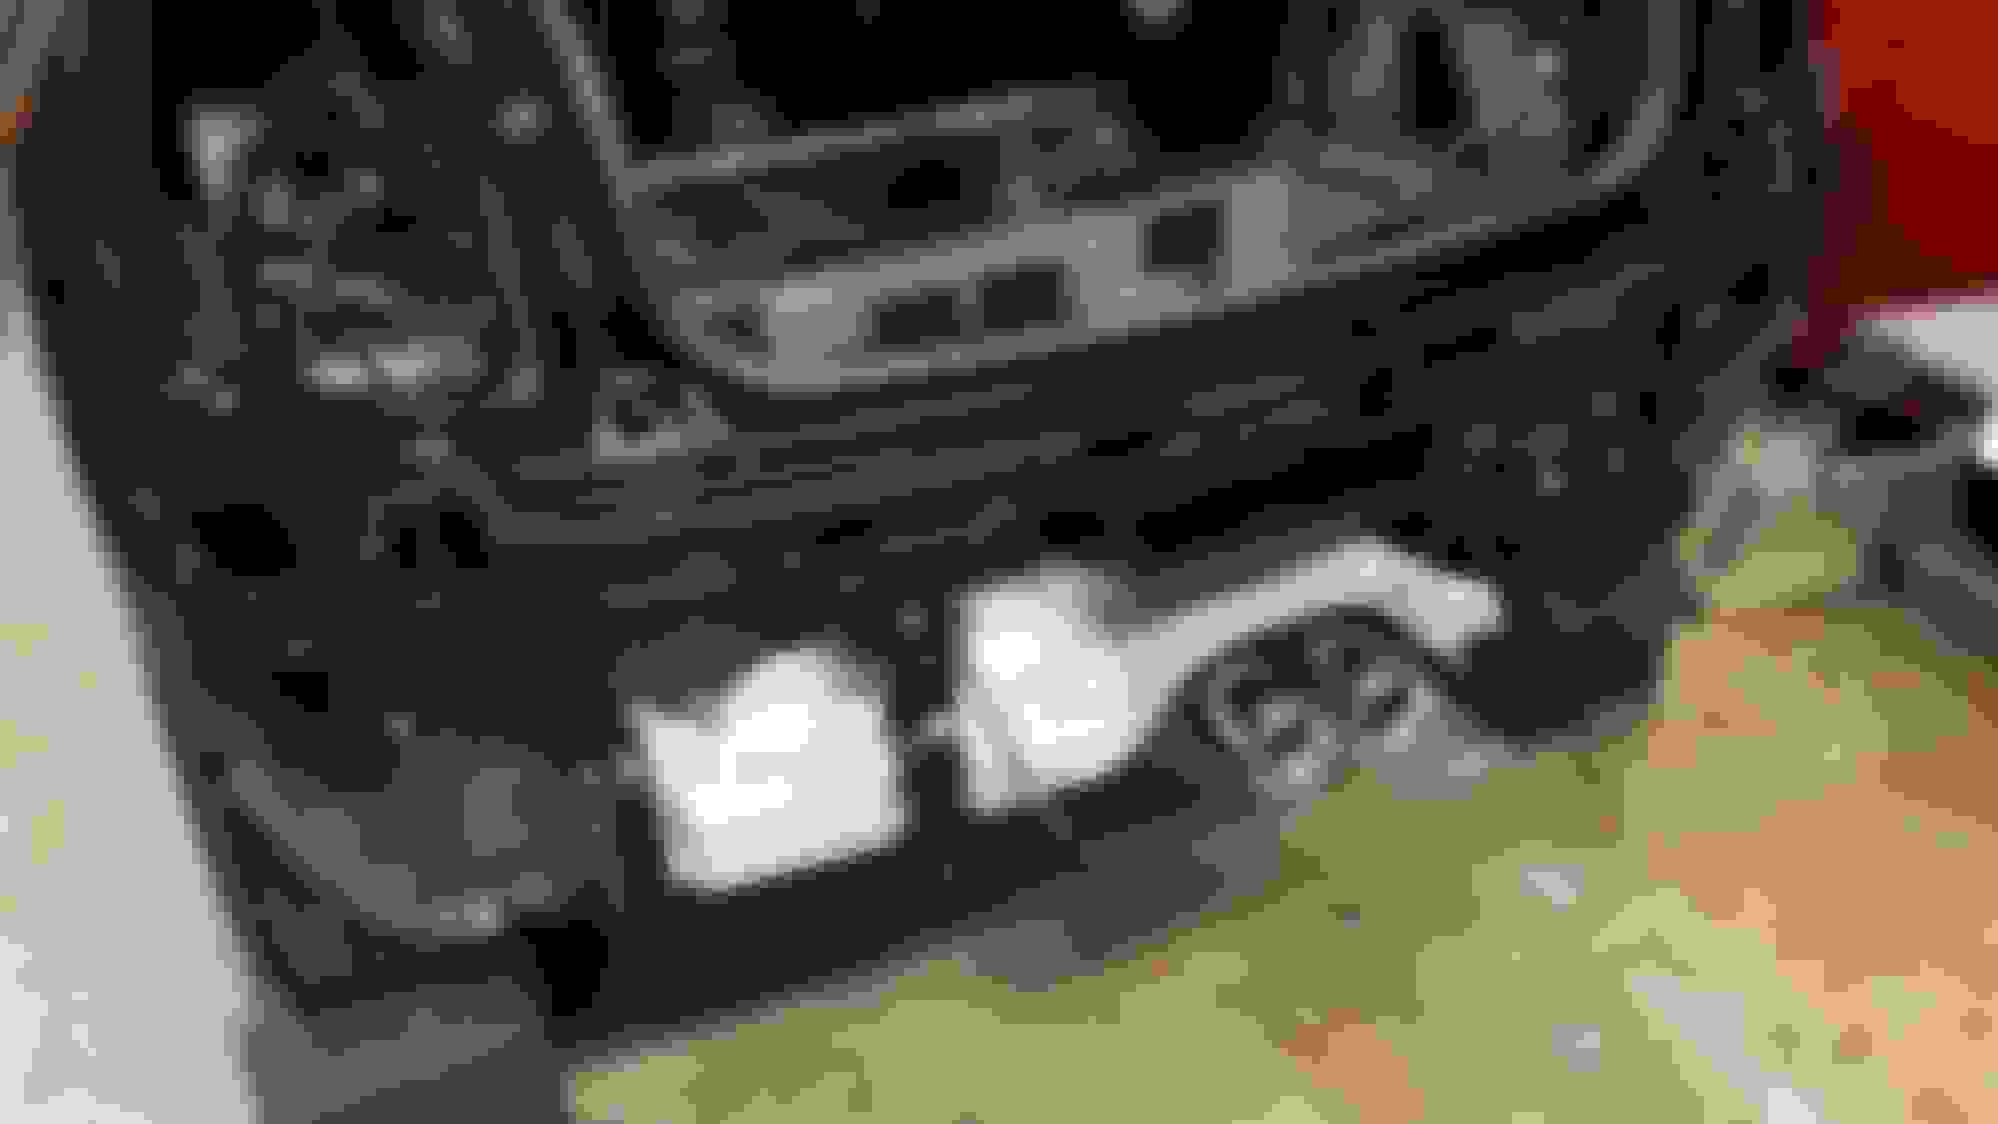
The first step was getting the rear bumper off. It was them that I could see what was happening with the gasket and why water was wicking under it.
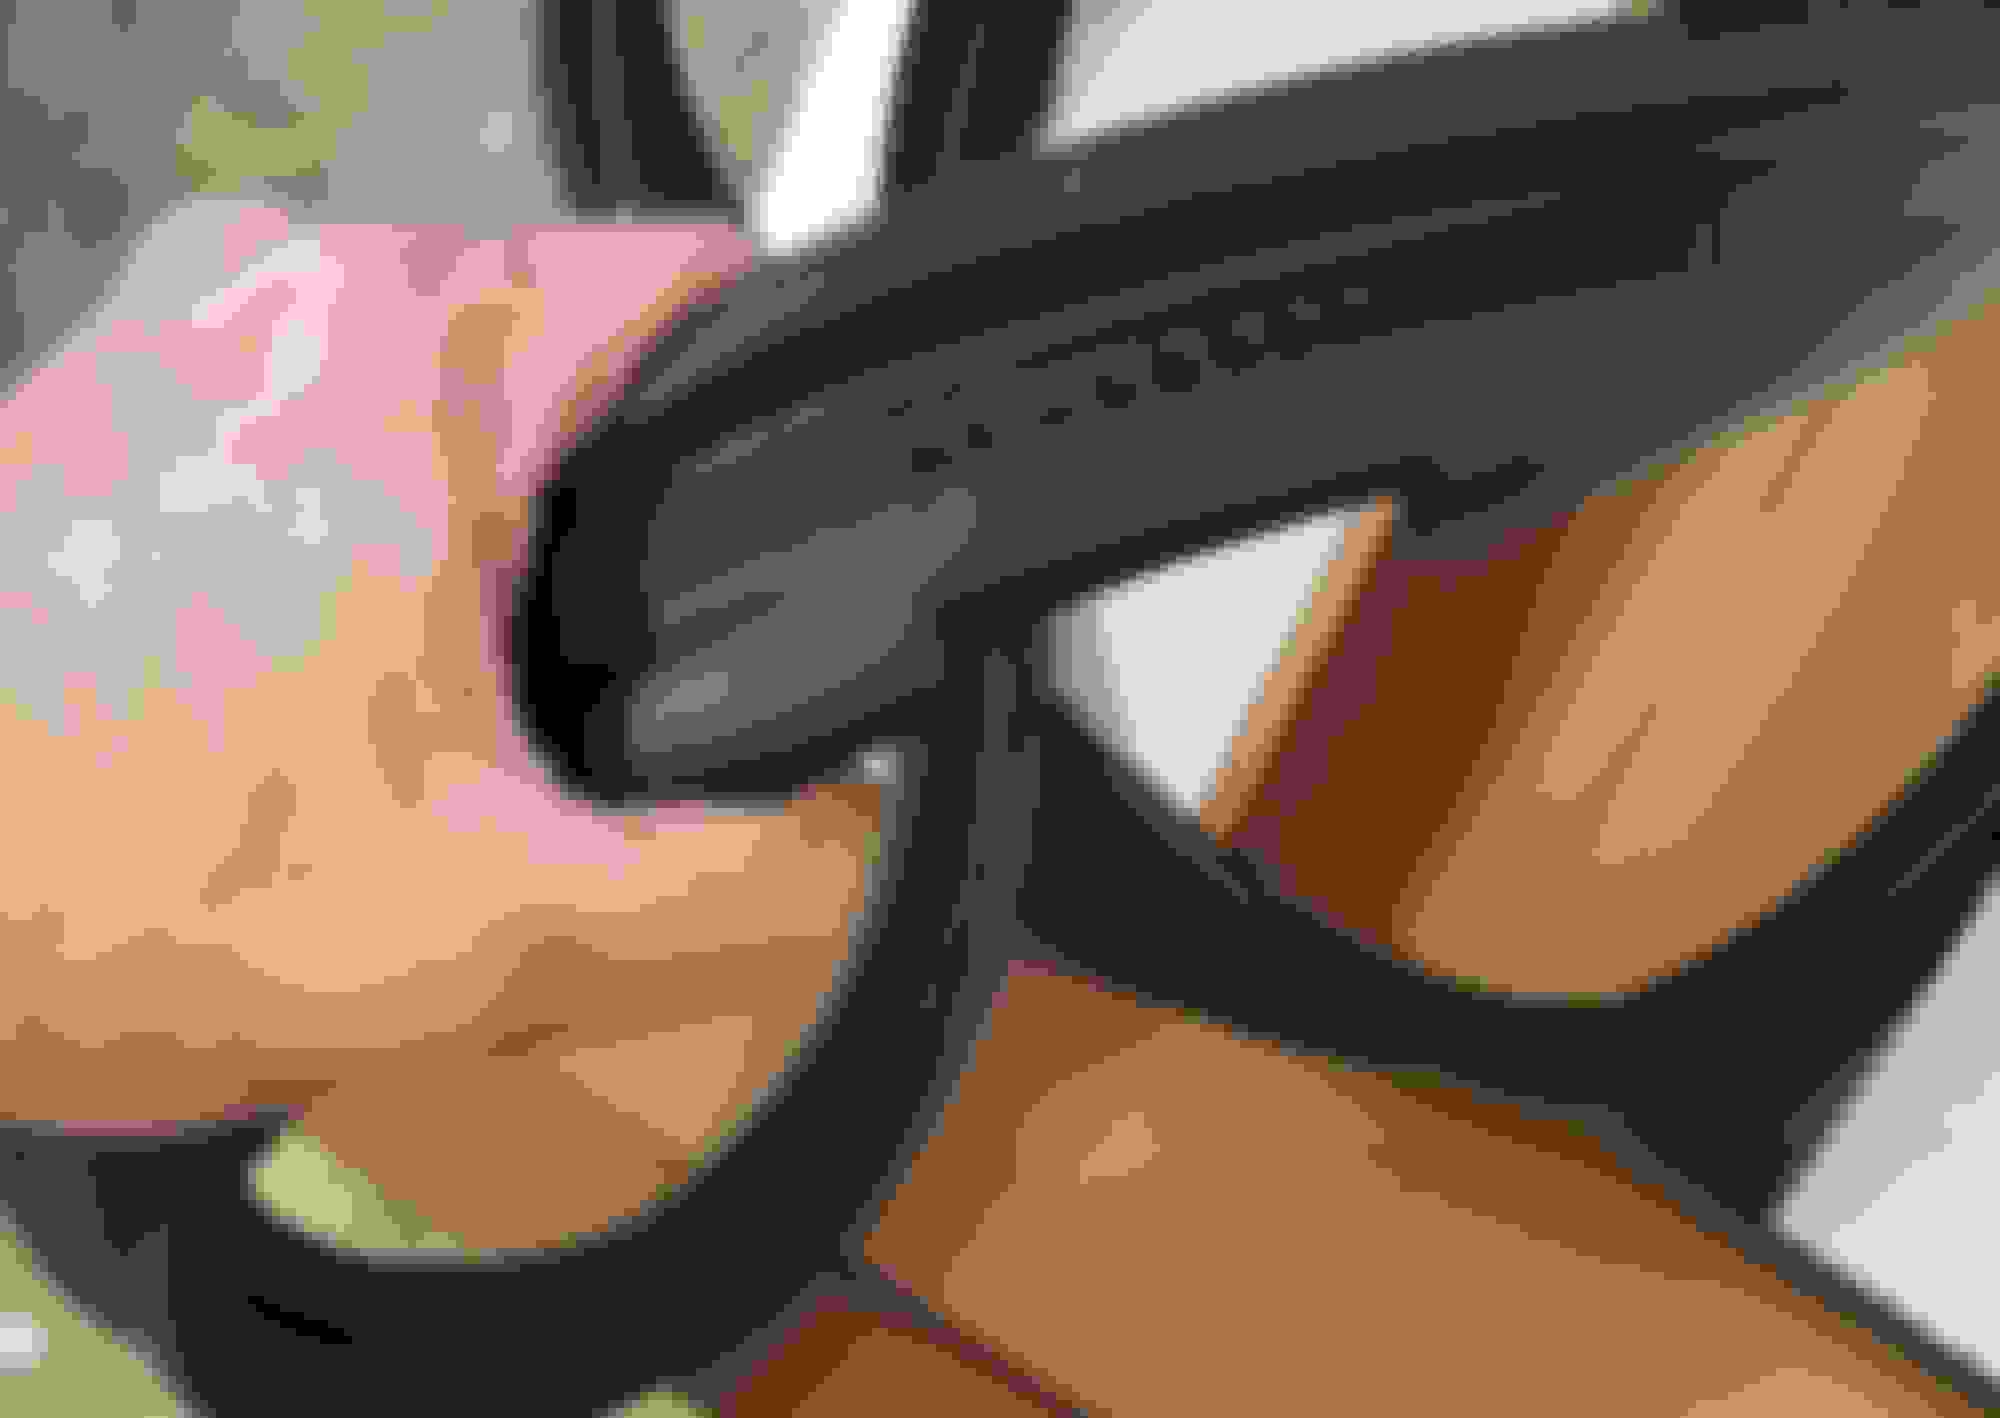
Because of time/suction/heat-cold expansion contraction, etc. the lip of the gasket popped up over part of the plastic bumper guide allowing water to get under the gasket. The water then wicked down the pinch weld and poured in through some tiny gaps in the seam where the body panels come together.
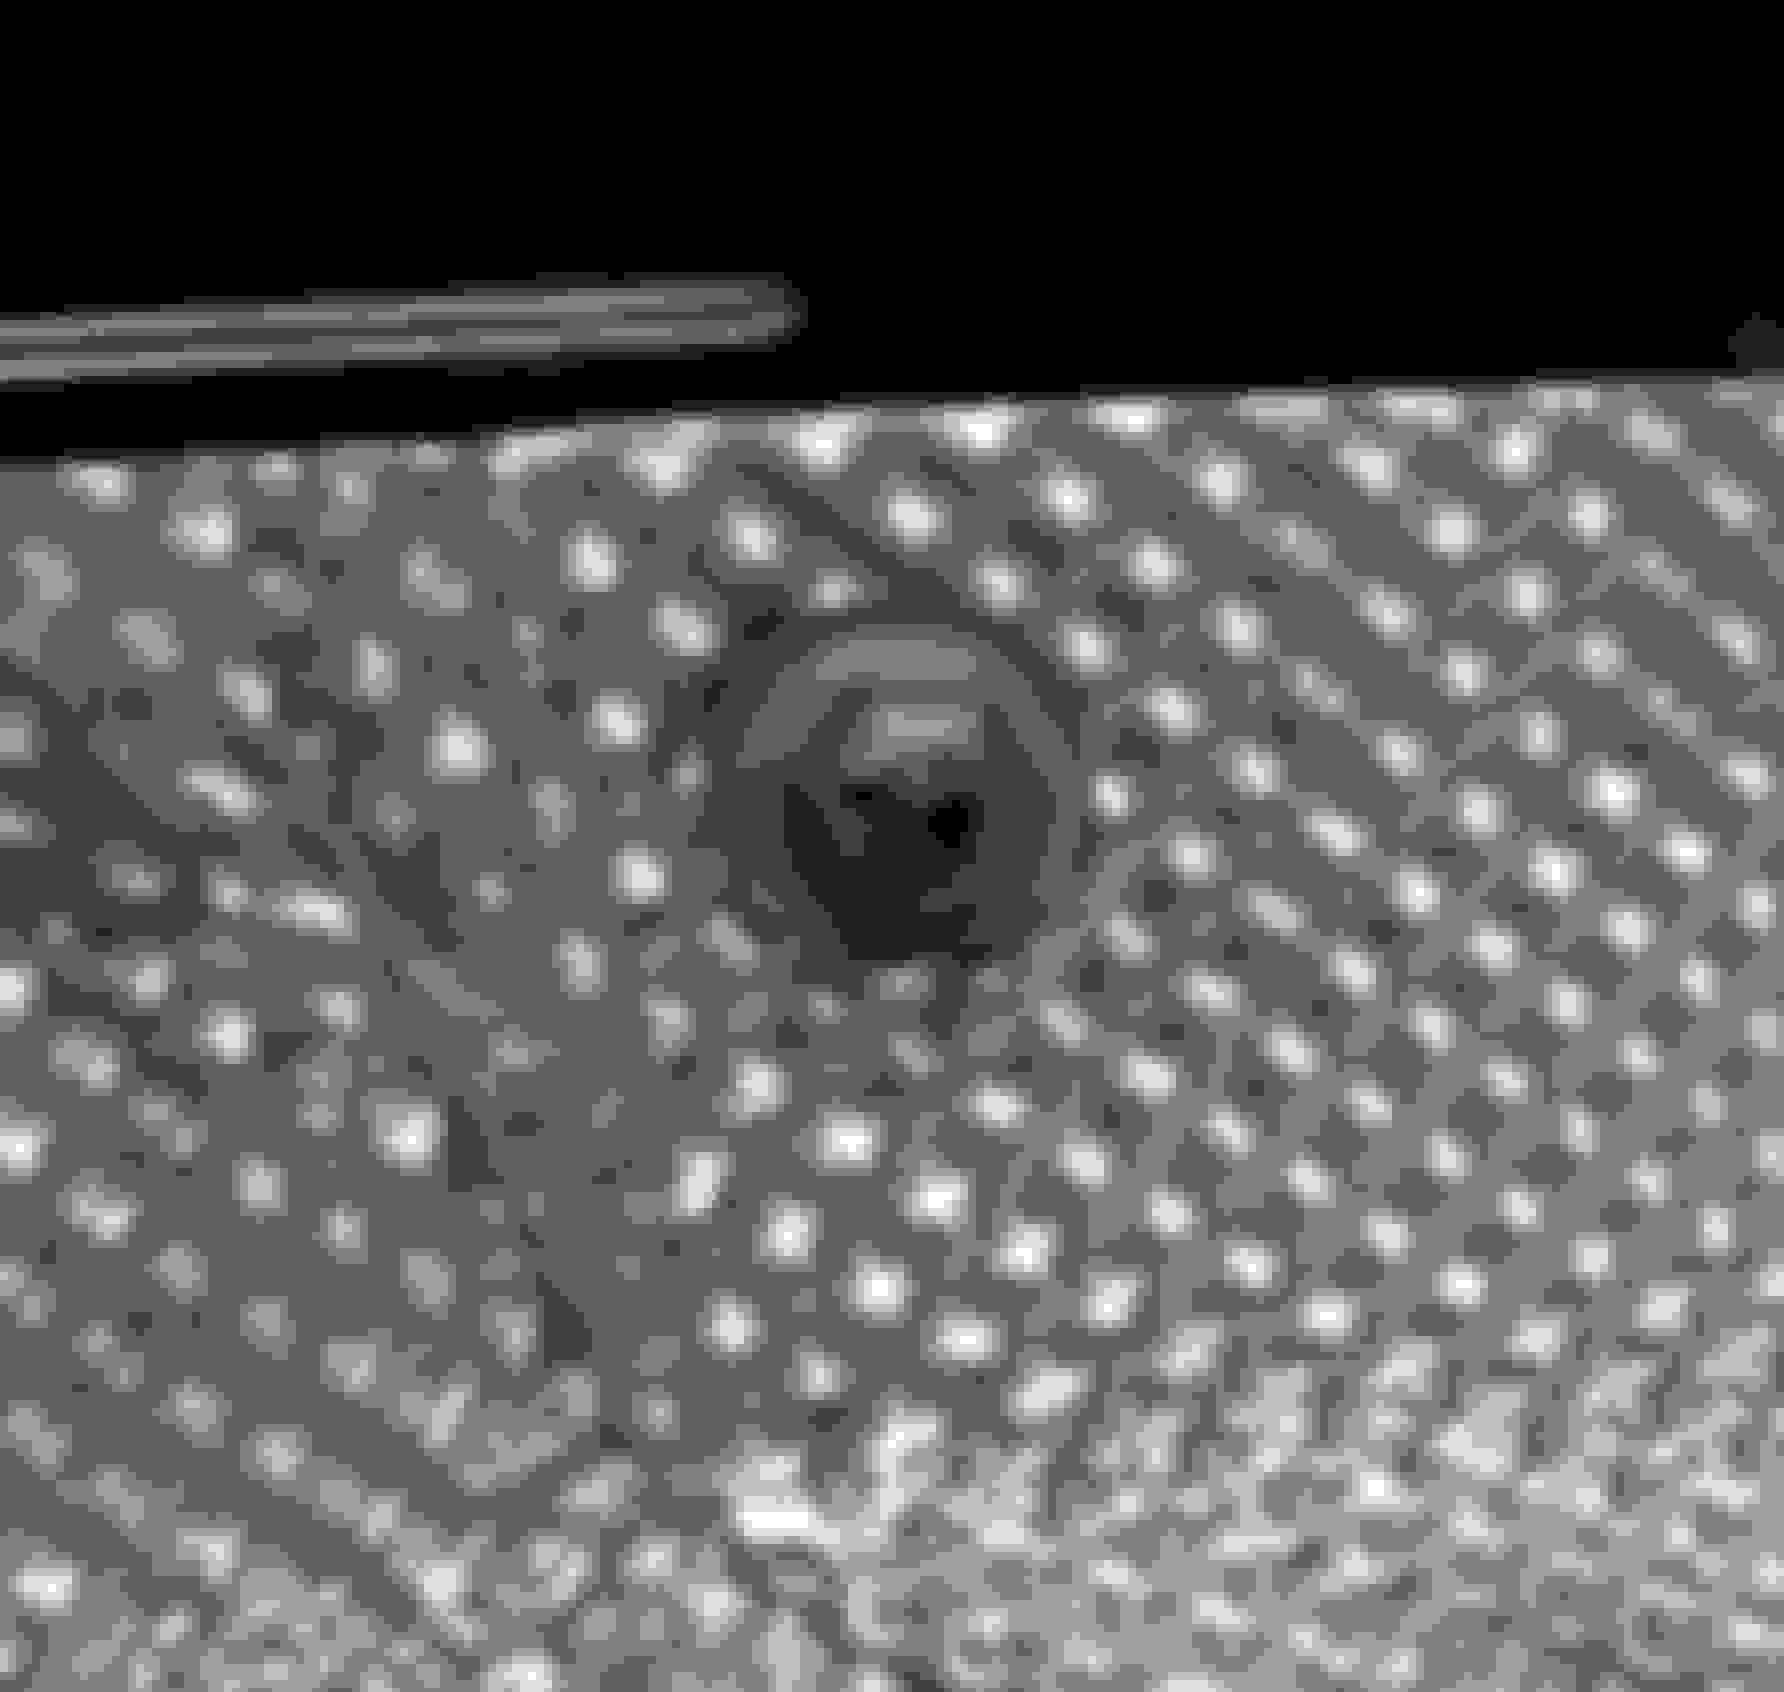
When I compared the original gasket to the new one I ordered there was an important difference, a notch in the new gasket where it comes close to the plastic bumper guide. Obviously MINI became aware of this problem and corrected it with a revised design of the new gasket.
I included a photo of the old gasket popped over the plastic bumper guide that caused the leak. I also included a photo of the new gasket with the notch cut out that should eliminate the problem in the future.
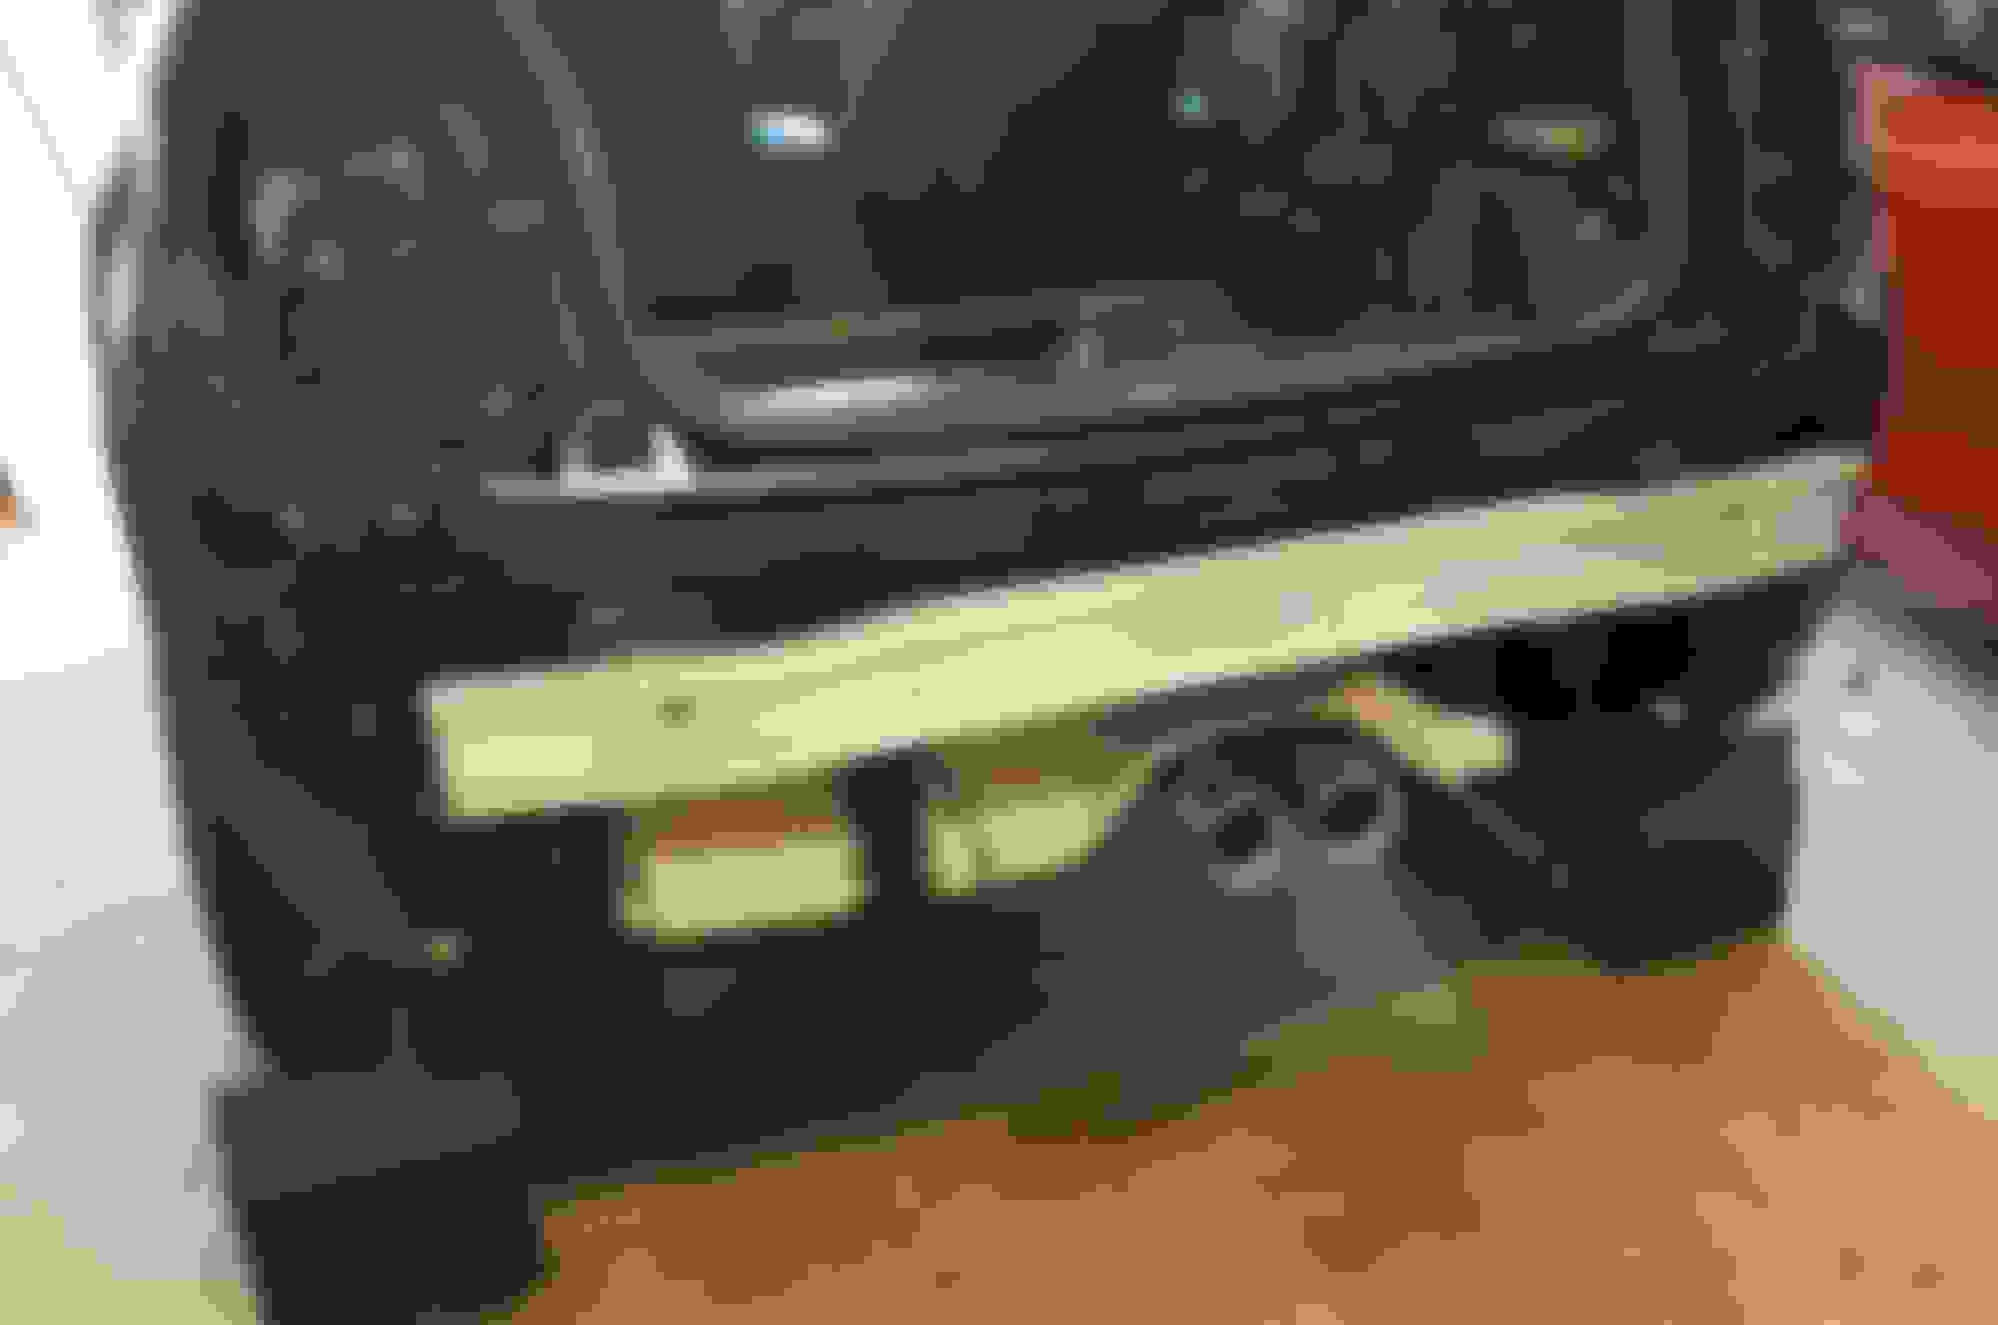
I will also be sealing the gaps in the seam so that water can't get in there if it happens to wick under the gasket somehow. I included a photo showing one of the many holes in the seam.
I can also give more info to anyone that wants it that is a more detailed account of this entire fix. Hopefully this will help someone else who can't figure out where the water is coming from.
If you haven't checked for water in your boot in a while, I suggest you do. I managed to discover this before I got any damage or mildew smells
Cheers,
Joseph Rubber flipped up over plastic bumper guide. Notch in new gasket should fix gasket from lifting. Box knife showing hole in body seam that gasket goes over. Source of entry for water wicking under gasket.
Last edited by JosephM635; Apr 22, 2020 at 02:22 PM.
I read a post a while back where the owner said he had the same problem - water entering in a gap in the seam at both ends, he filled the gaps with sealant
I've been having this issue, but it seems to have been absent as of late. If I ever come across it again, I will definitely consult this post. Thanks!
Yep, it manifests as an intermittent problem. It will happen again, but the situation has to be just right. But when it is, it will fill up the lower-most cavity of your boot.
I read a post a while back where the owner said he had the same problem - water entering in a gap in the seam at both ends, he filled the gaps with sealant
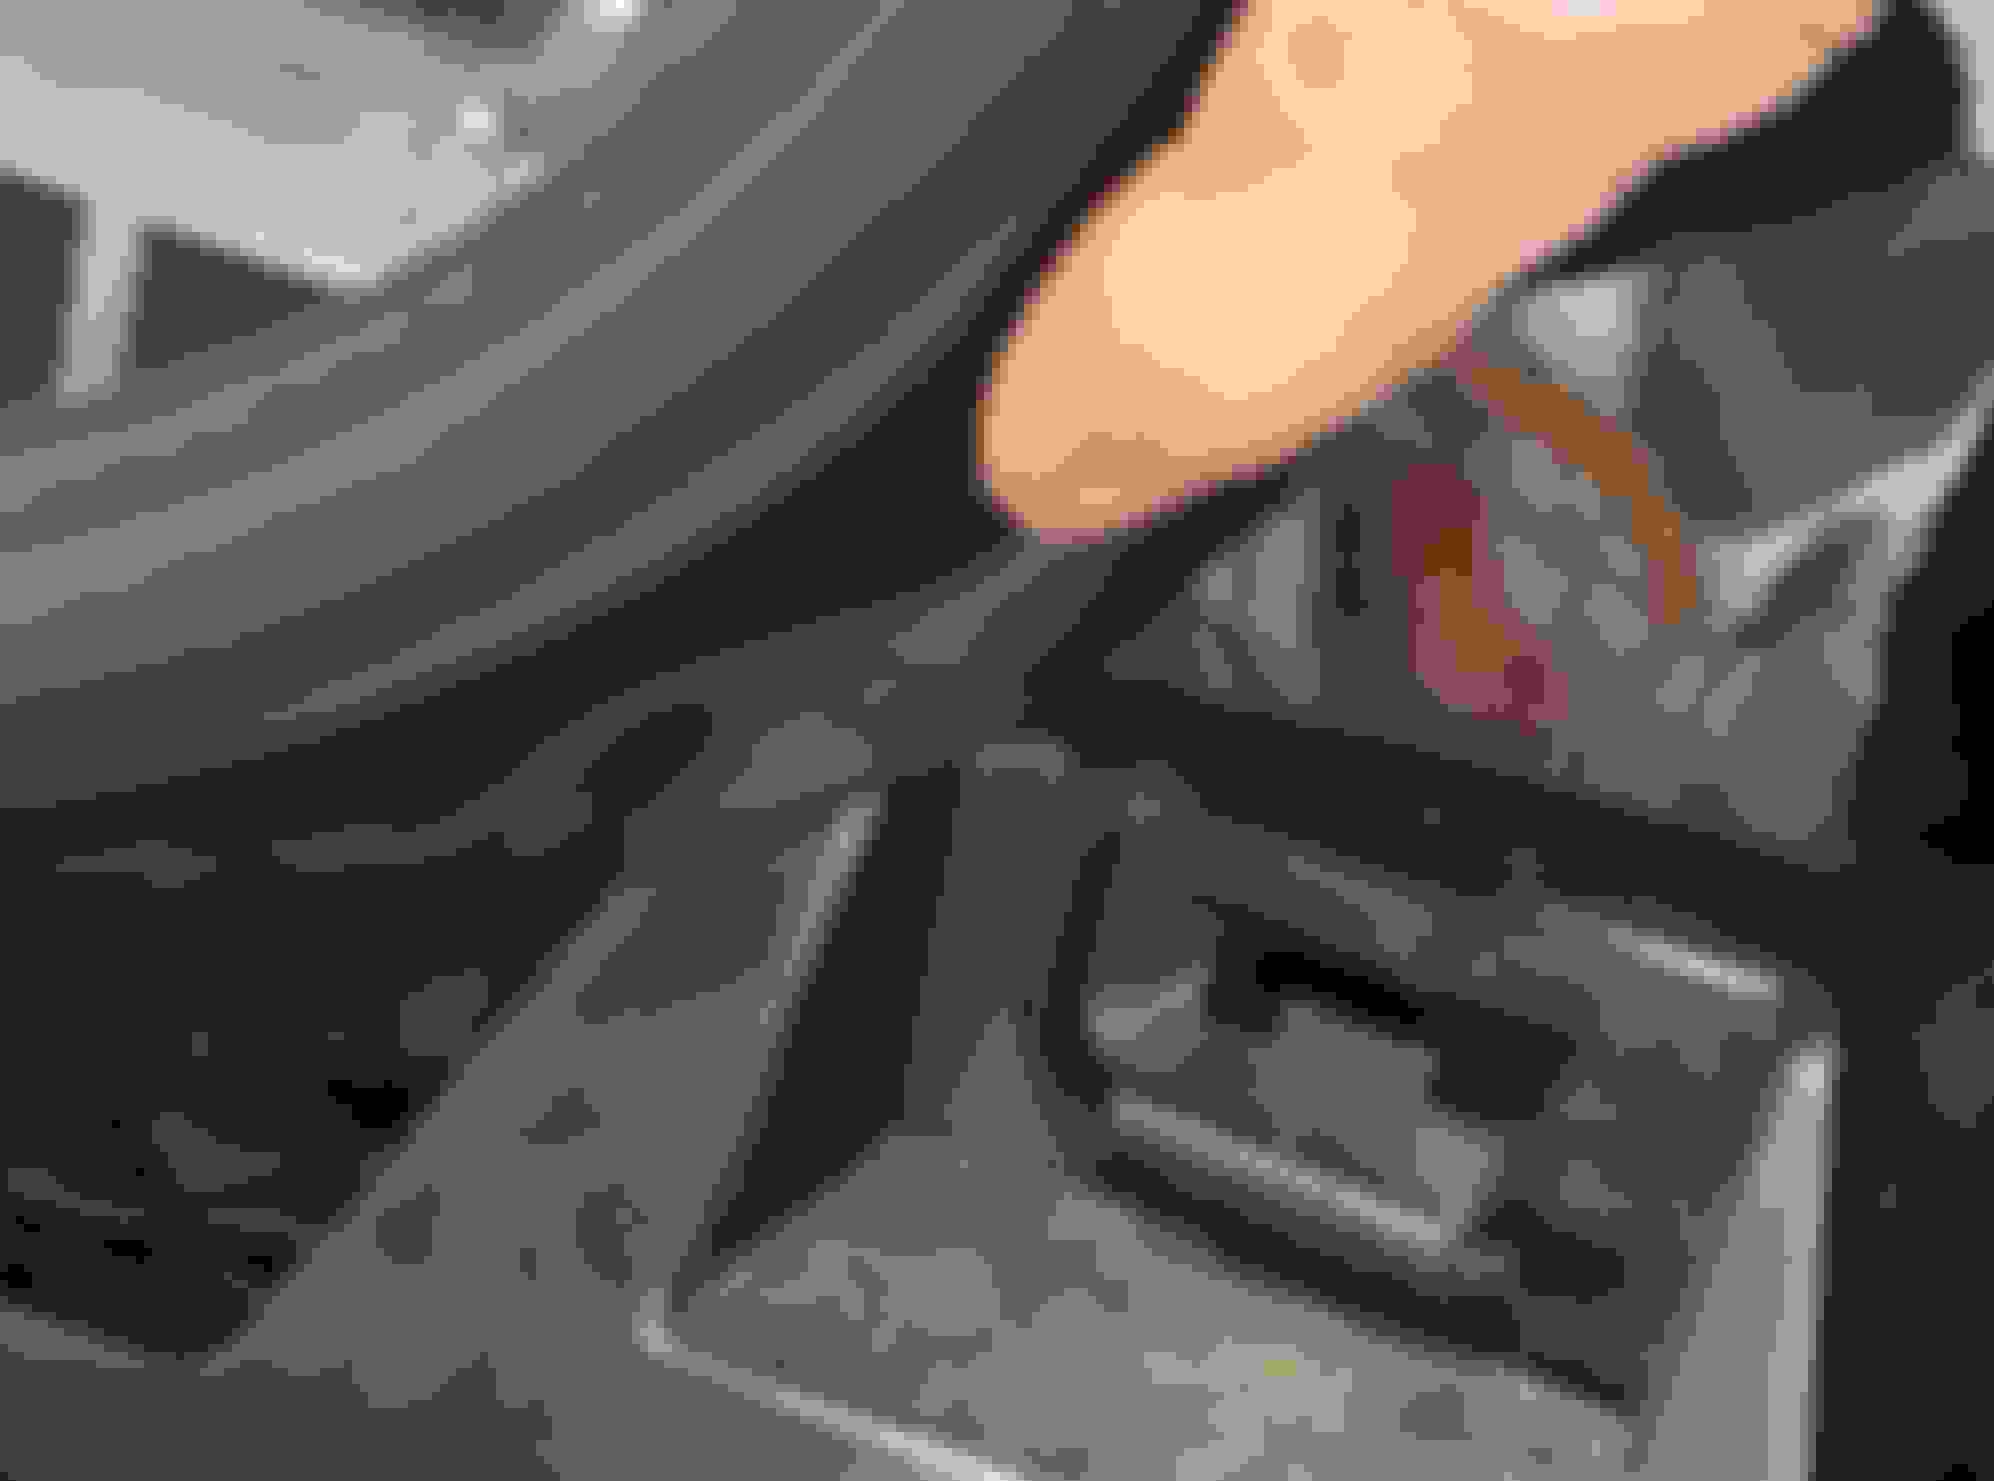
Here's a pic he posted showing the gap
That is one of the gaps in the seam under the gasket. Sealing the gaps doesn't completely fix the problem. Yes, it may keep large amounts of water from entering the boot, but you need the updated gasket to keep water from getting under it and running along the seam UNDER the gasket. Not where you want water trapped.
Also, you really need the bumper off for proper installation of the gasket. Really easy job and not a corner to cut in my opinion.
While you are at it, there are other places where water is or could be entering the boot. Two little circular foam rubber gaskets on guide pins on the plastic bumper guides. Not a lot of water getting in, but still a point of entry. The other problem area is the rope gasket on the rear vent that vents air out of the cabin. Again, not a big leak but there all the same.
I sealed the seam in the body panels that the rear hatch gasket goes over. I paid extra attention to the larger holes in the seam where water was getting in. I used POR-15 Patch filler and seam sealer. This stuff is awesome. Dries rock hard, doesn't shrink up or dry out. You do want to smooth it out as much as you can before it dries, there is no sanding this stuff once it hardens.
Next was installing the gasket. You start by lining up the seam in the gasket with latch hook in the center bottom of the hatch opening.
You really should have all your interior panels already installed before putting on the new gasket. I don't because I'm making a custom rear seat delete for my next project and won't be installing the parts until that is done.
The new gasket has a "Rope" built into it. This helps you get the lip of the gasket over the interior trim pieces. You just pull the rope out as you help the rubber over the headliner and interior parts. The rope is completely removed once you are finished.
I used Gummie Pflege Stift on the gasket before I installed it. Gave it a really liberal coating of this magic stuff, then I coated it again after I installed the gasket. That should make the rubber stay soft and last much, much longer.
While I'm at it with the Gummie Pflege, the rubber boots at the top of the hatch should be treated with this stuff on a regular basis. I can't imagine how difficult it would be to replace these boots if they dried out and cracked open. I use a brush to help get it into all the recesses.
New rear vent comes with the rope gasket installed. This should prevent any water leaks here as well.
The vent just clips in. Here is a veiw from the outside.
Outer part of the rear vent has two retaining nuts. There are drains at the front of this part that should keep water from getting in the vent, but the drain slots are pretty narrow.
Next the heat shield goes back on. It uses a different type of retaining nut. So make sure you get the correct nuts back on the heat shield.
A closer shot of the heat shield retaining nut.
The plastic bumper guides go on next. Then clip the wire harness back on the bumper guides. It uses several of the retaining nuts like you see here.
Last part is to get the Tail Lamps back in. Three fasteners per lamp. Tighten them up like your wheels. Tighten the first a little, move to the next and tighten a little, the next; around and around untill tightened fully. Then snap on the chrome "rings". This is trickier than you think. First, you want to put the ring on the inside clips of the lamp.
Then you want the lamp assembly and ring warm. I used a heatgun on low. Don't melt it, just get them warm. They'll be more flexible and clip on easier. Doing this on a hot day or with warm sunlight on the parts would work as well. This makes this job much easier, trust me. You think they will just pop back on and when they don't, you'll be banging your head on the wall. Or worse, you'll force them and break a clip.
Once all is warm, pop on the top clip first while keeping the inside clips in place.
Then get the outside clip area warm again and press them on firmly untill they clip. A little pressure on the inside portion of the ring pushing the ring to the outside while you are clipping the outside on can help as well.
That's it. I know I left some things out describing this job and did way more than I had to, but the results are worth it. No more water in the boot!
If you have any questions, reply below and I'll do my best to help.
Cheers!
Oh, yeah... I replaced the Tail Lamp units with new ones. I was originally going to do the Union Jacks but when I found the Euro units that came on the early F56s were availible I changed my mind. I'm glad I did. Having the amber turn indicators are so cool and the original look for the early F56 as well. Probably a more rare setup, in the States, that the Union Jacks. You really can't tell they are amber untill they blink.
Hi there. Long shot but do you have the part numbers for the seal and rear ventilation unit?
Thanks
smitp11,
This if from my list when I did the repair. I would confirm these part numbers with your parts supplier. My vehicle is a 2015 MINI Cooper S F56. The seal part number is for the updated seal with the notches.
TRUNK/HATCH SEAL:
51767375849
BREATHER COVERING, REAR:
51127302547
REAR VENTILATION:
64229303806
I included the part number for the cover that goes over the vent. It is not necessary to replace with the rear vent, but there is the part number if you want it.
Hopefully this helps.
Cheers,
-Joseph
Hi
That is perfect, thanks so much. Mine is a Cooper Base 2015 {Canada). Couple of quick questions.
1) Does the rear vent come out from inside the boot/trunk, that is can I replace this without removing the rear bumper?
2) How easy is the Seal replacement?
Hi
That is perfect, thanks so much. Mine is a Cooper Base 2015 {Canada). Couple of quick questions.
1) Does the rear vent come out from inside the boot/trunk, that is can I replace this without removing the rear bumper?
2) How easy is the Seal replacement?
Thanks again.
Patrick.
Patrick,
My advice is to remove the rear bumper. Not difficult and you really won't get a proper seat of the rear seal without the bumper off. The most difficult part of the bumper removal is the tail lamp surrounds.
If you are replacing the seal, you will want to put some kind of seam sealant in the body panel gaps. Much easier to do with the bumper off.
To answer your questions:
1) You need to have the bumper off to remove the vent. I guess if you were clever, you could stick your fingers or a tool through the vent and pop the clips. You would probably snap off the clips, breaking them and allowing you to remove the vent. The new vent can be inserted through the interior and it just snaps in. I would say it would be a bigger headache than just doing the work and removing the bumper.
2) Seal is super easy to replace. There is a rope in the updated seal that helps you tuck the headliner and interior body panels under the seal. You just pull the rope as you go. Super simple, if you remove the bumper. If you do not remove the bumper, it can be done, but you won't get it to seat correctly. The seal goes UNDER the lip of the bumper. Not easy to get it right with the bumper on. Again, easier to just remove the bumper.


 Continue the great work.