When you click on links to various merchants on this site and make a purchase, this can result in this site earning a commission. Affiliate programs and affiliations include, but are not limited to, the eBay Partner Network.
I installed the lower engine mount from Powerflex, it was interesting to pull out the factory mount and feel how soft the rubber is and compare it to the much stiffer Powerflex. I have had it installed for just over week and I am pleased with the stiffness balance to prevent excessive engine movement while also maintaining a comfortable Cabin. the only time I notice there is a difference is at Idle, you are able to feel a small vibration from the engine but it is not enough to bother me.
I did not yet test the black inserts that stiffen this up further.
One challenge I had was fitting the new bushing into the factory bracket, it appears the design does match the housing well enough to fit, I had to trim some of the Powerflex bushing to ensure a proper fit (see photos below).
Tools you will need:
8mm Socket
14mm Torx Female Socket
Shop press is helpful
Utility Knife
Time required:
30 minutes-1.5 hours depending on lift
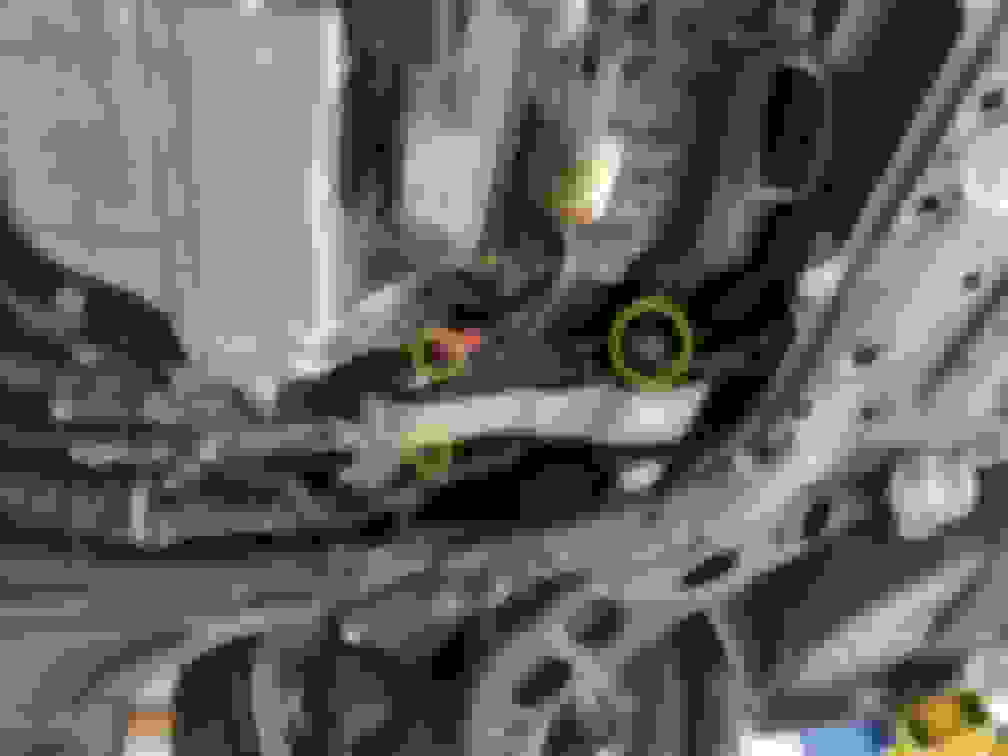
Step #1: Remove the engine skid cover, there are a dozen or so screws holding this up.
Step #2: Remove the factory bushing
There are 3 torx bolts to remove.
Step #3: Press the factory bushing out
I used a press to make it easy, you could likely get this out with some elbow grease.
Here is the stock bushing out of the Bracket
Step #4: Install the new bushing
This should be easy but I found that the internal shape in the bracket is different from the molded Powerflex bushing. The bracket has a constant radius on one side and the other has a flattened radius. The powerflex is molded with a standard radius on both sides..
When the Powerflex is installed into the bracket it will pop back out, it is nearly impossible to install both sides and hold them in place. I decided to trim the bushing for a proper fit and function.
Trimming the bushings is a challenge due to the materials resistance to abrasion and cutting. Also, after trimming the wrong side I also trimmed the right side.
Step #5: Reinstall the bracket with the new bushing.
Step #6 Reinstall the Lower Engine Skid cover and test drive.
Great how to, thank you. I've installed one of these on almost every F56 we have had in and never had to trim one yet so I wonder if your F54 is so new it is a little different or what, but I'll keep an eye out to see if I see that same thing in the future, but my guess is it may just be yours is so new. https://www.waymotorworks.com/powerf...g-f55-f56.html
You can also get the old one out with 2 big pair of pliers rather than a press as not everyone has a press.
I just pulled the engine mount out of my 2017 Clubman S ALL4. Crazy how sloppy and loose the stock mount was. I pressed out the bushing, thoroughly cleaned it, then reinstalled it. Then I sealed the cracks with hot glue and filled the bushing void with 80 durometer 2-part urethane. I used Smooth-On PMC-780 dry. It�s curing now - will report back later.
Does anyone know how to replace the upper mount? Can someone give me some tips? I checked the videos on youtube. All of them are F55 and F56. F54 has more room between the headlight and the month location.
I know I'm bumping an insanely old thread, but I just wanted to say that I had the EXACT same issue as you with the lower PowerFlex insert on my F54. Finding this post confirmed for me that trimming was needed.
Basically just wanted to bump this to say your F54 is not the only one that had this issue when doing the insert, and it seems Powerflex has not corrected the design.
What year was your F54? Thinking of doing this once the weather clears up. We have a 2017 S All4.
Mine is a 2018 S All4, so should be practically the same as yours. You'll just have to trim the edge of one side of the bushing they provide. Nothing too difficult.