
Electrical LED Bulbs

1st Gear
Joined: Sep 2011
Posts: 29
Likes: 0
From: Emeryville California
I'm pretty sure a small amount of current is constantly passed through the bulbs so a resistor or. Another set of canbus bulbs may eliminate the dimness... I haven't yet decided what to do... But they don't require a resistor to prevent an error message..

2nd Gear
Joined: Apr 2012
Posts: 104
Likes: 0
From: Port St. Lucie, FL
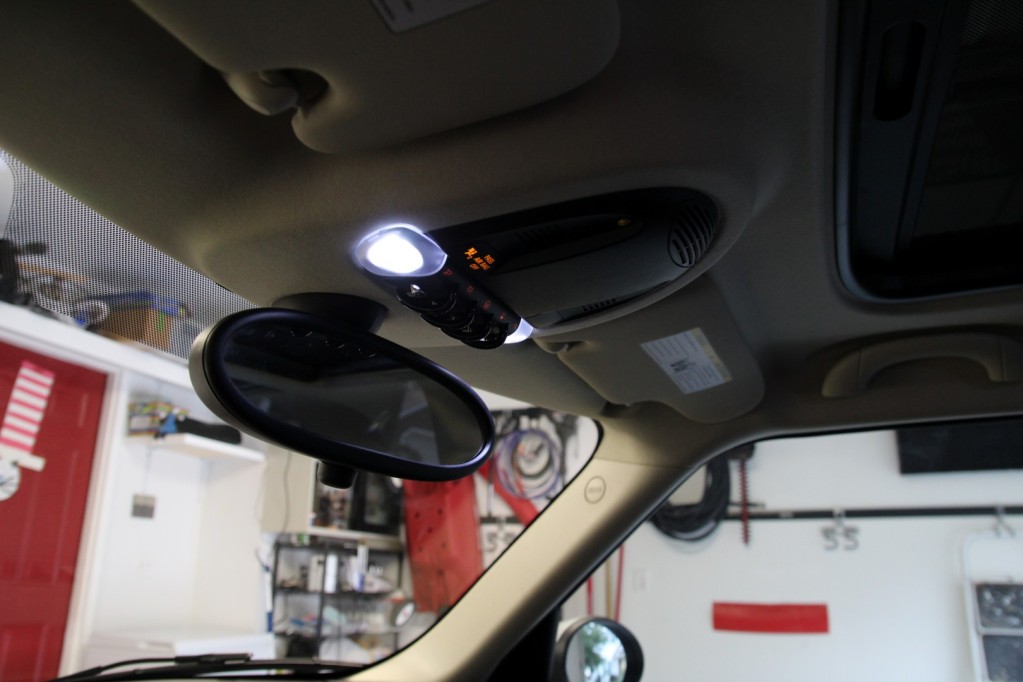
The 2 small covers for the map lights pop off without taking everything apart. It's not necessary to remove the 4 screws on the back. I used needle nose pliers to pull the original map lights out and just pushed the new LEDs in.
1st Gear
Joined: Sep 2011
Posts: 29
Likes: 0
From: Emeryville California
I, being of very unsound body and mind most of the time, tried that and I was scared to death of breaking the bulb.. Someone also suggested using rubber tubing... That would probably work as well... AnyOne else getting the dim front map lights?


4th Gear
Joined: Aug 2012
Posts: 319
Likes: 1
From: New York
Geoffrey, I love those 4-series grill fog lights. I gotta ask if it is possible to get those installed on mine!

2nd Gear
Joined: Aug 2011
Posts: 54
Likes: 0
From: Austin
As for the map light, just use both hands and slide the map light bezel sideways toward each respective door. Takes a little strength, but it will slide/snap out. Slide/snap inward to replace. Wrap tape like an ice cream cone around the old bulbs to remove. Replace LEDS observing polarity.
Last edited by pjdaustin; Aug 31, 2012 at 05:59 PM. Reason: update and correct

2nd Gear
Joined: Aug 2011
Posts: 54
Likes: 0
From: Austin
Map LEDS do not require resistors. Any light on the inside or the sides of the car DO NOT require resistors. Those in the front and rear of the car MUST bereplaced with resistor laden LEDS. As for the vanity light they are ugly, but people have enough problems with them so I just going to leave them alone as the visors are quite fragile and problem plagued as per another thread.

6th Gear
Joined: Aug 2003
Posts: 1,474
Likes: 3
From: Over there -->
OR...regular LEDs can be used if you (or someone) codes-out the lamp checks using NCS Expert. Since load resistors get quite hot, I'm not sure of the long term viability of an LED unit in such close proximity to such a heat source. Smarter folks than I can probably "shed more light" on the issue.
2nd Gear
Joined: Aug 2011
Posts: 54
Likes: 0
From: Austin
OR...regular LEDs can be used if you (or someone) codes-out the lamp checks using NCS Expert. Since load resistors get quite hot, I'm not sure of the long term viability of an LED unit in such close proximity to such a heat source. Smarter folks than I can probably "shed more light" on the issue.
6th Gear
Joined: Aug 2003
Posts: 1,474
Likes: 3
From: Over there -->
Note that NCS Expert is not limited to turning off lamp checks. You can make settings changes for one-touch (actually, two-touch) auto sunroof open/close, keyfob open/close of whole car, weather radio activation, killing the key gong, etc.
Have fun!

Thread Starter
|
4th Gear
Joined: Dec 2010
Posts: 502
Likes: 3
From: NOLA
I found it easier to remove the whole module. Then you can do it from the back with no risk of breakage. YOu can remove the whole switch/light/microphone assembly quite easily with torx bits. Then you unplug the wiring harness and can move to a workbench or your lap and have it all done fairly quickly and then snap it all back into place.

4th Gear
Joined: Jul 2012
Posts: 322
Likes: 1
I removed the whole module. I did have a little panic attack when the rubber gasket flew apart spraying the little switch parts everywhere. Luckily it's an easy fix, but something to keep in mind after removing the last torx screws. It's a much safer bet to change the bulbs from the top, like it was designed.
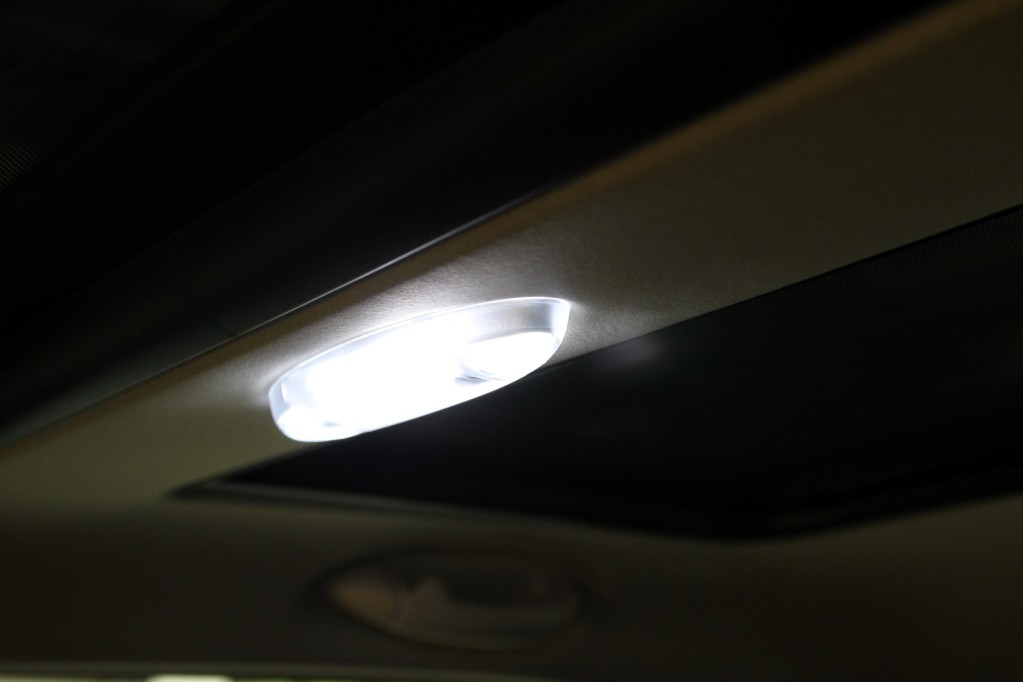
I used 4 surface mount LED 194 bulbs. Not terrible bright, but they work.
I also changed the scuttle lights to 1.5w amber LEDs, and coded out the bulb check on the license plate lights to use 4 SMD downward facing PCB 194 bulbs.
I used 4 surface mount LED 194 bulbs. Not terrible bright, but they work.
I also changed the scuttle lights to 1.5w amber LEDs, and coded out the bulb check on the license plate lights to use 4 SMD downward facing PCB 194 bulbs.
6th Gear
Joined: Aug 2003
Posts: 1,474
Likes: 3
From: Over there -->
Speaking of that, I'm surprised that there isn't a light on the hatch so that it illuminates things from overhead when open...hmmmm...
FWIW,
4th Gear
Joined: Jul 2012
Posts: 322
Likes: 1
I did the puddle lights with the same LEDs...they are flat PCBs with 4 high power leds that point straight down. They really light up the ground much more than the incandescent 194 bulbs.
I did have to lightly use the dremel to sand the edges of the PCB for the 'bulb' for the license plate light holders.
I did have to lightly use the dremel to sand the edges of the PCB for the 'bulb' for the license plate light holders.
2nd Gear
Joined: Aug 2011
Posts: 54
Likes: 0
From: Austin
I removed the whole module. I did have a little panic attack when the rubber gasket flew apart spraying the little switch parts everywhere. Luckily it's an easy fix, but something to keep in mind after removing the last torx screws. It's a much safer bet to change the bulbs from the top, like it was designed.
I used 4 surface mount LED 194 bulbs. Not terrible bright, but they work.
I also changed the scuttle lights to 1.5w amber LEDs, and coded out the bulb check on the license plate lights to use 4 SMD downward facing PCB 194 bulbs.
I used 4 surface mount LED 194 bulbs. Not terrible bright, but they work.
I also changed the scuttle lights to 1.5w amber LEDs, and coded out the bulb check on the license plate lights to use 4 SMD downward facing PCB 194 bulbs.
Last edited by pjdaustin; Sep 8, 2012 at 03:46 PM. Reason: typo

2nd Gear
Joined: Aug 2012
Posts: 75
Likes: 0
From: Minnesota
Can anyone who has installed the 1156-R45-T Red SMD led bulbs from Superbrightleds.com tell me if they are brighter than the stock incandescent bulbs? I would like to tint the taillights on my Countryman, and I just want to get something a little brighter in there to offset darkening the lens. Are these worth the $25 each?