When you click on links to various merchants on this site and make a purchase, this can result in this site earning a commission. Affiliate programs and affiliations include, but are not limited to, the eBay Partner Network.
I have a little dirty secret between Desire and I. Since we made the suspension modification we had not visited an alignment shop. Why? Because I am the king of cheap. Today I finally decide to try tackle the rear alignment to get some more negative camber. The front is fixed with IE fixed plate and basically maxed out because of the strut tower leaving no more room for the Koni Yellow and Swift springs. For my defense I did pulled some strings and used a builder's square to make sure the alignment wasn't to out of whack to drive like outlaws being pursued by the law on track.
Desire has requires more servicing time than time spend on track of late
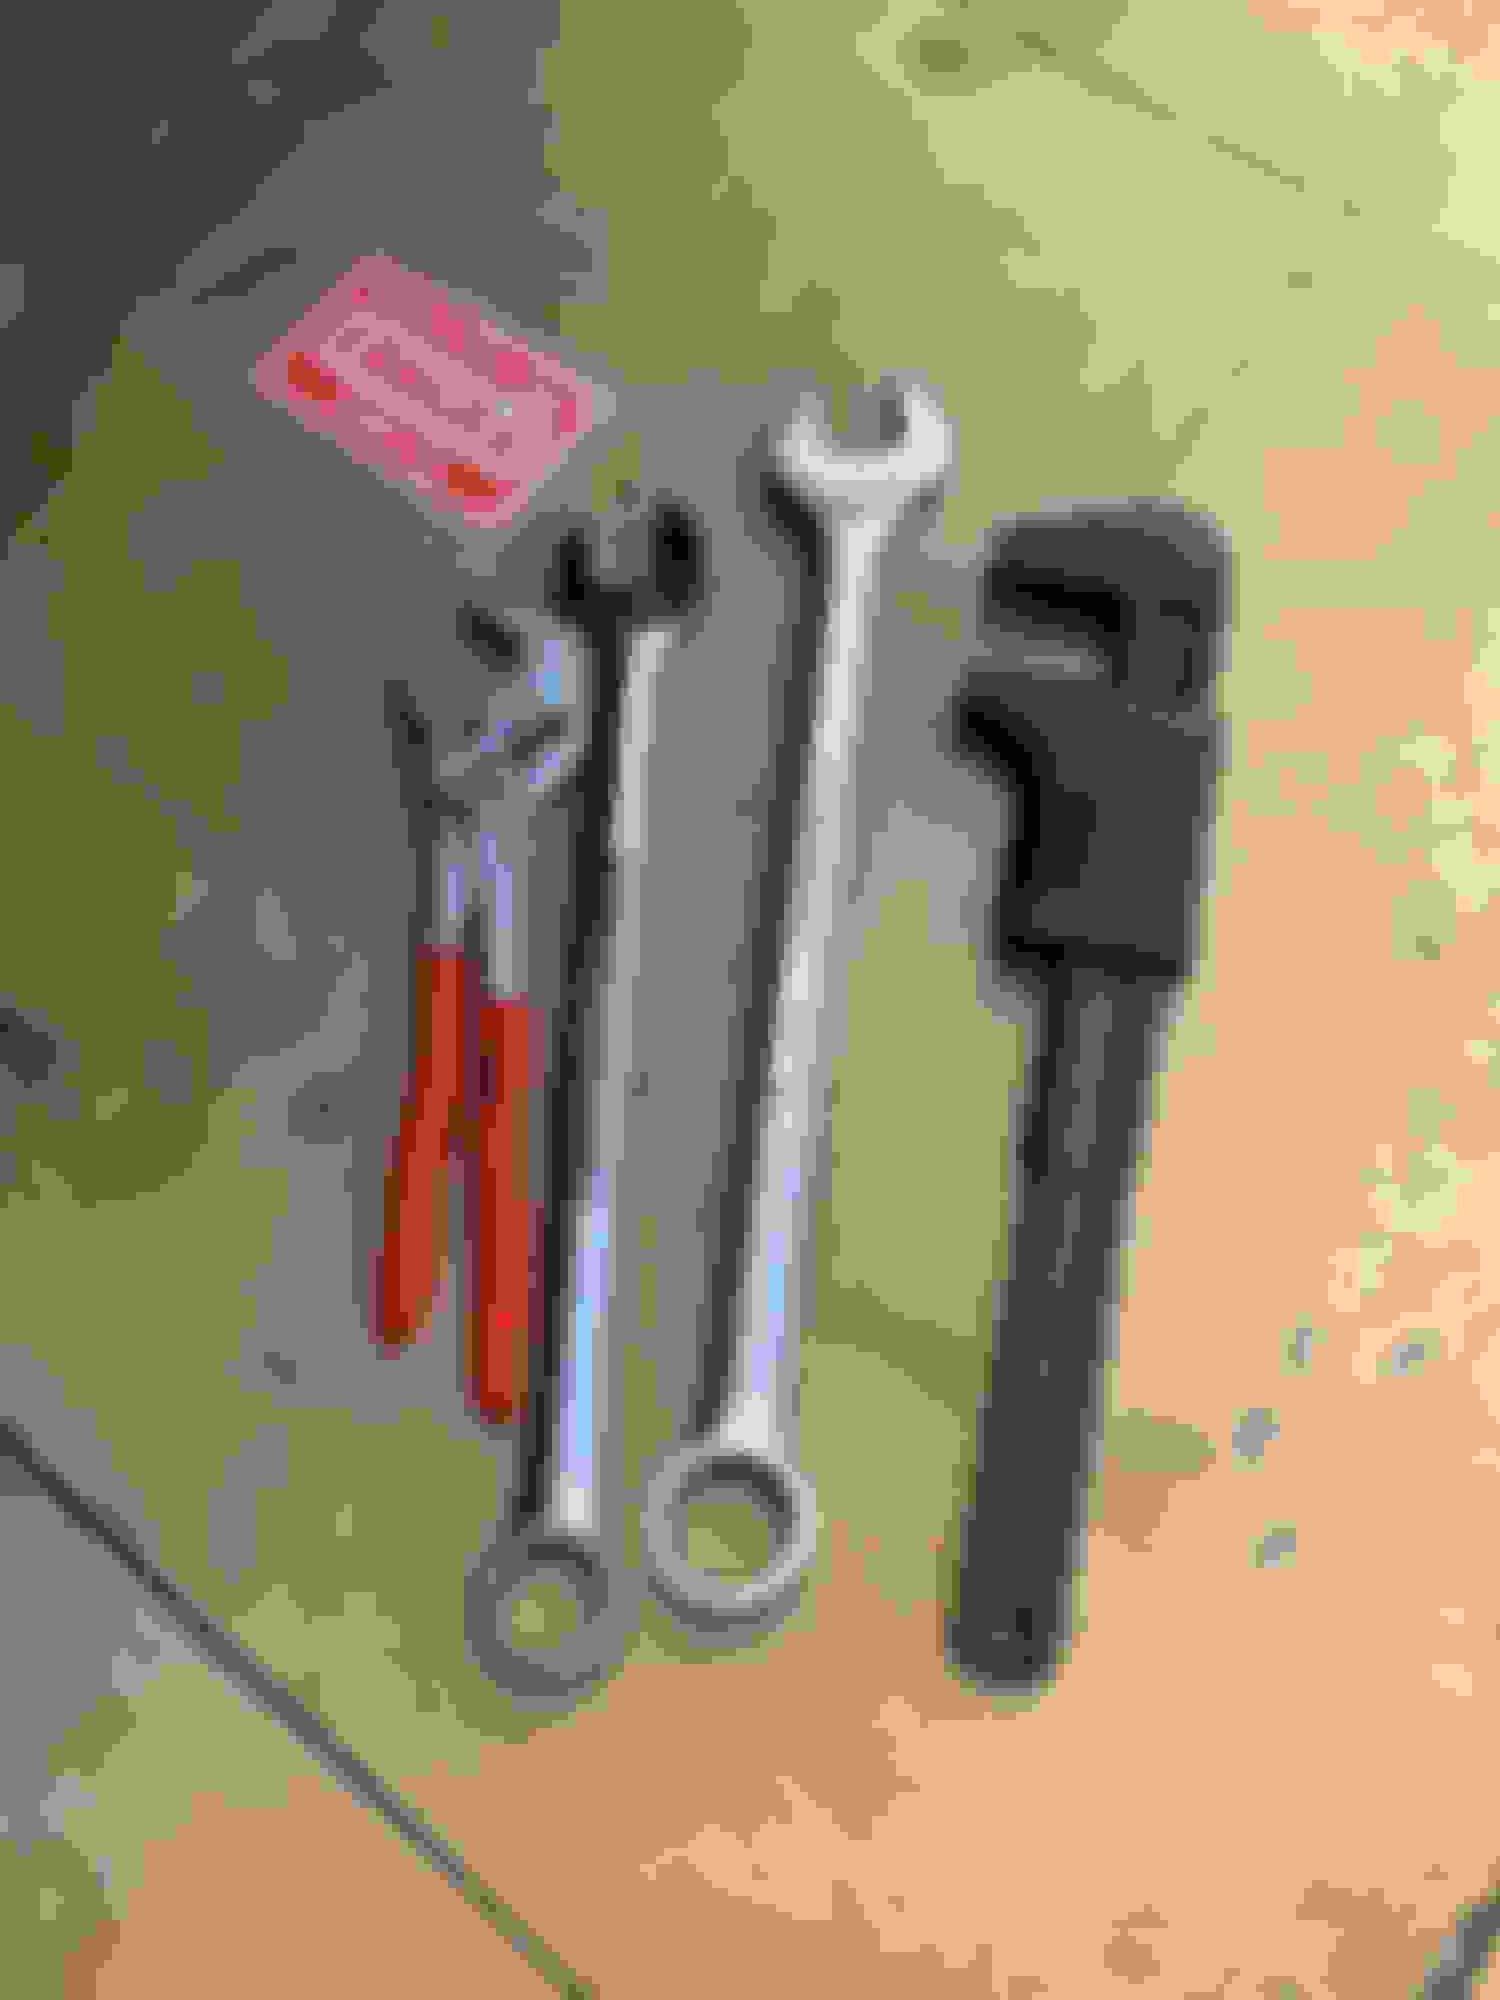
I borrowed most of these wrenches from my neighbor hoping a couple would fit the adjustable lower control arms
I poured tons of red Loctite long time ago because the lock nuts keep coming loose which freaked me out
thankfully two of my neighbor's wrenches fit
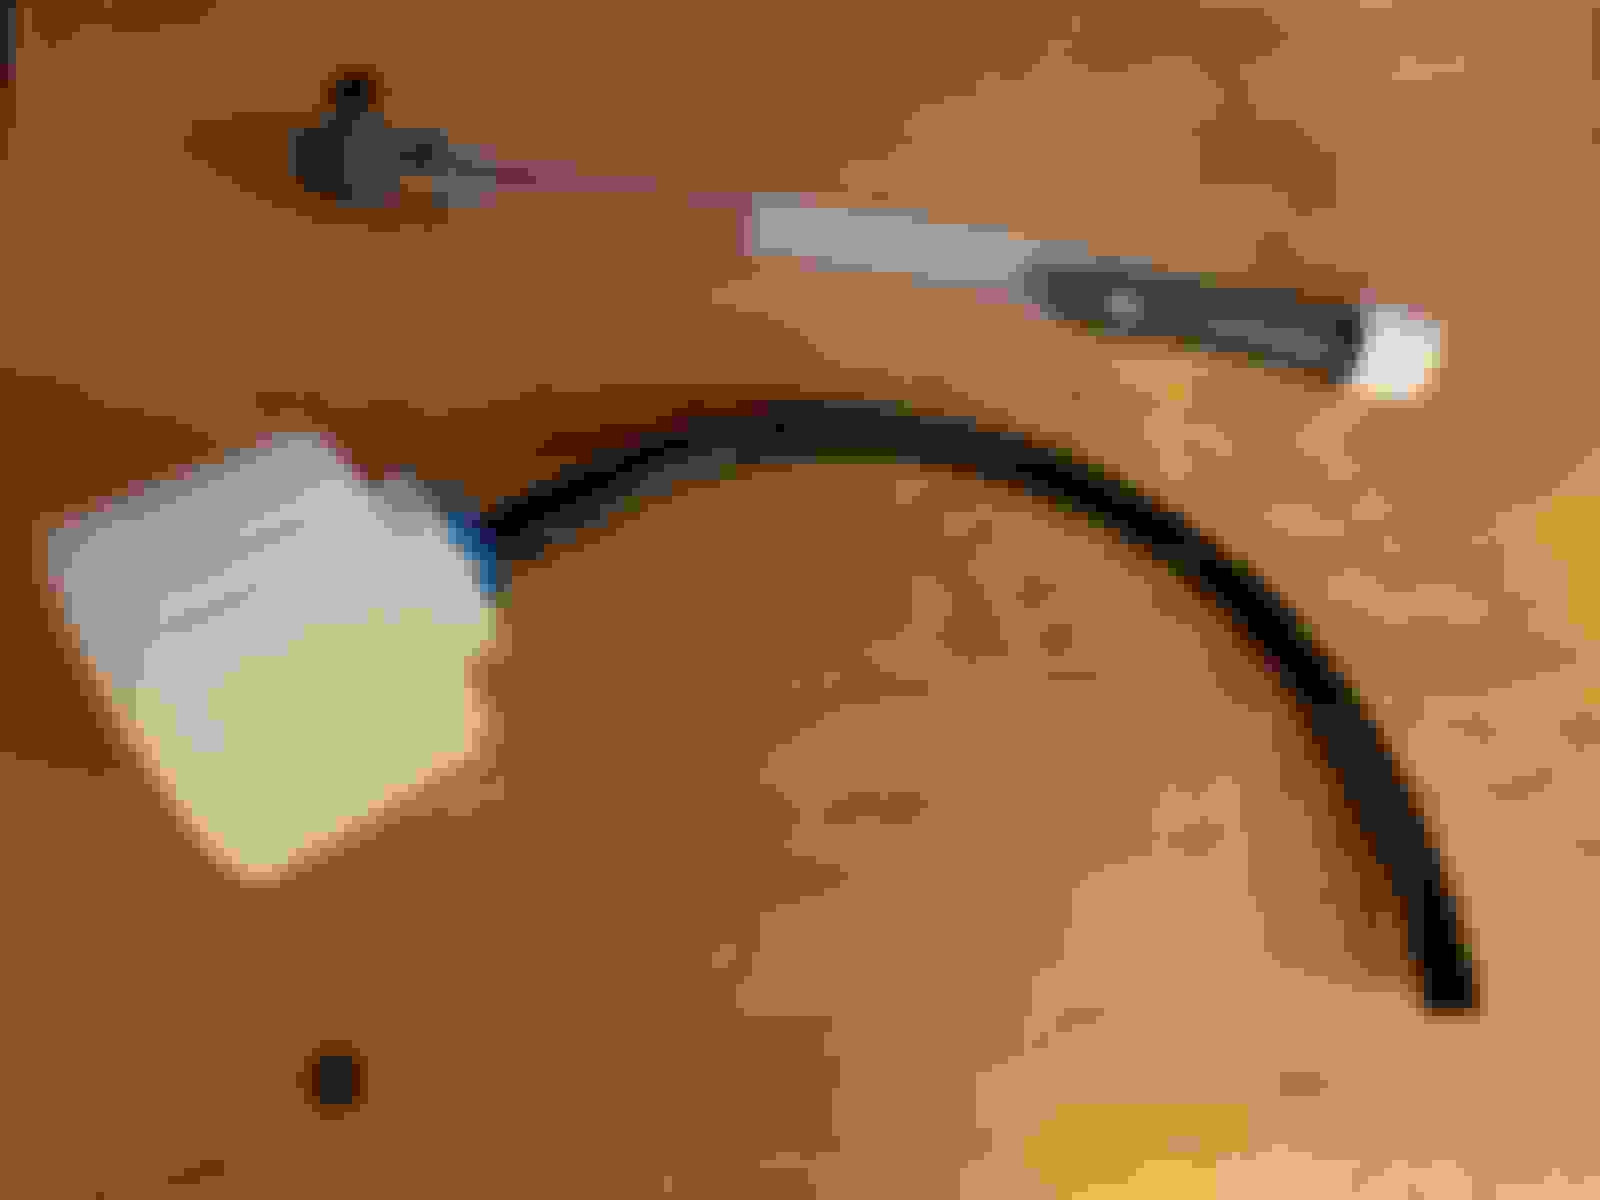
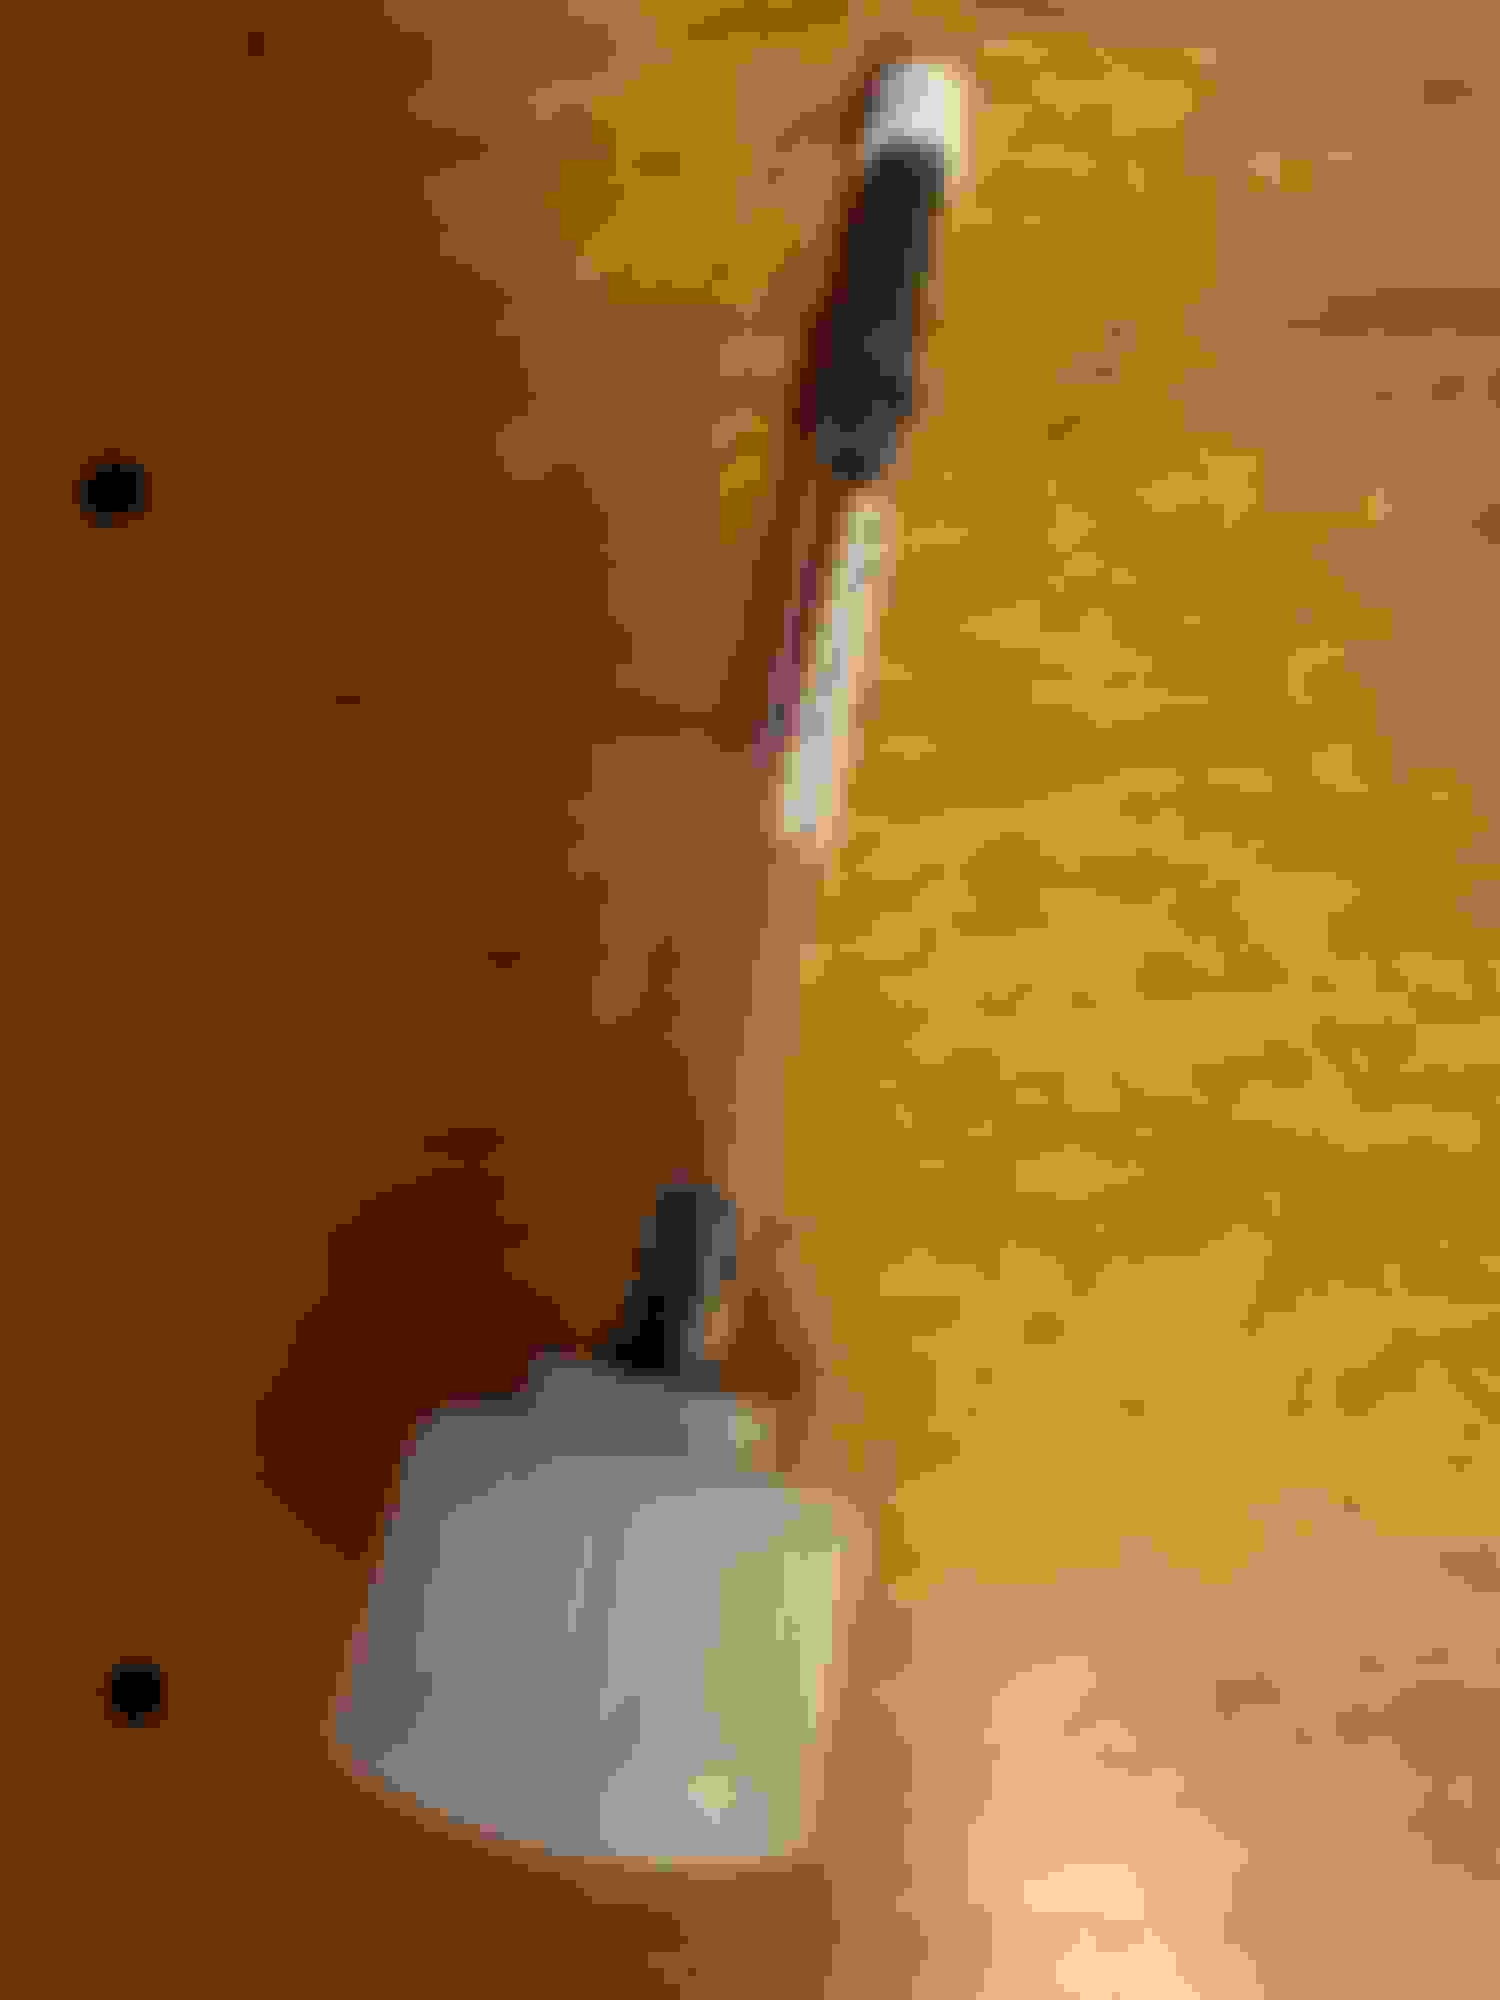
I used this flame thrower for sushi to loosen the red Loctite
I use this USPS mailbox *** heat shield to protect the innocent parts from harm's way
So both lower control arm's lock nuts are loosen but I know the hard parts are ahead. I have to deal with the eccentric cam which you supposed to have the BMW Shop Tool 9876543210 but our man said otherwise, but provided no specifics.
Desire is hot, especially when on track. I spent the afternoon under dealing with calibrating the MTX-L Plus A/F meter recalibration. Boy! Did I feel stupid that I 'd hidden the wideband sensor connector from harm's way. To get to it I had to remove the exhaust pipe, then the heat shields. I then had to almost take the console apart ... that would be another post.
Anyway, I was checking the steering rack for play and I snap this photo. Only when I was reviewing the photos that I notice this horror. The cable and connector for the oil pressure sensor is nowhere to be seen. I noticed last year that the connector was charred by the radiant heat of the header and wrapped it with some fiberglass cloth to protect it. The harness has what look to be high temperature jacket so I thought all would be well. But this photo says otherwise. The whole harness just fu&* off and no where to be seen.
Not a big deal, as I have a mechanical oil pressure gauge, but still WTF? BMW builds junk that can't handle driving on tracks.
Tire machines or more wheels? That is the question of the day. Desire has insidiously taking the possession more and more of the house. The house smells and looks more like a tire and wheel shop now, and don't get me started with all the "spare parts" she thinks she need. I really like the Konig Dail In wheels and my first set bought in the winter was the best deal. With the "trade war" the price has gone up and down like yo yo. Should I get another set? My struggle is if 15" wheels would always be right for Desire. I like the limitless selection of soft compound tires. However I am struggling with 15" wheels' challenge of front brake cooling.
I would like to have a set of tire machines like Mr. Blah but they would have go into the living room if I get them. The guest BRs are all too small to accommodate to swing the irons for the occasional stubborn tires like Hoosier R7. And forget trying to bolt the machines down because I have in floor hydronic heating.
The price of this wheels has jumped $25 since I bought my first set in the dead of winter. To put things in perspective. A set of these wheels costs less than a set of R compound tires which last no more than 5 track days.
I often wonder why I like to do thing the hard ways. May be just personal gratifications of the learning journey. I want to give the alignment work a stab by doing it myself. It is not black magic, but just basic problems facing us since the days of horse and buggy. The main difference is we are going much faster and have more at stake.
I can across this video which I thought is quite good, only that his priorities and mine are polar opposite. His car is a BMW so many adjustments are not available on our bargain basement BMW sub-brand but you get the ideas of the basic alignment ABCs.
For my extended track days - 2 or 3 days in a row - I take 2 sets of tires/wheels. One set for driving there and back, rain, and, if needed, replacements for the dedicated track set. These are currently Dunlop ZIIs and will be replaced with Continental DWs. The other is more of a dedicated track tire, currently R888s and will likely be replaced with the R888Rs. Just what I can carry inside the MINI
That is exactly my motivation of turning the house into a tire/wheel shop. I carried a set of 225/45 15 in Desire's "cargo hold" plus a Costco tote box and she was not too pleased. A set of 225/45 15 fit perfectly side by side standing up against the seat backs.
Since the trailer can carry 2 sets I went ahead and ordered another set from Goodwin Racing while they have the sales on. I want to carry a set of semi-slick and a set of R888R or comparable tires. Down another notch on that slippery slope Desire and I slid. She is winning and obviously she knew from day 1 that she has the upper hand.
We have a 3-day track event coming up at ORP and who knows what mother nature would throw at us.
you're gonna like the way you look, I guarantee it
You're gonna like the way you look, I guarantee it. I told Desire before my cheap skate's driveway alignment.
If this doesn't do anything on the track at least it look intimidating for a Corvette in tight esses.
before increasing rear negative camber
after increasing rear negative camber
So far I only changed the lower control arm by 1 1/4 turns on both sides. I know there is coupling to the toes but it didn't seem much for the changes that I made. My driveway is far from even or flat. I only eyeballed the increase in negative camber at the rear wheels. I didn't make any measurements as it would just be a futile effort given the driveway is far from flat. Also the thought of arctangent hurts my head. I did take note of any change in toes, including my ten were all still intact after.
OK, it is just a click bait but why does do this these days? The upgrade is a set of copper core NGK BKR7E plugs. I wanted to check the spark plugs in Desire, but being the aluminium bone head I figure it is best to have the new plugs on hand. This way I minimize the wears and tears of the soft AL threads. The less you mess with them the better.
This is the second set of these NGK
even as cheap as they are they come in excellent packaging
I had a bit of struggles freeing the NGK ignition cables from the plugs; the four plugs looks good with comparable colors on the ceramic insulator
compared to the new plug the old ones electrodes are slightly rounded from erosion; we want sharp corners for good spark
they came pre-gapped to 0.032" and all are dead on
The four plugs required very little torque to remove (may be 5 ft-lb) despite I torqued them to spec when installing them new. I suspect that the crush washers, well just got crushed from the effective high compression ratio. Because of this I decided not to lubricate the rubber boots of the NGK ignition wire thinking that should the plugs work themselves loose the friction of the ignition wire boot will prevent them from un-winding themselves.
The old plugs are serviceable but it is just easier replacing them as they are so reasonably priced.
I thought I would share how I manage and process my photos. Selecting, editing, and posting photos is effortless for me. I am a avid photo taker as the incremental cost of taking digital photographs is so so cheap. I would take photos often for just in case I need them. When taking photos under less than ideal lighting or fast motion I would take a few, just in case. It is easier to delete the redundant ones rather than regret the missed opportunity.
I take 99.99% of my photos with the iPhone. While I still have DSLR and other digital cameras they so seldom used these days. I have more the less of migrated from Windows PC to Macs now and the Continuity features of Apple's iOS devices and Mac are just awesome. When I take photos with the iPhone, they just show up in the Mac's Photos library. It is not perfect especially when you have multiple Mac's and iPhones, but 99.9% of the time it works. So that save to manually download the photos from the iPhone to the Mac. It just happens like magic.
I never post or upload photos nor videos from the phone. I go over all the ones that I want to post or upload. I take this opportunity to obscure sensitive information. Nearly all my photos that I choose get cropped if appropriate. For video I use iMovie to edit, trim, and render before I upload them to Youtube. For photos I select the ones that I want to post. I would select a group that I want and mark them as Favorites. By doing so they are naturally grouped together in the Favorites and making identifying them for upload very easy and time efficient.
Before uploading them to sites like NAM or my blog I resize them to 1600 wide. While it is free it is best not to abuse these nice things. I chose 1,600 wide to get ahead of most photos on the web that are often too tiny. It is for future proof for say a few years. Again the key is do the processing as a group so you only need to process once. I resize the group of photos that I want post all together. I export them to a dedicated folder and I know I can always go delete everything in there any time.
an example of a edited, cropped, and resized photo - took under a minute to do
Once I selected a group of photos for a post I then write the post, often with the story line consistent with the photos as narratives. Most post takes me 10 minutes max. The longer ones may be 15. I don't want to spend any more time as you never know what the web would do while you are writing the post.
NAM has a very nice thread posting photo uploader. I typically upload 6 - 8 photos at a time. Once the photos are uploaded you can organize their sequence and add remarks before loading them into the post. And of course if you use the Advance feature of the post editing you can preview your post before posting it.
Once I finished writing my post, I go into Photos Favorites and select the photos that I "like"'ed and "unlike" them. That way there are removed from Favorites and I still have the photos that are truly my Favorites.
Long before I have iPhone and Mac I uses similar workflow with DSLR and Windows PC. There were considerable more effort without Apple's Continuity magic.
Now with mobile hotspot I can edit and post even when I am on the road or in the other side of the globe using this workflow.
I went back and looked at my logs, it was the ST43 that glazed up when they ran too cool, not the bp30.
On the subject of lug bolts, autocrossing & constant tire changing got old quick! I put extended studs on right away they have a little flange (apex studs), that seems to prevent the rotor from twisting I've not seen or noticed the rotors twist, and I'm not even sure that rotor hex bolt is required I know people that run without it. I run with the hex bolt but I only tighten it a little bit, the stupid things seize on me.
Careful with those cheaper wilwood rotors, I only got a weekend out of them! On my setup the pad area crossed into the machined area, they only lasted a day, cracked in a scary spot! every single mount tab had a crack like this
I did note the difference in the Far Side ID of the $35 rotor vs the $130 rotor. The cheaper rotor is lighter for the reason there is less width for the friction surfaces. It is 8.1lb versus 9.0lb for the directional vanes one. Here are the photos showing both and I can see the cause of concern that likely explain the inner crack you experienced.
$130 rotor outside surface - note the inside ring not in contact with the pad
$35 rotor outside surface
$130 rotor inside surface - note the inside ring not in contact with the pad
$35 rotor inside surface
I even talked to a Wilwood app engineer but he has no clue except to give me the marketing spiel of the Spec 37. My thought is to use the cheaper rotors as disposables until I get the cooling ducts figured out.
My attempt to self-help alignment continues. I wanted to just leave it with ignorance is bliss after just doing an eyeball job slightly increasing the negative camber of the rear wheels. I used an almost straight aluminium bar to eyeball before and after change in the rear wheel toes. I used a 6 foot long aluminium straight edge to check the toes before and after the camber adjustment. I was expecting very big coupling between camber and toe, but there wasn't. I didn't go crazy with the camber. Of course it is no fancy setup and just done on my $3,500 alignment rig that is the poured concrete driveway.
I went for a test drive and Mini drove fine. Still the crude job of eyeballing it wasn't good enough. I decided to break out more equipment to get some warm and fuzzy quantitative numbers and face the inevitable - doing trigonometry .
my $3,500 precision alignment rig
no fancy DIY alignment equipment except improvised ones; and at the mercy of tire sidewall uniformity
these plumb strings have served me well over the decade in countless projects
we are not aiming for landing on Mars precision here
I am not going to disclose my measurements and calculations for all to mock. I just want to say the numbers are not as gross as I feared. They are pretty decent.
LOL, we can make a kit to build your garage, then fix your car.
You are killing me. I know all too well the Assembled by ECSTuning kits. Put my name down for a large one for the backyard shop like those featured in Grassroots Motorsports mag.
I waited a year before able to acquire a matching silver tow hook (nose ring) for Desire. Desire has taste and nothing but the most exclusive Rennlinie original edition would do. The only thing is with each one I had to put in some shop time to get the ring to be true and photogenic.
this is the new nose ring that I bought for Desire but in the haste to the track event I didn't have the time to set it straight but to add some red Loctite to hold the front screw thread in place; it is crooked as you can see
I had a chance to put in some shop time and straighten it; this is the highly coveted Rennlinie (meaning racing line) so do not be confused with the cheap imitation that sounds and looks nearly the same
I was just browsing some old photos and I came across this one from April 2015, which was about 4 years ago. Desire MPG was 22.6 and the odometer read 39,427 ml that day. Today she just turned 51,000 ml. Mean yearly miles is just 2,893 miles since 4 years ago.
The only problems is she now has insatiable appetite for tires, brakes, and fuel. She now average 6.6 MPG. Like a bad, bad, bad girl, she sure is hell of a lot of fun to be with.
I spent considerable amount of time the other day reorganizing the sensor cable routing for the NTX-L Plus A/F gauge in order to carry out a calibration. I came across this good article regarding the wideband O2 sensor most these aftermarket A/F gauges use. It explains the proper application of these Bosch sensors and what may be causing them to fail prematurely when used with aftermarket A/F gauges.
There are a few interesting insights into the likely problems with these aftermarket Lambda gauges fail to manage the sensor properly. One of the worst is to cease operating the sensor once the gauge display a sensor failure while in fact the sensor has not yet die.
I should had posted this video first from last Friday's event. It was the first session going out in cold tires and the track surface was slightly wet from the intermittent drizzle. Ambient was about 52F. Desire sported a this set of worn Nitto NT01s. The front pads were new Raybestos ST-45.
we were quite nervous going out in this set of tires so we carefully sense the tractions we had at different segments of the track
these ST-45 pads is great with nice modulation; photo taken after the event
In this session R53 Mini ran with a Red Gulf R, an Audi S3 RS R, a silver S2000 and a blue S2000, a white BMW M4, a red MR2, a white Miata, an orange Miata, a blue Civic Type R, 3 Corvettes, a Porsche Cayman, an orange Viper, and another white BMW M (M3?) car. We were careful not to overdrive and we were pleasantly surprised the amount of grips these tires developed despite the cold and damp conditions. We were also told there is a tree stump inching itself up the tarmac at the beginning of the back straight.
The strangest things is I didn't even notice there were no cones at turns driving all three sessions. I would only notice their absence reviewing the videos after. I actually like driving without these training aids except learning a new track.
I wish more Mini track drivers would set the camera so we can see what the driver do. I am still trying to sort out the perpetual audio malfunction of the Hero 5 Black used with an external mic. It seems like a trivial thing but because of the mounting location of the camera it is very difficult for me to verify the fu*&ing auto-detect external mic initiates properly. Go Pro ships alfa-ware and that's why a lot of people hang onto their older cameras without this bullsh1+.
I place my camera so I can review and learn from what I did as postmortems. You can infer the throttle position from the boost gauge that is to the right of the tachometer. WOT is slightly past 3 o'clock. You can also see when I employ left foot braking or trailbraking. You can also infer when there are overlapping braking and part throttle often at transitions. These are important for me when I review my driving and I can clearly see often how much speed that I left on the table.
In Europe they let you drive with the windows up in HPDE events, but in North America we can’t at most events except few when it is pouring rain. I bring this up because this is the reason that I have to set up the pesky external microphone on the alpha-ware that is the Hero 5 Black.
This is one good in car video of an R53 video. He mounts his camera in a similar position as I do. However had he set the camera FOV a bit wider we could see his foot work more clearly. It is possible his camera has a fixed (mechanical or digital simulated) wide angle lens.
I have considered including a list of Desire's modifications in the signature but after some thought I decided not to. Why? I have read too many old posts in which the list in the signature only reflect the most recent, or often some point in time, but no longer reflect that when a post was written. To find out the true configuration of that specific time you have to do a lot of reading and often involves interpolation.
I have detailed all the changes on Desire in this thread and it is very easy to find out the configuration by speed-reading this very long thread and with luck you need good broadband due to the extensive photos.
As a recap. Desire's current configuration has largely remain the same as in the first page of this thread, with mainly the exception of the Wilwood 11.75" front brake kit, a CoolerWorx long shifter, and 15x8 wheels.
15% pulley and NGK BKR7E spark plugs, stock ECU and no tune
Superpro front sway bar and steering rack bushings
CoolerWorx long shifter
Miltek unresonated cat back exhaust
Wilwood 11.75" front brake kit
Home Depot ECS Tuning braided brake lines for rear calipers
M7 strut tower bar
R52 front reinforcement braces
15x8 Konig Dial In wheels
When I set out on the modification of this little car, my goal is only to make it more fun to drive on the road, and improved handling for occasional HPDE track driving. Little at the time did I expect Desire would be spending so much time on the tracks, and taken me so far in the fun and rewarding journey. In the last 24 months I leant so much in performance driving despite a relative stock setup. Of the most important modifications are the suspension, tires, and brakes.
There has been countless times that I feel that we are outgrowing the Koni Yellow and Swift spring combination in mainly two areas - wanting more spring rate and limited by ~1.25 degree of front negative camber. However my experience of the new set of 15x8 wheel and 225/45 15 tires seem to suggest there is more life left for this very affordable suspension as the driver is still mainly the limitation.
Having driven this suspension on the roads the last two years, I would not want anything softer even if I stop driving on the tracks. The Koni Yellow is very good for the price point, and especially the Swift springs. I am most pleased that I made the original selection after reading hundreds of threads. The thread that impressed was the one by Ninjlao on the original Swift Sport Spings' development testing. This spring set is everything he said it is. The IE fixed camber plates are excellent choice for maximizing the front camber and without the negatives of metal bearing camber plates.
I have one rule when it comes to the Rose Festival. Never plan anything outdoors as the festival is cursed. Invariably the days would be ruined by incessant rain or worst downpours. I avoid signing up for track events and just stay home to catch up with Project Binky episodes and sort out a few things between the rain. Rain it does and it is on going still.
More package show up at our shipping and receiving dock, and I thought to myself is that more sh1+ for Desire, and who approve the purchase anyway? It turns out the package contain something for myself. A pair of black driving shoes at bargain basement price, and a overpriced hose for the 5 gallon fuel jugs.
more stuff showed up at our shipping and receiving dock
I snagged this pair of black driving shoes at bargain basement price; that's right under $17 shipped to replace the worn out brown one (top)
When I was at ORP in the recent track event I spotted this guy wearing the same shoes, and we struck up a conversation about this rare bargain we both found. My pair is now quite worn at the soles as I use them for driving and walking. Walking around the paddock at the race track can wear out those expensive driving shoes fast, but not this.
my home made filler hose (bottom) and the overpriced plumbing parts assembly
it goes onto one of the caps of the Scribner FDA approved fuel liquid container
Before the rain came I had a chance to go investigate the cause of constant failure of the external microphone of the Go Pro Hero 5 Black. The reason I had such a hard time with it is due to the mounting location of the camera. It is aft of the passenger headrest. To verified the auto-detect (no manual override) of the external mic occur I one have to be able to see the LCD screen on the back of the camera. Doing this from the driver seat can only be possible if you are Gumby, let alone if you donned a Helmet. Doing it by reaching in from the boot is equally impossible because of the rear seat backs and you have to be able to reach the touch screen to navigate the very sluggish touch screen and get into the Preference menu, then scrolled all the way to the bottom.
When I go to a track event I don't want to waste time dealing with electronic crap and that is why the problem plagued us for so long. Go Pro Hero 5 Black is plagued with countless functional bugs the company never come up with fixes. Today I set out to get to the bottom of this.
the external microphone plugs into this external dongle which in turn plugs into the Hero 5 USB-C port
the dongle must be powered by external power for this to work and the microphone must be plugged into the dongle for it to auto-detect; here it failed to detect the mic upon powering up and I verified the failures multiple times
here is what you should see in the preference menu by scrolling all the way to the bottom; I set it to Standard Mic+; + is the additional gain
I initially include the mic, mic impedance, and mic cable as possible the cause of the failure, but my quick tests narrow down is the poor beta code of the Go Pro firmware or a hardware design defect. Being certain that power on detection cannot be relying upon I tested what if I hot plug the external dongle after the camera is already turned on. I left the camera in the Preference menu where I can see the Audio Input field. I removed the dongle and then plug it in. To my surprise the camera detects the hot plugging and the Audio Input detects the external microphone every time. This is the workaround for this pesky issue.
The workaround is to unplug and plug in the USB-C dongle when the camera is already powered up. The mic and external power must be connected to the dongle at all times when you do this.


 The guest BRs are all too small to accommodate to swing the irons for the occasional stubborn tires like Hoosier R7. And forget trying to bolt the machines down because I have in floor hydronic heating.
 His car is a BMW so many adjustments are not available on our bargain basement BMW sub-brand but you get the ideas of the basic alignment ABCs.


 I did take note of any change in toes, including my ten were all still intact after.


 Put my name down for a large one for the backyard shop like those featured in Grassroots Motorsports mag.


 It turns out the package contain something for myself. A pair of black driving shoes at bargain basement price, and a overpriced hose for the 5 gallon fuel jugs.