When you click on links to various merchants on this site and make a purchase, this can result in this site earning a commission. Affiliate programs and affiliations include, but are not limited to, the eBay Partner Network.
I recently begin rekindle my love for the 2005 pepper white R53. While I have never neglect or take for granted this little car I realize I have yet to appreciate its untapped potential performance. The recent acquisition of a Porsche would serve as a wake up call for me that the suspension alone may be much better. That was when I decided that I would invest in a few thousand dollars to make the Mini more fun.
I ordered my Mini from ClassicMini in Ohio from this forum in 2004 among the first wave of the facelift gen 1. Soon I would move to a new house and for the next few years the renovation of the house and other things in live took all my free time.
Mini arrived in 2004
one track day in 2005
When I compiled my preliminary list of modifications I was planning to pay someone to do the work, as my garage is too confined for it. For the suspension my initial thought was to get a set of good quality coilovers like the KW Clubsport. Eventually I decided to go with Swift springs after reading up on the pros and cons of coilovers and I do not want to deal with spacers nor want excessive drop in ride height. My early list of updates is here:
Swift springs
Koni yellows
IE fix camber plates
rear sway bar
adjustable rear lower control arms
15% pulley and belt
colder plugs
Quaife LSD
clutch with single mass flywheel (blame it on the LSD)
Cold air intake (likely homebrewed)
boost and oil pressure gauges
factory alarm (installed but need to be blessed by a Mini dealer)
factory fog lights
Soon I decided to tackle the work myself in the driveway. I decided to invest in a engine lift from Harbor Freight even though I would be challenged to find space to store it. I decided to do the work myself in case things do not work out as planned - such as I do not like the new clutch and have to restore back to the OE clutch and flywheel. I have done all the auto services on all my vehicles and the Mini should be no different. I begun the process of procuring the parts. Once the Mini is being taken apart and worked on in the driveway it would block my Porsche so I tried to plan well so not have to wait for parts to be shipped while the Mini is in limbo in the driveway.
Of these I started with the suspension as the first phase of the project.
I had a hard time deciding which size of rear sway bar to get. I measured the stock bar diameter and decided that 18mm is likely too small a change. I was leaning towards 20mm, but I really like the Alta design with the welded in discs to keep the bar from shifting. I took a leap of faith and bought the 22mm Alta.
I also chose the H-sport rear adjustable camber links, and Irish Engineering fixed camber plate for the front.
edited on 4/22/18:
My Mini has a name. It has an ambiguous gender (he, she, or it) as it is a street car named Desire. Desire keeps dreaming of being a race car and hence the name, despite it serves dual duties of being a very civilized everyday runabout and a track animal on occasions.
While waiting for the parts to arrive I first need to fix my Craftsman air ratchet wrench.
it turned out there were two faults with it. The rubber-like air valve has vaporized and the vane air motor is seized. I wanted to repair it as it was a Japanese made wrench.
Next thing is to go pick up a Harbor Freight engine hoist, as I planned to pull the engine/transmission to install the LSD in lieu of removing the subframe which would entail a lot of crawling and struggling under the car on jackstands.
found my cheapo coil spring compressors from high school days
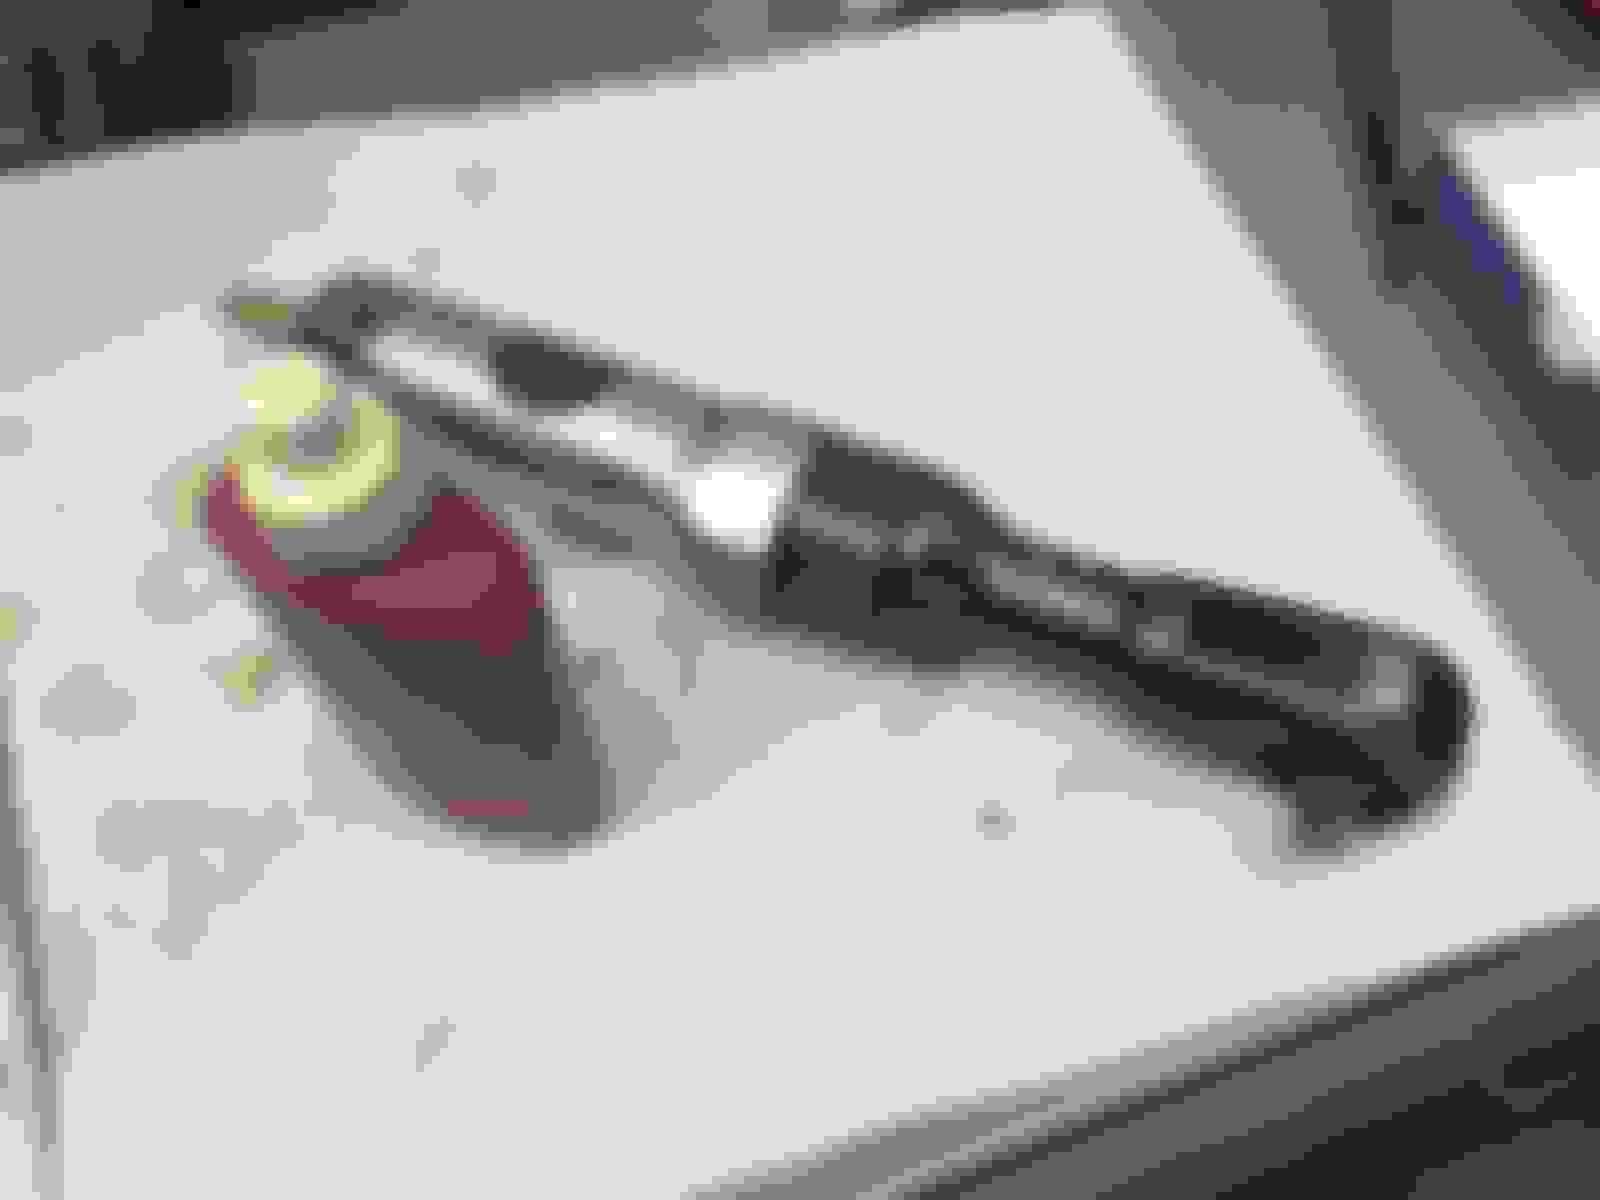
installing the Koni/Swift on the rear is relatively easy except that the Koni Yellows require you to drill out the top spring perches and the washers. It is also extremely easy to assemble the rear Konis wrong. Each has a delicate spring c-clip and a special washer that sits and lock the c-clip in place.
I was wise not to cut down the bumpstops. I set the rear Konis to 1/2 turn from full firm. It has two full turns of damping adjustment.
here is the "instruction" that Koni provides
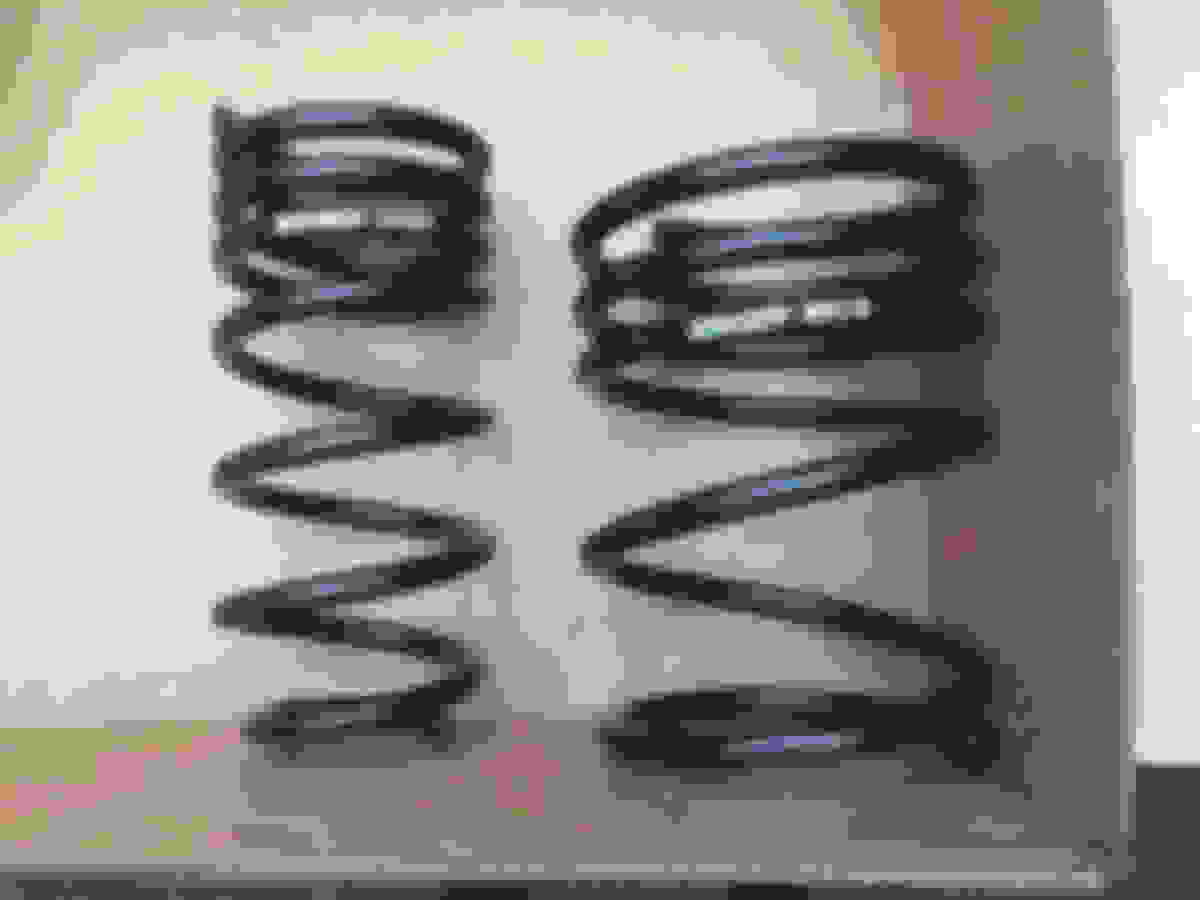
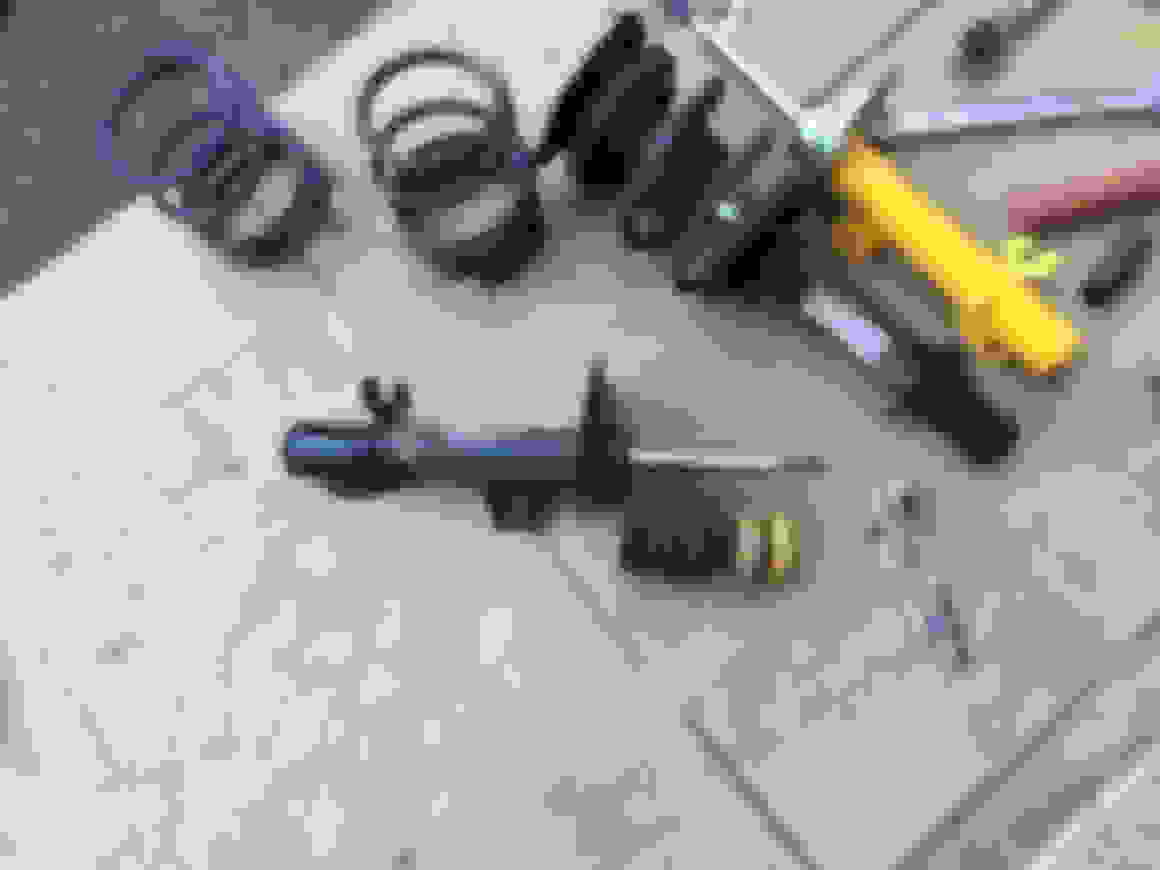
With the factory MCS spring out I compared it against the Swift spring counterpart. The factory spring is quite stiff and I could compress the Swift spring more than the factory one. I thought this cannot be right and I was quite worry the Swift spring may ride softer. Too late now to worry, I thought.
the factory spring (right) also has bigger diameter coils
installing the 22mm Alta sway bar was not so bad, though requires a bit of struggle laying on the back fighting the rear subframe with the help with a prybar.
I was very apprehensive that the 22mm bar will cause too much oversteer
With my luck, the sun was unrelentless making the work very unpleasant.
by late afternoon the rear is done including installing the Hotchkis lower camber bars
I was going to move this thread to the Mod Section but as you have both suspension and motor changes going to leave in place for now.
Keep us posted on your work. You pulling the engine in your drive as well?
Before I started I pondered where should I post. As it entails suspension, engine, exterior and interior I thought it is more suitable here. Thanks for the understanding.
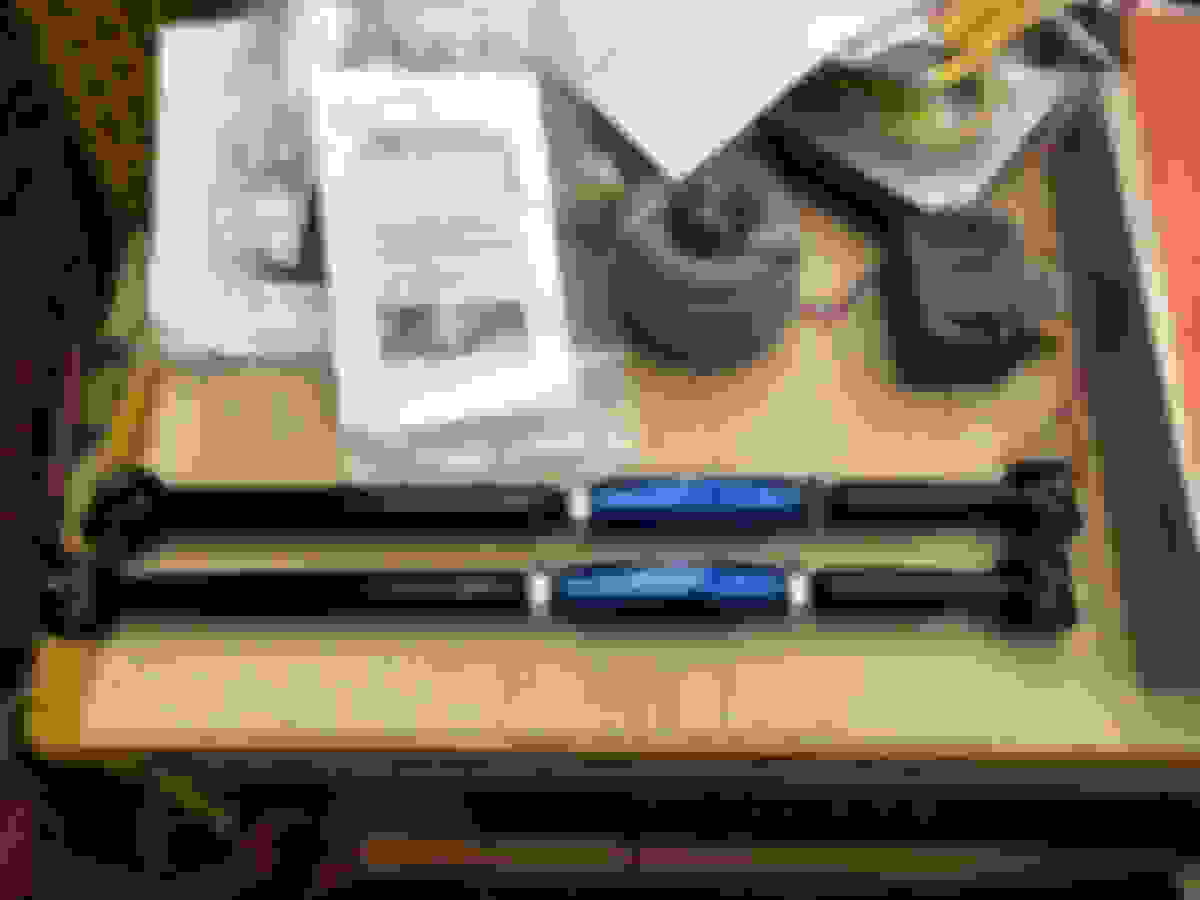
The factory front dampers feel soft compared to the rear dampers, in both compression and rebound damping. This is a surprise to me but seems to be consistent with the Swift springs' spring rates. The spring rate for the front coils are lower than that for the rear coils. The Koni front damper is about 40% firmer than the factory in compression, and about 50% firmer than the factory in rebound. The rebound adjustment range is 2 1/2 turns. I decided to set the rebound to 1 turn from full firm.
For both the front and the rear Koni dampers I also performed push/pull manual tests after deciding on the rebound firmness setting. Fearing for too causing too much oversteer I set the 22mm Alta RSB to the softest of the three positions. I reused the factory end links and saw no reason to change them.
the Mini's ride height is now only about 1/2" to 3/4" lower - precisely as Swift publish specs; I am quite content as I did not set out to "slam" the suspension on the Mini; I wanted a sensible suspension modification for performance instead for appearance
The proof of the pudding is on how well the car handles with the new suspension. Despite of the new front camber plates and the adjustable rear camber arms there is no ill signs of alignment problems. The car track straight as before and no speed related shakes, pull, or vibrations. I would eventually go get a full alignment once I decide on the appropriate parameters. Going over streetcar and train track crossings at speed the car now is very composed, very similar to the impressions that I get with the Porsche GT4. No more are the bouncy. floaty, and sloppy cheap car ride sensation. Much better ride quality without being excessively harsh. If there is something that I could consider is to ease the rear dampers' rebound damping a half turn.
The steering feedback more immediate even though I didn't replace the lower control arm bushing with polyurethane ones. I considered polyurethane bushings for the front control arm (there is only one per side) but want to hold off until I am convince they are needed. I read that polyurethane bushings required frequent lubrication to keep the squeaks in check. The turn-ins are now quicker as well as transient responses.
I went for a spirited drive on a nearby twisty road in late afternoon when there was very little traffic. With the thought that my chosen big rear sway bar can induce excessive oversteer in the back of my mind I proceeded carefully. I read too many stories of others got into bad crashes after performing major modifications. I was not disappointed with the vast handling improvements. In no time once I got used to the feel of the difference of the car's handling I felt extremely at ease with its new characteristics.
The Mini drove like a completely different car, all in the good ways. The car is very composed being driven hard in windy roads. There is very little lean and feels very neutral for a FWD car. One of my biggest struggle is to decide on the diameter of the rear sway bar. They are available in 18mm, 20mm, and 22mm. Some has three firmness settings. In the end I decided to purchase a 22mm, but immediately I had buyer's regret. I became very worry such a big rear sway bar will cause excessive tendency to oversteer. So far with the spirited test drive that has not proven to be the case. The car feels very neutral while it wants to plow forward before when pushed hard into a bend.
In all, the improvements in the handling and ride of this combination (there are very large permutation of combinations) far exceed my expectations.
The mystery of why the Swift springs are softer to compress by hand compared to the factory MCS spring would become apparent later for me, as well as how little are the suspension travels on the Mini.
the Swift spring (left) has tightly packed coils on the top leading me to assume it is a progressive rate design
It would dawn on me that the tightly packed coils are there to just take up space under nominal load, and to support full extension when needed.
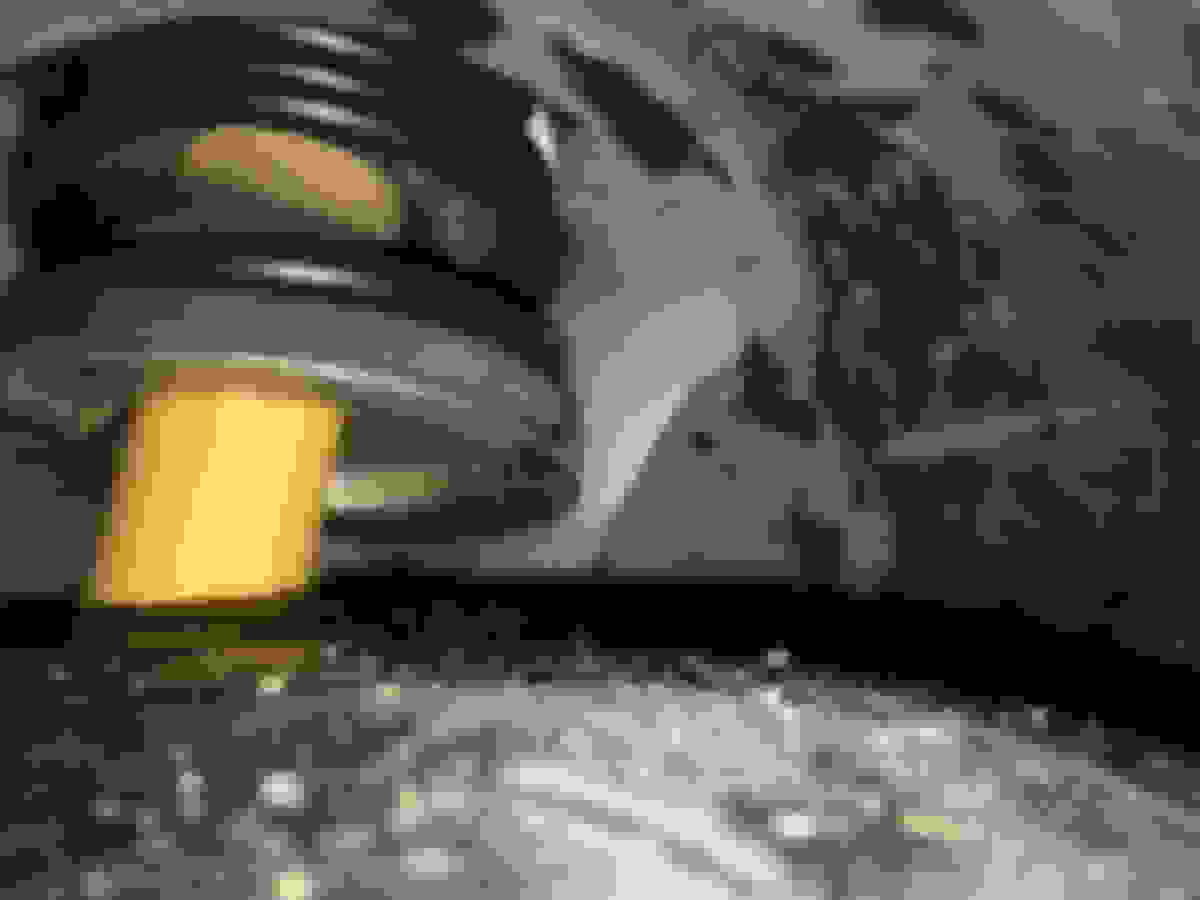
here is what the front spring look under nominal load - the top coils collapsed together leaving about 2 full turns; so the Mini only has may be about 1.25 inch of compression headroom
here is the front spring fully extended
I infer the bump stops are crucial part of the Mini's suspension when under heavy compression. I have since compared the spring rates of the Swift spring to others and the Swift springs are definitely not soft by any mean. It is a lot firmer than stock but yet rides better on the road in majority of situations.
Over the course of a couple of weeks the ride height settled to about 3/4" reduction from stock. When I was deciding on the IE fixed camber plates I was concern with it's increase of circa 3/16" over the stock plate. It would turn out to be rather immaterial in the end. I didn't want the common adjustable camber plates that has no give as I was concern of knocks.
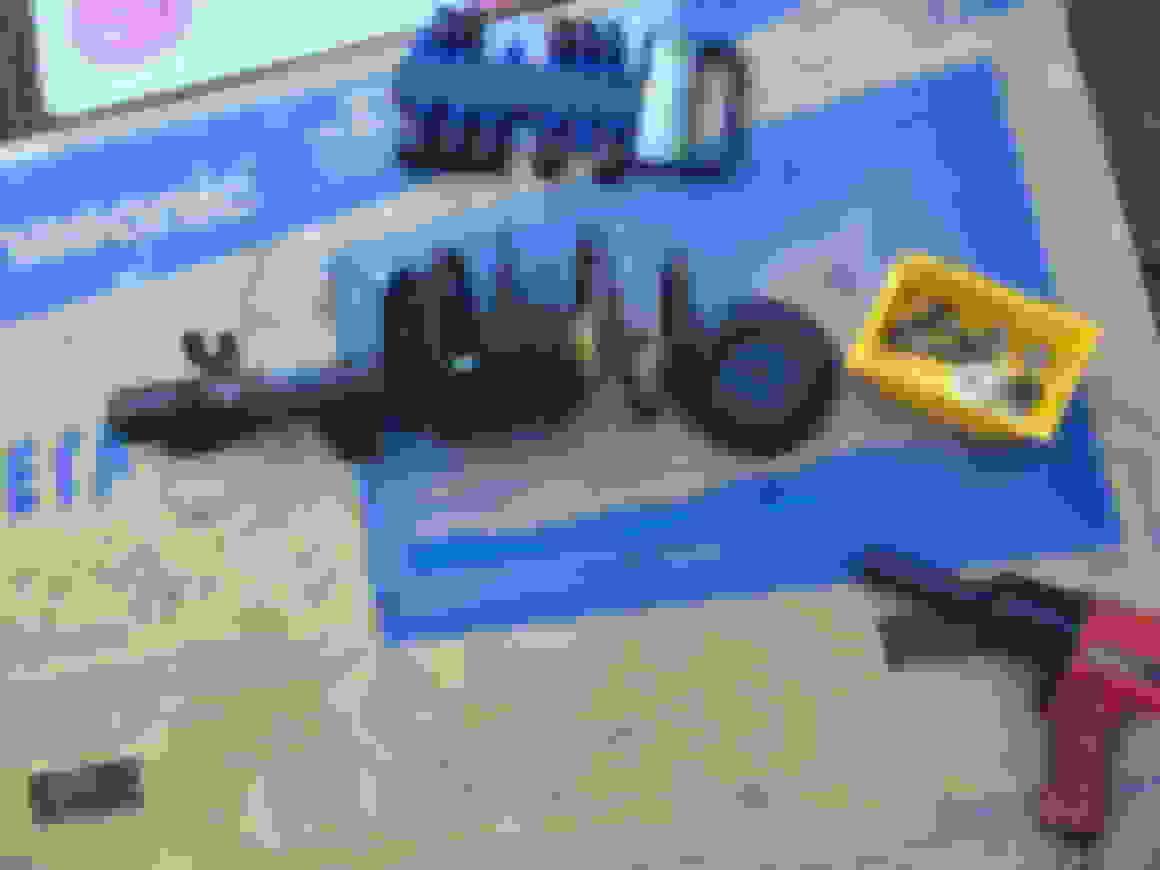
Slowly and surely the needed parts arrived. I created a spread sheet to track all the parts I need for the drivetrain modifications. I opt to drop the engine instead of the subframe to minimize the crawlings under the car on jackstand on my driveway's rough concrete surface.
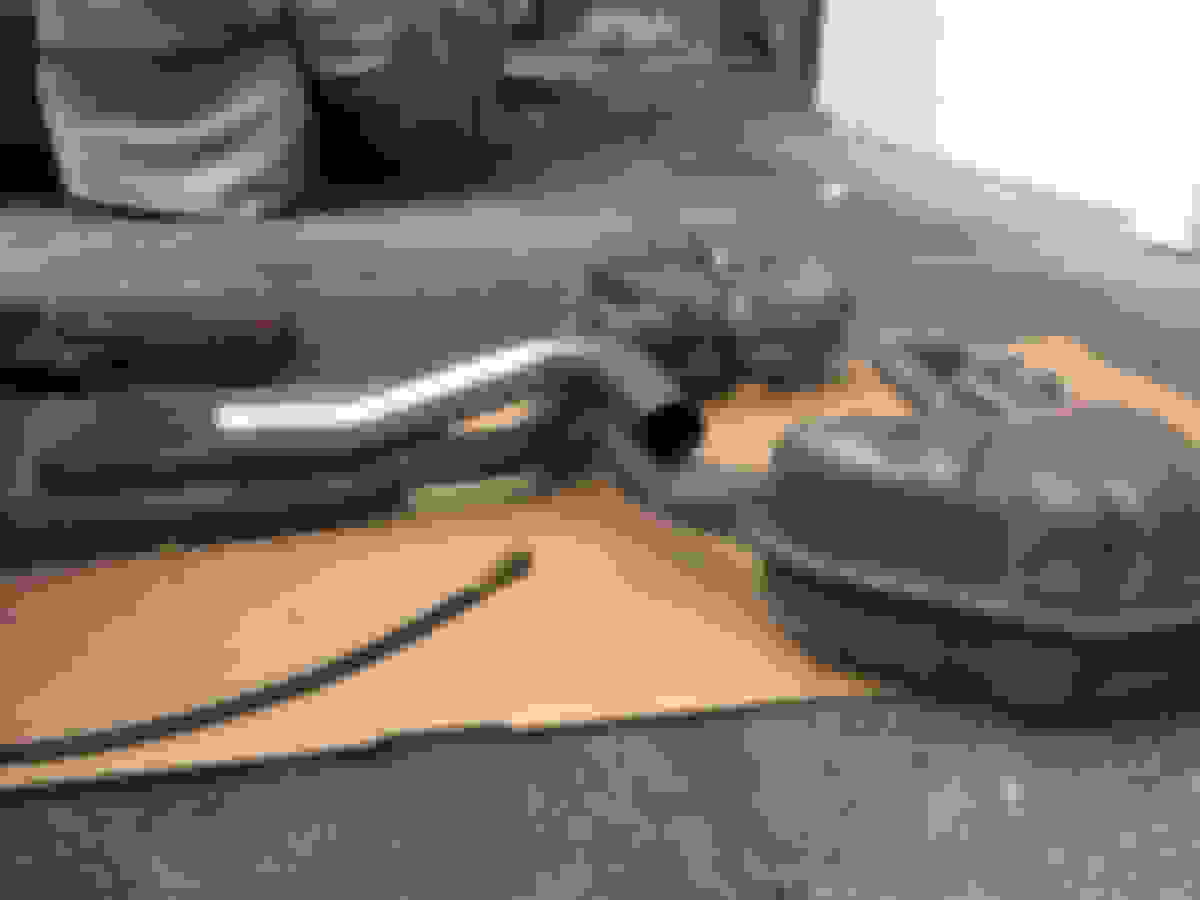
like a delicious smoked hamhock and I am ready to carve into
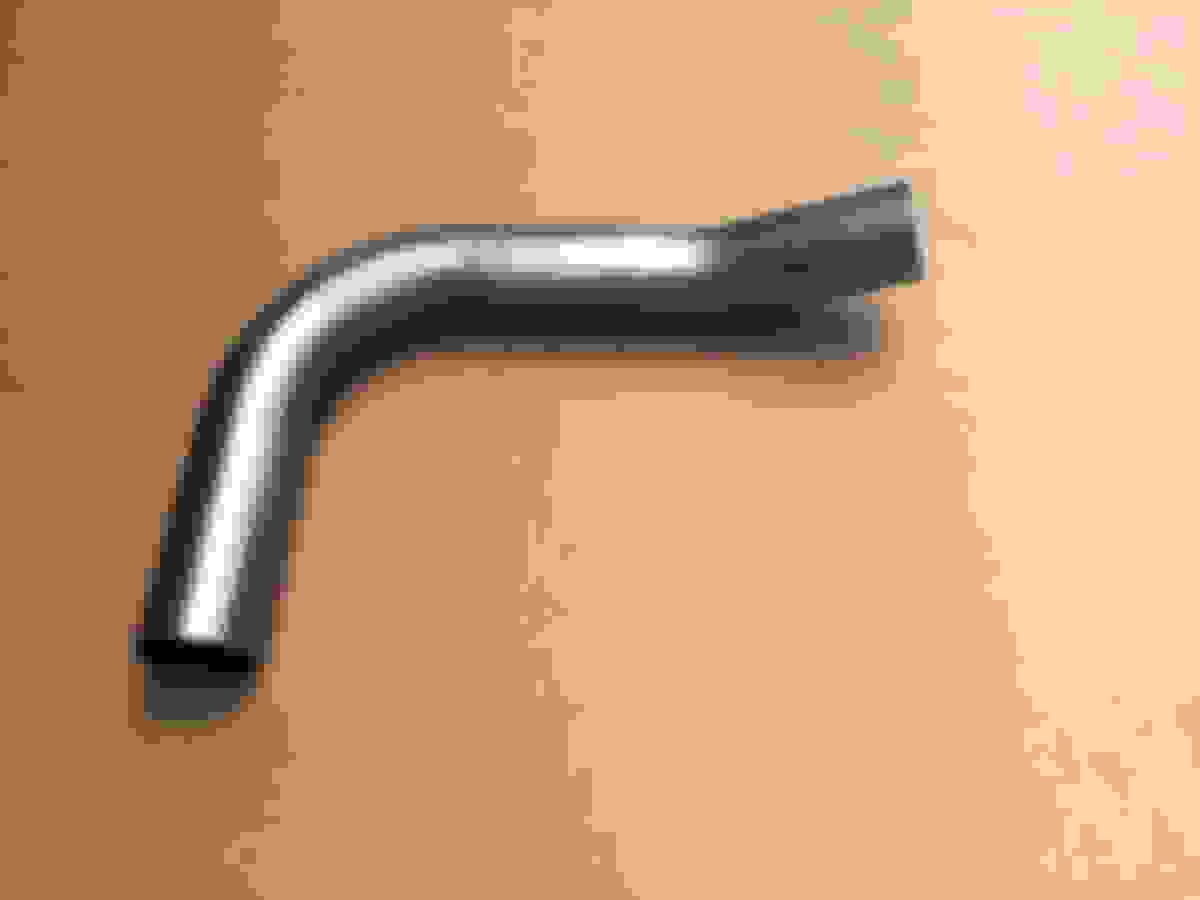
the muffler pipes arrived for the one ball exhaust to tackle later
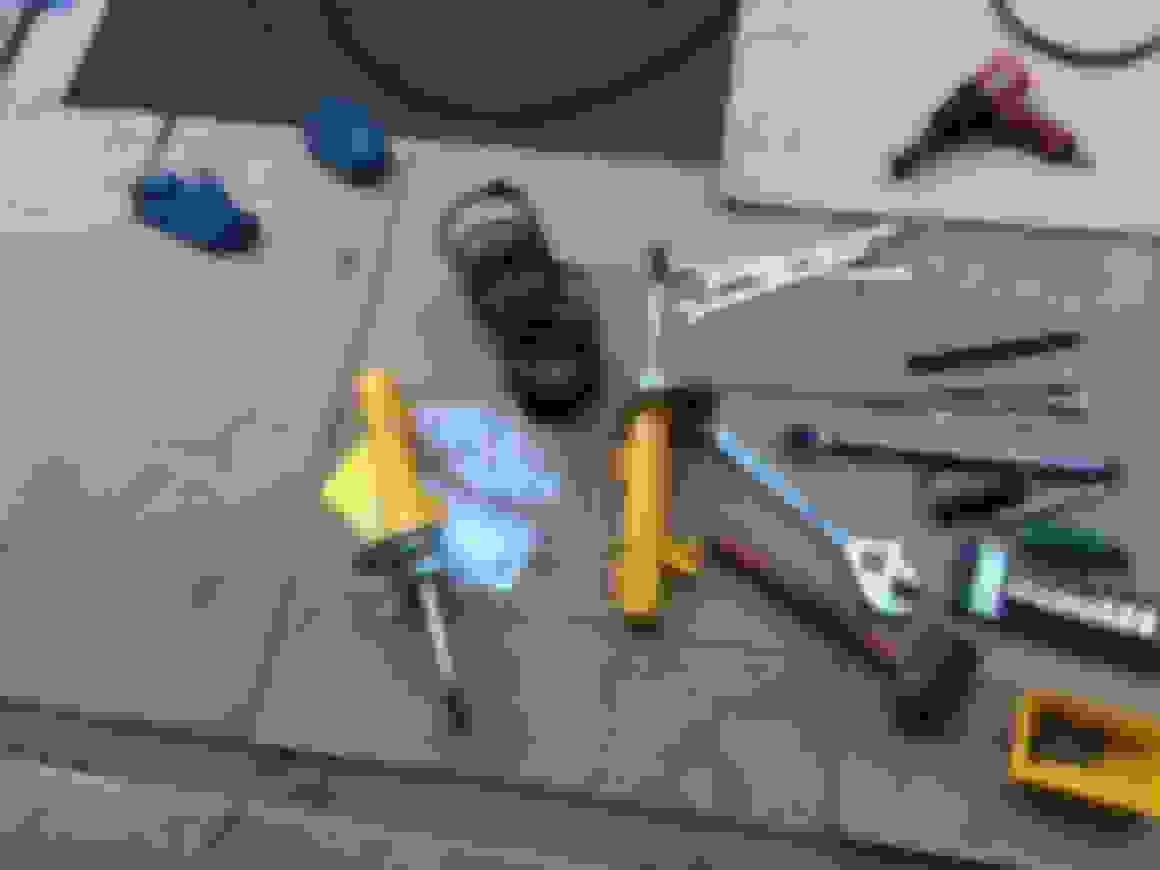
I went to Harbor Freight to pick up a few cheap tools and what is that over there?
I turned into a coupon lady - maxing out my coupon savings which is a lot of fun
planning ahead I realize that I need to go find a place to get the bearings pressed into the Quaife LSD; I didn't want to get to the differential on a weekend and not finding a shop to press them in with the Mini in pieces
I went to my local Napa store and they were so gracious to help me without charge.
more clear sky and bright sun to illuminate my working on the driveway - I did my best to protect the Mini from sunstroke
these cheap tools would proved to be invaluable
I was going to buy a cordless impact wrench but decided to just use my cordless drill/driver and it worked very well in saving a lot of time undoing fasterners
this is the first time I work on a FWD car and I am very glad that I decided to take on this project myself
taking things apart is never difficult for me
too many photos to post so I have to be selective with just a few
seeing the design of the factory air box system and examined it closely I would do what I can to keep it and modifying it over buying most CAI
I could have use a set of good hose spring clamp pliers to save a lot of time making do with ViceGrip and Channellok
I wanted to remove the entire drivetrain with the minimal removal of electrical harness and the Mini is well designed for this
this is the main connector for the engine/drivetrain harnesses
I kept track of which side of the exhaust gasket so it would go back the same
as this would be a multi-day project the Mini would be left open overnights; the car cover kept it safe and I put away all the loose pieces despite the very secured neighborhood
The biggest obstacle that I encounter removing the drivetrain is detaching the axle from the wheel hubs for removal. The outer spline shifts were so tightly coupled to the hubs that I could not separate them even with a 4.5lb hammer. I decided to work around it over the risk of damaging the wheel bearing race by pounding on the shaft too hard.
having to remove the axles with the steering knockles wasted a lot of time and frustrations
by not removing the drivetrain electrical harnesses the only connection at the starter that need to be disconnected is the battery B+ cable
a pair of spring clamp pliers would have saved me a lot of agony; now I bought a two pair sets from Amazon for just $12.50
popping the gear shift cables out of the ball linkages
I made up 2 bracket to hoist out the drivetrain with angle iron
the belt is in decent shape but it would be replaced soon with the 15% SC pulley
as I had to remove the drive axles with the steering knuckles I detached the headlight leveling sensor least they get damaged from overextended
I have to give credit to the designer for making the clutch hydraulics swing out of the way for the drivetrain removal without the need to open the line
no need to remove the fuel rail - just detach the fuel line at this nifty connector
more clear sky and sunny days - I had resign to take an very long afternoon siesta
after triple-checking that there is nothing that I neglected to detach my neighbor came and help me guide and lift the drivetrain out in one piece; I could have manged all by myself have it not because of the rough concrete making moving the hoist with one hand impossible to free the other for guiding the engine from the bay
against advice I resisted buying the steering fluid hoses but I inspect them carefully before the work; there is no sign of sweating on mine and I had never needed to add fluid to the Mini
actually I didn't need to remove the driver side axle except to pull it far away from the transmission and protect the end
with the engine out I started with the easiest first - install a 15% pulley
the AC Delco belt tension I bought is identical to the factory one - both made by the same OE manufacturer
I used a wormscrew hose clamp top ensure the SC pulley puller does not slip out
even with a 1/2 ratchet it took a lot of torque to remove the stock pressed-on pulley
the new pulley is a snap to install - secured the bolts with loktight
with the new tensioner installed I make sure it is locked up on the released position for installation of the new belt after the engine is back in the car
next is to separate the transmission from the engine - first to identify all the bolts
Actually before able to remove the transmission from the engine you have to get to the infamous octopus on the main harness and remove a steel bracket. Only then you can get a socket wrench to remove that one bolt buried deep in the area.
I could not image wrestling with this burly baby on top of me under the car on jackstands - the winner is a forgone conclusion
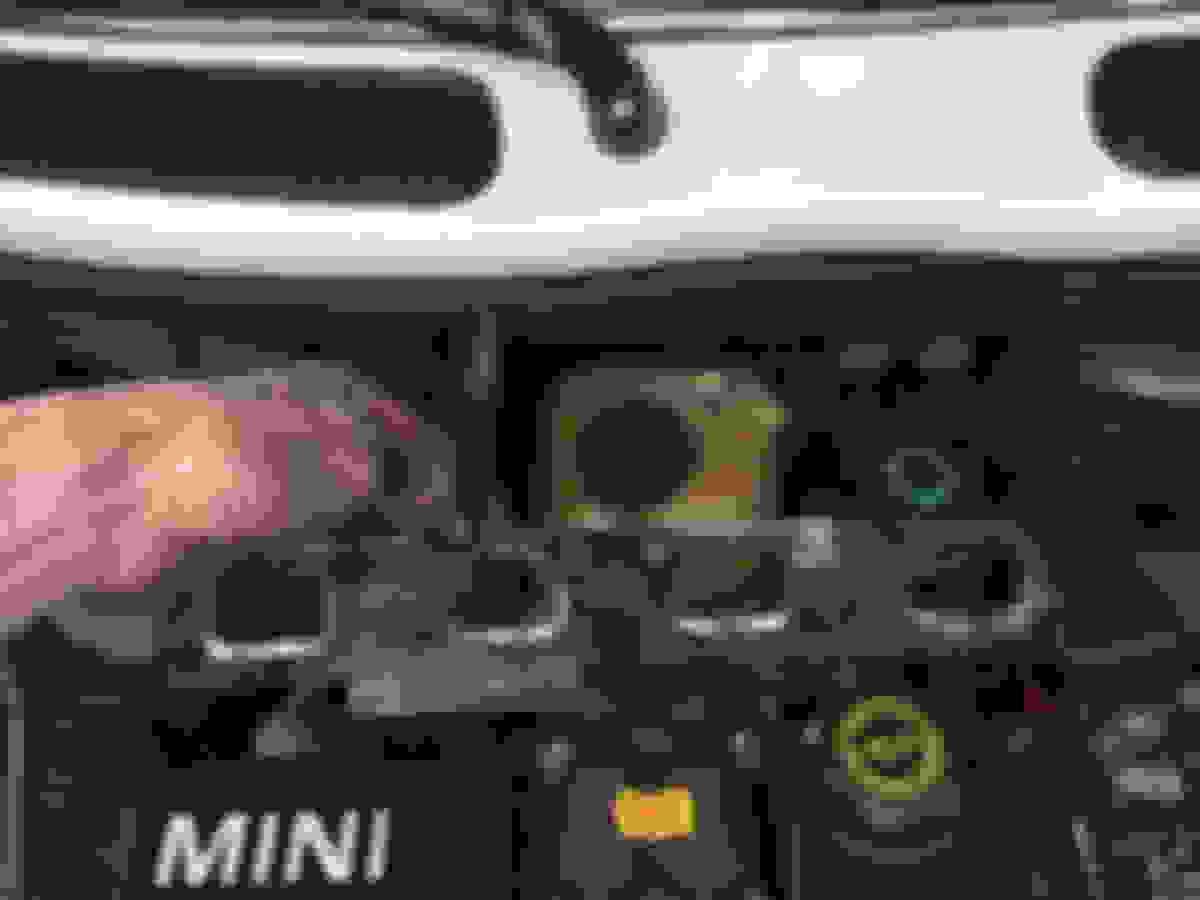
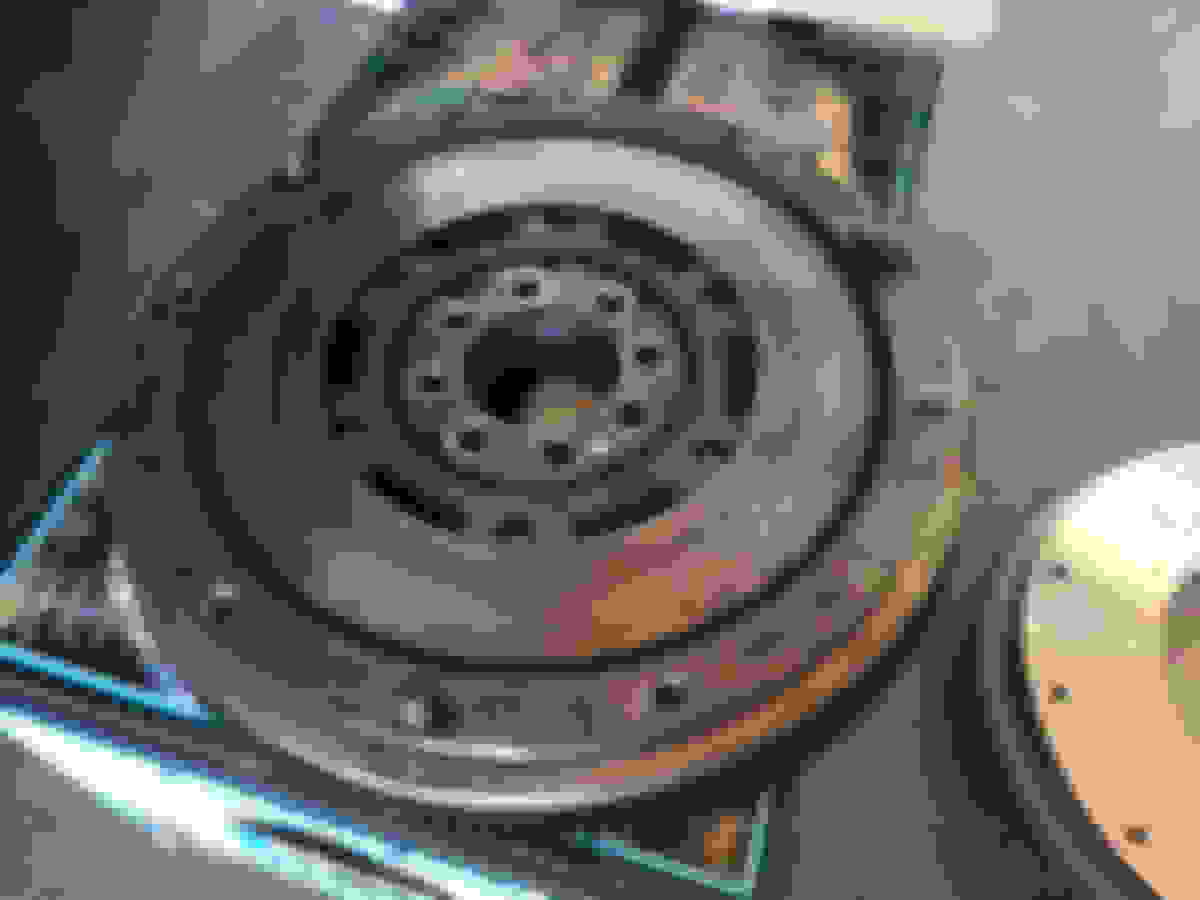
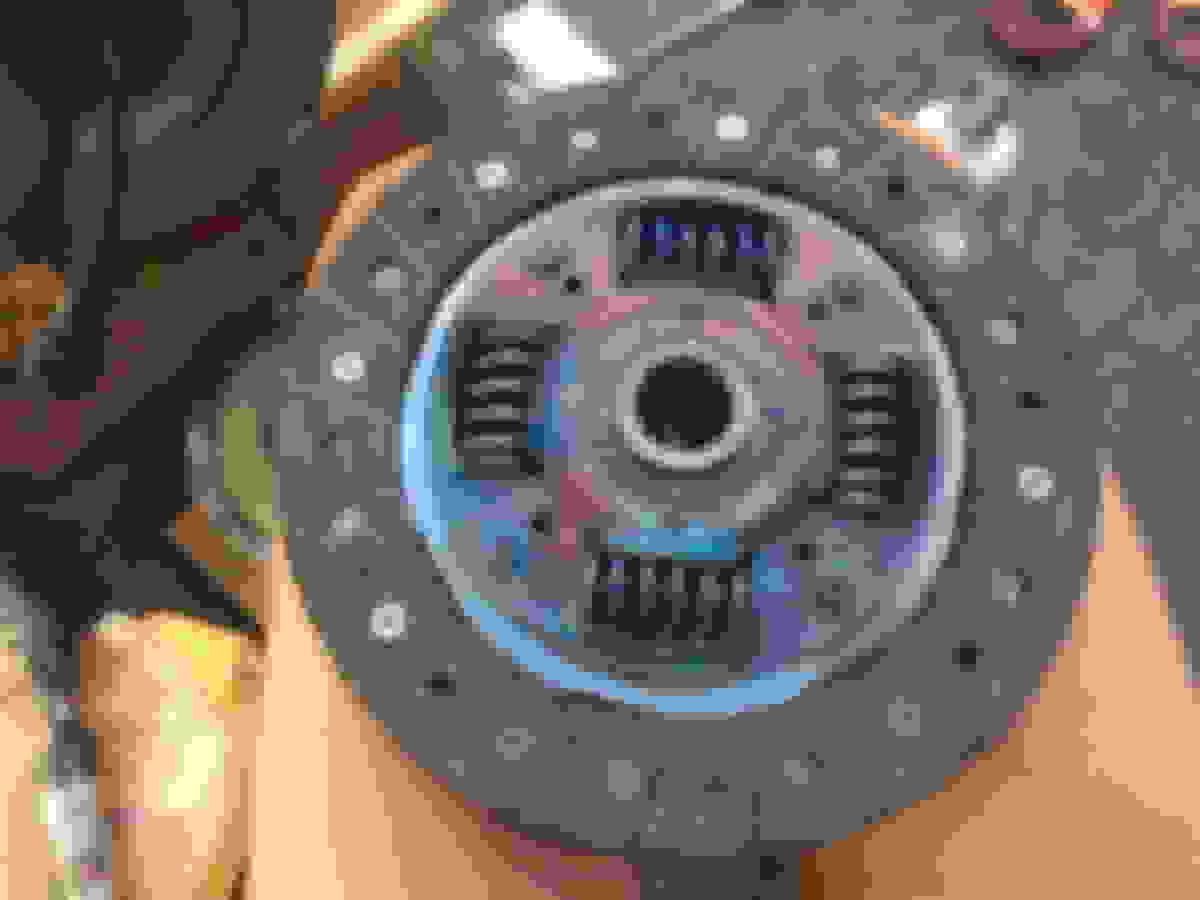
my original clutch is like new at 42k miles; you can still see the machine marks on the flywheel and the pressure disc surfaces
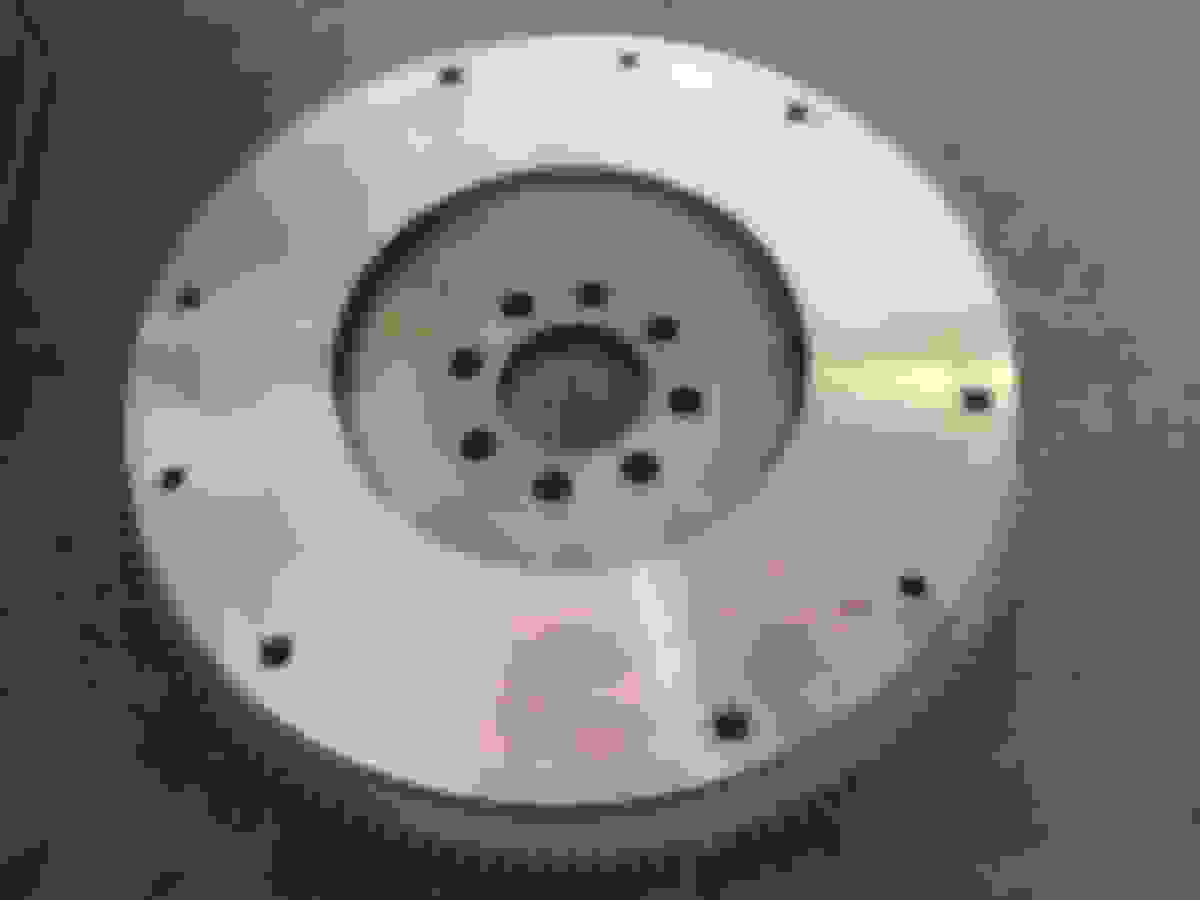
the factory flywheel (left) and the new single mass Exedy flywheel (right); about 27.5 lb versus 18.5 lb giving a weight reduction of 33%
I bought a main crank end seal in case I need it. Inspecting the existing seal I decided not to change it as it ain't broke to invite trouble. This would be the only part that I bought and not used in the entire project.
my neighbor lent me a flywheel holding tool which make installing the new flywheel really easy
compared to the factory friction plate the friction liners on the Exedy clutch is very similar with high metal content
I measured the thickness of the friction plates. The factory one (with 42,000 miles of service) comes to 7.58mm while the new plate measured 8.04mm. I only worn down the friction plate by 0.42mm driving 42,000 miles, assuming a nominal thickness of 8.00mm when new.
the guide tube for the release bearing has no sign of wear so it is reused
the flywheel locking tool was a godsend
the clutch release bearing in the Exede clutch kit is identical to that of the OE. Made in France by the same manufacturer
I notice the weights on the gear shift linkage that help one bang the gears into place
next is to install the Quaife LSD
it helps to determine which side of the gearbox casing to lift off
I tapped out the ring gear from the open diff with a hammer carefully and transfer it to the Quaife LSD
One step that totally escaped me is how to remove and replace the outer bearing races of the differential bearings. Consulting to the Bentley is no help. In this project the Bentley service manual is as helpful as a roll of toilet paper. There is no cover of the differential. On the manual transmission it only deals with the removal and and reinstallation. There aren't even torque specs for the differential ring gear bolts, lest alone servicing the two bearings. It was tempted to try ply out the outer bearing races but I knew better not to. As the original bearings are in as new condition I decided to leave the outer bearing races and use them with the new bearing rollers and inner races. It is a calculated gamble.
I managed to get the transmission back together but it is too late to rush to get it bolted back to the engine. The last thing I want is to misalign the clutch and drive shaft in a rush.
Last edited by pnwR53S; May 30, 2017 at 07:46 PM.
Reason: correct mileage of car
doing a few step to prepare the return of the drivetrain back into the car
replaced the o-ring on the crank position sensor - the old one has flattened
there are more steel brackets than one can shake a stick at and each have a crucial function
and the octopus nearby
I checked out the clutch actuation with a wrench just to be sure
also double-checked these area which would be PITA if you forget to re-install a bolt or reattach a line you detached
this is the infamous steel bracket that must be remove to get to one hard to reach bolt for the transmission and engine
reverse light switch reconnected - checked
for engine removal, only the B+ cable from the battery needs to be removed from the starter if you remove the engine with the entire electrical harness
getting the engine back in - this would prove to be too high
this connector would puzzled me for a long time as where it belong as for the life of me I could not find anything nearby to plug back in
reinstalling the shift linkage cable was quite a struggle to ensure the locking spring clips are fully seated into the plastic bracket
a closeup of the spring retaining clips
and the plastic bracket barbs that they must be properly engaged
the end is nearer
reinstall the clutch slave cylinder was a snap after you figure out how to swing the hard hydraulic line back into place
I wondered should I have pour these into the transmission when I still have it opened instead of filling it from under the car
as if there was not enough torture I begged for more - installing the factory fog lights that I bought 13 years ago
Before replacing the bumper cover I took the Mini for a slow test drive around the blocks to make sure everything was a OK.
It was a long anticipate to go for a test drive with the new clutch, 15% pulley, and most of all the car now with LSD. The difference is breathtaking. That evening I started from driving initially only very close to home in case something happen, then graduated to farther and eventually up the hills in the twisties. OMG is all I could say and I cannot stop grinning the whole time. For a number of times I nearly forget I need to nurse in the new clutch and be easy on the LSD for a bit.
I got it done just under the nick of time before the rainy stretch to begin overnight
next morning
Last edited by pnwR53S; May 30, 2017 at 07:21 PM.
Reason: add photos
Thanks. All my mods are nothing new and been done countless times. I am fortunate there are so many before me blazed the trails and I just cherry picked from choices made by those the experience and opinions that I trust and respect.
When out first set out on this project, I was all set in investing a good sum in improving the suspension. I was willing to get the KW Clubsport. Little would I know that reading Swift Springs finally coming out with lowering springs would sway me that excellent results can be have with spring and struts. Still I was cautiously apprehensive until I finally experience it first hand after the installation. Driving as aggressively as I may there is no perceptible lean at all. With the 22mm RSB set to softest everything seems to converge into a balance whole. I retain the stock rubber bushings for the front lower control arm and I am glad I did. This allow me to experience the huge improvement in steering response as well as feedback due to just the good springs, shocks, RSB, IE fix plates, and may be the Hotchkis rear camber arm (though I doubt). Had I install the poly bushing together with all the suspension modifications all together I would inevitably assume the improvement in steering characteristics are due mainly to the poly bushings. This experience is invaluable for me.
Of course I am not saying there would be no benefit with poly bushings for the front LCA. Just that how it is now I see no reason to change for street use. Once I have driven it on track I may feel differently.
Let's say had I invested the KW Clubsport and the Mini turns out handles and ride as good as with what I have now, I would be equally ecstatic. That is how good I think this combination that I luckily chosen.
Before I decided on the Exedy SM clutch kit, I looked into high performance offerings including feather light flywheels. But gradually I begin to dial back and started to look at South Bend closely. I even talked to them. To cut to the chase, I would just say for around $1000 a clutch kit you get from South Bend it is very over priced. The flywheel, pressure disc look no different than those of the Exedy. What you are paying is the more aggressive friction disc. The reason I chose Exedy over Valeo is I infer that with the Exedy flywheel I might be able to use other friction disc as it is more a traditional design. The clutch surface on the Valeo flywheel is recessed. It is also a few pounds heavier.
I was hoping that the Exedy clutch would have heavier paddle effort than stock as some reported as I dislike light clutches. It turns out it's on par with the Valeo from people who have them - slightly lighter than stock. Fortunately the Exedy clutch is everything that I hope for except the light paddle effort. The engagement is sharper than stock and just the right amount of grab. The difference of the lighter flywheel is quite noticeable giving the Mini just the enough rawness but yet still very civilize. The drivetrain is more communicative.
Driving the Porsche GT4 which has a heavy clutch effort by any standard, and then switch to the Mini, the clutch feel like stepping on marshmallow is not an exaggeration but I quickly get use to it as there is no performance deficiency.
I recently begin to plot on improving the brakes. On the road I rarely found the stock brakes inadequate. On track I know there are a lot of room for improvement. I begun to think about the Wilwood offerings, but both sets of my wheels are 16" so my selection is quite limited.
I happen to have my old set off rotors around so I check their diameters, thickness, and construction
the 12.2" rotor kit may fit my 16" wheels - a may be
I need to carefully check out the dimensions against both sets of wheels
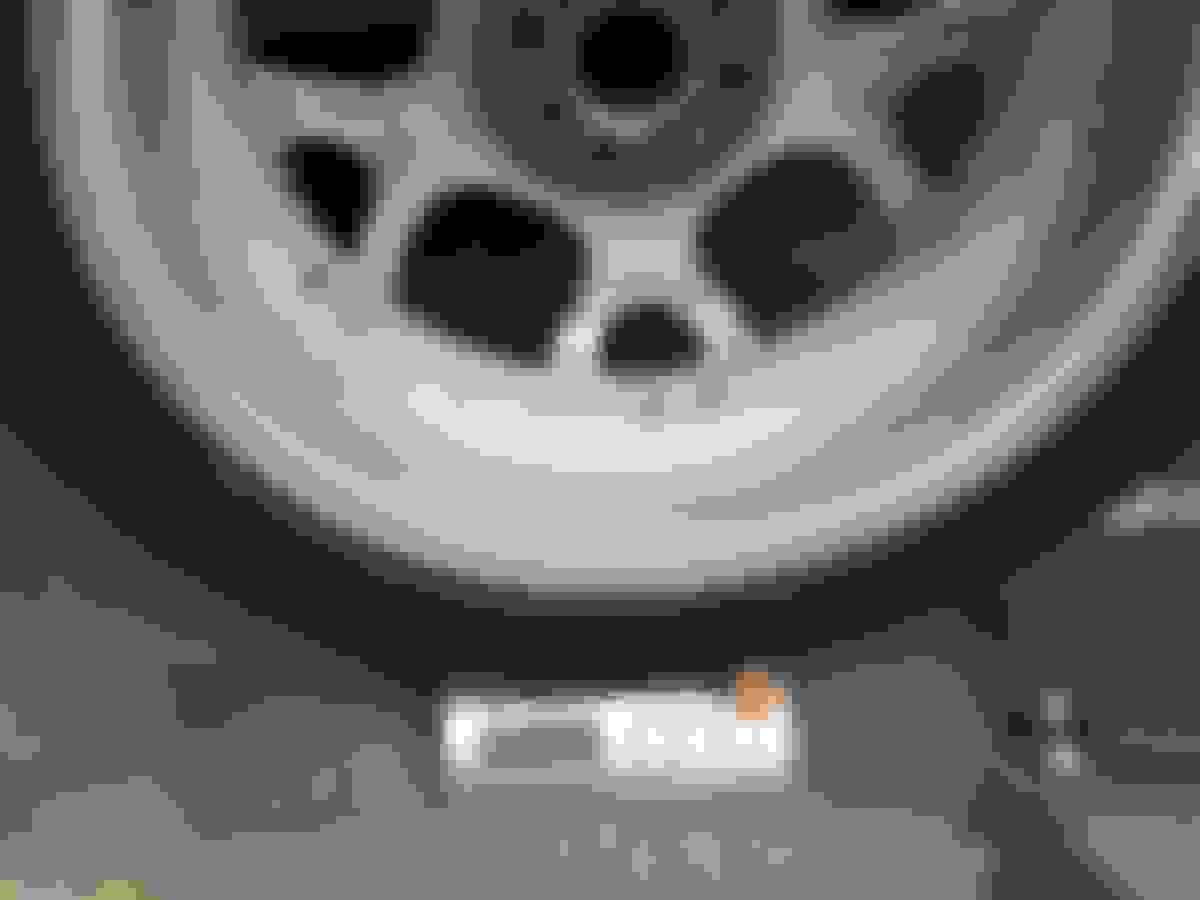
since I had both the wheels out I weighted them - this is 16" X-lite with 205 50R16 winter use
this is 16" SSR with 215 45R16 - I love these wheel and tire
The Falken Azenis tires that are on the SSR wheels are quite worn now. I plan to replace them with the same Azenis bu
t are the current extreme summer performance series that has a extra sticky compound - Azenis RT616K+
I went and dug out the Schroth 4-point harness and it have been so long that I was challenged to figure out how to properly connect them.
call me Stig
more immediate modifications - this should be easy, so I thought
I started looking into what it take to install a boost gauge and oil pressure gauge.
Last edited by pnwR53S; May 31, 2017 at 04:29 PM.
Reason: edit for clarity, add missing photo
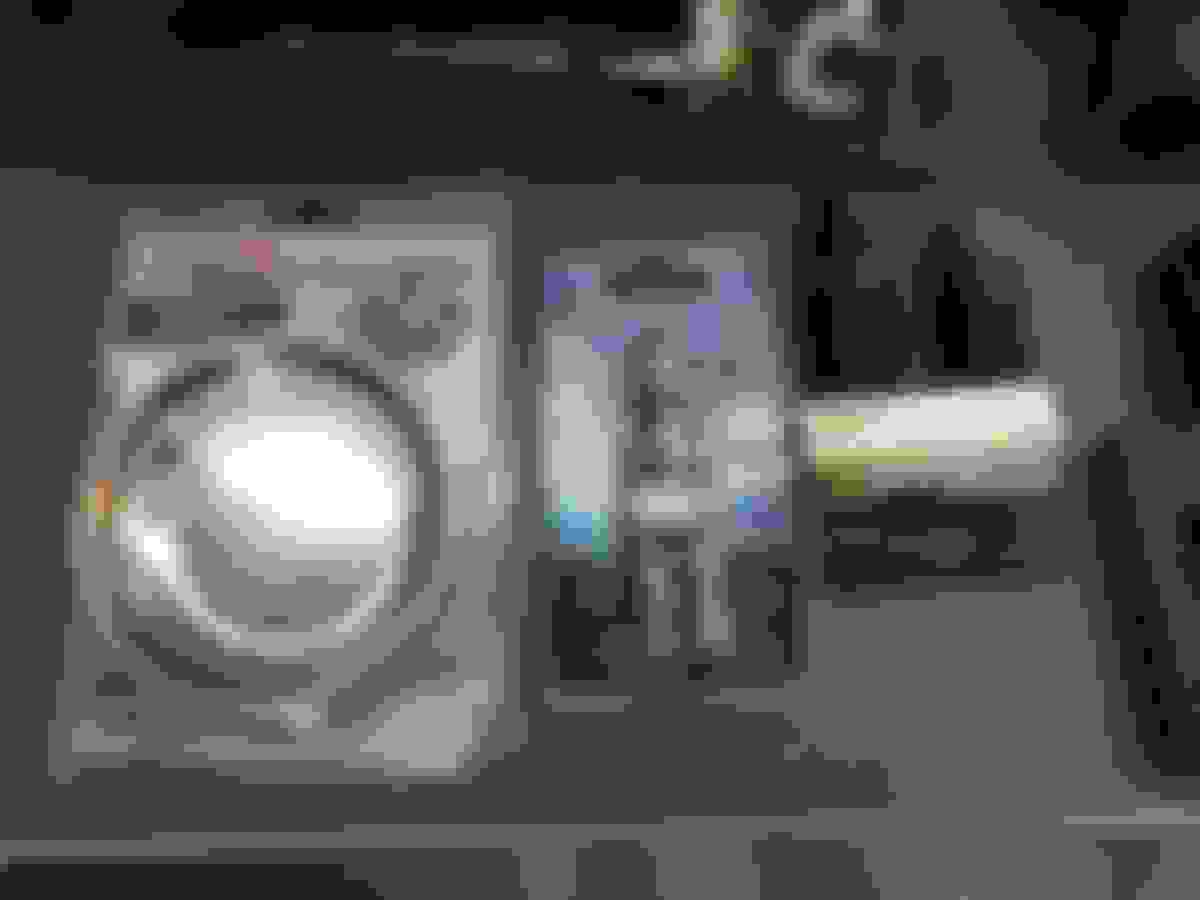
For the gauges I was hoping to be able to use the Auto Meter metal gauge cup that I bought with the boost gauge 13 years ago. I entertained installing them by the tachometer as well as under the center console. Since I am thinking of going with mechanical oil pressure gauge by the tachometer seems to be the better location. Immediate visibility is also the most compelling reason for the boost and oil pressure gauge.
mechanical oil pressure gauge
there is not a whole lot of space between the dash and the tachometer
brainstorming
wishful thinking
keeping the base trim may not be as easy as it seems unless I buy a ready made Mini gauge pod but I am cheap
it would be nice if the base trim is not a piece of thin plastic
I also have to comprehend the rubber blanket that hides the wiring harness and now I will have two 1/8" stiff nylon lines
I eventually succumbed to getting the cheaper of the ready-made offering
Weather is nice again so I put Mini up in the air again - for the one ball exhaust modification
I actually really like the stock exhaust sound. With more power and better handling car and more communicative drivetrain I want a tough more rawness, especially aurally.
I orient the Mini comprehending the clocking of the sun
I am very impressed how well made the stock exhaust is as well as how easy to remove it in one whole piece
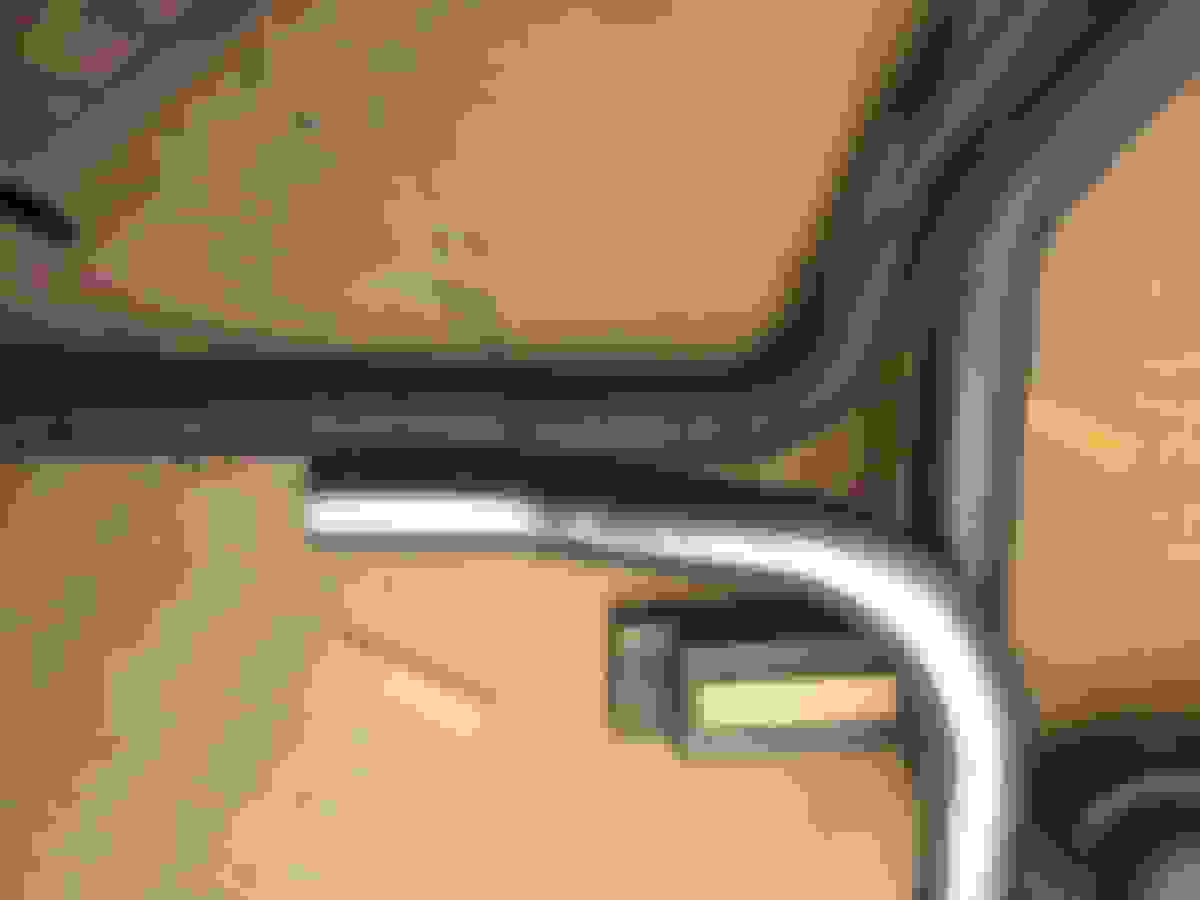
I thought I could simply use the pipe as is
it is extremely easy to cut at the wrong spot so I measured twice and cut once
this cut requires another tool
There are two places of the pipes that needs to be swaged
I went to a small independent muffler shop near by the next morning to have the the pipes swaged. Again with the generosity of local business they helped me out without charge.
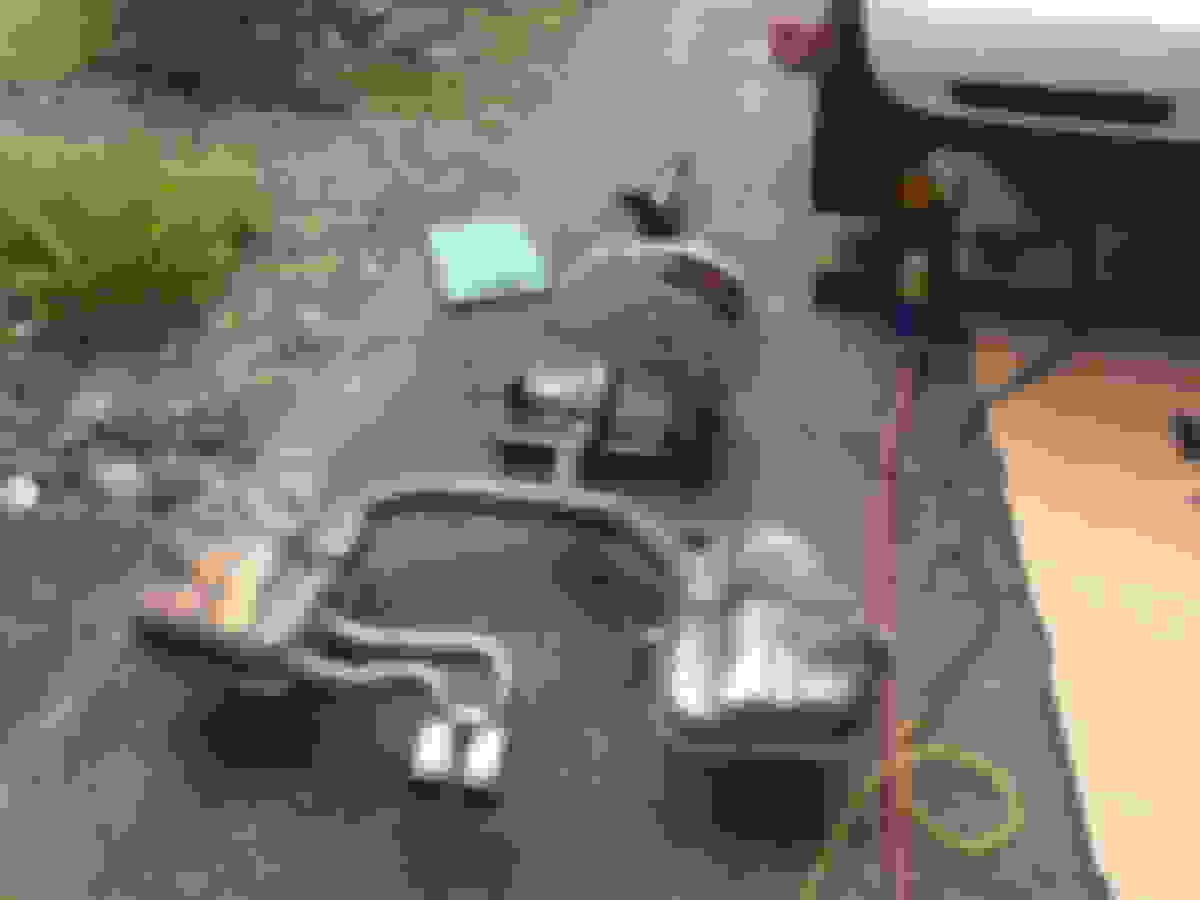
All went so well so it should be smooth sailing from here - so I thought. Before cutting the muffler pipes I trace the positions of the muffler with respect to the long pipe onto the cardboard serving as a big template so I can check fit before trying to install back onto the car.
While I have the exhaust out it would be good time to install a short shift kit if I want one. However, I am perfectly happy with the stock shifter. Now with synthetic gear oil the shift is even lighter and smoother. I am of the opinion short shifter mod is more of a tactile thing not making your shift faster - at least for me. I rather not bother to mess with the fragile plastic shift cable box on the Mini, as well as the pain involves of installing one.
continue the exhaust system modification; I am continue to be very impressed with the quality and precision of the stock exhaust system
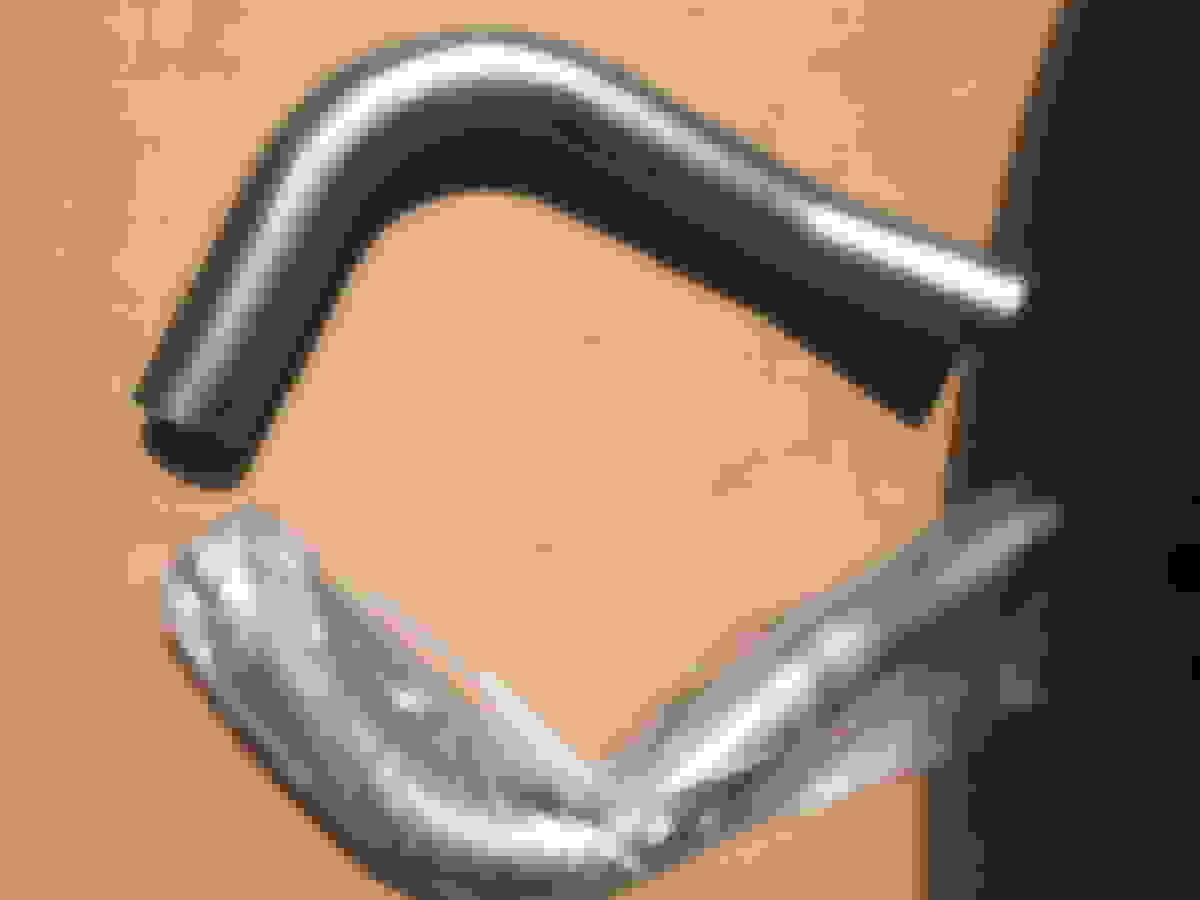
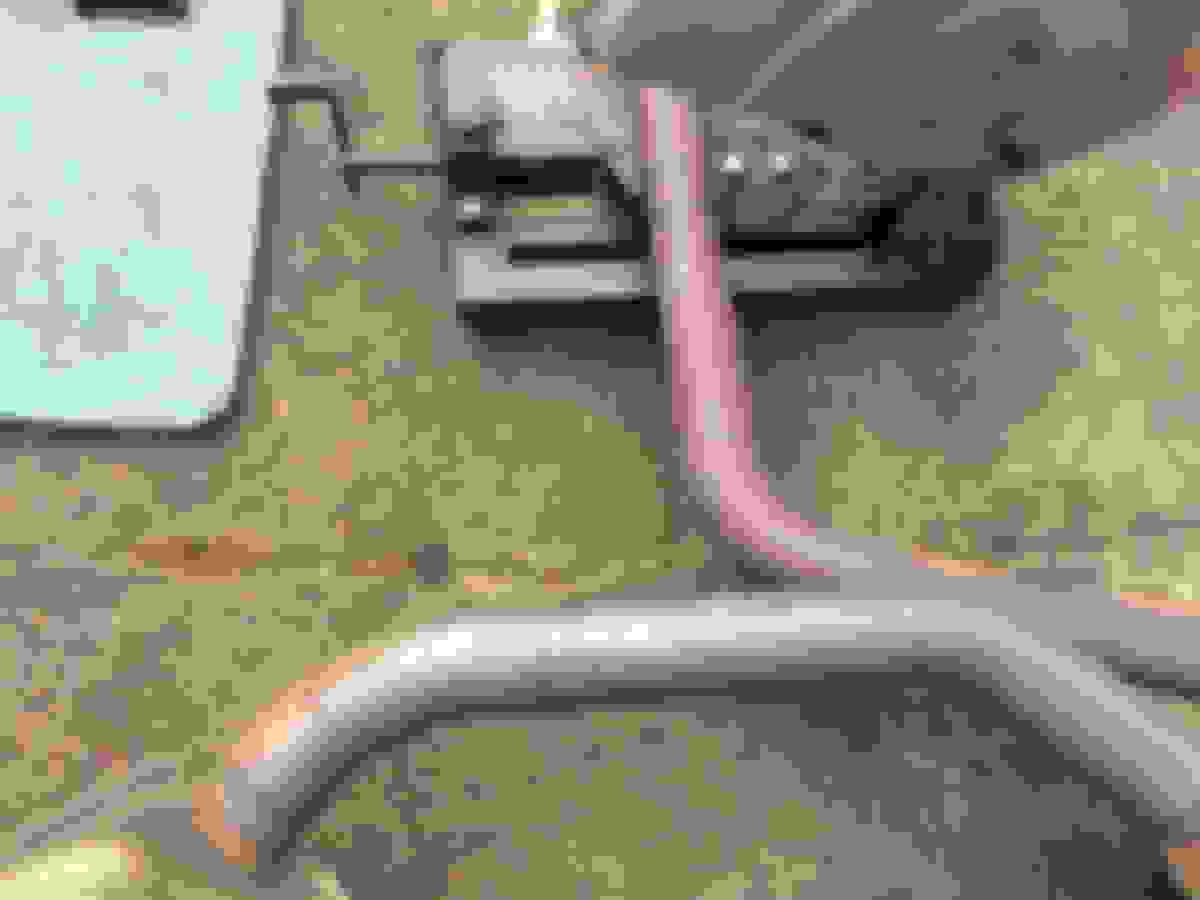
It would turn out that the piece of double bend pipe that I want to use would not fit. The distance between the two bends are too far apart. If I were to go ahead and install it the exhaust pipe will bang around the heat shield at 2 places. The problem is I have already cut the factory long pipe to connect to it as well has had the end swaged. Now I am into this muffler modification project that is more involving than I anticipated. I need to figure out how to salvage the situation without giving up and let the professional mop up my mess.
this factory pipe is now too short and the end has been swaged
the factory muffler and pipes are of very good quality and they are in near new condition
I have to shorten the distance of the two bends on this pipe so time to break out the MIG wire welder
Welding muffler pipes is always a dicey business. They are made of thin gauge mild steel and you can blow through the pipe very easily. I have to change down to 0.023" wire and that mean also changing the metal jacket of the wire feeding welding cord.
the sun is again unrelenting, making the most unpleasant welding experience but I am tough
I had to make one joint with a small angle to increase the bend of the small bend of the pipe. As the factory pipe is now too short, I have to add a circa 5-inch piece to lengthen the straight horizontal segment of this pipe.
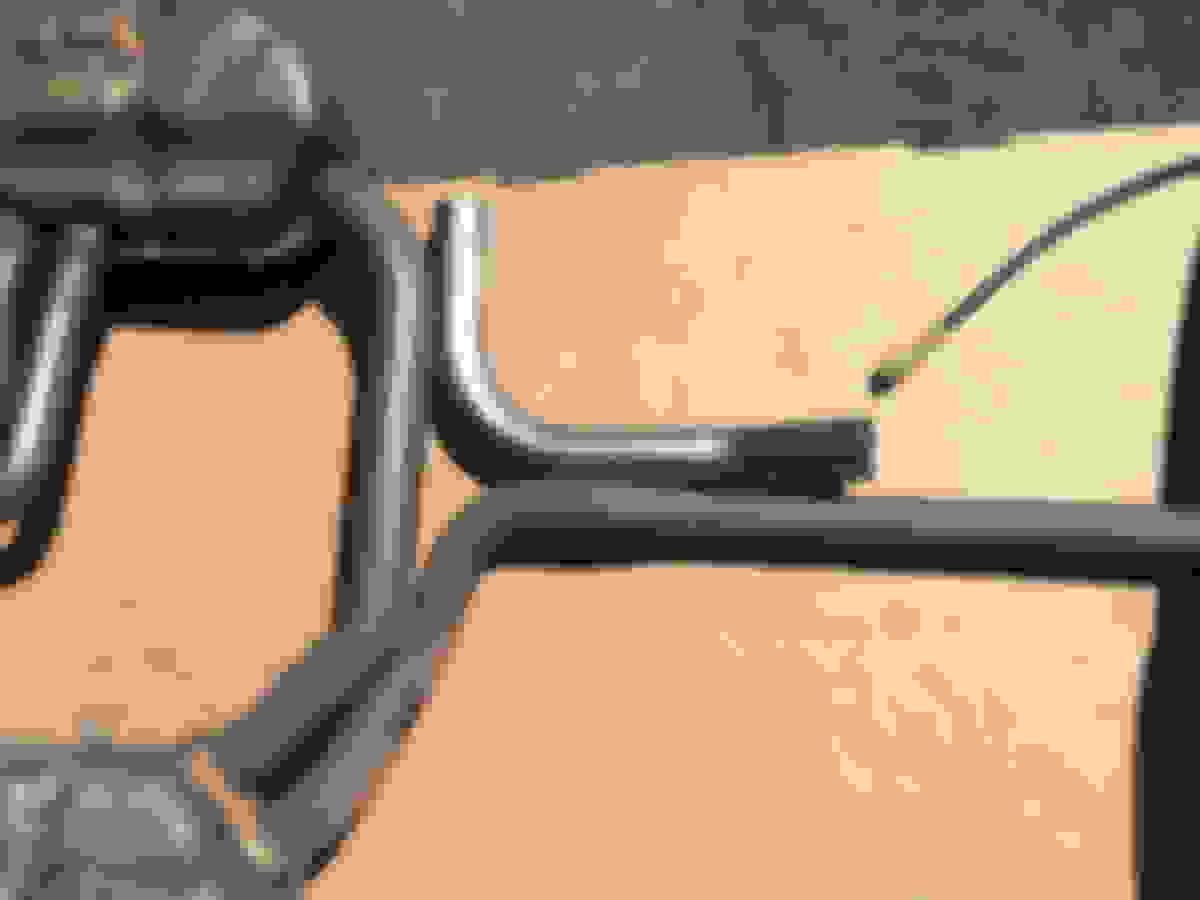
When I tried to make the final installation, I would find out that the exhaust pipe tunnel in the Mini is built to such tight tolerance (to maximize the cabin space) there is no room to use a muffler pipe clamp to connect my short piece to the factory straight pipe. The only way to address this is to join them by welding them together - just like the factory exhaust system which is all one big piece. I ended up with three welded joints. There is only one joint that is left that give me the ability to align the muffler to the long pipe segment, as well as to center the tail pipes at their opening of the car. That joint can be made with a 2 1/2" pipe clamp.
the welds are not pretty but do the job; what I notice was the factory pipe take the weld nicely but not the aftermarket pipe; it is possible that I didn't clean off the protective coat of oil film leading to a lot of splatter; though the steel of the factory pipe is definitely harder (less mild)
With just hair width of clearance I managed to get it all installed, but I was still worry the pipe will bang against the heat shield hitting bumps on the road fast. At the closes gaps there are no more than 3/4" of clearance. I am amaze how tight the hangers and supports restrains the exhaust pipes as well as the muffler in the Mini. It is built to such high tolerance.
I remove this hanger that is no longer needed on the passenger side
I only wish the one ball exhaust mod would leave the muffler on the passenger side for a more balance car, but I cannot complain that the Mini affords this cost effective modification.
As others have reported the exhaust is far from loud. For me it took a while to get used to as I normally prefer quiet cars. In a week I was totally loving it, and it has no droning at any speed including highway.
That is what happen if you praise your Mini. It gets to his head and bad thing happens.
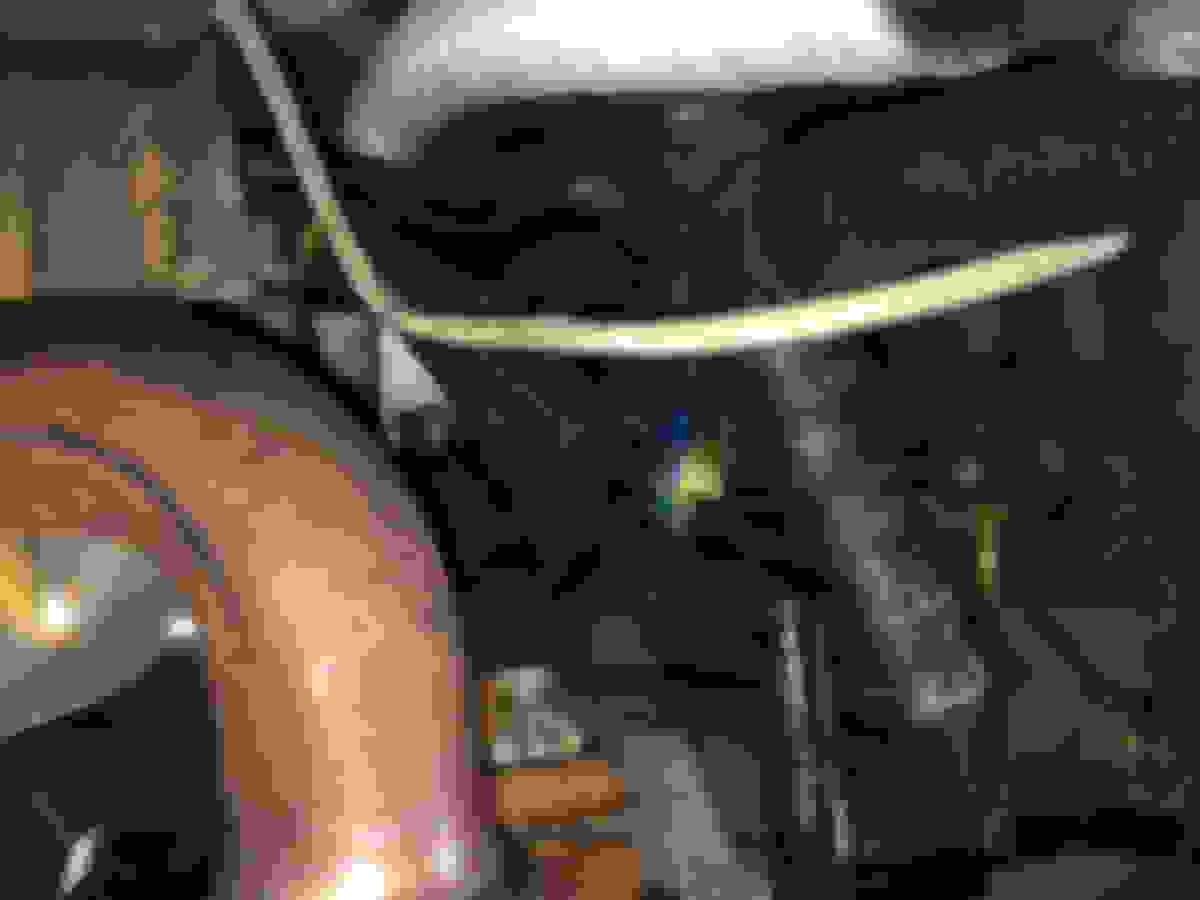
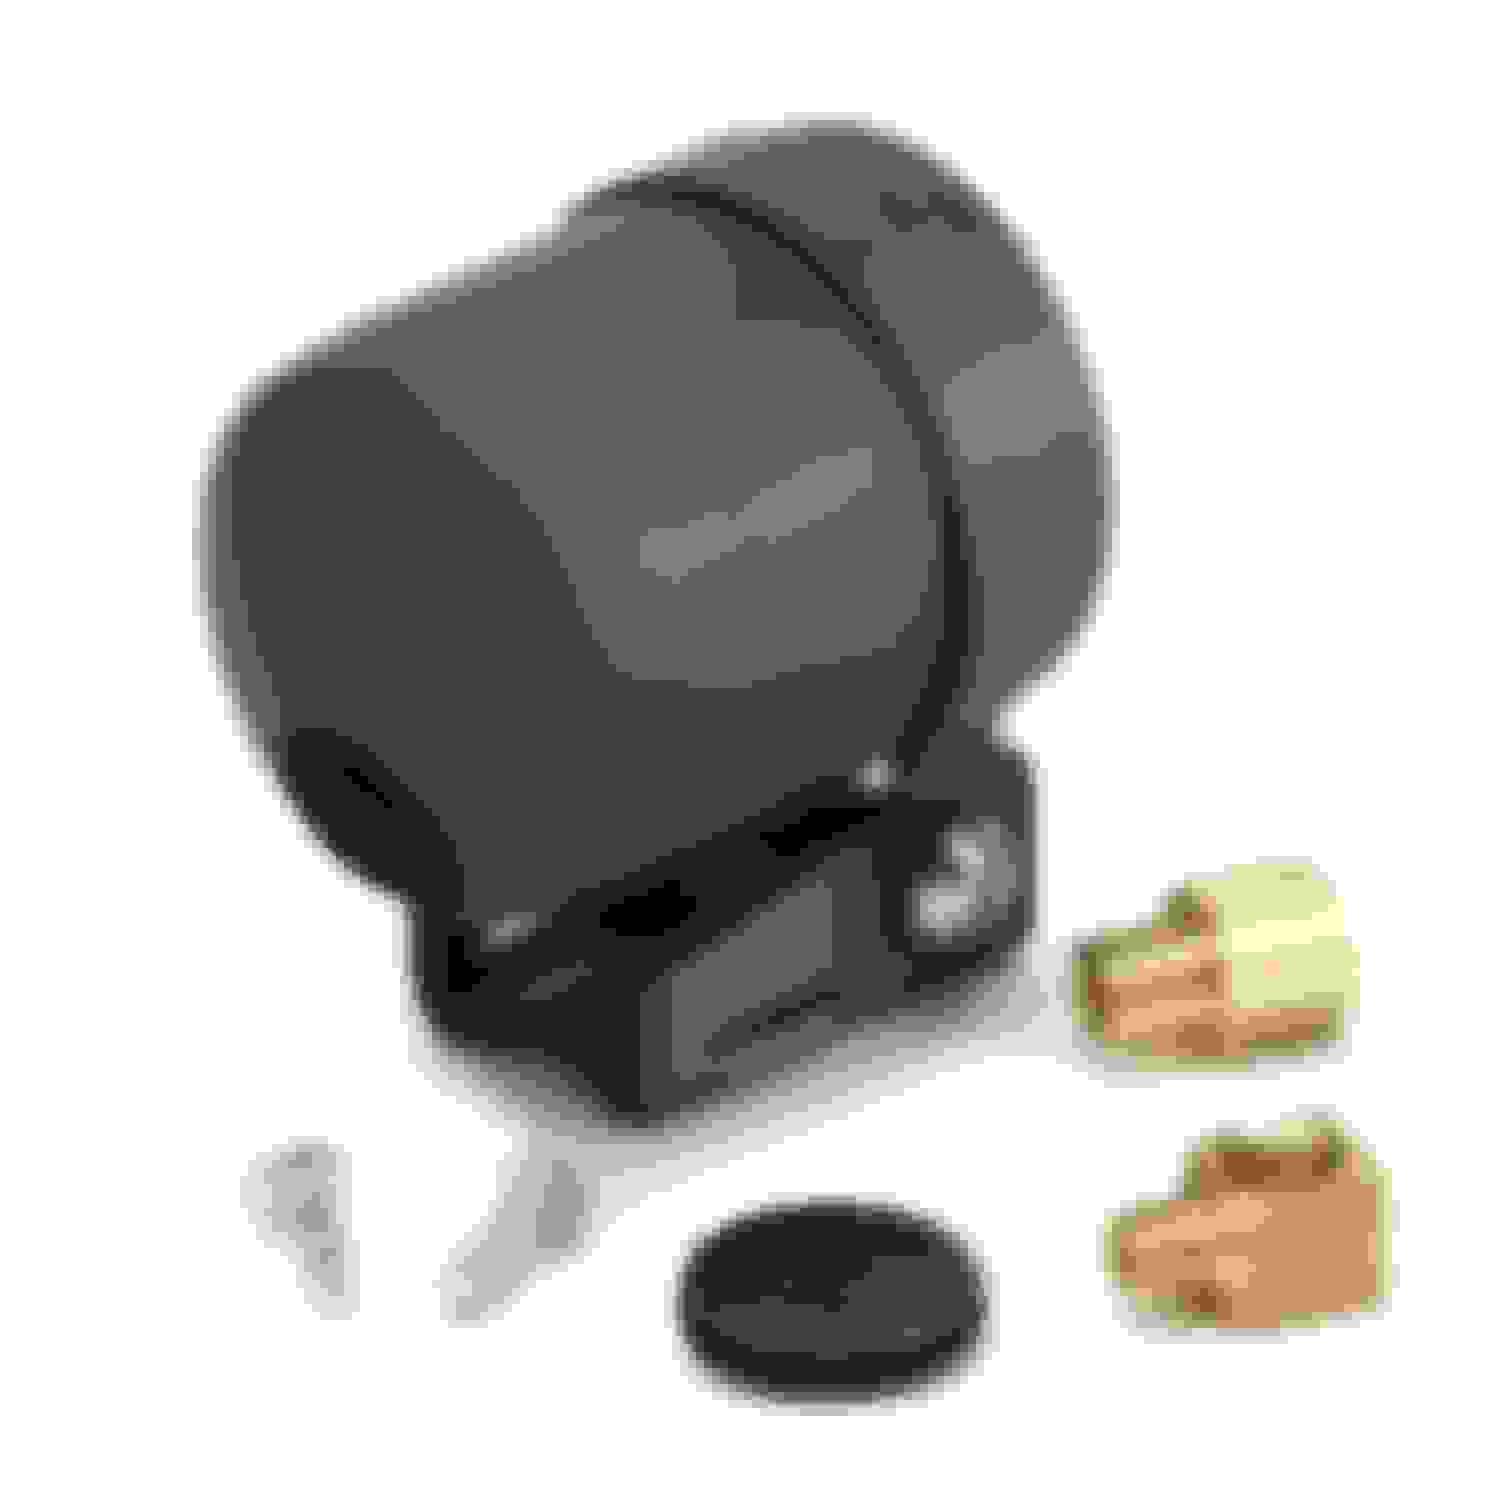
I happened to spot the brownish stain by the passenger side engine mount yesterday and I investigated - with my finger and nose. The still wet fluid does not seem like oil. It smells of rusty water.
I was quite sure this brown stain was not there when I reinstalled the drivetrain back during the recent modification project. I know the post-facelift R5x Minis have fluid filled engine mount and mine is one. reflecting on recent drive I have notice increase of vibration and roughness, but in a very subtle ways. I thought it may just be the ambient temperature is getting higher.
a photo taken during the re-installation of the drivetrain - no stain
The car has 42,000 miles and so it is as accurate as Swiss clockwork that the engine mount sprung a leak. Did I say the Mini is built to such tight tolerance - including when a part is designed to fail.
Me worry? No. I did not panic. I just swiftly went shopping for a OE quality replacement.
I did a bit of research and with some reading between the lines. I didn't want to over-spend but I want an equivalent part as the genuine MINI part without paying the hiway robbery price.
Being a cheap skate I try to find the lowest price accounting for shipping. I considered Rein (a German sounding name cannot go wrong, right?), Lemfolder, and lastly Eagle BHP which is more than $10 cheaper than both Rein and Lemfolder, and less than 1/2 the price of Genuine MINI part. The best deal that I could find came down to Pelican if I can just get to the $79 purchase to get free shipping.
I was very hard pressed to find enough things to buy and I racked my brain to no avail. I decided to sleep on it with the mount in the shopping cart.
I woke up pre-dawn and I thought may be Pelican has the MINI brand coolant at reasonable price and shipping would not be a killer. That's right. I reused the coolant when I pulled the engine. I planned to replace the coolant but at the time I am unconvinced that I want to pay MINI for coolant at 3x the price the usual suspect brands.
Sure enough with that the two begin to come closer to $79, but still with $2 shy. I threw in a couple of o-rings for the crank position sensor (even though I already replaced one paying too $3 too much) and the deed is done.
I actually considered the Eagle BHP brand because my experience of the belt tensioners which all the common brands are identical to the MINI brand and made by the same manufacturer. However I just do not found any compelling information to suggest this is the case with the Eagle BHP engine mount.
At no time did I consider other aftermarket options. I have no problem replacing it again if it lasts 40k miles. I do not want increase of NVR of the drivetrain because of an engine mount. This is the first part that fail on my Mini, and is not a catastrophic failure.
At one time I thought I might have damaged it for twisting the top stud during the drivetrain re-installation. I thought that you might have to use a hex wrench to prevent the top stud from turning as you tighten it, but that is not the case. The rectangle pad on it is design to prevent you from twisting the top stud.
I am curious on the internal of this fluid filled mount. I search the web and cannot found anyone had cut it open to see what makes this tick. I assume it is a rubber bladder acting like a fluid bag - a sort of like air bag but just in a fluid in liquid phase.
Last edited by pnwR53S; Jun 1, 2017 at 01:39 PM.
Reason: more typing as a motor mouth and I cannot spell worth crap
Great thread. A quick question - you installed an LSD when you installed the new clutch, correct? You mentioned that the car was night and day difference after all the work was done . . did you notice much of a difference from the installation of the LSD? I am contemplating adding one when I get my clutch replaced . . but don't know whether its worth the time or money putting one into a daily driver
Great thread. A quick question - you installed an LSD when you installed the new clutch, correct? You mentioned that the car was night and day difference after all the work was done . . did you notice much of a difference from the installation of the LSD? I am contemplating adding one when I get my clutch replaced . . but don't know whether its worth the time or money putting one into a daily driver
Actually I didn't need a clutch at all, thought I would prefer a more communicative clutch than the factory. I did so because I was installing the LSD, which I wanted to have a clutch kit on hand in case the stock clutch is worn so I don't have to wait for one being shipped and have the Mini in pieces sitting on the driveway.
I wanted the LSD even back in 2004 when configuring the Mini, but then it was not an option. LSD makes all the difference in the world, even for daily driver. Where I live there is a slight grade of the road that I have to pull out and it is most frustrating to have one wheel spinning and getting nowhere when the traffic approaching you with no mercy. In countless instances, it had been plain dangerous on slippery roads without an LSD. The LSD is the single reason I pull the drivetrain on this project. The Quaife is a no brainer for the price and reliability. For tracking a clutch-type LSD that cost more may be justifiable to some. Even on dry roads the LSD is very noticeable when driven spririted or accelerating hard from low gears.
for the boost gauge that I bought 12 years ago I think it is missing a tee-fitting as an rubber reducer piece
if I were to be really cheap I can make this brass fitting that I have work for the tee that I need to install the oil pressure gauge but I broke down and bought a very over-priced adapter due to the tight confine of the oil pressure port location
I relented and bought this over-priced oil pressure breakout adapter
I called Auto Meter to ask about my missing platic tee for the boost gauge and the rubber reducer. They were very helpful and explain to me the boost gauge once were shipped with one. I told him none was included in my gauge he expedited one to me at no cost, but now with a improved designed tee that mates to a proper compression fitting for more secure fit.
I snag an Amazon Wearhouse deal on this mechanical oil pressure gauge for a handsome saving but it would take 10 days to arrive with free shipping because of my sub-Prime status
At the mean time I did my due-diligence to conduct a careful dimensional check that the Wilwood BBK would fit my two sets of wheels. From others' report I infer the 16" X-lite would require spacer, or may not fit at all. This I am willing to accept by selling them and getting another set of light weight 16". I really like my SSRs so that must fit for me to go ahead and order the 12.2" Wilwood rotor/brake kit.
the measurements checked out with the SSR
not so with the X-lite as I expected - these were made in Germany back in those days
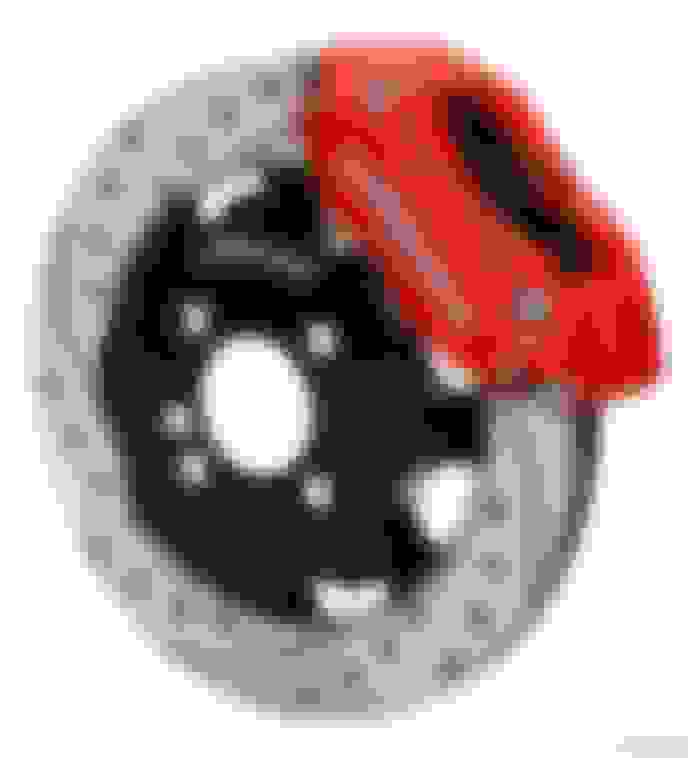
this is nice looking but there is an upcharge for red caliper, and also an upcharge for drilled and slotted rotors
I elected to go with the plain Jane options
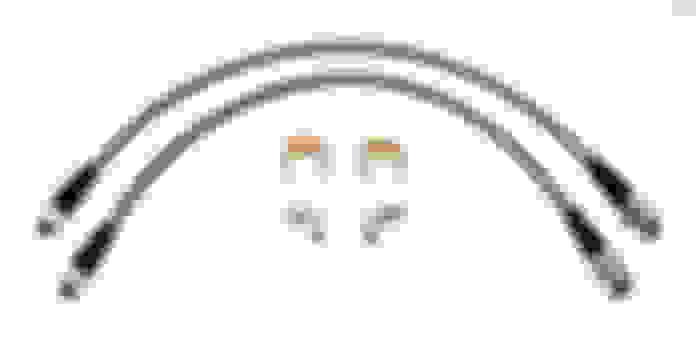
the braided line kit is required as a separate purchase
finally I am a proud owner of a auto dimming welding helmet
bought a couple set of these Craftaman 3/8" 6-point socket set after I found out for some reason the cashier rang up $9.99 instead of $19.99 posted price
I didn't install a set of colder plugs immediately after the 15% SC pulley installation. The car ran very well but as the ambient temperature became higher now I notice the engine does not feel as brisk, in a very subtle way. It is time to install the colder plugs.
my 1 step colder NGK spark plugs arrived so I decided to go ahead and begin the installation of the supercharger boost gauge; I waited for the spark plugs so I only need to take out the intercooler once getting the spark plugs swapped as well as tapping into the vacuum/boost port
the spool of Gates vacuum line that I bought to fix the Discovery's cruise control would come in handy
such a shame that I just replaced the plugs less than 500 miles ago; these NGK plugs can last 100,000 miles per MINI
the vacuum/boost port is extremely difficult to get to even trying to take a snapshot of the port is very difficult; this is the port that I need to tap into with a tee
there is no room to even get two finger to pull out the vacuum/boost line but this grabber did the trick
As it turned out installing the tee to tap into the vacuum/boost line is challenging as there is no space to even accommodate the tee fitting, a short length of vacuum hose, the 1/8" nylon line and still provide a stress-free routing of the existing line. After some deliberation I found one viable location. This location would provide stress free connections as well as adequate bending radii for all three vacuum lines.
this location under the intercooler is the only place that I found satisfactory to accommodate the tee fitting
there is just enough space to accommodate it under the extreme confine between the intercooler and the intake manifold
this is the compression fitting for the 1/8" line that goes to the boost gauge - comprehending the mounting bracket of the intercooler
I wrapped the brass compression fitting with layers of electrical tape to protect it and the plenum from abrasion damage
it would turn out that the 1/8" line that came with the boost gauge is less than generous in length; it just barely long enough to reach the gauge that I mounted onto the tachometer taking a beeline routing
this is far from done - it is just a test fit
tidy up with line with cableties
the intercooler reinstalled
to prepare for tapping the power needed for the gauges' backlight illumination I remove the Alpine audio head unit which is the easiest to get to the dimmable instrument power of the Mini
its been so long since I install the European parcel shelf I could not remember how to take it out without causing damage - fortunately there is online instructions
the boost gauge is functional but not yet have the backlight power - which I can only make up a Y harness for both gauges when the oil pressure gauge arrives
The shipment from Amazon just arrived, and with it my much anticipated Auto Meter mechanical oil pressure gauge. There are also a pair (two different pairs) of automotive coolant system hose spring clamp pliers.
the oil pressure gauge is brand new despite it is a discounted Amazon Warehouse Deal
the hose spring clamp pliers are the cheapest on Amazon but they look identical to other offerings of Chinese made ones that cost twice as much; I look forward to seeing how well these work
the tips pivot to get to most tight situations
when parcels show up at the door and you have to scratch your head as what they might be, it is an indication that you have too many parts in the shipping pipelines
well, everything has a price; the reason this oil pressure gauge is $20 off is because someone crossed threaded the NPT fitting of the gauge; evidently the kit has been inspected by Auto Meter and the package is resealed without someone realize the brass screw thread has been damaged
In one of the parcels is the wiring harness for the rear fog light which I only found out my Mini falls into the small built-date range that the wiring was not provision from the factory. The online Mini genuine parts vendor includes a few Mini gifts - this historic rally photo booklet and some window wipe. Very classy gesture to delight your customer.
the rear fog light wiring harness - in which the connector is most important as I spent considerable time trying to source it to no avail
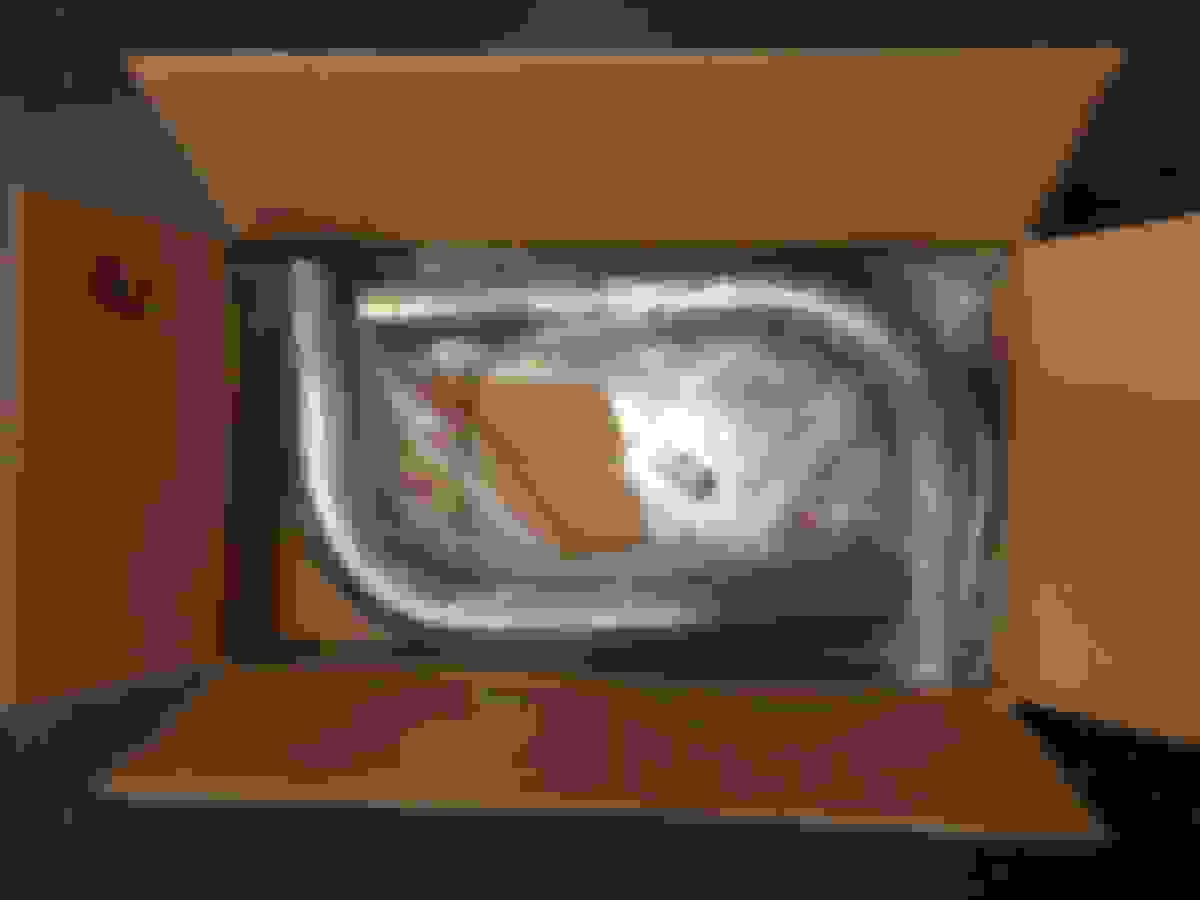
the other parcel is the braided brake line kit for the Wilwood big brake kit that is still in the shipping pipeline
when I unpacked the parcel box that contain the fog light harness I notice a couple of kinked rubber band but though they were just common one that has been misshaped from use; I might have just throw them away have it not because of my habit of saving and reusing rubber bands in good condition
looking more carefully I realized these are gifts too and they are shaped as Mini Coopers - what a way to delight your customers
It appears that I finally have all the parts to begin the gauge installation in earnests.
I am entertaining getting a Inovate Wideband Meter to monitor the air/fuel ratio
I first went to Napa to try finding the 1/8" compression x 1/8" FIP street elbow fitting. I tried finding one on Amazon to little luck. After spending a lot of time I did find one but I did not want to wait for shipping. My local Napa has a good assortment of brass fluid fittings. The problem when I eventually found the right bin that should contain them, it was empty. Next I try Home Depot and I was not optimistic.
to my wildest surprise Home Depot does carry it
problem is the only bag they have has a wrong item in it - I then headed off to another Home Depot after have the staff checking stock
being the Memorial holiday weekend Home Depot parking is a zoo and Mini knows better to avoid it like a plague so we found a shade from the sun; we came home with the fitting
While a bit of the threads of the pressure inlet fitting has been rounded off from someone crossed threaded with an incompatible fitting I decided that I can make it work instead of return the gauge and buy another one. I perform a function test on the gauge before proceeding to cut off the two brass studs that I don't need.
cutting off the two brass mounting studs with a abrasive cutting disc
next I ground the cut flush to the plastic housing leaving no sharp edge
install the street elbow so the pressure line entry would be 90-degree
I managed to restore enough threads to achieve a good fit
next is to make a tee harness for the gauge lights
now the tee harness is ready to be spliced into the stereo head unit's illumination and ground wires; the illumination signal is the same as the instrument light which can be dimmed
The 1/8" compression to 1/8" FIP street elbow from Home Depot projects much farther than the one that shipped with the Auto Meter metal gauge pod. This imposes significant problem for mounting the oil pressure gauge to the right hand side of the Tachometer as the dash curves farther out towards the center of the car, leaving even less room to accommodate the brass fitting between the gauge and the dash - and all these have to comprehend the height adjustment arc of the steering wheel. They didn't name the car Mini for no reason.
To make all these work I swapped the left right positions of the boost gauge and the oil pressure gauge as the boost gauge with the unadulterated pipe thread allows the compact street elbow to project less than the same with the oil pressure gauge with the lightly compromised threads.
I added a second 1/8" nylon pressure line for the oil pressure gauge. I also made up a Y harness for the two gauge illuminate bulbs to be spliced into the audio head unit harness's illumination signal. Next is to remove the factory oil pressure switch and add the breakout adapter to accommodate the 1/8" brass compression fitting for the oil pressure gauge's nylon pressure line. I would soon regret that I didn't take the opportunity when I have the engine out to do this. The need to use a 27mm deep socket and the downward till of the oil pressure switch leaving no room to swing even a 3/8" rachet wrench, and even if there is it is so low in a very awkward location that one is challenge to exert the force needed to break loose the oil pressure switch. I felt defeated and wonder should I just take the car to a Mini specialist. By now the sun is overhead and begins to get uncomfortable to work. Time for a nap.
Installing two all mechanical gauges would proved to be a lot of challenge, especially using the low cost Alta gauge pods. The brass fittings behind the gauges requires additional depth which the Mini is in short supply.
The street elbow that I bought at Home Depot (right) is not as compact as the one that came with the Auto Meter metal gauge cup (left)
As I sensed the possible defeat I realized I can gain a few millimeters of clearance by rounding off the shape edges and corners of the street elbow fittings
Grinding down the two brass street elbows I immediately notice the one from Home Depot is significantly harder than the one from Auto Meter. The former is rock hard because the manufacturer skimmed on the copper content. Race to the bottom is so widespread today. Both my Auto Meter gauges are made in USA, though I am sure with a lot of Asian contents.
a lot of grinding and they are done; note that the oil pressure gauge's fitting protrudes father out of the back because of the lesser street elbow and the compromised threads on the gauge
Nothing is easy with the Mini. As I tried to remove the oil pressure switch I would regret that I didn't at lease loosen it when I have the engine out. There is simply no space to accommodate a wrench and with the deep 27mm socket one have to reach in and down behind the engine to try to exert enought force to loosen the pressure switch. Fortunately I remember I have this pivot heat 3/8" ratchet wrench that I totally forgotten that I own. This is the only tool in my possession that make the removal possible.
One question that I had for myself is can I use teflon tape to install the oil pressure breakout fittings as well as to reinstall the oil pressure switch. Teflon tape is non-conductive and on the surface it seems I would be safer to go to auto parts store and buy a tube of thread compound that are designed to withstand engine oil. This concern is the oil pressure switch relies on the metal case to make contact with the fitting, and the engine block to complete the electric circuit for it to work. I however reasoned that teflon tape should be just fine. While telflon is non conductive when you tighten the fitting the metal threads cut through the tape at many places and there should be plenty of conductivity for a low current switch. I save the money and a trip to the auto parts store.
I took a good photo of the oil pressure switch for future reference
this is compression fitting for the oil pressure gauge line to be connected to the new breakout fitting
here you can see the 1/8" NPT port of the breakout fitting
with the fitting the oil pressure switch sits father away and the wire and connector is barely long enough to reach it; I added a cable tie to release the stress on the single conductor wire branch; here you can see the 1/8" nylon line and the compression fitting (it is rated for 250 PSI)
I use cable ties to secure the nylon line and protect it from chafing damage
One of the reasons that I chose the mechanical oil pressure gauge is to avoid the complexity of remote-mounting the pressure transducer like this blog post. I also distrust the reliability of aftermarket oil pressure transducers and want to keep the cost down without compromising on the end result.
how he mounted a oil pressure transducer remotely
test fitting and check for adequate clearance at the back of the gauges
the backlights are simply spliced into the audio head unit's Illumination signal
I am very unimpressed with these low cost gauge pods. They are poorly designed and put too much stress onto the tachometer. Structurally the unsupported cantilever pods cannot support even light weight electric or electronic gauges, let alone deep and heavy mechanical gauges that I chose to use. Instead of buying a more expensive gauge pod I would fix these defects.
the idea is to fix this major design defect - the gauge pods will succumb to gravity and sag as is
my idea is to fabricate a compact bracket to support the lever arms of the two gauge pods; this piece of extruded aluminum is just perfect once I am done
I just estimate the length that is needed to support the arms of the two pods
next measure the center to center of the two holes and the hole diameter
the aluminium bracket is thin enough not to fit within the gap between the pod arms and the tachometer housing
since I have to create a small bend I thought it would be easier if I take out some material on the bracket; don't mock me for how rough this look for it is not the final product
divide and conquer
I reshape the bracket to a slight curvature to conform to the curved surface of the tachometer backside
the aluminum bracket releases the stresses one would otherwise impose on the two screws and the plastic screw posts inside the tachometer which were never designed for this duty
as no one is going to see the back side of the gauges I didn't bother to make the bracket too pretty
test fitting the gauges and check against potential interference against the dashboard at the back; then making the final connections for the nylon lines to the gauges as well as the wiring for the backlights
it is quite unnerving to bring a pressurized oil line into the cabin; I triple checked that the compression fittings are proper installed and tighten, but no over-tighten; you can see the segment of engine oil the in nylon line going into the cockpit
With the mechanical oil pressure switch installation a failure is not an option. If I were to improperly installed or tighten the compression fittings for the nylon line disaster is immediate and the aftermath is very messy.
all is good and I went for a test drive; I am more in love with and appreciate this little car than ever
the R53 is now approaching 20 years from the date the first generation modern Mini's were designed and styled; it withstood the test of time remarkably well and it is one of the best looking cars in recent history
one big challenge in this project is to be able to retain the base trim of the factory tachometer and not having to cut into ro punch holes into the rubber gasket that hides the wire loom; I accomplished both
While waiting for the Lemforder OEM engine mount to arrive I continue to drive the Mini thinking it should just be fine. While waiting for the part to arrive I continue to drive the Mini. Yesterday I went for a short shopping trip nearby and on the way there is this railway track which the Mini has negotiate with poise at speed since the suspension modification. As I went over it yesterday I could not believe the difference. The car rattled badly as if all the shock absorbers were bad. It was quite violent that I was afraid something bad may happen. I came home and immediately popped the bonnet to check. No damage were done but I now know I should avoid going over rough surfaces until the engine mount is replaced.
Although the hydraulic engine mount failed, there is a piece of rubber pad that acts as cushion but that is far from adequate. This was a valuable lesson to experience first hand the important function of the fluid filled engine mount.
This morning the new part arrived (I ordered it yesterday morning) and I was very surprised. It arrived so fast as it was drop-shipped locally only 6 miles away from a local auto parts wholesaler. Thanks Pelican!
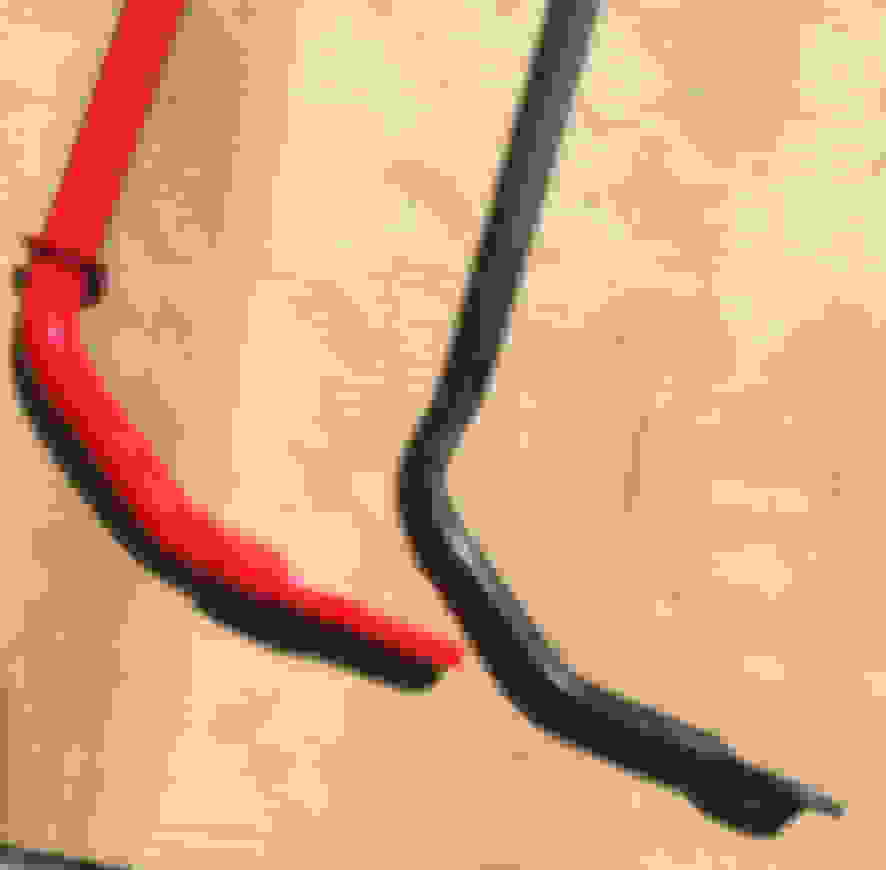
this is the long bolt that fasten the bottom of the mount to the chassis box beam - it looks bad because of the rusty stain from the hydraulic fluid
the new part has a spot of paint to obscure some market - which obviously says "MINI"
the replacement took about 1/2 hour
Just to be sure the effect of the engine mount going over the railway tracks at speed I went test driving on the same place at same speed. Unmistakably the car's suspension and the engine mount soaked up all the undulation. Wow, I am very glad to experience the difference first hand of how important the hydraulic engine mount serves, and that I chose to stay with OEM part.