When you click on links to various merchants on this site and make a purchase, this can result in this site earning a commission. Affiliate programs and affiliations include, but are not limited to, the eBay Partner Network.
Downstream shouldn't, I've ran without it and with it on a spacer on my catless track car, no change on either setup
You sound so absolutely sure. Any more concrete supporting evidence? I know next to nothing about our's cars' fuel trim and emission control policies. I am alleging the ECU algorithm does use the post-cat sensor for closed loop fuel trim.
If you have a tuned car, that can very well skew the facts.
You sound so absolutely sure. Any more concrete supporting evidence? I know next to nothing about our's cars' fuel trim and emission control policies. I am alleging the ECU algorithm does use the post-cat sensor for closed loop fuel trim.
If you have a tuned car, that can very well skew the facts.
This is interesting. I'm still running rich and thought about replacing the rear o2 sensor, but everyone said leave well enough alone because it doesn't have anything to do with fuel trim and only monitors cat efficiency. Interested to see what you find out...
This is interesting. I'm still running rich and thought about replacing the rear o2 sensor, but everyone said leave well enough alone because it doesn't have anything to do with fuel trim and only monitors cat efficiency. Interested to see what you find out...
I have no concrete evidence if the rear O2 sensor affects fuel trim or not. In my research it is inconclusive, while most BMW forums threads say no. There are automakers that implement pre and post catalytic converter O2 sensor fuel trim. If anything that I can infer the post cat O2 sensor effect on fuel trim is secondary for the obvious reasons. I'd like to keep an open mind on everything in the absence of concrete evidence. Until someone say I inspected the code of the Siemens ECU or that I was involved in the development, I tend to be wary of most claims.
I recently decided to try a K&N filter for the Mini over the genuine MINI air filter. It was actually a long story that resulted from my investigation starting off with my questioning the hypes of the aftermarket "cold air intake".
For now I would not bore my readers as to why I chose the K&N panel filter that is a drop-in fit in place of the stock air filter. I would just say I considered the excellent Dinan, JCW, or home made CAI. I am not too impressed with all other aftermarket offerings. Eventually I decided to go with a panel filter after calculated the filter surface area of many different ones.
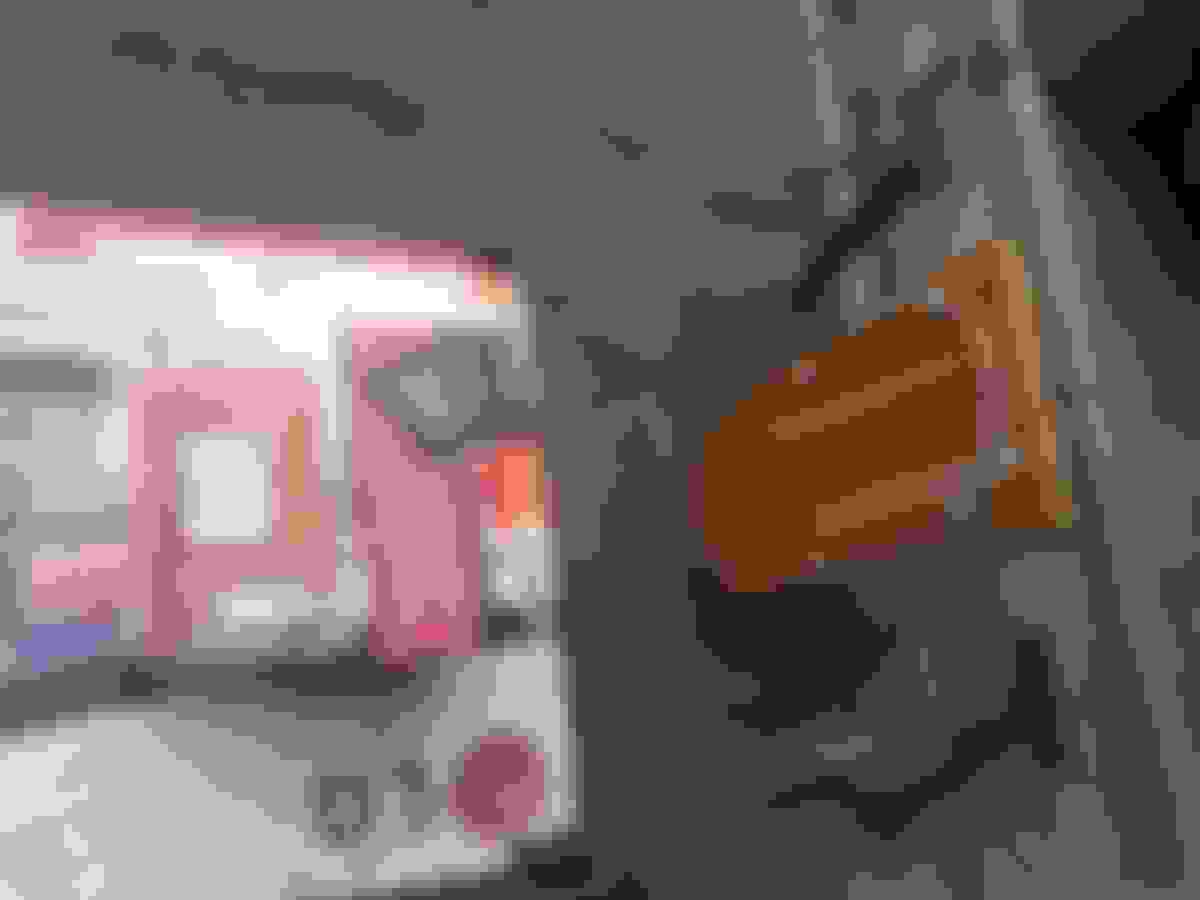
I only proceed to make the purchase when I was convinced that it might provide better flow (less restriction) than the factory one. Today I spent some time to make a simple test fixture out of a cardboard box. I planned to use a shop vacuum to emulate the intake suction of an engine. I set up a simple water column vacuum gauge.
stock filter (left) and K&N filter (right)
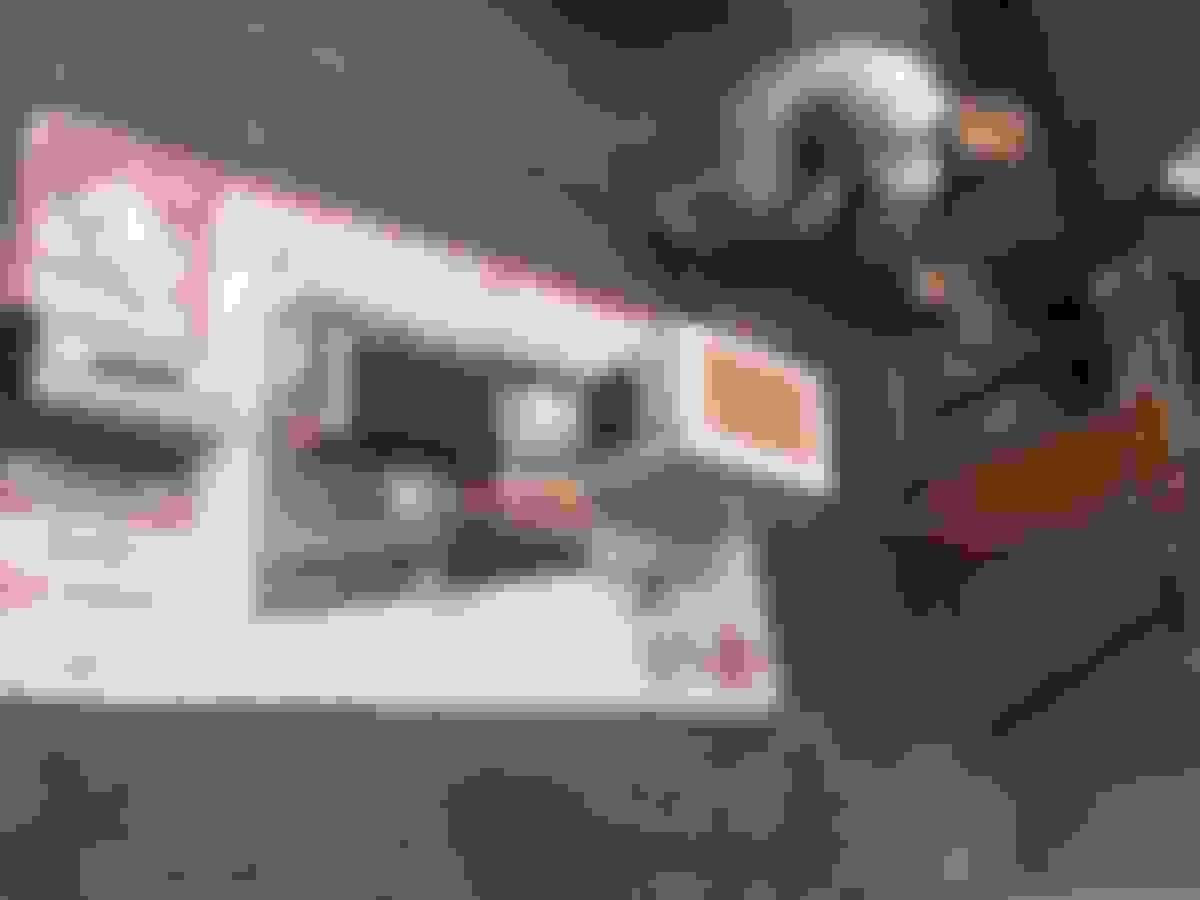
It turns out the shop vacuum while can pull very high suction, the airflow CFM is too low to make visually discernible rise of the water column. I turned to plan B - using a high flow computer fan. I didn't want to turn this exercise into a production so I was just hoping the computer fan would work. I knew it would be marginal at best.
this is a 12V fan
the small hole was first created for the shop vacuum; I enlarged it for the computer fan
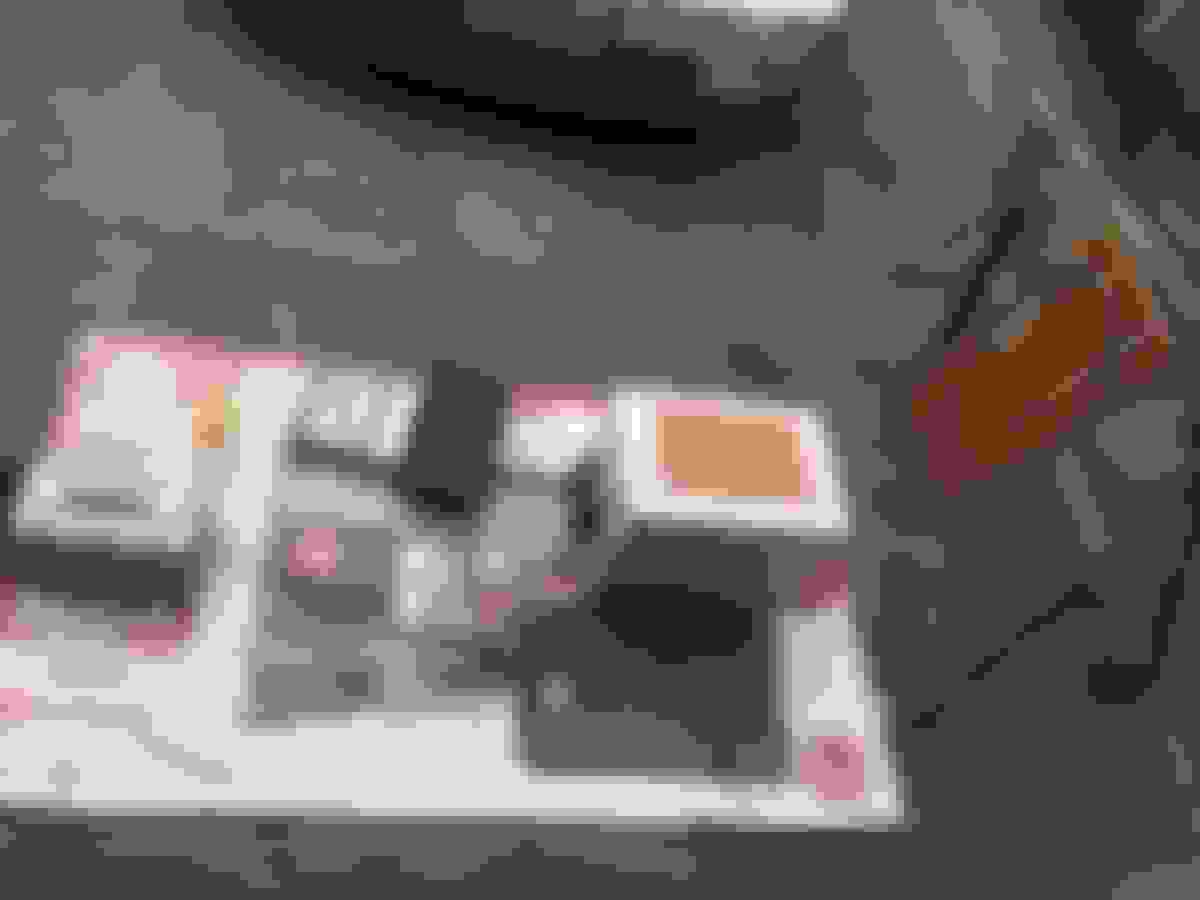
I tape the fan to the opening with packing tape
on the opposite end a small hole is created for the water level gauge
my neighbor wanted to see the experiment; the slight change in the water column was only a few millimeters
I wanted to keep the fixture very simple so the air filter just rest on the rectangle cutout and seal itself
here is the K&N being tested
to make it easier to see the water level change I place the two columns side by side and added a ruler to read off the delta
here is the stock filter - reads 4.5mm
here is the K&N - reads 2.5mm
This experiment is intended to be a rough comparison. As I don't know the CFM rate the reading should be interpreted with caution. I would estimate the fan draws about what the Mini's engine at idle. At this flow rate, the K&N filter is 55% as restrictive as the stock air filter.
To simulate similar airflow of the Mini supercharged engine under wide open throttle I estimate a fan closer to the one for the radiator would be required.
In the previous post I might gave the impression that my search for a better filter mainly hinge on low restriction. It is not at all. I once consider foam type filter but soon I read about much problems with them. The fact that aviation engines use cotton gauze is enough to convince me it is the best choice if I can find one with lesser restriction than the stock pleated paper filter. I want a filter that provide excellent engine protection but reduced restriction.
I entertained modifying the stock air box with one a cone K&N filter like many owners have done, until I realize K&B make this drop in fit panel filter. Comparing the surface area and other considerations the choice is very clear.
originally I was thinking of using one of these cone filter but in the end I decided the panel filter is my best choice as I want to preserve the stock appearance
The Mini has not been running well the last week. It all started when it hit a big pothole when we went grocery shopping at the other side of town.
While trying to get around some distracted driver I took a lane change that is legally permitted. I had to complete the maneuver quite quickly. I knew that lane has very rough pavement but I didn't expect a new pothole. The speed was around 40 mph when the Mini left front and then left rear wheels hit the pothole. It was the worst of any that I had ever experienced. The suspension bottomed out and the struts hit the bump stops. Immediately my heart sunk because those are very expensive wheels that are no longer available. If I could I would buy one extra as spare for accident like this. I was quite sure one or both wheels are bent from such violet pot hole encounter at speed. When we got onto the highway I could sense something does not ride right with the Mini. There were subtle vibration that I was sure not there that morning on the outbound trip.
Arrived home I immediately inspected the wheels. There was no visible damage to the wheel to the naked eyes. Next I put the Mini up on jack stands for more thorough check. I hand spun the wheels and again saw no excessive runout of the wheels.
Next is to examine the wheels more closely, with a machinist's dial gauge. All wheels, however perfect, have certain amount of runouts, laterally as well as longitudinally. Since I have no know figures I have to rely on my own intuitions.
checking the rim runouts with a machinist's dial gauge
I compare the deviations of the front to that of the rear and they are quite comparable. Since the front took the blunt of the impact I would expect it to be worst. It was a very hot day and I thought the wheels are probably fine.
The weather was extremely hot and sunny for the next few days. I drove the Mini a few times and it was quite clear it rode badly. The dash and glovebox rattles worst than ever. There is this vibration on the steering wheel that I was sure not there before. The vibration is not the shimmy kind caused by the wheels. It felt as if the alignment is off kind of vibration. I am quite in tune with how well should all my vehicles drive and I can definitely tell something is badly wrong. May be the alignment on the left side was badly compromised from hitting the pot hole. I could not sleep well a couple of nights thinking some thing bad had happen to the Mini, and it may never ride right as before hitting the pot hole.
A few days later the weather cooled. This time I want to to get to the bottom of the problem. Again I checked the wheels with the dial gauge, but this time I checked also the right side wheels. All the runout figures are very comparable - so the wheels are fine.
Next I check the runouts at the tire threads. I use a block of wood to provide a stationery reference. I have been doing this since high school days and I have a pretty good idea how much runouts would begin to cause a noticeable ride impact. All tires have runouts laterally as well as longitudinally, and they are larger than those of the rims. All these tires are very new and have only 1/2 of a track day use on them.
check across the width of the thread while spinning the wheel by hand
I also check the laterally runout
another view so you can see how I do this
All four wheels are quite good, and are within my experience that would begin to adversely affect the ride quality as well as steering shimmy.
Next is to check for front strut damage, including the strut tower. The left tower does not look any different from the right side.
left (driver) side tower
right (passenger) side tower
Next I remove the left front strut assembly to check for damage to the strut or the top camber plate.
The 3/8" thick camber plate has a very slight bent. It is so slight that can be detected only with a straightedge. I carefully restored the flatness with a ballpeen hammer. Obvious so far nothing I found can be linked to the deteriorated ride and increased in vibration and interior rattles. What could it be? I took the Mini off the jack stand and went for more test drives. My test drives confirm that it ride badly and the rattles is not my imagination or loose items in the glovebox. I know the Mini never have dash rattles this bad. I was also very sure that the steering wheel vibration is new, as the Mini was silky smooth and vibration free after the recent performance upgrades. It was so smooth that I knew it rode better than when it was brand new back in 2004.
That afternoon, I went out and look at the Mini with a glass of wine in hand. As it was the first time too I felt a slight hesitation when accelerate somewhat hard. Coincidentally that occur on a first day of high humidity (about 85% RH). I popped the bonnet to just look at the ignition cables. They are original so are now 13 years old. I have always been very careful with ignition cables when replacing spark plugs to not cause any stress on the wire jackets and the rubber boots. I looked for signs of high tension leak around the jackets and the rubber boots. There are some accumulation of dust particles near the boots by the coil pack. I deem they are normal from the high tension voltage as no insulation is perfect. Still I think it is time that I should order a set of cables by NGK. They are quite inexpensive.
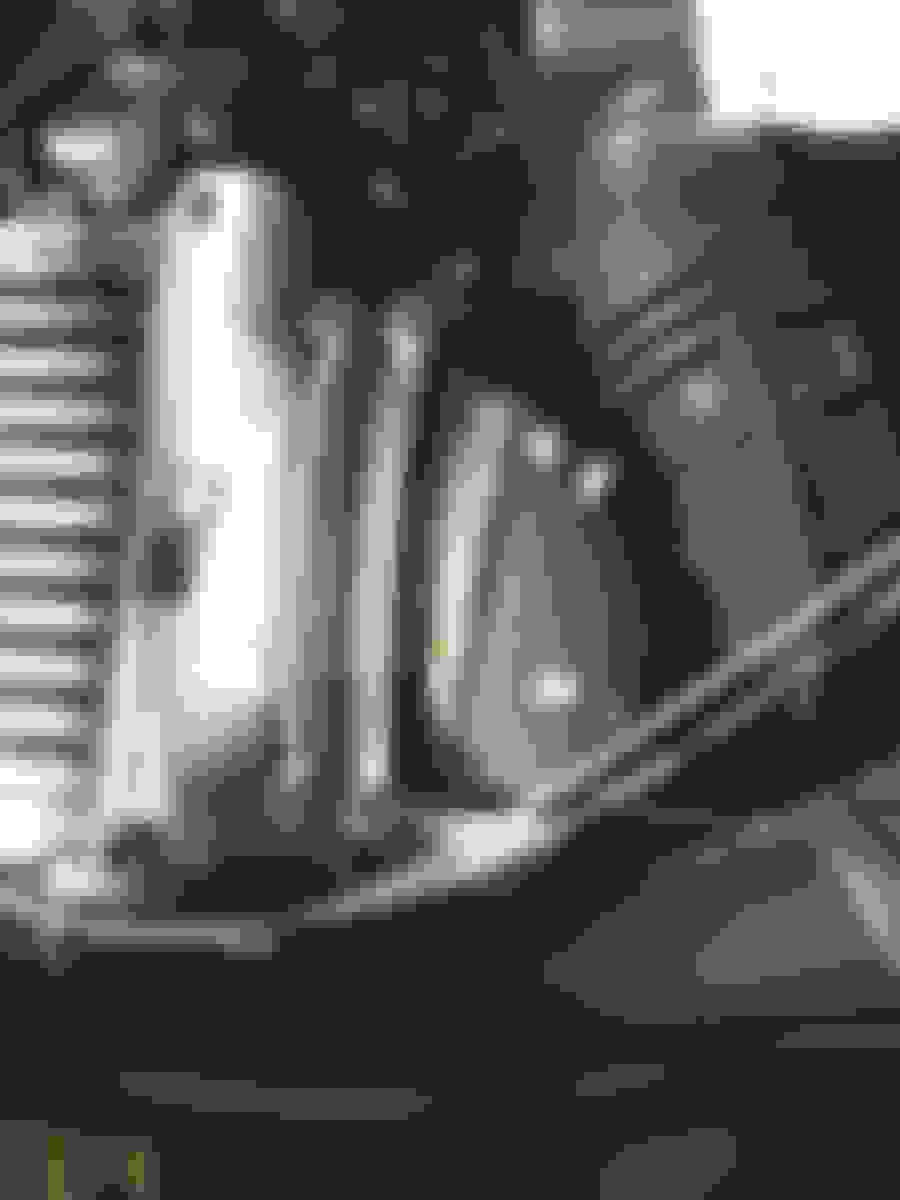
As I proceed to do a visual run over of the engine compartment I spotted something. The bolt that withstrain the right side engine mount from fore/aft movement is loose! The bolt has worked itself out by about 5 mm. I figure when I recently replace it with a new OEM mount, I must have neglected to torque it properly as my mind was preoccupied with the other bolts that requires much higher torque. I am very glad of happen to spot this oversight of mine and caught it before the bolt falls out completely.
I torqued up the bolt using my guestimate based on it is a 16mm bolt.
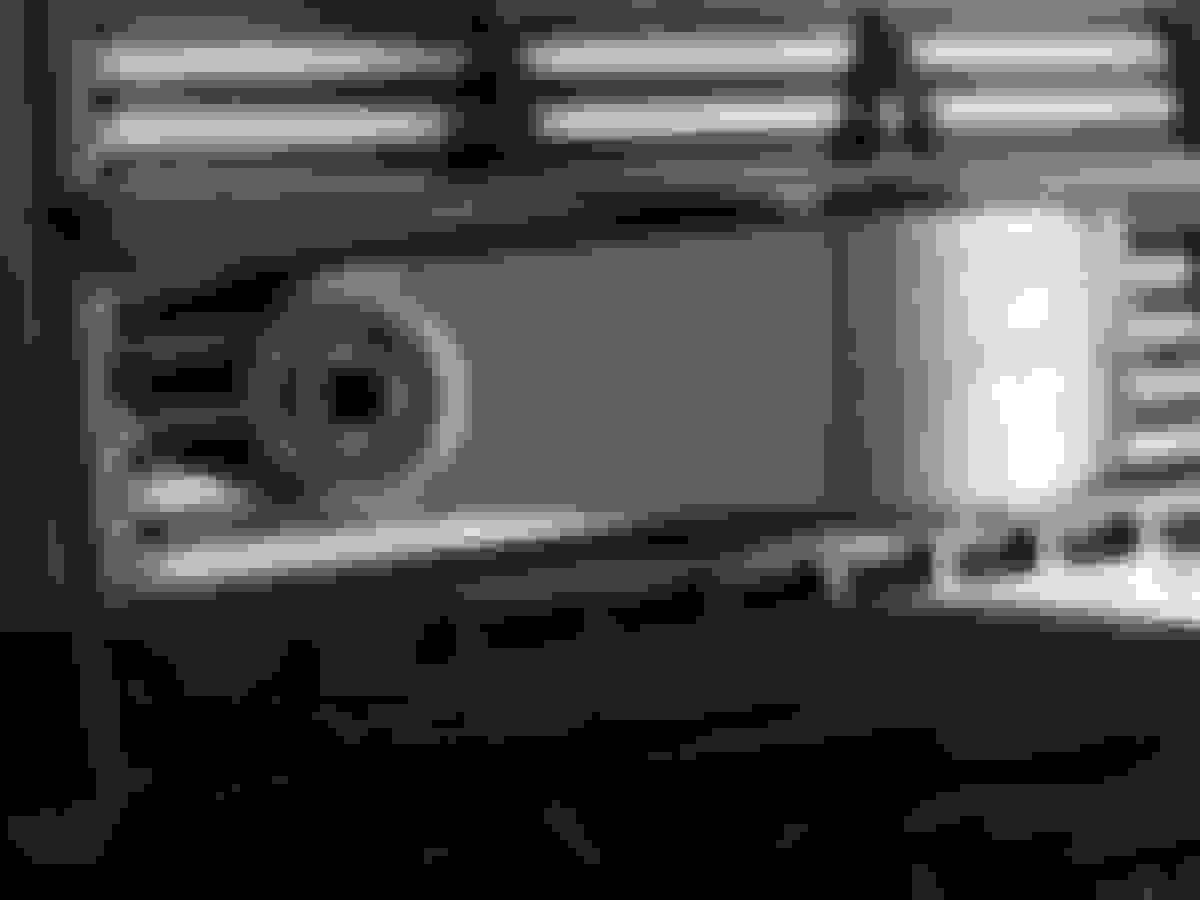
Actually before I caught this loose bolt, I have inspected the lower engine mount (MINI maunal call it engine mount damper). On one side the rubber gourmet has some slight tear but I know they are good for awhile. I have one ordered and is on the way.
the engine mount damper has slight tear/crack on the gourmet on this side
the other side has no tear
So how much ride impact did this loose bolt on the engine mount has? Only a test drive can tell.
Wow! All the bad ride quality is gone. Totally disappeared too are interior vibrations and rattles. No more steering wheel vibration or shimmy. The Mini rides as silky smooth as immediately after the performance upgrade. That evening when the traffic lighten up, I took the Mini out for a spirited drive, with hard cornering, wide open throttle accelerations, and hard braking with heel and toe downshifts. The difference is astounding, all because of a loosen secondary bolt on the right side engine mount. The Mini and I are both very thrilled.
I know very well that my choice to stay with the factory OEM hydraulic engine mount is a sound decision. I know that my decision to stay with the factory OEM engine mount damper is also a sound judgement, as with my decision with the Irish Engineering fixed camber plates which has rubber damping.
I should add that because of this experience, I found out how tough these SSR semi-forged type-C wheels are. If I can find one for sale, I will buy an extra as spare in case of unfortunate event. I was also very lucky that the tires are properly inflated from the recent track day event. The tire cushioned much of the blow form the sharp edge of the pot hole. The tires are 45 series.
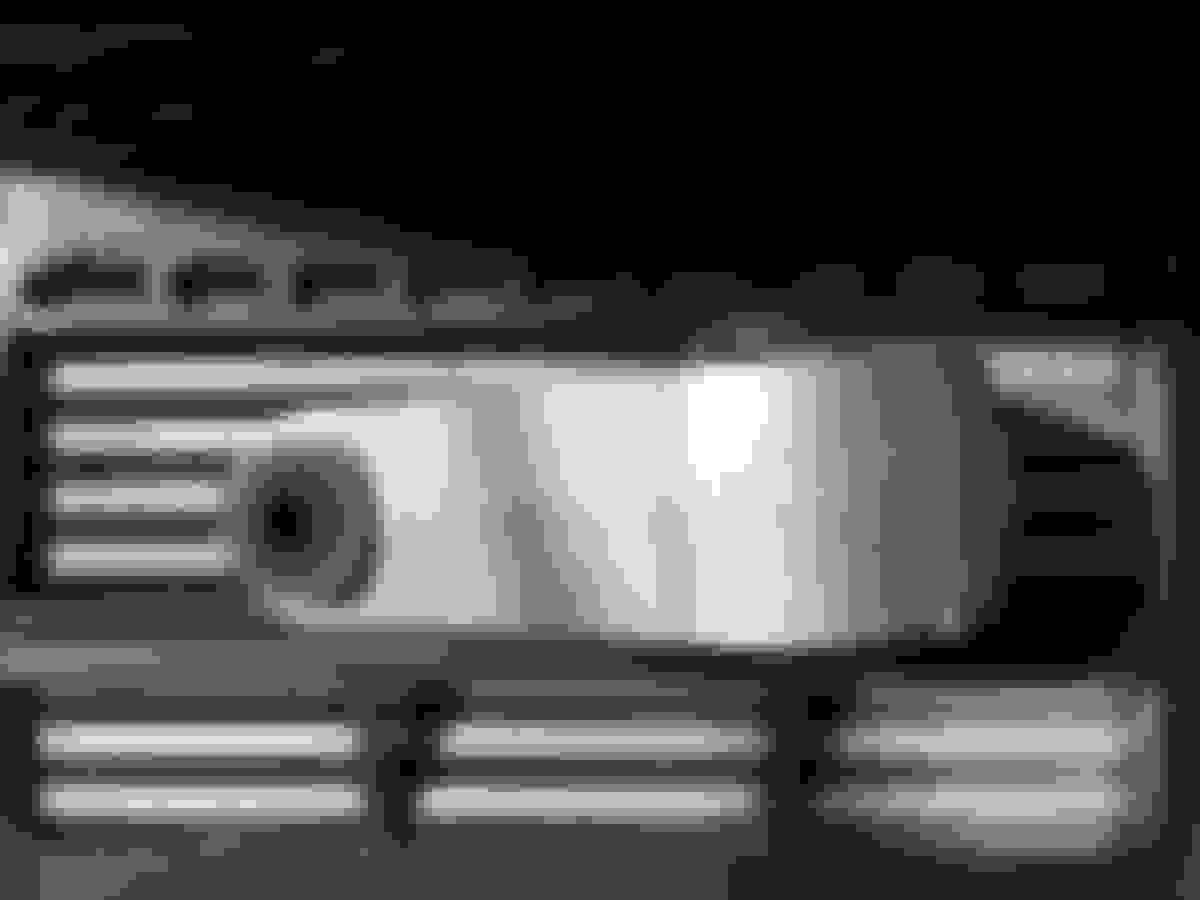
Today I was just browsing some photos. I realize the line and notch on the rubber bushing of the lower engine mount damper look like tears, but are in fact how they look even new. It is just how it is made.
here is a photo for a new one being sold
here is my photo which I thought there is a crack line and a small tear on the edge
Now I am going to have a spare one when it arrives. It saves me a trip crawling under the Mini.
I took the opportunity to go back to the "crime scene" to look at the pothole that Mini hit a week ago. It is always good to know how bad a pothole that was that Mini survived.
I have always knew the inside lane there has very rough pavement. The problem is they deteriorate rapidly as it is a very busy thoroughfare.
there are two sets of pothole on the driver side
I call the the closer two the first set, and farther down the lane the second set
this first set has the appearance that has been patched for more than a week
you can see the second set has a darker patch which I think was the pothole the Mini took the hard hit
Because the pothole has been patched up, I was unable to see how it was when Mini hit it.
filling up the Mini with cheap Costco petrol to prepare for the upcoming track day
I then started a tech inspection to make sure everything is shipshape. I checked all the fluids and are all good except the oil is at mid point of the dipstick indicator. I feel better if I just add 1/2 quart to bring it to the top.
One scary thing with aluminum cylinder head is the spark plugs has a tendency to work loose. Should a plug got blown out by the combustion some thread damage is inevitable. The trade off of frequently inspecting the plugs is you have to disturb the spark plug cables - which mean they don't last as long.
all the plugs are tight; I took the opportunity to clean the ignition cables of all dust accumulation; I also carefully set the cables as far apart from one another as possible
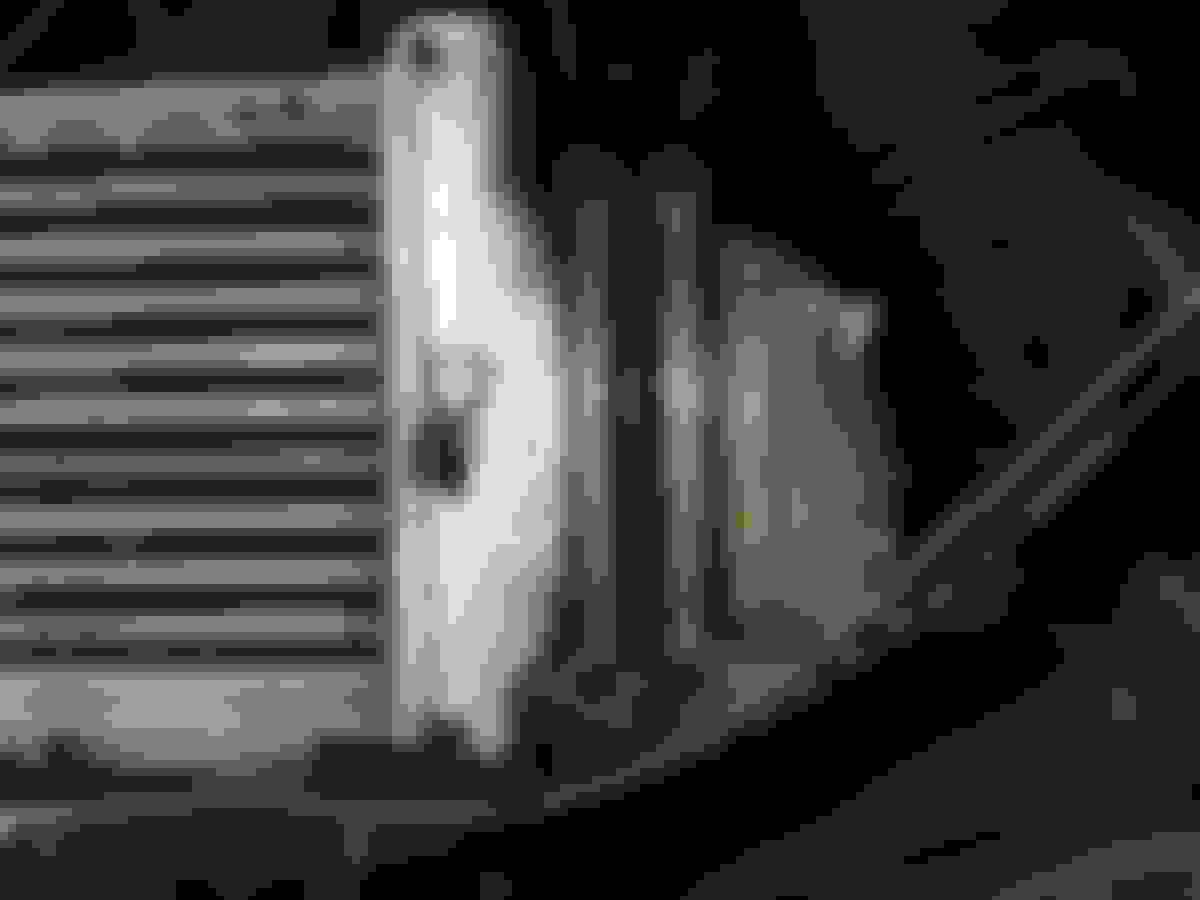
The ignition cables are all in excellent shape, so I will postpone ordering a set of NGK. I notice there is a trace of oil on the intake side of the intercooler. This indicates there is compressed air leak. Sure enough all four fasteners are a bit loose. I knew I did not tighten them last time I have the intercooler out. I didn't want to over-compress the rubber coupling. Now I realize the cast aluminum clamps are designed that you tighten the fasteners until the two halves of the clamps are tightly (metal to metal) engaged. The clamps are design to ensure the rubber boots will never be over-compressed if installed properly.
I then notice the outlet side rubber coupler is offset. All four fasteners are also not properly tighten. Once I re-seated the rubber coupler properly I could tighten the 4 fasteners until the clamps are fully engaged.
I clean off the last trace of dust on the ignition cables and space them the best I could to starve off potential cross coupling
Inspecting the adjustable lower control arms at the rear, to my horror one of the locking nut on the passenger side has worked itself loose. The same nut on the driver side worked loose but I caught it when Mini blew the header. Fortunately the inner lock nuts have not work themselves loose so the alignment has not change.
I added a dab of red Loctite and tighten all four lock nuts
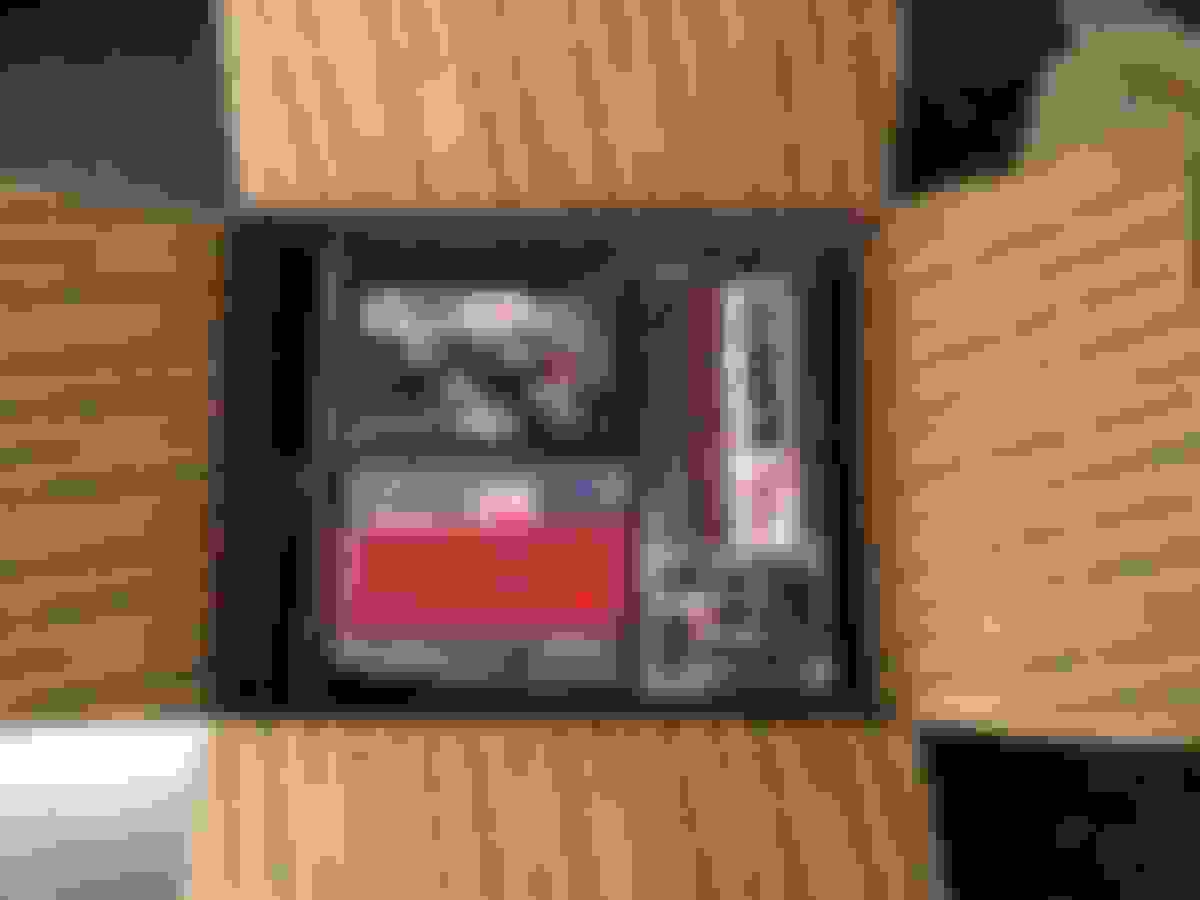
the lower engine mount damper arrived with a set of stainless steel brake hydraulic lines for the rear
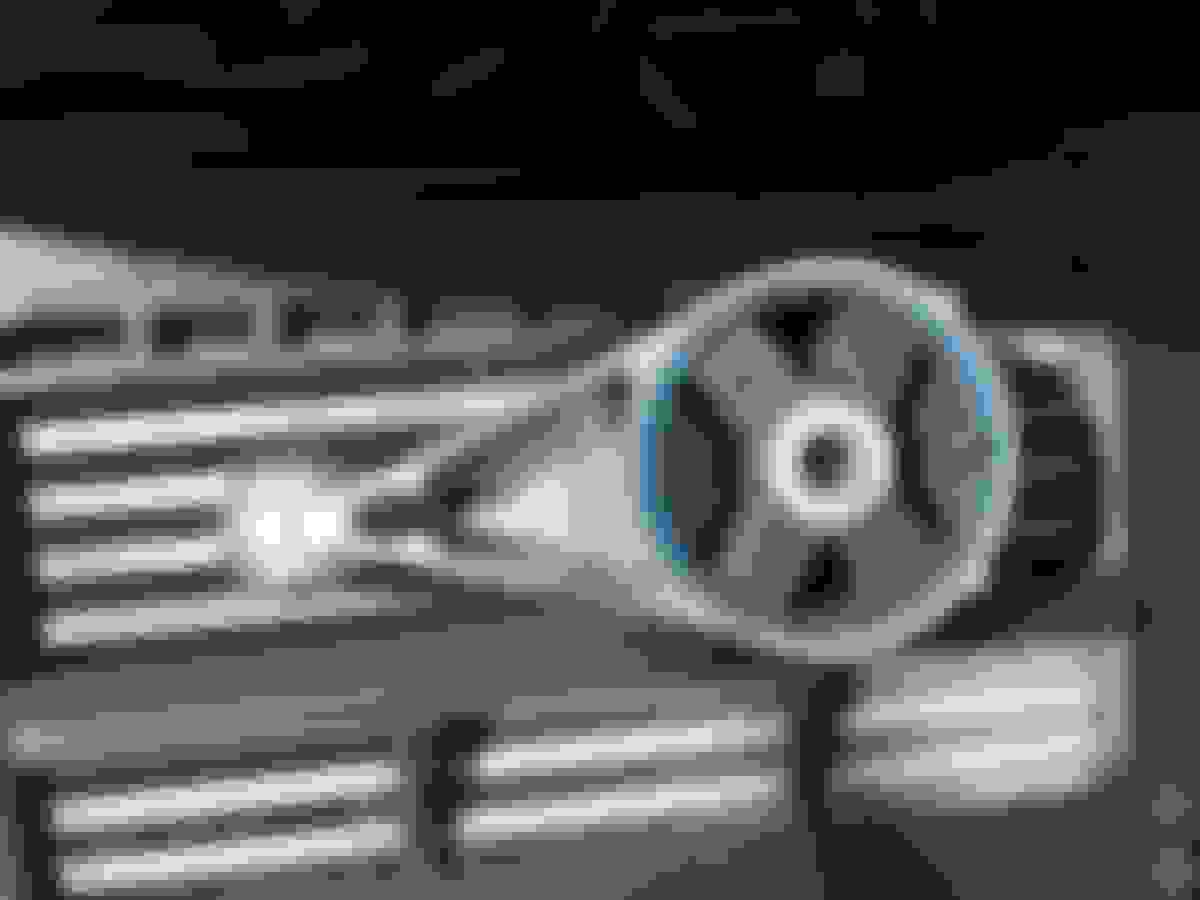
this is how the Lemforder engine mount damper look
the other side of the small end bushing has no notches
you can clearly see the MINI/BMW part marking has been ground off
to compensate the slight slope of the driveway I drove the Mini's rear wheels up onto 2x4s to get it level for accurate oil level inspection
I also re-torqued all the wheel lugs as well as checking proper tire inflation. All the windows are wiped clean and the Mini got a wash. The Mini is all ready for the track day.
When you say the cables won't last as long, you only mean that the connection to the plug wears out quicker, correct? How often do you have to replace wires?
When you say the cables won't last as long, you only mean that the connection to the plug wears out quicker, correct? How often do you have to replace wires?
I avoid stressing the cable jacket as well as the rubber boots. When you twist them, pull them, bend them you stress the insulator and lead to microcracks. My cables and coil pack are all original, and are in excellent shape. Also when removing and re-inserting the mile long spark plug connector be careful not to scratch it along the sharp edge of the spark plug tube. Doing so leave scratch that dirt or worst moisture can sit, and compromise the insulation against ~1500 V.
My Vanagon's cables are 28 years old - factory original.
Ignition cables are made as a continuous resistor, for radio interference suppression. You want to avoid flexing them. Before pulling hard on the spark plug side boot I grab onto the the burly rubber cap and twist it CW and CCW a few time to break the bone where the inside boot seals against the plug ceramic insulator. This make separating from the plug that less stressful.
Yesterday I took the Mini to a BMW club's high performance driving education. It was a full day event. I woke up at 6 AM and arrived there just shortly after 7 AM. I packed a light lunch and brought plenty of drinking water. I have been packing light and this time is no exception. Starting next year I think I would bring a set of well chosen tools. I only brought a tire pressure gauge and a IR thermometer so I can rough-check the tire temperature.
There were 4 groups - novice, intermediate, advance, and instructor. The run starts at about 8:00 and ends at 16:00, so a lot of track time.
we started bright and early
tech inspection station
this GT4 is from Idaho - very chatty nice owner
my Mini was the only R53 there beside a R56
he was grumpy to talk to
my friends that I have not seen for 10 years are still at the playground - actually they run this event
Turbo 930
Cadillac race car
Early that day I noticed the vacuum/boost gauge was not working. The most likely cause of the malfunction is a fitting or connection has failed. It rattled me as it is a mechanical gauge just that the oil pressure gauge. As both gauges share the same routing of the pressure lines this very well can happen to the oil pressure gauge. A leak undetected immediately can be catastrophic to the engine.
vacuum/boost gauge ceased to work
I suspected that the boot gauge rubber tubing that I installed at the intake manifold must have simply been blown off the circa 15 PSI of pressure during full boost. There is very little I can do as I carry no tools to the track. To rectify it will require the removal of the intercooler. Even then to reattach the detached vacuum/boost line will require a long locking forceps to reach into the crevice.
locking forceps
In retrospect, I later realized this has occur a few days ago as I have notice a slight increase of high pitch whining sound. I just didn't notice the boost gauge has stopped working.
Also half way through the day the brake indicator illuminated. It took me a moment to adjusted to the idea that it is not a false alarm. It is most likely caused by the front brake pad wear indicator. What surprised me is in the spring when I inspected all the brake pads there was a lot of lining left on all pads. I did a quick peek at the outer pads on both front brakes and saw the little thickness left. This assured me the wear indicator is doing its job. There are enough pad linings left to last the rest of the event.
As I have been braking harder and later on the straights I really abused the stock brakes. By the last session I could feel the brake fade significantly, as well as very spongy pedal. Spongy pedal indicates the brake fluid boiled. I was a bit concern about outright brake failure which can ruin the day.
brake indicator illuminated
There were 4 sessions. I was very lucky that my friend who organize the event offer to ride with me. This is my 5th track day ever and I can use some coaching.
I have no experience what impact to the ECU engine management with the leak at the intake manifold because of the vacuum/boost gauge fitting. My assessment is running it for the rest of the day is unlikely to cause any harm to the engine.
As I review my lap times I was surprised that they are not better. I then begun to ponder the possibility the not so good lap times is due to the leak. For both front and back straights I have begun to accelerate earlier and brake later and yet the top speed is a bit lower than my previous track days.
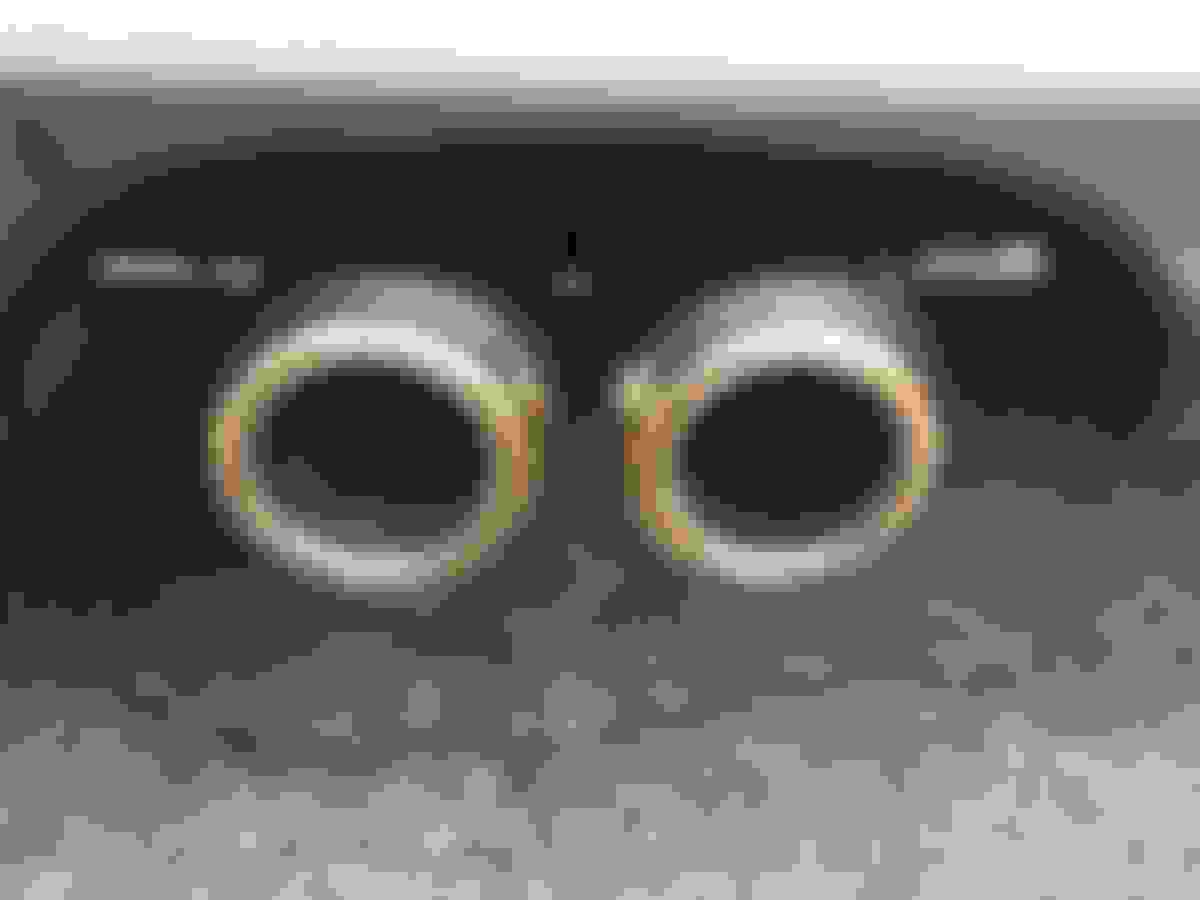
Looking the the muffler tips the appearance suggests the Mini has been running lean - hence supports my suspicion that the vacuum/boost leak has cause me lap time.
normally the inside of the tailpipes should have a slight black soot - but it is light grey even with a lot of WOT
By the end of the day braking at the end of the straights I could feel front suspension shakes. It felt as though something has worked loose. It was hard to tell what it is, as I know the hard braking that that have been very hard on the pads and the rotors. I could tell the grabs on the rotor was no longer smooth, so the vibration can simply be induced by it.
As soon as I got on the highway to return home, I notice the fuel tank reserve indicator has came on. The Mini burnt through a whole tank in the track day at approximately 9 miles a gallon. We managed to get off the next exit to a gas station to refuel. Based on the tripdometer the Mini accumulated 100 miles at PIR. Checking the lap timer record confirms it.
Like I have wished. I wanted to use up my all stock brakes before installing the Wilwood front brake kit. The only problem is I still need the stock brake to get me through the fall and winter. Next season I will install the Wilwood brakes.
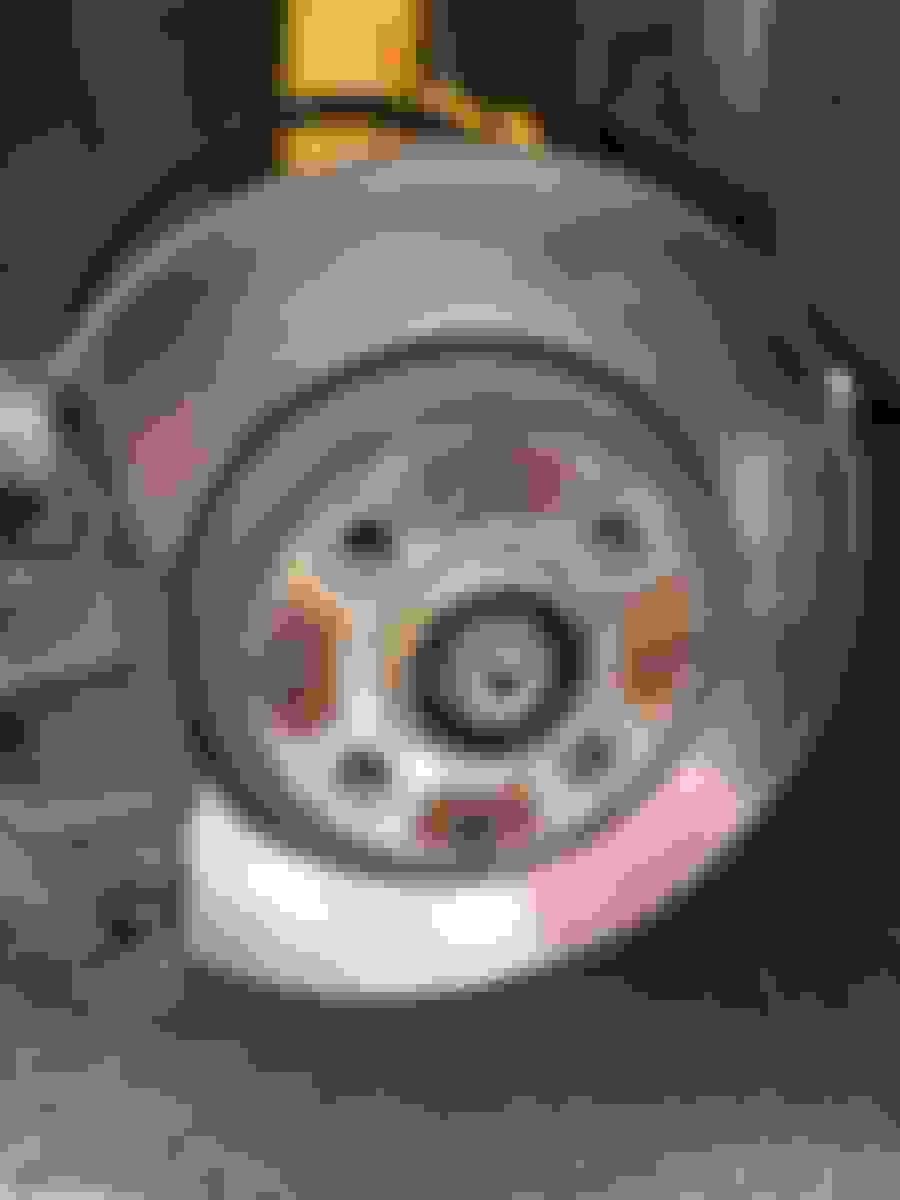
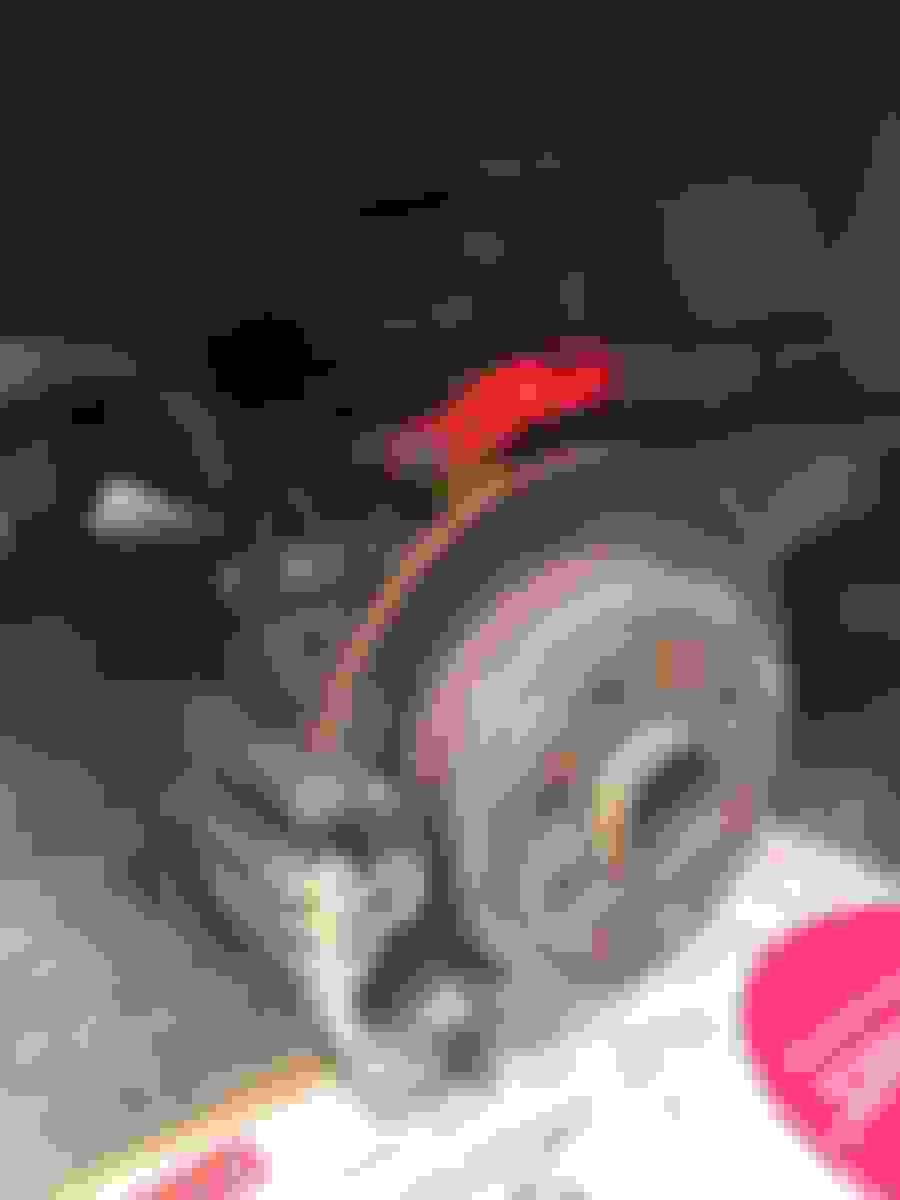
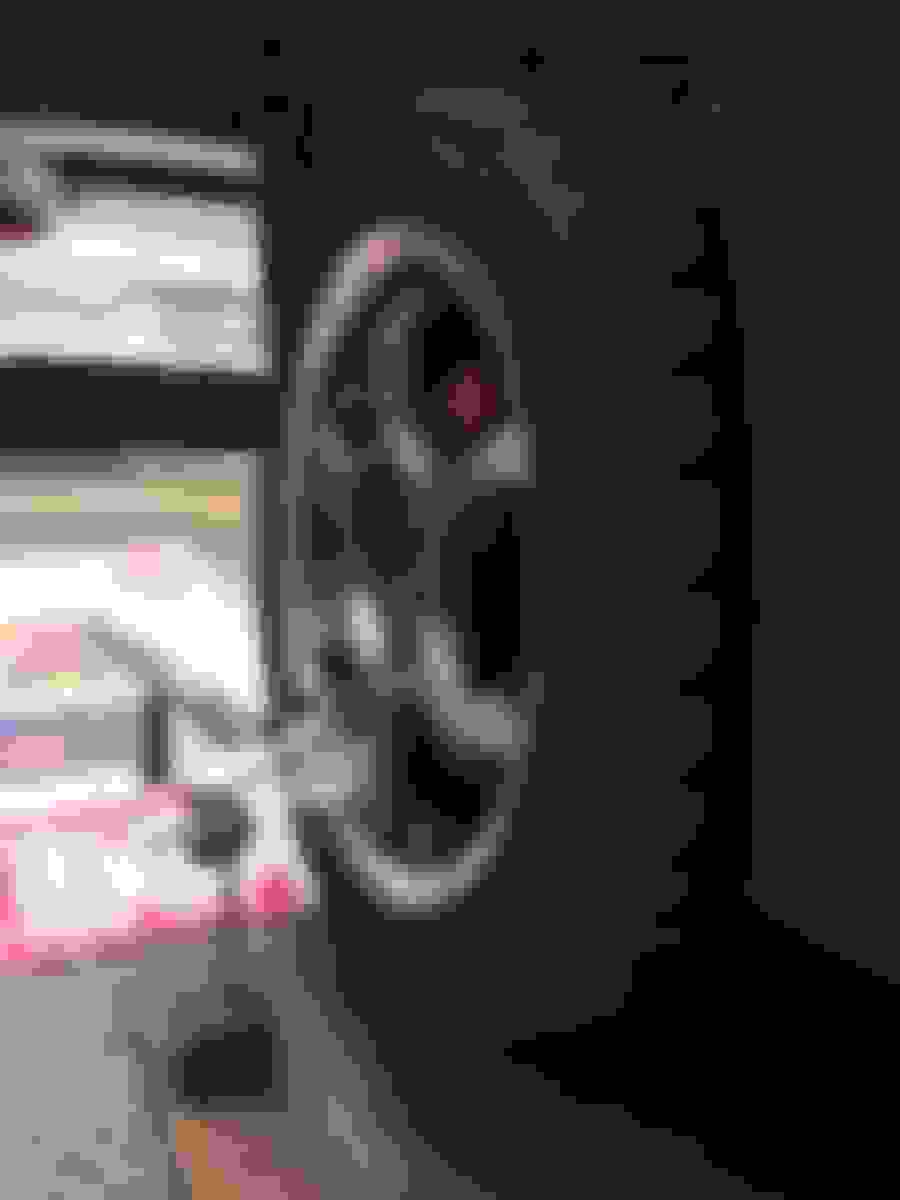
the front stock brakes took a bad beating
Last night I looked into where the vacuum/boost gauge has come loose. Before I remove the intercooler I immediately notice the outlet side rubber boot has shifted again. The oil make the boot very slippery so it can easily slip from any horizontal pressure. I slid my index finger along the oil coated aluminum air horn to wipe off the oil. Big mistake. The ridge left by the machining and the rough aluminum casting has left a sharp serrated knife edge and I cut my finger.
As I suspected the vacuum/boost line has came loose at the intake manifold. The Gates vacuum rubber hose that I used has slipped off the small metal nipple from the boost pressure of 15 PSI. In the presence of engine oil vapor it should be no surprise the rubber hose popped out. It was getting dark fast and I have to think of a quick and effective fix. The obvious fix is to add a small cable tie, but the problem is it is in a crevice and one cannot reach it with even a finger. I managed to make a tighter fit by adding a cable tie pre-tightened to the hose before slipping it onto the nipple. This work as I utilize the elasticity of the very good quality Gates vacuum hose.
It seems that when I reinstalled the intercooler it was slightly bias towards to the inlet air horn. By adjusting the two leading steel brackets I even out the split between two side, and hope this will correct it.
I recorded all four sessions of video but I ran into some problem with the Harry's Track Timer app, and I want to be careful not to risk losing the video and data overlay.
Both these were from the last session. The brakes were getting very spongy, and there was oil spill between turn 10 and 12. The videos were taken with an iPhone 6S plus. Clearly the iPhone's optical image stabilization is not design for mechanical vibrations in motorsport. I need to invest in a GoPro for next season.
HPDE postmortem. It is such a morbid term but tech companies like to use it. Fortunately I am not a bit superstitious.
I have been reviewing the videos of the recent HPDE. It was my 5th time driving on a track ever. I only had one session of instruction back in 2005. Fortunately in this last track day of the year my instructor friend offered to ride with me in the second and third sessions. I had a chance to ride with him in his car as well. I learnt so much from that. My biggest problem was not using the whole track, and have a tendency to early apex. The lessor problems are too abrupt in trail brake release, abrupt and too much throttle before apex.
The strange thing I notice in the video is the audio recorded by the iPhone. Whenever I change gear it would sound like I was slipping the clutch, which is not true. It is the caused by the artifact of the iPhone audio DSP background noise adaptation, which is ill-suited to motorsport. The DSP is too heavy handed treating all the vehicle and road sounds as background noise that should be suppressed and equalized.
In reviewing the laps I can see that I have left so much time on the table everywhere. Unfortunate, this is likely the last HPDE for the year. I would love to have another go before the season is over.
Driving the Mini on the track stresses everything more than on the roads. I know the front brakes are in need for a inspection immediately. A few months ago I have deferred the installation of the Wilwood front brake kit until next season as I don't want to waste a perfectly good set of stock front brakes. In this recent track day I sure got what I wished for. I used the brake harder than I have ever been. The front end vibrated braking hard at the braking zones of the front and back straights. The pedal was the spongiest (from boiled brake fluid) I have ever experience and was quite worrying.
After repairing the leaking vacuum/boost line I went shopping. I could tell right away Mini ran smoother and had more pull.
However there was this new rattle and I suspected it is the tailpipes rubbing against the heat shield of the battery box.
Yesterday I took the opportunity to perform a post track day inspection on the Mini before the rain comes. As the brake indicator illuminated at the track I need to inspect all the brake pads to see how much linings remain.
you can see a good length of the caliper slider shaft is exposed - indicated the pads are quite worn; the outer pad has about 3/5 of lining remain
the front left inner pad
the left front rotor has some spots of brake lining transfer - this caused brake pulsation during the last session at the track; I considered cleaning the glazing off with sandpaper but decided it would be too much work since the back side is inaccessible until the dust shield is removed; I will just let normal use restore the surface
left front tire (left side) and left rear tire (right side); the front tire took more beating than the rear; ; I put the two outside thread of the two tires adjacent to each other to compare their relative degree of wear
left rear brake outer pad
left rear brake inner pad
I want a photo of the parking brake mechanism of the rear calipers
right rear tire (left side) and right front tire (right side); I put the two outside thread of the two tires adjacent to each other to compare their relative degree of wear
The track is counter clockwise, and in the past the left side tires wear more than the right side. I am quite please to see this new set of tires have worn more evenly between the left and right side.
the right front outer pad
the right front inner pad
I checked the suspensions very carefully for loose bolts
I didn't take photo of the right rear brake pads as they are identical to the left side. The rear brake pads has a lot of life left in them.
I have notice the muffler tail pipes has dropped significantly. I thought it may be due to the extreme heat at the track cause the muffler pipe to lengthen and push it downwards at the tail pipes. It started to rattle badly as it was touching the heat shield of the battery box. Whenever there is rattles and vibration the car drives horrible. It is more psychological.
To investigate I have to put the Mini up onto jack stands.
the tail pipes are about 1 1/5 inch too low
Mini like to be on three wheels - so on two should make him extra happy
I check the muffler hanger first
I suspected this clamp is not tighten enough and allowed the two pipes to twist with respect to each other here
I loosened the pipe clamp to see if I can rotate the two pipes with respect to one another, and I could. I then try to see if by rotating them I could square up the tailpipes with respect to the opening on the bumper cover. I was able to do that and then tightening the clamp well this time.
this is as close to perfect as one can make it
I didn't tighten the clamp when I made the one-ball exhaust modification because I was unsure if I would need to adjust the tailpipe alignment with respect to the bumper cover opening.
while I have the Mini high up on jack stands, I carefully inspected all the suspension for possible loose fasteners; everything is shipshape
as I suspected during the track day the vacuum/boost leak led to the ECU's fuel trim to be too lean; there could also be less than optimum ignition timing as well; this is taken after a shopping trip after I reattached the vacuum/boost line for the boost gauge; there is a light coat of black soot which is normal
this is a photo taken at the end of the track day and the light grey soot indicates it had been running quite lean that day; I suspect it cost me couple seconds per lap
I took the Mini for a test drive afterwards and he purrs all the way. All is silky smooth and one can hear the nice whines of the engine and the single mass flywheel. There is absolutely no rattle or abnormal vibration. I really like the suspension combination on how well the ride is on the road.
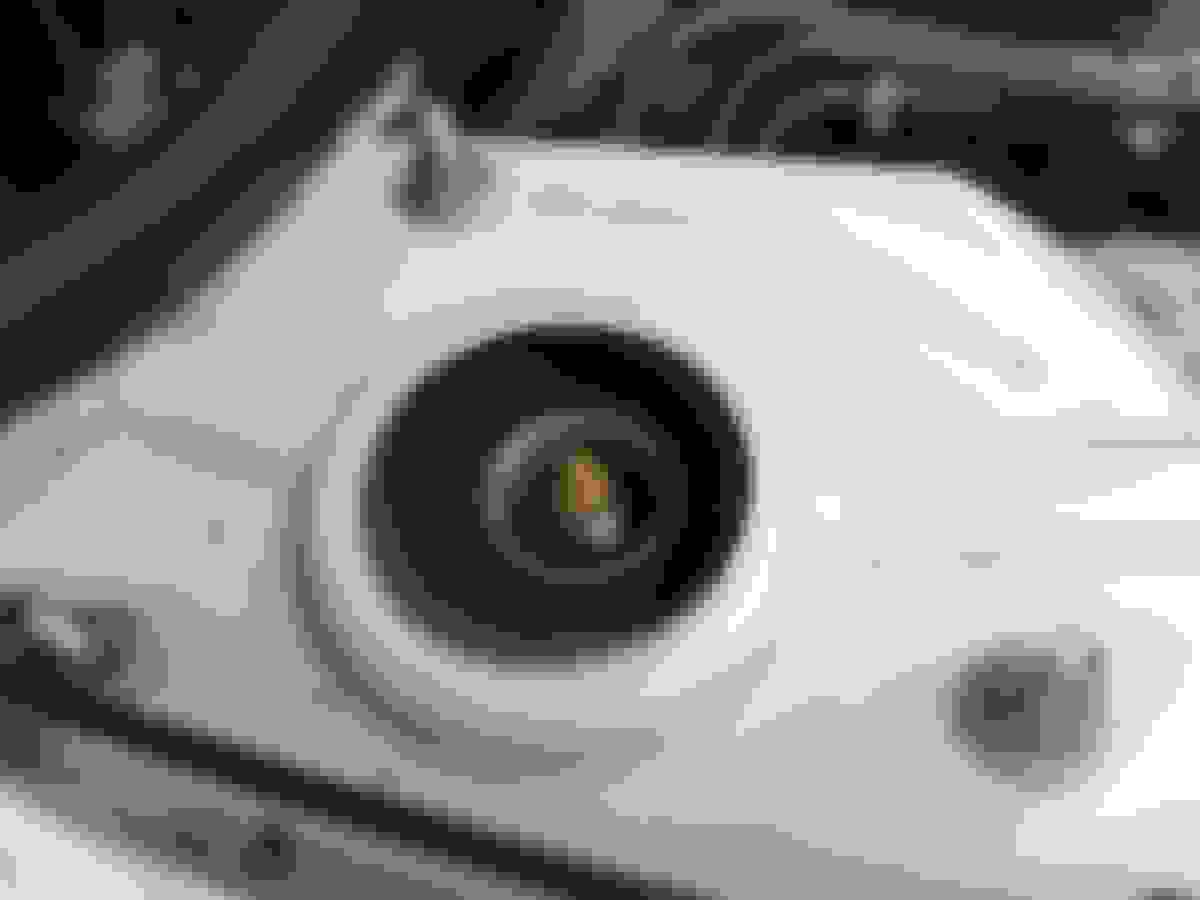
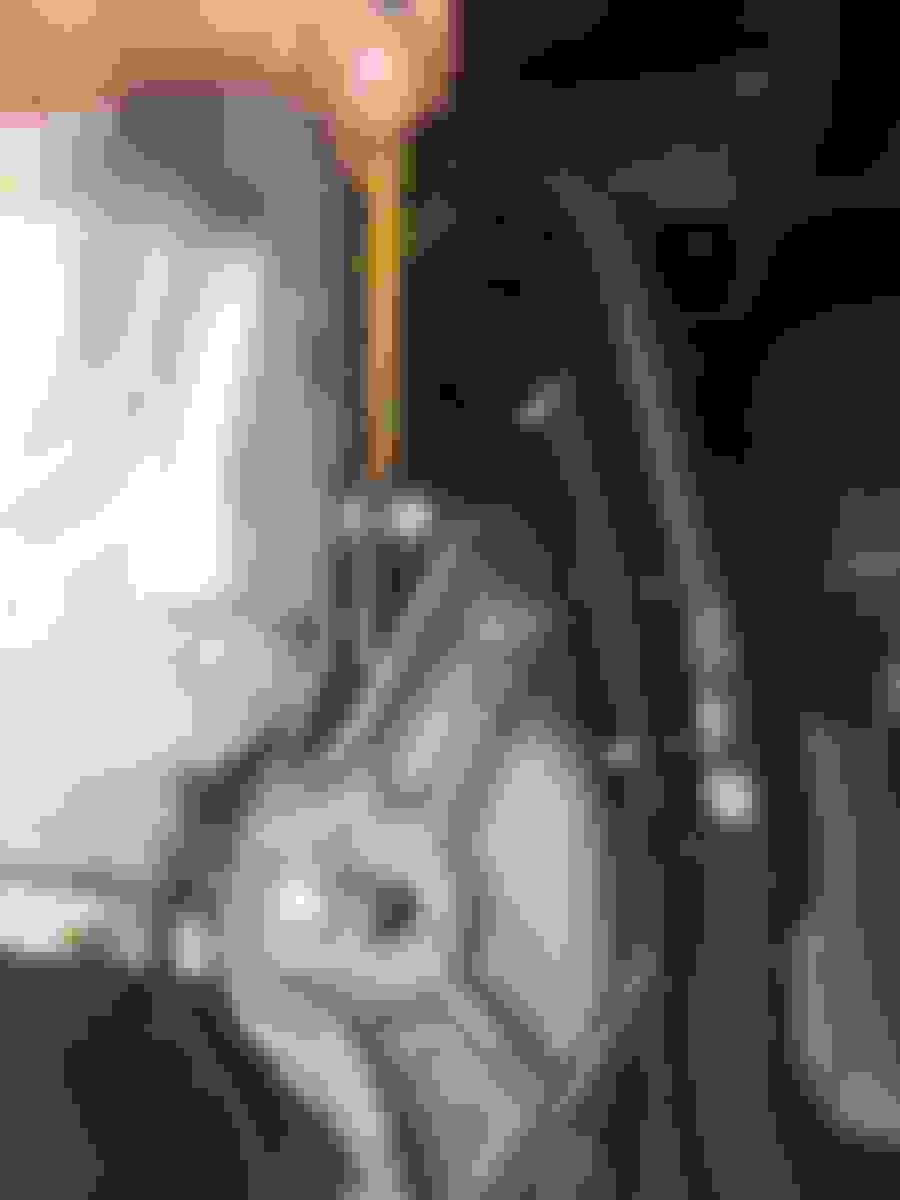
I realize I have another supporting evidence that the engine must have run lean at the recent HPDE due to the vacuum/boost hose popped off. I spotted the traces of coolant residue left from overflowed when I inspected Mini post event. This didn't happen in other earlier events during the peak of summer with much higher ambient.
traces of coolant residue
Before the event the coolant level was slightly overfilled - by about 3/8 inch over the level indicator. Good to know that the pressure relieve cap is doing its job.
My favorite joke for Oregon is we have distinct seasons here, rain, and no rain.
Only last week we had 90s day time temperature. This week the day time temperature dropped down below 60s. Last night Timberline Lodge received a few inches of snow.
I am trying to eke out one more track day in September. It can be risky to sign up this late in the season at the mercy of the weather. I don't feel comfortable driving fast a wet track yet.
As the front brake pads are quite worn for safe track use, I have to find a set of pads for the stock calipers pronto to tide me over until next season. A set of slightly used racing pads is being shipped, in time for the next event.
I have been reading up on brake fluids, to try cutting through the marketing fluff. I don't like throwing money at a problem without knowing what the problems are. Here are a list in assenting order of cost and performance:
generic DOT-4
slight cut about generic DOT-4
small step up
the most premium
this graph says a lot about the importance of wet boiling point
Per DOT spec boiling point is defined at 3.7% of water content.
I plan to use Castro SRF when I install the Wilwood brake kits and changing all the brake lines. For this last track day I will use what would be adequate. The pad selection have significant implication on how hot the fluid in the caliper gets. I expect lower temperature from the racing pads over the stock pads.
I compiled a list of DOT-4 brake fluid boiling points. For the baseline I just use Napa as it has the minimum DOT-4 specs. The list is in ascending order of higher wet boiling points.
The Castrol SRF costs more than 8 times the generic DOT-4. I was in a store a few months ago and I almost bought the Pentosin Super DOT-4, instead of the cheaper Napa generic. I can see here with the BP figures side by side it offers negligible benefit.
I enrolled Mini into another day of school to learn how to run fast in a loop.
The weather outlook is it would be a cool dry day so I would less be worry about brake fluid boiling. To tide me over I need a set of front pads for the stock calipers. I cannot be too choosy with very little time and I want to spend minimal money. I found a set of Hawk racing pads that had been used once. The seller is nice to throw in 2 sets of rear pads for free, not promising what compound they are.
It arrived and to my delight the free pad sets are all Hawk performance pads, but with lower temperature ranges which is good for street use too. The front pads are quite racy so not too suited for street use.
three sets of Hawk pads
To leave nothing to chance, I grabbed a set of worn Mini pads to verify that these are all the right pads.
this graph comes in handy
I expect the set of front pads to run cooler than the stock pads. As the weather will be cool, I would just use standard issued DOT-4 fluid.
Last edited by pnwR53S; Sep 20, 2017 at 02:05 PM.
Reason: add photo
It had been raining dogs and cats in the last three days after the weather suddenly switched from summer like weather to winter like weather. I am trying to eke out one more HPDE day to call it a season.
In the last track day Mini ate the front brake pads. There are so little brake lining left that I was worry the brake would not last me through the wet seasons until next spring when I will proceed with the installation of the Wilwood front brake kit. I need to find a set of front pads fast.
I found a set of Hawk racing pads with HT-14 compound that has been used for one track event. The price is right so I bought it. The seller threw in 2 sets of Hawk rear pads for free and expedited it to me in time for the next HPDE day. Amazing deal. 2
HT-14 compound characteristic is in this graph
Today is the first dry break so I decided to swap the brake pads to give myself some time to go to plan B (install the Wilwood brake kit) should the pads does not work out. While changing the front pads should be pretty easy I have to consult the Bentley service manual.
I turned the steering to make accessing the caliper easier
step 1 is to loosen the two caliper guide pins
step 2 is to remove the spring clip that prevent the caliper from rattling on the caliper carrier
once the piston is compressed a bit with a woodworking clamp the caliper can be lifted off from the carrier with the brake pads
always support the caliper so not to stress the hydraulic brake hose; you can see the stock pad is quite chewed up and worn
worn pads (top) and the new-to-me Hawk HT-14 pads (bottom)
I took the opportunity to sand down the rotor surface where there are spots of brake lining transfer. I also checked the caliper floating surfaces as well as the piston for possible sign of corrosion. Everything is in excellent condition. The used-once pads were not marked as which side of the wheels they were used on. I could not discern it from the wear pattern either. The wear of the pads are very uniform and there are no wedging so I feel comfortable to just install them.
I proceeded to assemble the brakes - this is right side
meaty pads - right side has no brake pad wear sensor
these are the worn pads removed from the left side - always good to compare the amount of wear of both sides; they are nearly identical
the rubbing (riding) surface of the floating caliper carrier - no sign of wear at all
the piston has no trace of corrosion
I should mention that before compressing each piston I check the fluid level in the master cylinder least it overflow and make a mess and kill some paint. To my surprise I didn't have to suck out some brake fluid to make room for the retracted pistons.
I wasn't going to bother with replacing the brake pad wear sensor. But on second though the next HPDE is host by an organization that I have never partake with, and I do not want to risk failing tech-inspection because of the brake warning light. I dug out my spare brake pad wear sensor.
I have two of these that I bought for rainy days
replacing the brake pad wear sensor is a bit of a pain but I managed
I have no idea how these relatively aggressive pads will be like. According to the graph they requires very high temperature to work well, and I was afraid they would be dangerous for used on the road. I was also afraid the potential steering pull if the pads are worn unevenly. Only a road test around the blocks will tell.
No pull nor pulsation. All is good. They brake actually has no less bite compared to the stock pads. The air temperature was only about 70F when I tested the brakes. I will drive on these pads a bit to bed them in - into my rotors' worn patterns.
Mini is all ready for the next HPDE day; what would this job cost if I go to the MINI dealer?
Last edited by pnwR53S; Sep 21, 2017 at 05:38 PM.
Reason: add graph


 Fortunately I am not a bit superstitious.