When you click on links to various merchants on this site and make a purchase, this can result in this site earning a commission. Affiliate programs and affiliations include, but are not limited to, the eBay Partner Network.
This morning the new part arrived (I ordered it yesterday morning) and I was very surprised. It arrived so fast as it was drop-shipped locally only 6 miles away from a local auto parts wholesaler. Thanks Pelican!
So happy to hear we got it to you in a timely manner. I am here if you need anything. Looking forward to watching you continue to work on your R53.
This is not a project that I have been looking forward to resume until completion. While I have the modular front end off when performing the drivetrain modifications I took the opportunity to install the two front fog lights. The lights were installed and the wiring brought out into the engine bay but still need many man hours of labor intensive work to get the wiring retrofitted to the car. When I ordered the Mini back in 2004, I also purchased this front and rear fog light retrofit kit, as well as a factory anti-thief alarm.
The front fog light kit harness retrofit requires connecting to the fuse terminal box in the engine bay, and into the cabin which it would need to go to two places to be connected to existing connectors of the car.
I removed the engine air intake filtration system so to be able to feed the harness into the cabin
this is the wire loom grommet I would use to bring the harness into the cabin
four signals of the harness need to be added to three connectors under this fuse terminal box
I have to say, these connectors under the fuse terminal threw me into a spin. With my extensive electronics experience I was challenged as how to add these additional pins into them. I took a much time as needed to avoid damaging the delicate piece parts of the connectors. Unlike most common connectors with crimped pins which you just insert them into the vacant contact cavity there is more to it. On each side of the connector there is a locking bar that prevent the contact pins from accidentally dislodged. The lock bar must be removed first before a contact pin can be inserted or removed despite they have a barb that lock into the connector.
this is the delicate clips that holds the lock bar in place and you have to gently ply them open to release the lock bar
the lock bars are not the same on all these three connectors - there are two types
the installation instruction is also vague at many steps so I have to be extremely careful that I correctly interpret the intended instructions
the remaining branches of the harness is ready to be fed into the cabin through the big grommet
the first stop for the fog light harness in the cabin is to the toggle switch bank; many things have to be dismantled to get to it
One reason I would not let anyone else service the Mini is I would take the time and care to do things right, and without hidden damage and missing parts when done.
you have to ply this control panel out and with my care the thin plastic bezel popped up and with it this delicate seat heating button cover - fortunately no damage was done
note the 4 connectors where they would be returned
cable tie for the shift boot
facelifted gen 1 Mini down tube removal is different from pre-facelift
the foam spacers are handed
easy as pie
lots of photos for posterity
Mini use these nifty connectors through out the inside of the car; it has a lever that pulls the plug into the receptacle and locks it in place
next is to unlock and slide out the contact cartridge so the new contact pins may be added
I have two versions of the retrofit instruction and one is wrong with incorrect pin numbers given. Fortunately for me I accidentally discovered there are two of these documents with the corrected one being a later release.
this is the correct version
this is the incorrect version
next stop for the wiring harness is to the general control module in the passenger side foot well which is hidden behind a all inclusive plastic trim piece
the general module on the passenger side foot well
Before adding the new contact pins to the connectors of the general module I next turn to retrofitting the rear fog light as it also has a harness that needs to be brought here.
I have forgotten how to remove the rear seat back from long ago
this is the first time I torn into the wheel arches - very elegant design
finally the bumper cover is off
Mini has an ugly butt
checking fit of the harness connector
I tried to avoid the need to pull out the rear trim panel as long as I can snake the single conductor wire through and not pinched anywhere along the way
grounding point
all the harnesses are ready to be connected to the general module
I took my time to ensure no mistake is made - having to pull all the things apart again to retrace what you did wrong can be the most unpleasant experience as well as potential damages
these two wires for the front fog lights are wrapped too far towards the end and they cannot both reach their respective connectors - MINI's sick joke
Completed the wiring retrofit, I took the opportunity to deep clean the normally inaccessible places. Accumulated dust contributes to old car odor.
even these were wiped down before reinstalling
dust free
make sure all loose wires are tidied up
Before buttoning everything back up I check their operation. I checked also the functions of the audio system and found that I only getting very faint sound out of only the tweeter of the front left channel speaker. I needed to determine where the problem is and take appropriate action so not have to tear open the center console again later.
I protected the easy to marred parts in plastic bag during this kind of project
while having this piece out, I explore the potential of using it to secure a home made dual gauge pod
The Mini is now all back together with the fog lights retrofitted. They do not function yet as a special software must be used to enable these features by the dealer service. I plan to try NCS Expert that allow one to change BMW cars optional settings and I hope I can use it to do this myself, instead of going to the MINI dealer to get these done. I only just begun reading up on NCS Expert. I did a quick search for "coding ZCS/FA" which is needed to enable the fog lights, and I can see many search hits. It stands to reason that this software should help me do this.
Mini got a deep interior cleaning and a wash outside too
I added this decals
Last edited by pnwR53S; Jun 6, 2017 at 03:30 PM.
Reason: fix sentences
One last time, I revisit should I replace the stock grills with the Mini black Aero Grill kit. The Aero Grill kit was order with the Mini back in 2004 and I have never feel it would work with my Mini without substantially changing the exterior theme to make it a coherent whole.
I just prop the black Aero Grill in front of the stock grill
To me it disrupts the coherence of the all white with chrome ascent simplicity of my Mini. The black Aero Grills works with most other paint colors but often not well with Pepper White Minis. I have looked at a lot of Pepper White Minis photos on Google image search. The few that the grills work are cars that have black bonnet strips, black SC intake scoop, and/or black headlight trim rings, black mirror covers, and sometimes more black on the bumper cover, and especially with a black roof.
On the day these photos were taken, I actually set out to swap the grills and see how they would look. However as I tried to remove a couple of the stamped steel nuts that engages with the molded in plastic threaded studs of the stock grill they would not unscrewed without doing damage to the plastic studs.
I think the Mini has always looks great the way it is
Last edited by pnwR53S; Jun 7, 2017 at 08:30 AM.
Reason: edit sentences
I ordered a Willwood 12.2" not so BBK a few weeks ago. I shopped around for the best price and I was not surprised that the kit would be drop-shipped. Along the way there were many glitches mostly due to the vendor's problematic e-commerce system which led to a lot of confusions and needless phone calls and let me just cite one - they informed that my order was cancelled because they were unable to fulfill it. I called them and it turned out it was an automated canned email that were triggered because of another e-commerce software glitch. I have done my due diligence every step along the way. I also have done my best to ascertain that they were not trying to renege on the order. I do understand that Willwood's BBKs for the R5x Minis are likely not selling like hotcakes these days so I patiently waited.
Today, two days after the ETA that I was last given, I followed it up first by calling Willwood first, instead of the retailer since they have to call them last time and relay the ETA (now 2 days past) to me. All I could get out from Willwood is the kit is in stock (as of today, and we have a few other conversations about common parts with other vehicles, etc ...). I respect their unwillingness to give me if the kit has been shipped due to security and policy reasons.
I called the retailer and only to be told that the kit is due to be shipped in another week. Upon my pressing she admitted that they have received the tracking number from Willwood just today and it has been shipped, and not yet send me the information. I knew that is BS based on all the glitches with this purchase along the way. I insisted that she give me the tracking number on the phone, and immediately I verified it is there with the carrier. It has been a lot of needless waste of time on both sides. At least I now know that my order is on the way instead of wondering.
Last edited by pnwR53S; Jun 8, 2017 at 11:38 AM.
Reason: add smile
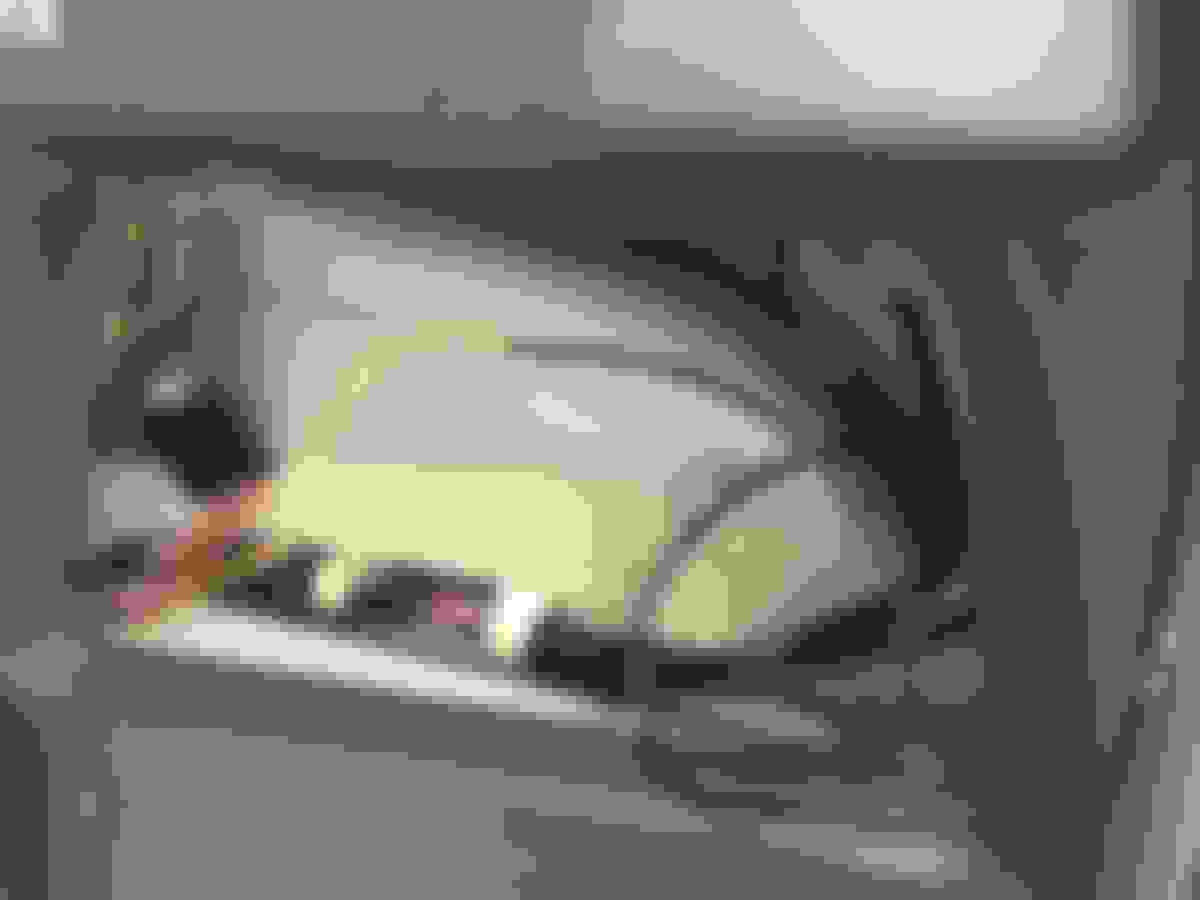
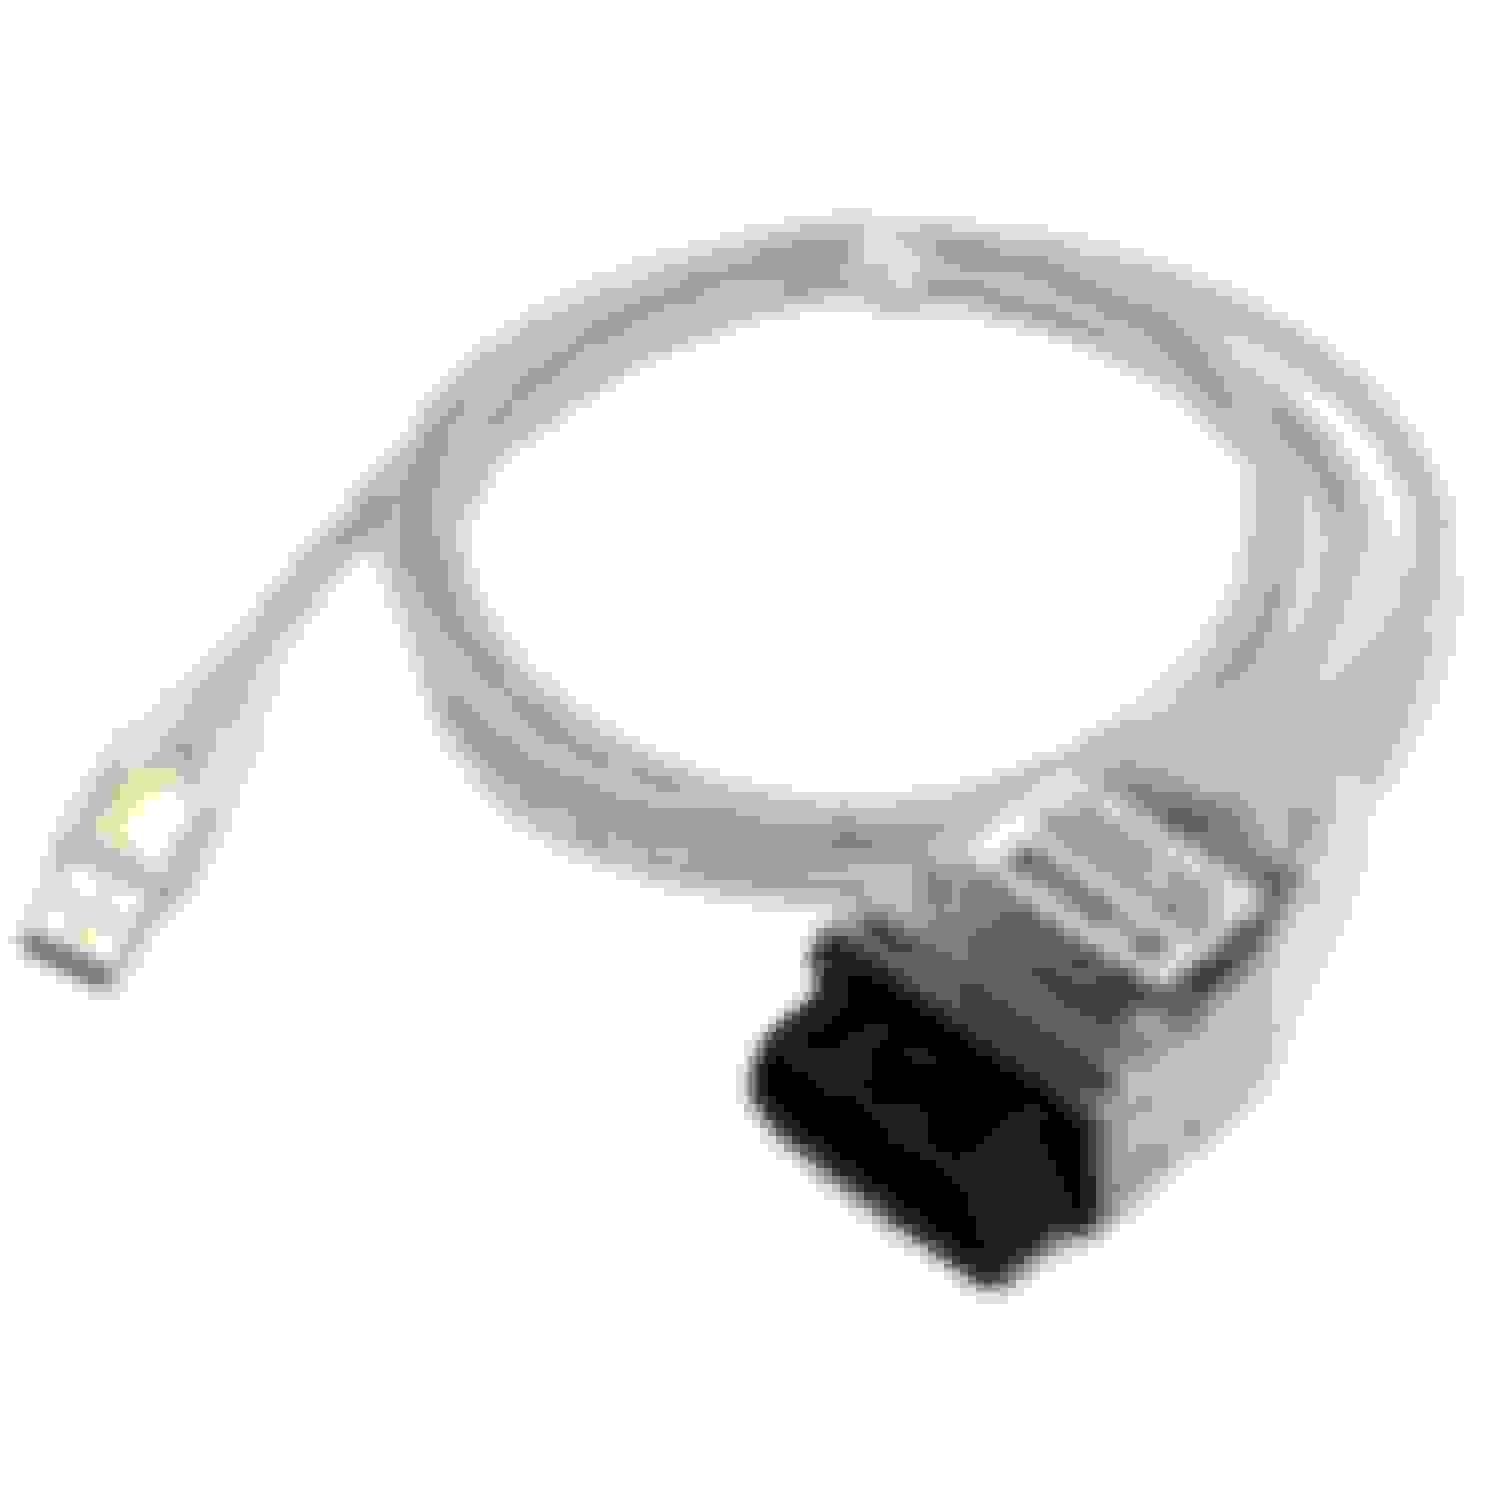
The K+DCAN cable arrived. It came with a CD. Looking at the dates of the files I decided it must be too old so I searched the web. Also seeing Chinese words in the CD is also a bit concerning. It turns out many instructions on the web also points to a download server in China. It took a lot of quick reading between the lines and finally I think I know what to do after cross-referencing installation processes from difference sources. A lot of tribal knowledge and you just have to have faith with the goodwill of others.
I am using a Win 7 laptop. I have a XP laptop but I just don't feel like working with a 1024x768 screen. I had a hard time initially even getting the installation exe file to run, and it turns out is the Windows legacy problem that it cannot handle long file/path name which almost had me tricked. Using Mac would add another layer of pain, no doubt.
Not quite there yet getting the NCS Expert tool to work, but hopefully close.
Still need to get the cable modified, or may be now as it seems my cable is software configurable. Still need to figure out which is for R53 Mini.
Will be busy the next few days as the Wilwood kit is to arrive soon and I hope I didn't screw up on checking my wheels' compatibility.
Last edited by pnwR53S; Jun 12, 2017 at 09:15 PM.
Reason: can't spell worth a sh1t
I don't know if I am just going off on a wild goose chase about the need to modify the ODB cable. I saw many BMW people talking about soldering pin-7 and pin-8 together. One is K-line and the other is the second K-line. I consult the schematic in the Bentley but the ODB II connector is never depicted while the k-bus and the D-CAN buses are shown with the modules.
I will do a quick check on the physical OBD II on the car and just go try it first instead of being too cautious. What do I got to lose? While shorting together two single-wire buses together typically is not a too bad thing to do electrically speaking, bad thing might happen if the modules on the separate buses refuse to play nicely together.
A few things in the trans-Pacific shipping line. Instead of buying a HF auto trim removal tool kit I went and found the same thing on feeBay for $3 - a whopping 50% saving.
I am patiently waiting for its arrival to remove the driver side door trim to investigate why the speakers there sound like mosquito singing.
The T/D-CAN cable arrived. I tried installing the BMW NCS Expert suite but only to result in non-sensible error messages. There were other problems including the program froze. My first installation was using the CD that came with the cable. I should have known better. While all this could due to the T/D-CAN cable which I have been wondering if I need to modify it to make it compatible with R53 Mini.
there are a couple of files that the installation cannot found but this is supposed to be normal
I then decided to try the one on the NAM forum. That was much easier but still there were some hiccups with missing files. Spent more time searching the forum and looking for the missing last file I thought I have the problem slicked. The computer has been rebooted a number of times by now.
No so. I launched INPA but it reports Battery: Off and Ignition: Off. I closed the program, turned off and then on the ignition and relaunch INPA and it just froze. I had the wit to reboot the computer and see what happen. Sure enough no INPA behaving normally but I am still seeing Battery: Off and Ignition: Off.
By now I was willing to go ahead and short pin-7 and pin-8 of the ODB II connector of the cable. Sure enough once that is done, INPA reports Battery: On and Ignition: On. This is good sign so I went and try NCS Expert. Selected the R50 chassis and it came back with this screen:
This is a small victory at this point as getting the legacy software installed properly on the Win 7 laptop is in itself a challenge. Then there is the unknown about the functionality and compatibility with my R53.
Last edited by pnwR53S; Jun 13, 2017 at 03:00 PM.
Reason: change photo
I sloughed through the German entries in the trace file.
A few hours later. I uploaded the trace file with the few changes into the BC1 module of the Mini. The front fog lights and the rear fog light are all working! I also set the emergency flasher to European, which has a periodic double flashes.
the rear fog light (the single red light above the center mount exhaust) is now functional
the front fog lights (the two lowest lights) are also functional (independent of the rear fog light)
All that hard work in retrofitting the fog lights paid off finally. The toggle switches for the fog lights have a tiny light at the end of the toggle lever when on, and one is green and the other amber. So classy.
There are also the possibilities of changing the rules of the fog lights, with respect to the headlamp hi/lo etc. More investigation needed.
I successfully enabled the factory alarm using NCS Expert. There are many entries related to the alarm. Most are already set to active, except the main alarm system enable entry. It was cryptic and you would not know it without the help of NCS Dummy. I installed NCS Dummy but didn't want to spend time learning all its amazing feature. I mainly use its descriptions with many cryptic entries. I checked the most crucial setting. One is for setting the retrofit alarm system to active. The second is the ultrasonic motion sensor for the alarm which is already set to active. There are many other entries which are already set for what most would want so I didn't need to change them. It worked. I was so thrilled to see the alarm finally is enabled without the need to go pay a Mini dealer to do it.
I installed the alarm retrofit in 2005. It was so long ago that I could not remember all that involved, especially if in orientated the ultrasonic motion sensor correctly. Also I cannot remember what other sensor and trigger capability of the alarm system has. Without getting the car to the dealer to have them enable the installation (via the dealer servicing computer tool) the red indicator on the steering column would flash when the car is locked but that was all it would do - just as a fake alarm indicator but will not sound if the car is broken into.
After writing the modified file into the base control module BC1 the alarm was enabled. I immediately tested the functionality of the ultrasonic motion sensor, and it works like a charm. This was the first time the alarm siren ever sounded and it has a high pitch sound unlike all the alarms that I've owned. In addition to the siren the parking lights as well as the headlight high beams also flash. The latter are programmable options. I could not find the hard copy operation manual but the operation is relatively intuitive. What I was unsure if there is a shock sensor or a tilt sensor. I would find out the next day.
Other functions that I tried to enable was comfort closing of the windows with the remote, and comfort opening of the windows with the remote. Neither was successful.
The Wilwood big brake kit arrived so I open it to do some dimensional checking was well as collected the weight measurements of all the piece parts.
I wanted to check the hub opening diameter of the rotor hat against that of hub of the car to make sure the rotor is properly center. To do this I jack up the front of the Mini and prepare to remove the front wheel. As the car begins to rise on one side the alarm went off. This tells me there is a built in tilt sensor in the alarm main unit, which includes the siren. Like all car alarms the system also are designed to be triggered by opening of any doors and the boot, and likely the bonnet too.
I have not begin the installation of the Wilwood brake kit as of yet.
the 4-piston caliper is aluminum
When I swap in the Wilwood brake kit I would find out the weight of the stock floating caliper to determine the total weight difference of the each front brake.
Right now I am locked out of my Win 7 Thinkpad that I used for the NCS Expert for a unrelated issue so no NCS hacking of the Mini until I remember the BIOS password (it has two passwords and a finger print scanner). However despite of it, I accomplished what I set out to do - enable three retrofit kits (alarm, front fog lights, and rear fog light) without needing to rely on the dealer.
On reprogramming the Mini's configurable options all is good. I posted the all that I was able to accomplished in this other thread. I also turned on the petrol tank reserve gong, and turned off ASC which I have found more trouble than it's worth.
Recently while carrying out modifications on the Mini I found that the front left side speakers sounded like mosquito singing. Only tiny sound that emits from the tweeter at the top.
the left door speakers sound like mosquito singing
I decided to invest $2.99 in a set of automotive trim removal tools sold and shipped from Hong Kong.
this would turn out to be the best purchase for $2.99
a cool morning is the day to take apart the driver side door to find out what failed; I have already determined it is not the audio head unit or wiring behind the center console
the revised Gen 1 Mini's has this extra step to get to the screw hidden behind the armrest cushion
this wide ply bar is great for popping the plastic snaps
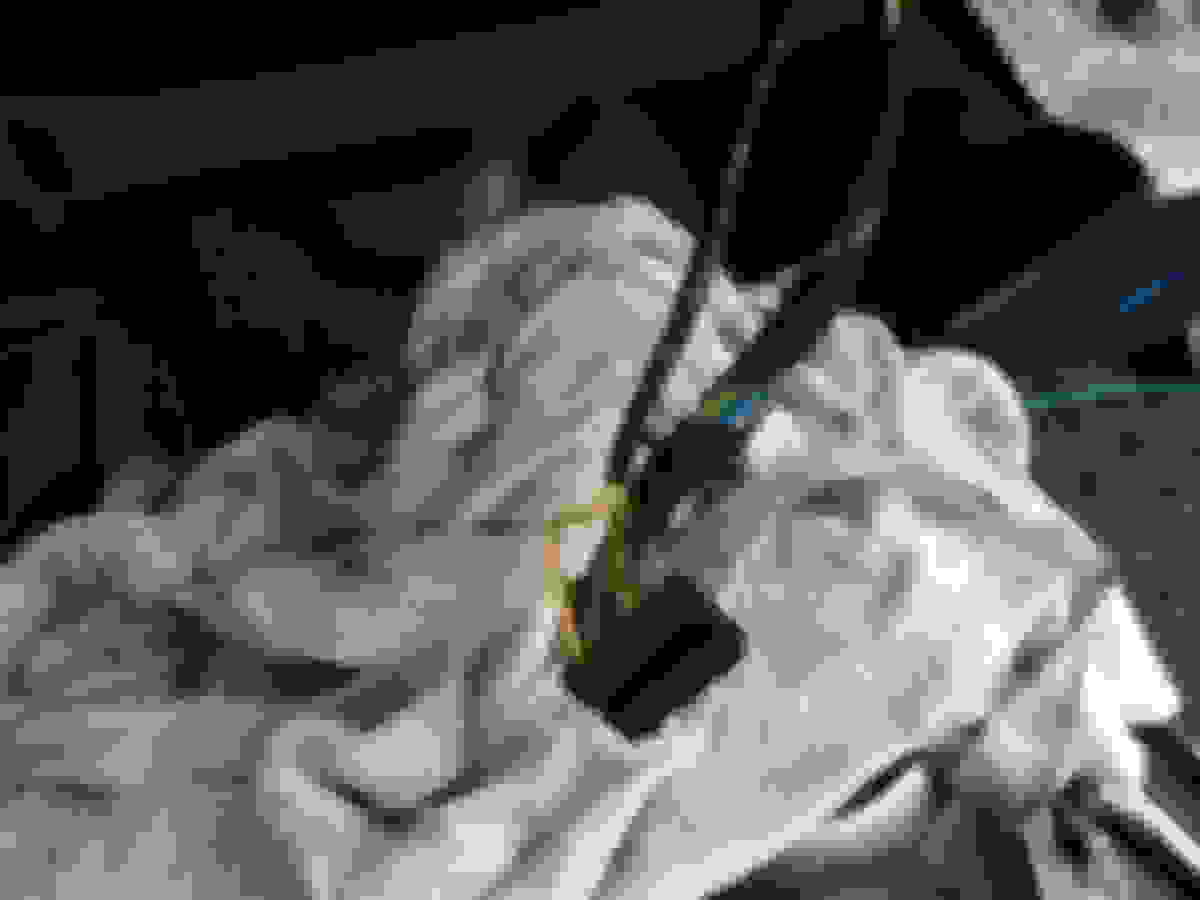
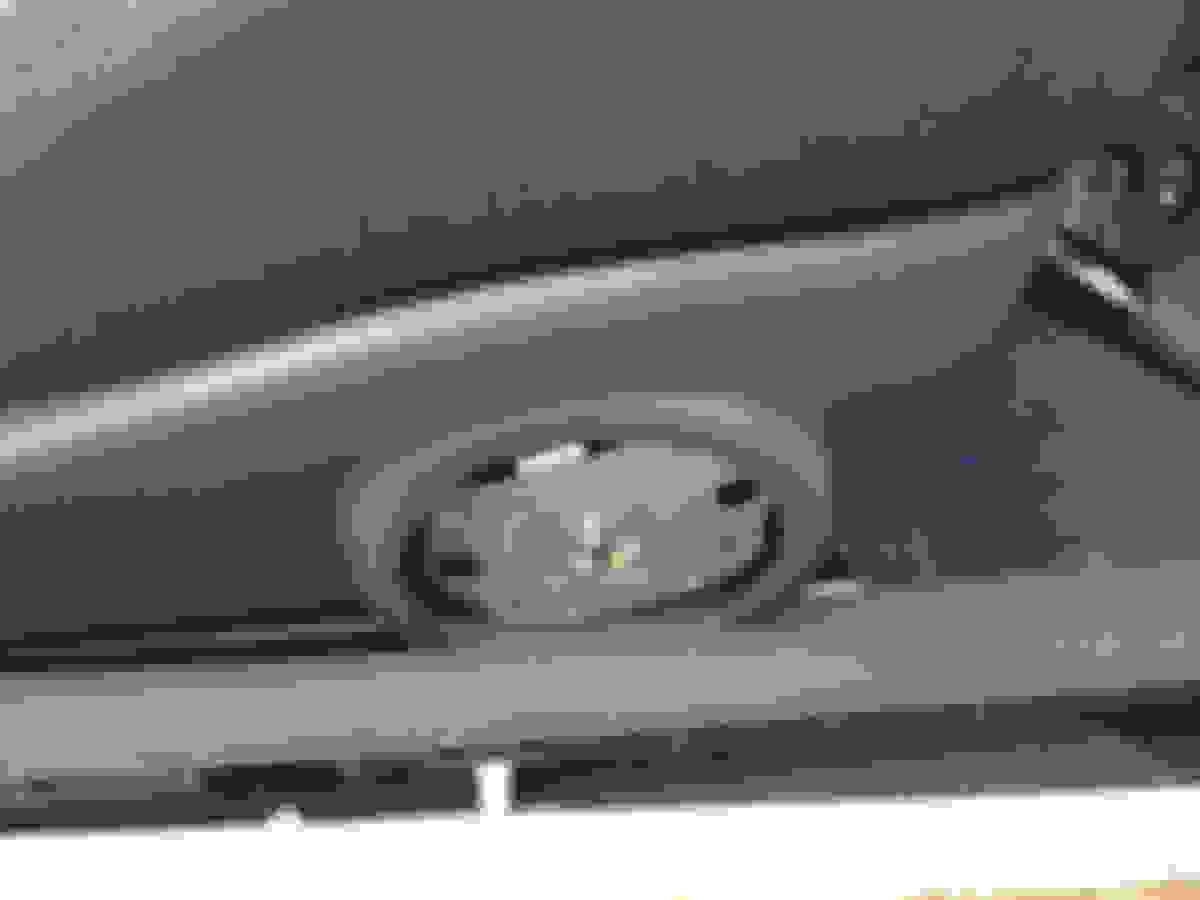
the courtesy light connector
all the snaps and the slots on the back side of the door card
It has been almost a decade since I installed these MB Quart two way speakers that I forgot the work and time that I invested in a perfect installation
here is the two way crossover and the custom made spacer for the speaker
the tweeter on the top is factory which makes very little sound so I decided to leave it to augment the MB Quart tweeter as it sits very low
a better detail of the spacer that I made out of 3/4 inch MDF board
When I saw the water residue on the speaker I was bracing for the worst scenario - the water must have gotten onto the voice coil of the woofer and caused corrosion that oxidized the copper winding. But when I checked the resistance it reads normal - almost a dead short. I knew the problem must lies inside the passive crossover.
this is how the crossover I installed connects to the factory speaker harness
I trouble-shot to the crossover being the cause - you can see the adhesive (most likely superglue) holding the ferrite core of the choke has failed
I used this bookshelf speaker to verify the speaker connection from the head unit has no problem
obviously the delamination of the ferrite core would not cause the woofer to have no sound - the suspect is the magnetic wire wounding must have severed
here you can see one of the magnetic wire lead has broken off due to vibration as a result of loosing the structure support by the ferrite core
this made in Germany crossover is defective in design; superglue (or similar) adhesive is a very poor choice
I decide to use superglue to glue the three-part ferrite core back together. However I will add a fastener to hold the three part together while the superglue will provide the surface to surface bonding that this magnetic core needs.
I routed out the copper traces around the hole so the stainless steel screw would not cause short circuit
once I checked fit of the screw and nut I apply superglue to the mating surface of the ferrite core
I also apply a dab of superglue to the fastener threads as thread locker
it is now better than new
I considered using plastic or brass screw so not to change the permeability of the ferrite core but decided that the stainless steel screw should have only insignificant effect. Doing otherwise would require a trip to the store. I much prefer to use what I have on hand.
made in Germany - fixed in USA
I am glad the crossover failed. Because of it I found out the speaker location gets a lot of moisture and possible rain water drips so something has to be done.
I have some remnants of this rubberized dropcloth which is great to use a moisture barrier
done!
I managed to reinstalled the door panel back together without causing any wear and tear. The audio system is sounding great once again. I will wait for a cool day to also check the crossover in the passenger side door and to moisture-prove the speakers on that side.
I have to say, of all the cars that I've owned the Mini trim panels are the best for serviceability. In other cars once you pulled a trim panel, you are more likely than not to cause irreversible damage, especially the one on the doors, and the door no longer closes with a satisfying THUMP. Not so with the Mini. I have so far managed to put everything that I torn apart back together without breaking any plastic bits.
Yesterday was forecast to reach 100F high. I seized the cool morning to add moisture barrier to the passenger door speaker, and also check the passive crossover which I expected to see the delaminated 3-part ferrite core of the choke.
Yes. The ferrite core fails in same exact manner though the magnet wire has not broken from stress. Still fresh in my memory from the procedure with the driver side door, this time the whole process took around 1 hour. Everything went back together like no one ever been in there. Practice makes perfect.
I've enjoyed your detailed work. Keep it coming! I've found that my mini door sounded very clunky when closing, so when I replaced passenger window motor and regulator I ended up using some dynamat on the doors and behind the speakers. It sounds much more "solid" now. I was curious if that was something you noticed as well? I had a set of old MB quarts in one of my previous cars, they had great sound.
Originally Posted by pnwR53S
Yesterday was forecast to reach 100F high. I seized the cool morning to add moisture barrier to the passenger door speaker, and also check the passive crossover which I expected to see the delaminated 3-part ferrite core of the choke.
Yes. The ferrite core fails in same exact manner though the magnet wire has not broken from stress. Still fresh in my memory from the procedure with the driver side door, this time the whole process took around 1 hour. Everything went back together like no one ever been in there. Practice makes perfect.
I just read all you your posts and WOW very impressed, he keep up the great work and looking forward to reading more about your car and your adventure.
I'll be interested to see how impressed you are with the Willwood brakes. I had them on my 05 JCW and they were not as good as the brakes from a 08 conversion I had on a 04MCS I owned. The conversion setup was really impressive.
I've enjoyed your detailed work. Keep it coming! I've found that my mini door sounded very clunky when closing, so when I replaced passenger window motor and regulator I ended up using some dynamat on the doors and behind the speakers. It sounds much more "solid" now. I was curious if that was something you noticed as well? I had a set of old MB quarts in one of my previous cars, they had great sound.
When I installed the MB Quarts on the doors in 2005, I considered adding a bit of Dynamat sound deadening to the doors, but I was also concerned with the added weight. Seeing there is already a strip of deadening from the factory I decided not to even though I already bought some. Both my door closes with a solid German car thump. At time when the driver side clunky is when there are hard objects in the storage pocket. There is no perceptible vibration when the speakers are played very loud. I think the MDF spacers and how well they are secured is most important.
I also installed a set of Alpine aftermarket speakers at the back. As they produce louder, and capable of lower frequency bass I put in a modest patches of Dynamat behind the outside sheet metal. Those speakers too worked out very well to complement the front channels. I like setting the head unit's fader to bias more towards the front for better imaging. The rear channels mostly do the job of augmenting the low register bass which the front channels lacks.
I'll be interested to see how impressed you are with the Willwood brakes. I had them on my 05 JCW and they were not as good as the brakes from a 08 conversion I had on a 04MCS I owned. The conversion setup was really impressive.
Thanks for the data point.
As my existing brakes are in very good shape that I replaced all with new OE pads and rotors not long ago, I want to get my money's worth by wearing them out on track. I have postpone installing the Wilwood except to test fitted them against my wheels.
From the outset I was disinterested with buying used brakes so later gen Mini brakes were never in my consideration. To me the selection criteria is more than stopping power. If I have not mistaken all OE calipers are floating and made of cast iron which tend to be heavy. I chose Wilwood for their most reasonable price, reputation, and light weight design. Unsprung weight is one major consideration. Lastly it is compatible with my 16" SSR.
Just a quick report on my quest to personalize the Mini options using NCS Expert. The two last changed I tried were enable petrol reserve audio bong, and to switch off ASC.
So far I have not been able to verify the low fuel warning bong as I often am too engrossed in enjoying the Mini's newfound rawness.
As to the ASC disabling. After flipping the software switch the ASC toggle switch no longer function as before as indicated by the ASC indicator which remains off all the time. For someone never take things granted I thought there are two possibilities:
1) The ASC is truly switched off, which is too good to be true.
2) By setting it to inactive with the NCS Expert, it actually set it to be on all the time - as consistent with the fact that the ASC indicator remains off.
I went for a spirit drive that same day. On a slight incline pulling away from the light, I got the worst stumble. Just this I am very sure setting ASC to inactive in fact shooting myself in the foot - that all it does is to disable the ability to switch it off with the toggle switch.
To prepare for the track day in June, I restore the ASC setting to active as no way in hell that I want this crap intervention on the track.
Loving the updates! I have a leftover VAG cable I think I will try and make work with NCS. Did you ever figure out window up and down feature?
I managed to get all the features that I wanted enabled, except the passenger side one-touch up. I have done a bit more digging and concluded that it is a roll of the dice of the specific firmware version the build-date/model. There were speculations of the absence of the pinch sensor but in my inference, the so called pinch sensor is not in the window regulator, but more likely current sensing in the body control module. Hence, it is purely a software coding which the MINI North America corporate liability lawyers dictated that no way in hell should this be an enableble option (as least in my version).
I didn't want to double post on multiple threads other than here this.
mega72 has a lot of programming experience and he said you can update the firmware using ISTA/P. However at this point, I am reluctant to take the risk of updating the firmware for the fear of not able to roll back.
A couple of weeks ago I took the Mini to the track. I have been looking forward to experience the difference of all the modifications that are documented in this thread. The last time I tracked the Mini was back in 2005 with it in bone stock configuration. The same set of tires and wheels were used in both events. I wanted to use the event to finish off the tires and get my money's worth of the relatively new stock rotors and pads. I was planning on getting a set of new and improved Falken Azenis tires after the event and also swap in the Wilwood front brakes. Doing this would also give me the opportunity to compare before and after of the tires and brakes change on track.
The Mini with the modifications on the track is nothing less than dramatic over the stock configuration. It drives like a much better car as the difference on the road. The elements of the entire package complement one another. The car exhibits very little lean in corners with the Swift springs, Koni Yellow, and the 22mm rear sway bar. Like my initial experience it feel quite neutral also when pushed hard in turns, and I have yet to think of making any tweaks to the front or back damping, or the setting of the rear sway bar. The chicane the Mini used to have the hardest time with stock suspension and open diff can now negotiate without one front wheel spinning madly accelerating out of the turn. Love the Quaife LSD and how the suspension bits come together.
I met a neighbor for the first time that live within 1/2 mile from my house
there were many Porsche including this GT4 Clubsport; and there is the R56 MCS that has a fair amount of modifications
On the drivetrain, the only mods are 15% pulley, Exedy SM clutch set, and 1 step colder plugs. The difference from stock form is nothing short of dramatic for me. The Mini just sung at WOT. On the front and back straights it attained much higher speed than before in 5th gear. It could go faster if I can just be more sure of the safe braking zone as well as improving my corner exist speed.
As the tires are 12 years old the rubber is no longer as grippy. I had no major drama except a couple of scares both because of my backing off the throttle thinking that I went into the turn too hot. A bit more throttle and the car became more neutral again.
The car felt just right while one can always want more power, more brake, and more handling and traction for the track. In all fairness I am extremely pleased with the overall performance considering my initial goals.
In the last two laps I felt the car does not run as smoothly. There began a mild shake on the steering wheel but soon it progressive gotten worst. I drove less aggressively finishing the day.
Coming home I was exhausted from the heat and driving. I waited until the next morning to check the wheels.
To prepare for the event I checked all the tires carefully. I swapped the tires between the front and the back as the ones on the back have more tread left. I was expecting the tires last not much more beyond the track day.
rear tire (left) and the front tire (right) before the swap
By the last 2 lapse I notice some vibration from the steering wheel, and the car does not run as nicely. It was not as sudden onset, but progressively gotten worst. On the way home the condition of the Interstate 5 road surface was so poor that it masked the roughness, except the slight pulling to the left of the steering wheel. It was too dark and I was too exhausted to check that night.
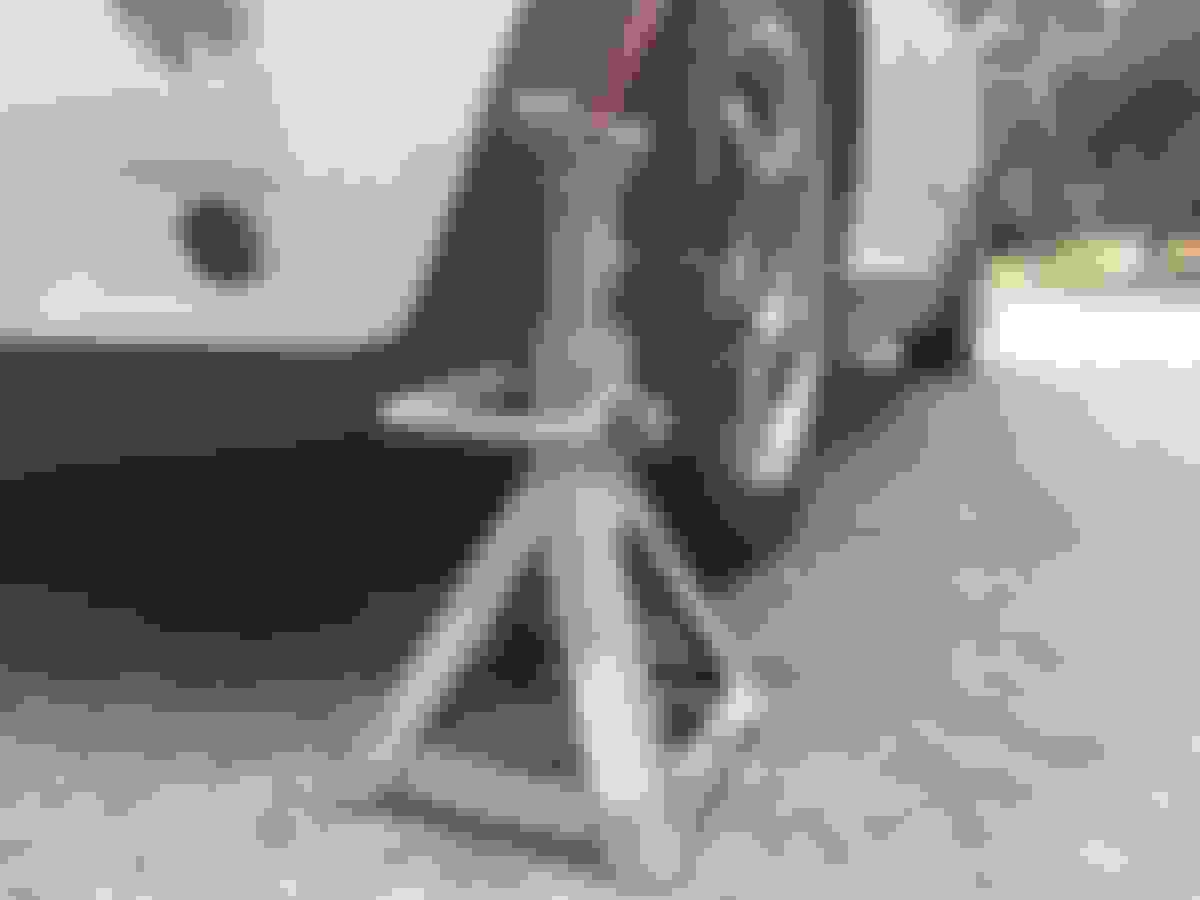
The next morning I put the Mini up on jack stands so I could check all 4 wheels. This also allow me to swap the front with the back easily in case I need to trouble shoot which tire is bad. I was also concerned that I might have knock the front end off alignment when riding the FIA curbs. It is very unlikely since I never hit any aggressively or at the wrong spot. I also wonder if one of the brake discs is warp from excessive heat, and causing drag and pulsing of the steering wheel.
The right rear tire has the most pick-up from the track, as this wheel has the most easy job at the clockwise race track. The pick-up did not get a change to be rubbed off so they accumulated.
Before the suspension modifications the tires always has very significant wear along the outer edge, especially the front tires. The tires worn so little and no sign of uneven wear from this track day - attributable to the much stiffer springs and better dampers as well as the stiffer rear sway bar. The fixed camber plates that I install does increase the negative camber slightly at the front. Hence I am very pleased with the suspension.
the left rear tire has less pick-up than the right rear
Inspecting the left front wheel it did not take long to spot the problem. The outer part of the contact surface bulges more than the right front wheel, suggesting belt separation. Once have both wheels off and compare them side by side it became very obvious.
the diameter of the left front tire (right side of photo) is more than half inch more due to belt separation inside the tire
Like the saying goes, you are better be careful what you wish for. I thought the track day would use up what is left of the threads of this set of tires, but instead the heat and pressure finished it off. I did check the tire pressures after the first session and they were not excessive and I bleed them down slightly.
The brake rotors all got a good workout at the track. There are definite wears just by running the finger across the rotor surface. I would now feel better of taking the perfectly good front brake parts off.
The Mini paint did not suffer from any debris except some rubber deposits from the car in front. On the adjustments of the suspension I have no indication at this time any needs changing. These are the rebound damping of all 4 dampers, the stiffness (3 discrete steps) of the rear sway bar, and the front and rear alignment of the car.
I have a set of new and improved Falken Azenis RT616K+ tires ordered. At the mean time I put the heavy factory wheels with all season tires back on. They are 50 aspect ratio instead of 45 and the Mini does not handle as well is very noticeable.
The Mini killed two tires at the recent track day. Like a bad parent, I immediately went shopping for a replacement set to reward bad behavior.
in a few days the set of Azenis RT615K+ arrived
the thread width is just under 8 inch wide - it looks wrong because of the iPhone wide angle lens
each tire weights in just over 21 pounds
to prepare for the new tires to be mounted, I remove the stick-on weights from the SSR rims and clean them really well so the new weights would adhere well
as the internal belt structure of two tires have failed I did not want to drive the Mini with them on to get the tires mounted; that means I have to transport 4 sets of wheels with tires on plus the new set of tires; fortunately all fit inside the Land Rover
the tire shop is near the race track and they have a lot of business from words of mouth; there is this Mark I Escort race car being worked on - I gather it is the owner's whom I have talked to about his Escort before and I suspect it is the same car that he is now rebuilding
there are many race/track tires and wheels in the shop
after I drop the wheels and tires off I had to kill some time
it's been decades since I last had Popeyes fried chicken - a rare guilty pleasure that I can indulge in
with the new tires mounted I came home to put them onto the Mini - Mini is on jack stands again
I took the opportunity to test fit the Wilwood big brake kit that I purchase a while ago. At this time I haven't decided if I would actually go ahead with the brake swap as I am concern that the set of stock X Lite wheels cannot coexist with the Wilwood brakes. So the objectives are to test fit the Wilwood brakes against the SSR wheels as well as the X Lites. From my measurement against the dimensional drawing the SSR should fit comfortably, while the X Lites will not. Now let the truth speaks for itself.
I carefully removed the stock caliper and tied it out of the way while keeping the hydraulic line intact
the Wilwood rotor fitted
the Wilwood calipers are shipped with a bunch of shim washers; I followed the instruction to find out how many shims should be used but it turned out it was a waste of time as Wilwood includes the exact number of shims needed; the installation instruction however does not tell you that
there are two sets of shims for each caliper - one for centering the caliper with respect to the rotor (you may call this lateral alignment), and the other ensure the caliper has just enough clearance with respect to the rotor outer edge (you may call this longitudinal alignment)
as expected, there is a comfortable amount of clearance with the SSR rims
also as expected, there is interference with the stock X Lite rims - two of the hex socket bolt heads interferes with the wheel spokes
even the flat surface of caliper body has just a hair of space to the inside face of the wheel spokes
I have read the other owner managed to make the X Lite rims work by adding a wheel spacer; I however would like to avoid dealing with spacers if I can. As the X Lites are the winter wheels for the Mini once the Wilwood brakes are installed I must address the incompatibility before the rainy seasons arrives. I also signed up for another track day so I decided to postpone installing the Wilwood. I want to use up more of the stock brake in the next track day. I put the stock brake back on.
I didn't have the opportunity to weight each of the SSR rims so I weight them with the new tires on. By subtracting the new tires' weight I can arrive a the average weight of the rims.
I only weighed 2 wheels - this is the heavier of the two at 34 lb 2 oz; note that the balancing weights also adds to the overall weights
this one is 33 lb 12.5 oz; the nominal weight of the Falken Azenis RT615K+ tires is about 21.6 pound
A rough calculation give the SSR rim weight between just under 13 pounds to slightly above 14 pounds each; I weighted them when they were new but I do not recall or find the record
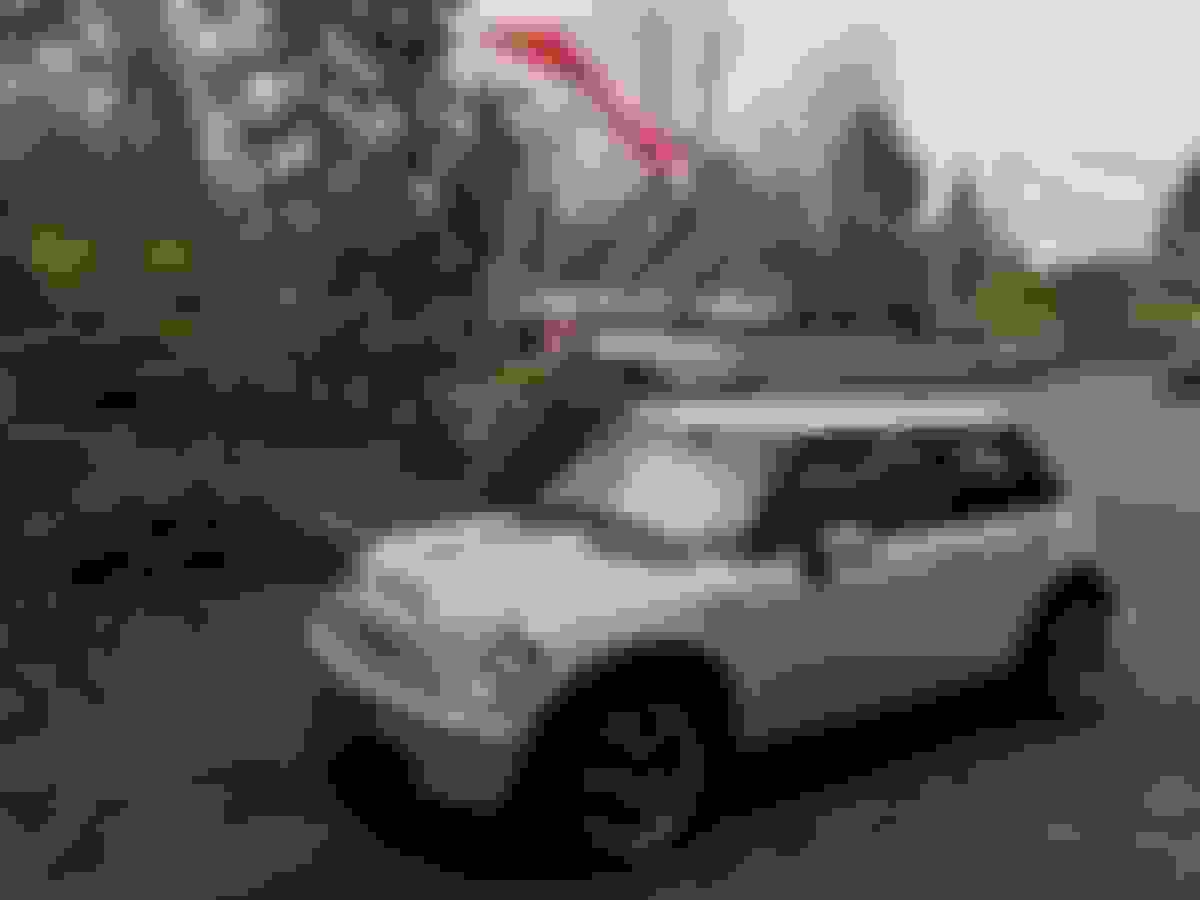
I am so in love with this little car that oozes with character, and always turn my head after parking it
I also did some rough check of the wheel alignments - toe ins as well as camber for all four wheels
As the Mini drives really nicely and tracks very straight of any cars I'd ever owned I am reluctant to go get an alignment for the fear in the wrong mechanic's hands the Mini could be worst off
I have a K&N air filter in my Amazon's wishlist a very long time waiting to pounce when I see a good price. Then I saw this in Autozone store - a rare deal that I cannot pass off
Mini and I both looking forward to the new track day with the new set of stickier tires
The brake pressure bleeders are not that much to them for what they cost. I was all set to make my own out of a $8 garden sprayer. In the end I decided to go ahead and buy one instead of making my own to save $30 (the cost delta of all the piece parts).
I chose the Schwaben as it looks to be a nicer design and quality - this kit comes with an extra billet aluminum brake fluid reservoir cap - the caps should fit all my European vehicles with luck


 Looking forward to watching you continue to work on your R53.


 a few weeks ago. I shopped around for the best price and I was not surprised that the kit would be drop-shipped. Along the way there were many glitches mostly due to the vendor's problematic e-commerce system which led to a lot of confusions and needless phone calls and let me just cite one - they informed that my order was cancelled because they were unable to fulfill it. I called them and it turned out it was an automated canned email that were triggered because of another e-commerce software glitch. I have done my due diligence every step along the way. I also have done my best to ascertain that they were not trying to renege on the order. I do understand that Willwood's BBKs for the R5x Minis are likely not selling like hotcakes these days so I patiently waited.
 It took a lot of quick reading between the lines and finally I think I know what to do after cross-referencing installation processes from difference sources. A lot of tribal knowledge and you just have to have faith with the goodwill of others.


 However despite of it, I accomplished what I set out to do - enable three retrofit kits (alarm, front fog lights, and rear fog light) without needing to rely on the dealer.