When you click on links to various merchants on this site and make a purchase, this can result in this site earning a commission. Affiliate programs and affiliations include, but are not limited to, the eBay Partner Network.
Damn! I was trying to keep it a secret. This is Ferodo DS2500. I wanted something more agressive, but my pads guy talked me into it. I might regret this choice. Racing pads for OE kalipers are crazy expensive. This cost more than two sets for the front. At least it will last a long time.
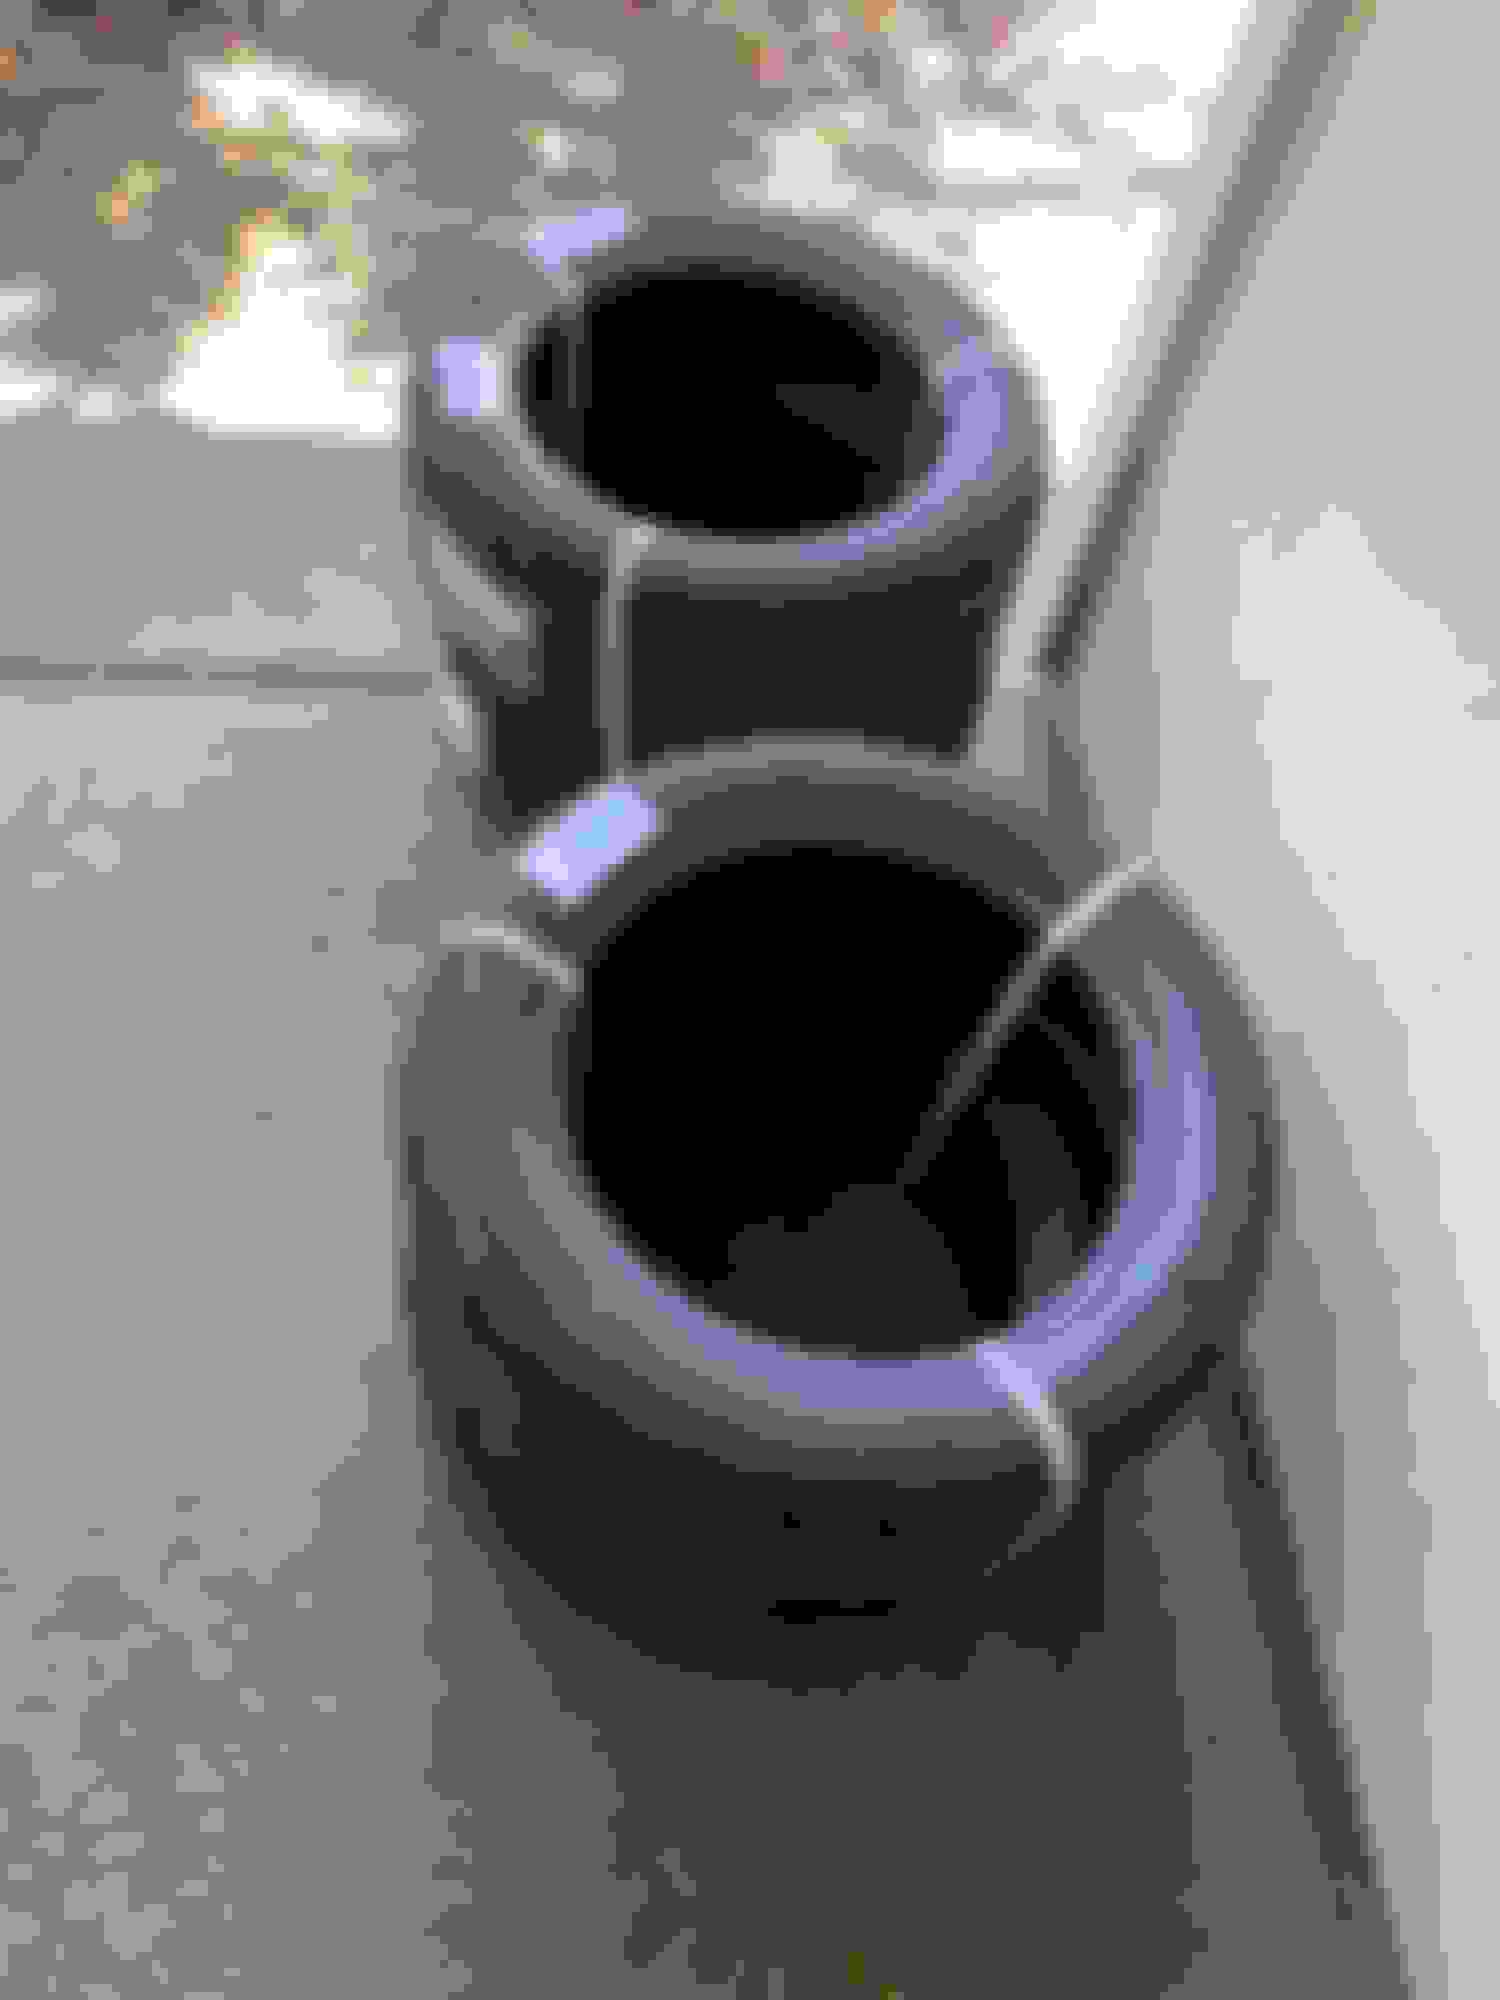
The forth R compound tire also arrived all the way from the East Coast. This will be Desire's first set closest to racing slicks but without the slick price tag.
Damn! I was trying to keep it a secret. This is Ferodo DS2500. I wanted something more agressive, but my pads guy talked me into it. I might regret this choice. Racing pads for OE calipers are crazy expensive. This cost more than two sets for the front. At least it will last a long time.
I think you will like those in the rears and I would expect that they won�t be too much for the stock setup and they will last for ever.
I have no disillusion that a home brewed brake duct for our Mini has been attempted countless times and majority of them failed miserably. I am well aware of the challenges facing if one try to bring air from the front bumper. Every bend and added length kills the aerodynamic flow to the final recipient. There are these approaches.
duct from front bumper to aft part of the steering knuckles and aim towards the rotor vane intake. the biggest challenges in this approach is routing on the passenger side, and very long hoses with many bends which kill the air flow.
duct form front bumper and take the shortest path and aim the air flow towards the caliper
duct from front bumper to whatever and add bilge pumps to assist the flow
duct form under the lower control arm and route the air through a relatively short hose to the aft part of the steering knuckle and aim towards the rotor vane intake
The common problems with all these approaches are there is very little interference-free space for a hose of adequate diameter, plus sharp bends are inevitable. Orranje and WMW have a similar kit for 2.
Of all I like (2) and (4) best.
I should add that if you are willing to ditch the fender liner routing from the front bumper might be a bit easier.
I ran 2, 3 and 4 of those options and settled on dumping as much air onto the caliper area as I could, big bumper cut out and duct with short run and small cut in the fender loner. I was worried it would cool the inside half of the rotor too much but so far that has not been the case.
The radiator support had quite a bit removed to make it work, but I spend less on consumables!
I knew you did tried most approaches and settled on 2 and I am hoping to avoid butchering all that stuff. I am pinning my hope on 4 but I know all too well most efforts before me have failed. I have a feeling that I am starting with a triangular wheel in my brave new invention.
I should add that I wonder the true effectiveness of the approach by Orranje and WMW of rigid duct that aim air from far away of the kalipers. I read the long thread over at Minique and not one person shows what it look inside the wheel well, and none remark on the before/after difference of driving on track. Yet all posters are gushing how great it is.
Yes. You have to be crazy to attempt to install paint protection film yourself onto a car with complex body panels and bumpers. The job is harder than doing your own drywall to get it right the first time, and the chance of that happening is next to nil. It is a self-imposed punishment, physically and mentally. Before jumping into this project with both feet first, I order just the piece for the front bumper. I thought if I succeed in handling the most difficult panel the rest should be cakewalk. Last fall I managed to install the front bumper. It took a lot of stretching of the film to conform to the surface that is full of compound angles. Often you have to shrink the film to make it conform also.
This stuff is pretty amazing as well as the computer cut patterns. Buy picking up a piece of film you have to have some intuition as how to make it fit the panel in question. You have to determine if the edge is warped, and where to start and where needs to be stretched and where needed to be shrunk. There is no instruction or guide for the specific kits and you are all on your own.
this is the pattern of the film for the front bumper
I only proceeded to order the remaining pieces when I successfully installed the front bumper. I waited until this time of the year when the weather is mild to finish installing the remaining panels. All counted there are 8 kits and 12 panels not counting the small ones like the 4 for the mirrors, two for the side air scoop etc.
So far I've done 4 main panels (red arrows). There are 8 main panels (green arrows) remaining. Installation of these clear films have very little room for errors, and too much handling you would not able to use the film. Desire is all jealous but I have been spending a lot more money on her than the bad white wolf.
the biggest challenge of carrying this out in the garage is inadequate lighting; thankfully my neighbor lent me this filming LED light panel as bright as sun and the best part is I can move the sun where I need it
I have been wondering at times about when and when not to do short shifting. Often on track there is an inevitable situation that you max out the gear on a short or long stretch and either choose to hit the limiter or shift to next higher gear knowing the additional acceleration would be so short that would appears not worth the effort and wear and tear. I couldn't find a decent HP/TQ chart of the stock engine until today as it would help me decide where are the sweet spots to short shift.
North American spec 06 R53 specs on Automobile-Catalog; the most pertinent numbers are the HP, torque, and curb weight, and acceleration times
I have never dyno'ed Desire and the only engine change is the 15% SC reduction pulley so it stands to reason I can expect the curve being very similar to a bone stock one. I am amazed this little car in basically stock engine performed so well on track against much higher power cars. I cannot begin to imagine what she would do with Alan's engine modifications. That is one most impressive torque curve.
I am rather surprised at how dome the torque curve is, and consequentially the decreasing slope of the HP curve starting from as early as 4,000 rpm. Judging from this graph, I would benefit the most to short (up) shift at around 6,000 RPM.
For Desire's current setup, I need to short shift from 3rd to 4th at the short straight between T3 and T4 at PIR or else I bounce off the limiter. Furthermore there may be some time to gain if I upshift a bit earlier before reaching the RPM red zone at both the front and back long straights.
At ORP the short shifting situation that is most pronounced is the front straight going CCW. I have been testing upshift earlier from 4th to 5th before the hard braking zone at T16. Likewise before T1 going CW.
That is a very tough question, but bouncing off the rev limiter is probably not the best idea.
I run 17” wheels at WGI just for that reason; I run out of gear and RPM at 2 places on that track with the 15” wheels and the 2 extra shifts slow me down more than the loss of torque with the taller tires does.
I believe the R56 engine has a flatter torque curve than the R53 engine, so short shifting doesn’t particularly hurt me. On some straights I will shift to 5th at 5500 in 4th just to be easier on the engine. At that speed that shift doesn’t hurt as there is little acceleration going on with this brick flying through the air.
Here is something I do... If I need to short shift, say from 3rd to 4th, I’ll split the distance I am traveling in half and shift there instead of pushing 3rd to its limit or close to its limit. This allows for a “relaxation period” before having to downshift and makes use of the broad torque curve the engine has. Making things smooth is as important or more important than the added torque of the lower gear. That “relaxation period” allows me to be more smooth.
Bouncing the rev limiter on R53 should do no harm to the drivetrain. Just not a good idea for track time. The ECU cuts fuel rather than ignition so no harms to the engine.
I have been wanting to find a reliable dyno plot of the stock engine and now with that I know I can benefit from shifting between 4,000 and 6,000 rpm. You can see the diminishing slope of the hp curve, and the drop off of the torque curve from 4,000. This would be very close to what your say about splitting the difference. However I would want to stay in 4th longer as it has more torque due to the gear ratio, despite to the dropping HP slope.
Before I decided to switch from 16" to 15" I gave this matter a lot of thought. I reasoned with only 6 gears and an engine that redlines at circa 6750 rpm, no matter what size wheel there will always be shift you are damned, and don't shift you are also damned situations at most tracks. Just the simple facts that I have way more tire choices and able to run wider wheels are good enough reasons for me to do the switch.
So what can go wrong when you decided that you want to install paint protection film in a car that worth many times over Desire? A lot and I knew from the outset. There are countless possibilities for me to fok up big time. I didn't take on this project lightly as just about any projects that I attempted in my life. I have no disillusion that at best I would end up with a 2nd rate professional job. However, my main goal is to protect the paint finish the best I can driving the Porsche on tracks. Tracks are where it belongs, and I seldom drive it on roads. Too risky - on the streets that is.
So I finished installing 6 big panels not counting the small ones like the fuel filter cover and the mirrors. There is already some major fok up, but guess what, not by your truly. When I decided to invest in buying all the remaining "kits" I had already tested the front bumper and were satisfied that the manufacturer of the film have accurate and well designed cut pattern for this car, based on the stretch and shrink capabilities of this specific film and many other attributes. Even to install it yourself, it is more than most people can imagine for a bunch of sticky transparent films.
So the fok up is not mine. It is the manufacturer's. When I got to the mirror pieces (there are 4), it occurred to me that it is strange the film patterns seemed so off. I killed myself trying to stretch the left side main piece to fit as it is too small. When I got to the right side the main piece is too large and I ended up with some wrinkles. Still I didn't think much of it and proceeded to install the two smaller pieces for the lower sides of the mirrors. That is when I realize the L and R side pieces are mirror images of one another.
What do you mean by mirror image (pun unintended)? Well, most of us assume that the L and R mirror covers are dimensionally identical and just mirror image of each other. That is not the case with some vehicles. I know VW Eurovan is not. And the GT4, while not as obvious as the Eurovan the two mirrors are not mirror image of each other. Obviously, now in retrospect, it is dead obvious that the film company did a 3D scan of a wrong side drive of the GT4 and called it good.
So WTF, whoever did the scan and reviewed the patterns should had an alarm bell go off that the fact they are not mirror image of each other? There is no excuse for a major film company to have this fok up! Someone just simply didn't give a fok or just plain braindead.
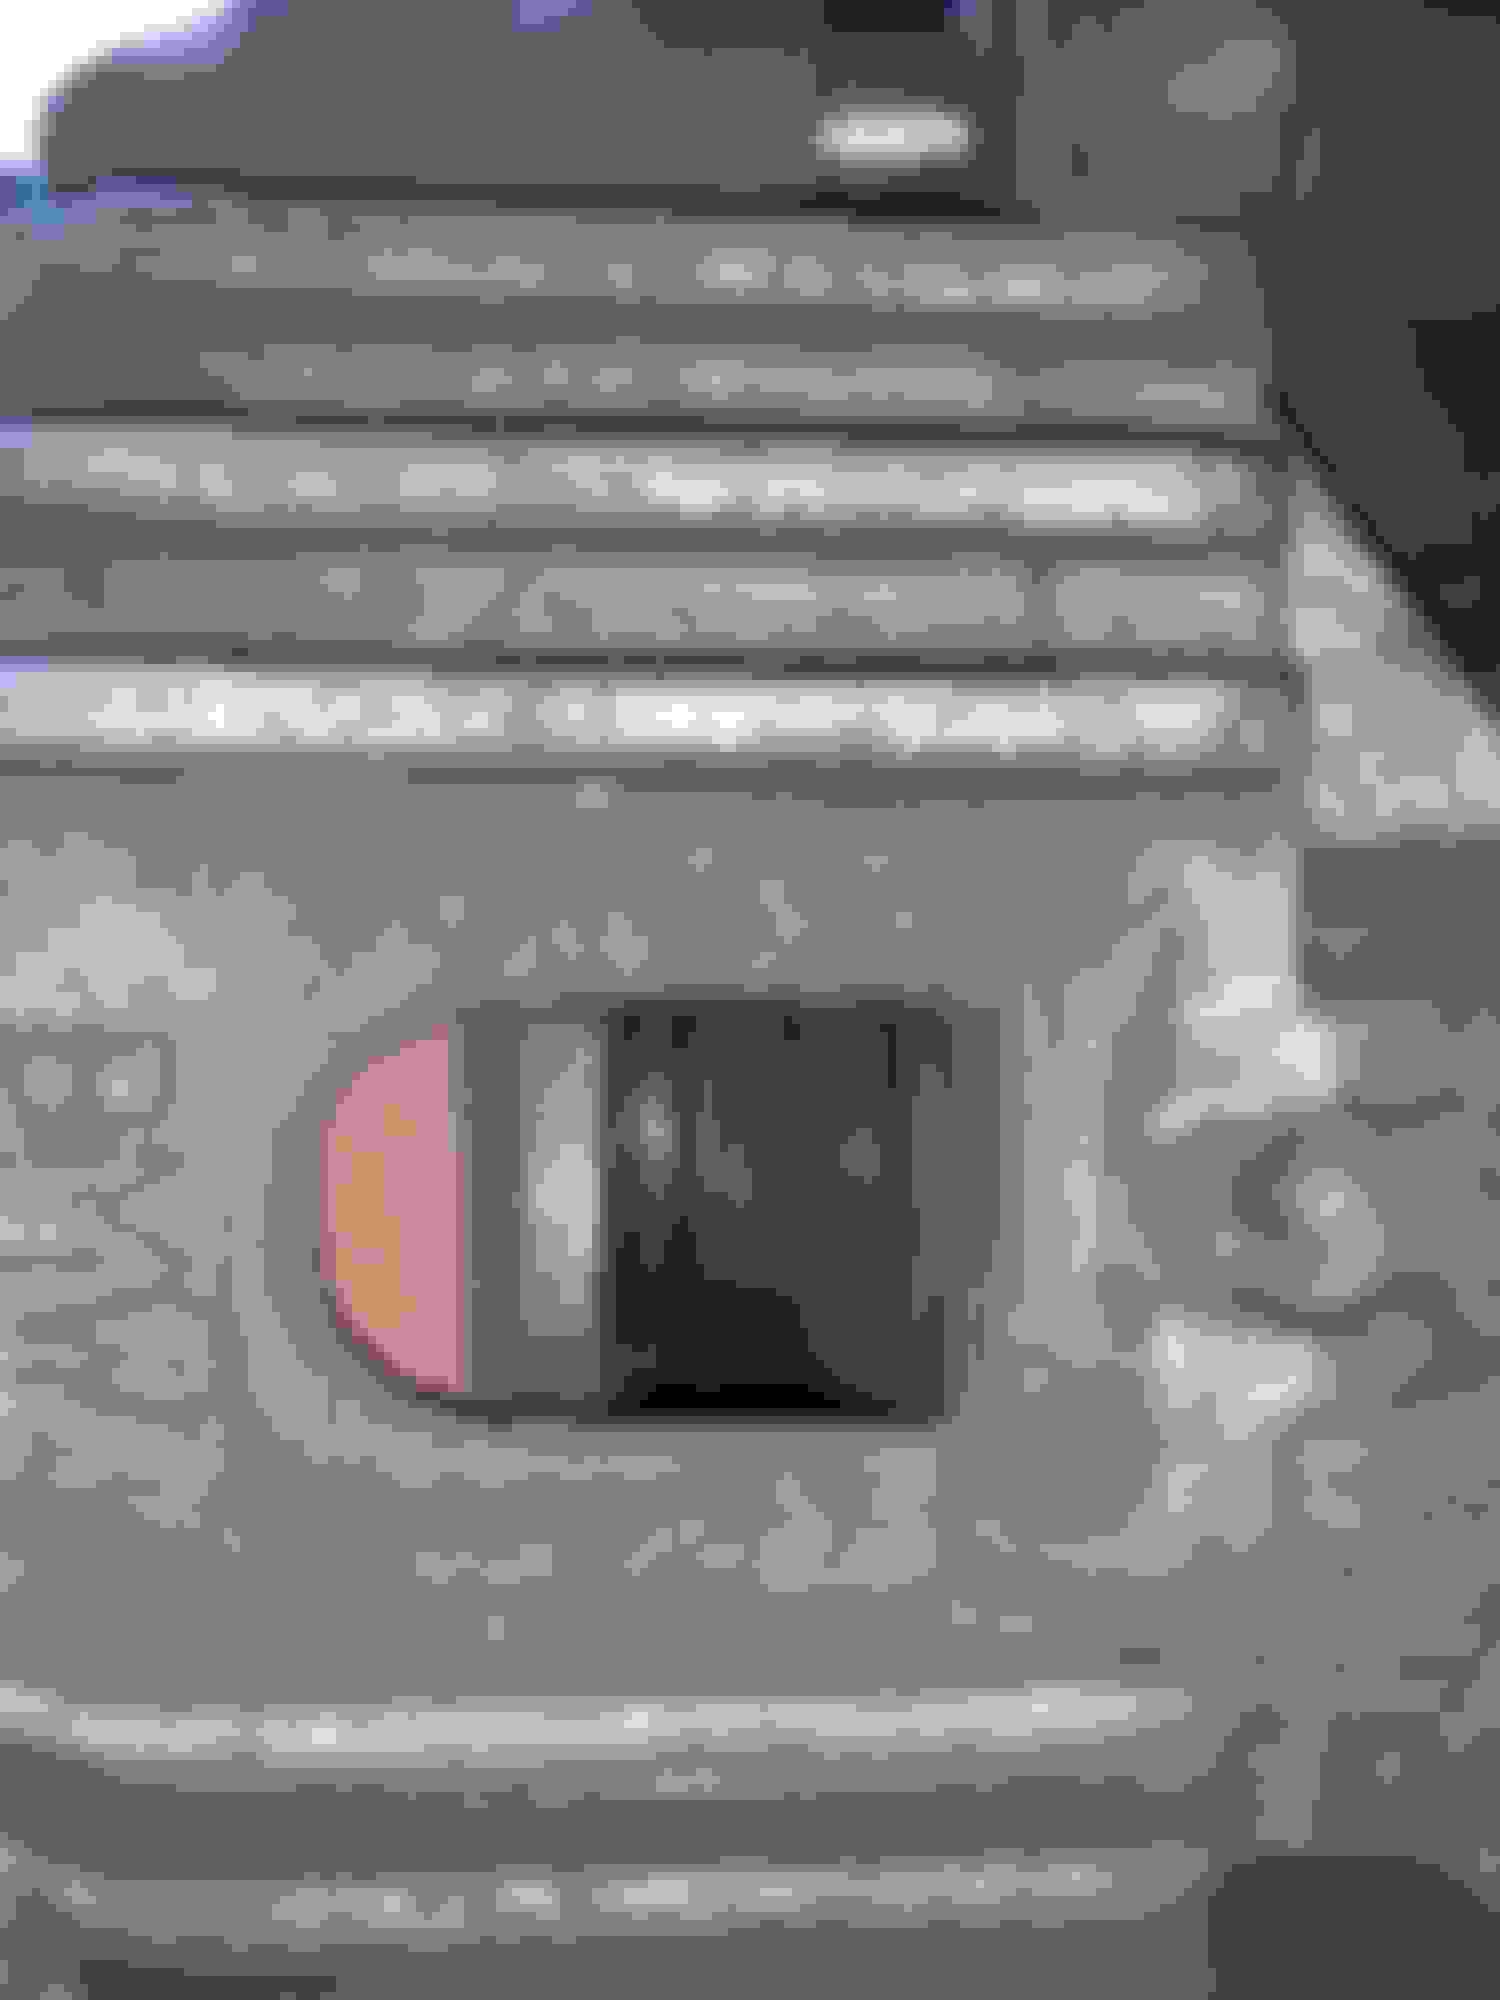
right side mirror, notice the film is too narrow at the lower piece; also the top piece is too small and I had a hard time stretching it to fit and that is why it looks like sh1+
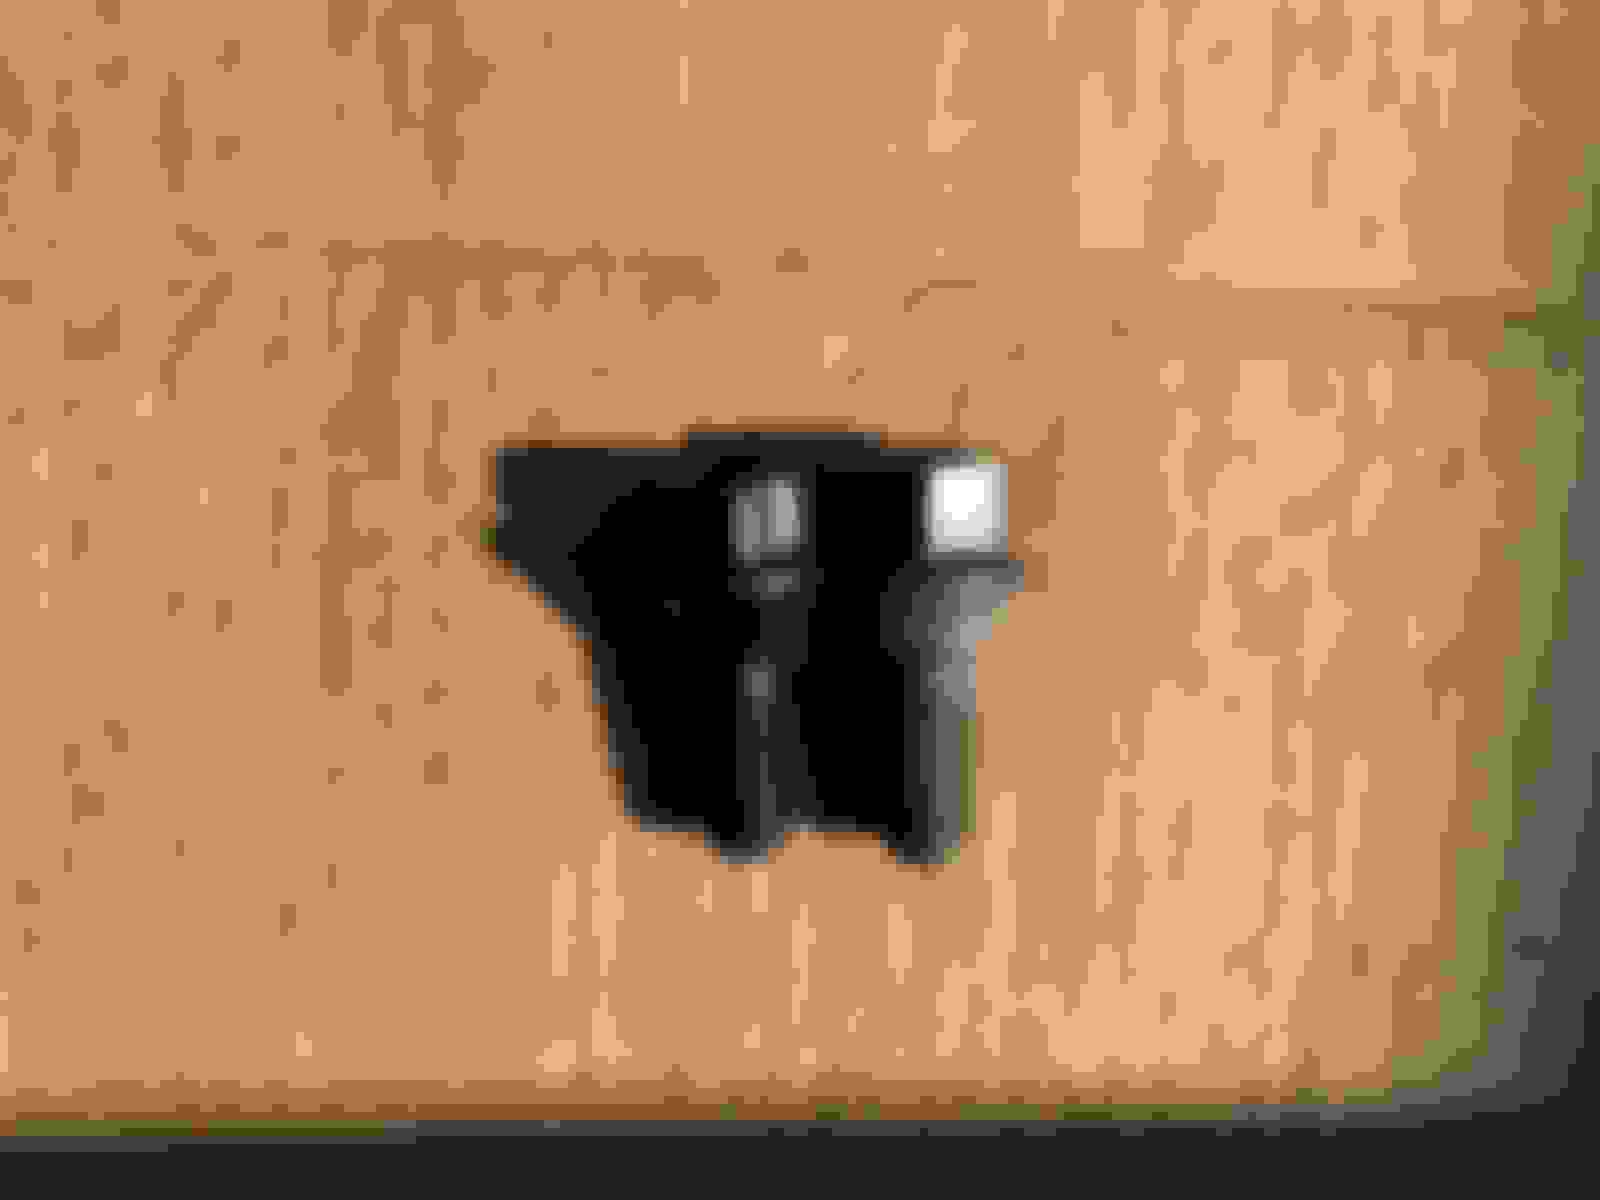
left side mirror; note how the lower part is different from the right side and the film is too wide at that section that I had to trim the excess off; the top piece is too large and I could not shrink the excess and ended with with some small wrinkles
I took it out into the natural light to review what I had done so far; not bad for an amateur trying it the first time
Yes, the right side mirror housing is larger than the left side for the mere facts that "Objects Appear Smaller" at the farther one.
Often you just can't trust the "professionals". Obviously they haven't sold too many of these kits to Porsche owners. All the other panels are well designed and cut so far. Just this stupid oversight by the CAD monkey which has no excuse for what they do.
Desire developed an obsession with shoes. She now has a huge collection and another set just arrived. Call her the Imalda Marcos of Mini's.
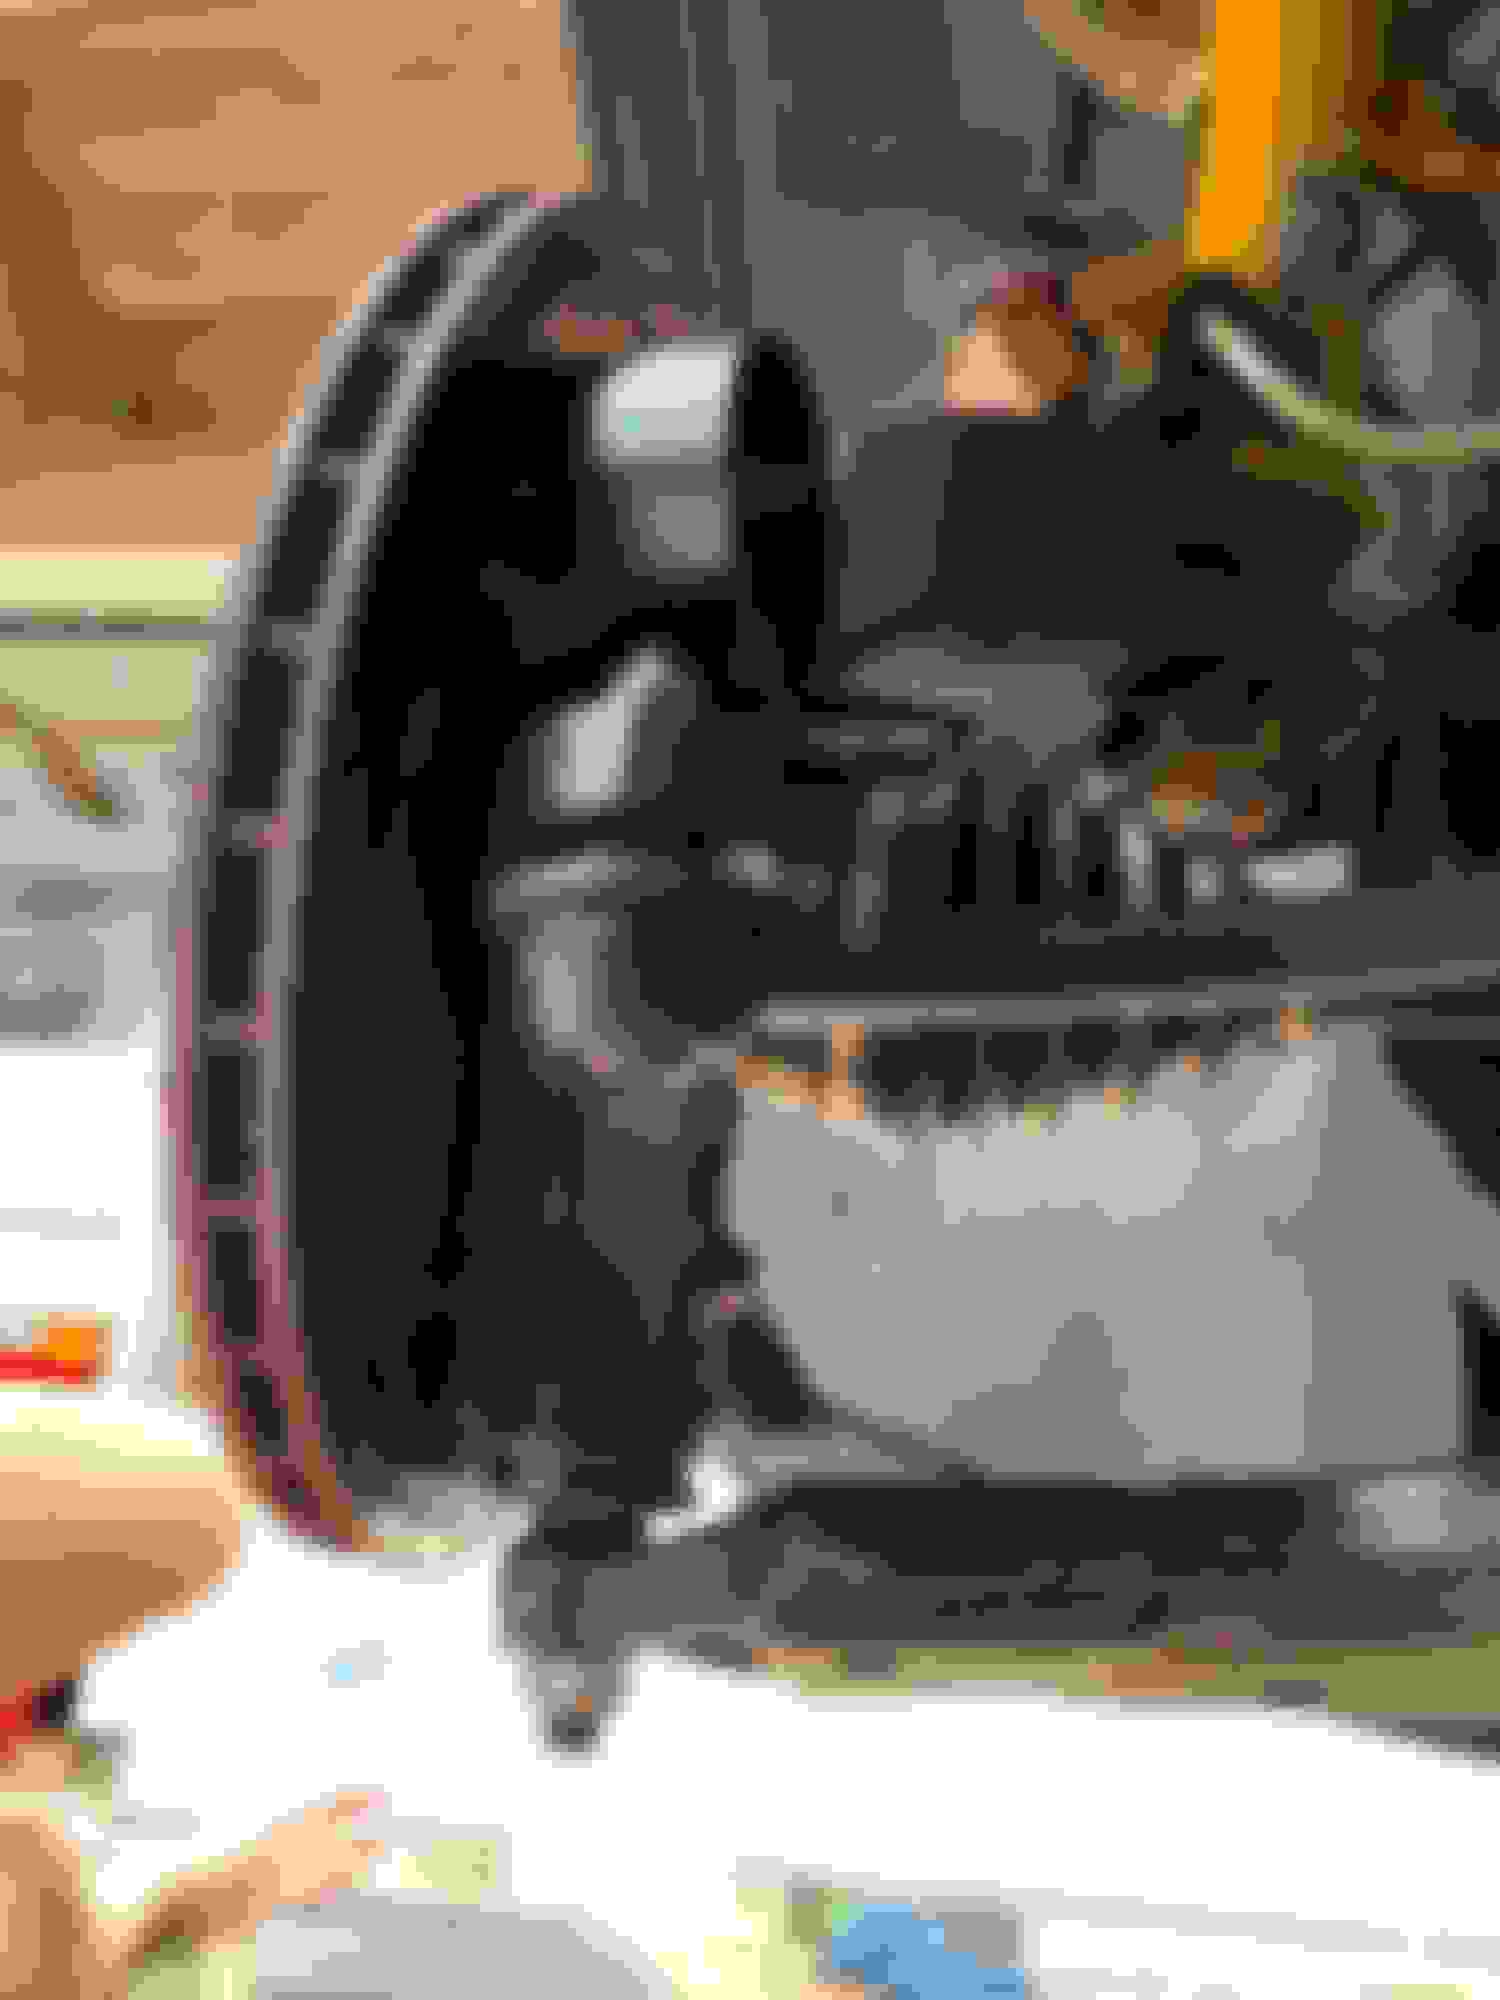
I am extremely impressed with the value and quality of these Konig Dial In wheels. The spokes outboard design leaves plenty clearance for the kaliper and leave space for putting balancing weight on the outside of the barrel. I did received one with deformed (only cosmetic) outer rim and now I check every wheel before mounting the tire onto it. Once you mounted a tire you own it, the label warns.
I used the left rear wheel to check the runouts of the new wheels with a dial indicator; all wheels will have some runout and the key is to know what is acceptable
something I learnt is to mark the wheel weights and secure them with a quality tape that can withstand high temperature
while having the wheel off I check the rear pad friction material and these still have some life left for the next multi-day track event
they have worn very evenly and there is no drag from the parking brake
Desire ventured downtown today and didn't get mugged none occupied by the homeless as they have more rights than homeowners or renters here
I couldn't believe my eyes seeing this Porsche; it must be his/her only vehicle; that is a sleep on top tent with built-in mattress
We received a full set of 12mm wheel bolts that are supposed to be Febi brand to replace the original OE set that has a couple that are stretched. Febi is a part of the Bilstein group. They have a coat of oil so I washed it off with some white gasoline.
Febi lug bolt (left) vs original OE (right)
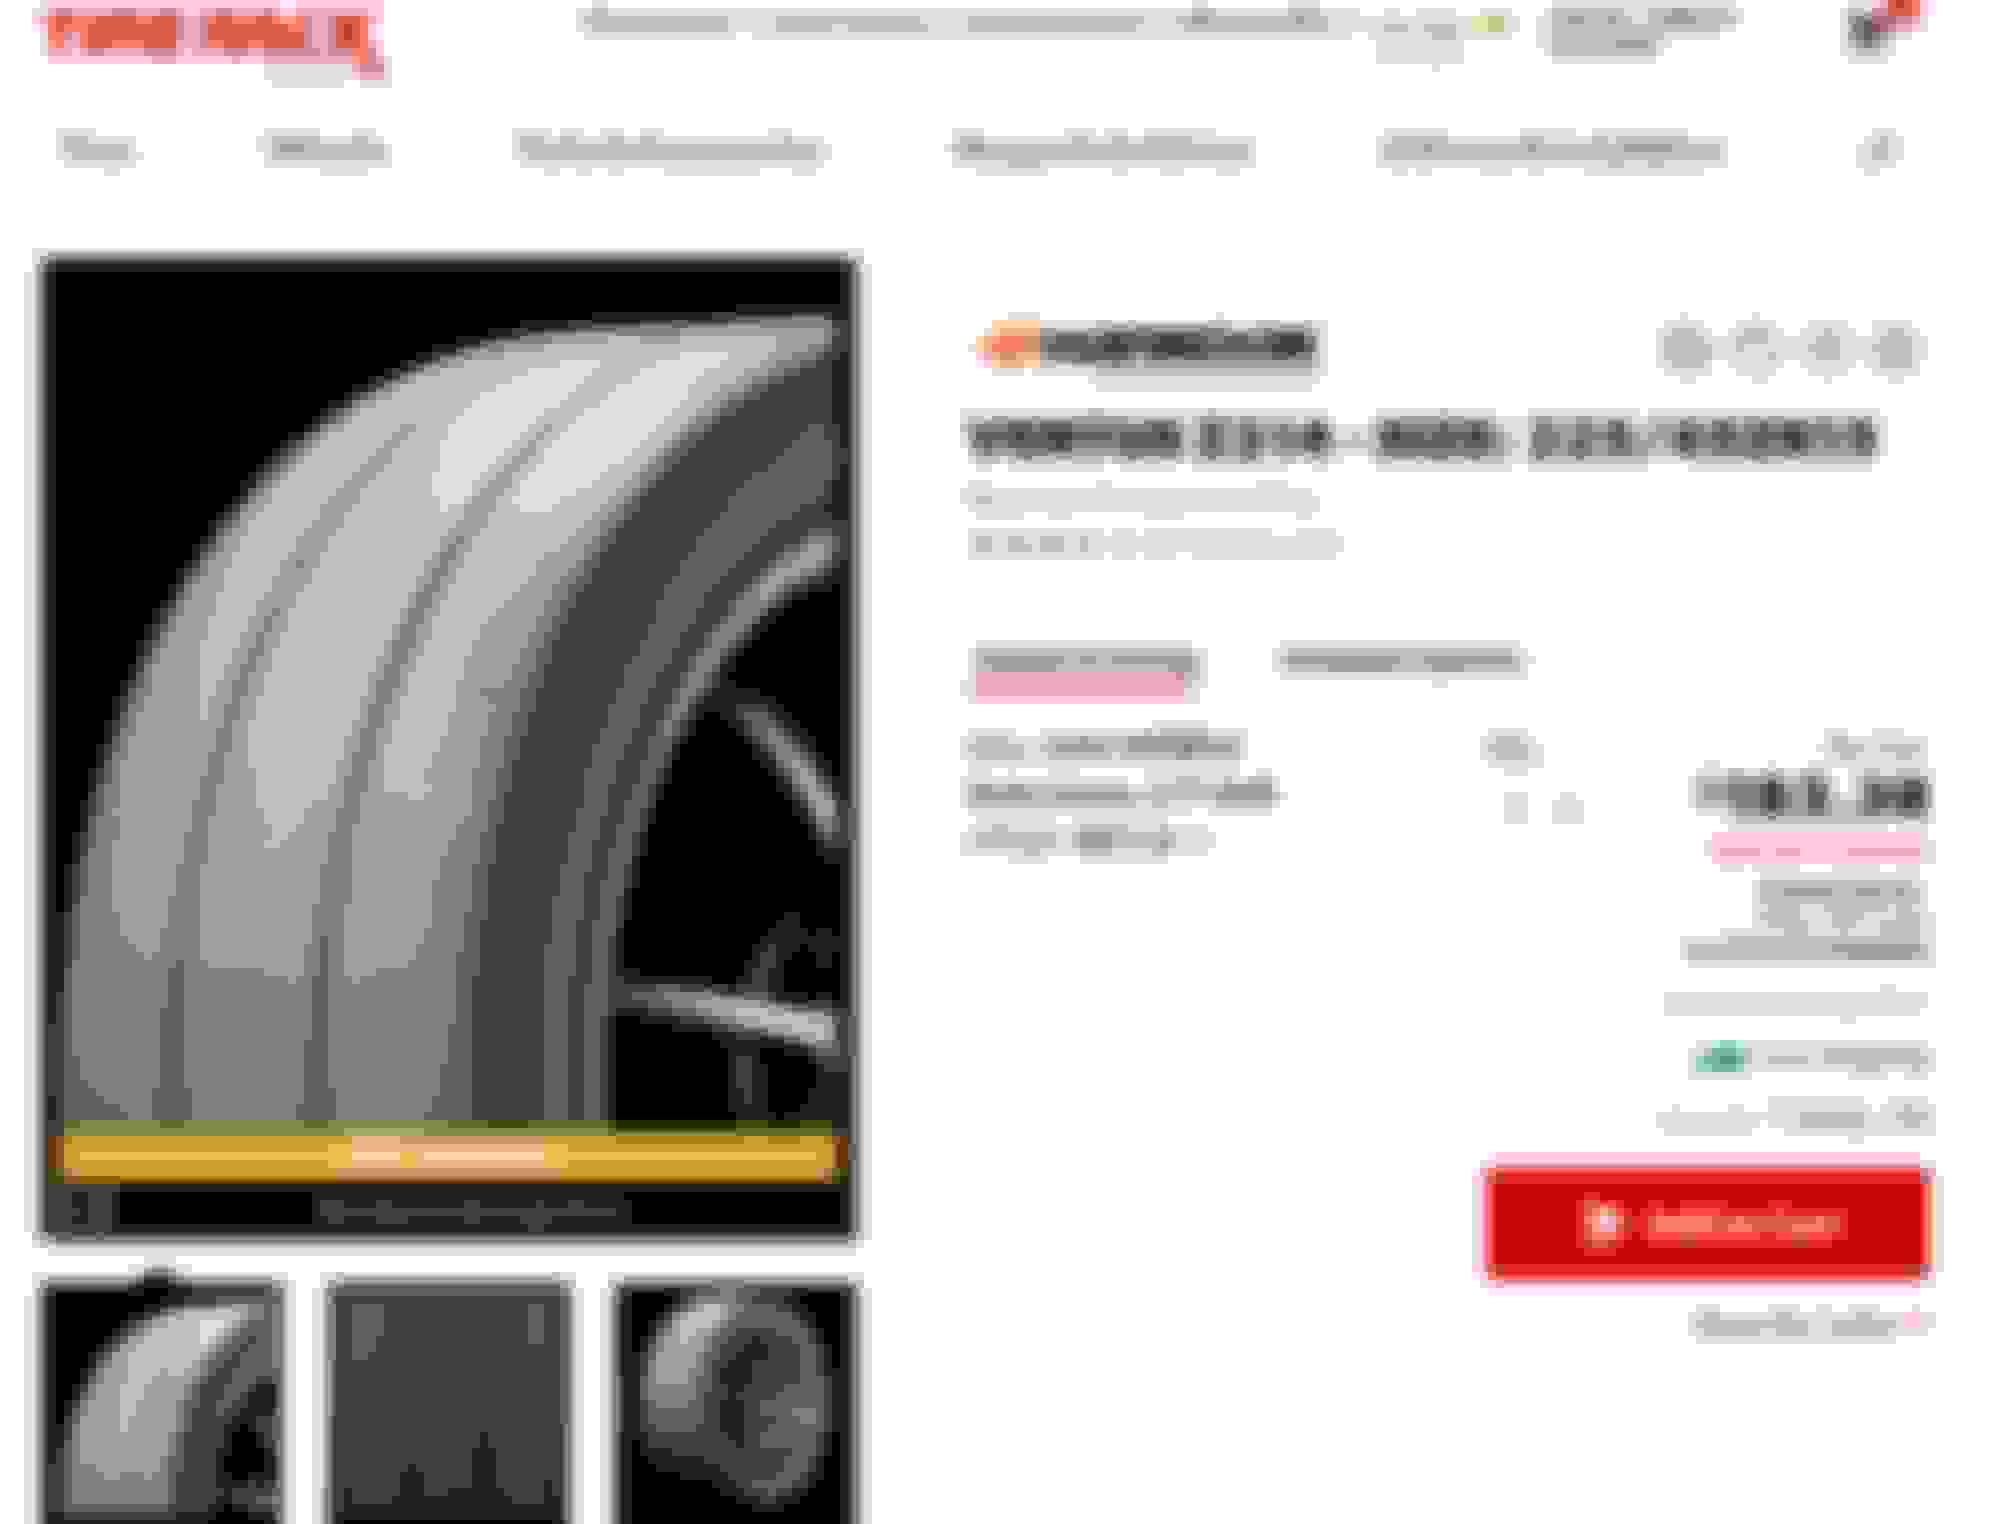
All four Konig wheels passed the runout inspections so they would be mounted with a set of Hankook Z214. Strangely the tires have no typical rain groves except two longitudinal ones but yet they have direction of rotation marked on them, indicating them being directional. Are Hoosier A7 and R7 directional?
The BMW special tool 83300494002 caused me much confusion. Seeing the tool I assumed there is an eccentric bolt of sort in the rear trailing arm pivot. There isn't. In fact our gen 1 Mini's has next to no alignment adjustments which are limited to front and rear toes. The rest of specs are just for checking should your Mini succumbs to misfortune like got into an incident, or climbed a street curb. In the more minor out of spec the solution may involve hammer or bend to spec.
As I looked more carefully at the rear suspension I realized that the adjustments is done at the slotted holes of the front pivot bracket that bolts to the body. This special tool only help you move the bracket around in a more controlled manner once you have slightly loosen the three bolts.
the BMW eccentric tool
all it does is allow you to skew the bracket around the slotted holes in a more controlled manner
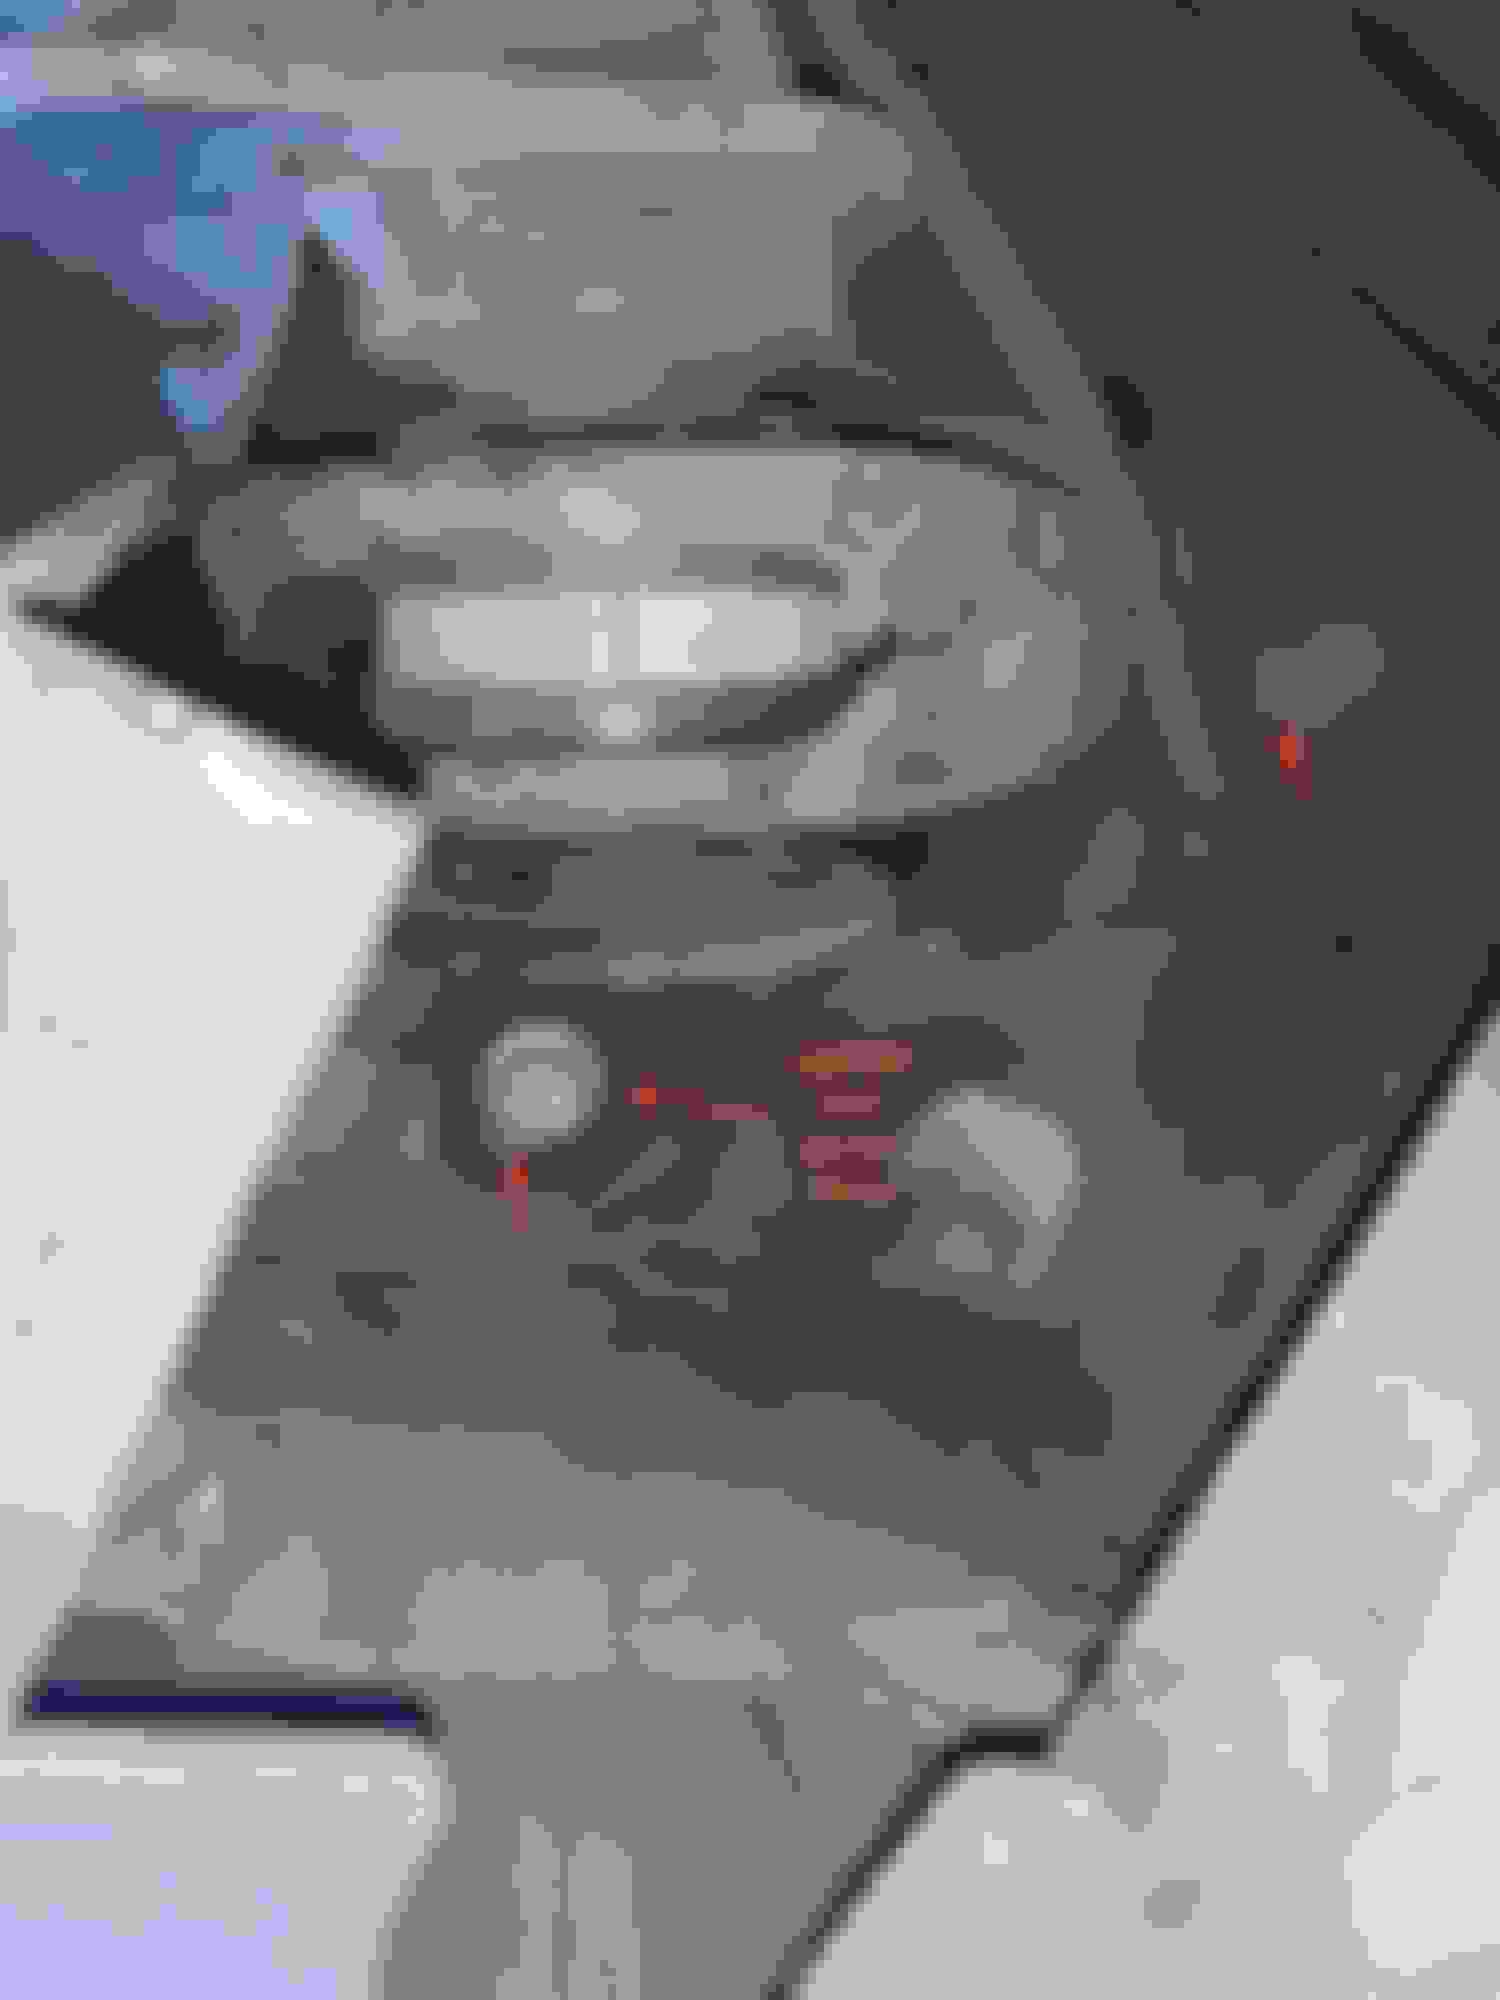
Here is a photo of the left side rear trailing arm pivot bracket. You can see two of the three slotted mounting holes for adjusting the toe.
Before I make the adjustments I would first mark the original position of the bracket for each side as the original baseline. I do not plan to buy the special tool.
For alignment my Bentley service manual is worth less than a roll of toilet paper. Thankfully I found this on the web.
That is really interesting - the Gen I MINIs come with almost a full -1 deg of front camber. If I remember correctly, the R56 is -0.3 deg +/- 0.3 and on the top of the strut tower the stud holes are slotted, which allows for another -0.3 deg. The R56 rear camber spec is about -1.5 deg (I hope I got that right) and mine is set to -2.5 deg to balance the -1.5 deg I have up front. I think that about maxes out the adjustment on those aluminum trailing arms.
So, am I reading that correctly? -0 deg 54’ is close to -0 deg 60’ which would be -1 deg... That would mean the IE camber plates which give -1.2 deg or -1 deg 12’ is only increasing the camber by -0 deg 18’ or about -0.3 deg. Did I get that right? That’s not much of an increase. That also means that the Gen I MINIs were better setup from the factory than the Gen IIs.
I myself have been rather foggy what IE fixed plates delivers until now. I had always under the impression the end result is -1.25 degree, but I have been wrong all along based on quick info from the web, including WMW where I bought mine.
This is contrary to what WMW says on their site ("These will set the front suspension camber to approximately 1.25 degrees of negative camber with STOCK springs") which I previously relied on, and I had always thought that seem so little given there is quite a lot of inboard displacement compared to stock. I didn't pursue it as I just resign on how McPherson strut's great length that requires one move a lot on top to make a minute change of the angle.
I need to get myself one of those digital inclinometer like the one Nik Blackhurst uses. The beep is priceless.
I can assure you the fixed IE plates don’t “add” 1.2 on the R56. They bring the camber to -1.2 deg. With the slotted strut tower top, the result is -1.5 deg. I have had the car aligned several times. Except when the struts blew-out it has always come out at -1.5. English, a wonderful language and so easy to mess up...
Yes, I want Nik’s beeping level, too.
There is an app for the iPhone that is pretty good; “Carpenter”. I’ve thought about getting an aluminum plate to strap to the wheel to see if it works.
Our low tech alignment continues. We can read all we want but there is nothing as getting the hands and knees dirty and just do it. Seeing the effect of the small adjustment you made is most satisfying. Surprising the low tech do it in my uneven and sloped driveway is not totally hopeless.
One thing that I discover is how much front toe there was. My Mini has never hit anything or mount a bad curb (except the FIA curbs which she like to slam them). I believe it is the side effect (coupling) of the modest drop from the Swift spring and may be the IE fixed camber plates. I am dial back the front toe in to closer to neutral but with slight toe in. I am also straightening the slightly crooked steering wheel.
The rear toes are much harder to adjust due to the difficulty of accessing the three bolts on each trailing arm brackets, and more so the awkwardness of moving them to achieve the desired changes. I went for a test drive in the pre-dawn traffic and just marveled how well this little car rides on the road. Just the right amount of rawness.
these plumb lines have been repeatable to 1mm
here is a photo of the start of the left side quarter panel of the Porsche's paint protection; a job not for the faint of heart
How did you set up the strings so they were parallel to the car?
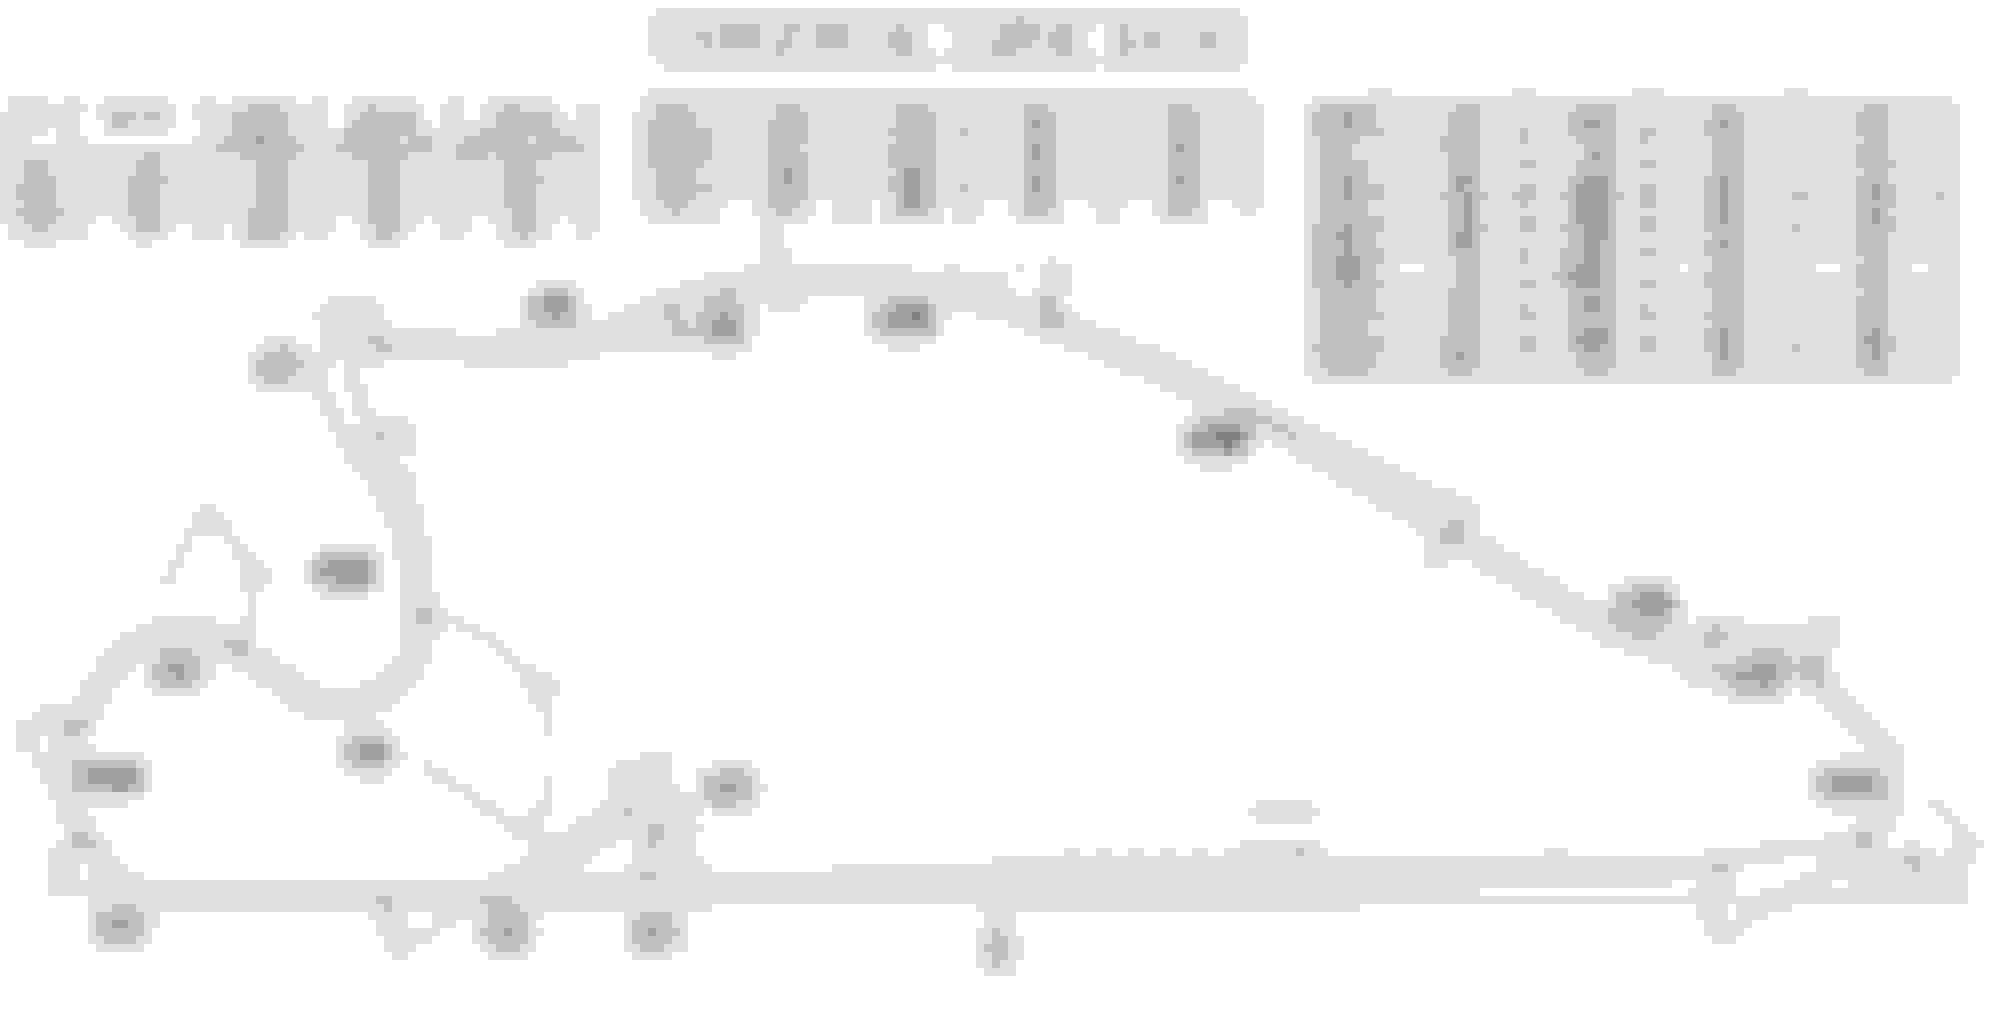
The connection between camber and toe-in is a function of the location of the steering rack. If it is behind the center of the front wheels and the steering arms point backwards, then adding camber increases toe-in, and if it is ahead, the addition of camber decreases toe-in. I knew people with BMWs who would reset their car’s camber when they got to the track. They would change from a street setting to an aggressive track setting. Because the steering rack on those cars was ahead of the wheel center, the toe would go in the desired direction. Unfortunately for MINIs this is not the case. The steering rack is behind the front wheel center and added camber also added to the toe-in.
Another thing to consider is the Ackermann steering geometry on these cars. I haven’t measured it, but my feeling is that it is pretty aggressive and is related to toe-in setting. I have seen unusual wear on the inside of the front tires that is better explained by the amount of the turn-in of the inside wheel in curve as a result of the Ackermann geometry than it is explained by the little bit of camber I have. Reducing the toe-in setting will exacerbate this and I have added toe-in to counter this wear. Watch the front tire wear on the inside of the tires. If this is excessive you may want to consider increasing your toe-in a little.
I ran the strings from the rear ends of the rear tires to the front ends of the front tires. It is rather crude but I know my Mini since new and history. I check the distance between the string along the body panels and compare L side to R. They are symmetrical so an indication the body and the wheels are true. Of course if there are differences between the L and R side this method would be called into question. As all four wheels have some degree of toe in the rear part of the wheels forms the two contact point for each of the two plumb lines. With this I can measure the toe in of all four wheels in one setting.
When I installed the H-sport adjustable lower control arm I matched the length to the factory fixed arm. Only recently that I used them to increase the rear cambers. I increase both sides by turning the turn buckle - like adjuster the same amount for L and R side. Checking them with a framer's square they are quite close. The amount that I added is based on my estimate of observing the uneven wear of the rear tires from a track session.
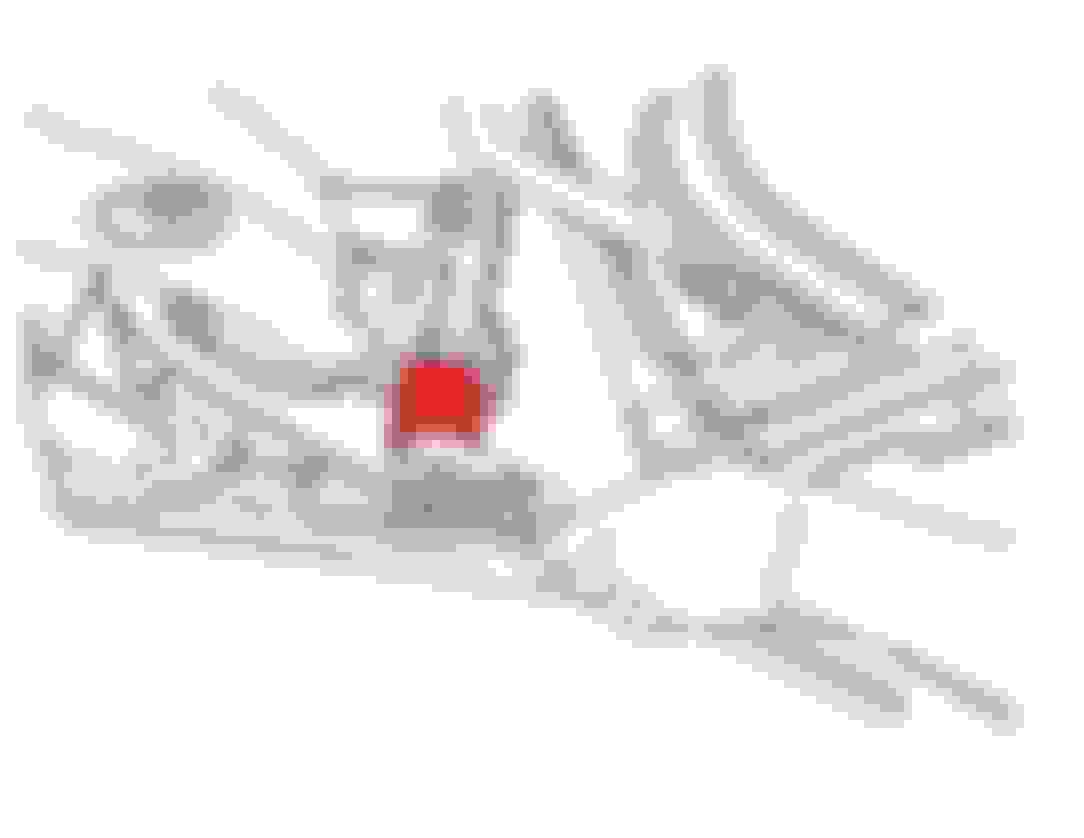
You are exactly right about adding front camber increases toe because of the steering rack being behind the kingpins. Here is a photo that show the geometry. When you add camber you pull the top of the strut inboard. With the steering end link behind the axle and the bottom of the knuckle held firm by the lower control arm toe in is increased.
Interesting that you think your inner shoulder wear is due to aggressive Ackermann. It is not something we can easily measure or determine and pass judgement.
Mounting the set of Kunhook Z214s onto the new wheels is one of many check off items before next track event. A trip to my go to tire place and they do it while I wait. These guys are great and never give me attitudes the the BS insurance policy excuse that I can't watch and make sure everything goes as I expect.
I ran the strings from the rear ends of the rear tires to the front ends of the front tires. It is rather crude but I know my Mini since new and history. I check the distance between the string along the body panels and compare L side to R. They are symmetrical so an indication the body and the wheels are true. Of course if there are differences between the L and R side this method would be called into question. As all four wheels have some degree of toe in the rear part of the wheels forms the two contact point for each of the two plumb lines. With this I can measure the toe in of all four wheels in one setting.
When I installed the H-sport adjustable lower control arm I matched the length to the factory fixed arm. Only recently that I used them to increase the rear cambers. I increase both sides by turning the turn buckle - like adjuster the same amount for L and R side. Checking them with a framer's square they are quite close. The amount that I added is based on my estimate of observing the uneven wear of the rear tires from a track session.
You are exactly right about adding front camber increases toe because of the steering rack being behind the kingpins. Here is a photo that show the geometry. When you add camber you pull the top of the strut inboard. With the steering end link behind the axle and the bottom of the knuckle held firm by the lower control arm toe in is increased.
Interesting that you think your inner shoulder wear is due to aggressive Ackermann. It is not something we can easily measure or determine and pass judgement.
Thanks. I have seen the string method used and thought about trying it. That helps...
That is also a good picture of your brake duct. It looks to be nicely done.
True about the Ackermann and what I did was truly a guess on my part. Watkins Glen has one turn that is tight and an uphill corkscrew, which is the worst for the MINI to take. With that inside front wheel being very lightly loaded, it would rather spin than put traction to the ground. With a lot of steering input and being a lightly loaded tire, I wore the inside off that tire. I made a small increase in toe-in and the issue greatly lessened. Not very scientific but that is why I concluded it was the Ackermann. I suppose it could have been the camber that the inside wheel gains with increase steering input and body roll, something I hadn�t thought about until just now. That would also make the inside of that tire vulnerable to excessive wear in my situation. It also may be a mute point with a stiffer suspension and less body roll... It doesn�t seem to be an issue since I went to the larger sway bars all around.
Really, I only brought it up as an observation on my part with you setting up the toe to be close to zero and just thought it might be something to watch for, but not really an expected issue. I know a lot of racers go to zero or a bit of toe-out and this hasn�t been noted as a concern.
BTW - Those are some nice new �meatballs� you have there.
Interesting on the discussion of Ackermann lead to inside wheel spins. I haven't given much thought the inside wheel spin that I experiencing more now but just because if the specific turns and that I accelerate out of the turns earlier and harder. Come to think of it the wheel spin can partly account for why the most recent set of tires worn more evenly than those before it. It could also has more to do with the track too in that there are two tight right hand turns in CCW configuration that I experience inner wheel spins in 2nd. However, I am unable to determine the tendency if that tends to wear the inner or outer shoulder more on the inside tire.
I read often for track the preferred front toe is slightly out and they would go on with a hand waving argument that it promotes turn in. I have a hard time believing with a tiny amount of toe out that one can feel the difference compare to the amount the wheels are turned.
I bought the meat ball tires on the suggestion of the supercharged Miata guy. I have never experience semi-slick. I had some hard time getting a full set of four and it showed on Tire Rack as closeout special. I infer they are discounted but I don't know what was the normal price was.
note there are only 2 left at Tire Rack
The only thing I can go by is the price at Summit is around $240 which could very well be the normal price. Base on similar DOT slicks of other brand/model are around $240 I infer it is a good price. If you are interested Discount Tire still have some stock. There is a $50 promotion too.
The prefetch pipeline supply logistics is humming and well lubricated. Another set of sticky donuts that Desire loves so much arrived. The best part is the first set of these identical types has not seen track action yet. From my track buddies I have little doubt about these so executed the prefetch instruction. I grab these because of the rare rebate with Toyo. BTW, Michelin and Bridgestone has $70 rebate every other two weeks. They are playing rebate ping pong.


 Yet all posters are gushing how great it is.


 I cannot begin to imagine what she would do with Alan's engine modifications. That is one most impressive torque curve.
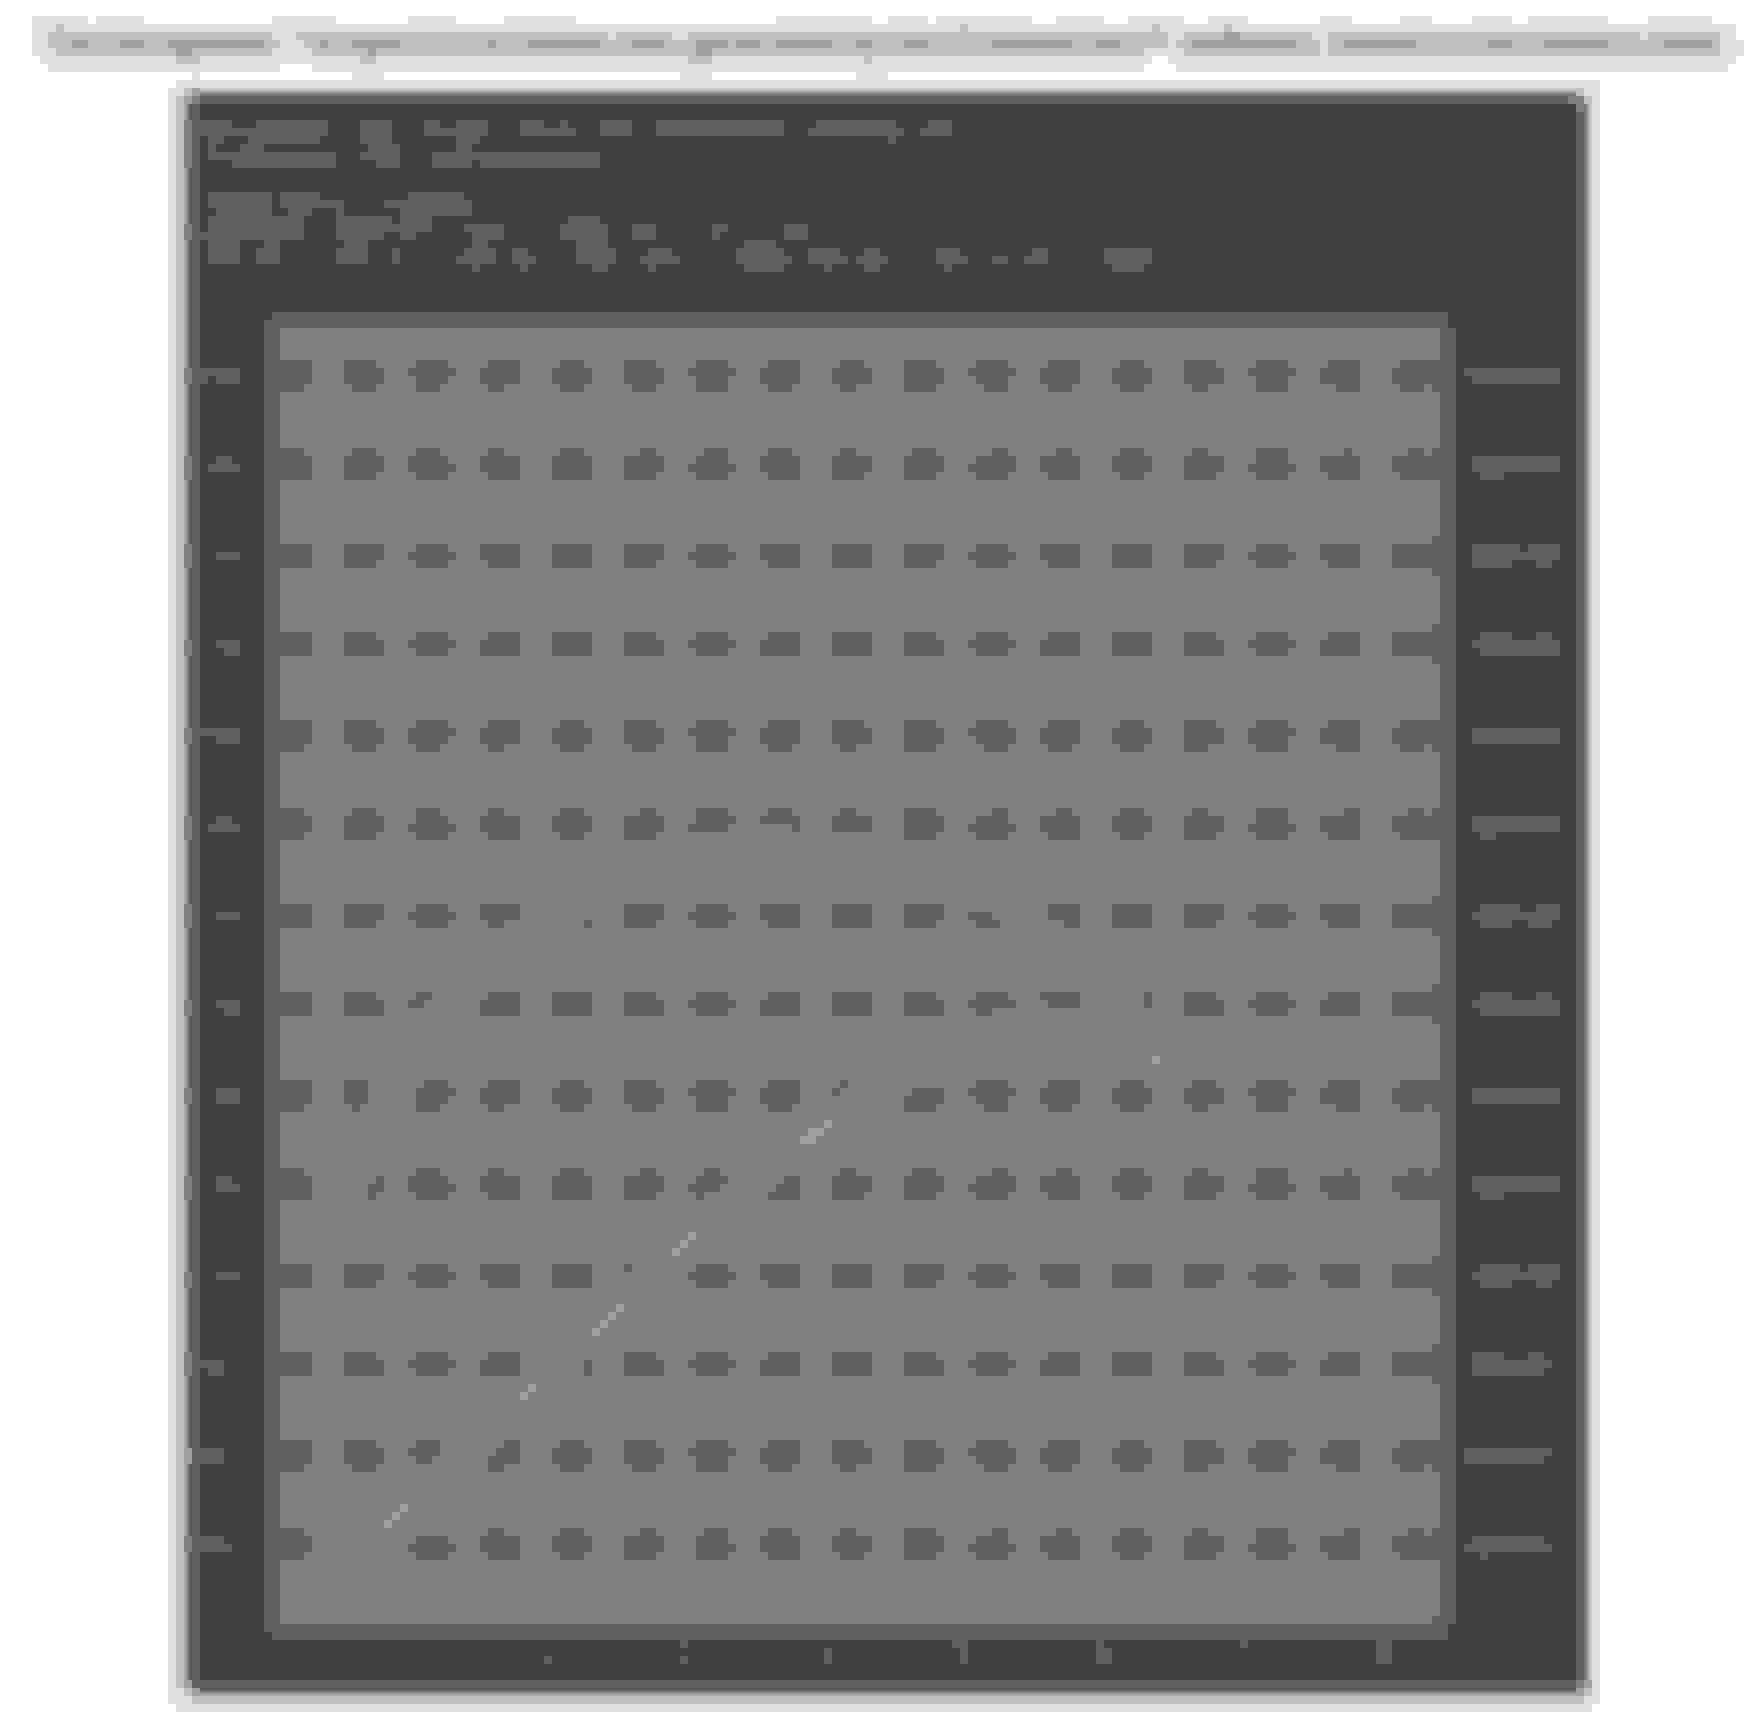


 Both doors now are like came out of swinesty