When you click on links to various merchants on this site and make a purchase, this can result in this site earning a commission. Affiliate programs and affiliations include, but are not limited to, the eBay Partner Network.
Today my neighbor emailed me some voltage readings from the 4 wires I soldered onto the PCB. I told him to note them while the gauges are functional as well as when they fail. So far he only provided the reading when the gauges are all functional. He took two sets of readings, one with just the ignition ON, and the other with the engine running. It is most interesting.
As I noted in the previous post that I didn't see any provision for temperature compensation. Since the gauge's needle is moved by the bi-metal that is heated by a coil of heating element, the needle will defect more at higher ambient. This error may or may not be significant. My expectation is they are significant especially for the fuel level gauge which requires good accuracy. Further, the lower the power the heating element is , the bigger this error due to ambient temperature variation.
Well his email reading was ambiguous so I gave him a call to clarify, as he reported 0.03 - 8.0 V on the TH SW signal. It turns out he saw it toggles between the two values using a DMM. I asked him the toggling rate, just to get a rough idea, which he say quite rapid.
Son of a gun, I thought! This is the built-in temperature compensation. It is a mechanical temperature compensation that consists of a heating coil wound around a piece of bi-metal. As the bi-metal heats up it bends and eventually pulls away from the contact the heating element gets the power from. As the power to the heating coil is cut, the bi-metal cools down and the contact is restored. As the ambient temperature has effect on the bi-metal, the duty cycle of the contact closure is a function of the ambient.
This temperature compensation device is built into the fuel gauge. It supplies power to the fuel gauge in a on/off toggling fashion and compensates for ambient temperature effect.
the temperature compensation device is the left portion of the fuel level gauge; the right portion is the bi-metal gauge which gets the power form the compensator output
Additionally when I did the rough tracing of the circuit in my head while I examined the gauge cluster, I could not make sense of the circuit at the time as I saw the trace also ran to the engine coolant temperature gauge. Now I know this temperature compensation device also serves this gauge as well. Far out - a pretty tricky design!
Some of you might know and remember the old electromechanical voltage regulator for the old alternators. This bi-metal temperature compensation is almost a thermal-mechanical analog of that.
Here is one mind bender. A bi-metal thermal-mechanical fuel level sender. It uses a bimetal sender instead of a common potentiometer. On the surface, it seems it is unworkable but I can see why and how the design works (as a fuel level gauge).
It works by varying the duty cycle of the power supplying the bi-metal fuel gauge. In the life of the vehicle that poor contacts must go through millions of on/off cycles.
patience pays and I got some discount on an opened box mSATA SSD
no discount on this nice mSATA to 1.8" HDD adapter
a solid state medium replacing a vintage 5400 RPM turntable
a bit of elbow grease and patience
No more moving parts except the CPU fan. The DVD drive bay is populated with a second battery when travelling. The notebook is noticeably faster with the SSD. I switch off the Lenovo HDD Airbag Protection as it is no longer needed.
I don't get to drive the Mini that much since I work from home, but that is a good thing as I am not that crazy about driving on the road, especially straight highways. I savoy every mile Mini piles on and appreciate it more. Just a short trip yesterday and Mini just purred. The ride is perfect. I am loving the Milltek resonator-less exhaust. It adds a nice additional feedback of vibration that Mini is alive and healthy, but not enough to pass the threshold when the interior hard plastic trims and parts to start rattling.
My neighbor emailed me on his Trooper's bimetal gauge cluster problem. Since I soldered 4 test wires that he can measure with a HF $3 DMM, last night the engine temperature and fuel level gauges stopped working on his way back to home. The output of the temperature compensator stopped toggling between 0 and +12V. It read 0V. This is exactly what I would expect as the power to the two gauges are cut.
Reflecting on this new observation a bit, I reason that it is not yet time to condemn the temperature compensator quite yet. While the oil pressure gauge continued to function it does not mean the gauge cluster is getting +12V power, notwithstanding the oil pressure gauge worked at the time. The oil pressure gauge can be getting power separately since it does not use this temperature compensator.
Unfortunately he didn't check the +12V power test lead at the time of failure. Because of this I cannot definitely pin it onto the contact points of the temperature compensator. I went over this morning hoping the two gauges are still failing but unfortunately they work.
While we haven't got to the bottom of the intermittent failure of the two gauges, I am now very confident that I understand the design of the 3-gauge instrument cluster. We just need to catch it while the failure occur.
Excellent journal! I appreciate the time it takes to no only document in a clear manner, but also the high quality pics.
I wish everyone would document their builds like this. It's very helpful to the rest of us.
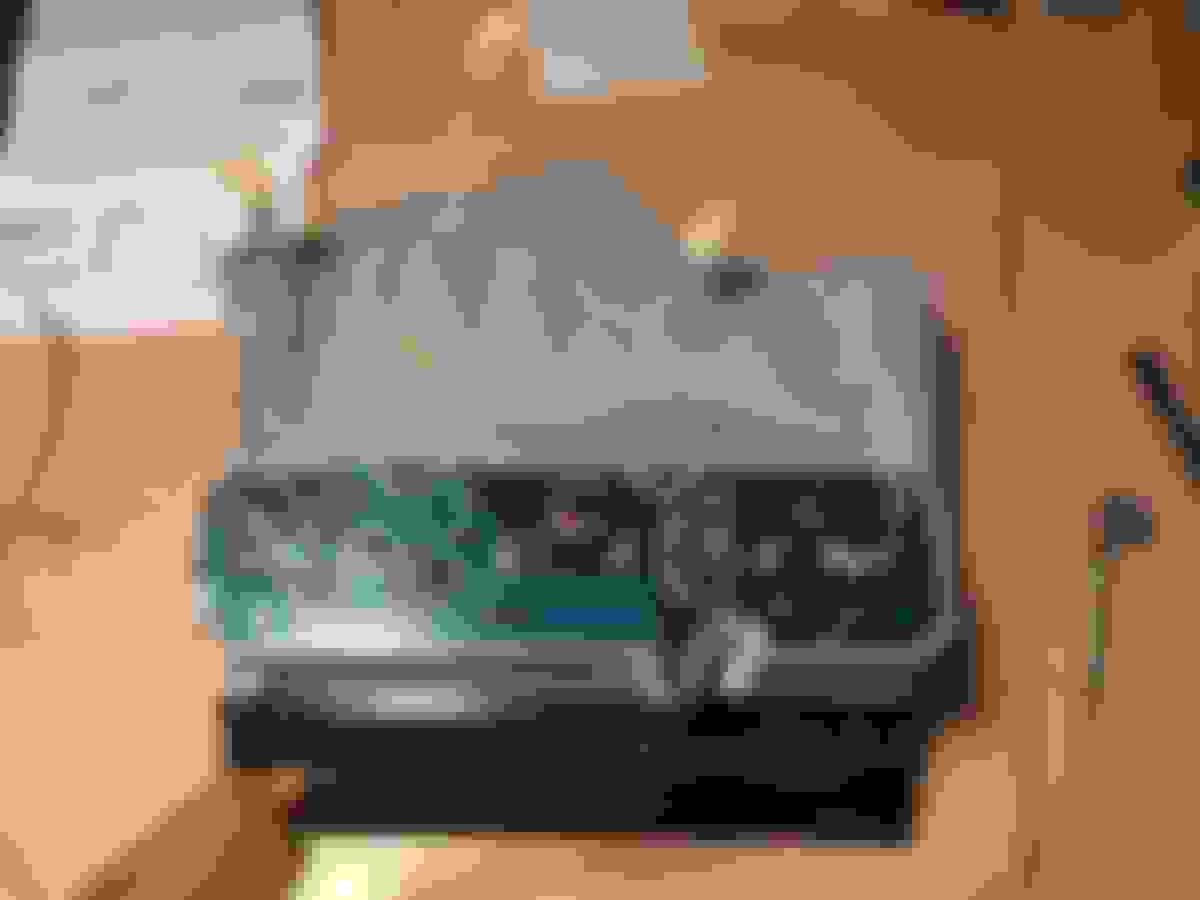
While attempting to install the convertible cross braces I took the opportunity to note the ODB II connector and its surroundings for the routing of an extension cable.
I inspected the ODB II connector to note the orientation as well as potential constraints for an extension cable
this photos shows what pins are used in the Mini - 1, 4, 5, 7, 8, 9, and 16; also I didn't know until now that the clutch master cylinder is plastic just like the slave cylinder
here is an ODB II connector pinout - showing the vendor-specific pins
this is a pinout from Wikipedia for what is worth - do note the BMW's vendor-specific pins and functions (with a big grain of salt as BMW uses of these pins changed over the year range)
I took the opportunity to inspect the rubber on the pedals for wear - they are like new; also noted the European Parcel Shelf features for cable entry and exit should I decide to place the Bytetronik and the MTX-L Plus gauge there
I plan to get this extension cable - note the cable entry orientation WRT the connectors; the ribbon cable will exit by the side wall of the footwell.
It is 41F ambient this morning, and I took Mini out for a drive knowing there will be much less traffic on the road. I have notice Mini has not been rev'in as willingly in similar days recently, especially if I accelerate with WOT only when I am certain the engine oil has warmed up. I have little doubt this is mostly attributable to the crappy winter blend fuel. The other factor might be the one step cooler plugs (to go with 15% reduction pulley) that I installed. While the cooler plugs work well in prime driving seasons and especially when I drive the Mini hard on track, it stands to reason the plugs must be too cold for winter in-town driving.
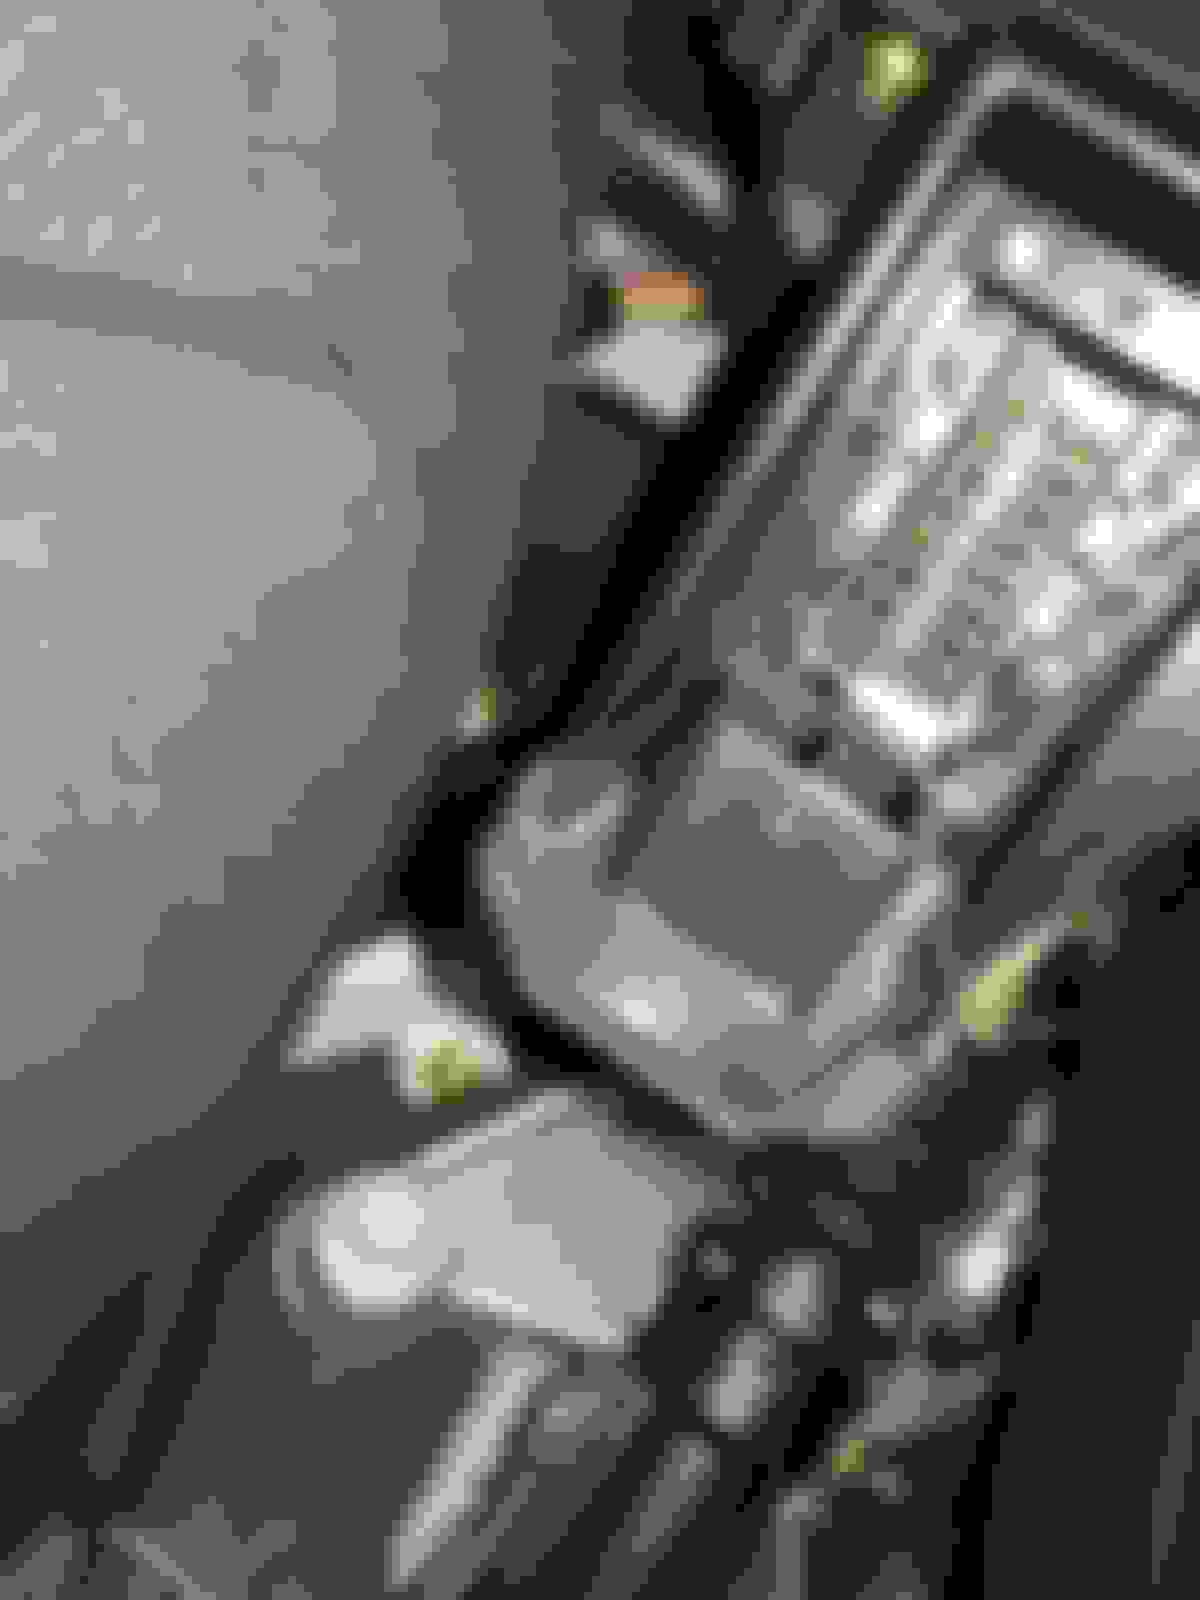
The other reason I went for a spirited drive is to warm up the interior as I want to remove the ODB connector's hinged cover. To remove the cover, one have to bend the plastic hinge arms to slip them out of the plastic pivots.
note the three pins on the hinge cover
Even with the ODB connector plastic warmed up from the driving, I could not safely remove the hinge door without risking breaking the hinges. I decided to give it up. The reason I want to remove the hinge cover is to connect a extension cable for the Bytetronik FA53 Miniport. I don't want the cover to be hanging down there.
While doing this I happen to spot there are three pins on the hinge cover which I haven't notice before. There are there for a purpose - but what? Very strange. For whatever purpose they serve the designer cannot count on the cover to always be closed, as the chance of someone leaving it open is very common including me.
I decided to "ohm" out these three pins with the DMM. These pins are 7, 8, and 16. Here is what I found:
7 and 8 are shorted.
16 has what appears to be a back to back diodes (measure 0.5 V in both directions with DMM's diode/continuity function) connecting between it and pins 7 and 8.
Pins 7 and 8 to be shorted when the door is close almost make sense, and I say almost. As we who use INPA and NCS-Expert we have to short pin 7 and 8 of the interface dongle. Pin 16 is B+ (+12V) which is a kind of strange that the back to back diodes are in effect when the door is closed. In all none of these pins on the cover make sense as no one should count on the cover being diligently closed by the person who access the ODB port, especially the well paid civil servants at DEQ.
Every time I have a chance for a safe but spirited drive in the Mini, it cracks me up. By spirited drive I mean when you have to carefully maintain the throttle negotiating a sweeping curve or 90-degree corner turn, or grab the steering wheel with both hands (at the right spots) and ready to react to the surprises Mini can deal you, or having to heel and toe to brake and downshift. This little car is oozing with eccentric characters.
It is 41F ambient this morning, and I took Mini out for a drive knowing there will be much less traffic on the road. I have notice Mini has not been rev'in as willingly in similar days recently, especially if I accelerate with WOT only when I am certain the engine oil has warmed up. I have little doubt this is mostly attributable to the crappy winter blend fuel. The other factor might be the one step cooler plugs (to go with 15% reduction pulley) that I installed. While the cooler plugs work well in prime driving seasons and especially when I drive the Mini hard on track, it stands to reason the plugs must be too cold for winter in-town driving.
The other reason I went for a spirited drive is to warm up the interior as I want to remove the ODB connector's hinged cover. To remove the cover, one have to bend the plastic hinge arms to slip them out of the plastic pivots.
note the three pins on the hinge cover
Even with the ODB connector plastic warmed up from the driving, I could not safely remove the hinge door without risking breaking the hinges. I decided to give it up. The reason I want to remove the hinge cover is to connect a extension cable for the Bytetronik FA53 Miniport. I don't want the cover to be hanging down there.
While doing this I happen to spot there are three pins on the hinge cover which I haven't notice before. There are there for a purpose - but what? Very strange. For whatever purpose they serve the designer cannot count on the cover to always be closed, as the chance of someone leaving it open is very common including me.
I decided to "ohm" out these three pins with the DMM. These pins are 7, 8, and 16. Here is what I found:
7 and 8 are shorted.
16 has what appears to be a back to back diodes (measure 0.5 V in both directions with DMM's diode/continuity function) connecting between it and pins 7 and 8.
Pins 7 and 8 to be shorted when the door is close almost make sense, and I say almost. As we who use INPA and NCS-Expert we have to short pin 7 and 8 of the interface dongle. Pin 16 is B+ (+12V) which is a kind of strange that the back to back diodes are in effect when the door is closed. In all none of these pins on the cover make sense as no one should count on the cover being diligently closed by the person who access the ODB port, especially the well paid civil servants at DEQ.
Often sleeping on a thought of a question helps. I was just about to ZZZ and the question of why these pins are on the ODB cover bugs me. It immediately dawns on me that the purpose it serves may be to conserve power. If the cover is open some device on the bus would needs to be ready, and this may cause higher phantom power consumption. I am going to test this theory out with a clamp meter tomorrow.
It is better to be careful than rushing to a fake judgement when diagnosing an automotive problem, especially when it is not your own car. My neighbor have been diligently taking DMM readings off the test leads that I soldered onto the PCB of his Trooper's auxiliary gauge cluster. Indeed, as I suspected the output of the temperature compensator measured zero when the fuel gauge and coolant temperature gauge stopped functioning.
Instead of rushing to judgment in condemning the bi-metal contacts of the temperature compensator I wanted to make absolutely sure the diagnose is not a fool's errant - including my own. I added two more monitor wires to the cluster and gave him back the cluster like a good doctor would. Call me next time when ...
I added L+ and L- monitor wires that is the upstream power supply to the temperature compensator
A couple of days went by and I have not heard back from him. I know the gauge should fail by now so I texted him to see if the gauges have failed, or he himself has failed due to the flu outbreak.
He replied back that both L+ and L- measured 14V. I felt compelled to press for clarification. Were the reading taken when the gauges functioning, or when they failed? They were taken when the gauges failed. Good I thought. We are making a big strive in this endeavour.
More to come so stay tuned with this remote diagnosis.
The dipstick in my Mini shows no sign of mechanical fatigue. I have always been careful using it by letting it twist naturally while inserting and removing it from the steel tube. Seeing so many complaints and the price of performance aftermarket "better mousetrap" design I decided to buy the cheapest one I could find as long as it appears to be no less then the OEM one that costs $25, just to satisfy my curiosity. I ordered one for $2.74 shipped from Suzhou, China. BTW, Suzhou has China's best specimen of classic architectures and garden landscapes.
it took just over a month to arrive - all the way from Suzhou, China
MINI OEM side by side with $2.74 one; the construction is very similar
the $2.74 one is about 2mm longer if you want to split hairs
While there is may be 2mm difference in length it is moot as the effective length depends on the bending. To me they are close enough within the requirement of the application and other factors. To verify this I tested the oil mark by inserting it and compare to the MINI OEM one and they are within 1 to 2mm. Do note that the repeat-ability beyond this tolerance will be influenced by how long you leave the dipstick before you pull it out (think surface tension and oil viscosity).
The most important thing is, are the plastic tip and handle well bonded to the black plastic rod, and how well does the handle head engages to the steel tube. Both are fine and very comparable to the OEM one. The retention of the handle has very similar retention force as the OEM one (the function of the diameter as well as the two o-rings).
I have no reservation using this cut rate dipstick. I suspect it is the same generic one sold for about $7.50 out there.
If you are a newbie (1st Gear), this is what we call a LOL thread. What you say "lots of laughs/laugh out loud?" No, a Labor of Love by a NAM Member that is part of the 1% Club. You see in the world of silicone chips and social media, only about 1% of those that visit an on-line community forum actually take the time to get involved and post.
I hereby propose that pnwR53S be inducted into the NAM Hall of Fame. If you my fellow 1%ers also agree, do so please by noting such in the below thread.
It dawned on me now of the hazard in comparing the lengths of the $2.74 dipstick against the stock "golden" standard. The cut rate China made one is ~2mm longer if you want to split hairs. But who is to guarantee that the golden standard has not shrunk after exposure to hostile heat and nasty chemicals?
If you look closely at these two photos the colours of the plastic are unmistakeable different.
the tip of the golden standard is brown , not yellow
The fact is when new the $25 MINI dipstick is all bright yellow at the handle and the tip. So my point is I will take the length of the golden standard with skepticism as the exposure to heat and chemicals can very well have changed the length of the dipstick.
How many posts can one write about a $2.74 dipstick?
As I examined more closely at the original photos I took of both dipsticks, I realized they are nearly identical in every feature, down to the injection mold seams and circular dimples. When someone said the OEM one probably sourced from China I dismissed it as unlikely back in 2004 when my Mini was built.
The two dipsticks are identical except two places. In the tapered end of the handle the factory one has a part number and the $2.74 one is blank but still have the same depression to accommodate a number. The most striking is the small flying goose logo on both. Here there is a difference. Next to the flying goose logo the factory one has a "1" while the $2.74 one has a "2". These are very strong clues the $2.74 one is made by the same company sold for aftermarket, just without the MINI part number 7509784. Evidently some other stock dipstick has BMW logo instead of flying goose. I have no doubt mine is genuine.
flying goose logos on both
I suspect that it might be a Japanese company which subsequently set up a factory in China. The "2" might just be the factory designation.
Last edited by pnwR53S; Jan 9, 2018 at 09:17 AM.
Reason: better photos
I've been reading your thread. I think I might be interested in retrofitting front and rear fogs and heated seats (from a donor vehicle) to my MCS. Based upon the expense and labor, do you feel that it was a worthwhile mod? Or would I be better served going with something aftermarket?
I've been reading your thread. I think I might be interested in retrofitting front and rear fogs and heated seats (from a donor vehicle) to my MCS. Based upon the expense and labor, do you feel that it was a worthwhile mod? Or would I be better served going with something aftermarket?
Curious to get your input.
If you want fog lights that function as intended I highly recommend them. If you want them as cosmetics to impress they are only visible for some observant R5x owners so the money better spent elsewhere for bigger visual bang.
I often use just the front ones when I want other drivers to see me in high-risk traffic situations as a day time running light. Speaking of day time running lights. They are effective when you and only few cars have them. When most cars have them, the idiot drivers' vision and brains will desensitize just like they often don't see motorbikes even when they stare straight at them.
If you want fog lights that function as intended I highly recommend them. If you want them as cosmetics to impress they are only visible for some observant R5x owners so the money better spent elsewhere for bigger visual bang.
I often use just the front ones when I want other drivers to see me in high-risk traffic situations as a day time running light. Speaking of day time running lights. They are effective when you and only few cars have them. When every cars have them, the idiot drivers' vision and brains will desensitize just like they often don't see motorbikes even when they stare straight at them.
Thanks for the input. Basically, I am looking to retrofit for function. I have basic halogens and they are terrible. I might as well be driving with my parking lights. Lately it's been super foggy and rainy so I seemed like a good idea to have more visibility. My big concerns were making sure I pulled all of the necessary wiring and hardware from the donor and then tackling the coding.
If it's worth the effort, I may have to take the plunge! Thanks again.
How many posts can one write about a $2.74 dipstick?
As I examined more closely at the original photos I took of both dipsticks, I realized they are nearly identical in every feature, down to the injection mold seams and circular dimples. When someone said the OEM one probably sourced from China I dismissed it as unlikely back in 2004 when my Mini was built.
The two dipsticks are identical except two places. In the tapered end of the handle the factory one has a part number and the $2.74 one is blank but still have the same depression to accommodate a number. The most striking is the small flying goose logo on both. Here there is a difference. Next to the flying goose logo the factory one has a "1" while the $2.74 one has a "2". These are very strong clues the $2.74 one is made by the same company sold for aftermarket, just without the MINI part number 7509784. Evidently some other stock dipstick has BMW logo instead of flying goose. I have no doubt mine is genuine.
flying goose logos on both
I suspect that it might be a Japanese company which subsequently set up a factory in China. The "2" might just be the factory designation.
Could just be a simple case of sticking the original plastic piece into a mold and creating a new copy of it. What hasn't been ripped off by the Chinese market?
We are having a few days of amazing spring like weather. Today's high was closed to 60F. I took the Porsche out for a drive. I also took the opportunity to give the Porsche and the Mini a wash.
everyone got a wash ; mini hog got the extra rubdown with microfiber towel on these black rings around the collar; oh, and yes that dirty butt
this is my favorite part of the Mini exterior styling including the delineation of the panel seams
I have been wanting to photograph Mini with the lights on and I learnt that the ambient lighting has to be just right due to the very limited dynamic range of camera imagers
here you can really see the dynamic range limitation of the imager


 It is a mechanical temperature compensation that consists of a heating coil wound around a piece of bi-metal. As the bi-metal heats up it bends and eventually pulls away from the contact the heating element gets the power from. As the power to the heating coil is cut, the bi-metal cools down and the contact is restored. As the ambient temperature has effect on the bi-metal, the duty cycle of the contact closure is a function of the ambient.


 As we who use INPA and NCS-Expert we have to short pin 7 and 8 of the interface dongle. Pin 16 is B+ (+12V) which is a kind of strange that the back to back diodes are in effect when the door is closed.
 In all none of these pins on the cover make sense as no one should count on the cover being diligently closed by the person who access the ODB port, especially the well paid civil servants at DEQ.