Mini Cooper 2001-2006: How to Replace Radiator
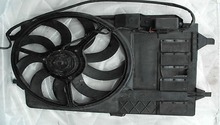
The mini uses a modular front end, limiting space for repairs. This makes replacing parts like the cooling fan and radiator more time consuming, but results in an easier installation. With the front bumper removed, access is obtained much easier than most vehicles, making this an ideal repair for many Mini owners.
This article applies to the Mini Cooper R50 and R53 (2001-2006).
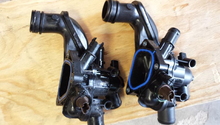
The radiator is a heat exchanger that must withstand temperatures above 200 degrees Fahrenheit and pressures above 16 PSI. Inside the radiator are small tubes that run parallel through its core that the coolant passes through. As air passes by the tubes, heat is drawn from the coolant and released into the atmosphere. Radiators can develop pinhole-sized leaks or clogs which may be hard to locate. Most often, your best choice is to pressurize the cooling system and visually inspect it.

Materials Needed
- Floor jack
- Two jack stands
- Drain pan
- Pliers
- Flat head screwdriver
- Phillips head screwdriver
- 1/4" and 3/8" ratchet
- Metric socket set - 8mm - 18mm
- 2 M8 x 100 bolts
Refer to the article: Mini Cooper R50 and R53: How to Replace Cooling Fan for additional tools.
Step 1 – Remove the front bumper and crash bar
Follow Steps 1-3 of the article Mini Cooper R50 and R53: How to Replace Cooling Fan.
- Set the parking brake and place wheel chocks around the back wheels.
- Use floor jack to raise the vehicle until a jack stand can be placed beneath.
- You may want to jack at the frame with the floor jack then place the jack stand below the pinch weld or vice-versa. Use lift blocks if available.
- Open the hood and turn the wheel full lock to one side.
- Remove the 8-10 screws at the bottom of the front bumper near the grill using a Phillips head screwdriver.
- Remove the two 8mm bolts in each wheel well area near the headlights. You can reach these bolts from the bottom.
- Remove the two t30 Torx screws near the outside edge of the front crossmember/crash bar.
- To make disconnecting the turn signals, temperature sensor, and fog lights easier, place a small platform near the front bumper to rest it on once disconnected from the body. Don't let the bumper hang by the wires! Lift the bumper upwards and away to disconnect the two clips at the top.
- There are ten 13mm bolts holding the crash bar to the frame. Use Figure 4 to locate and remove these bolts, then carefully detach the crash bar without entangling it in wiring. You'll need an extension with your socket.
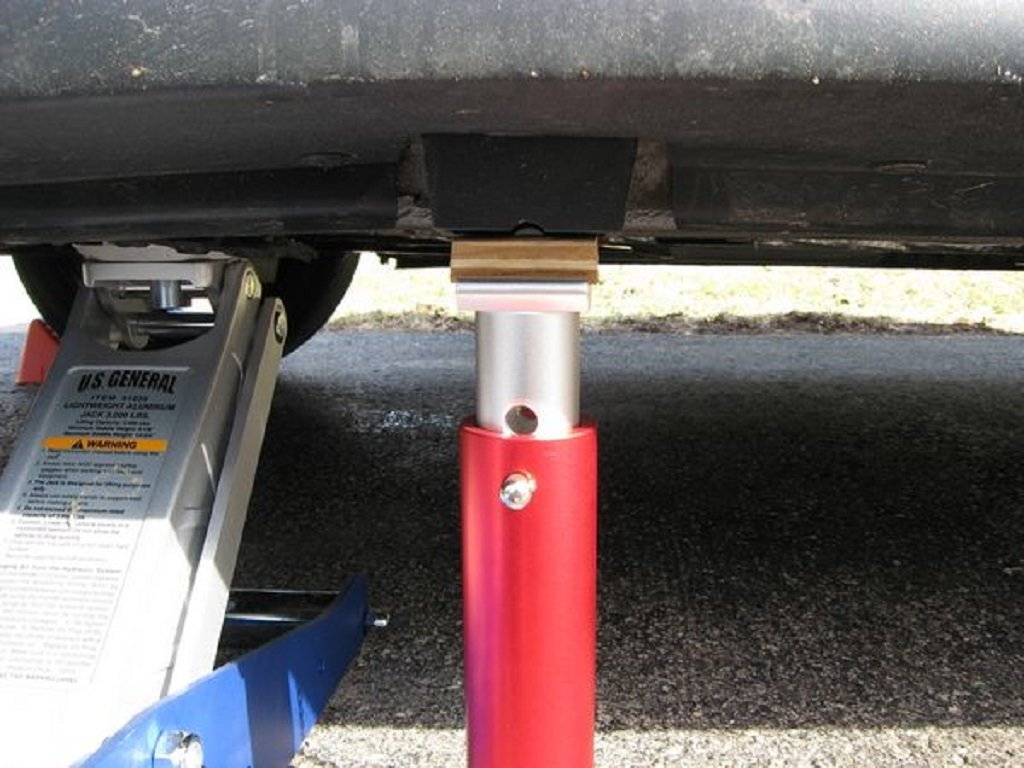
Figure 1. Place the jack stand onto a lift block. 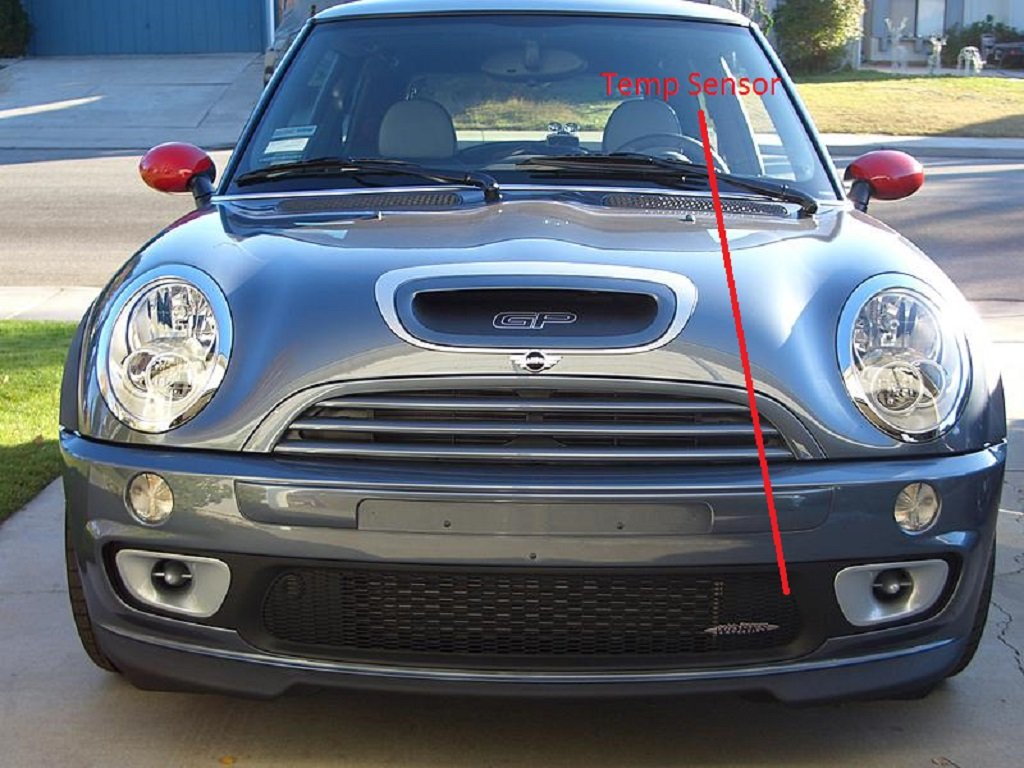
Figure 2. The temp sensor location. 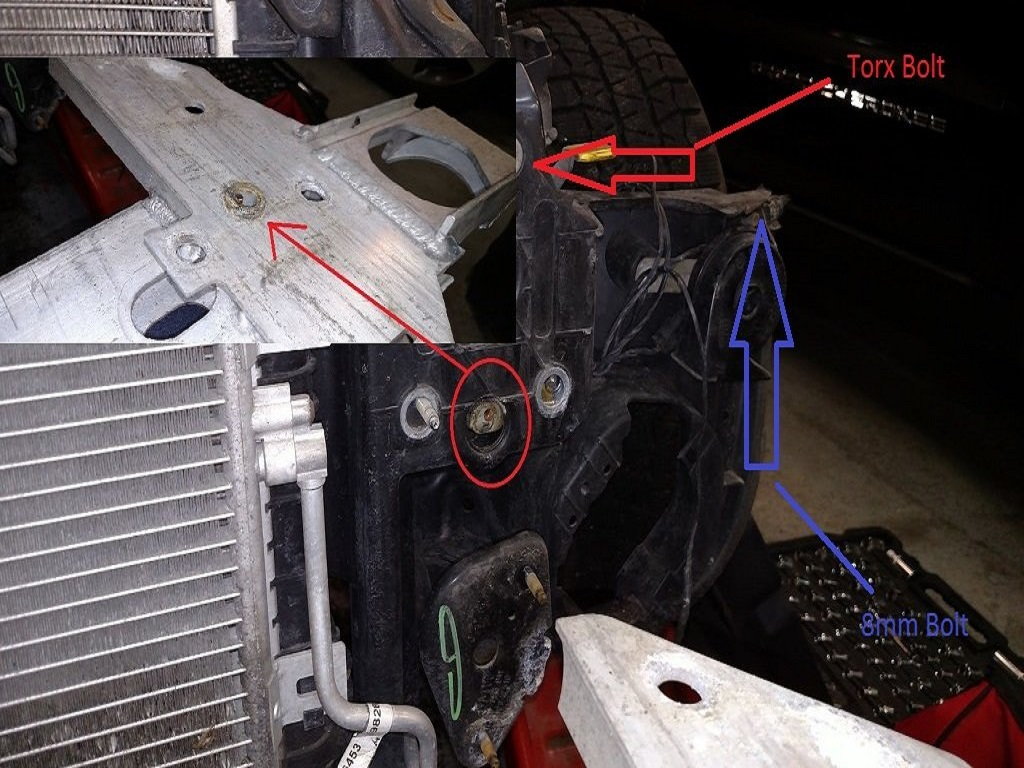
Figure 3. Remove the 8mm bolts and Torx screws. 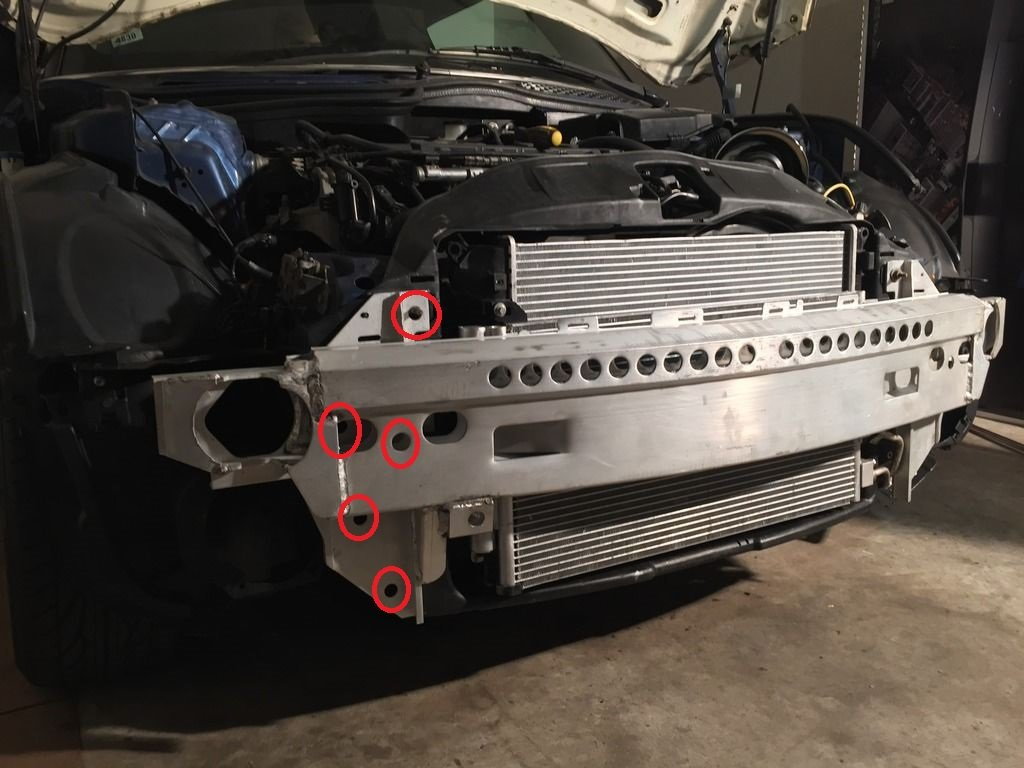
Figure 4. Locate the five bolts on the passenger side of the crash bar.
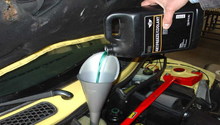
Step 2 – Drain the engine coolant
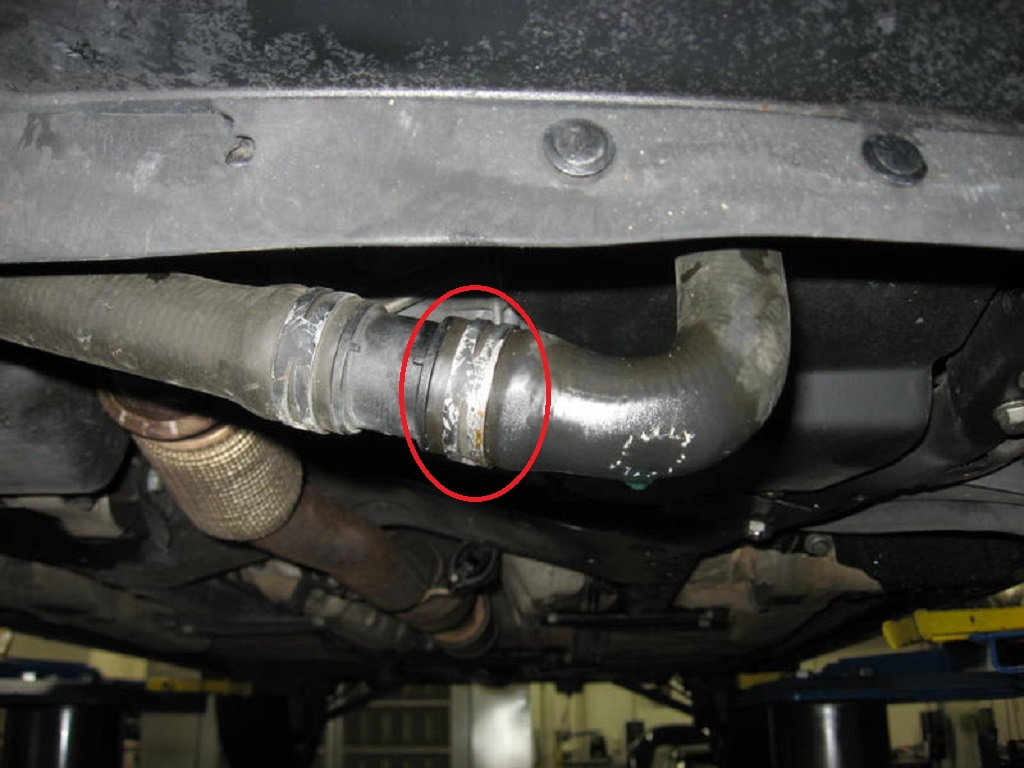
Place a drain pan beneath the lower radiator hose and remove it from the radiator after removing the cap from the coolant expansion tank. You can re-use the coolant if it's not too old (more than 75,000 miles) and the drain pan is clean.
[Related Article - How to Replace Coolant - NorthAmericanMotoring.com]
Step 3 – Remove radiator push pins and disconnect upper radiator hose
Follow Steps 4-5 in the article Mini Cooper R50 and R53: How to Replace Cooling Fan. If you have a Mini Cooper S model, you'll need to remove the 8mm bolt holding the upper radiator hose to the intercooler.
- The push pins are located at the upper corners of the radiator. Use diagonal cutters or a clip removal tool to separate the inner pin from the outer clip, then remove the outer clip.
- Don't remove the coolant hose with heat/pressure left in the cooling system!
- You can use pliers designed to squeeze hoses closed to help keep coolant contained in the cooling system. Some coolant will still fall from the radiator. Put a drain pan beneath to catch it.
- You may need pliers or a screwdriver depending on the type of clamp you have.
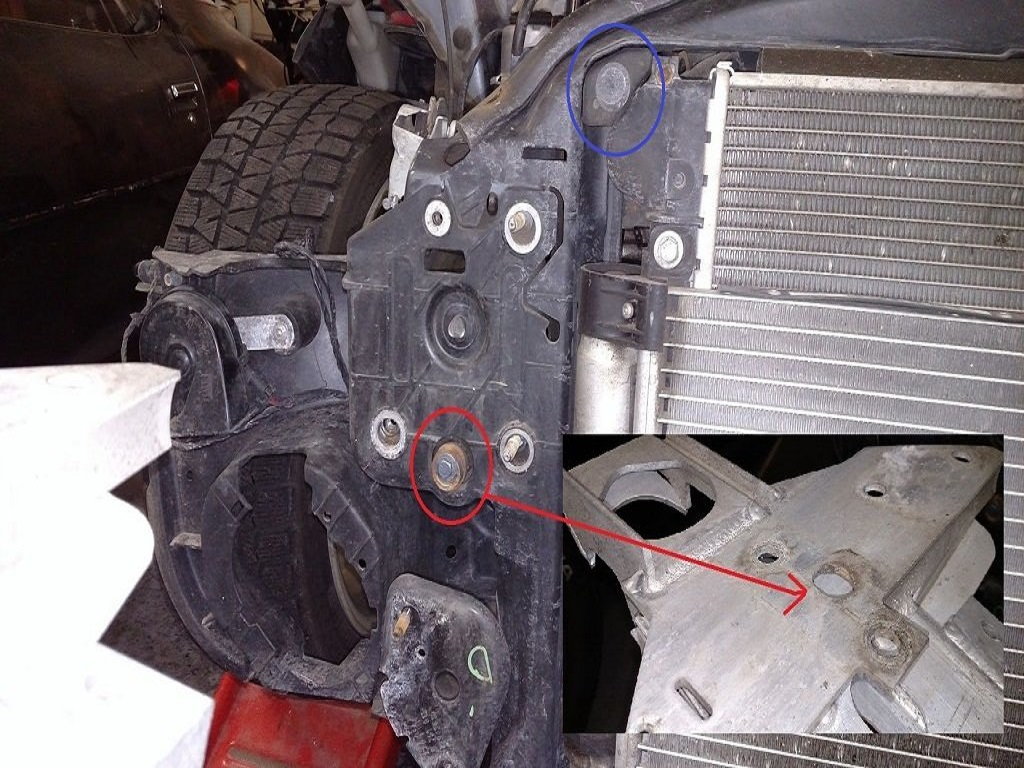
Figure 6. One of the radiator push pins circled in blue. 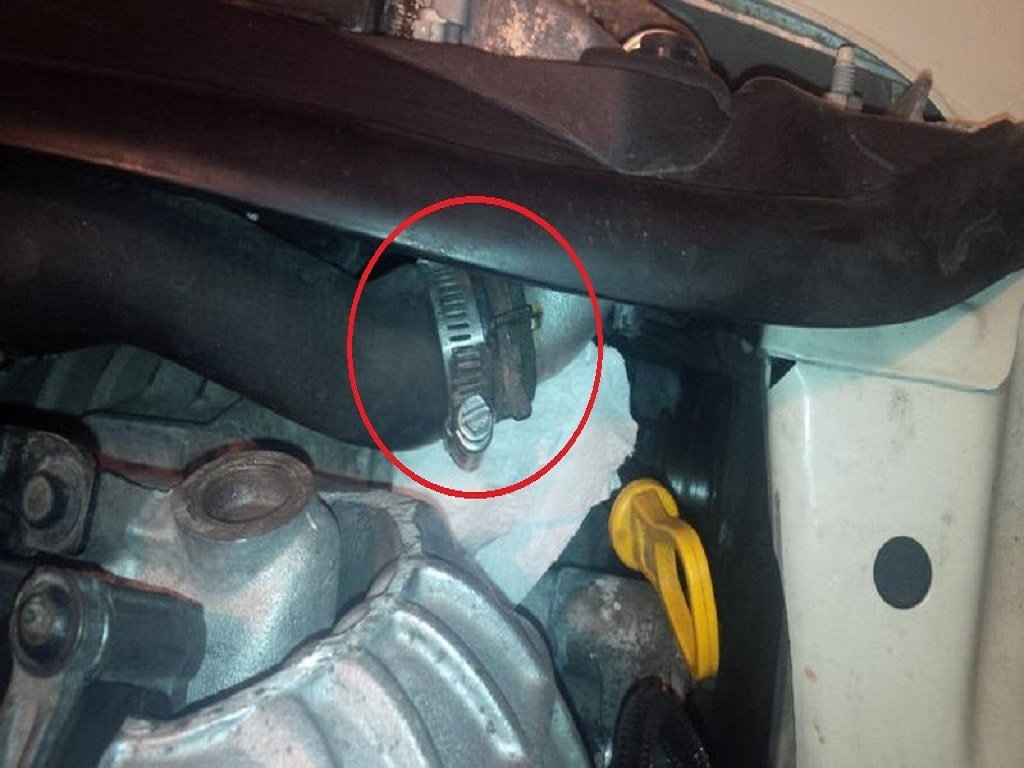
Figure 7. Remove the upper radiator hose.
Step 4 – Loosen the A/C condenser
Loosen the two 10mm bolts on the A/C condenser.

Step 4 – Install bolts into the frame rails
Install a M8X100 bolt into each side of the frame rail. These bolts act as a holding fixture to slide the radiator onto while disconnecting radiator hoses and electrical connectors.
- Remove the 10mm bolt holding the cooling fan electrical connector to the driver's side frame rail.
- Slide the radiator outward until it's resting on the bolts.
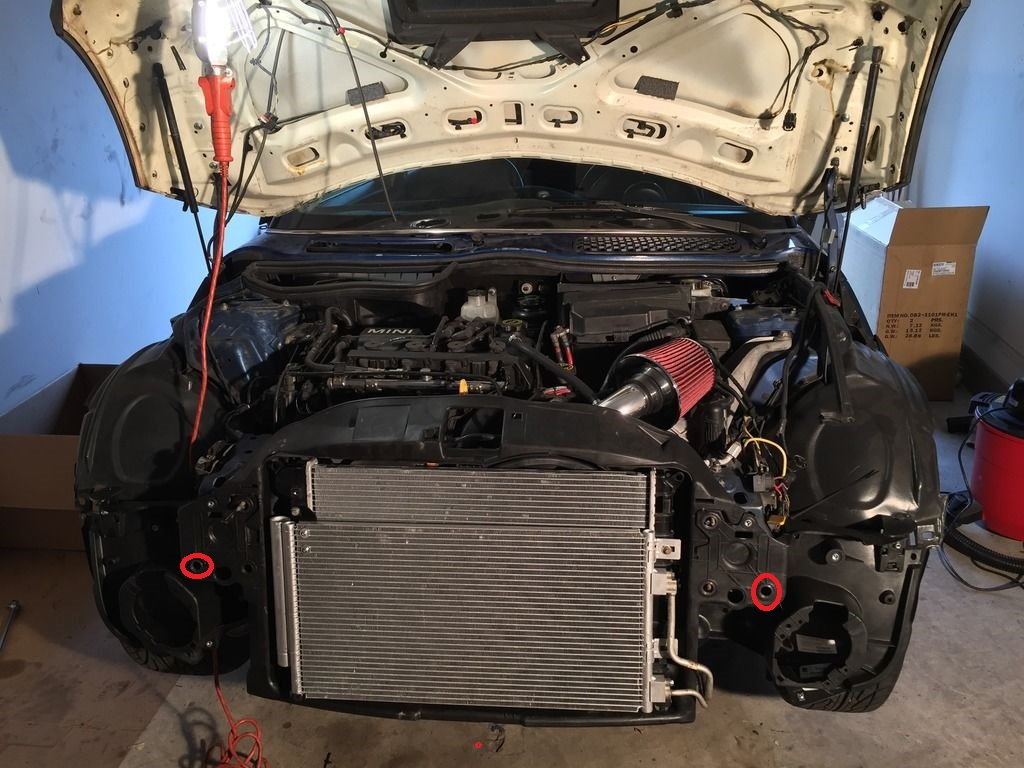
Figure 9. Install the M8X100 bolts into the red circled holes.
Step 5 – Remove the radiator
Unclamp the upper and lower radiator hoses from the radiator, then remove the M8x100 bolts. Hold the radiator while doing so as the radiator will fall to the ground otherwise.
Install the radiator in the reverse order of removal.
- Hook in the radiator and A/C condenser.
- Reconnect the radiator hoses to the radiator.
- Reinstall the push pins that secure the radiator to the chassis.
- Reinstall the front bumper crash bar and then the rest of the front bumper assembly.
- Top off the cooling system at the radiator and overflow tank with 50/50 coolant. Loosen the bleed screw at the upper radiator hose and start the engine with the heat on max high. Close the bleed screw once coolant exits through it.
- Allow the engine to warm, keeping a close eye on the temperature. Don't let the temperature rise above 3/4 near the red mark! Adjust your level to the max mark in the overflow tank.
Featured Video: Mini Cooper Radiator Replacement
Related Discussions
- Losing Coolant - NorthAmericanMotoring.com
- Replaced Radiator and Reservoir Today - NorthAmericanMotoring.com
- Blown Radiator - NorthAmericanMotoring.com
- Radiator Question - NorthAmericanMotoring.com
- Melted Radiator Hoses - NorthAmericanMotoring.com