Mini Cooper 2007-2013: How to Replace Thermostat
Changing out your thermostat is a pretty straightforward DIY job on these Coopers.
This article applies to the Mini Cooper (2007-2013).
When it's time to change your thermostat, you can't really let it go. Your Cooper will run horribly and you are taking a chance on overheating, and causing permanent damage to your engine. The thermostat on these cars is pretty easy to get to and swap out. You don't need any extensive mechanical skills or abilities, just some patience and time. You could always take it to a professional, but you'll be spending money that you could otherwise sink into some of those modifications you've always wanted to do. The only thing that is really different with this job on this car, compared to most other vehicles, is that the thermostat is a part of the housing (as well as the sensor), which means that you have to purchase a new housing and replace the entire unit. While this appears as a marvel of modern engineering, it's not really that bad. You would need to open up the housing anyway with any other vehicle to get to and remove the thermostat; this version just requires you to remove the housing and replace it all in one feel swoop. Keep your wallet in your pocket, grab some tools and get started.

Materials Needed
- Flat head screwdriver
- Small pick tool with curved tip
- Large channel pliers
- Small needle nose pliers
- Ratchet and 10mm socket with extension
You will be working on your Mini's cooling system, which sees temperatures in excess of 200*F. Ensure that your engine is cold and has been shut off for a considerable amount of time before attempting this repair.
Step 1 – Jack up your driver's side front end
You don't need to get under your Mini for this job; however, you do want a catch pan or bucket in place under the thermostat housing to catch the coolant that will be spilled. Use the recommended jacking location, and then place her on jack stands. Your Mini has a slightly unique jack point that really requires either the use of an adapter or you can use a length of wood to displace the weight more evenly. With your car jacked, place the drain pan under your work area and clean up any coolant spills immediately, as coolant is extremely toxic, yet sweet and tasty to pets as well as animals.
(Related Article: How to Jack Up Your Car - NorthAmericanMotoring.com)
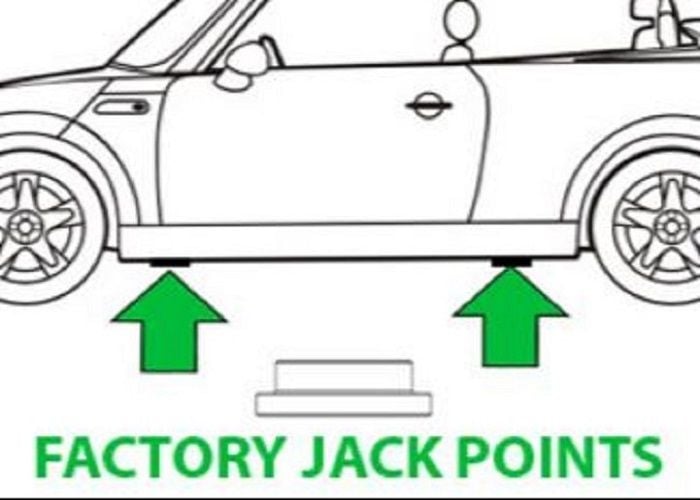
Figure 1. Always use the recommended jacking points when lifting your Mini. 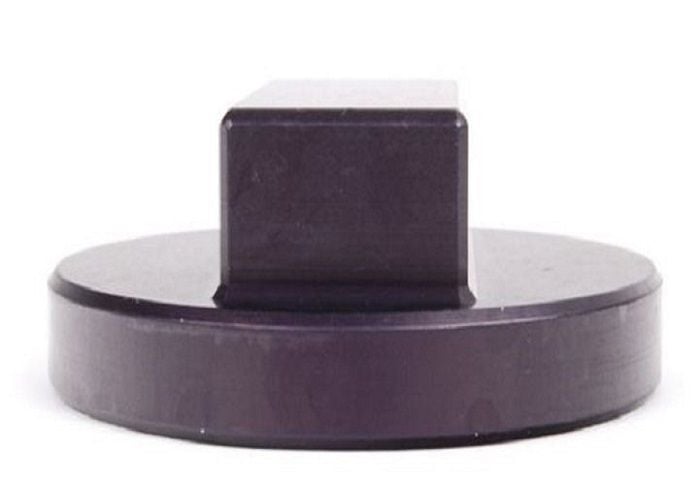
Figure 2. There are many different brands of jack pads for the Mini which can be had for less than $20.
Step 2 – Drain the coolant from your lower radiator hose
Use a large pair of pliers to loosen the clamps on the lower radiator hose and remove one end to drain it into your drain pan.
Step 3 – Remove your air intake tube
Remove your air intake tube by loosening the clamps on both ends with a flat head screwdriver. You will also need to disconnect the MAF sensor attached at the front end of the tube. It is a quick release tab that pulls straight off when the side tabs are pressed in. The smaller tube also needs to be popped off from the intake on the top of the engine. The elbow from the back end of the intake tube must come off as well, and it uses the same style clamp as the intake tube. This also has a quick release sensor connector that has to be disconnected as well.

Figure 4. The air intake tube comes off with just a flat head screwdriver. 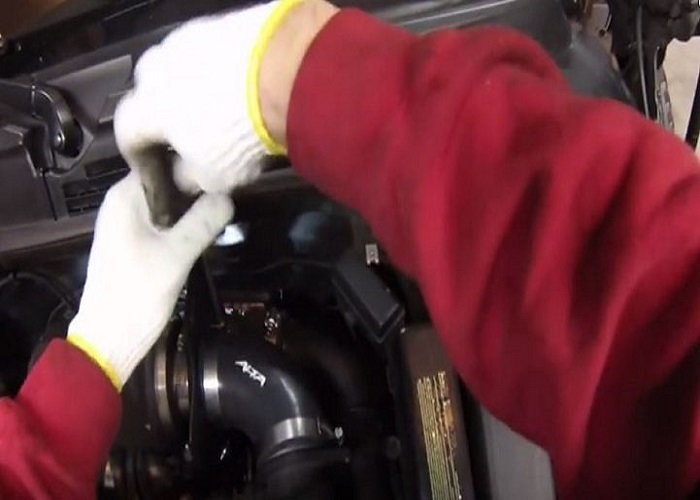
Figure 5. Remove the elbow hose from the back end of the air intake tube.
Step 4 – Remove cold air intake tube
The cold air intake tube is below the intake tube that you just removed. This tube runs from the headlight area back to the filter housing. It is clamped on using the same style clamps as the other clamps and comes off after loosening with a flat head screwdriver.
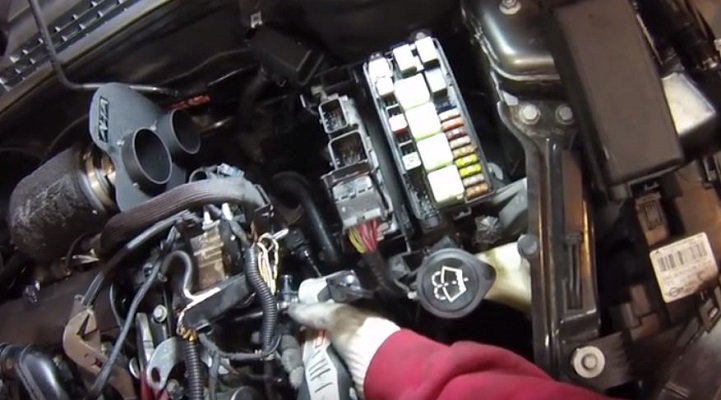
Step 5 – Disconnect battery and remove ECU
Disconnect the negative (black) terminal from your battery before pulling the ECU. The ECU is protected by a cover that is held in place by a couple of small bolts that are easily removed with a ratchet and socket with extension. Once the cover is removed, remove the connectors marrying the ECU to the harness.

Figure 7. Disconnect the negative terminal from your battery. 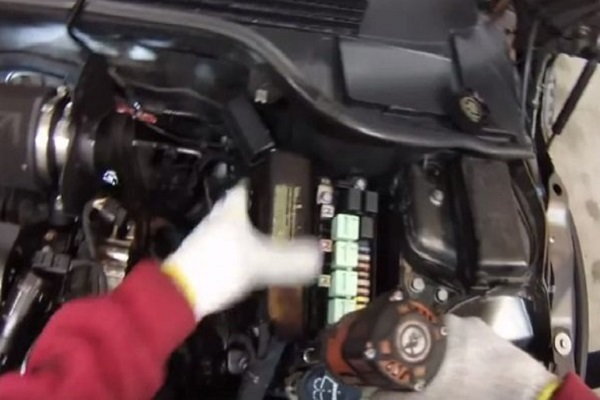
Figure 8. Remove the ECU cover. 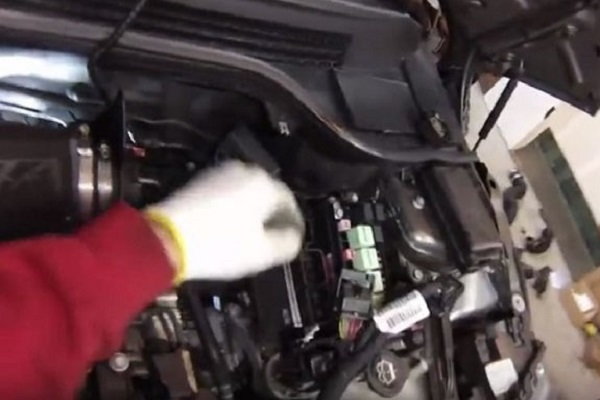
Figure 9. Pop the top cables off the ECU, and the front has to have its zip tie snipped to get to it.
Step 6 – Remove wiring cover
On the side of the engine above the thermostat housing, you'll find a plastic cover that protects a bundle of wires. This cover must come off to get the wires out of the way. The plastic cover is just snapped together with integrated plastic tabs and clips. You can use a small pick, or even your fingers if they are small enough, to get in there and bend those tabs out ever so slightly. Take care, as these tabs are very easy to break. Remove the cover.
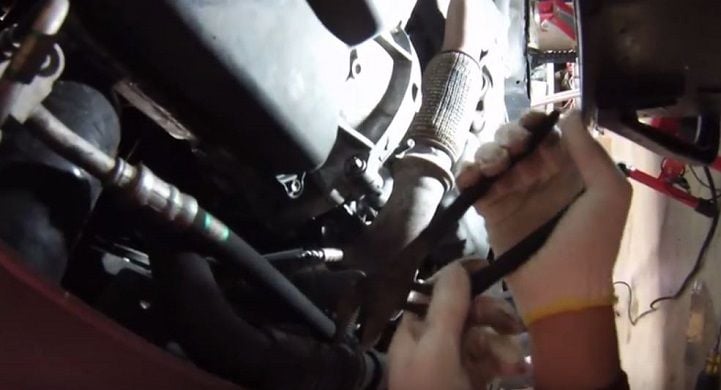
Step 7 – Disconnect vacuum hoses
One vacuum hose connects to the vacuum pump just behind the grille. The other connects right next to it at the turbo unit. Just disconnect this end and then push the hoses to the side. Move the remaining wiring units out of the way, as you don't have to disconnect them all.
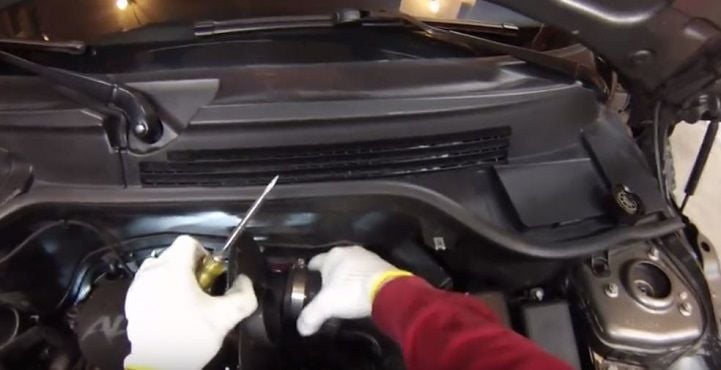
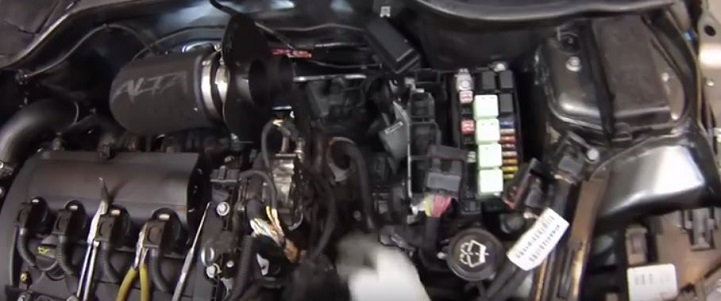
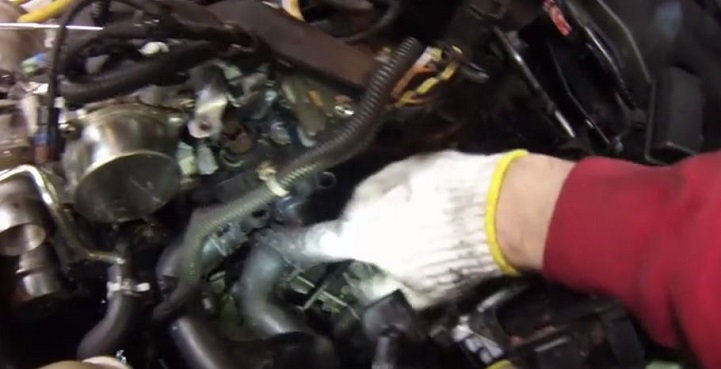
Step 8 – Disconnect thermostat housing electrical connections
There are three electrical connections that need to be disconnected from the housing unit. One is at the bottom and it is a real pain to get to. You will need to use your pick tool and the clip tabs push out, rather than in. Push or pull those tabs outward and then the electrical connection will pull straight off. The upper connections are much easier to work with.

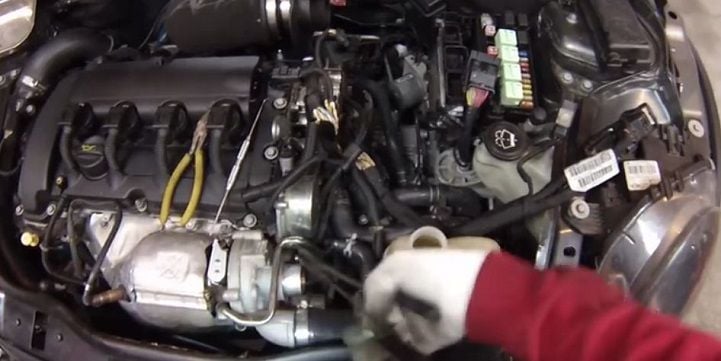
Step 9 – Disconnect radiator, heater core and turbo hoses
There are two smaller radiator hoses and two heater core hoses that are attached to the housing. A third smaller hose connects the turbo to the housing. These are connected with simple hose clamps. Loosen those clamps and pop the hoses off the housing. Have your catch pan ready under the car, since you'll loose a lot of coolant once you pop off the heater core hoses.
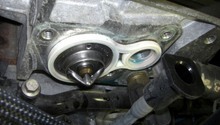
Step 10 – Remove and replace thermostat housing
There are three 10mm bolts that mount the thermostat housing to engine block. One bolt is on the top, the other two are on the bottom. You'll need an extension and 10mm socket to get these off and remove the housing. Grab your new housing and install it. You may want to reconnect the turbo cooling hose at the bottom of the new thermostat before you reconnect and tighten those bolts. Once the thermostat housing is in place and tightened down, start putting her back together.
- Reattach the radiator and heater core hoses.
- Push the housing's electrical connections back in. They will actually be much easier to push back in until you hear and feel the click.
- Replace the two vacuum hoses.
- Bundle the wires together and replace that plastic cover, which snaps back on so much easier than it was pulling it off.
- Reconnect the bottom front connection to the ECU and get a new zip tie to secure it.
- Plug the top connections back into the ECU.
- Replace the cover to the ECU.
- Replace the lower cold air intake tube, make sure you reconnect the electrical connection.
- Replace the upper air intake tube, and the elbow and reconnect the electrical plug.
- Reconnect the lower radiator hose.
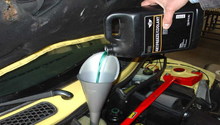
- Refill your coolant reservoir with the correct type and amount of fluid.
- Replace the negative terminal cable to your battery.
- Leave radiator overflow cap off and start the car, letting it idle for about 10 to 15 minutes to bleed any air out of the system. Refill coolant as necessary.
Featured Video: Replacing R55/56 Mini Thermostat Housing
Related Discussions
- How to Remove Thermostat Housing and Thermostat - NorthAmericanMotoring.com
- Indy Shop in VA Wants $650 for Thermostat Job - NorthAmericanMotoring.com
- Replaced Thermostat Housing - NorthAmericanMotoring.com
- P0957 - Thermostat Stuck Open? - NorthAmericanMotoring.com
- Could This Be a Bad Thermostat Housing? - NorthAmericanMotoring.com