Mini Cooper 2001-2006: Cold Air Intake Reviews and How to Install Intake Kit
Installing a cold air intake can add some horsepower to your Mini Cooper; read on to learn about some popular brands and how to install one yourself.
This article applies to the Mini Cooper (2001-2006).
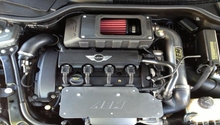
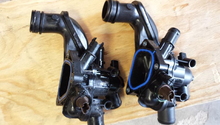
Cold air intake kits are designed to pull cold air into your warm engine, thus increasing its performance. But there is more to a cold air intake than just making your Mini Cooper faster; installing a cold air intake can save you some money on fuel in improving fuel consumption. If you are a fan of that nice, roaring sound, a cold air intake will add that aftermarket tone to your engine. Cold air intake kits come equipped with everything you need, including specific instructions to successfully install it in your Mini Cooper. Read on to learn how to install these kits to your car.
Table of Contents
How to Install a Cold Air Intake

Materials Needed
- Pliers
- 8mm socket
- 10mm socket
- Torx bit
- Philips screwdriver
- Cold air intake kit
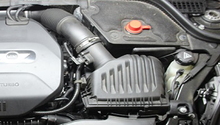
Step 1 – Assemble new kit
Each kit is slightly different when you're putting it together, so follow the instructions that come with your specific kit to assemble it. You will need to install the heat shield together, install the rubber weatherstripping to it, then install the air filter and tighten it in place.

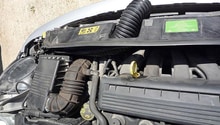
Step 2 – Disconnect intake tube
The intake tube needs to be disconnected from the air box; this way you can remove the air box freely. Use your pliers to remove the clamp holding the tube to the air box; don't worry about ruining the clamp, your new kit will come with all new hardware. Once the clamp is off, wiggle the intake tube away from the air box to disconnect it.
Step 3 – Disconnect positive battery terminal
Attached to the left side of your air box is the positive battery terminal. This is designed so you can connect your positive jumper cable in case you ever need to jump your car. To disconnect it from the air box, simply pull it up to disconnect it, then push it to the side away from the air box.
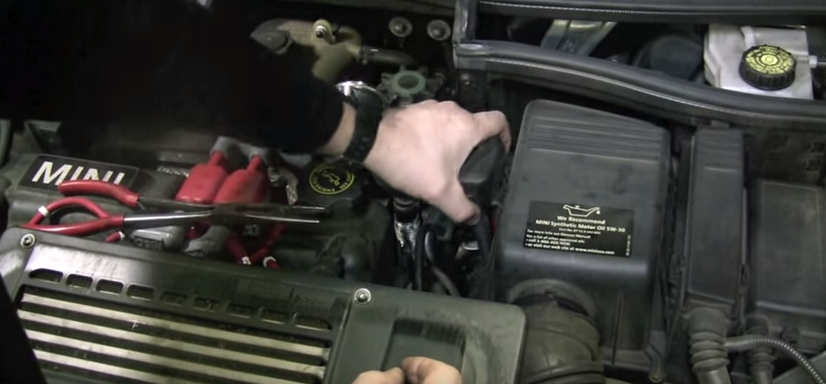
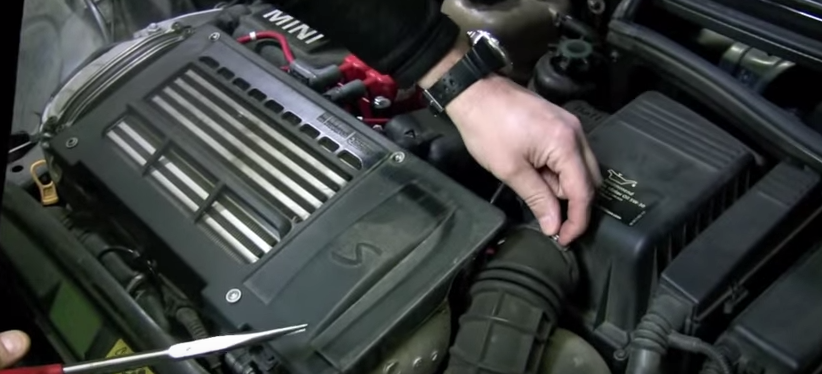
Step 4 – Remove air box lid
The air box lid is held in place by two 8mm bolts, located on the front of the box towards the front of the vehicle. Remove the two bolts, then pull the lid towards the front of the car to remove it.

Figure 4. Remove the two bolts on the front of the lid. 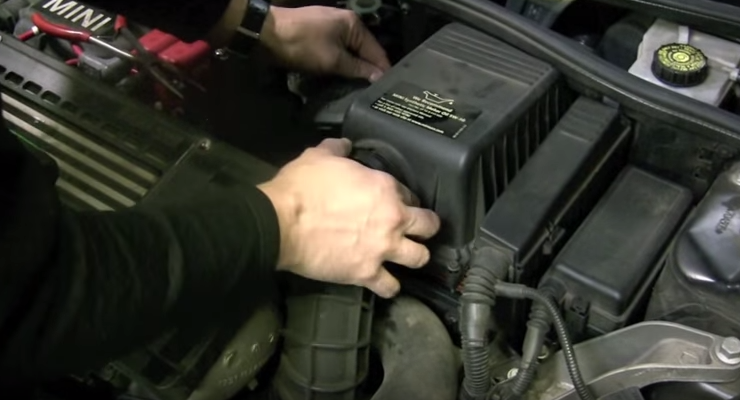
Figure 5. Remove air box lid.
Step 5 – Remove front snorkel tube
Use your pliers to remove the clamp on the front snorkel tube, then wiggle the tube out towards the rear of the car to remove.

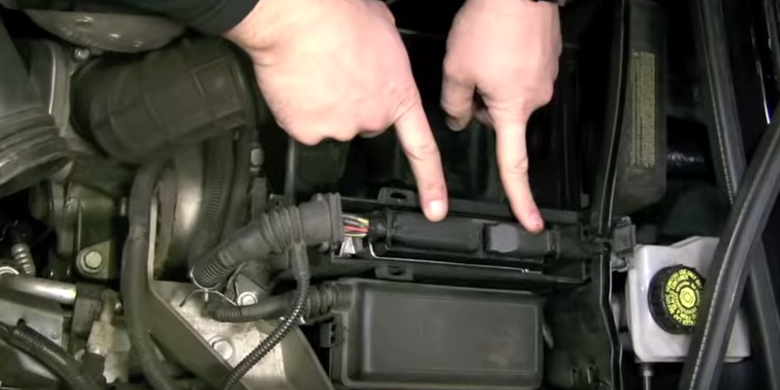
Step 6 – Remove ECU connectors
Pull the cover off the factory ECU by squeezing the plastic tab, then pulling the cover off. To remove the two connections in it, slide the plastic tabs out for each connection. The connection towards the front of the car needs its plastic tabs to slide to the front, while the one towards the rear needs its tabs to slide to the rear.
Step 7 – Remove air box
Remove the one 10mm bolt holding the air box in place, then pull the air box out.

Step 8 – Remove rear panel
The rear panel is held in place by four bolts and one screw. Remove the bolts, two on the passenger side of the panel, two on the bottom part of the panel, and a plastic Phillips screw on the driver side of the panel, then pull the panel up and out.
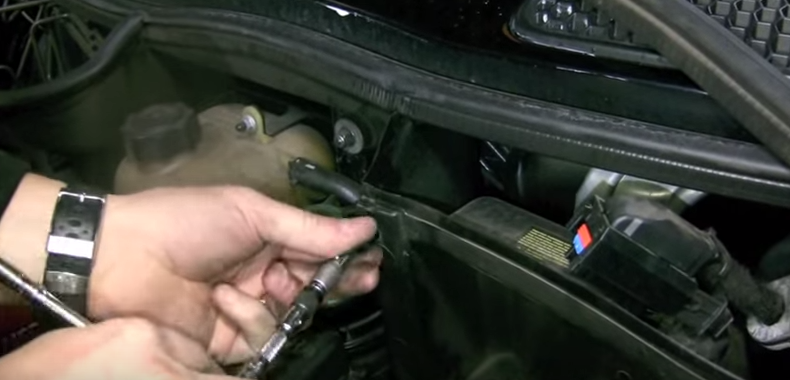
Figure 9. Remove rear panel. 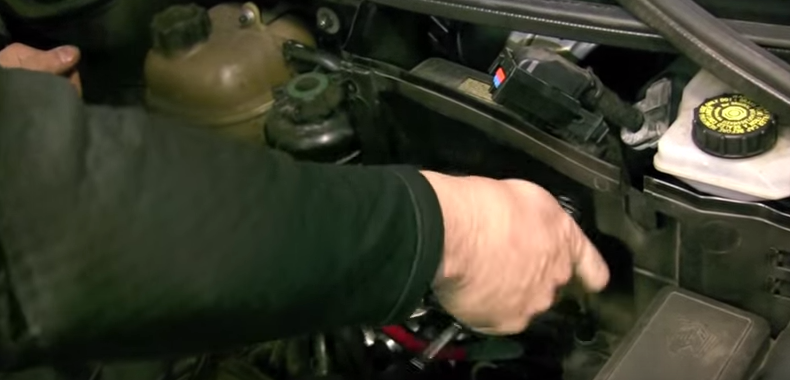
Figure 10. Remove rear panel. 
Figure 11. Remove rear panel.
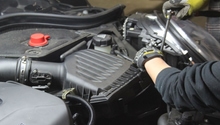
Step 9 – Install new kit
Installation is the reverse of removal. The new kit comes designed specifically for your car, so all the holes should align perfectly.
- Install the rear panel, then tighten its five bolts and screw.
- Install the new air box in place, then tighten the 10mm bolt.
- Connect the ECU connectors, then slide the plastic tabs inward to lock them in place. Install the ECU cover back up.
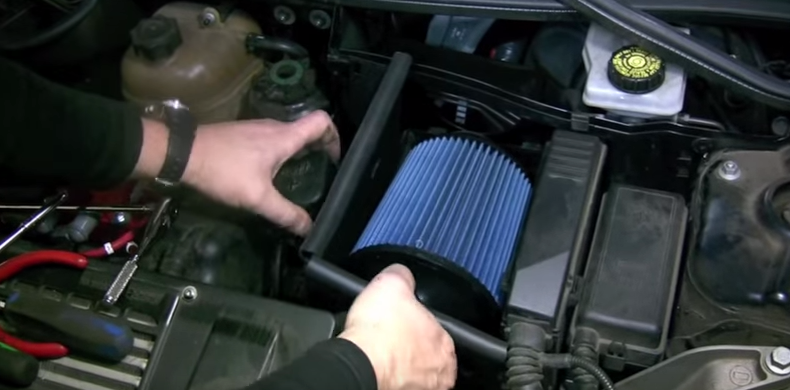
- Install the new kit, which fits right on top of the new air box. It will look different, but the holes should align right in place.
- Connect the front snorkel, then install the clamp.
- Finally, connect the intake tube to the new kit, then install the new clamp.
Air Intake Reviews
The cold air intake kits come in a variety of shapes and purposes. They have have extra horsepower, better gas mileage, and a nicer sound in common. However, every kit offers something different than the other, especially the price. If you're in the market for a cold air intake kit, then the guide below will help you pick the best one for your needs, your car, and your budget. Read on to learn about all the popular cold air intake brands for your Mini Cooper.
K&N |
Racing Dynamics |
Alta Performance |
Injen | |
|---|---|---|---|---|
Price |
$226 | $199 | $297 | $239 |
Reusable Filter |
Yes | Yes | Yes | Yes |
Gains |
5-10 HP | 3-5 HP | 10-12 HP | 12 HP |
Material |
Aluminum | Aluminum | Aluminum | Aluminum |
Warranty |
Million Mile | 4 Year | 5 Year | Limited Lifetime |
Best Value: Racing Dynamics
K&N
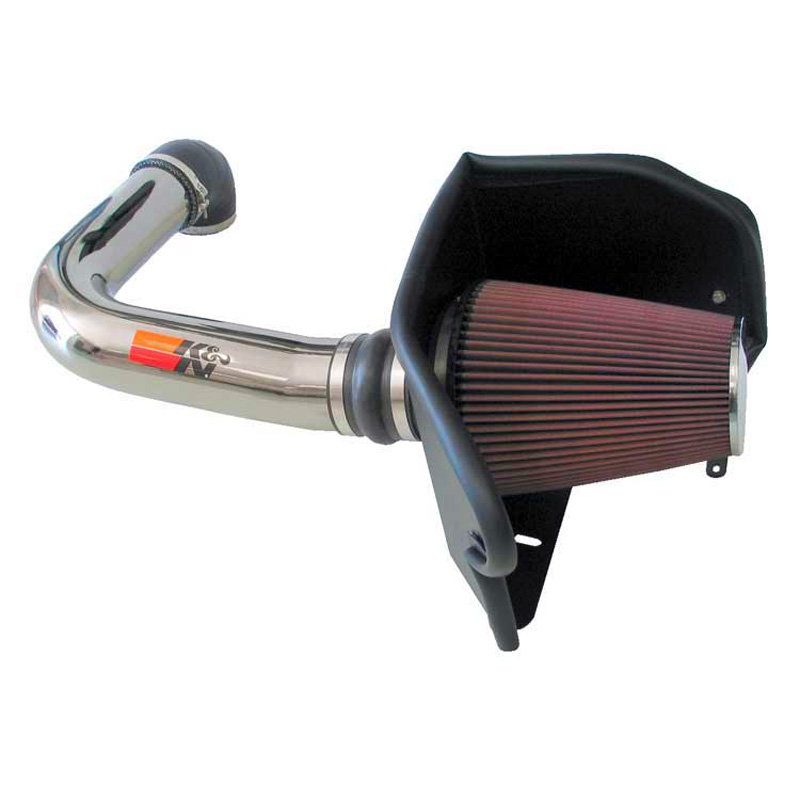
Price: $226
Reusable Filter: Yes
Gains: 5-10 HP
Material: Aluminum
Warranty: Million Mile
The K&N cold air intake has been the industry's leading brand for a long time. The logo of this brand sits under a lot of hoods of different car models. People love the reputation of this company, they love how the company stands behind their products, and the million mile warranty is there to prove their loyalty to customers. This 50-state-legal kit comes with an oiled filter, which you can always wash, re-oil, then reinstall, so you never have to worry about replacing the filter ever again. The company promises that you can get your old air box out of the car and their kit in your car in 90 minutes or less. Of course this can't be accurate, because some people work faster than others; however, there are no tricks to the installation process, you just have to follow simple instructions and you'll be done in no time. Some customers claim this kit made their vehicle run a little rougher than they would've wished; however, other forum users say if you install it properly, you shouldn't have any issues. Recommended if you're looking for a reputable company with great warranty.
Racing Dynamics
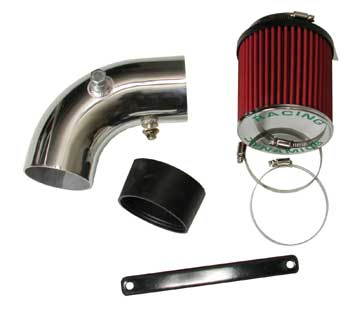
Price: $199
Reusbale Filter: Yes
Gains: 3-5 HP
Material: Aluminum
Warranty: 4 Years
The Racing Dynamics cold air intake kit features a low thermal conductivity composite heat shield, which keeps hot air off of the engine. This kit comes with all the mounts needed to install it in your Mini Cooper, which means you don't have to worry about breaking clamps or losing nuts and screws in the removal process. This kit features a reusable air filter, and in the instructions you will receive with your cold air intake kit, it will show you how you can properly clean it so it can last for the life of your car. There are issues with this kit, however, the main issue being that it doesn't give you that many horsepower gains. But the argument is that it's a cheap kit when compared to most competitors. This kit will give you five extra horsepower if you are lucky, but it will still help you get better gas mileage and give your car a nice, modified sound. Recommended if you're looking for small performance gains.
Alta Performance

Price: $297
Reusable Filter: Yes
Gains: 10-12 HP
Material: Aluminum
Warranty: 5 Year
The Alta Performance cold air intake is the most expensive kit in our comparison. This kit seals perfectly to the hood, which prevents any water from the rain from entering your intake system. If you're looking for performance gains, this kit will satisfy that; if you're looking for great looks, this mirror-smoothed finished will make your engine compartment shine; and if you're looking for sound, this kit will give you a deep tone that is undeniably an aftermarket one. This kit features a hose that is rated to handle high temperature, which allows it to live trouble-free for a very long time. This kit offers a foam filler filter, which is proved to be much less restrictive than the regular filters. This filter features multi-layers, which prevents dirt from ever going to places you don't want it going to. Although it's the most expensive kit on our roster, customers have called it cheap when they saw what this kit provides. Recommended if you're looking for a well-rounded kit with great performance gains.
Injen
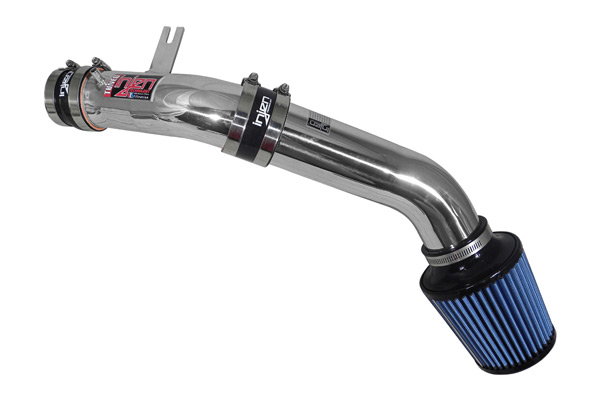
Price: $239
Reusable Filter: Yes
Gains: 12 HP
Material: Aluminum
Warranty: Limited Lifetime
The Injen cold air intake kit promises to deliver a generous 12 horsepower gains. This kit is designed to fit right where your old air box used to sit, and with all the hardware included, you don't have to worry about the installation which has been called a breeze. This kit increases the air flow going into the engine, which results in performance gain as well as much better gas mileage. Many customers claim this kit made a huge change in their acceleration, as it tremendously improves the throttle response. Some customers say they are not fans of the sound, and even though it changes the sound of the car, it doesn't necessarily change it for the better; some may say the tone of this kit isn't the best. However, for a 12 horsepower performance gain, many customers look away from the sound department. This kit is very much a top competitor, and if sound isn't your main priority, this could be a big gift to yourself. Recommended if you're looking for a great increase in performance.
Related Discussions
- DIY cold air intake - NorthAmericanMotoring.com
- Best cold air intakes - NorthAmericanMotoring.com
- Cold air intake recommendations - NorthAmericanMotoring.com