Mini Cooper 2014-Present: Air Filter Reviews and How to Install
Gain some performance by upgrading your vehicle's air intake system.
This article applies to the Mini Cooper (2014-Present).
Air filters protect your engine from contaminants like dust and dirt. Changing your air filter annually is a cheap bit of maintenance to ensure that your Mini is running at its best. You can refer to your owner's manual for more information on exact intervals if annually is too vague for you. In addition to just replacement air filters, there are so many more options available for you today in the aftermarket space. Aftermarket intakes can change the location and routing of the intake tract, the construction of the piping, and the type of filter used, often increasing or changing the induction note of the car. Whether you are upgrading your intake or just need to replace your old filter, we have the info you need to proceed.
Table of Contents
How to Replace Your Air Filter

Materials Needed
- Phillips screwdriver
- Flat tip screwdriver
- 10mm socket wrench
- Air filter
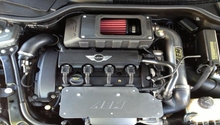
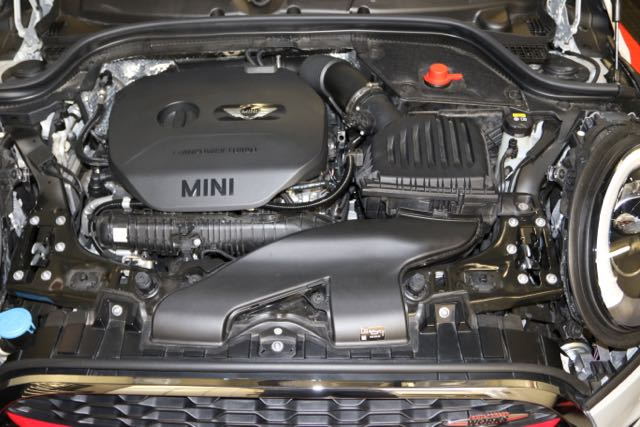
Step 1 – Locate the air filter assembly
Lift the hood and locate the air filter assembly, which is at the front of the engine bay on the right-hand side (facing the engine bay). If you're just replacing the filter, and not installing an aftermarket intake, all that remains is the matter of opening up the top of the airbox. Depending on your model of Mini, there will either be a few Torx bolts or small clamps holding the upper and lower portions of the airbox together. Remove those and pull back the top half of the airbox, making sure to not damage the MAF sensor. From there, pull out the old filter, replace it with the new one and reassemble the airbox.
Step 2 – Remove airbox and ducts
If you're continuing on to install an aftermarket intake, do the following: Unplug the mass air flow sensor connector located on the air filter outlet. Use a screwdriver to undo any clamps and a flat tip can guide the flat edges of the airbox when you go to separate from the intake tube.
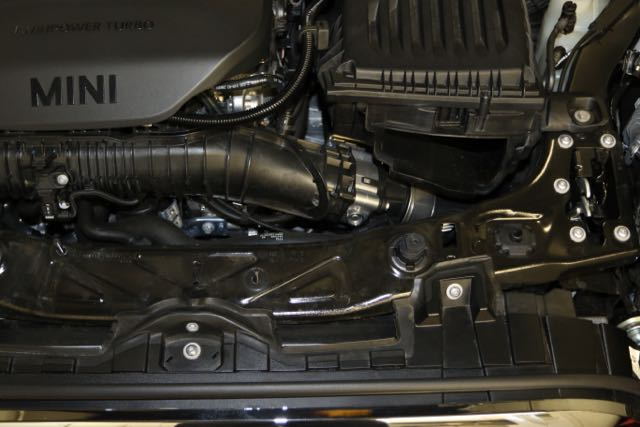
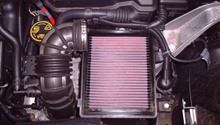
Figure 2. Lower duct removed shown while airbox is still in place. 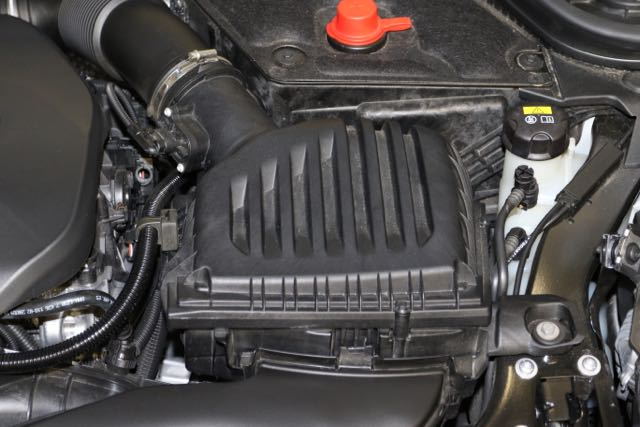
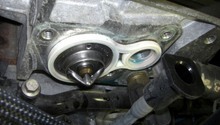
Figure 3. Remove the mass air flow sensor from the intake tubing before pulling out the airbox.
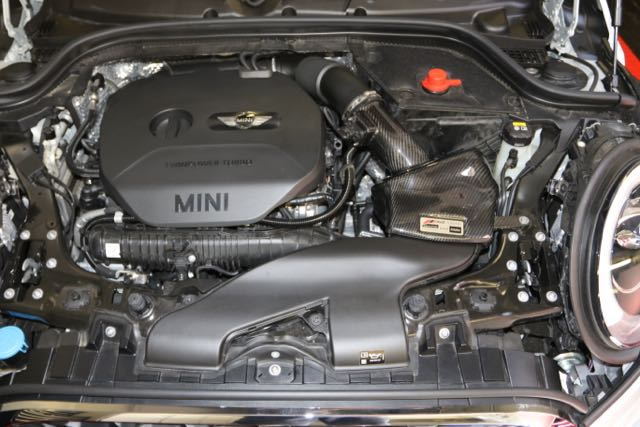
Step 3 – Install the new components
With the old airbox, tubing and mass airflow sensor removed, the new units can be installed and secured one by one.
Step 4 – Reinstall the duct
Finish up the install by reinstalling the duct.
Featured Video: How to Install Intake
Air Filters Reviews
Aftermarket intakes use alternative constructions to the OEM plastic intake, and in theory, smooth and optimize airflow, increasing power. At a minimum, they will really ramp up the induction note produced by the engine. There is a lot of skepticism out there whether aftermarket air intake systems truly yield any horsepower gains. For the most part, they do not without some real supporting modifications done to the rest of the motor. Some will argue that the cold air intake systems are better than the standard "open" air intake options because at least they are allowing cooler air into the motor instead of hot air, which can cause heat soak. This review will serve to give the readers details on the different options available for their vehicle's today.
Mishimoto |
Cravenspeed |
AWE |
NM Engineering |
Way Motor Works | |
|---|---|---|---|---|---|
Price |
$350 | $349 | $363 | $313 | $179 |
Reusable |
Yes | Yes | No | Yes | Yes |
Power Gains |
1-2 HP | 1-2 HP |
1-2 HP |
1-2 HP | 1-2 HP |
Construction |
Steel shield, aluminum pipe | Aluminum shield, aluminum pipe | Carbon fiber | Aluminum shield, aluminum pipe | Aluminum pipe |
Filter Location |
Open, shielded | Open, shielded | Covered, shielded | Open, shielded | Open |
Best Value: Way Motor Works
Mishimoto
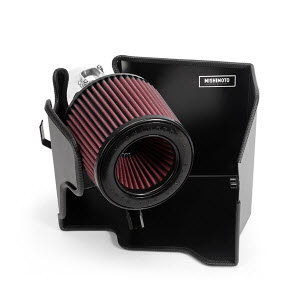
Price – $350
Reusable – Yes
Power Gains – 1-2 HP
Construction – Steel shield, aluminum pipe
Filter Location – Open, shielded
This is one of the more popular units available on the market. The R&D article walks enthusiasts through the exact testing process and their results as the prototype was being designed. The end result is a well performing air intake that allows maximum airflow. There are no claims being made to horsepower gains, but there is recommendation of adding supporting modifications. The induction sound is very pronounced with this system which most enthusiasts will love. Recommended for people looking for the easiest to install option.
Related Video: Mishimoto Intake for Mini
Cravenspeed
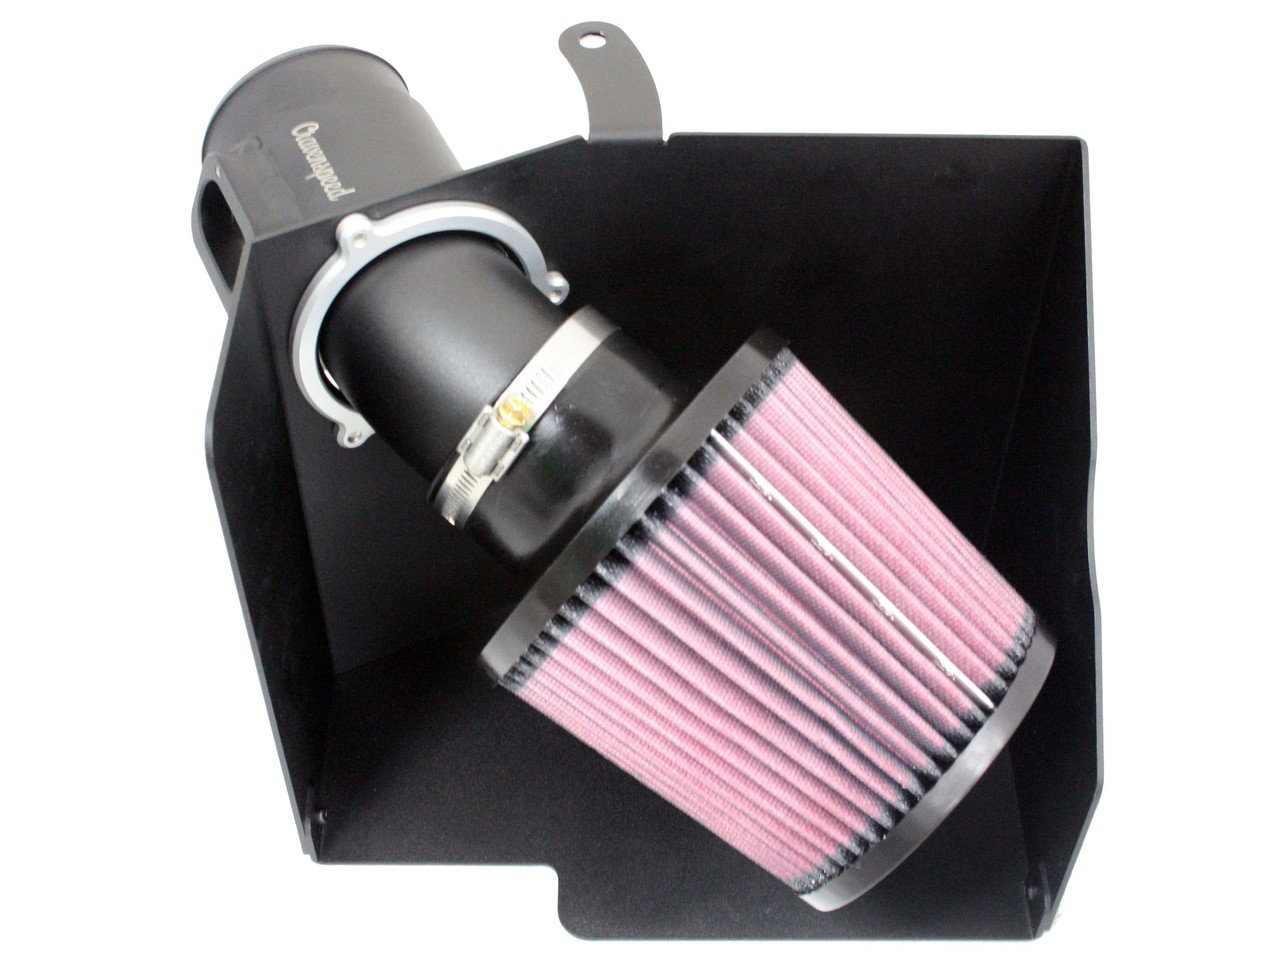
Price – $349
Reusable – Yes
Power Gains – 1-2 HP
Construction – Aluminum shield, aluminum pipe
Filter Location – Open, shielded
This unit is very similar to the Mishimoto unit, but it features both aluminum piping as well as aluminum shield. This is advantageous, as it will keep the air cooler whereas the steel shield would keep air much warmer. The shielding is less extensive than the Mishimoto, meaning that there is a slight increase in sound over that unit. As an added bonus, Cravenspeed supplies a K&N reusable filter with lifetime warranty. Recommended for people looking for a louder intake sound.
Related Video: Cravenspeed Intake for Mini
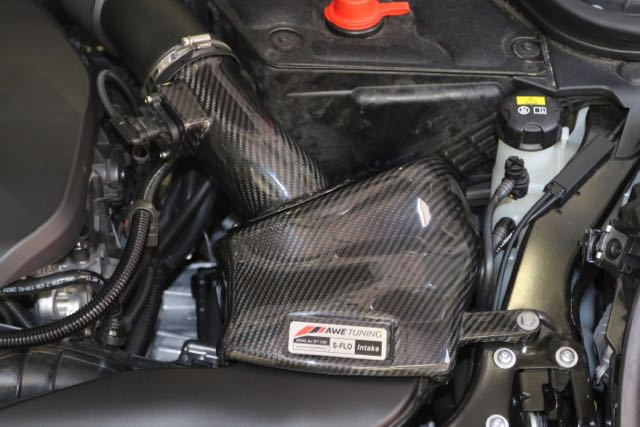
AWE
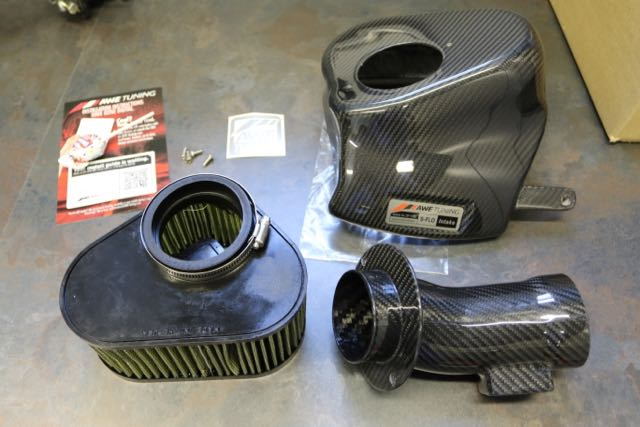
Price – $363
Reusable – No
Power Gains – 1-2 HP
Construction – Carbon fiber
Filter Location – Shielded, covered
For the construction and quality alone, users love this intake. People really enjoy the sound with this unit when paired up to their Turbo Mini, but it should be noted that the design lends itself to increased noise insulation compared to intakes using an aluminum or steel duct or shield. The sleek design and stealth look of the carbon fiber makes this intake a great detail in the engine bay. Recommended for people looking for the most engine bay bling.
Related Video: AWE Intake for Mini
NM Engineering
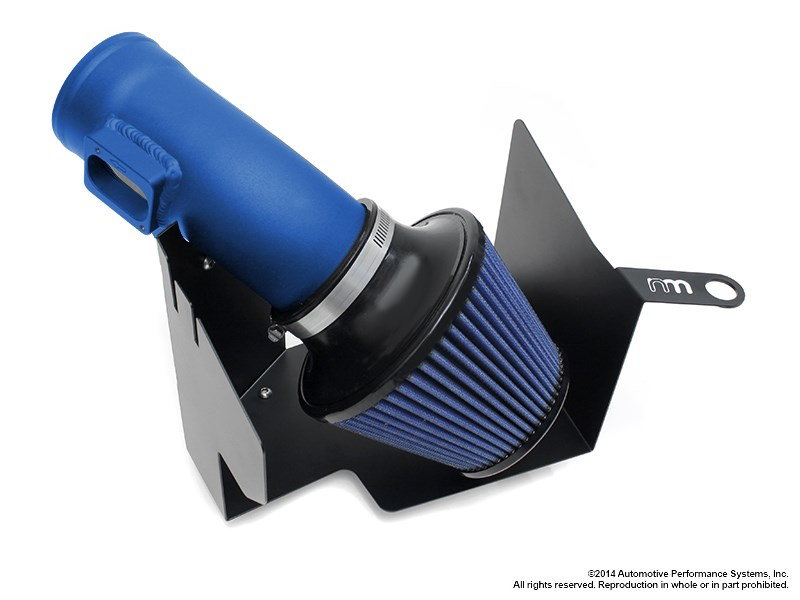
Price – $313
Reusable – Yes
Power Gains – 1-2 HP
Construction – Aluminum shield, aluminum pipe
Filter location – Open, shielded
This unit is quite similar to the other units described in this review. Except that it has an integrated location for the MAF sensor to plug directly into. This may or may not have any direct improvement on horsepower gains, but it is a neat innovation when considering how everything is connected under the hood. The pipe is aluminum and mandrel bent, and this one also features a heat shield that is likely aluminum, as the distributor website mentions that it comes powder coated in a few different colors. Recommended for those who are concerned about the correct orientation of the MAF sensor.
Related Video: NM Engineeering Intake for Mini
Way Motor Works
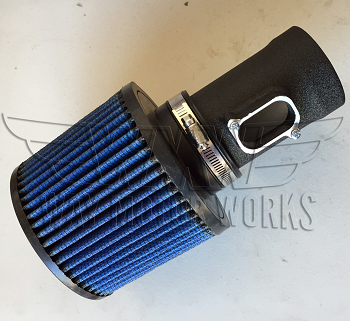
Price – $179
Reusable – Yes
Power Gains – 1-2 hp
Construction – Aluminum pipe
Filter location – Open
For a cost effective performance modification, this intake is really just a bolt-on option for the sound. The manufacturer was honest in telling prospective buyers that the gain in horsepower is quite minimal without supporting modifications. However, they feel it is worth to buy for the sound and look alone. It is likely prone to more heat soak than the other options available because it doesn't have a heat shield. Recommended for people who want the sounds in a no-frills package.
Pro Tip
The filter that you use is probably the one main component in regards to this modification that you can have a true "gain" from. Opting for a K&N filter (usually in 3" diameter) is a great support to an upgraded intake because (1) they are lifetime warrantied, and (2) they are reusable and can be cleaned as well as re-oiled to like-new condition.
Related Discussions
- Intake Comparison Discussion - NorthAmericanMotoring.com
- Review: AWE Tuning S-Flo CF Intake - NorthAmericanMotoring.com
- Mishimoto's Performance Intake R&D - NorthAmericanMotoring.com
- Review: Cravenspeed Intake - NorthAmericanMotoring.com
- Make Your Own Intake for Less - NorthAmericanMotoring.com