Mini Cooper S 2001-2006: How to Replace Air Filter
Often taken taken for granted, the air filter in your MINI Cooper allows the engine to run properly and efficiently. If it's about time to replace your R53's air filter, continue reading for the proper instructions.
This article applies to the MINI Cooper S (2001-2006).
The air filter in your MINI plays a significant role for the engine to operate at peak performance. In addition to protecting the engine from harmful debris, the air filter allows the engine to maintain a safe and efficient air-to-fuel mixture. If the air filter is dirty, less oxygen is able to enter the engine, causing too rich a mixture to burn. In turn, a prolonged decrease in airflow can result in fouled spark plugs, engine misfires, and rough idling, which can lead to more detrimental and costly engine damage down the line.
If you've noticed a reduction in gas mileage, the acceleration is a bit sluggish, or the check engine light is on, then you might be due for a new air filter. It is also recommended that you change the air filter at least every 12,000 miles. MINI enthusiasts prefer aftermarket air filter brands such as K&N, AMSOIL's air induction filter, and ITG's Prolifter. Once you've purchased a new air filter, follow the steps below to properly install it into your MINI R53.

Materials Needed
- Replacement air filter
- T25 Torx screwdriver
- WD-40
- Shop rags
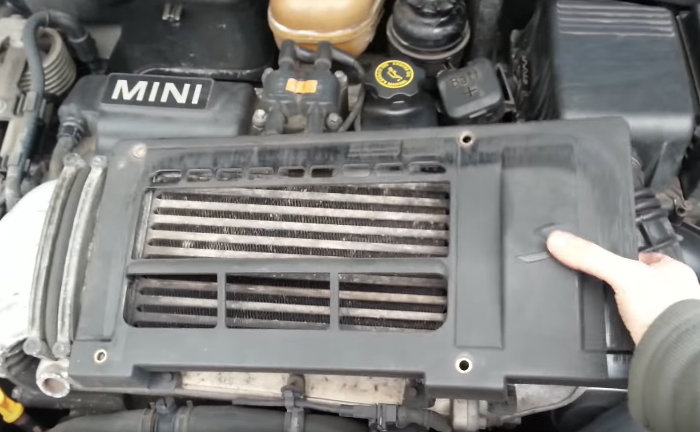
Step 1 – Gain access to air filter housing
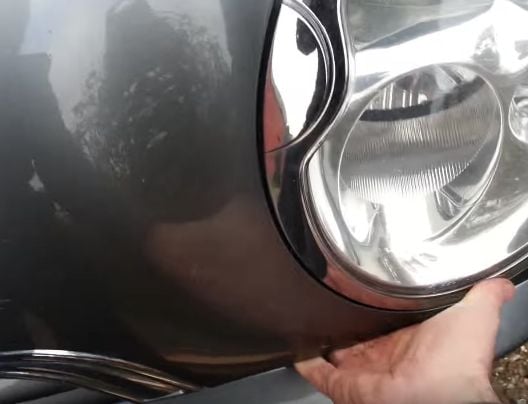
- Make sure the engine is off, and then open the hood. The hood latch is located underneath the left headlight.
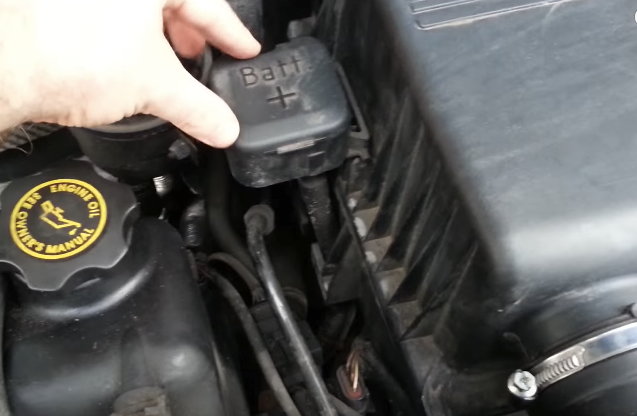
- Unclip the emergency battery cables from the airbox.
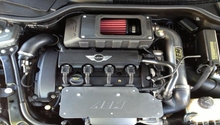
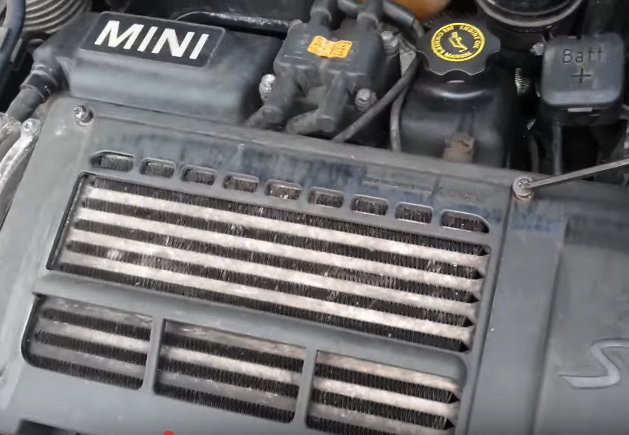
- Using your T25 Torx screwdriver, remove the four bolts located on each corner of the top mount intercooler shield. Keep the bolts in a safe place so as not to lose them.
- Then, remove the shield to free up access to the air filter.
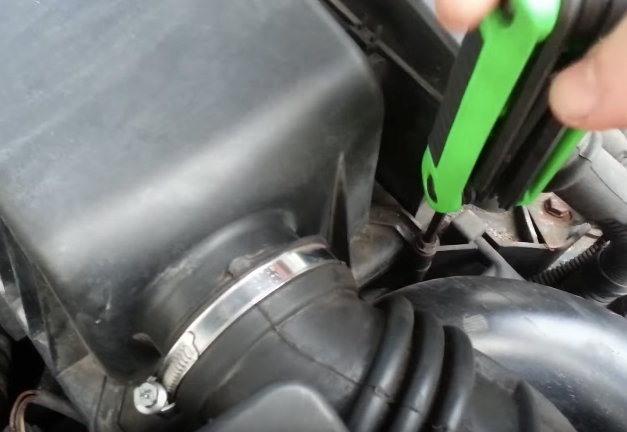
Step 2 – Remove air filter
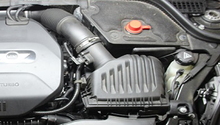
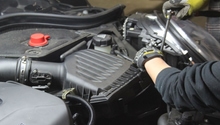
- Loosen the two front bolts on the airbox cover. They are located on the cover to the sides of the intake boot.
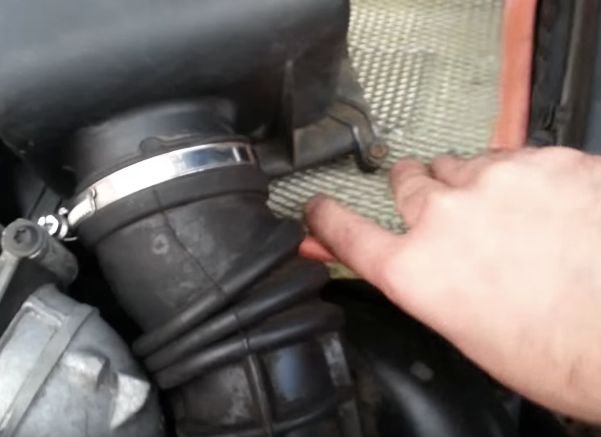
- To loosen the airbox cover, pull it up from the intake boot while simultaneously pushing the cover toward the back of the engine.
- Once the airbox cover is free, lift it away from the lower airbox housing and place it to the side.
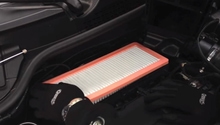
- Then, remove the air filter from the lower airbox housing.
- Before installing the new air filter, use a shop rag to clean the housing of any dirt and debris.

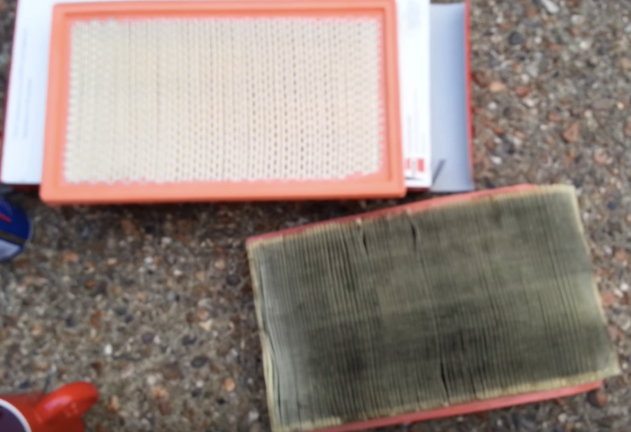
Step 3 – Install new air filter
- Insert the new air filter into the lower airbox housing, and make sure it is properly aligned.
- Then, complete the installation in reverse order to the steps above.
- To reattach the airbox cover, push it toward the back of the engine and then down until the plastic hooks engage.
- Fasten the airbox cover bolts to a snug fit.
- Re-install the top mount intercooler shield using the four mounting bolts. The two longer bolts are located on the rear side of the intercooler, and the two shorter bolts are located on the front side.
- Lastly, clip the emergency battery cables onto the airbox.

Related Discussions and Video
- Aftermarket JCW Air Filters - NorthAmericanMotoring.com
- Removing Intake Hose Clamp - NorthAmericanMotoring.com
- Intake Boot Clamps - NorthAmericanMotoring.com
- R50 Air Filter Shape - NorthAmericanMotoring.com
- MINI Cooper S Air Filter Change - YouTube.com