Mini Cooper 2007-2013: How to Replace Air Filter
A step-by-step guide for changing the air filter on a 2007 to 2013 (R56) Mini Cooper and Cooper S.
This article applies to the Mini Cooper (2007-2013).
The engine's air filter cleans the air flowing into your car's engine. A dirty filter can not only harm your engine over time, but restrict the air flow going into your engine, restricting power and decreasing fuel efficiency. If you want your car to have maximum performance and fuel efficiency, you must change your air filter every one to two years, depending on the conditions you live in. A good rule of thumb is to always check the condition of your air filter when you change your oil, and always check the car's owner's manual for the recommended air filter replacement intervals. This is a very easy job that anyone can do, so save time as well as money and DIY!

Materials Needed
- Torx 25 socket
- 10mm socket (not required for Cooper S model)
- Ratchet
- Extension
- Flat head screwdriver
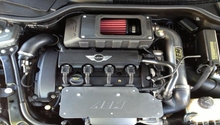
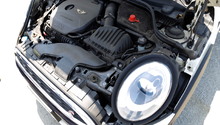
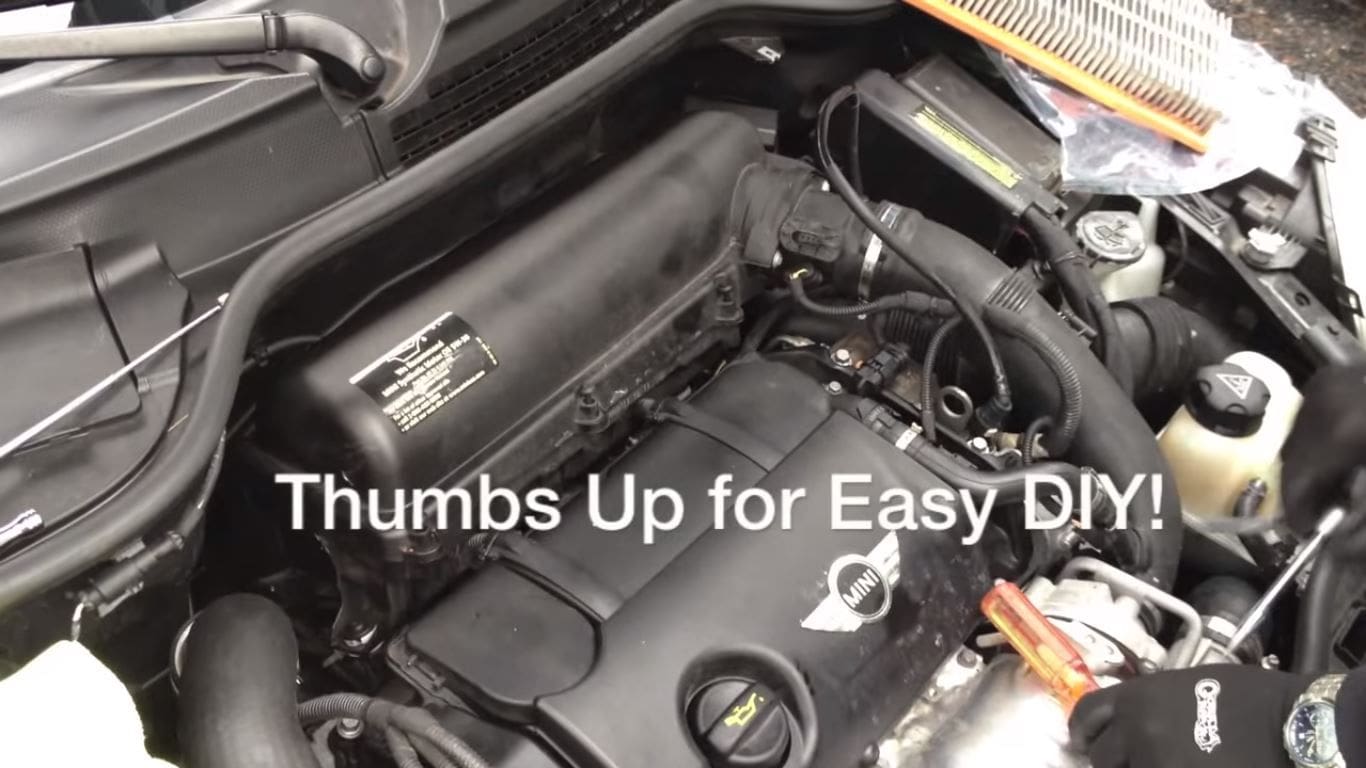
Step 1 – Pop the hood and remove the air box bolts
Open the hood and locate the air box. The air box is the black plastic box located on the back of the engine compartment on top of the engine. Remove the four Torx screws located along the front of the air box (*NOTE: some models will only have three Torx screws instead of four). Then remove the 10mm bolt holding the upper air box cover to the valve cover. (*NOTE: Cooper S model does not have the 10mm bolt, just the Torx screws.)
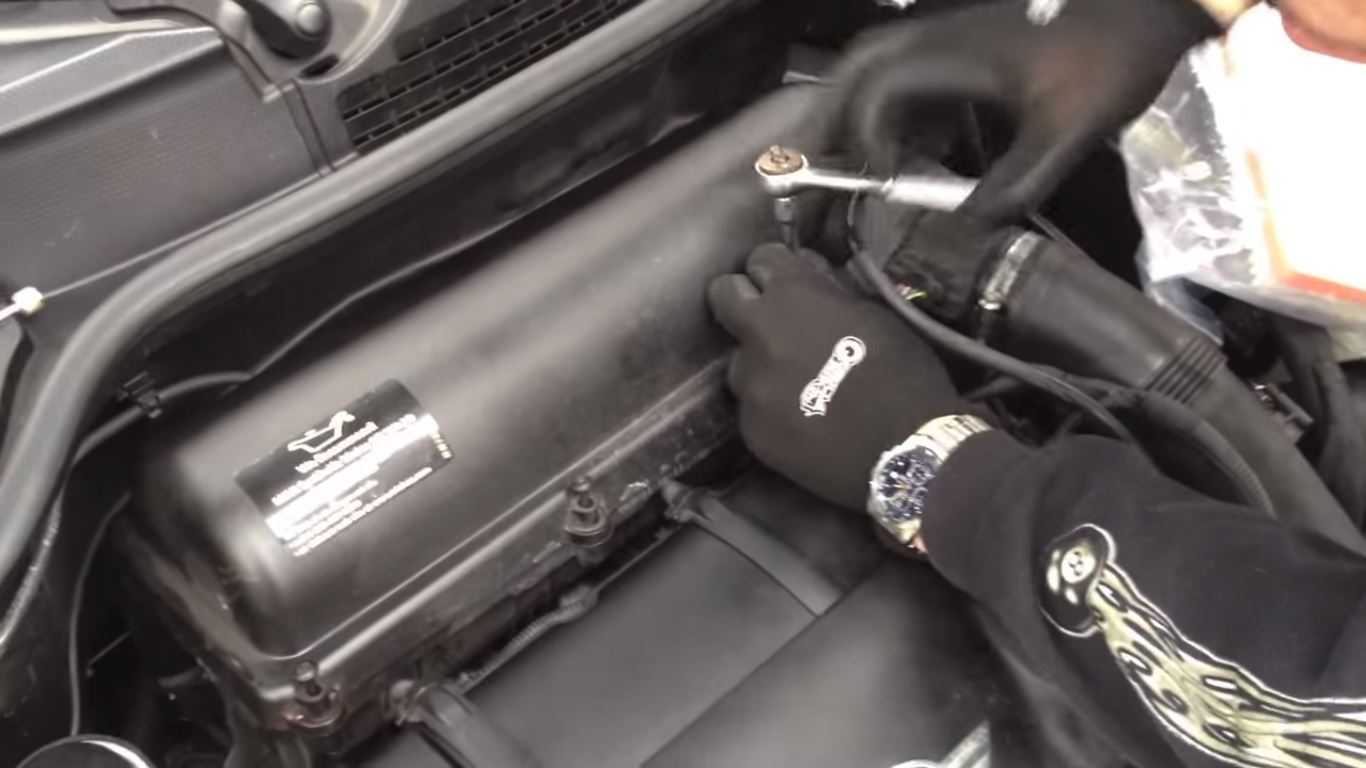
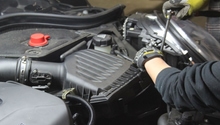
Step 2 – Remove MAF sensor and loosen hose clamp
Unplug the mass air flow (MAF) sensor located on the intake tube right before the air box. Then loosen the hose clamp that is located directly in front of the mass air flow sensor.
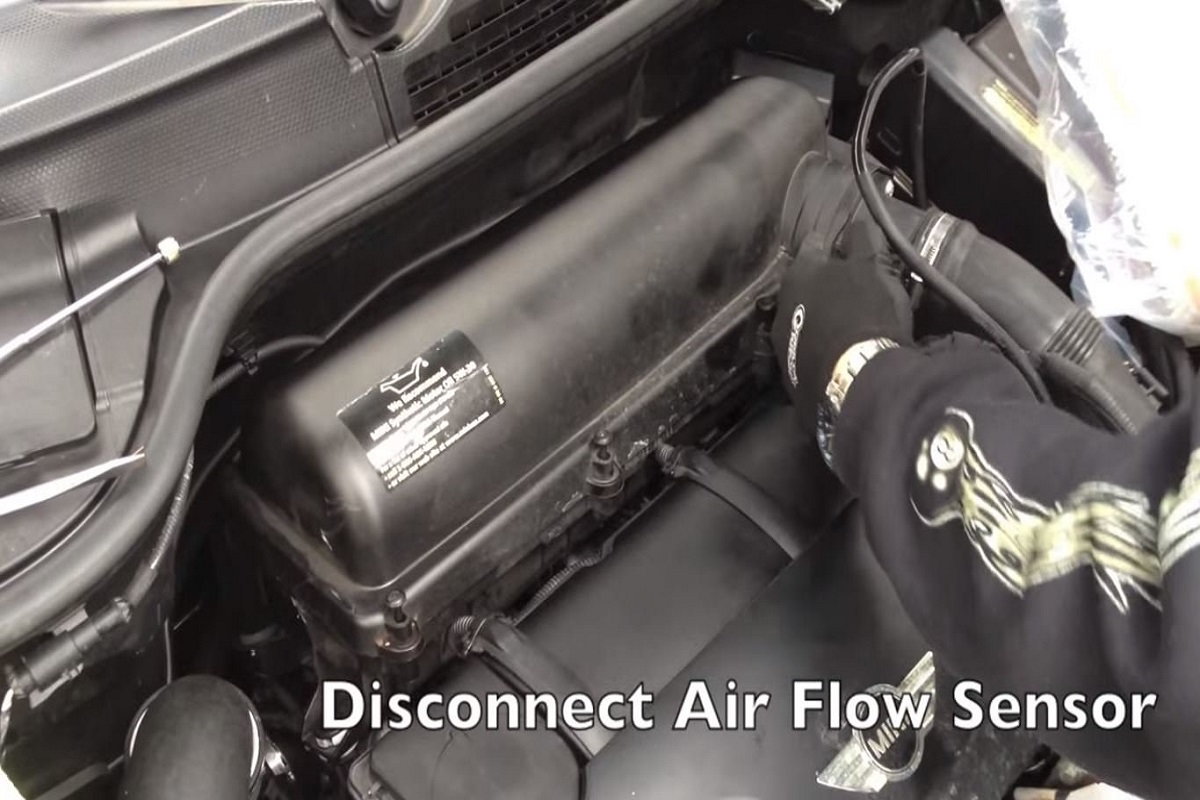
Figure 2. Disconnect the mass air flow sensor. It is in between the air box and hose clamp. 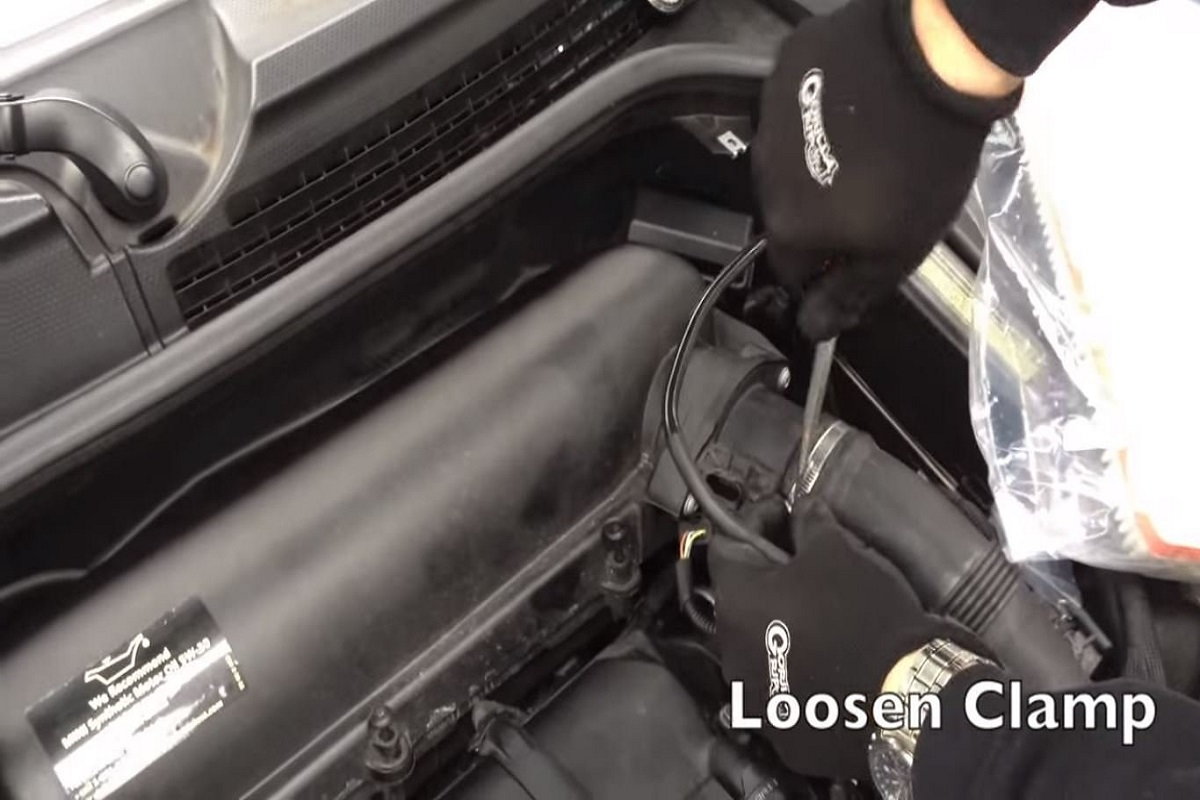
Figure 3. Loosen the clamp on the intake tube. It is right in front of the sensor.
Pro Tip
Do not over-tighten the hose clamp, as it can damage the clamp. Handle the air flow sensor with care because it can become brittle over time.
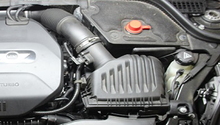
Step 3 – Remove air box cover and old filter
The air box cover should be loose now. Now pull the air box cover up and towards you (it is hinged in the rear), and set it aside in the engine compartment. Remove the old filter and clean the inside of the air box from any debris.
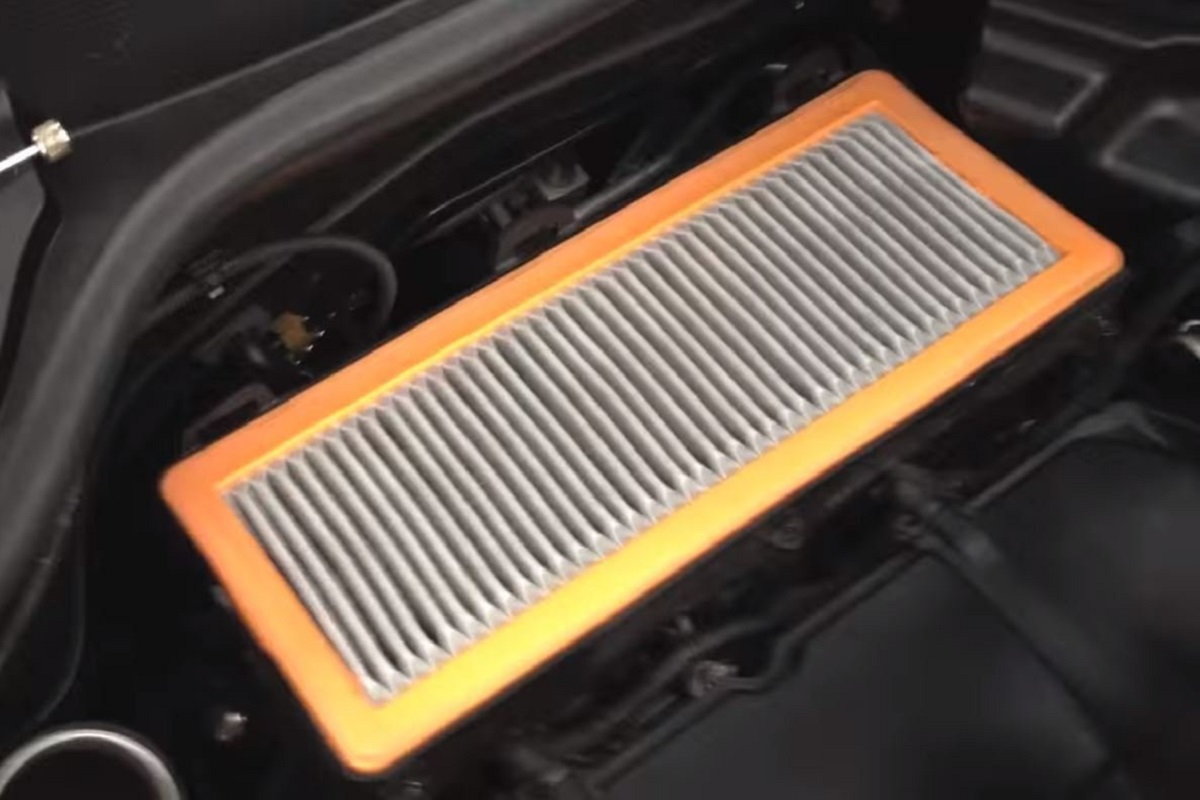
Figure 4. Air box with the cover off exposing the old air filter. 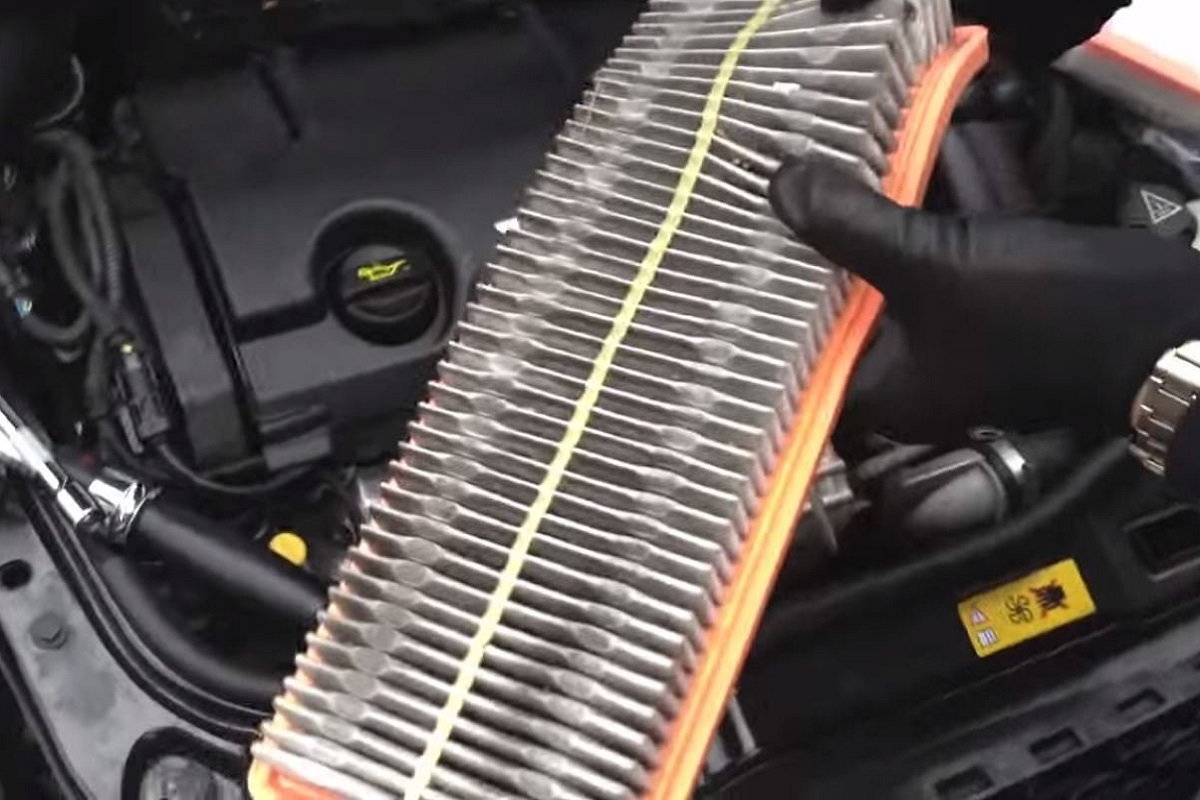
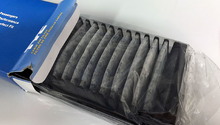
Figure 5. Bottom side of the old dirty air filter.
Step 4 – Install new filter
Install the new air filter in the air box. It should just drop right in.
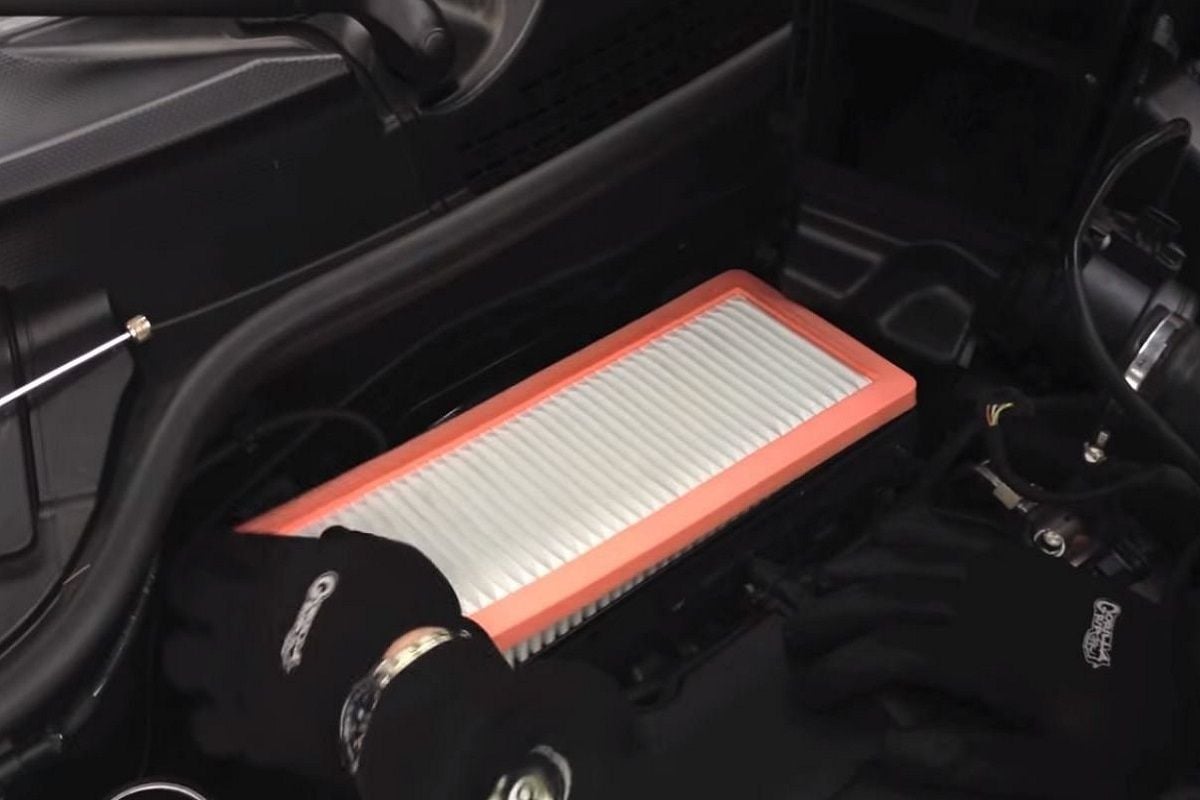
Figure 6. The new air filter being dropped in the air box. 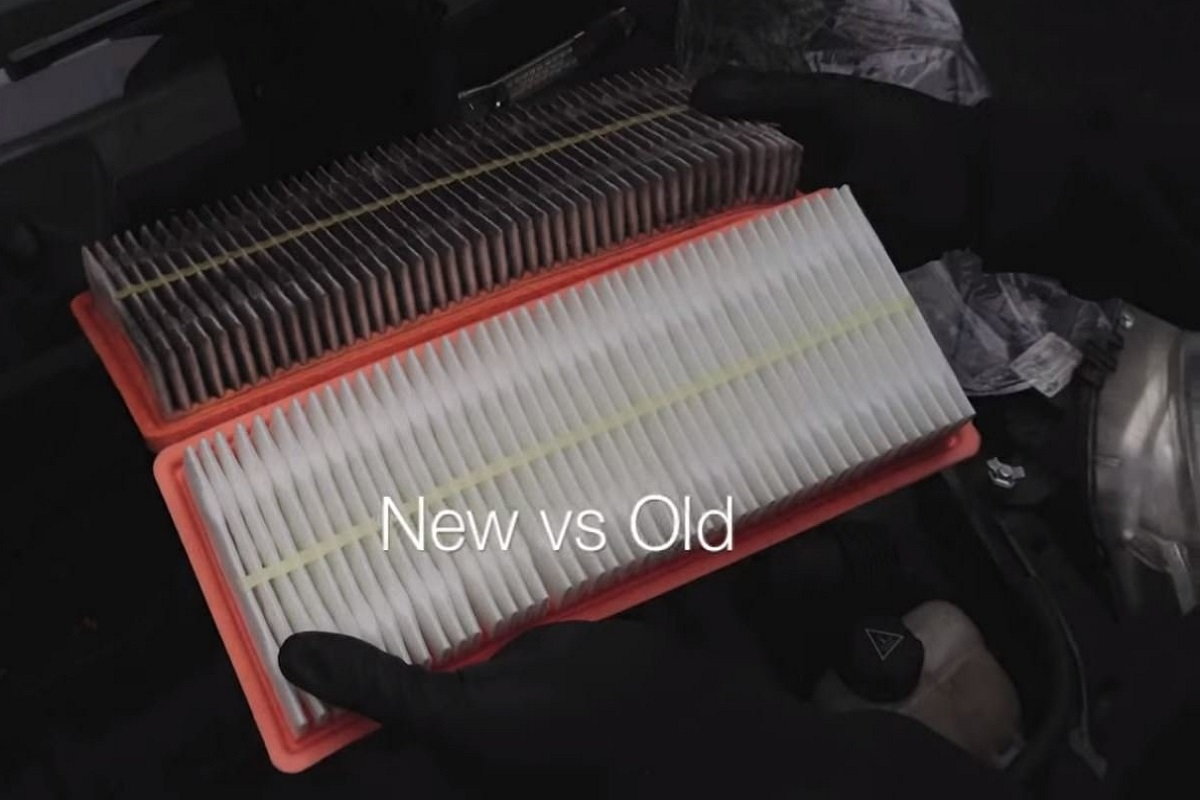
Figure 7. Bottom side of the very dirty old filter and the clean new filter.
Step 5 – Put everything back together
Once the new filter is in, put the air box cover back on, then screw the Torx screws back in. Re-connect the mass air flow sensor and tighten the hose clamp. Re-check that all your screws, sensor and clamp are tight. Turn the car on and drive for a few minutes in order to make sure the Check Engine Light does not come on. You are all done!
Featured Video: How to Replace Mini Cooper Air Filter
Related Discussions
- Panel Air Filter - NorthAmericanMotoring.com
- Paper vs Foam Air Filter - NorthAmericanMotoring.com
- The Best Air Filter for Two Things - NorthAmericanMotoring.com