Mini Cooper 2001-2006: How to Replace Door Lock Actuator
Fixing your door lock actuator doesn't have to be complicated. This article will help you get through the repairs.
This article applies to the 1st Gen Mini Cooper (2001-2006).
When the door locks stop working, it means something went wrong with the door lock actuator. This usually means a hefty bill from the dealership to replace it. However, it turns out that there is a much cheaper solution if you're willing to put in a little work. This guide will serve two purposes: it will show you how to remove and replace a door lock actuator, as well as how to fix a door lock actuator.

Materials Needed
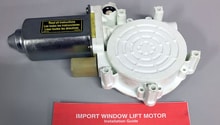
- Mabuchi FC-280PC-22125 motor with 20mm shaft
- Long flat head screwdriver
- Phillips screwdriver
- T20, T25, and T30 Torx screwdrivers
- Ratchet with 10mm socket
- Needle nose pliers
- Vice grips
- Magnet
- Hammer
- Rotary tool with cutting wheel
- Heat gun
- Epoxy
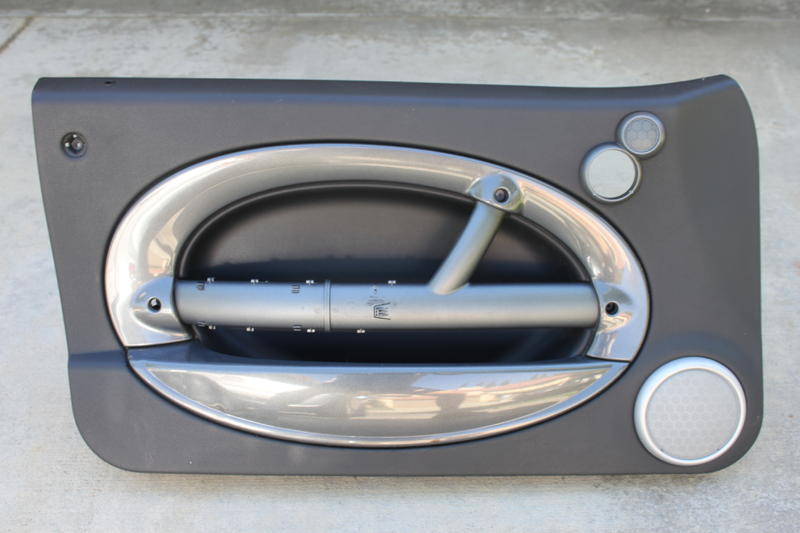
Step 1 – Remove the door panel
Remove the three screws around the central cross bar of the door panel. Pry off the round reflector and remove the screw behind it. Then start prying up the door panel from the bottom. Once all the bottom clips are disconnected, you can lift the door panel up to release the top clips and then set the door panel aside.
Step 2 – Remove the door lock actuator
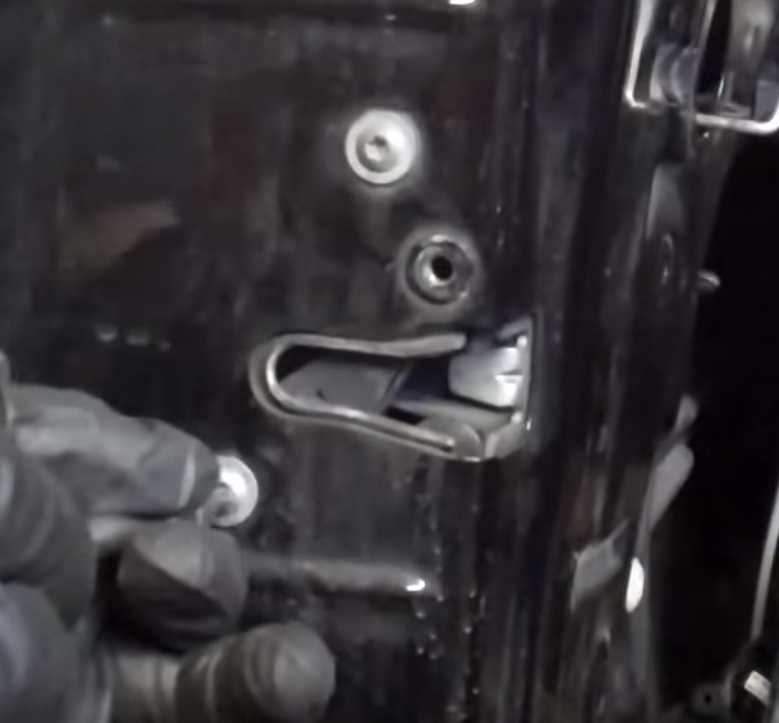
Remove the three screws around the door handle. On the back of the door handle you should see where the door handle cable hooks in. Unhook the interior door handle cable. Unclip the cable from the door. Push in the grommet and then push the cable to the interior part of the door.
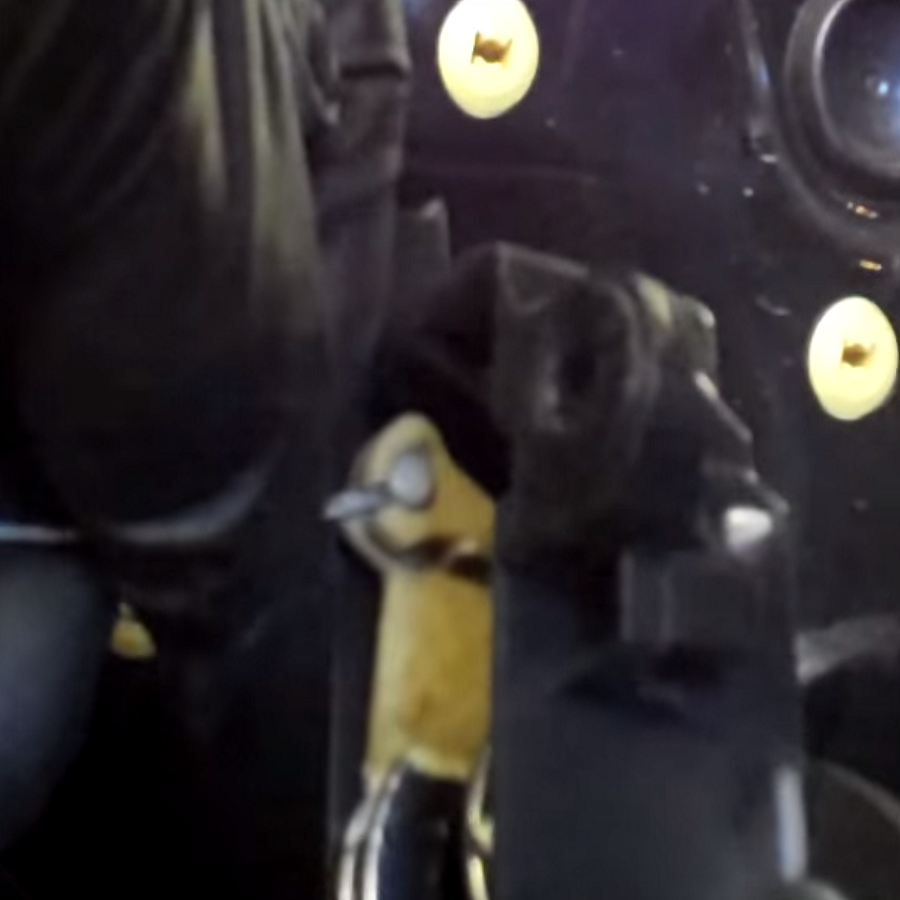
Figure 2. Unhook the interior door handle cable. 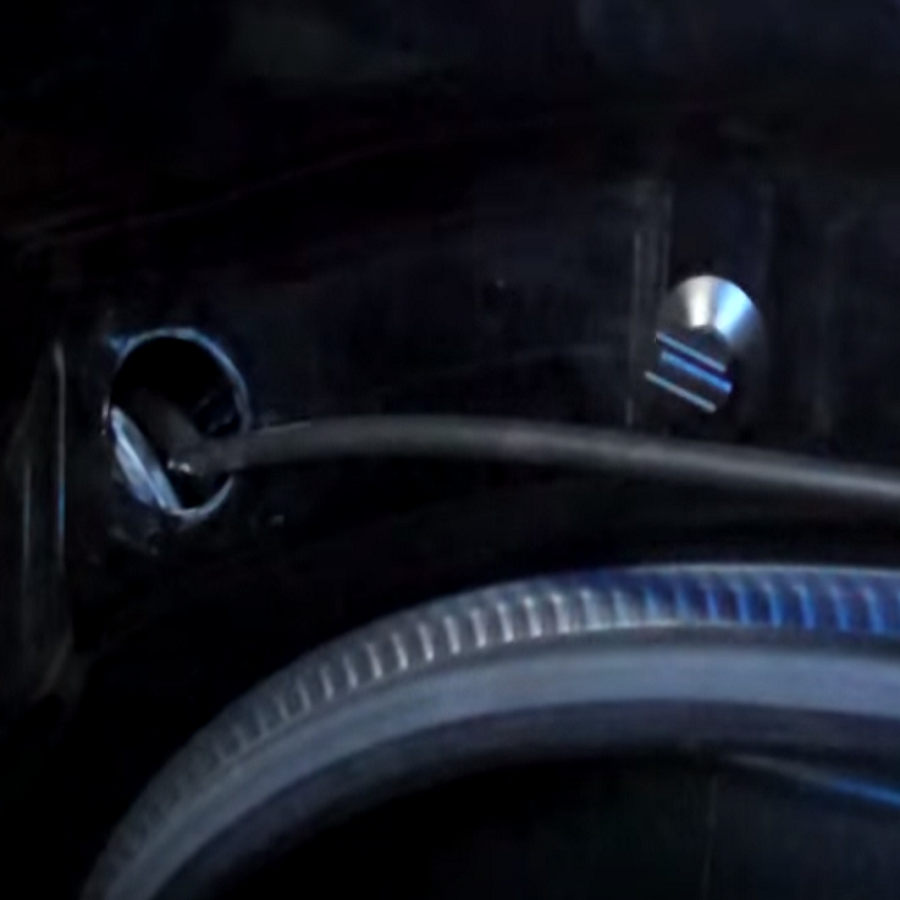
Figure 3. Push in the grommet and unclip the cable.
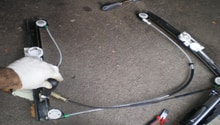
If you look inside the opening in the door, you'll be able to see the door lock actuator at the end of the door. A guide rail for the window is blocking the actuator and needs to be moved. Loosen the bolt at the bottom of the door to loosen the guide rail. Adjust the rail to give yourself more room to work in.
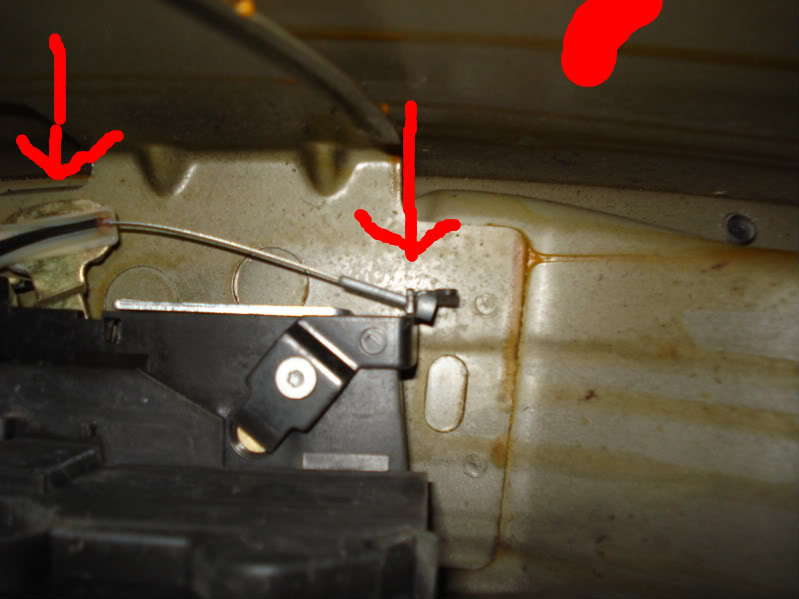
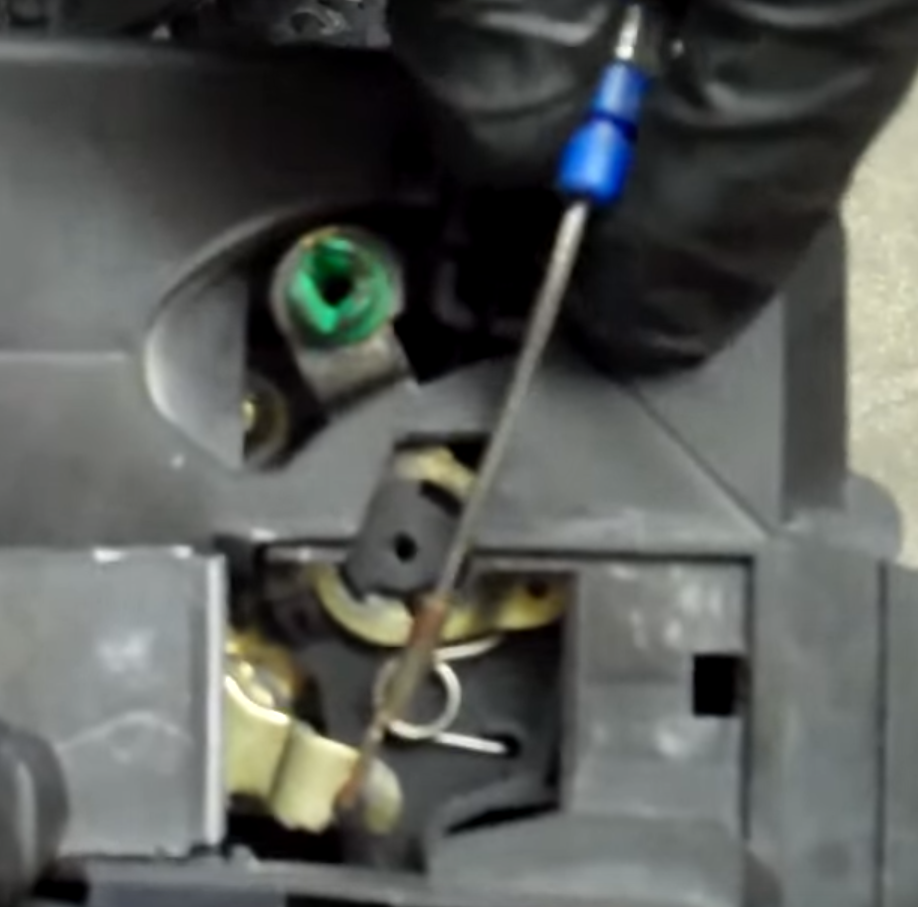
The door lock cable hooks into the green clip on the actuator. Take a long screwdriver and put it between the clip and the cable, then twist it sideways to pop the cable loose.
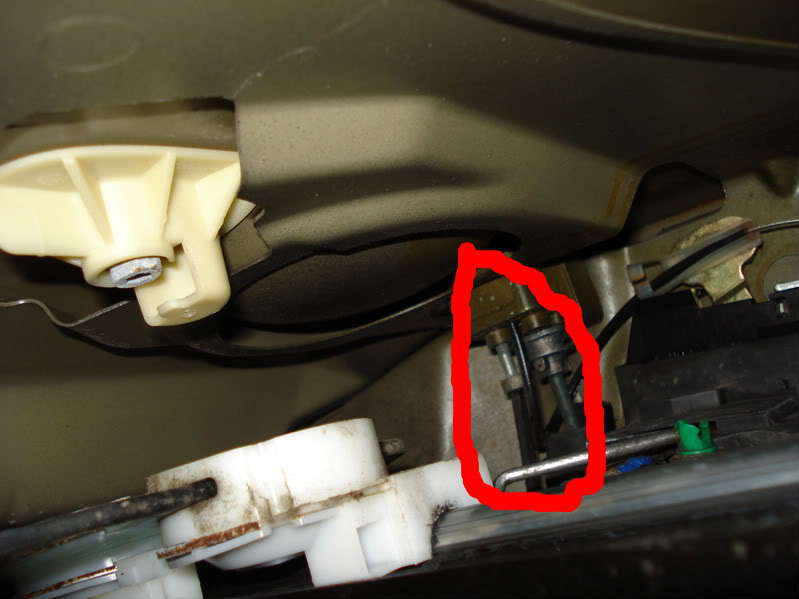
The exterior door handle cable runs through a clear plastic sleeve attached to a latch. It hooks in at the bottom of the actuator. Pull down the plastic sleeve and latch, then pull out the cable and unhook it from the bottom of the actuator.
Disconnect the electrical plug at the bottom of the actuator. On the outside of the door remove the three screws next to the lock. Then carefully pull out the door lock actuator. You'll need to wiggle it out because it sits tight against the guide rail and the other side the door.
Pro Tip
If you are just replacing the door lock actuator, then you're almost done. Just install the new actuator by reversing the previous two steps.
Step 3 – Disassemble the door lock actuator
If you want to attempt to repair your existing lock actuator, read on.
Open the back panel of the door lock actuator and unhook the interior door handle cable, then set the cable aside. Pry up the plastic cover of the actuator. It's held down by a series of clips along the sides.
Remove the plastic lever next to the electrical plug. Move the black gear so that it's out of the way of the Torx screw underneath it. Now remove the four Torx screws on the casing. Then separate the white plastic part from the rest of the actuator. It's held together by plastic clips that are easy to break. Try using a small piece of plastic to undo the clips if you can, but it's not essential to keep the clips intact since the screws will hold the assembly together well enough.

Step 4 – Replace the internal motors
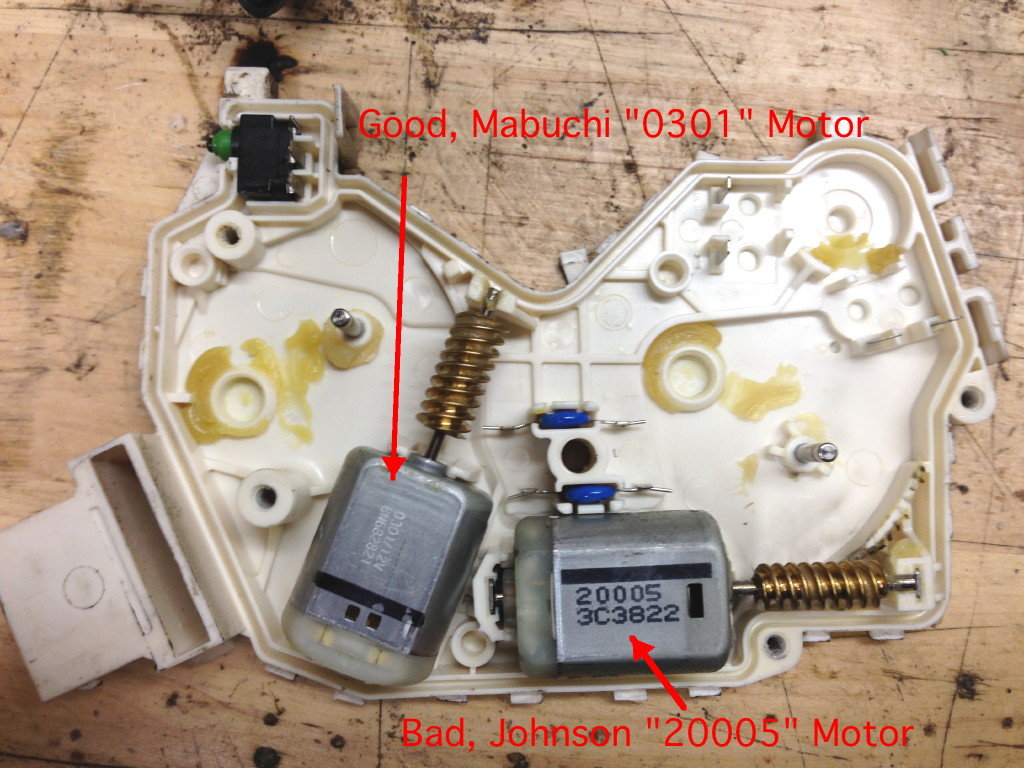
You should see two internal motors and a large gear. You can test the motors by connecting them to a 12 volt power source. If they start spinning, then they still work. Most often the problem with door lock actuators is actually a bad motor.
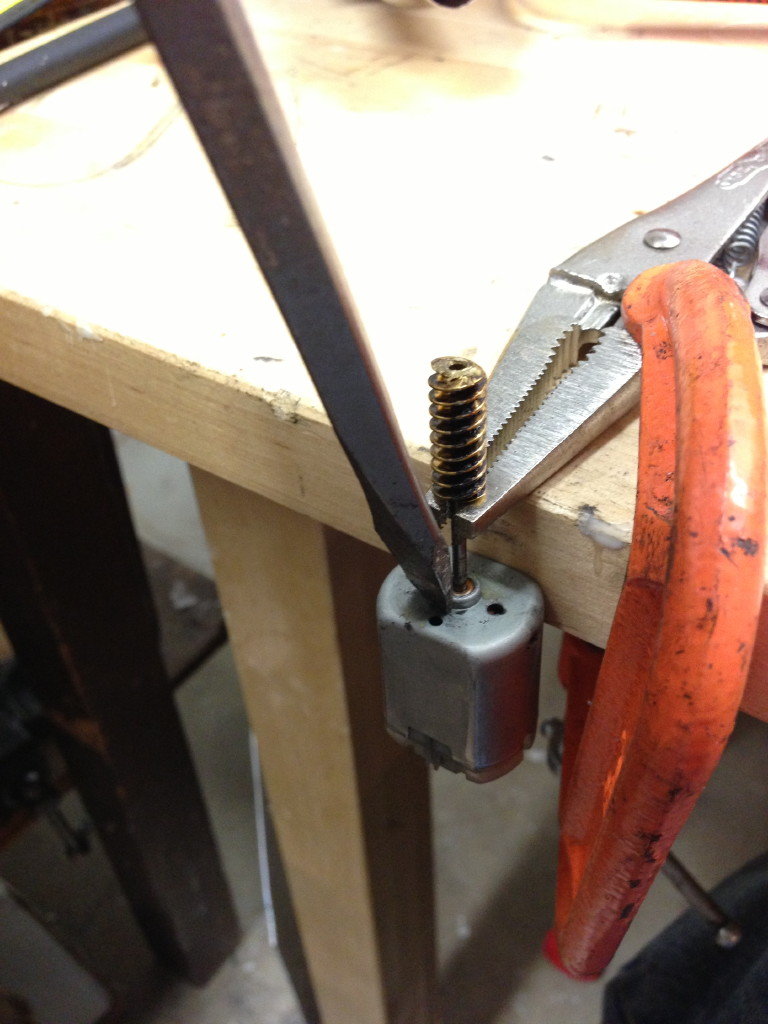
Replacing the motors is not as straightforward as inserting the new motor, because of the difference in shaft lengths. You'll also need to separate the brass gear on the old motor and install it to the new motor. Hold the old motor steady with a pair of vice grips, then tap on the old motor to separate it from the gear. If it proves difficult to remove the gear, try adding heat into the mixture to help loosen it from the motor.
Since the shaft of the new motor isn't quite long enough, you'll need to extend it with part of the old motor. Cut the shaft of the new motor so that it's .525 inches long. Then cut a segment .570 inches long off of the old motor.
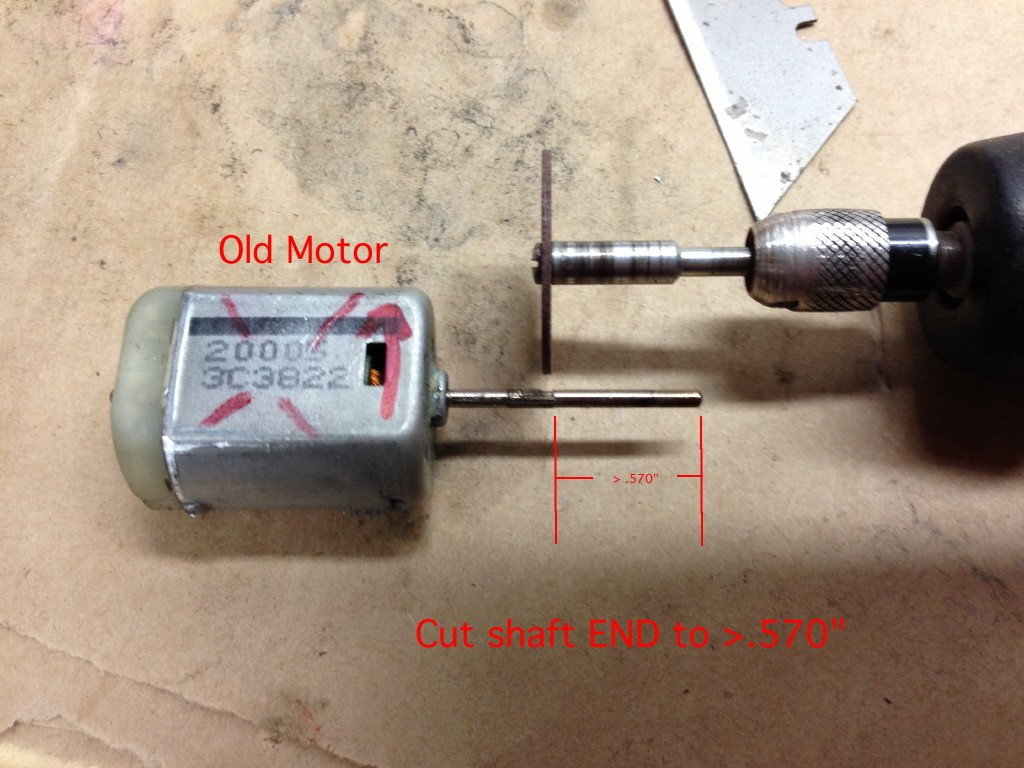
Figure 11. Trim the shaft of the new motor. 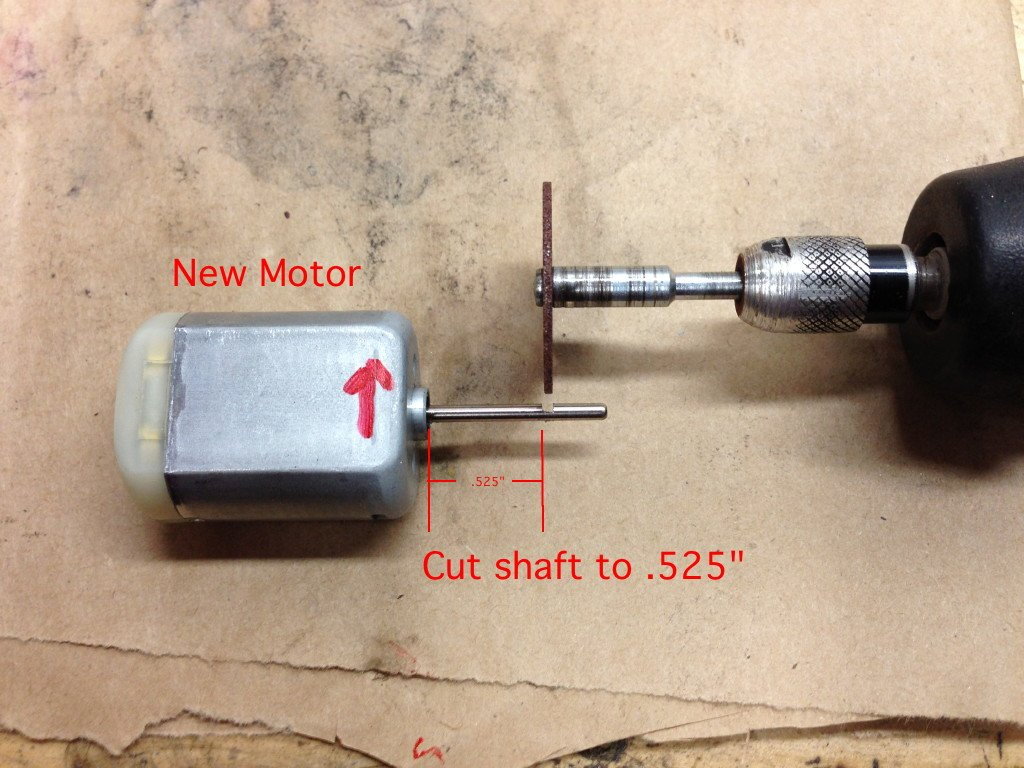
Figure 12. Cut off the shaft off the old motor.
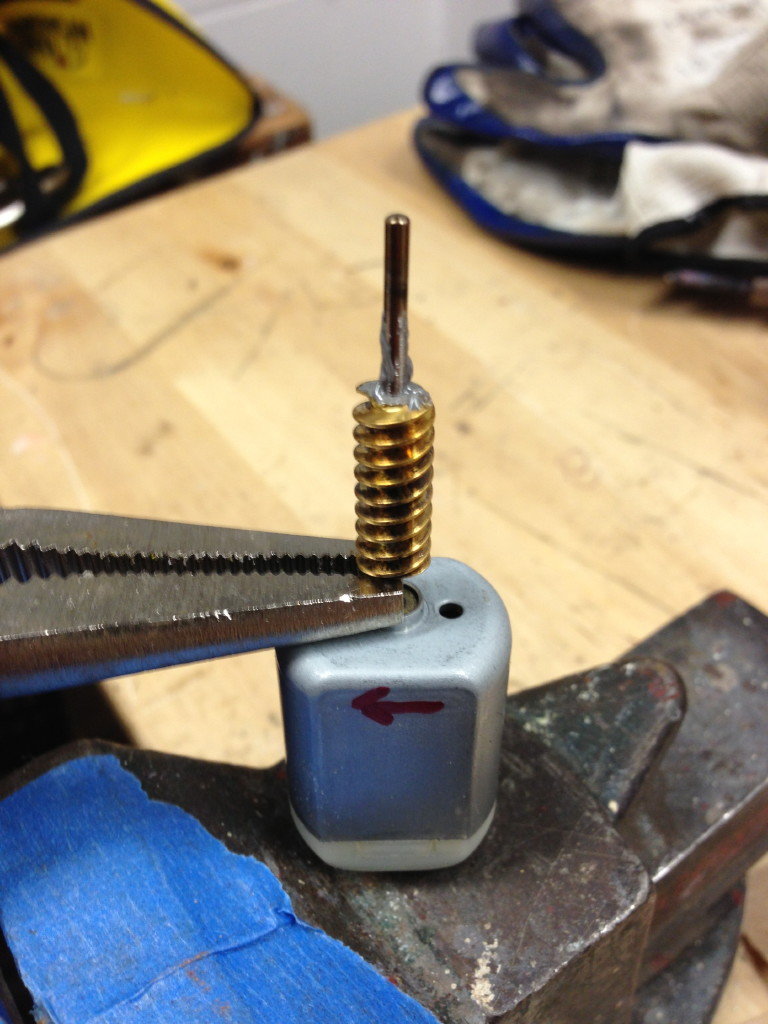
Apply some epoxy to the shaft of the new motor before attaching the gear so the gear isn't loose. Then lightly tap the gear onto the shaft of the new motor, leaving a gap of .150 inches between the motor and the gear. Apply epoxy to one end of the shaft you removed from the old motor, then tap that into the gear until meets with the shaft of the new motor. In total, with motor included, it needs to be 2.5 inches long. If it's longer, then you'll need to cut off more of the shaft until it's the correct length.
Insert the new motor to the actuator to see how it fits. It needs to be able to turn without generating any friction.

Step 5 – Reassembly
- Reattach the motor assembly to the rest of the actuator. Tighten Torx screws.
- Return gear and lever to the actuator.
- Reattach actuator cover.
- Reconnect interior door handle cable.
- Fasten actuator to door frame.
- Reconnect the door lock and exterior door handle cables.
- Plug in electrical plug.
- Readjust window guide rail and tighten bottom bolt.
- Pull interior door handle cable through opening.
- Return grommet to opening.
- Reconnect interior door handle cable to door handle.
- Fasten interior door handle cable to clips.
- Return door panel to door frame.
- Tighten door panel screws.
Pro Tip
Take pictures of everything you remove so you know how it goes back together.
Featured Video: How to Fix the Lock and Door Handle on Mini Cooper
Related Discussions
- DIY: Door Lock Actuator - Internal Motor Replacement - NorthAmericanMotoring.com
- Door Lock Problems - NorthAmericanMotoring.com