Mini Cooper 2014-Present: How to Replace Power Window Motor
Gone are the days of the hand-cranked window and its mechanism that would work forever with just a little grease every few years. Now you have motors, regulators, and the added complexities of the switch, sensors, relays and other parts. Once you narrow it down to the parts in the door, here's how to get to them.
This article applies to the Mini Cooper (2014-Present).
If your window motor fails or regulator goes bad, it means your windows aren't going to be moving anytime soon. While some people can live without it for a while, others will get frustrated when they have to open the door just to reach the drive through window. Since the 3rd gen Mini Cooper is fairly new, take it to the dealer if it is still under warranty and they'll fix it for free. If you are going to have to pay for it, consider replacing the window motor yourself. It really isn't all that hard.

Materials Needed
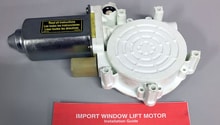
- Replacement window motor/regulator
- T20, T30 Torx screwdrivers
- Allen wrench
- Ratchet with socket set
- Plastic trim removal tool
Step 1 – Remove the door panel
- Look underneath the bottom edge of the door panel for two screws.
- Remove the two Torx door panel screws.
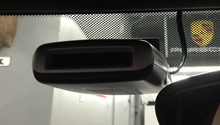
- Pry off the small cover behind the door handle to find another screw.
- Remove the door handle Torx scew.
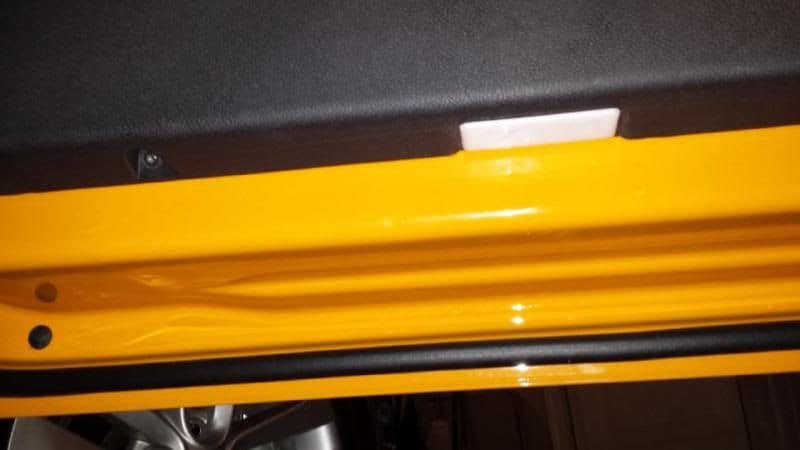
Figure 1. Remove the screws at the bottom of the door panel. 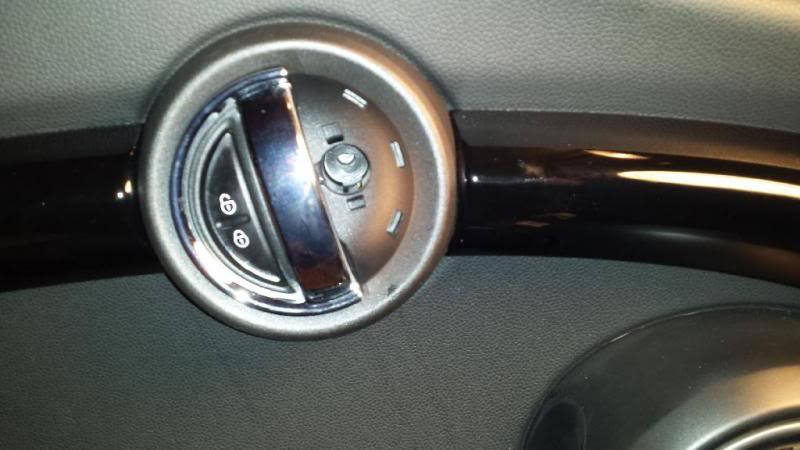
Figure 2. Remove the screw behind the door handle.
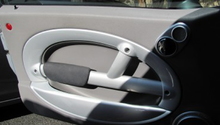
- Pry up the window switch panel to find the last screw.
- Remove the window switch Torx screw.
- Starting from the bottom, pry the door panel away from the door with a plastic trim removal tool.
- Work your way around the bottom and sides popping the plastic retaining clips out.
- To completely remove the panel from the door, give it one last tug to separate the clips along the top.
- Disconnect any electrical connectors, then set the door panel aside.
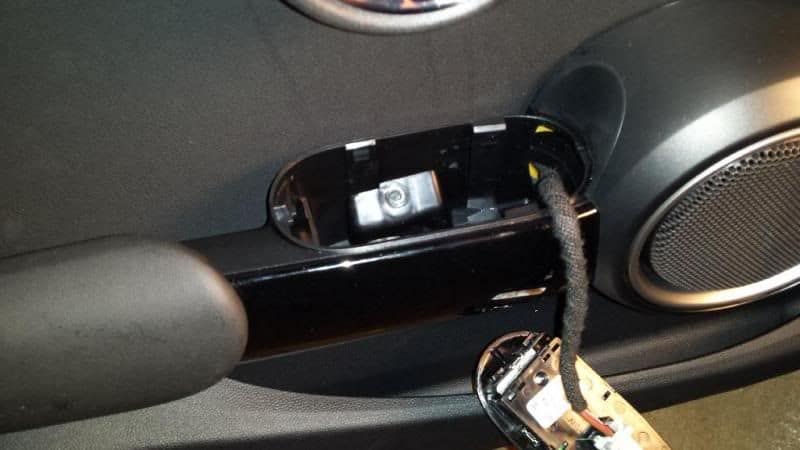
Figure 3. Remove the screw under the window buttons. 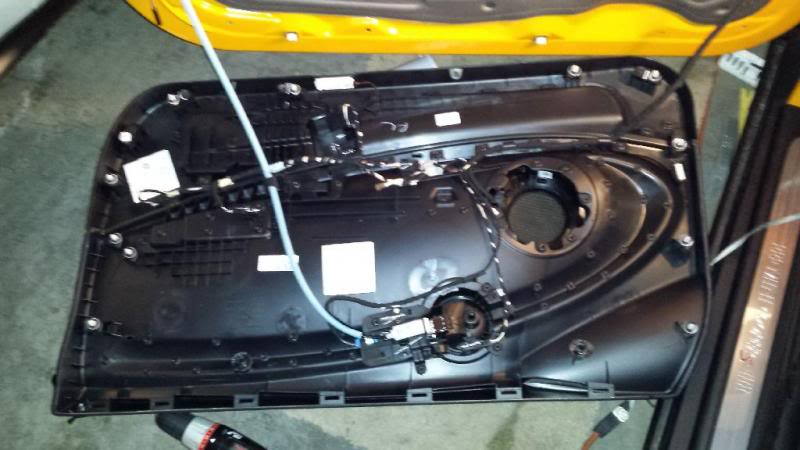
Figure 4. Remove the door panel.
Pro Tip
If you lose or break one of the door clips, you can buy replacements at any BMW/Mini dealership and some auto parts stores.
Step 2 – Remove the regulator and guides
- Pull off the plastic/foam weather cover from the door to reveal a large opening.
- If it will move, lower the window until you can reach the bottom of it through the opening.
- If it won't move, you'll either have to reach up and disconnect it as it is, or try taking the regulator out with the window.
- Loosen the two window connectors until the window itself comes loose.
- Then carefully slide the window out through the top of the door.
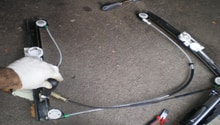
- Remove the two bolts that hold the door motor to the door (Figure 5).
- Remove the top and bottom bolts on the door that secure the guide rails.
- Carefully slide the regulator assembly through the door opening, one rail at a time.
- As you pull the assembly out, remember to disconnect the electrical plug to the window motor.
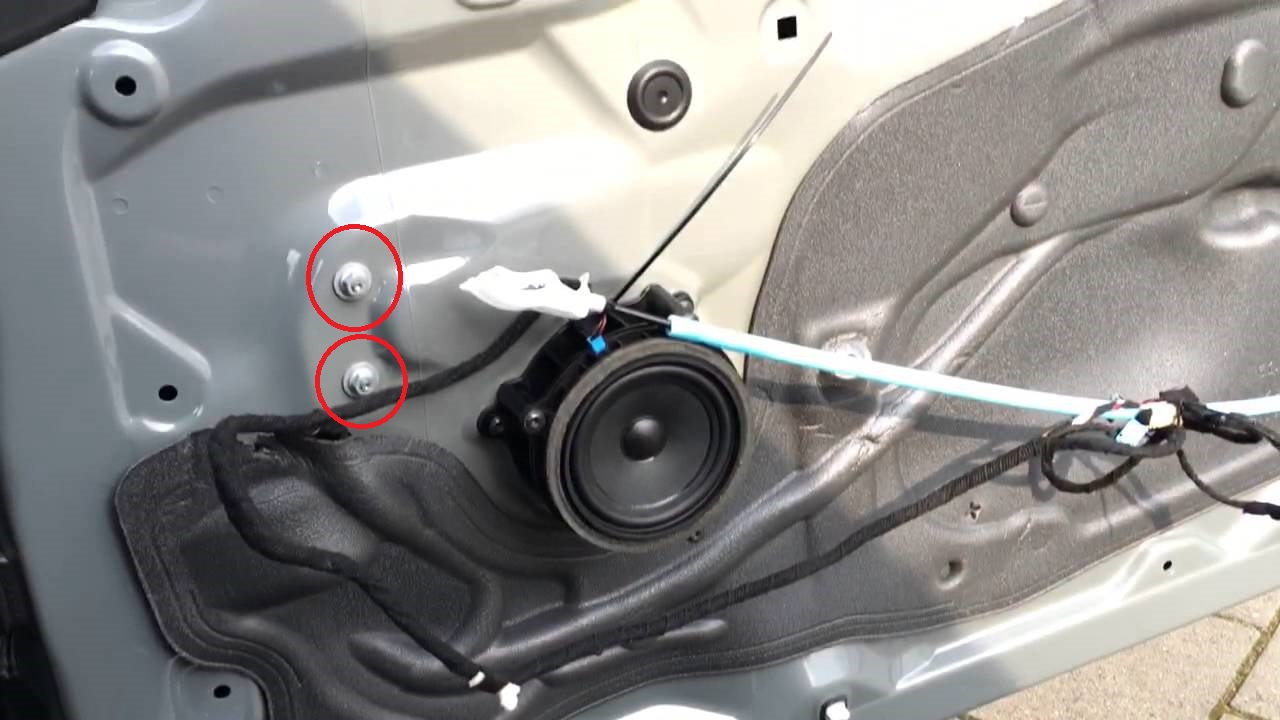
Figure 5. Unbolt the motor from the door with these two bolts (passenger side). 
Figure 6. The regulator is held in place at four points (driver side).
Step 3 – Install new window motor
- Once you have the regulator assembly outside the door, unscrew the window motor from the assembly.
- Fasten the replacement motor to the regulator assembly, then reinstall the assembly to the door frame.
- Plug in the motor's electrical connector that secure the window motor to the door frame, and fasten down the bolts to the regulator guide rails.
- Turn on the car and test the motor/regulator.
- Lower the window onto the guide rails and secure it to the regulator.
- Reconnect any wires you disconnected, then press the door panel back onto the door frame.
- Fasten down the four screws to the door panel, then return the window switch panel and the door handle cover.
Related Discussion, Site and Video
- Door Trim Panel Removal - Easy - NorthAmericanMotoring.com
- MINI Cooper Window Regulator Replacement - PelicanParts.com
- Inside Door Behind Door Panel Mini F56 - YouTube.com