Mini Cooper 2001-2006: How to Replace Window Motor
Power windows are great, until they stop working. Typically, it is either the motor or the regulator track it rides on. Read on a and we'll help you change out both.
This article applies to the Mini Cooper (2001-2006).
Power window motors are a fairly common failure point for all cars, including the 1st generation Mini Cooper. Power window motors only roll up and down for so many (hopefully thousands) cycles before they inevitably give out. If one of your windows won't roll down, or worse, won't roll up, you should do a little troubleshooting to figure out if the culprit is indeed the motor. Press the power window switch and listen for any noise. If you don't hear anything, your motor is likely bad or there is no power reaching the motor. Likewise, a clicking noise can signal a burnt out motor. If these symptoms sound familiar, keep reading and we'll walk you through the process of replacing your power window motor.

Materials Needed
- Phillips head screwdriver
- Flat head screwdriver
- T20 and T30 Torx drivers
- 5mm or 3/16" Hex driver/Allen wrench
- 10mm socket and ratchet
- Interior panel prying tool or putty knife with tape on the edges
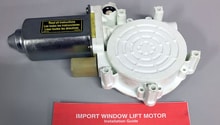
- New power window motor
If you are going through the trouble of replacing the power window motor, it also makes sense to replace the window regulator as well. Even if your regulator seems to work fine, it is often the increased friction of a worn regulator, which causes the motor to die.
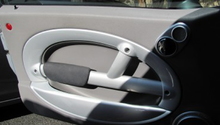
Step 1 – Remove the door panel
Begin by disconnecting the negative (black) battery terminal. Pry off the reflector in the door panel with a flat head screwdriver to reveal a T30 Torx screw. Remove the screw, along with the three other T30 screws in the panel. Pry off the door panel with a panel removal tool or a putty knife with tape around it. Work your way around the outside of the door panel and pry it loose from all the retention clips, then pull it out and up to remove the panel.
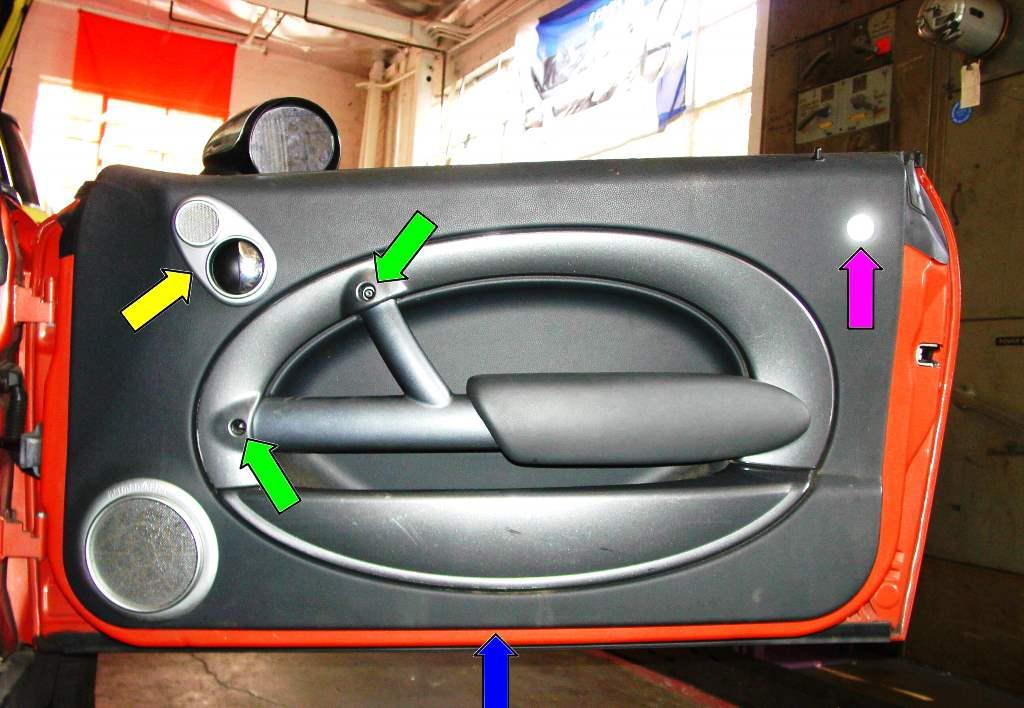
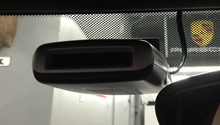
Figure 1. Pop off the door handle trim (yellow), then remove the reflector (purple), and door panel screws (green). 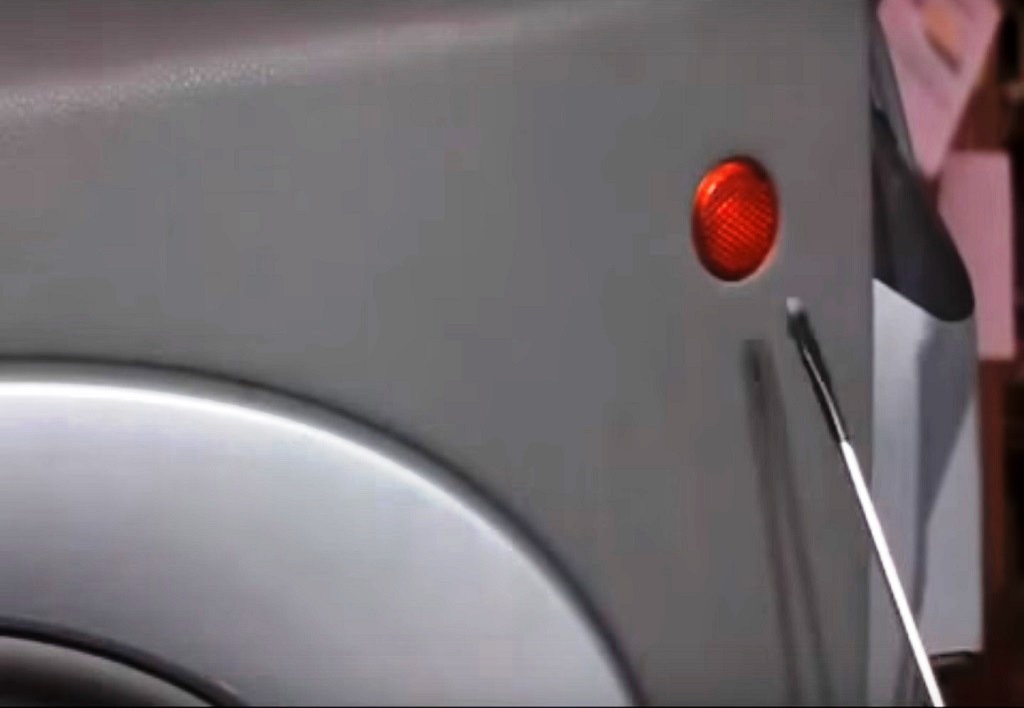
Figure 2. Pry off the reflector to reveal the fourth door screw. 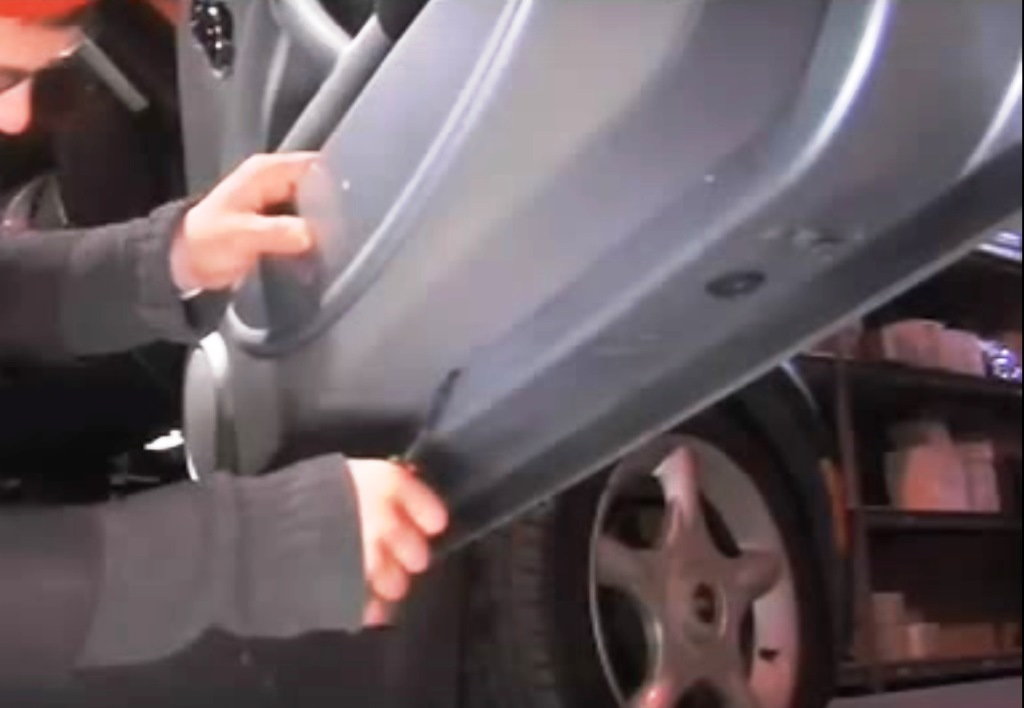
Figure 3. Pry the door panel off and remove it.
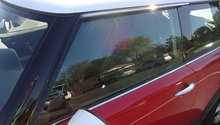
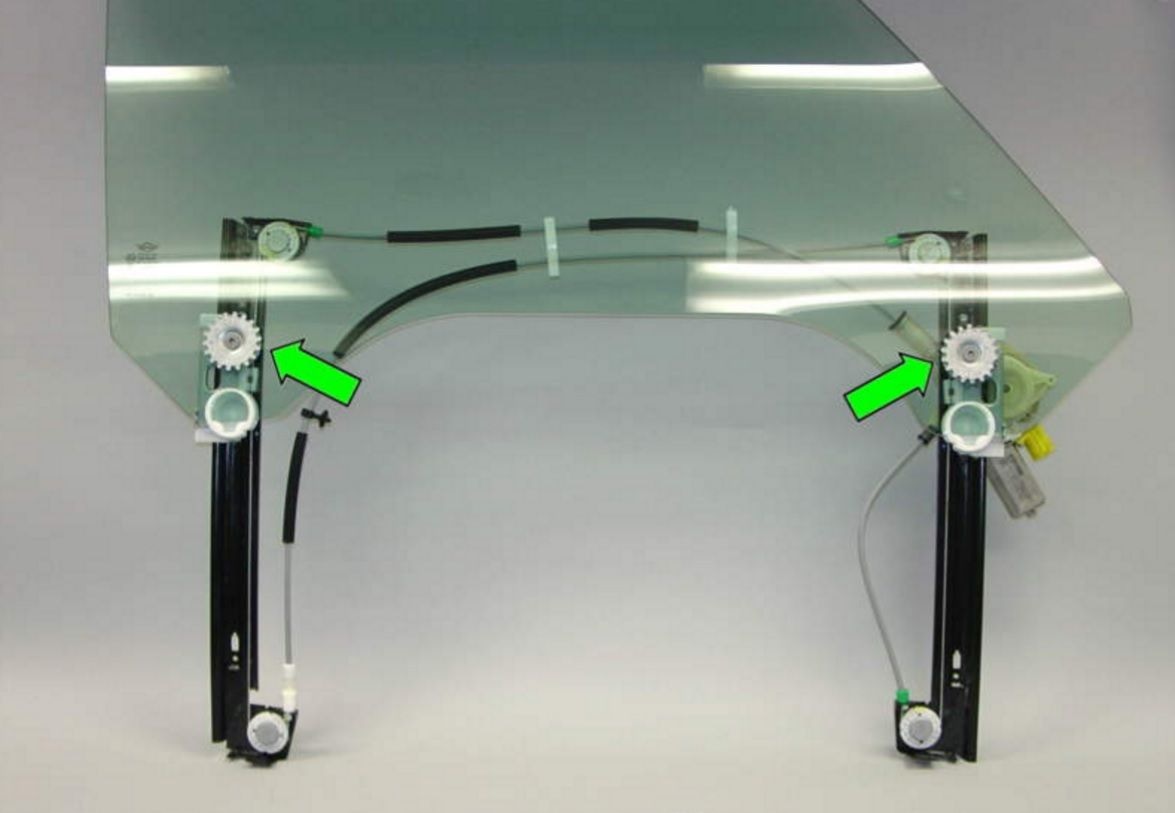
Step 2 – Remove the door glass
The door glass is held in place by two nylon sprockets that are located by the regulator up in the door cavity. These can be removed with a 5mm or 3/16" Allen wrench. Once these have been removed, lift the glass straight up to pull it out of the door. It takes a little maneuvering to get it out, but take your time and stop if you feel any resistance to check if the glass is hung up on anything in the door panel.
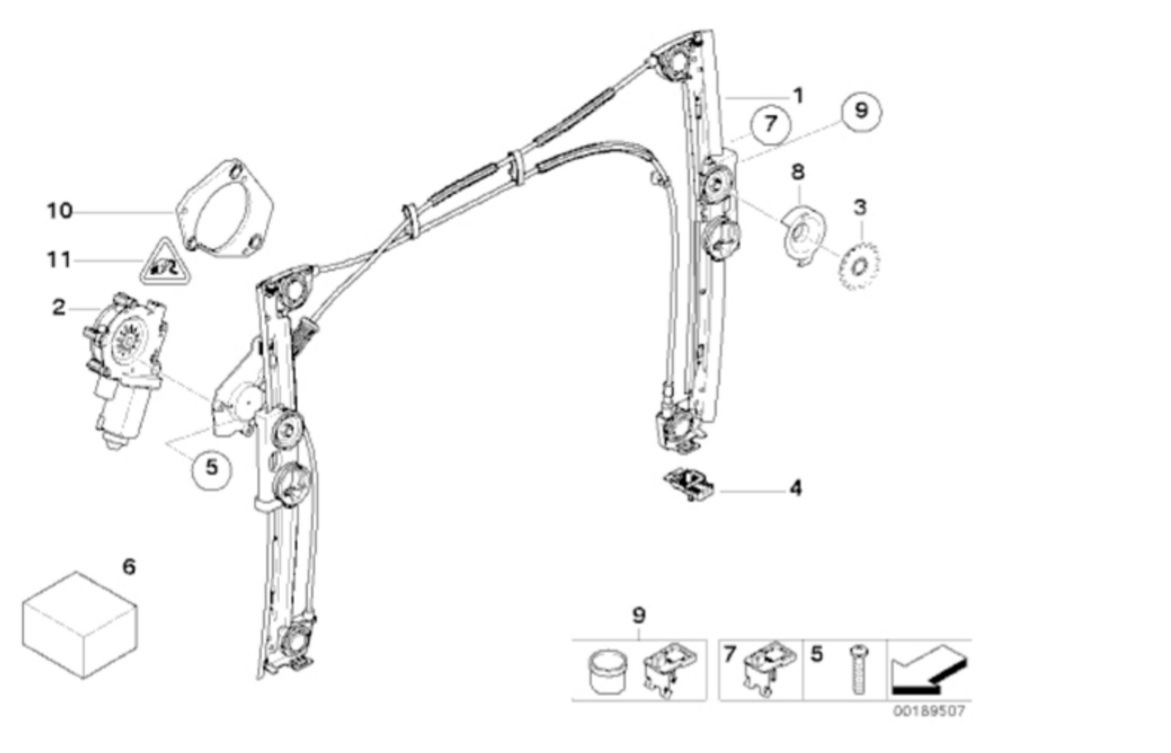
Step 3 – Remove the power window motor and regulator
Pull the outer door top trim piece off. Remove the speaker and the three Phillips head screws that hold the door handle in place. Remove the two round black seals located near the top of the door, then look down inside the door cavity. You will see a pair of white nylon plastic clips. Remove these clips by prying them carefully off, then remove the cable clip inside the door. Remove the three Phillips head screws that hold the power window motor to the door, and the four 10mm bolts: two on the bottom of the door and two on top of the regulator track. Remove the regulator/motor and disconnect the harness connected to it.
Step 4 – Install new power window motor
Remove the single #20 Torx screw that holds the power window motor to the window track, then remove the motor from the track. Loosen, but don't remove, the four #20 screws that hold the motor to the cable assembly. Use your prying tool to hold the cable reel down while you remove the screws—this will prevent it from coming apart. Install the new power window motor and tighten the four screws, then reinstall the single screw on the window track.
Step 5 – Reassemble door
Reconnect the harness to the power window motor assembly and guide it back into the door cavity. Replace the two 10mm top and bottom door screws for the window track. Reinstall the door speaker and the three power window motor screws. Reinstall the three plastic cable clips inside the door. Slide the door glass back in the door and hand-tighten the sprockets. Reinstall the top door trim piece and the negative battery terminal. Test the window to make sure it is working properly. If the glass needs adjustment, you can move it around before tightening the sprockets. Replace the rubber seals, door handle, door panel as well as screws, and reflector.
Related Discussion, Sites and Video
- Mini Cooper Door Panel Removal - YouTube.com
- Driver's Side Window Motor Removal - NorthAmericanMotoring.com
- Mini Cooper window Motor and Regulator - MiniMania.com
- Mini Cooper Window Regulator and Motor Replacement - PelicanParts.com