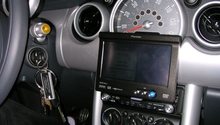
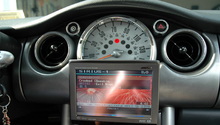
Mini Cooper: How to Replace Speakers
Aftermarket speakers are the easiest and cheapest way to improve your sound system. This how-to will help you with the hard parts, namely getting to the old speakers. What you listen to and which speaker you buy is up to you.
This article applies to the Mini Cooper (2001-Present).
The Mini is an excellent car, but the factory speakers in the lower tier sound systems really show some corner cutting by the factory. Getting better sound doesn't have to cost you hundreds of dollars and involve amplifiers and wiring. Replace the cheap paper factory speakers with some more accurate, more efficient speakers from a known, quality brand and you'll be amazed at how much better the stock head unit can sound. Read on, as we'll help you with the disassembly as well as removal of the old speakers in the doors and side panels without messing anything up.

Materials Needed
- 2x 5.25" front speakers or 3" for 3rd gens
- 2x 6x9 rear speakers
- 2x tweeters
- T20, T30 Torx screwdriver
- Plastic trim removal tool
- Crimp connectors
- Wire cutter
- Wire crimper
Whenever you're working with something electrical, you should disconnect the battery before starting, just as a precaution.
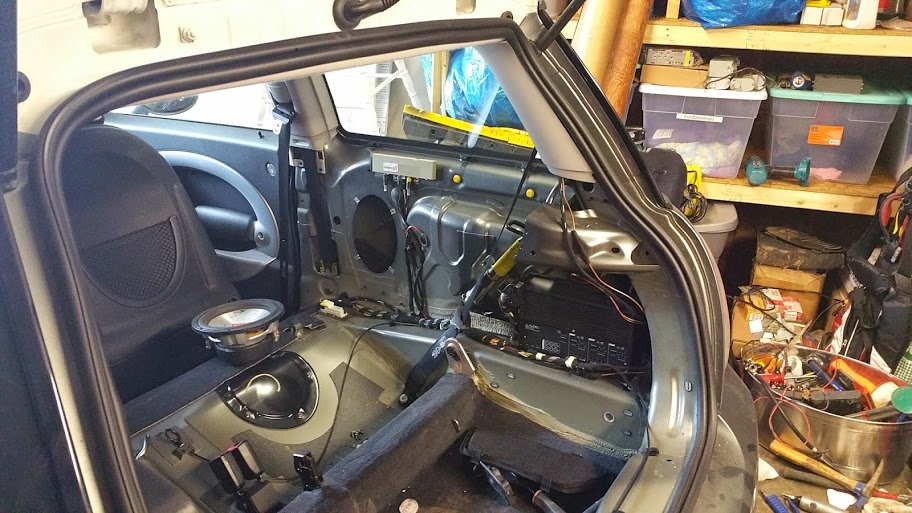
Step 1 – Remove the door panel
This will be different depending on the generation model you're working with.
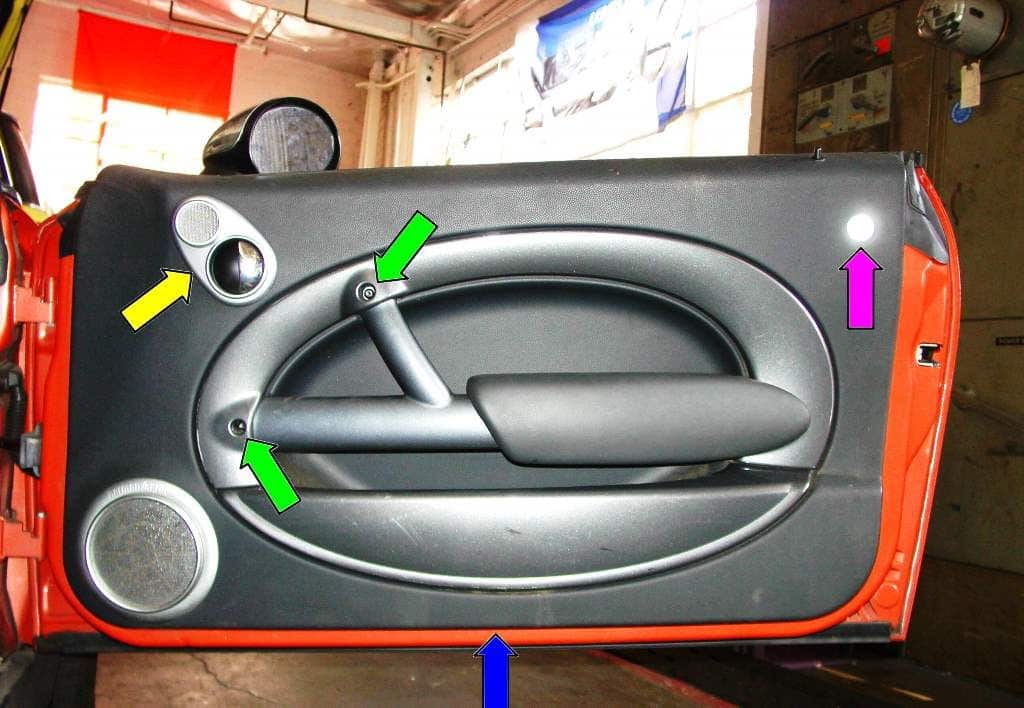
1st Generation - This era of mini has a series of hidden screw that need to be removed and then the panel pops off. Pry out the tiny reflector, and the door handle surround to access two of the screws. Two more screws are in the door pull handle. Finally, the puddle light has to be removed as well. Then you should be able to pop the panel off of the plastic clips.
2nd Generation - The 2nd gen door panels are different in that it has two separate door pieces. You only need to remove the outside half, which comes out in a c-shape from the door. In order to get to it, first pull out the pin holding the door handle trim to the door, and pry the surround off. Next, grab the arm rest and pop off to get to the wiring for the puddle light and disconnect it. Now you can pry around the edges of the door, and pull the panel off, exposing the speakers.
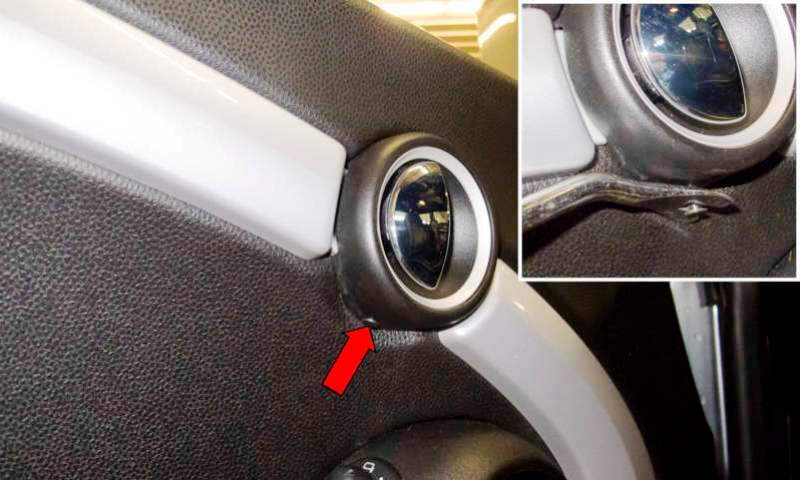
Figure 2. Door handle trim is held in place by this rivet. 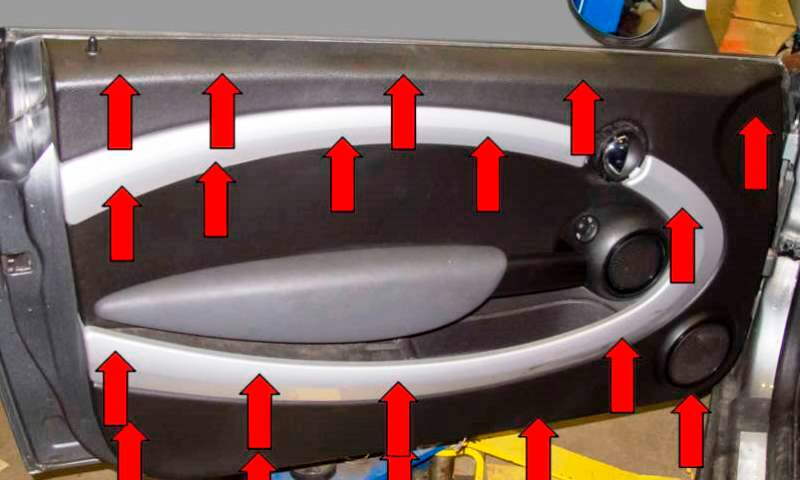
Figure 3. 2nd gen Minis have a clip at each of these red arrows holding the outer portion of the door panel.
3rd Generation - The latest Mini may have the easiest panels to remove. There are Torx screws hidden behind the door handle trim, under the window switches, and at the very bottom of the door. Pry off the half moon shaped cover behind the door handle, and pull out the window switches to access these screws. The last two are easy. You'll want to make sure you have all the Torx screws removed before attempting to pry off the door panel.
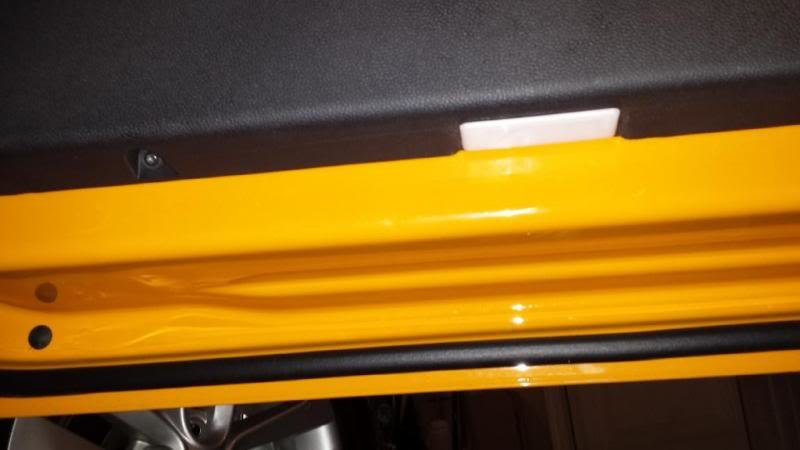
Figure 4. Screws in bottom of door panel. 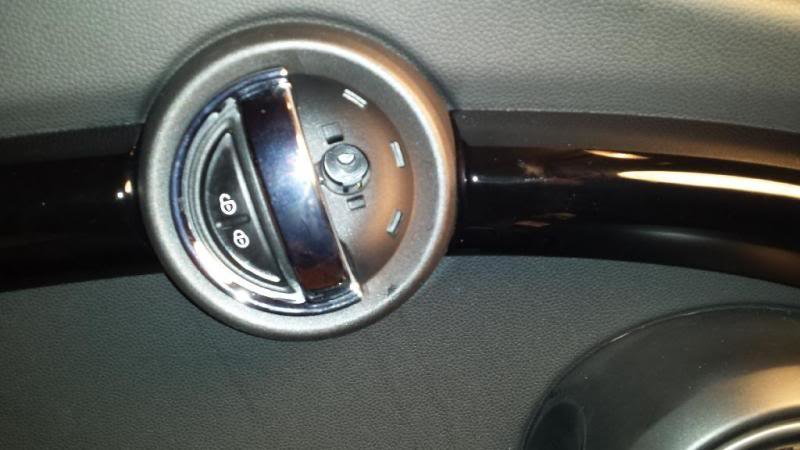
Figure 5. Remove the door handle trim. 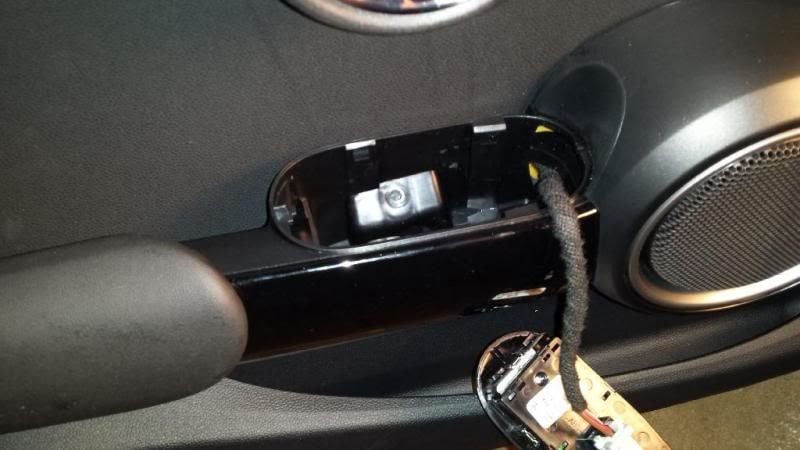
Figure 6. Pop out the window switches.
When you finally do remove the door panel, no matter the generation, be careful and remember to disconnect any wires that might snag, such as the puddle lights or the window switches.
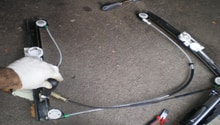
Step 2 – Replace the door speakers
With the door panel removed you now have access to the door speakers. Remove the screws mounting the speakers to the door. Crimp on new connectors to the old speaker wires that will fit the new speakers. Connect the wires to the speakers, then fasten the speakers to the door. Before replacing the door panel, test the speakers by reconnecting the battery and turning the car and stereo on briefly. If something is wrong, it's most likely a badly crimped connector in the wiring. When you've finished, return the door panel to the door.
2nd generation Minis typically have two speakers in the doors. Removing the second requires popping out the power window switch mounted on the surround, then prying off the trim.
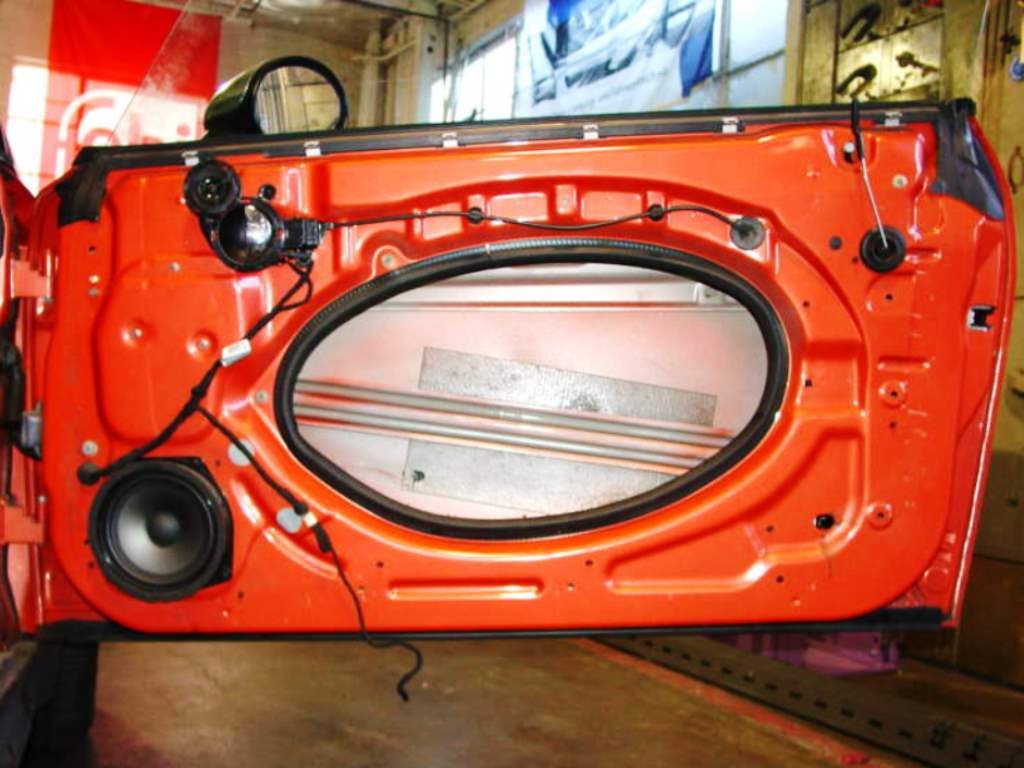
Figure 7. 1st generation door speakers. 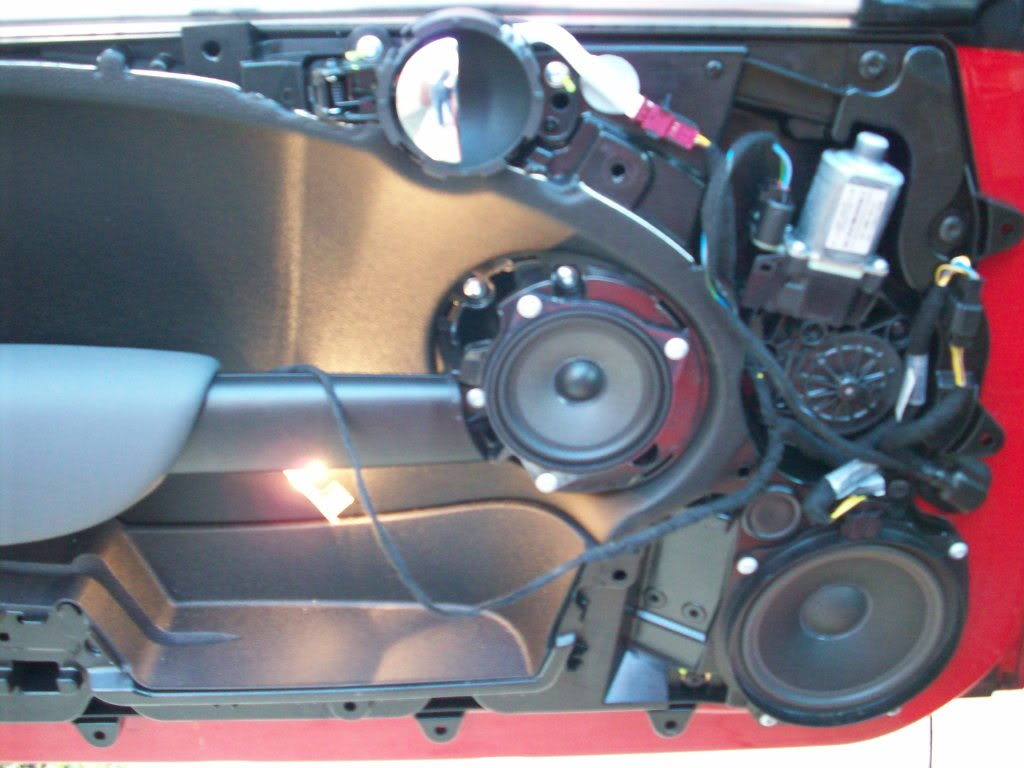
Figure 8. 2nd generation door speakers. 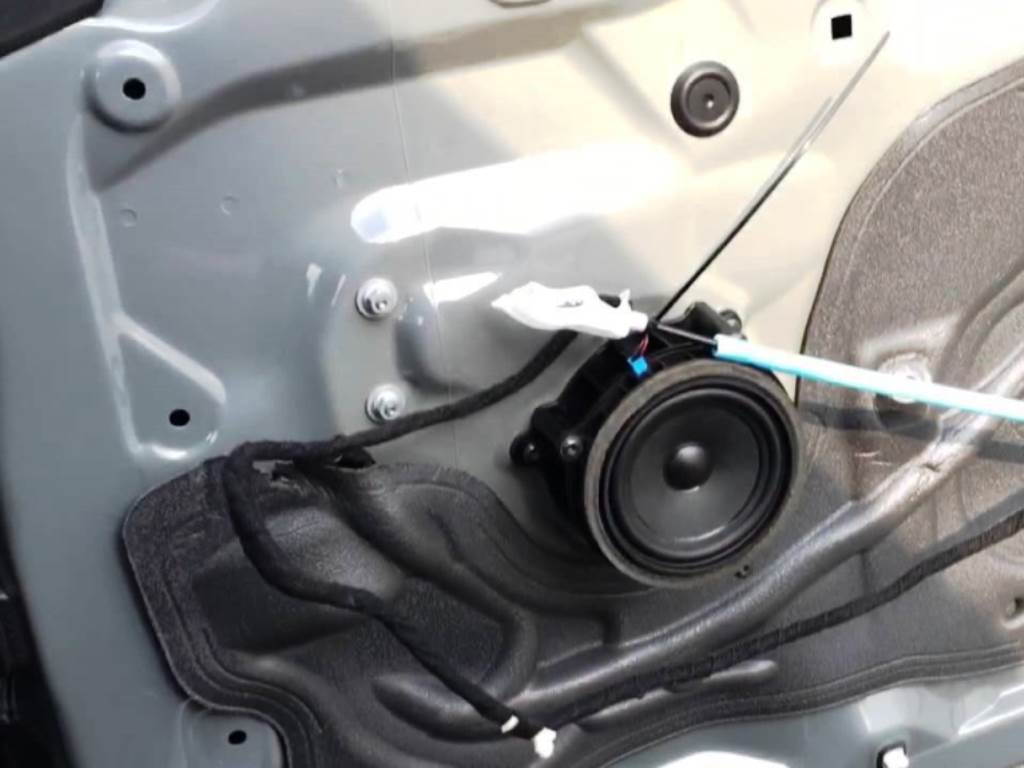
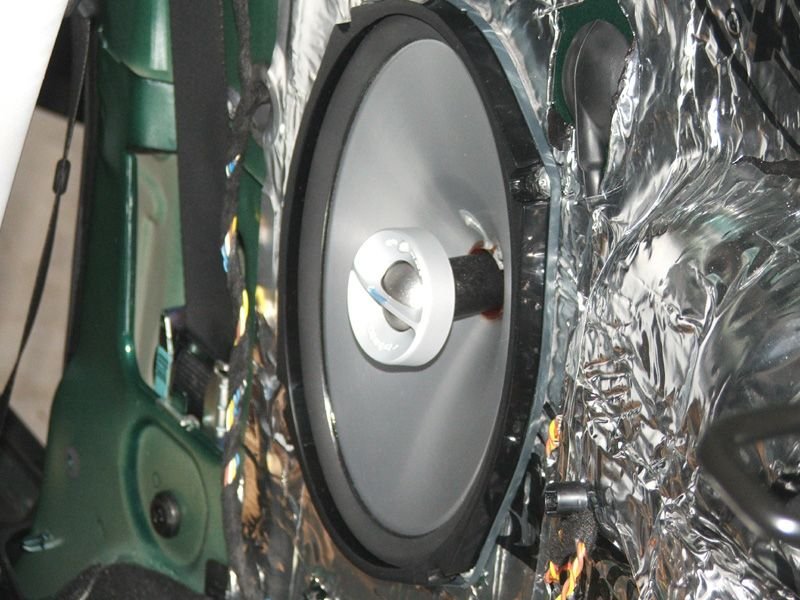
Figure 9. 3rd generation door speakers.
Pro Tip
You can put sound dampening material behind the speakers to reduce any rattling noises.
Step 3 – Remove rear seats and paneling
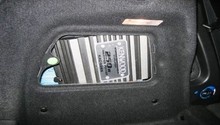
There is another pair of speakers mounted to the sides of the trunk which will prove more difficult to access because you'll have to remove the rear seats. To remove the rear seats, you'll need to remove the bolt stuffed between the back of the two seats. Then you need to lower the seats to a 45 degree angle before you can pull them out. The lower seat cushion can be removed as one piece just by pulling it forward after removing the child seat mounting grommets.
To remove the rear paneling, you'll need to start with the paneling at the very back that goes around trunk latch. There will be a series of screws along the bottom of the panel to remove, then pry off the panel itself. Remove the trunk lights and rubber covering from the trunk side panels. Then pry off the side panels to access the rear speakers.
Step 4 – Replace the rear speakers
Replacing the rear speakers is the same as the door speakers. Unbolt and remove the rear speakers and cut the wires. Crimp on new connectors to the wires and plug them into the new speakers, then mount the new speakers. It's better to test the speakers before putting everything back together.
When you're finished, return the side panels and rear seats to the trunk.
Related Discussions and Sites
- How to: Upgrade Sound System - NorthAmericanMotoring.com
- R56 Speaker Replacement How-to - NorthAmericanMotoring.com
- MINI Audio Basics: Specs, Details, and Upgrades - NorthAmericanMotoring.com
- Upgrading Stock Speakers on 2009 - NorthAmericanMotoring.com
- Stereo Upgrade: Add Amp, and Replace Speakers: JL, Focal, etc.- MiniF56.com
- F56 3rd Gen Rear Speaker Replacement Plus Sub - MiniF56.com
- Changing 3rd Gen Mini Door Speakers - MiniF56.com