Mini Cooper 2007-2013: How to Install Stereo Upgrades
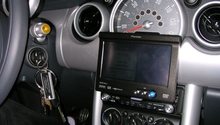
The stereo head unit is well integrated and part of the stylized dash all Minis come with. This article will help you get the most out of it by showing you how to replace the speakers and how to fix the bass drop off on your rear speakers.
This article applies to the Mini Cooper (2007-2013).
The bass sound system in the 2nd gen Mini leaves much to be desired, especially if you like to crank up your music when you listen to it. For the true audiophiles, even the optional factory systems don't satisfy their sophisticated eardrums. Unfortunately, the factory head unit on the 2nd gen Mini is integrated with the car's computer, so there's no safe way to replace that particular component, but it works fine with upgraded aftermarket speakers and a tweak to get rid of the bass drop off. By installing your own aftermarket speakers you will be vastly improving your sound system without the hassle of trying to find an upgraded factory system to retrofit. Even if you don't want to change the speakers, we'll show you how to get the most out of your factory rear speakers by fixing the bass drop off.

Materials Needed
- 2x tweeters or 3.5" speakers for the upper front door speakers
- 2x 5.25" speakers for the lower front door speakers
- 2x 6 x 9 speakers for the trunk
- Subwoofer (optional)
- Amplifier (optional)
- 2.5mm pin removal tool
- T20, T30, T50 Torx screwdriver
- Phillips screwdriver
- Trim removal tool
- Wire cutters
- Wire crimper
- Crimp connectors
Warning
To protect the car's computer and head unit, always disconnect the battery before you start working on electrical components to prevent shorts and voltage spikes.
Step 1 – Remove the door panel
Pull out the pin on the bottom of the door handle trim. Gently pry off the door handle trim. Carefully pry the outside part of the door panel loose, starting from the bottom, while pulling to release the inner clips. Work your way all the way around the edge of the door panel and arm rest to free it completely. Unplug the puddle light at the bottom of the door before lifting the door panel over the lock and setting it aside.
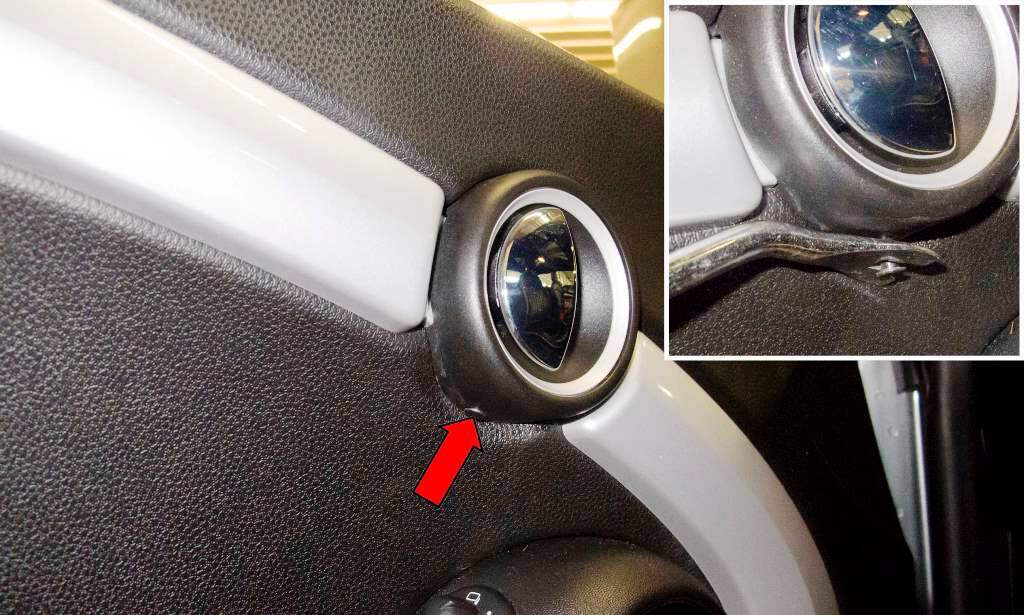
Figure 1. Pull the pin on the door handle. 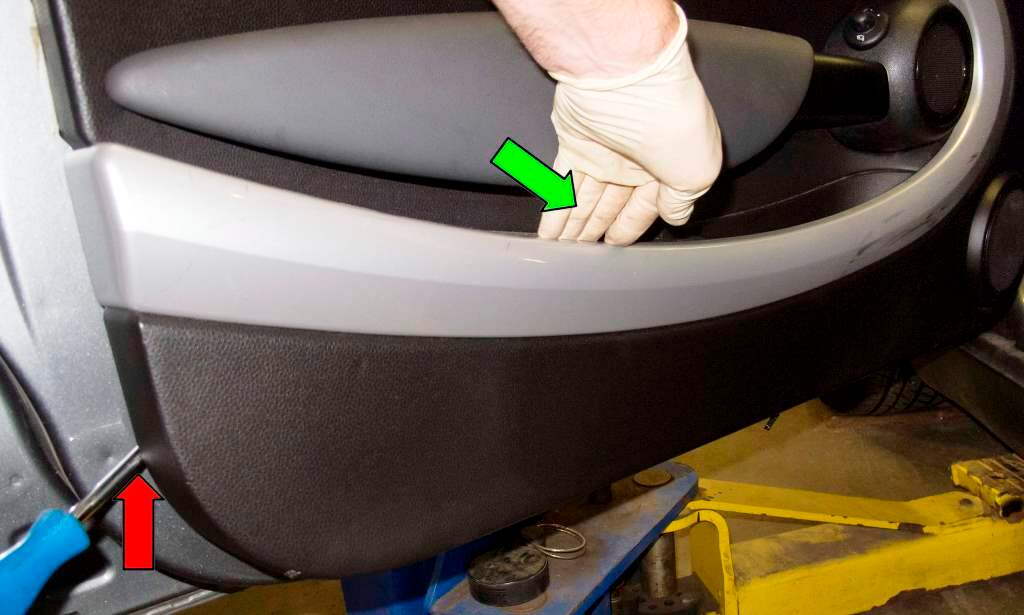
Figure 2. Pull out on door panel while prying to release clips. 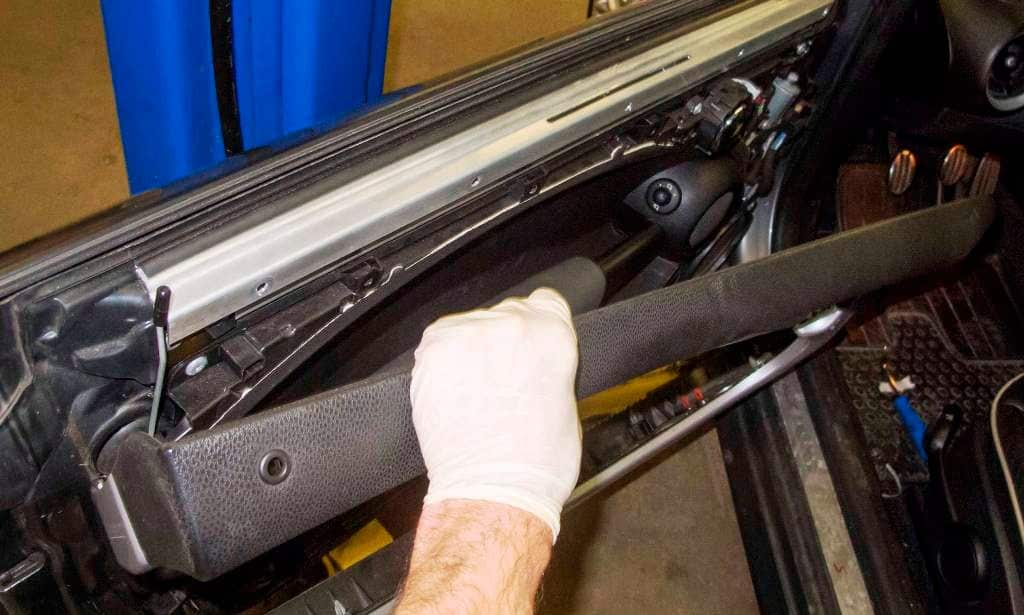
Figure 3. Pull upward and lift panel over lock.
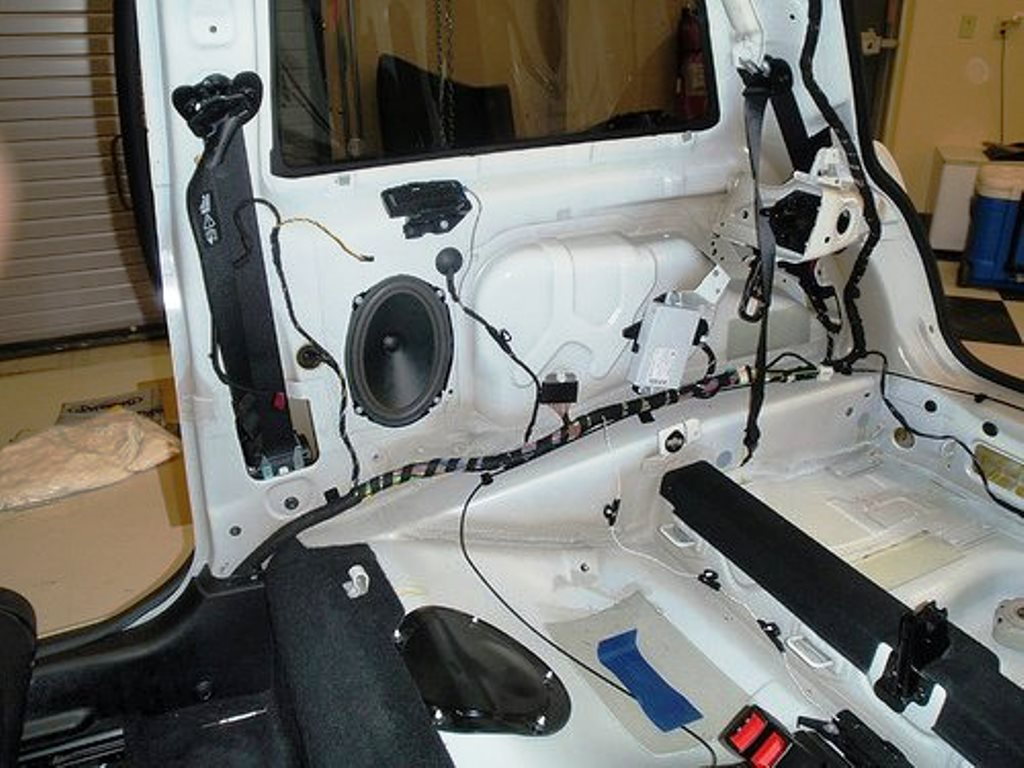
Step 2 – Replace the front door speakers
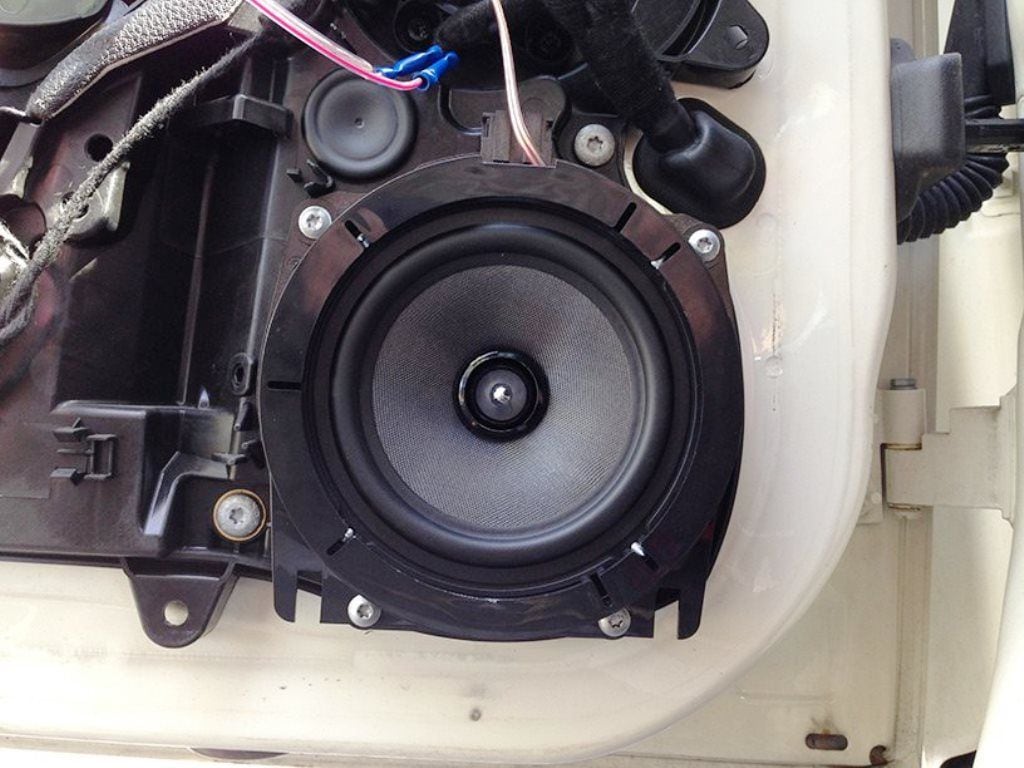
With the door panel removed, the two larger speakers are very obvious. Remove the four screws around the lower speaker and remove it from the door. Cut the factory speaker wires. Crimp the factory speaker wires to new connectors to attach to your new speakers. Plug the speaker wires into the new speaker, then install the speaker to the door.
The upper door speakers are still covered by what is left of the door panels, but that does not have to come off. Pull the pin on the upper speaker similar to how the door handle was attached, and pry off the cover of the upper speaker. Remove the three screws around the upper speaker, then remove it from the door. If you are using 3.25" speakers, they ought to fit perfectly in the holes left, but if you are mounting smaller units or tweeters, you may need to make mounting adapters. Like before, cut the factory wires and crimp on new connectors. Plug in the new speaker and fasten it to the door.
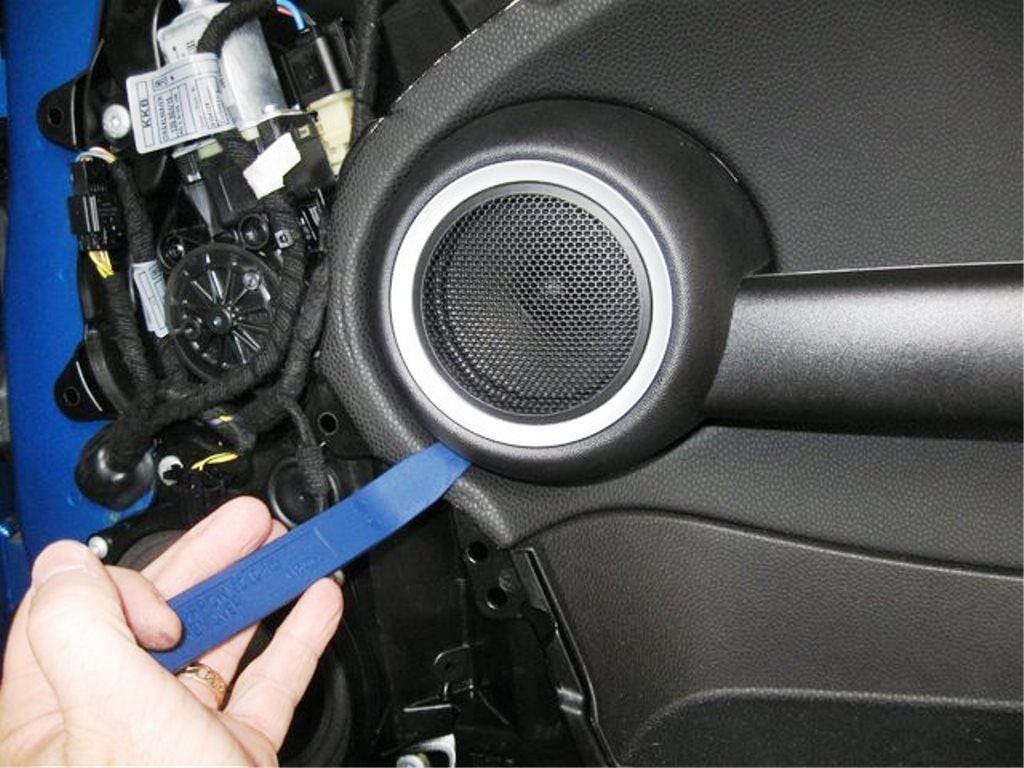
Figure 5. Pry off the upper door speaker cover. 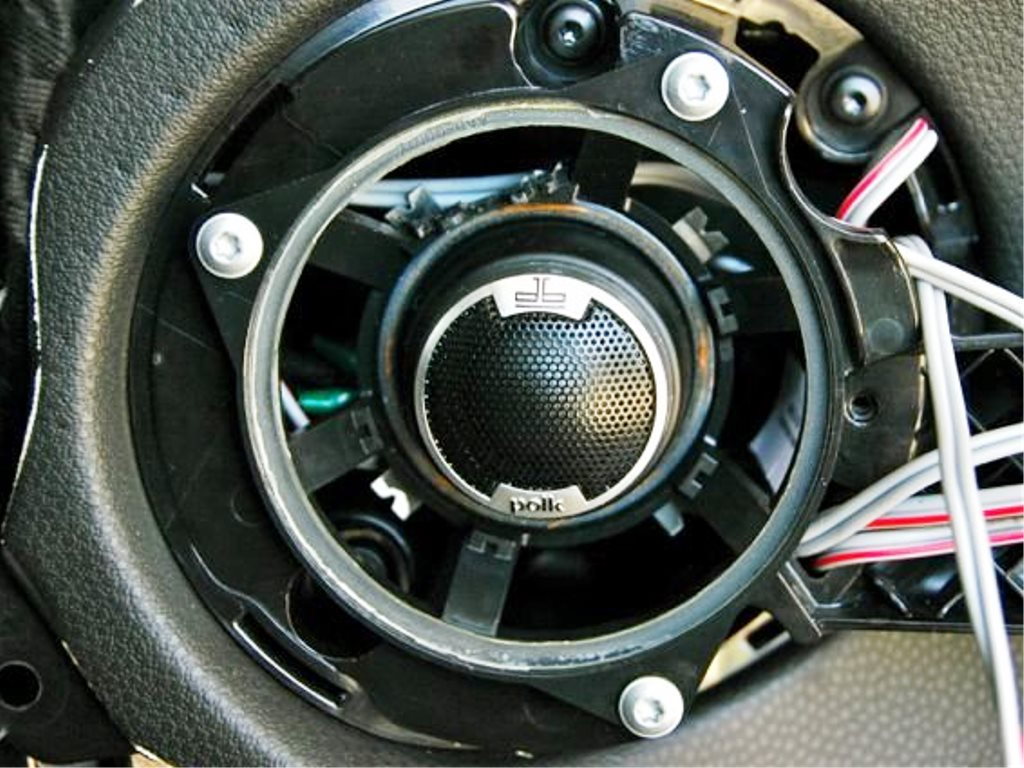
Figure 6. These tiny Polk tweeter deliver plenty of highs.
Pro Tip
You can limit rattling by applying sound dampening material behind the speaker and inside the door panel.
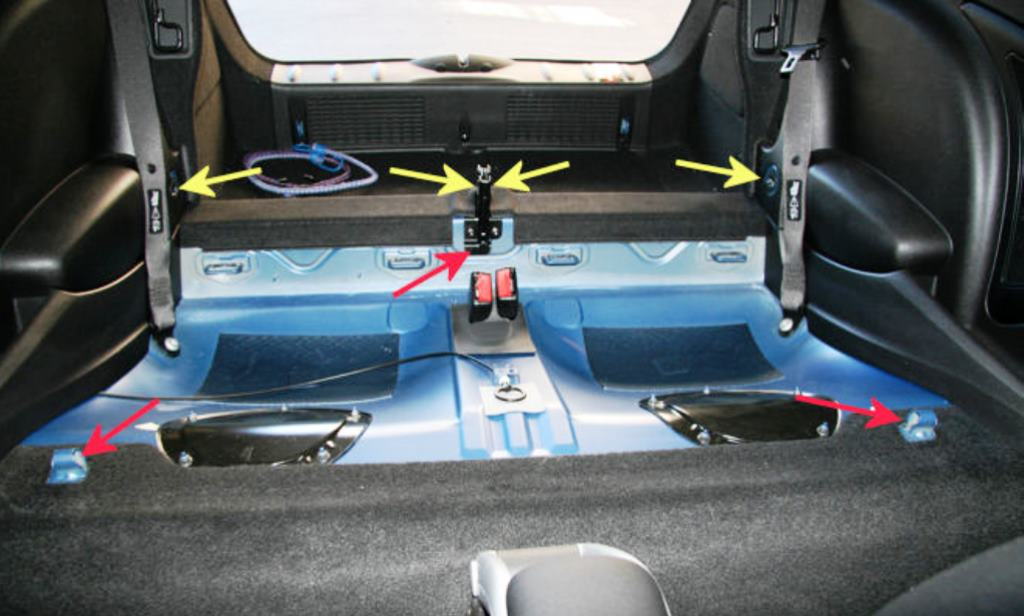
Step 3 – Remove the rear seats and side panels
Like many cars, there are bigger speakers in the rear of the Mini, because there is more room back there. Mini mounts the speakers in the rear panels next to the seat in what would otherwise be wasted space. They are a bit harder to get to because you have to take the seat out first to get to them, but you can fit much bigger speakers in there.
The two folding rear seat backs have posts that pivot in an anchor in the middle of the car. Push in on the latch on the anchor from the back using a screwdriver to release them one at a time from the middle. Fold the seat back 1/2 way, until the tabs line up with the holes on the outside edge and you can pull the seat back out. Repeat for the other side.
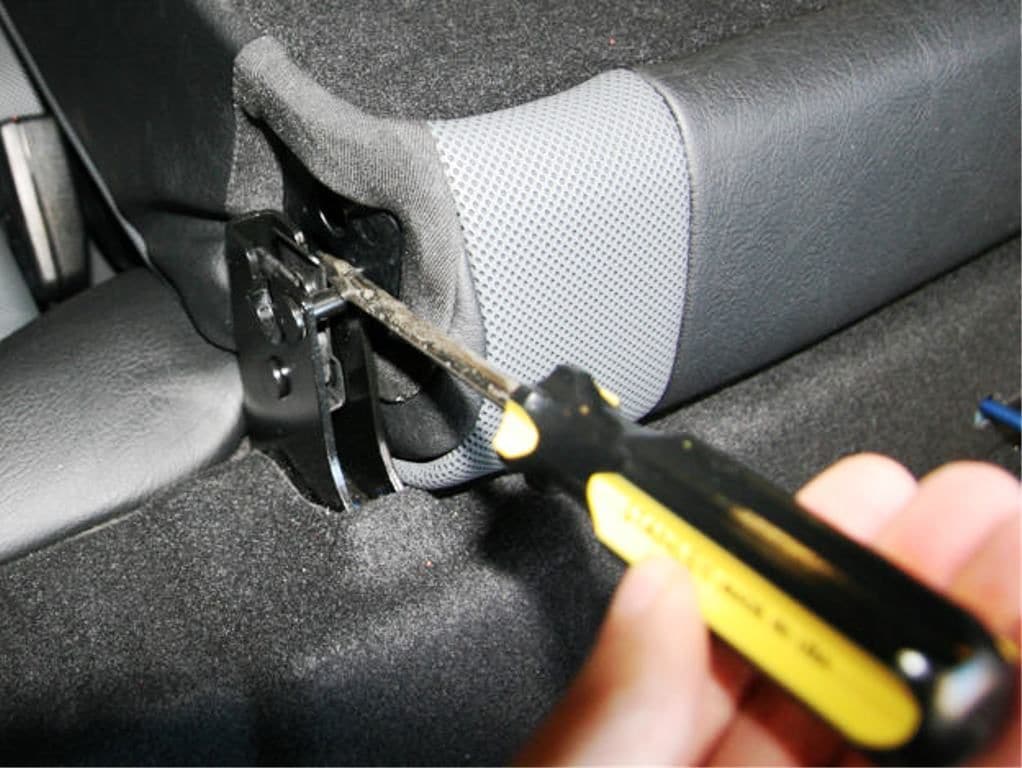
Figure 8. Press in the latch to remove the rear seat back. 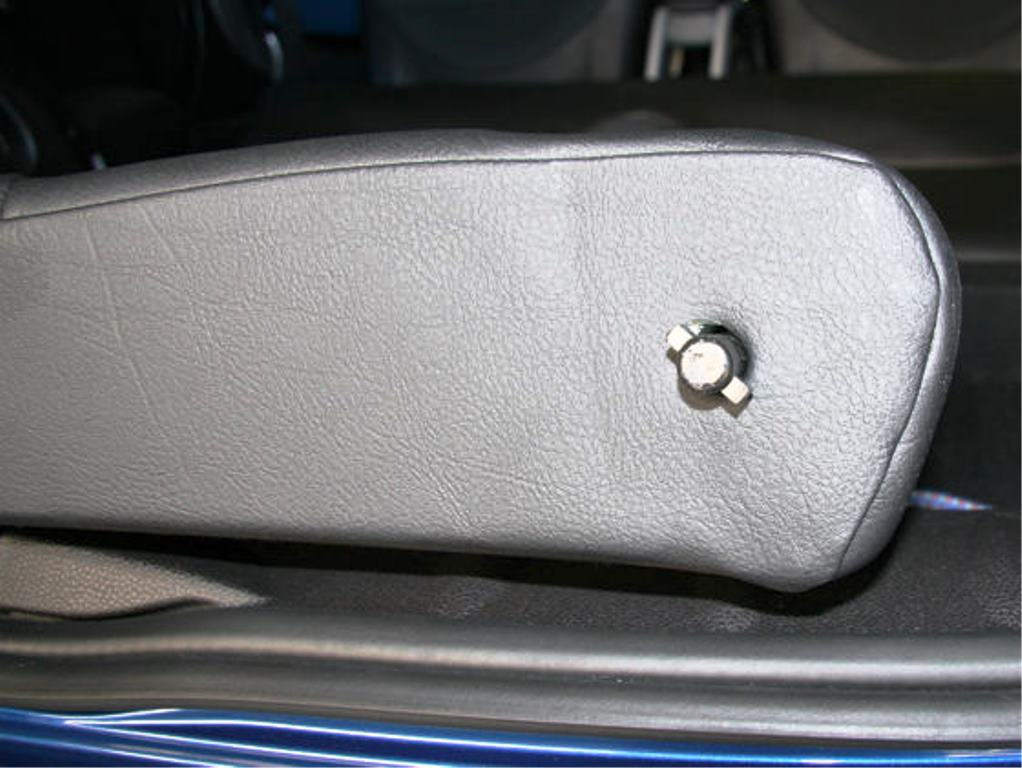
Figure 9. Pivot seat back until these tabs line up with slots and you can pull out.
Now for the lower seat cushion, which is held in place with spring clips. Remove the four black grommets near the back of the seat cushion for the child seat anchors. Pull the front edge of the cushion towards the front of the car and tilt up. The back is held in place by a hook, which you release by tilting the cushion up, and pushing downward on the center of the back edge.
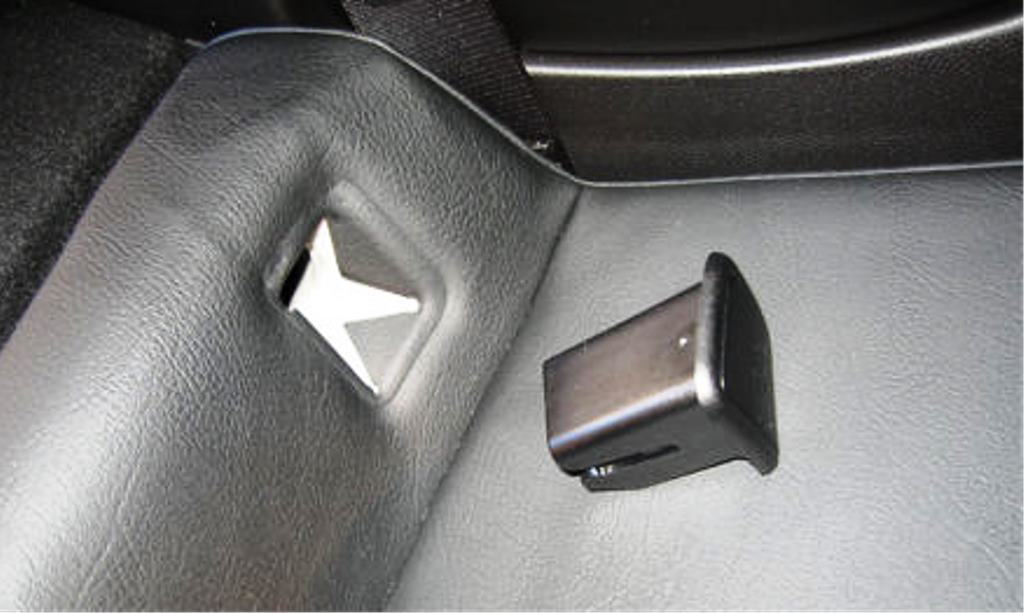
Figure 10. Child seat anchor covers. 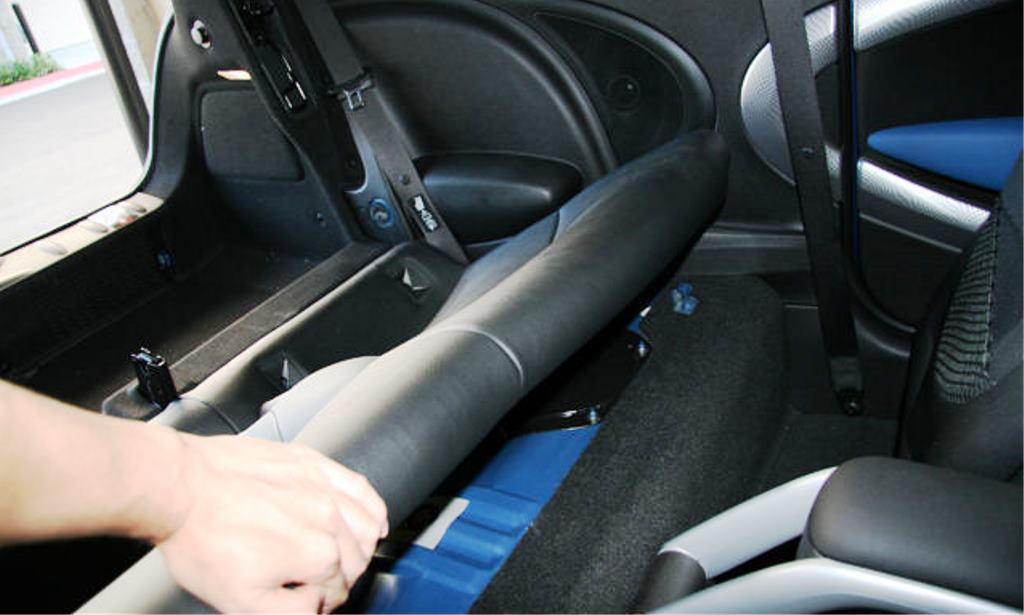
Figure 11. Pull seat cushion up to release clips. 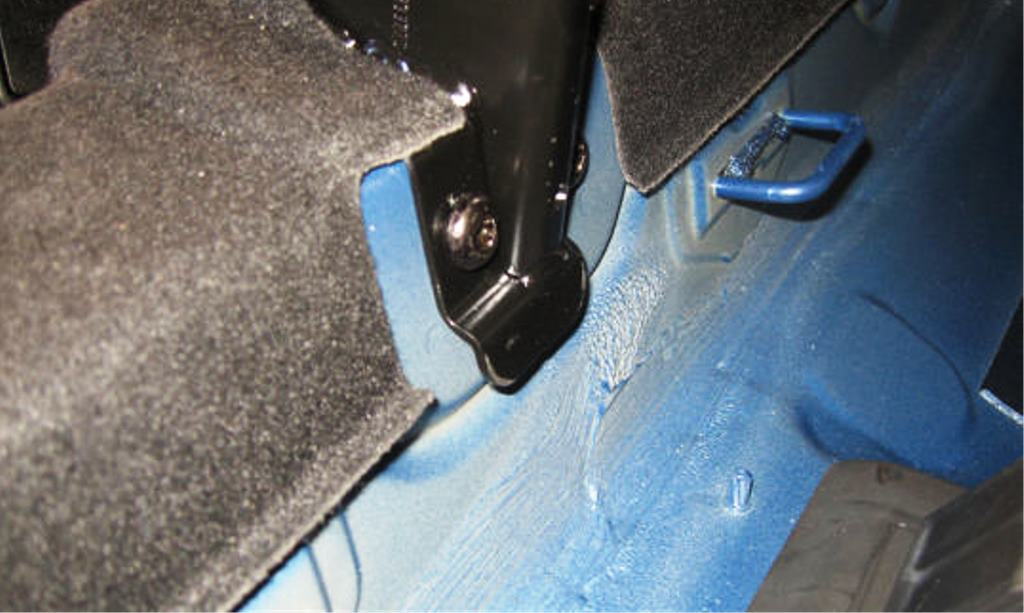
Figure 12. This hook holds down the back part of the lower seat cushion.
Once the seats are out, you can see the screws which hold the rear speaker panels in place. To remove the rear panel, first remove the screws along the bottom of the panel and then pry it up. Remove the covers on the B and C pillars. Then pry off the side panels from the top and sides.
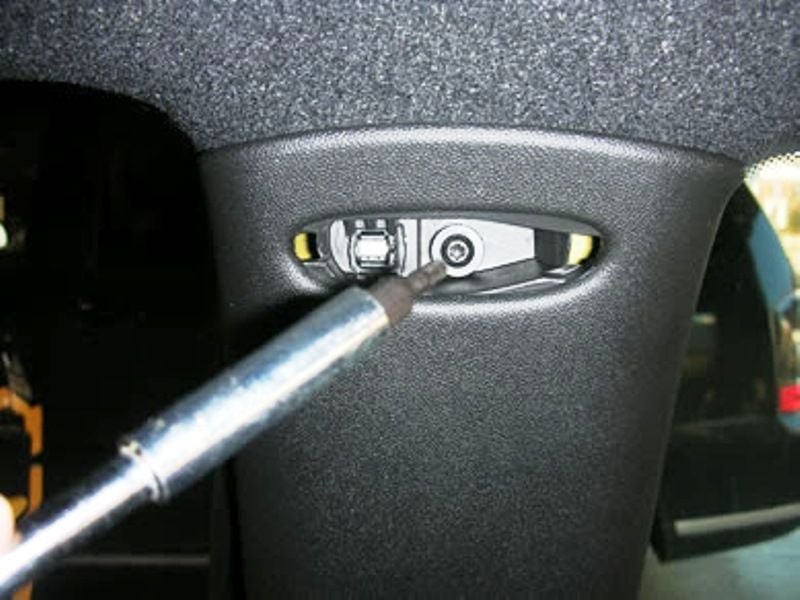
Figure 13. The upper screw on the B-pillar. 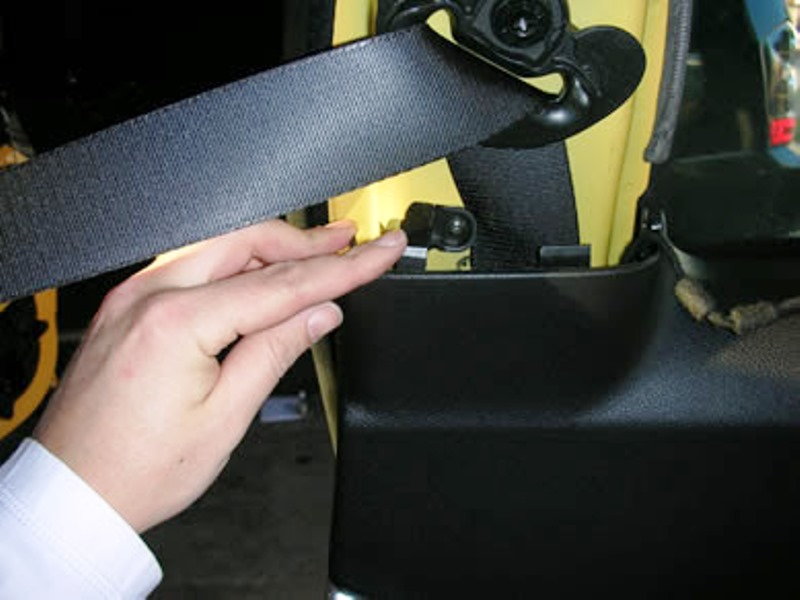
Figure 14. Lower B-pillar screw. 
Figure 15. Unscrew the rest of the screws and pull out the rear panel.
Step 4 – Replace the rear speakers
Cut the speaker wire and remove the old speakers. Crimp some connectors onto the speaker wire and connect it to the new speakers. Test the sound before you put everything back, just to make sure it's working. Then it is just a matter of reversing the steps above. Fasten down the speaker and return the side panels to the trunk. Return the B and C pillar covers and the back panel. Fasten down the rear trunk panel. Then reassemble the rear seats.
Step 5 – The X9331 channel swap
There's one last thing you can do to really improve the performance of your rear speakers and that's switching the channels on the X9331 connector. For some reason, Mini chose to wire the stock stereo to clip the bass signal going to the rear speakers. Because of this, there is a major bass drop-off on the rear speaker channel, even though the larger rear speakers are better at producing bass frequencies. It is a simple matter involving just a few wires to switch the channels so the front channel gets the drop-off instead.
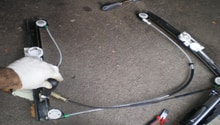
Pull out the left panel under the driver's side dash and look for the white connector. Unclip the connector and pull the wires apart. You'll need a pin removal tool to separate the pins from the connector. Pull out the front negative speaker wire pins and switch them with the rear negative speaker wires. Likewise, pull out the front positive speaker wires and switch them with the rear positive wires. Then place the respective front speaker wire pins back in the rear speaker holes.
Now what used to be the front channel is directed to the rear speakers. Remember to adjust the fader on the head unit.
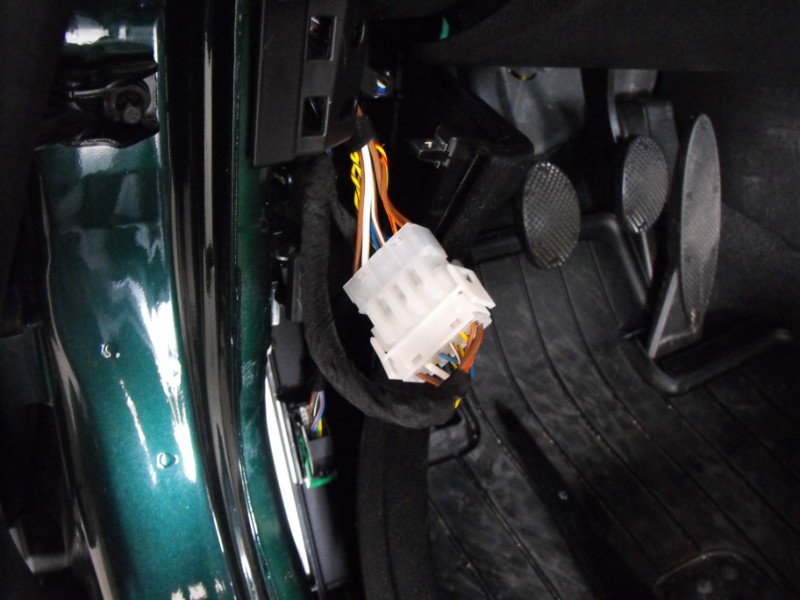
Figure 17. Locate the X9331 connector in the driver side kick panel. 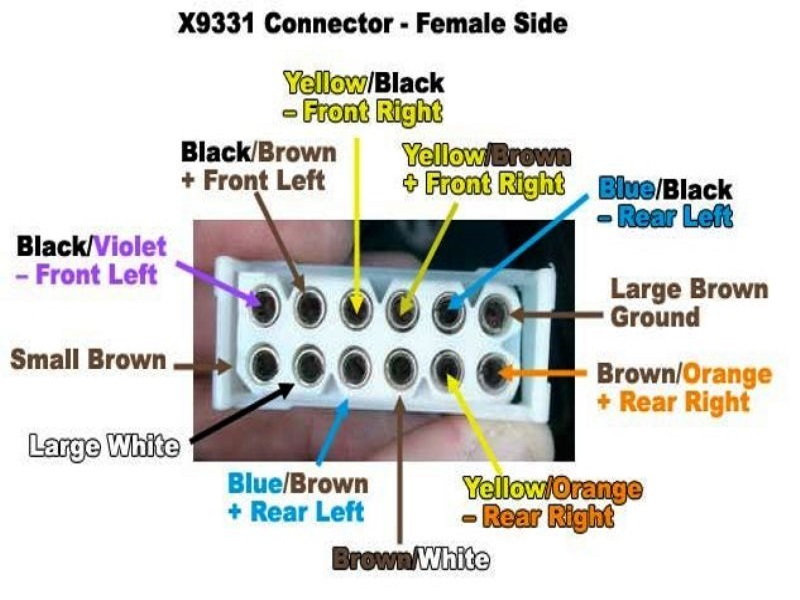
Figure 18. Swap the front speaker wires with the back speaker wires.
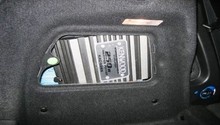
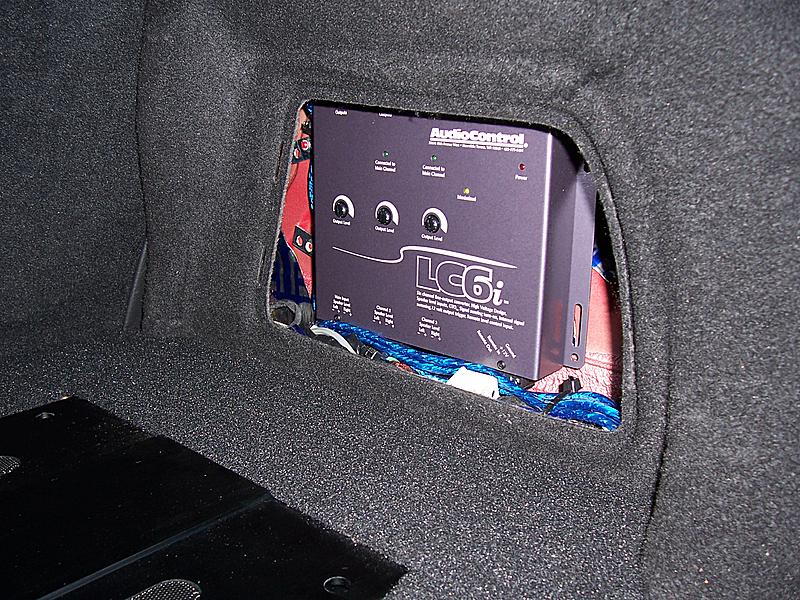
Step 6 – Install an amplifier
You can go even further with this setup by adding an amplifier. There is a space behind the left trunk panel for fitting an amplifier, where the factory puts one on cars with upgraded audio systems. The amp will need to be powered directly from the battery, but there should be a good grounding point in the trunk. Make sure to pass the signal wires to the amplifier away from where you run the power wire, otherwise you'll start hearing engine noise interference from the amplifier.
Related Discussions
- R56 Speaker Replacement How-To - NorthAmericanMotoring.com
- NOOB Mini BOOST Stereo Sucks, Need Help - NorthAmericanMotoring.com
- R56 Sound System Upgrade - NorthAmericanMotoring.com
- Audio/Navigation :: Front/Rear Channel Swap - NorthAmericanMotoring.com
- Subwoofer & Amp DIY? - NorthAmericanMotoring.com
- Upgrading the non-Hi-Fi System - The DIY Way - NorthAmericanMotoring.com