Mini Cooper 2007-2013: How to Replace Power Window Motor
If your window doesn't move up or down, then there's probably something wrong with the window motor. This article will show you how to replace this component.
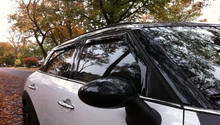
This article applies to the Mini Cooper (2007-2013).
Power windows are a standard convenience in the modern car. Unfortunately, the part that powers the window also has a tendency to break. It can be frustrating and uncomfortable to not have working windows. Replacing the power window motor is not as difficult as you'd think, and you won't have to spend the extra money the dealership asks for either. Keep reading to learn more.

Materials Needed
- Replacement window motor
- T20, T30 Torx screwdriver
- Phillips screwdriver
- Small flat head screwdriver
- Plastic trim tool
Before you start working on the door panel, disconnect the battery.
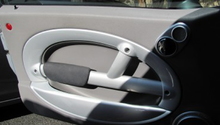
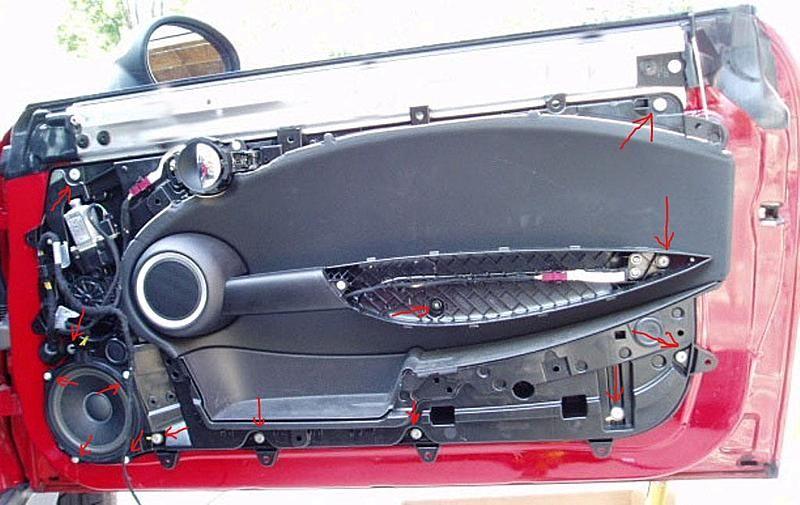
Step 1 – Remove the door panel
- Start with the trim around the door handle by popping out the pin at the bottom of the trim, then prying it off the door panel.
- Next, remove the armrest. It can be pulled off by gripping the top and inner side with your hands.
- Remove the four screws behind the armrest.
- Underneath the door panel, pry out the puddle light with a small flat head screwdriver and unplug the light fixture.
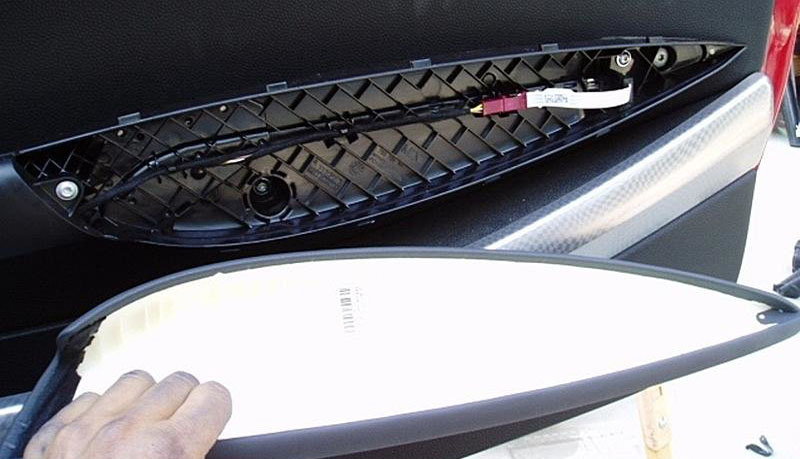
Figure 2. Remove the armrest and the screws behind the armrest. 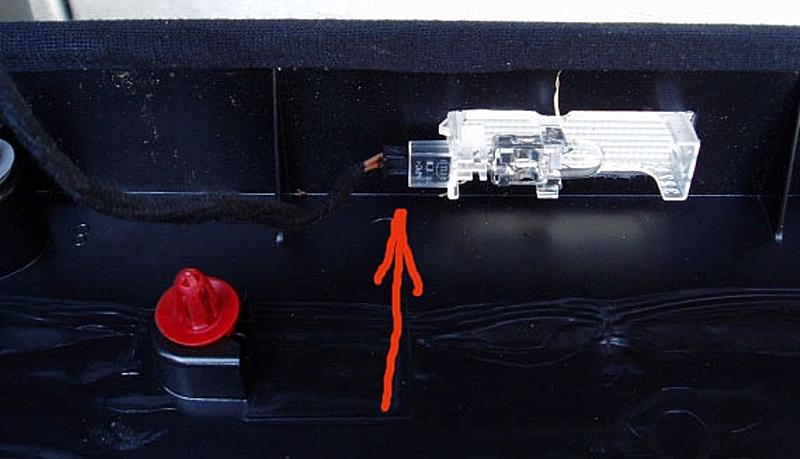
Figure 3. Remove the puddle light from the bottom of the door panel.
- Now you're ready to remove the outer part of the door panel that looks like a C.
- Work your way up from the bottom, disconnecting the clips inside the door panel, then pull it up and over the door lock and set it aside.
- Don't forget to pry off the clips on the inside part of the C.

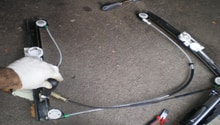
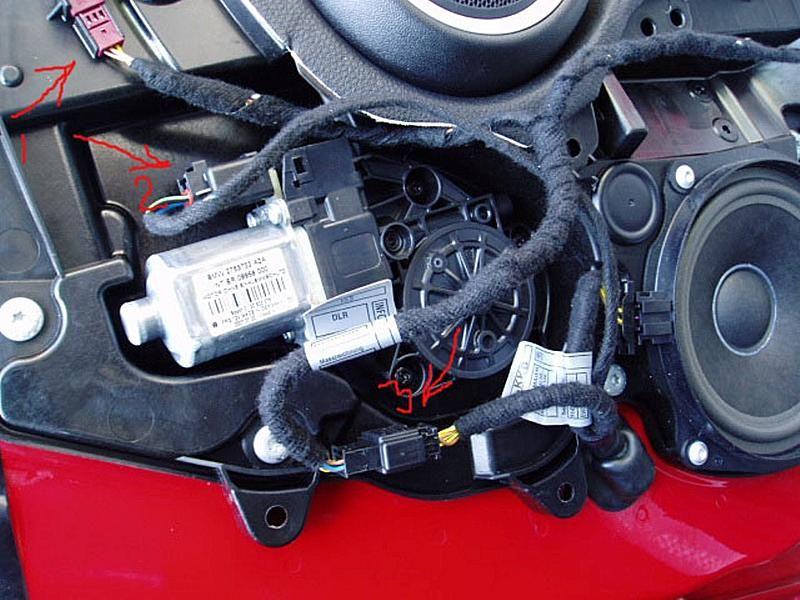
Step 2 – Remove the window motor
You should now be able to see the little black and grey window motor near the top of your door frame. Removal of the motor is really simple.
- First, disconnect the electrical connector for the motor.
- Remove the four Torx screws around the bottom of the motor. Then just pull it straight off the door frame.
Step 3 – Install new window motor
- Insert the new window motor to the door frame.
- Fasten down the four Torx screws to the motor and reconnect the electrical connector.
- Reconnect the battery and test the windows to make sure it works.
- Press on the door panel. The clips should snap back on.
- Reconnect the puddle light and insert it into the door panel.
- Fasten down the Torx screws behind the armrest then return the armrest.
- Return the door handle trim and pin, then reconnect the battery.
Related Discussion and Site
- Interior/Exterior: How to Remove Door Panels - NorthAmericanMotoring.com
- Front Window Regulator Replacement - PelicanParts.com