When you click on links to various merchants on this site and make a purchase, this can result in this site earning a commission. Affiliate programs and affiliations include, but are not limited to, the eBay Partner Network.
Left tail light upper brake light not working. Bulb fine.
Stock Problems/IssuesDiscussions related to warranty related issues and repairs, or other problems with the OEM parts and software for MINI Clubman (R55), Cooper and Cooper S(R56), and Cabrio (R57).
Left tail light upper brake light not working. Bulb fine.
Left tail light upper brake light not working. Bulb fine.
Hi guys. I�m having issues with my 2011 MCS brake light. I pulled it out with some difficulty and managed to replace bulb back there with another 7506 bulb and put it back in but it still didn�t work. Where should I go from here? I assume fuses but I had all the fuses checked not too long ago and they were fine. Which fuse is responsible for that light? And if the fuse is fine, where should I go from there? Thank you!
On my 2011, the prong rotted out then it overheated and melted the plastic around the prong. Had to replace the whole housing. Which side is bad on yours (passenger or driver side)? I may have a spare housing you can have. If I could read, I could see that it is the left one. I think that is the same one I had a problem with. I got my replacement off the NAM marketplace. Just make sure you get one for a 2011 or later MINI. The earlier models won’t fit.
Last edited by Eddie07S; Mar 5, 2019 at 07:02 AM.
Reason: correction
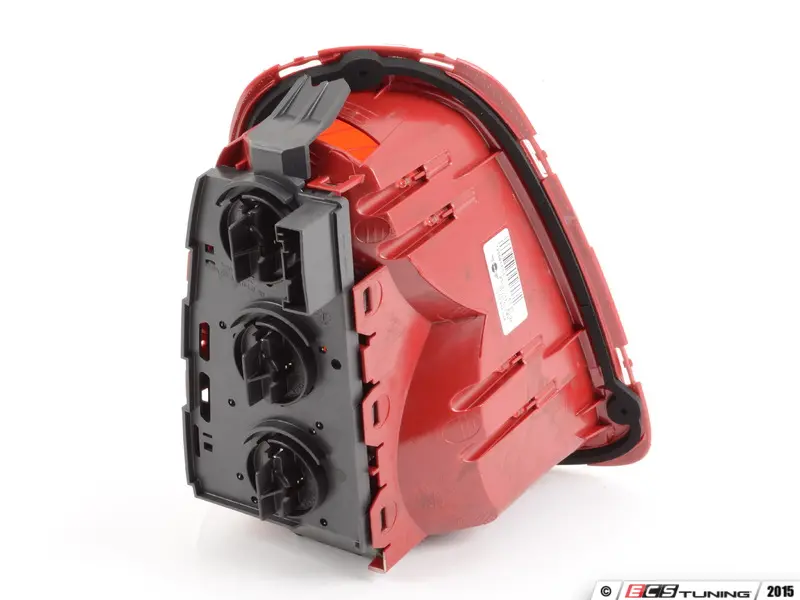
So I�m thinking I should try to switch the holder for right and left side. If then the left side works but right side doesn�t, then the holder is probably at fault. If it still doesn�t work then it might be the lens housing? In the link below would #10 be the lens housing and the contacts be the top part of it?
i didn�t actually pull out the light, just reached around through the trunk so I didn�t get a good look at the inside of the housing
Had this happen on my Mini as well. The plastic had melted on the bulb holder and got all over the board as well, making it hard for the housing and board to get a solid contact. A tell tale sign that there is/was melting is that the bulb socket is VERY hard to remove from the board/housing.
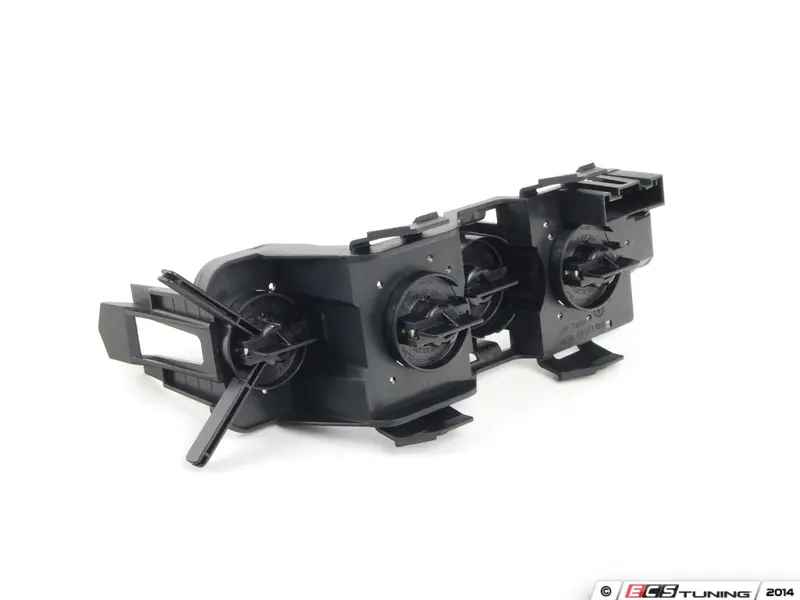
What I did to fix this was remove the entire board from the housing/lens assembly (which is very easy, it just clips into place). Then I removed the bulb holder. I used an exacto knife and some small files to clean up all the melted plastic from the contacts on the board and the bulb holder. I made sure the contacts on the bulb holder were able to make solid contact with the board afterwards. Then just reassemble everything and reinstall. Whole thing takes about 20 minutes - just be careful and diligent about removing the melted plastic.
Yesss I got it working. Thanks so much for everyone�s help. It was pretty melted and stuff. In the long run I guess I�ll have to fix it or replace it but for now I just set the bulb in a way that the metal prongs touched a non burnt area and but the housing back together. Getting the chrome taillight trim out and in ended up breaking a few of those red things that hold the tabs of the trim in. Who the hell designed that? It�s still holding the trim okay for now but is a bit loose. Any suggestions for this other than like double sided tape on the inside of the trim or replacing the whole thing? I appreciate all the help!
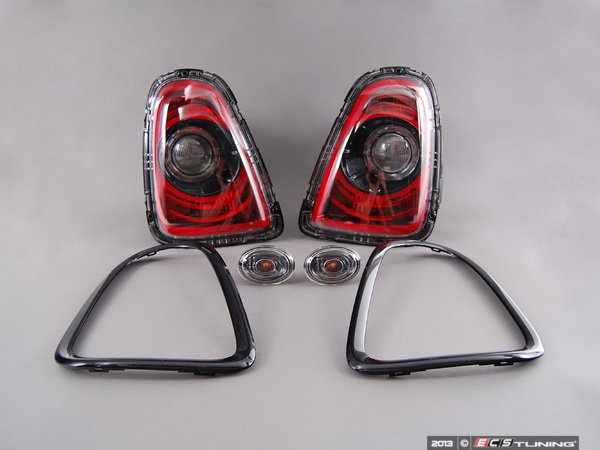
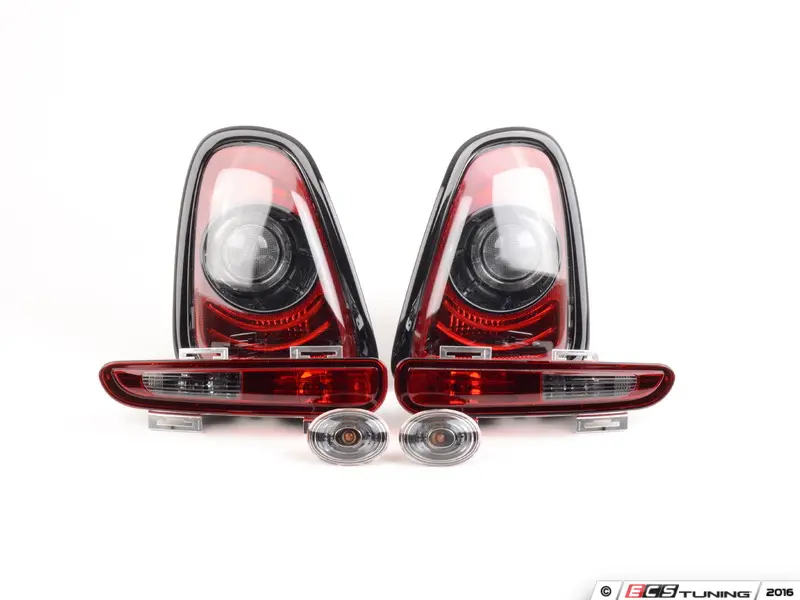
Great news, tape or if you can glue back the tabs otherwise you can upgrade the taillights to these black line versions, I am getting those soon: They are on huge sale with free shipping. 63212320381