
R59 Black Toffee


Thread Starter
|
6th Gear
Joined: Jul 2010
Posts: 1,476
Likes: 8
From: Chicago
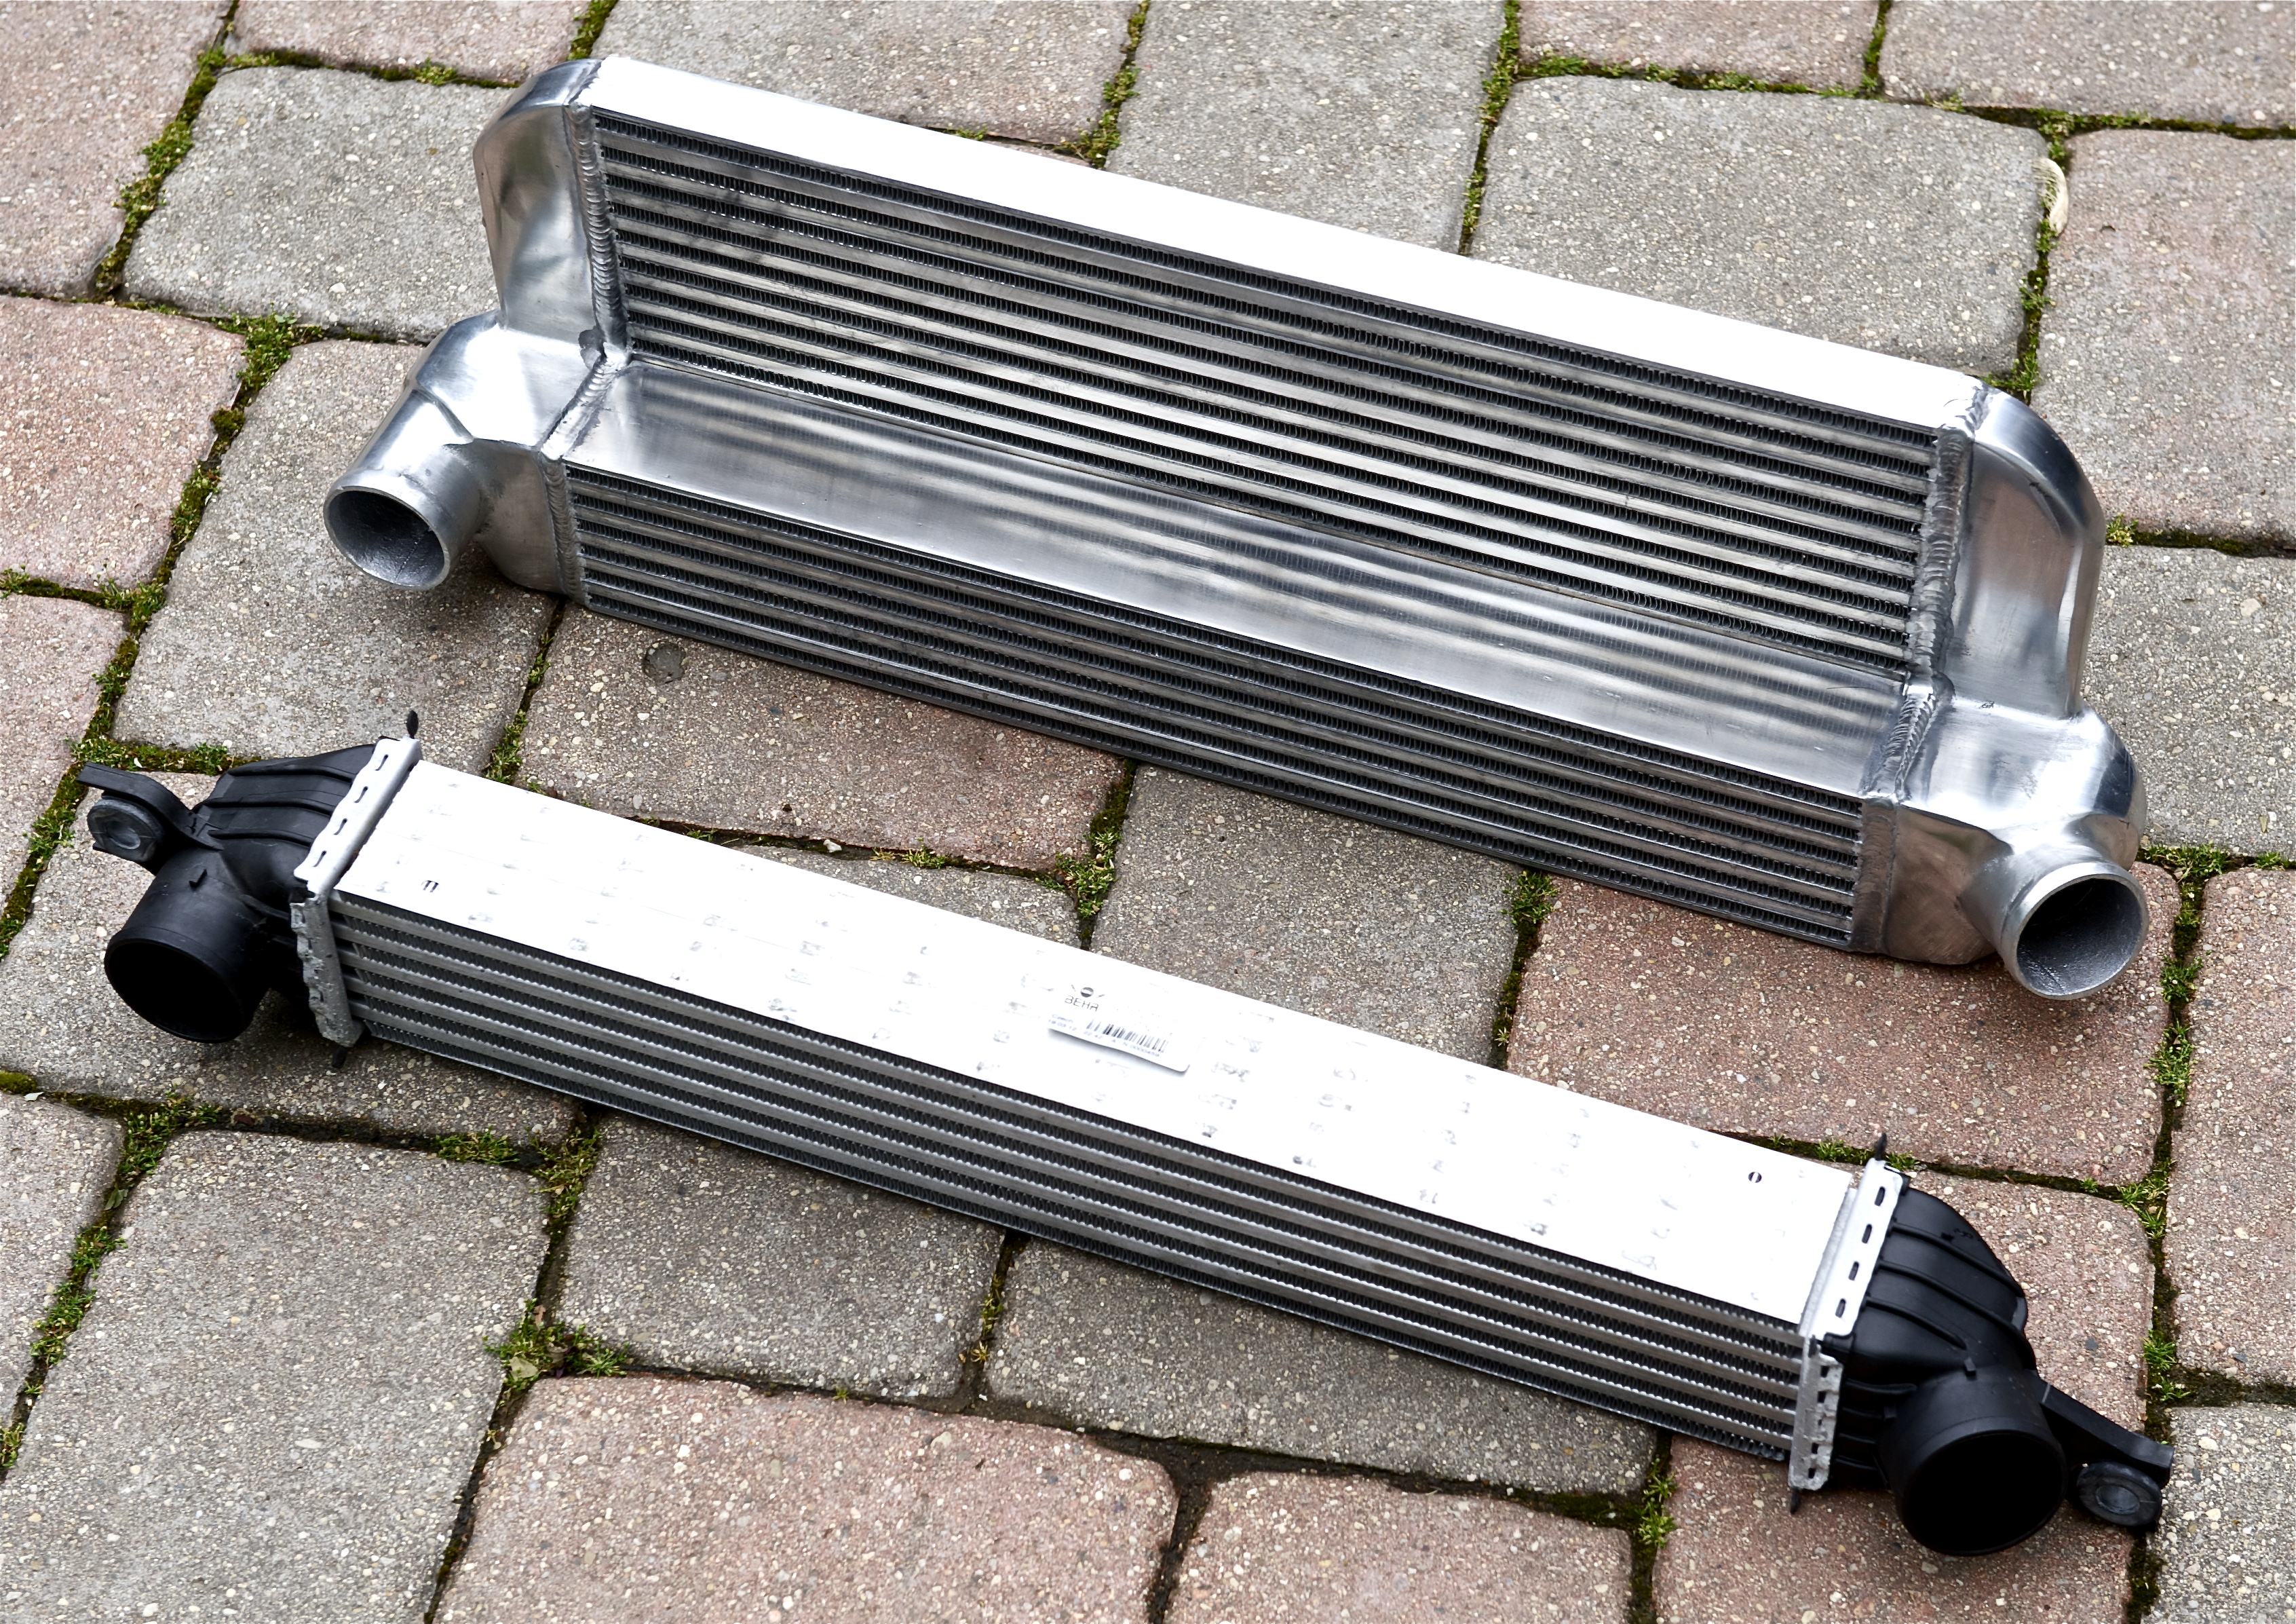
Helix FMIC
I got my FMIC installed today. This is the Helix Stepped Core Intercooler, really impressed with the quality. This is my first step in getting better flow through the turbo. Next will be NM Intake Air Charge/Discharge pipes. Installation was very straight forward, although I have to say, taking apart my brand new JCW felt a little weird at first

This will give you an idea of capacity difference of the Helix and stock IC.
Front end all off, ready to swap intercoolers.

Fit was perfect...
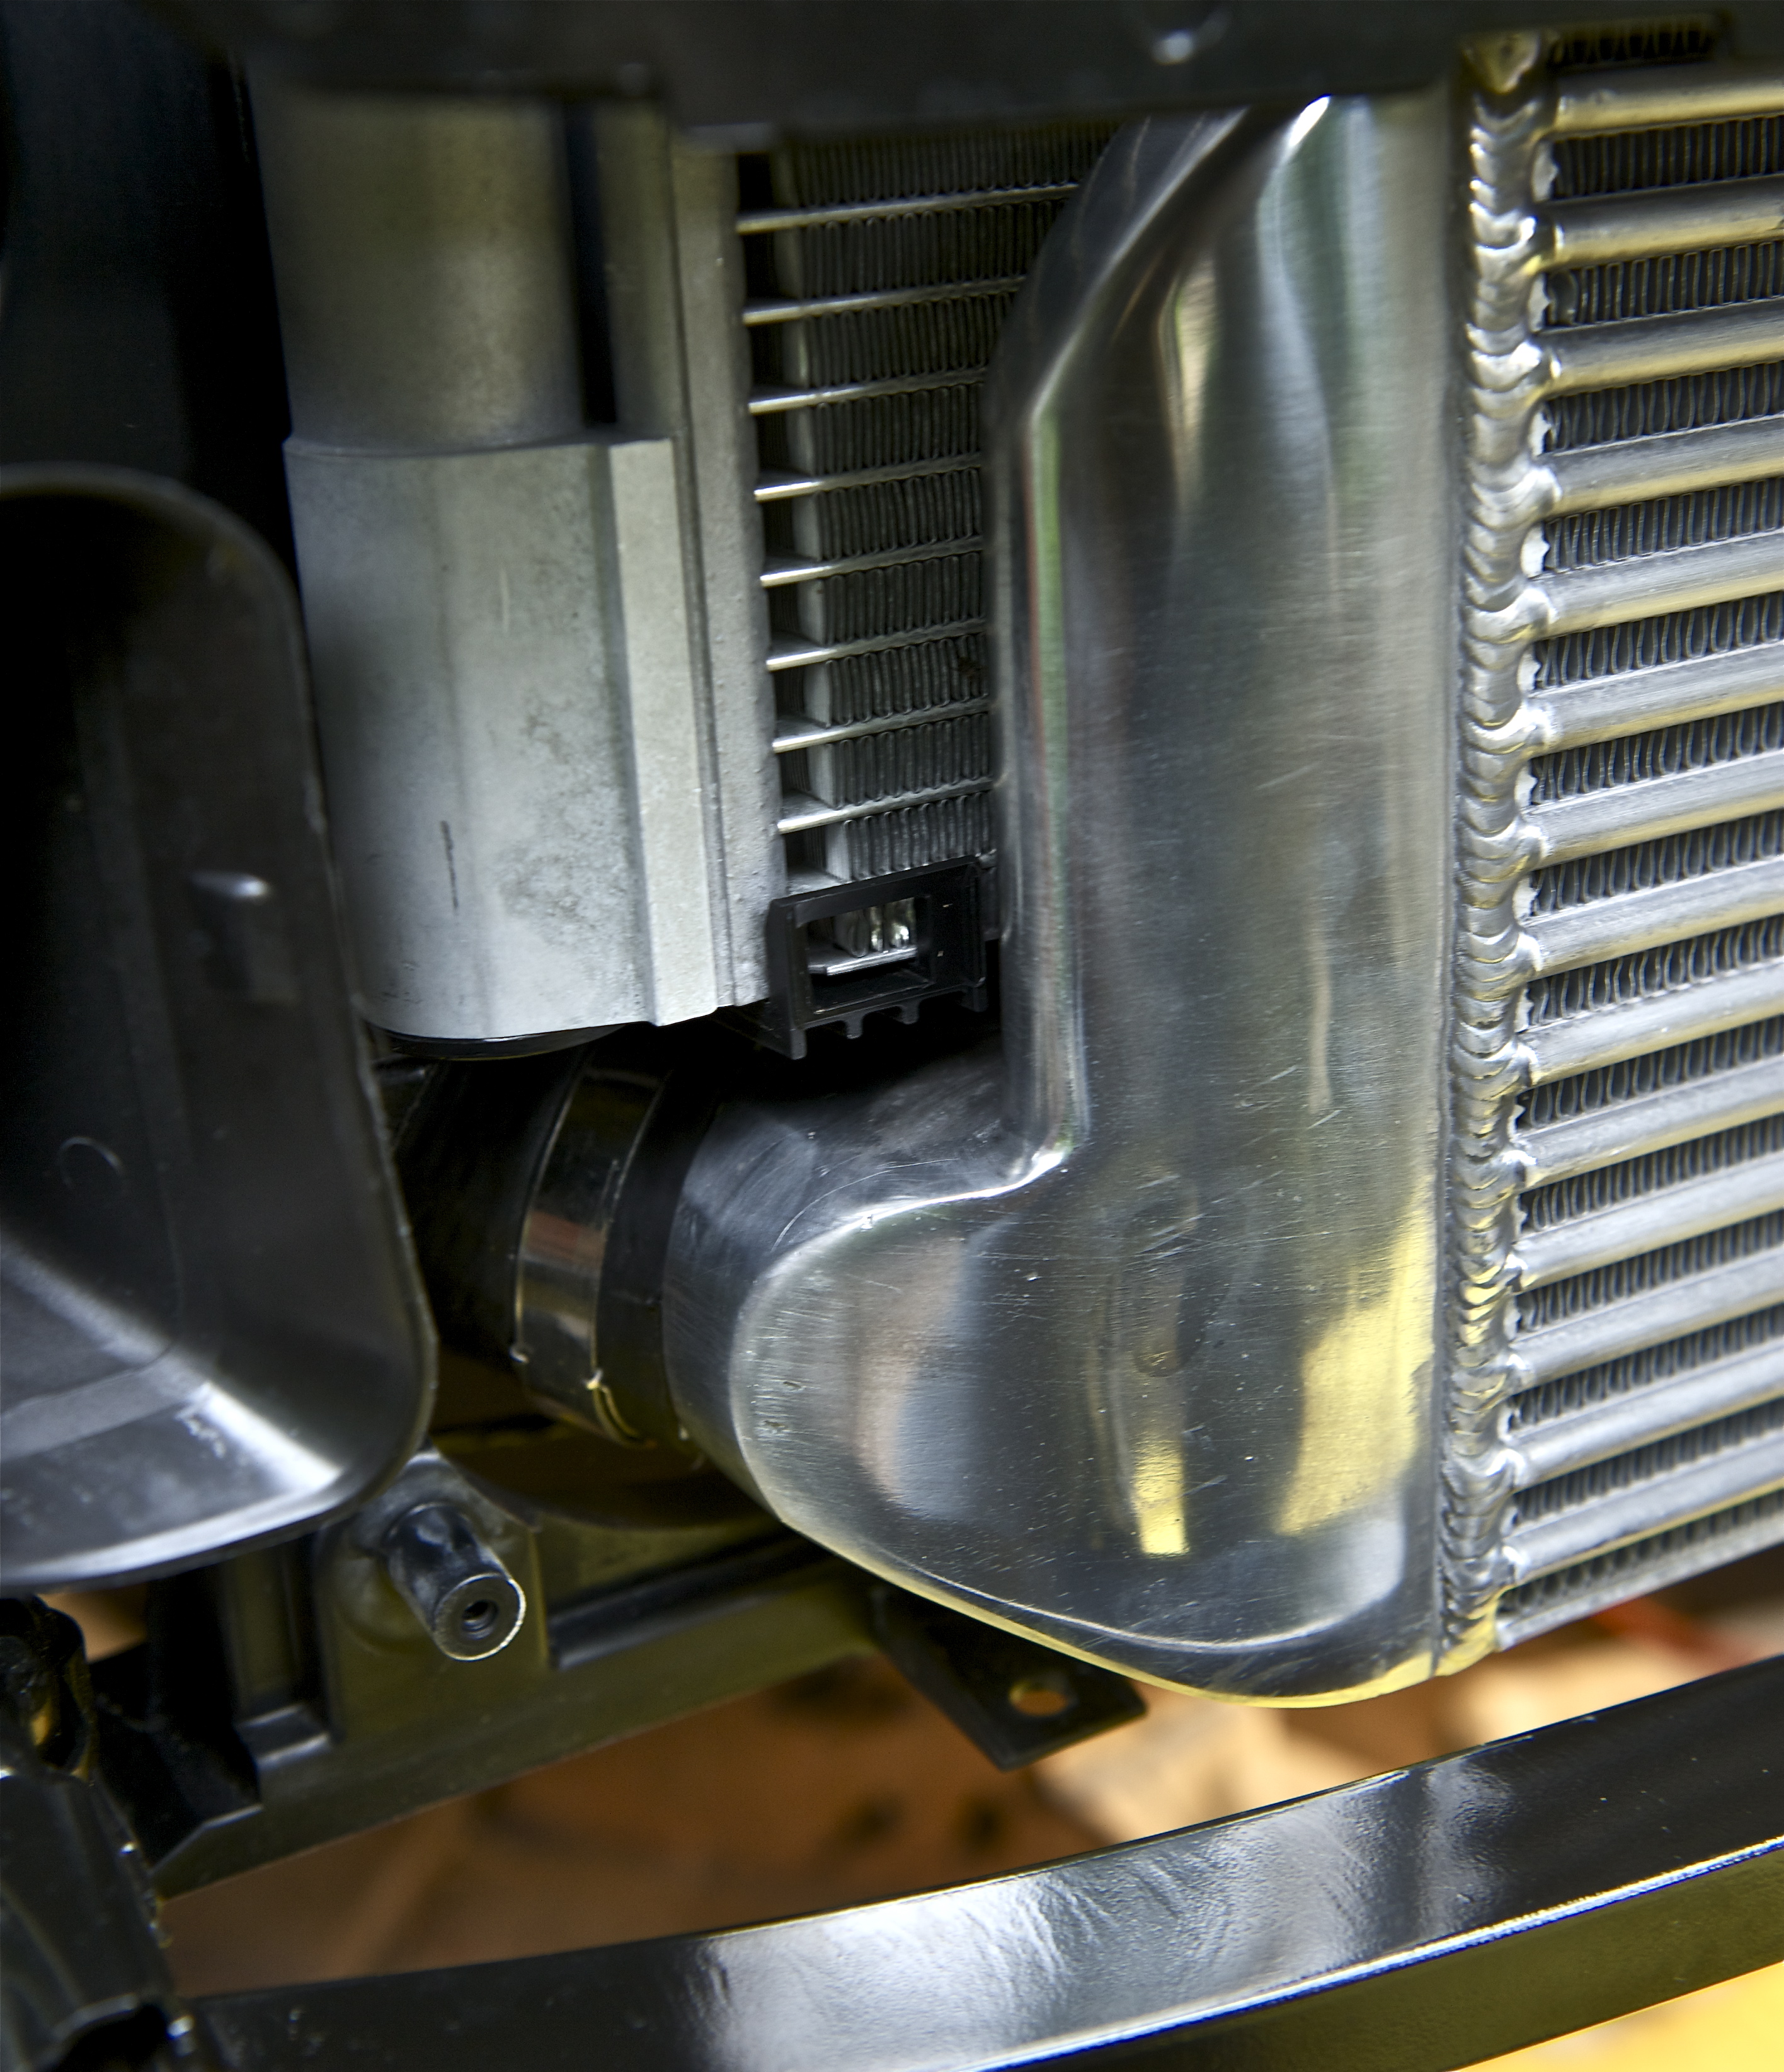

All buttoned up...
-Steven
This will give you an idea of capacity difference of the Helix and stock IC.
Front end all off, ready to swap intercoolers.
Fit was perfect...
All buttoned up...
-Steven
Thread Starter
|
6th Gear
Joined: Jul 2010
Posts: 1,476
Likes: 8
From: Chicago
Hi Mark-
I don't notice any gains yet, as this is really to work with the Air Charge/Discharge pipes. Once I have those installed, there should be an appreciable performance gain. I've been told I should expect a nice low end torque gain. Then, I'll be flowing more, denser/cooler air through the turbo. Right now all I'm getting is no heat soak, a big plus, just nothing tangible driving on the street. Stay tuned
-Steven
4th Gear

Joined: Feb 2012
Posts: 558
Likes: 2
From: Middle TN
Unfortunately had to spend a couple of days at my sisters back road farm in pennsylvania. Peanut was covered dirt rain and mud. This was first time I ever washed my own vehicle. Followed steps you gave in posts 56
He's sparkling again. Never heard of a clay bar before but WOW.
Thanks for the info.
Although you should list a time frame warning LOL
5 hours well spent! So what if I was still buffing out jet 109 when dinner guests arrived.
He's sparkling again. Never heard of a clay bar before but WOW.
Thanks for the info.
Although you should list a time frame warning LOL
5 hours well spent! So what if I was still buffing out jet 109 when dinner guests arrived.
Thread Starter
|
6th Gear
Joined: Jul 2010
Posts: 1,476
Likes: 8
From: Chicago
Unfortunately had to spend a couple of days at my sisters back road farm in pennsylvania. Peanut was covered dirt rain and mud. This was first time I ever washed my own vehicle. Followed steps you gave in posts 56
He's sparkling again. Never heard of a clay bar before but WOW.
Thanks for the info.
Although you should list a time frame warning LOL
5 hours well spent! So what if I was still buffing out jet 109 when dinner guests arrived.
He's sparkling again. Never heard of a clay bar before but WOW.
Thanks for the info.
Although you should list a time frame warning LOL
5 hours well spent! So what if I was still buffing out jet 109 when dinner guests arrived.

-Steven


Thread Starter
|
6th Gear
Joined: Jul 2010
Posts: 1,476
Likes: 8
From: Chicago
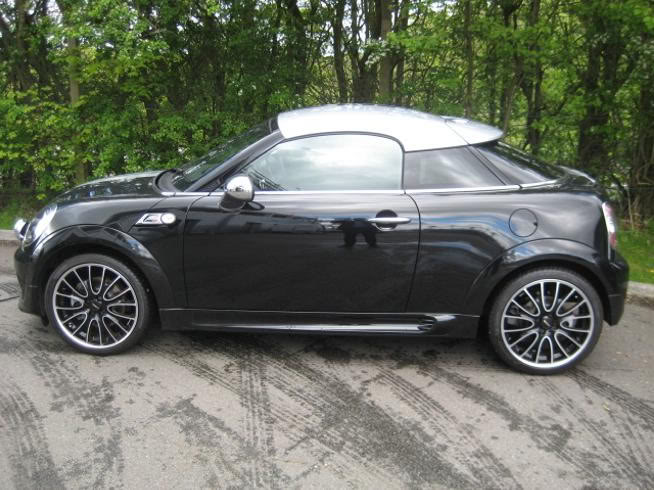
NM Alpha Springs/19mm H-Sport
Last week I got the NM springs installed. I had read good reports on them, and really like the quality of the NM products. These lower the Mini 1.20" and ride very similar to the stock springs. I have these paired with my stock "sport" shocks I ordered the car with. They work well together. I have also noticed that the mid-corner bumps that would send the stock "sport suspension" setup skipping across the bump, is now gone. These must be more compliant, as they allow the tires to track better through the rough stuff. I also installed shorter bump stops, which I sourced from WMW. The 19mm Sway Bar helps the Roadster rotate better and is very neutral setup. I'm currently running it on the middle setting. Here's a look at the install...

Nice finish on these

Front comparo
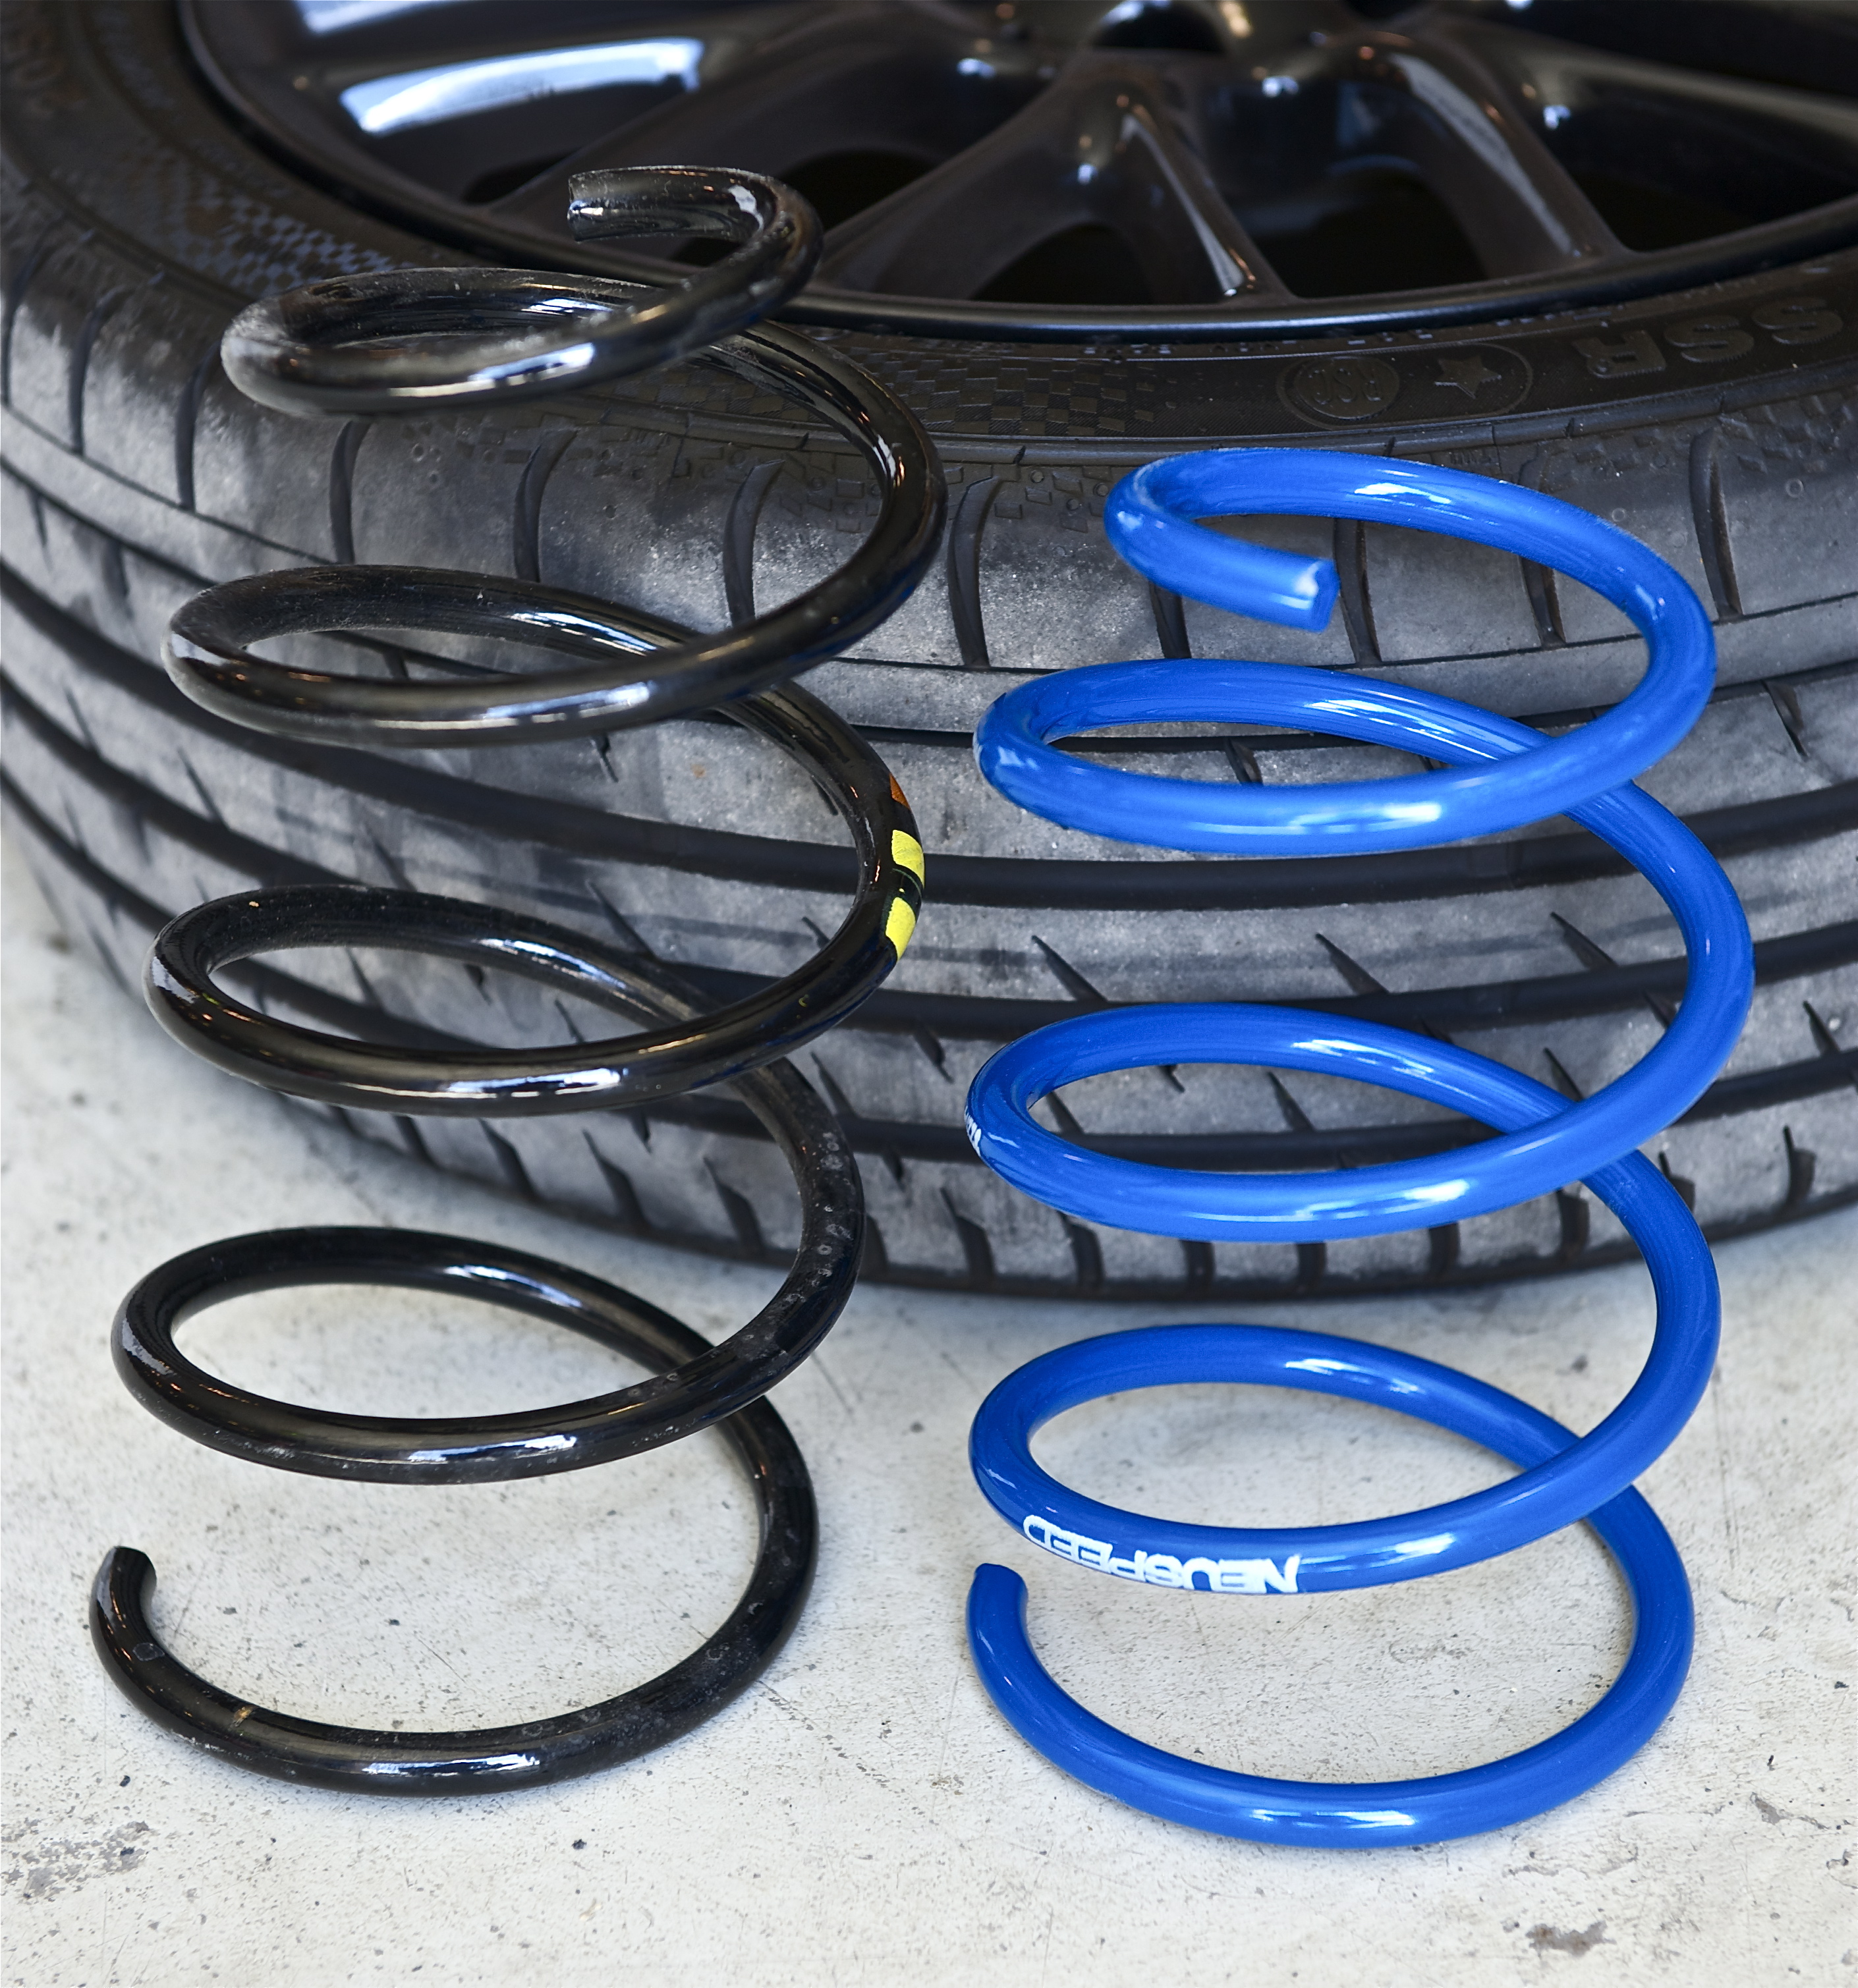
Rear comparo


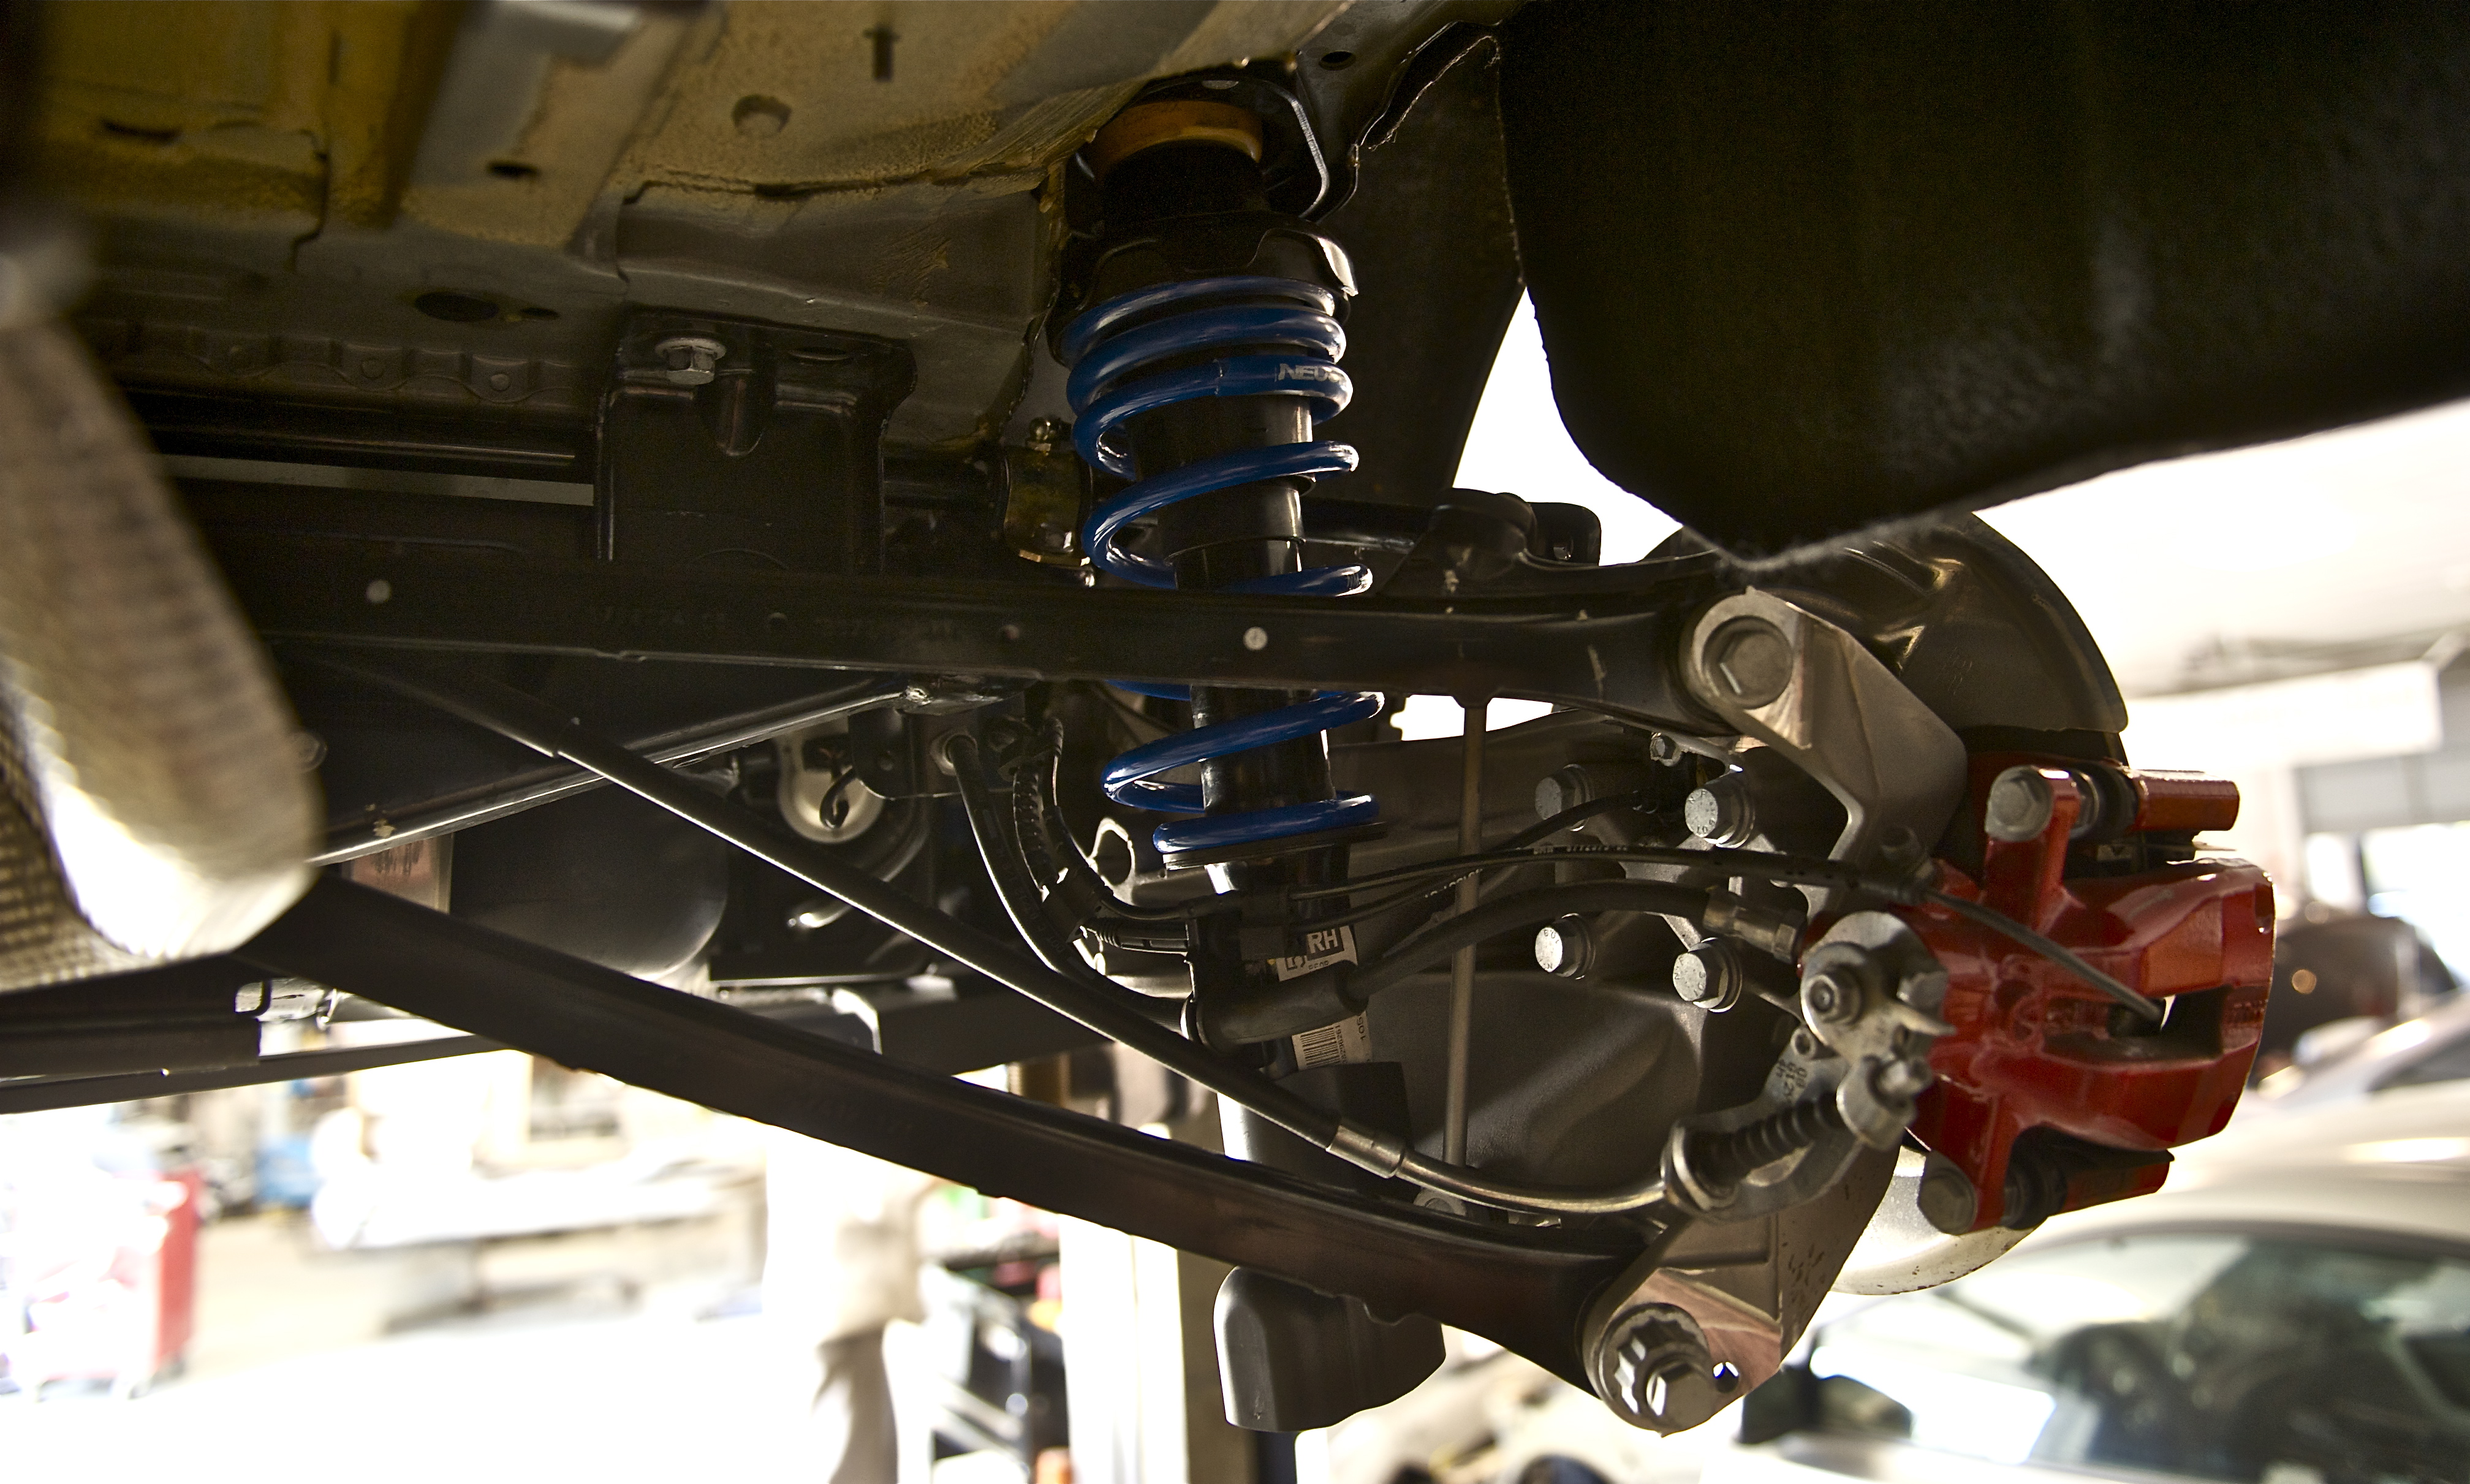

While we had it on the lift, installed the NM Torque Arm Inserts. These perform great, eliminating torque steer, and providing crisper shifts.

Cross bracing is impressive...

I used NM "performance specs" for the alignment
Front Toe 0.10�
Rear - Camber 1.75� to -2.00� Toe 0.20� (toe in)

-Steven
Nice finish on these
Front comparo
Rear comparo
While we had it on the lift, installed the NM Torque Arm Inserts. These perform great, eliminating torque steer, and providing crisper shifts.
Cross bracing is impressive...
I used NM "performance specs" for the alignment
Front Toe 0.10�
Rear - Camber 1.75� to -2.00� Toe 0.20� (toe in)
-Steven

2nd Gear
Joined: May 2012
Posts: 108
Likes: 1
From: Manassas, VA
 Very nice, yes I was looking at the underside of my Roadster the other day and noticed the cross-bracing; very impressive. I am guessing this is the standard bracing setup for the entire MINI line?
 Keep em coming...

Thread Starter
|
6th Gear
Joined: Jul 2010
Posts: 1,476
Likes: 8
From: Chicago
I plan on it, got a few more mods in the pipeline. I think the bracing is standard on all Roadsters.-Steven
Thread Starter
|
6th Gear
Joined: Jul 2010
Posts: 1,476
Likes: 8
From: Chicago
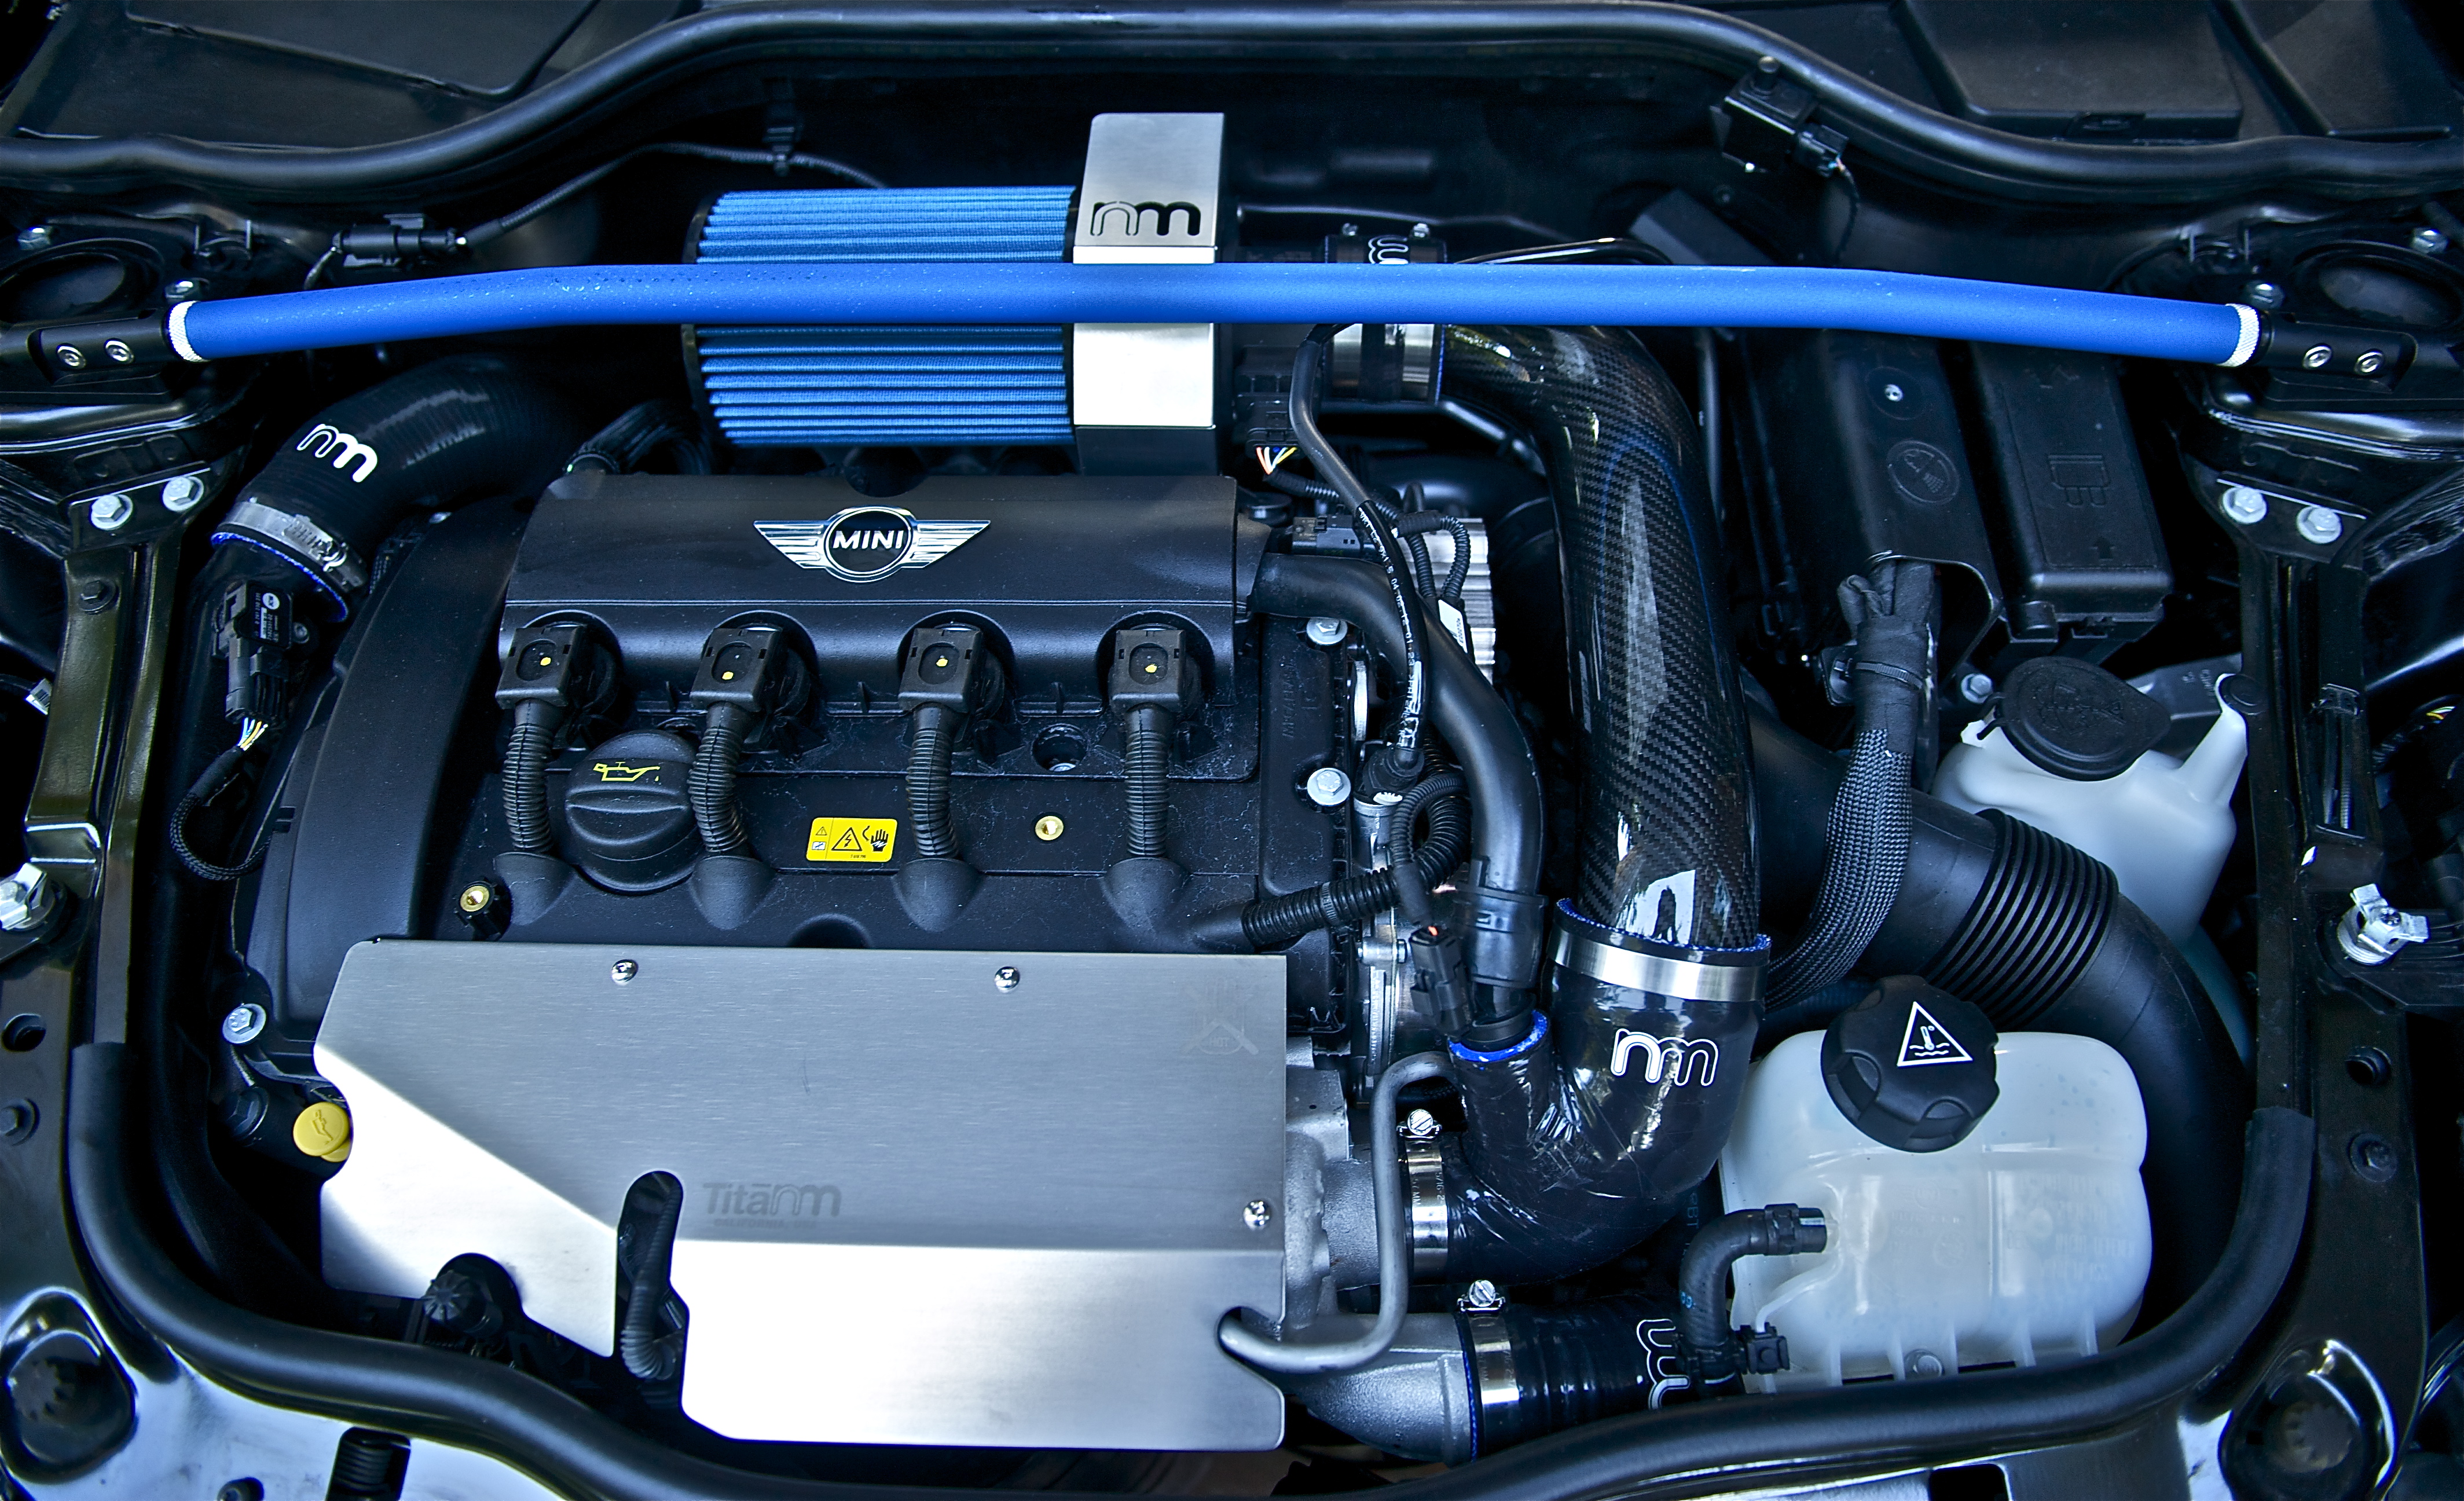
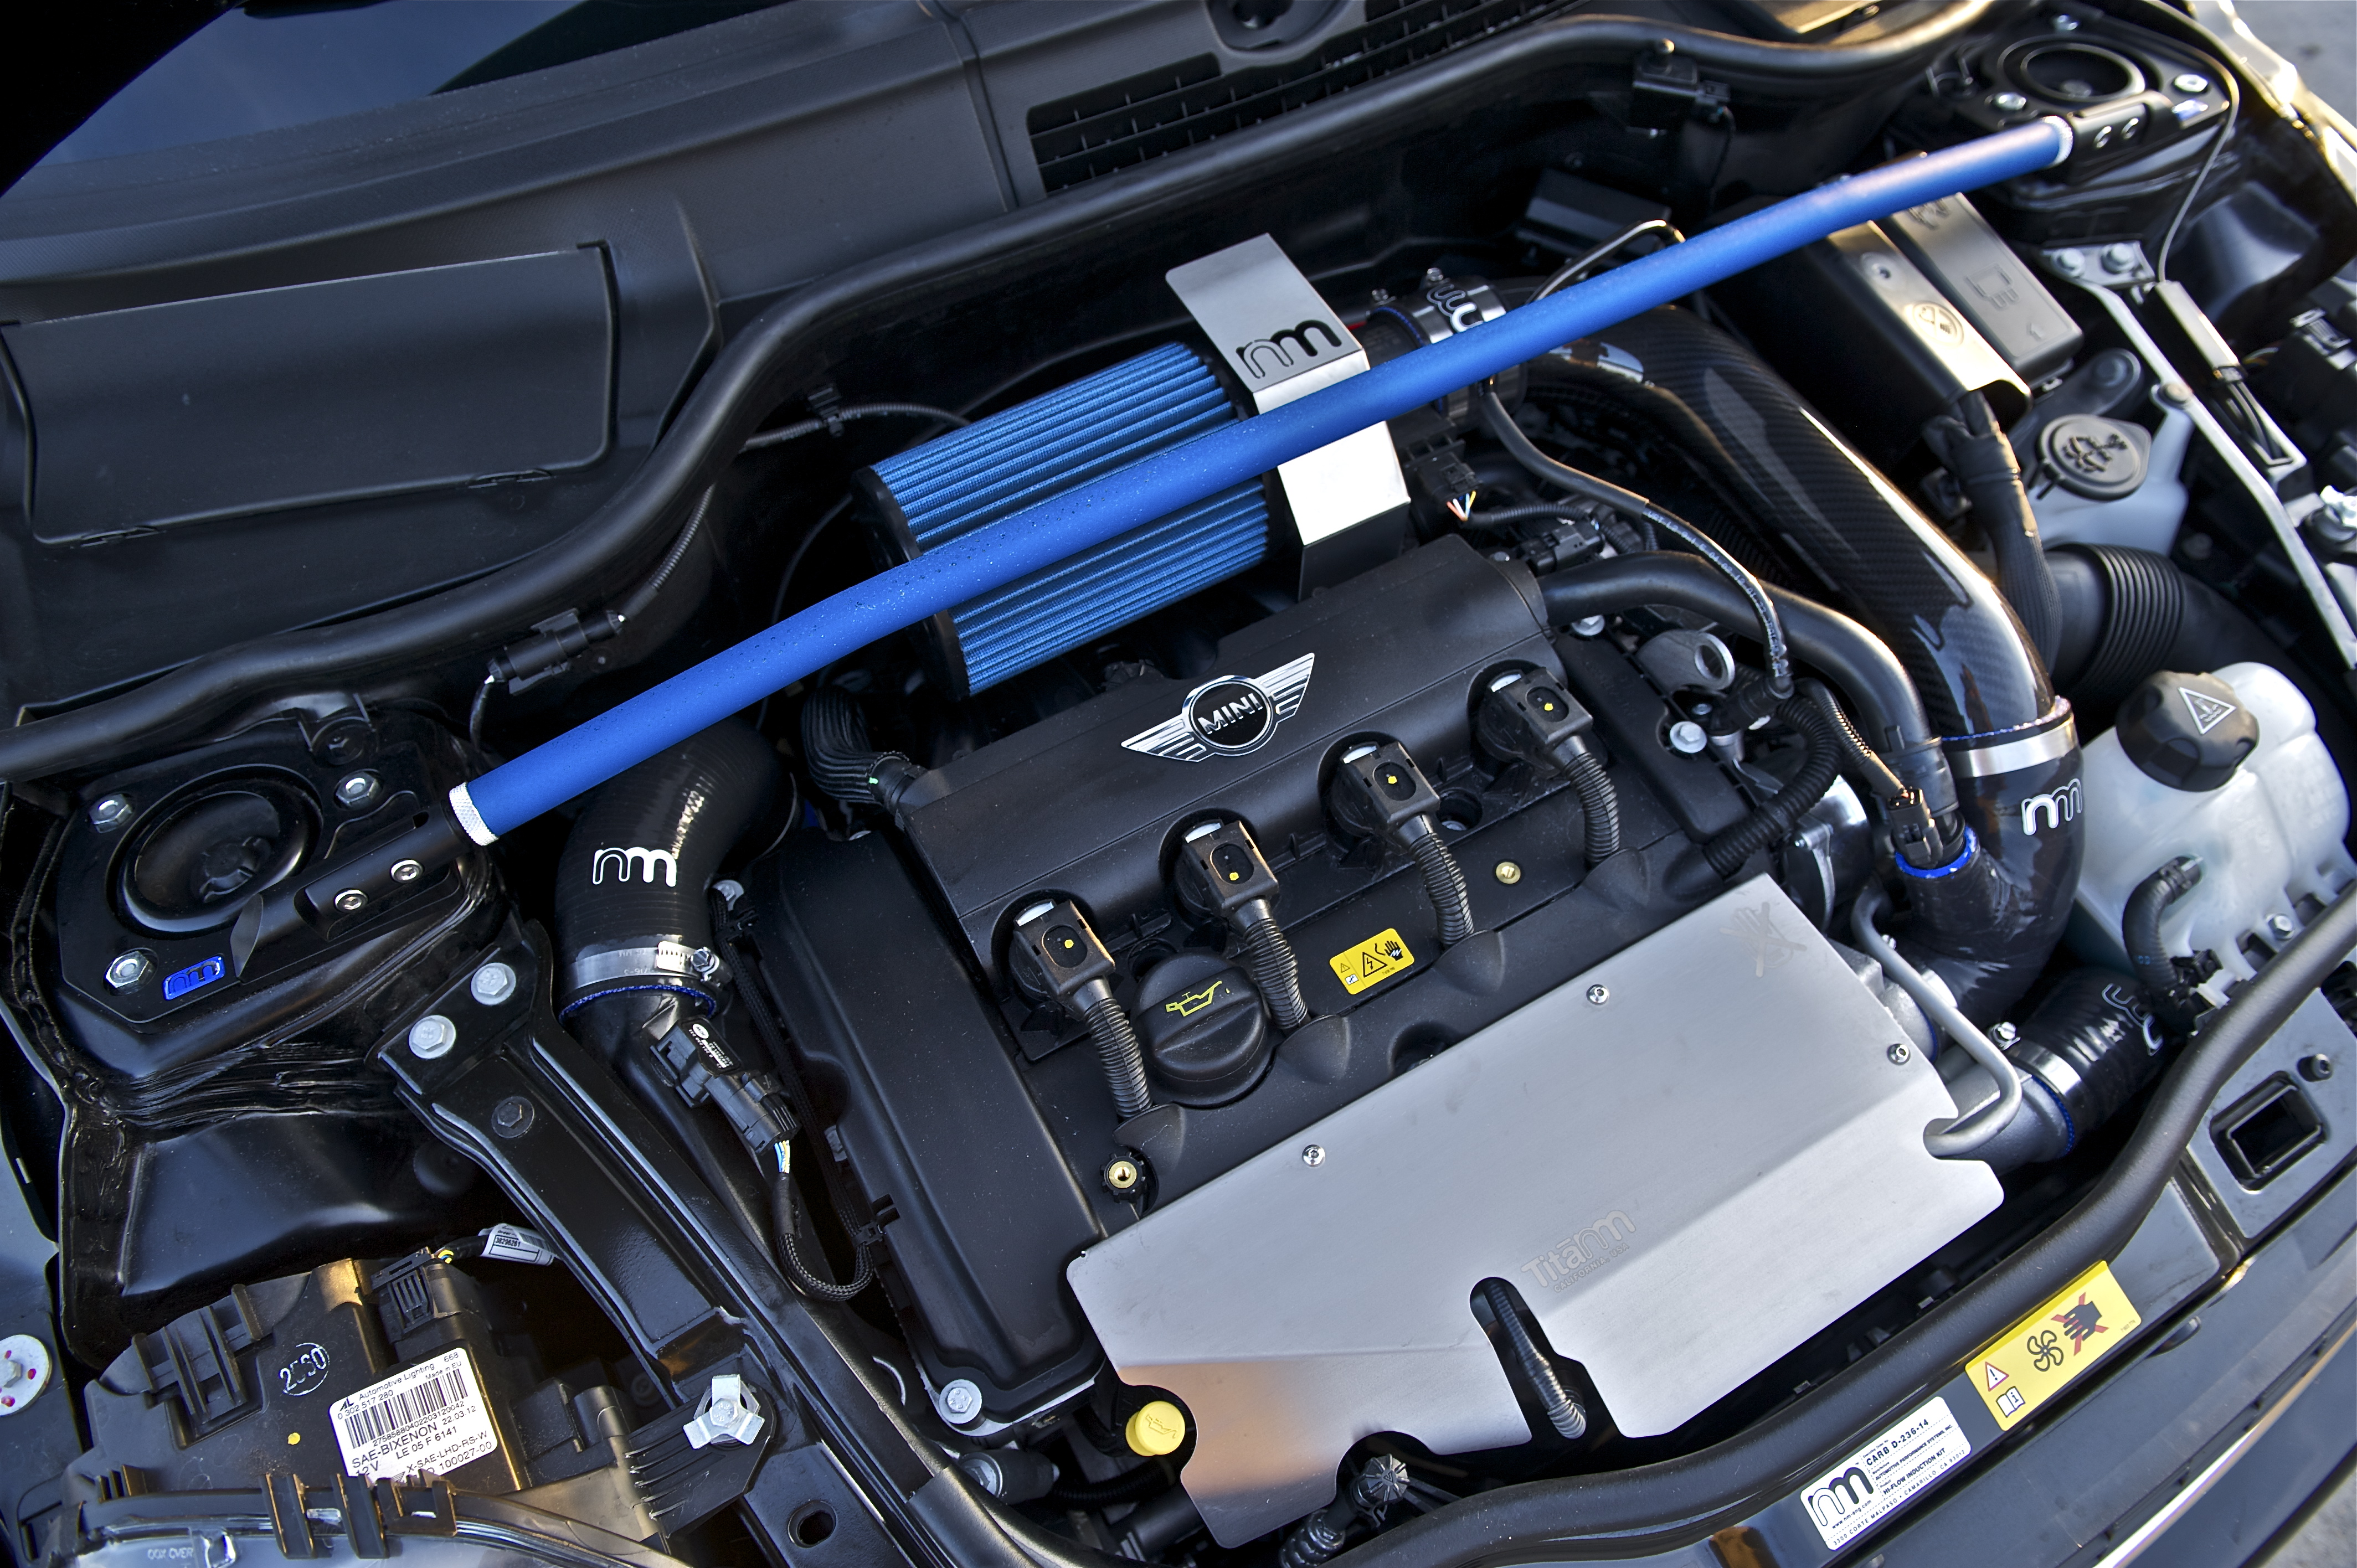
NM Plumbing
After getting the Helix FMIC installed, it was time to address the Air Charge/Discharge pipes.
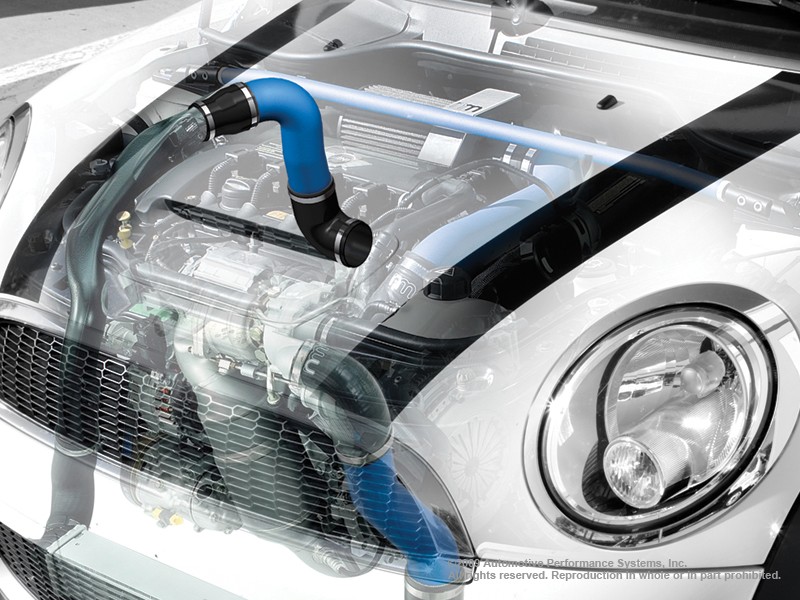
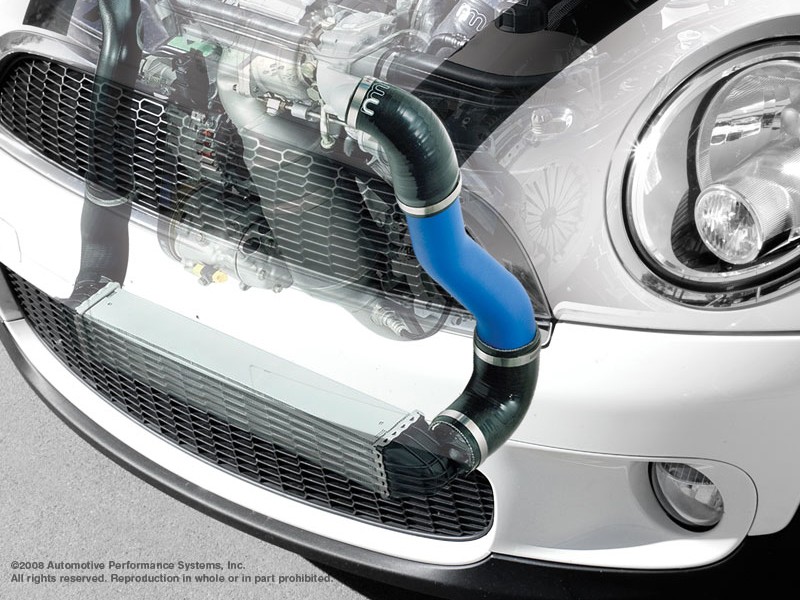
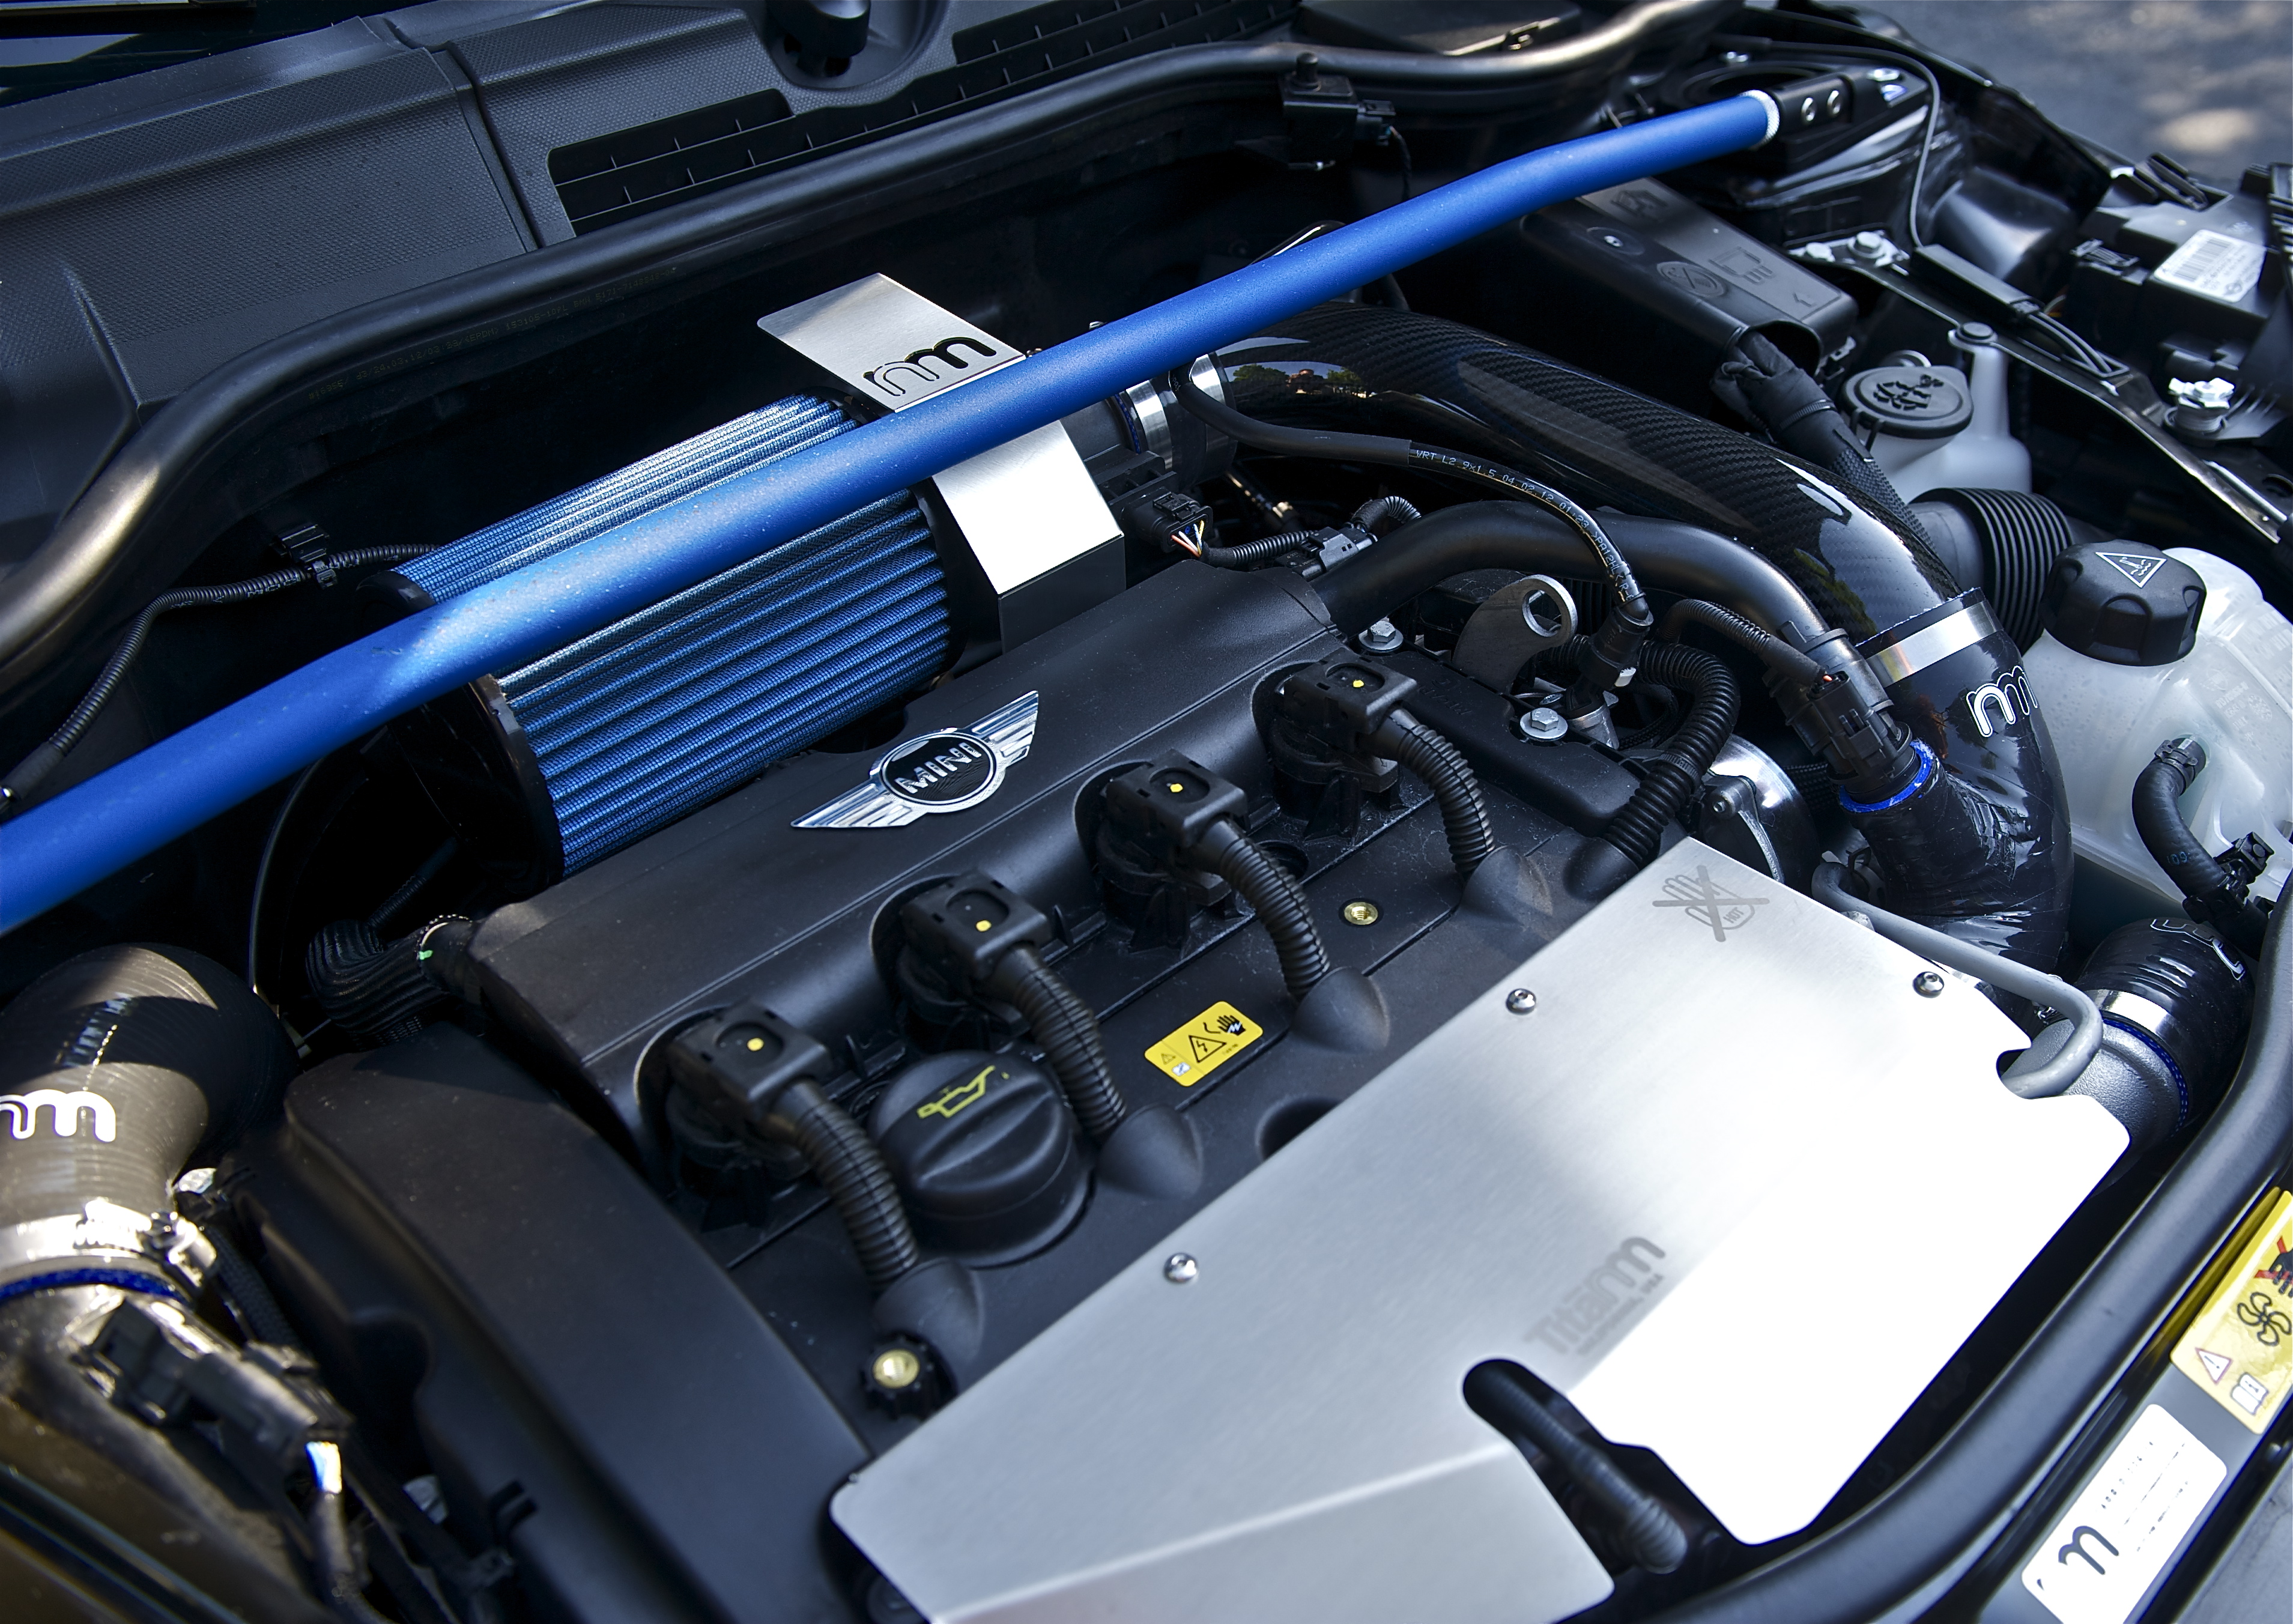
With those installed, I'm able to take advantage of the intercooler's increased capacity. As with all the NM products, the quality is really impressive. While I was at it, I also installed NM's Hi-Flow Induction Kit. I also used their Turbo Heat Shield. I figure these have all been developed together, and should work well at keeping the hot air moving down away from the intake. I also kept the factory air intake that pulls air from below the left front headlight. These upgrades have yielded a nice increase in throttle response, as the turbo spools up faster. The Roadster also feels like it's pulling harder. Another nice bonus is the sound...turbo whine, blow-off valve phisss. It's engaging and reminds me a little of the wonderful sounds my R52 used to put out

-Steven
With those installed, I'm able to take advantage of the intercooler's increased capacity. As with all the NM products, the quality is really impressive. While I was at it, I also installed NM's Hi-Flow Induction Kit. I also used their Turbo Heat Shield. I figure these have all been developed together, and should work well at keeping the hot air moving down away from the intake. I also kept the factory air intake that pulls air from below the left front headlight. These upgrades have yielded a nice increase in throttle response, as the turbo spools up faster. The Roadster also feels like it's pulling harder. Another nice bonus is the sound...turbo whine, blow-off valve phisss. It's engaging and reminds me a little of the wonderful sounds my R52 used to put out
-Steven

5th Gear
Joined: Jun 2005
Posts: 828
Likes: 1
From: Jax, FL
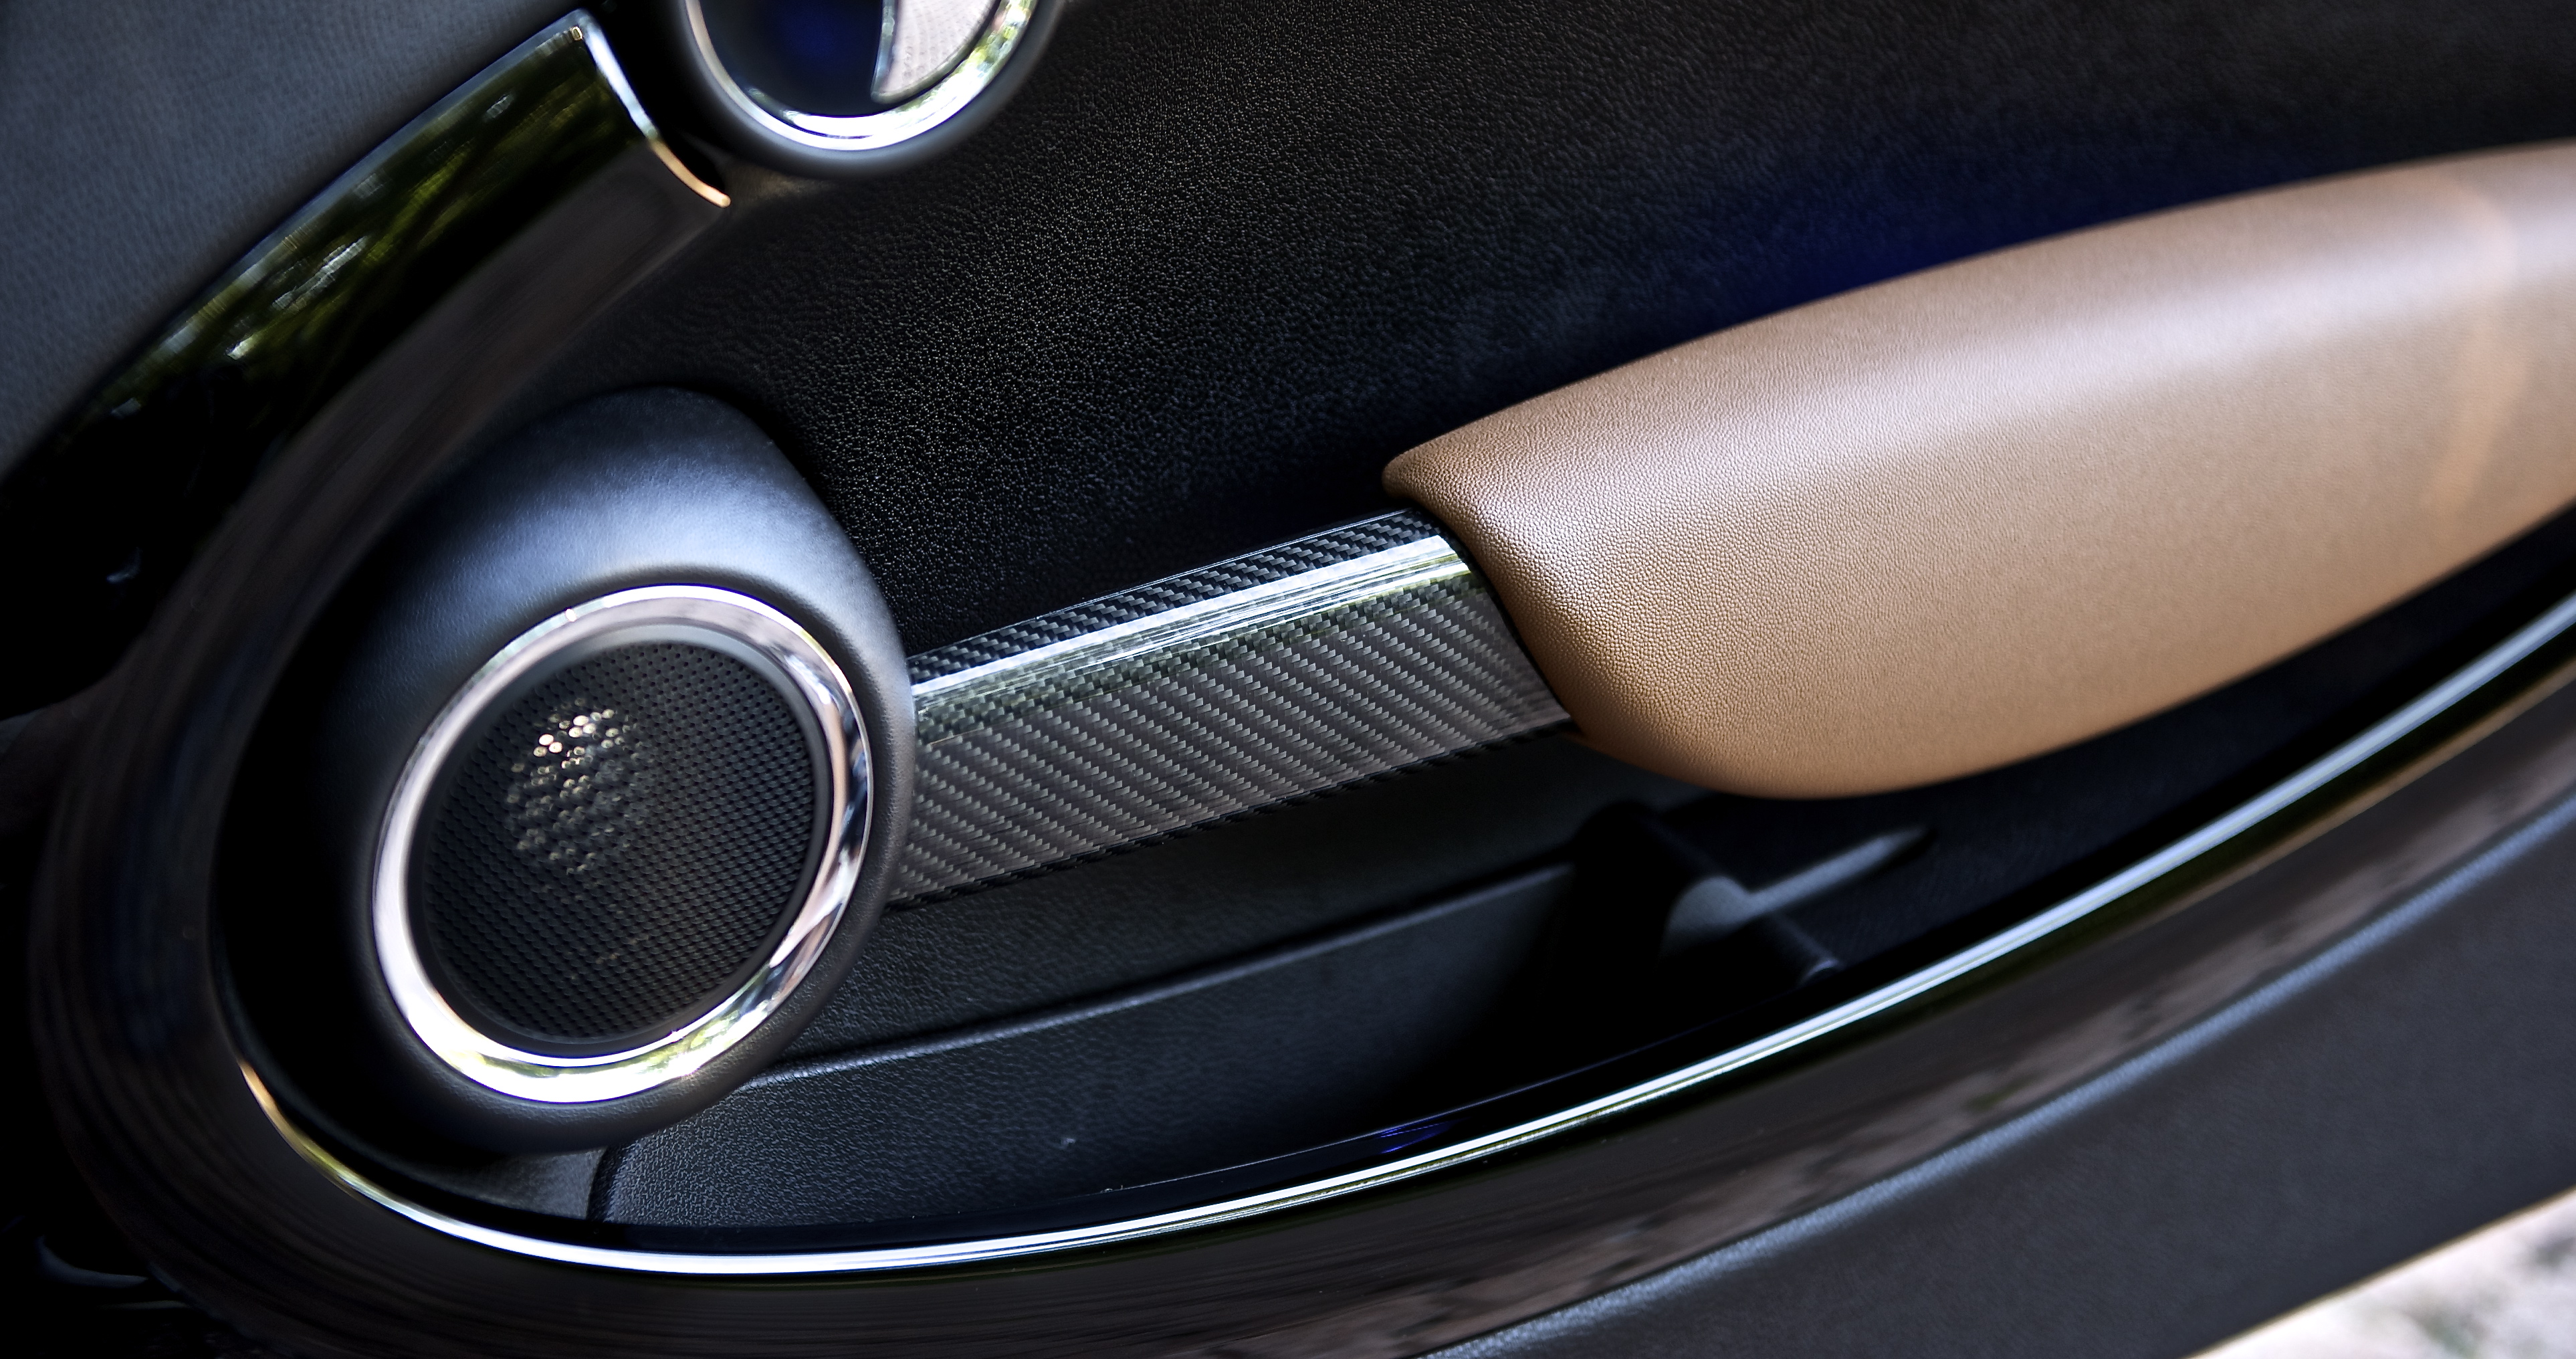
That looks great!! You've really made under the hood look nice while I am sure providing a noticeable improvement in performance. I really like the carbon fiber intake pipe. I will have to use your thread for my mod plans.
Thread Starter
|
6th Gear
Joined: Jul 2010
Posts: 1,476
Likes: 8
From: Chicago
-Steven


Thread Starter
|
6th Gear
Joined: Jul 2010
Posts: 1,476
Likes: 8
From: Chicago
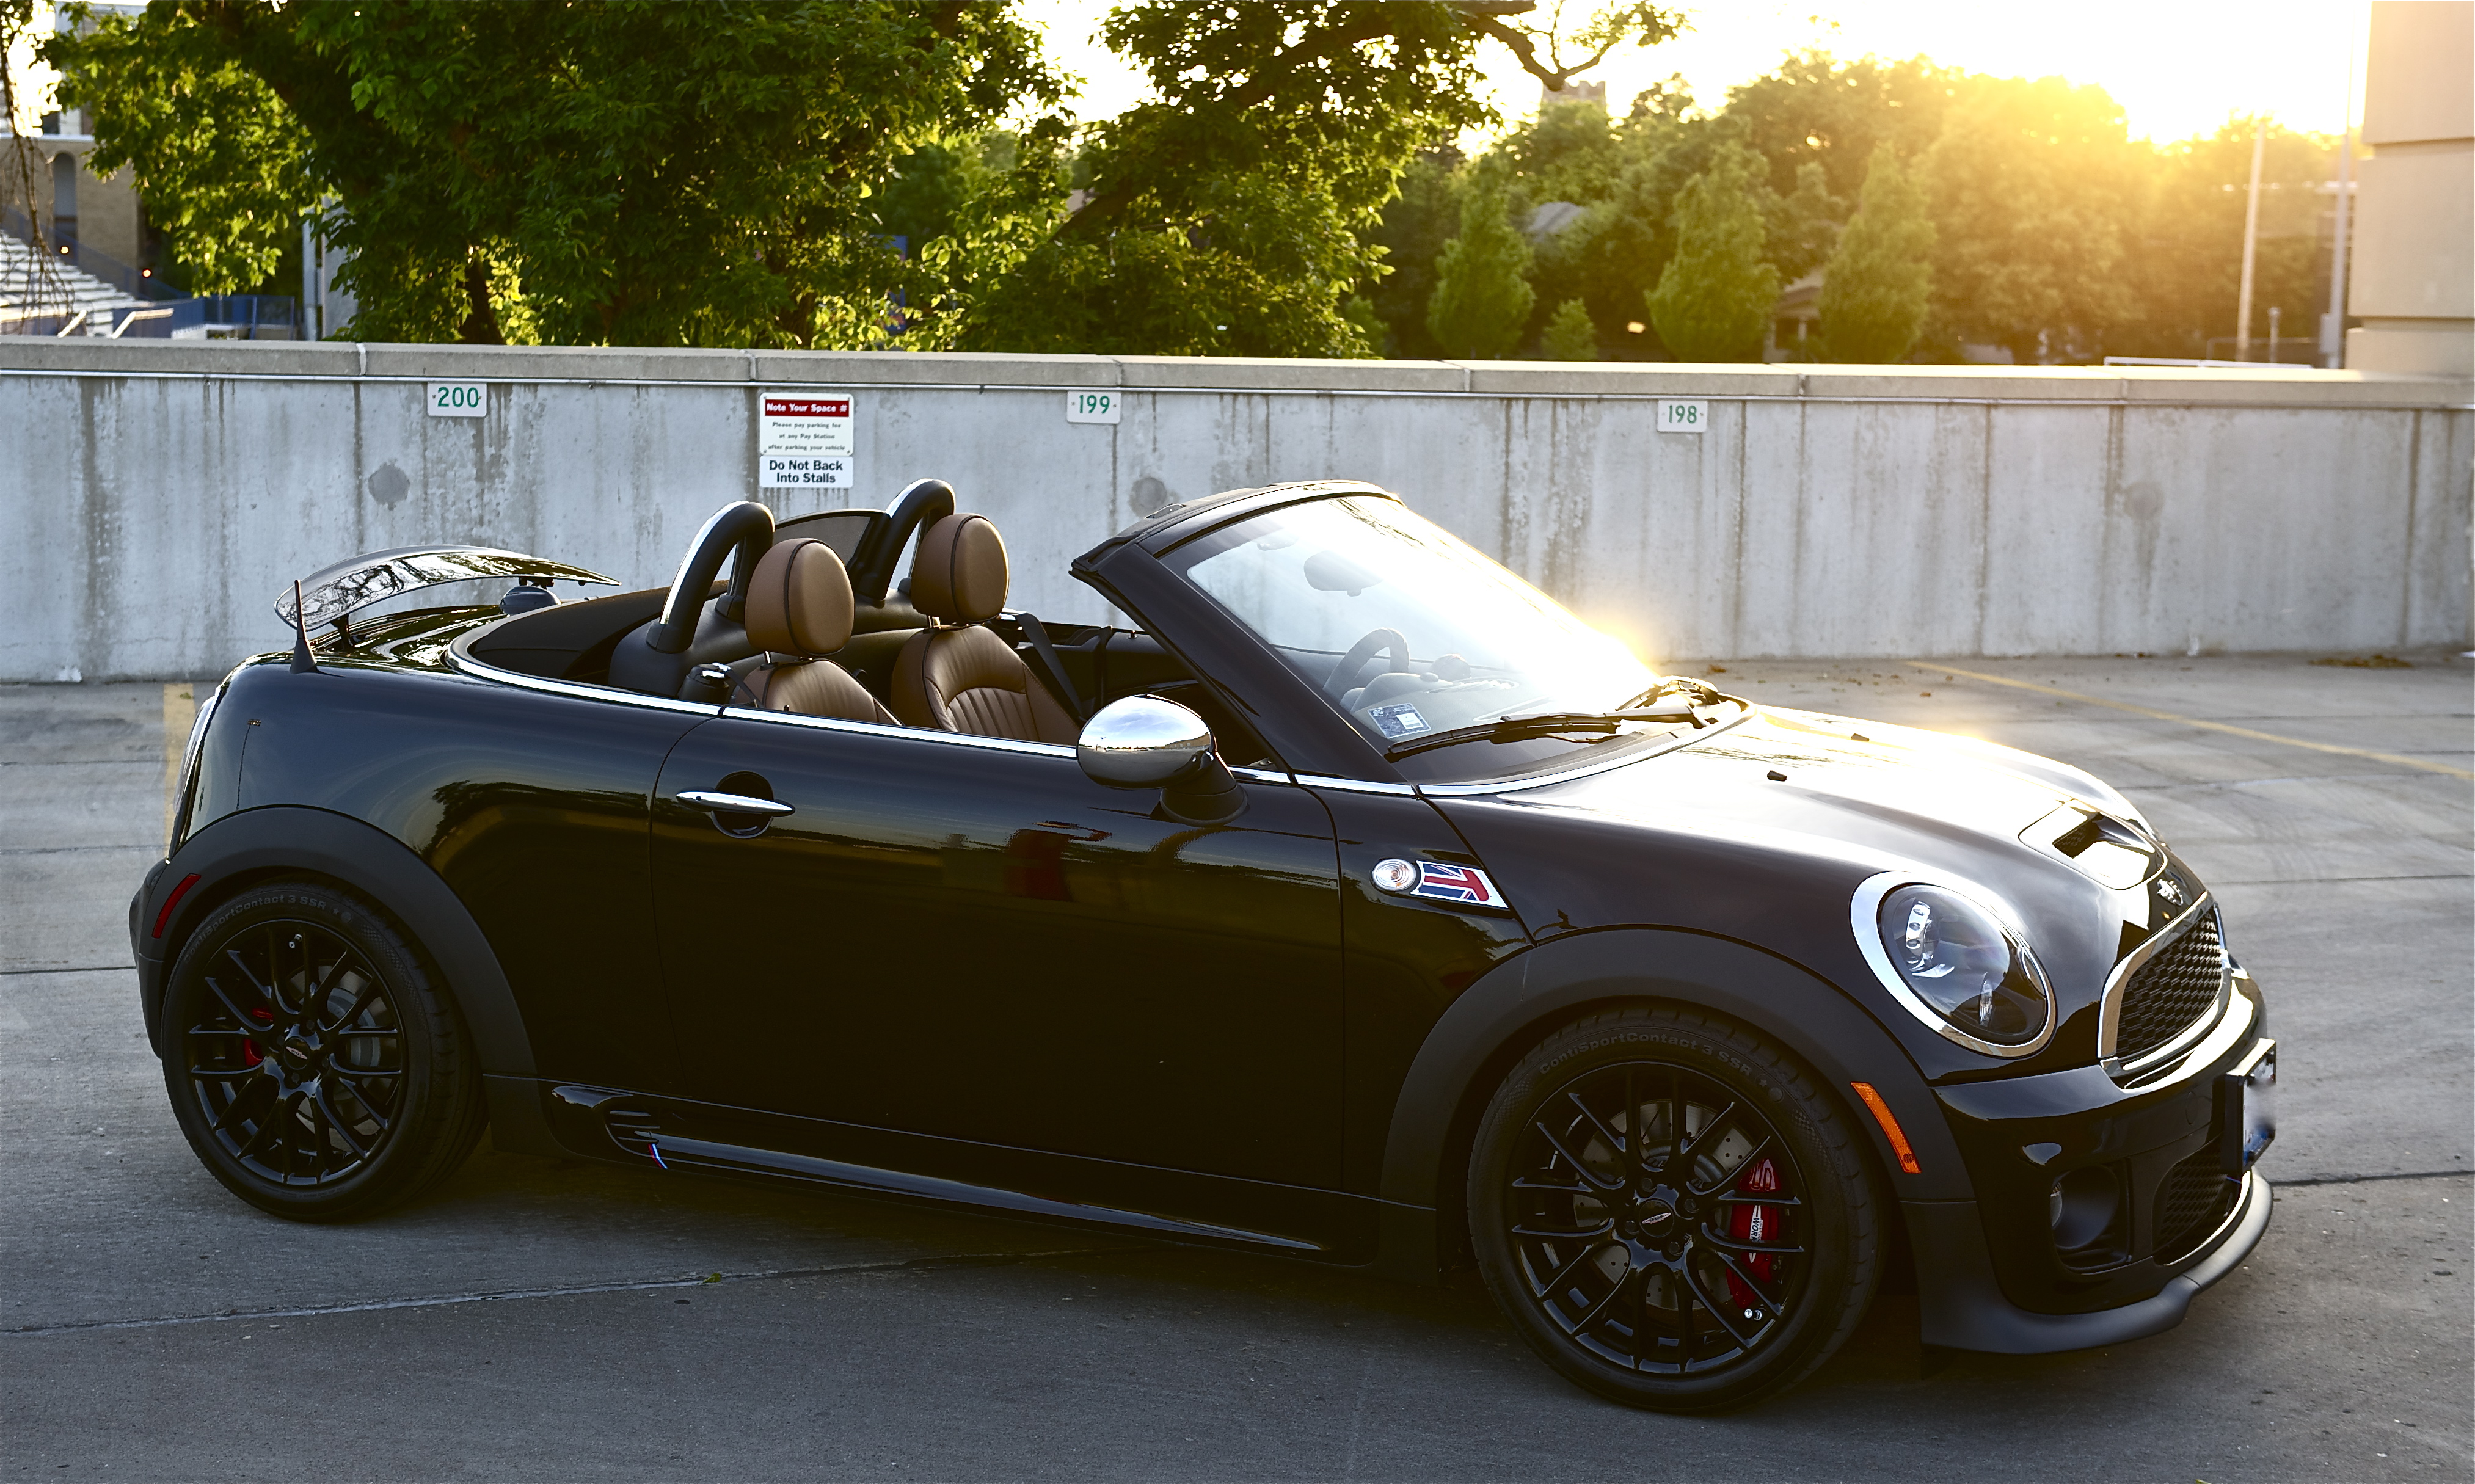
Yeah, I'm super happy with the NM springs, they ride/handle great and it made such a difference in the looks. It looks like it should have come from Mini like that

-Steven
-Steven

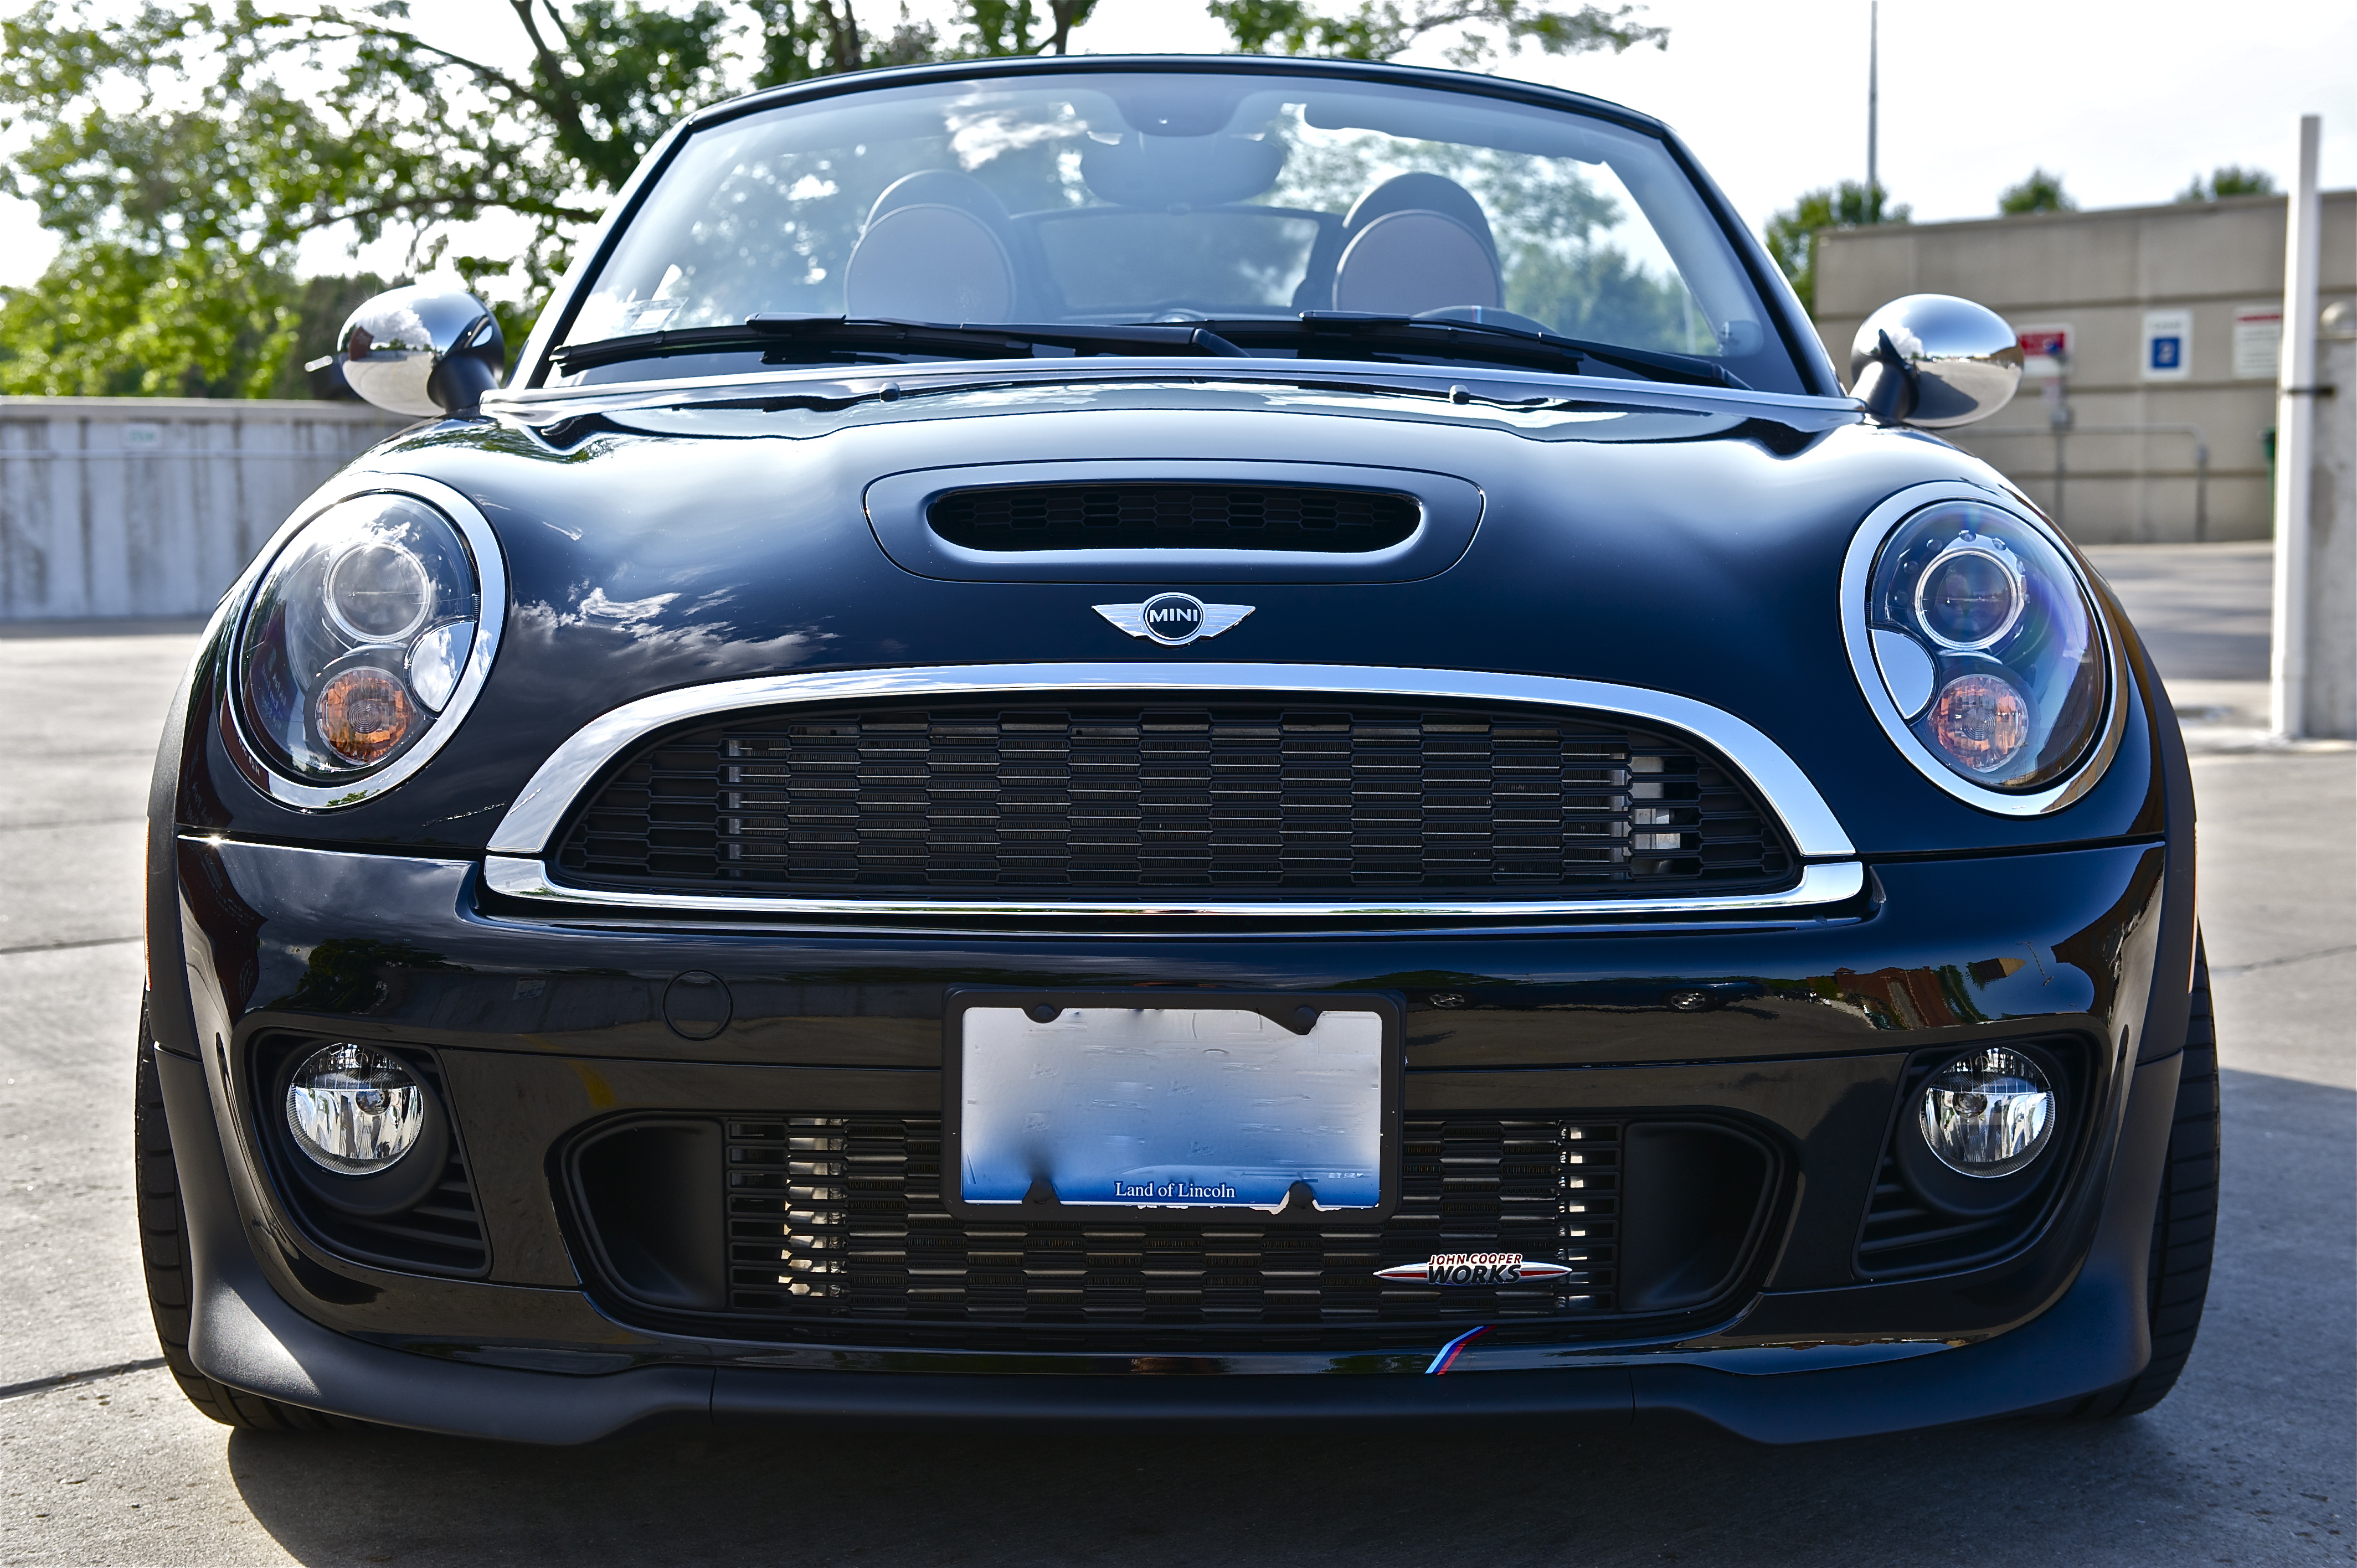
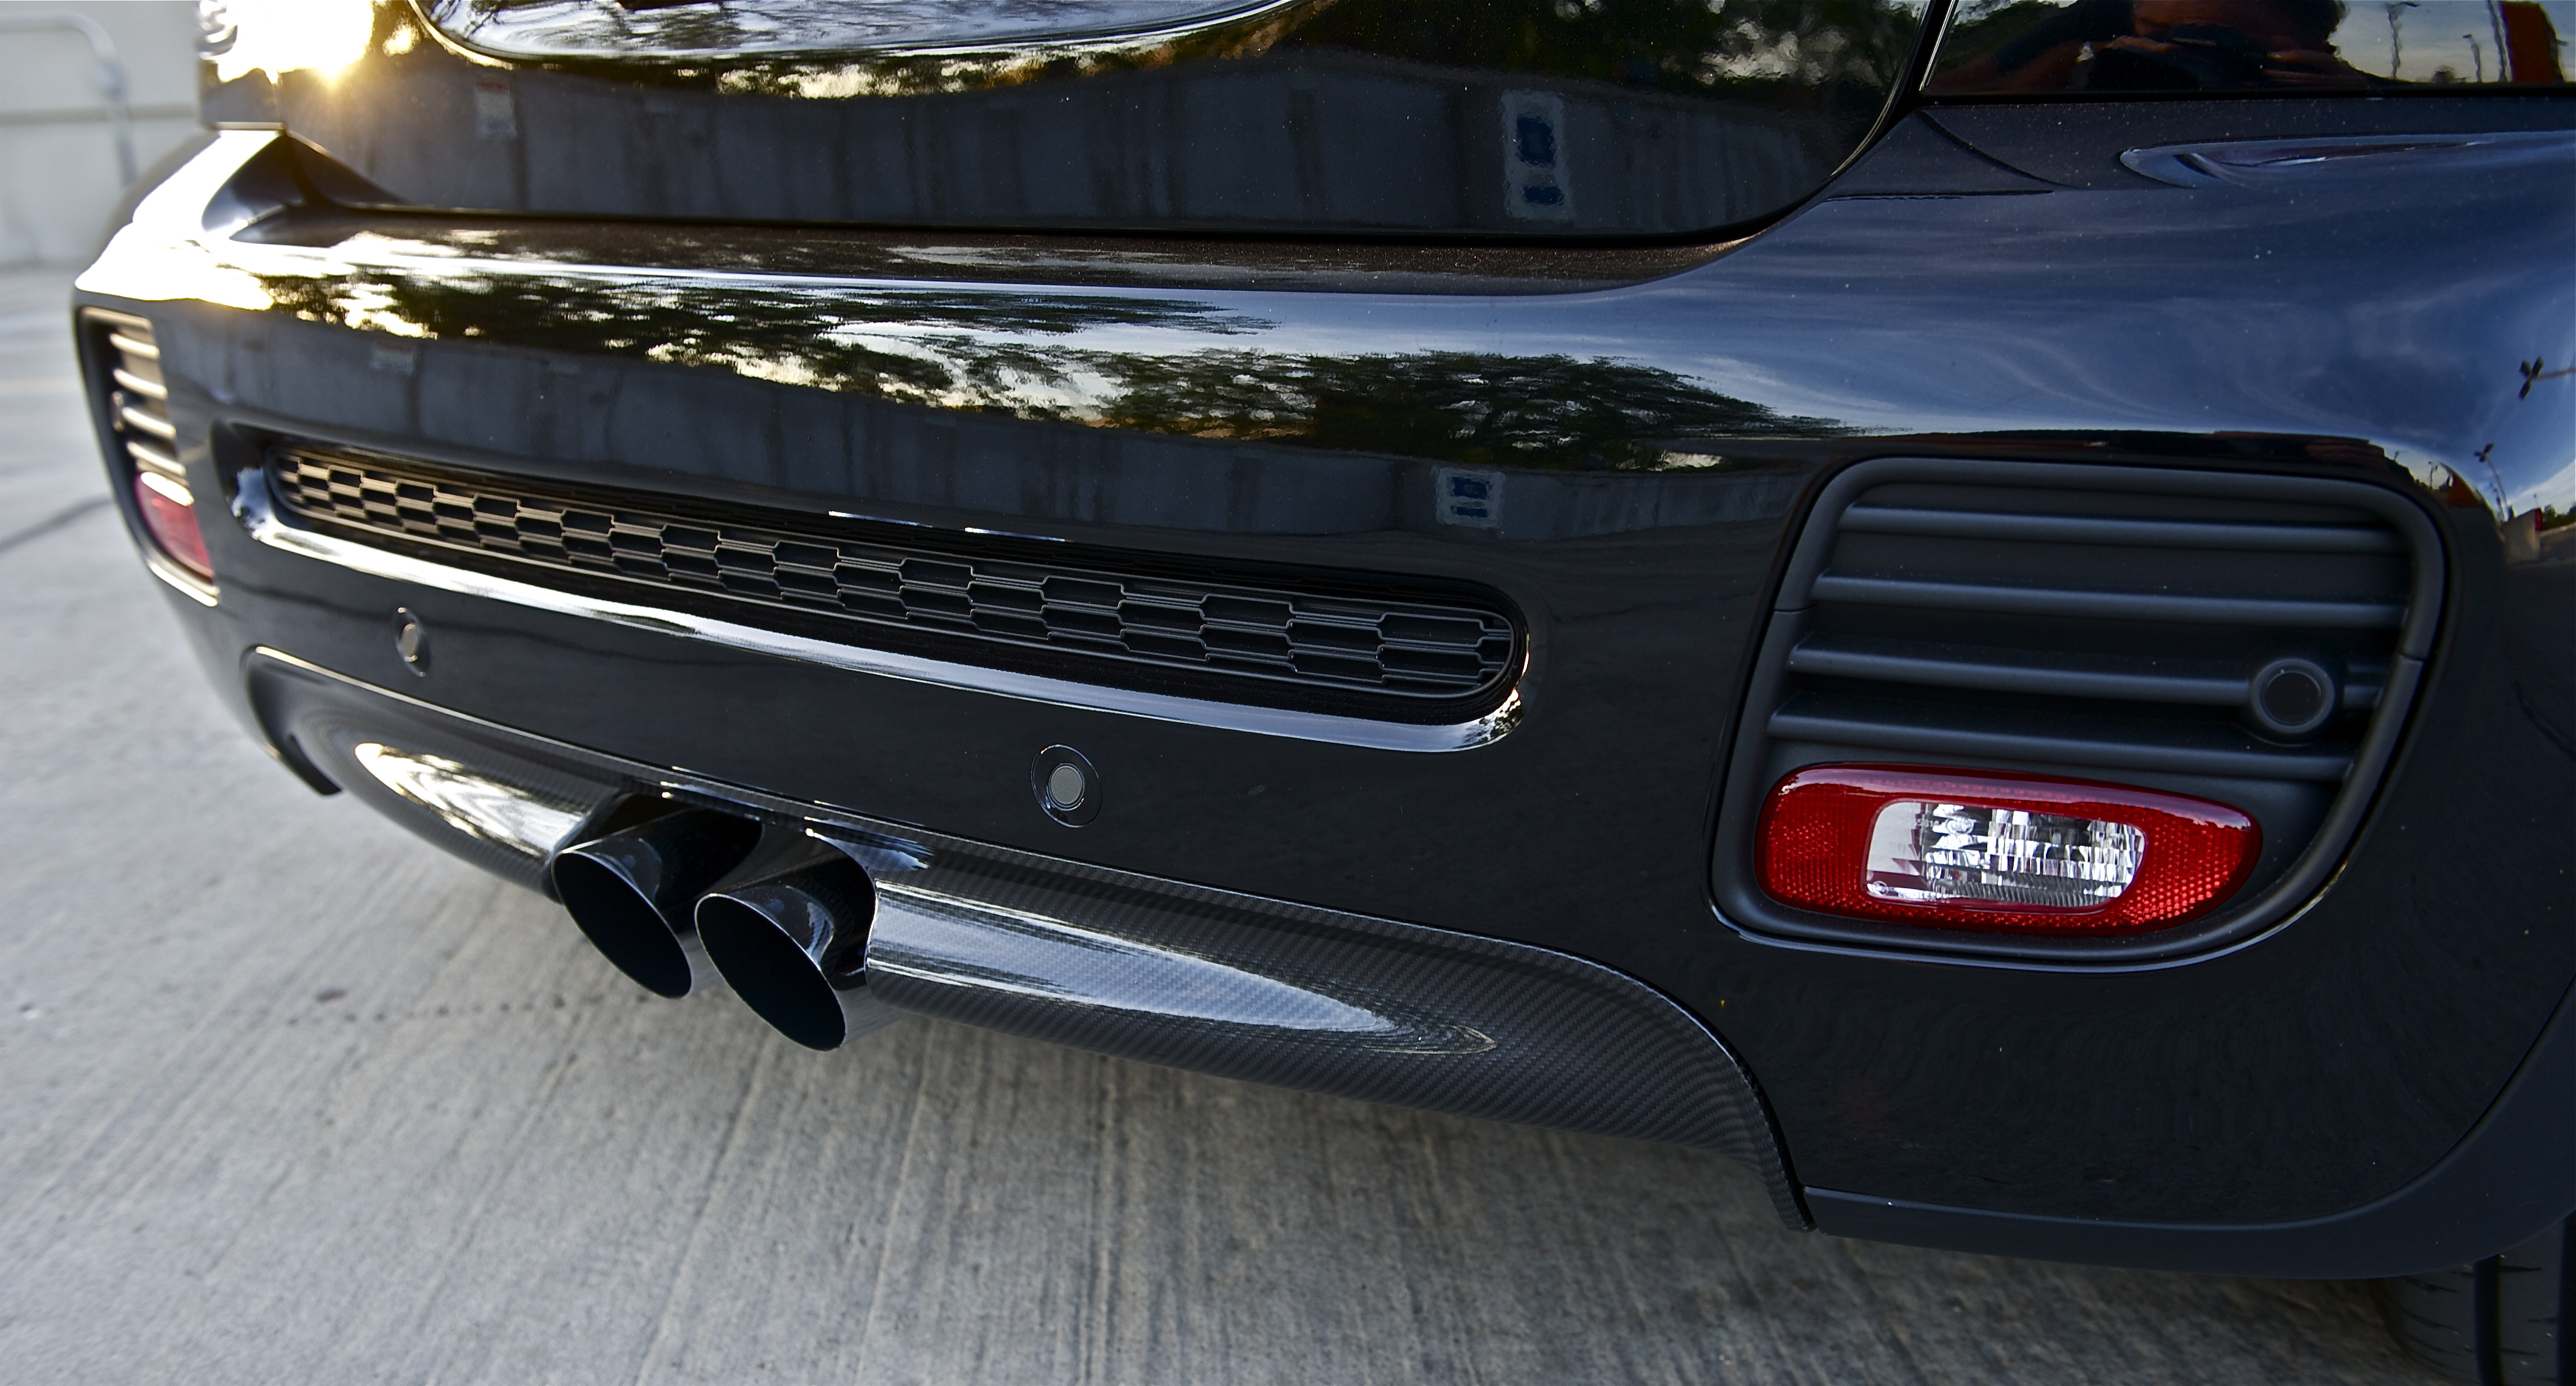
Grill surround looks great.. Did you get it local? Here's the part #'s for the black line stuff. I'm going for it too.. I'm not up for wrapping or spraying.
http://www.realoem.com/bmw/showparts...85&hg=63&fg=95
http://www.realoem.com/bmw/showparts...85&hg=63&fg=95


Thread Starter
|
6th Gear
Joined: Jul 2010
Posts: 1,476
Likes: 8
From: Chicago
Grill surround looks great.. Did you get it local? Here's the part #'s for the black line stuff. I'm going for it too.. I'm not up for wrapping or spraying.
http://www.realoem.com/bmw/showparts...85&hg=63&fg=95
http://www.realoem.com/bmw/showparts...85&hg=63&fg=95
-Steven
