When you click on links to various merchants on this site and make a purchase, this can result in this site earning a commission. Affiliate programs and affiliations include, but are not limited to, the eBay Partner Network.
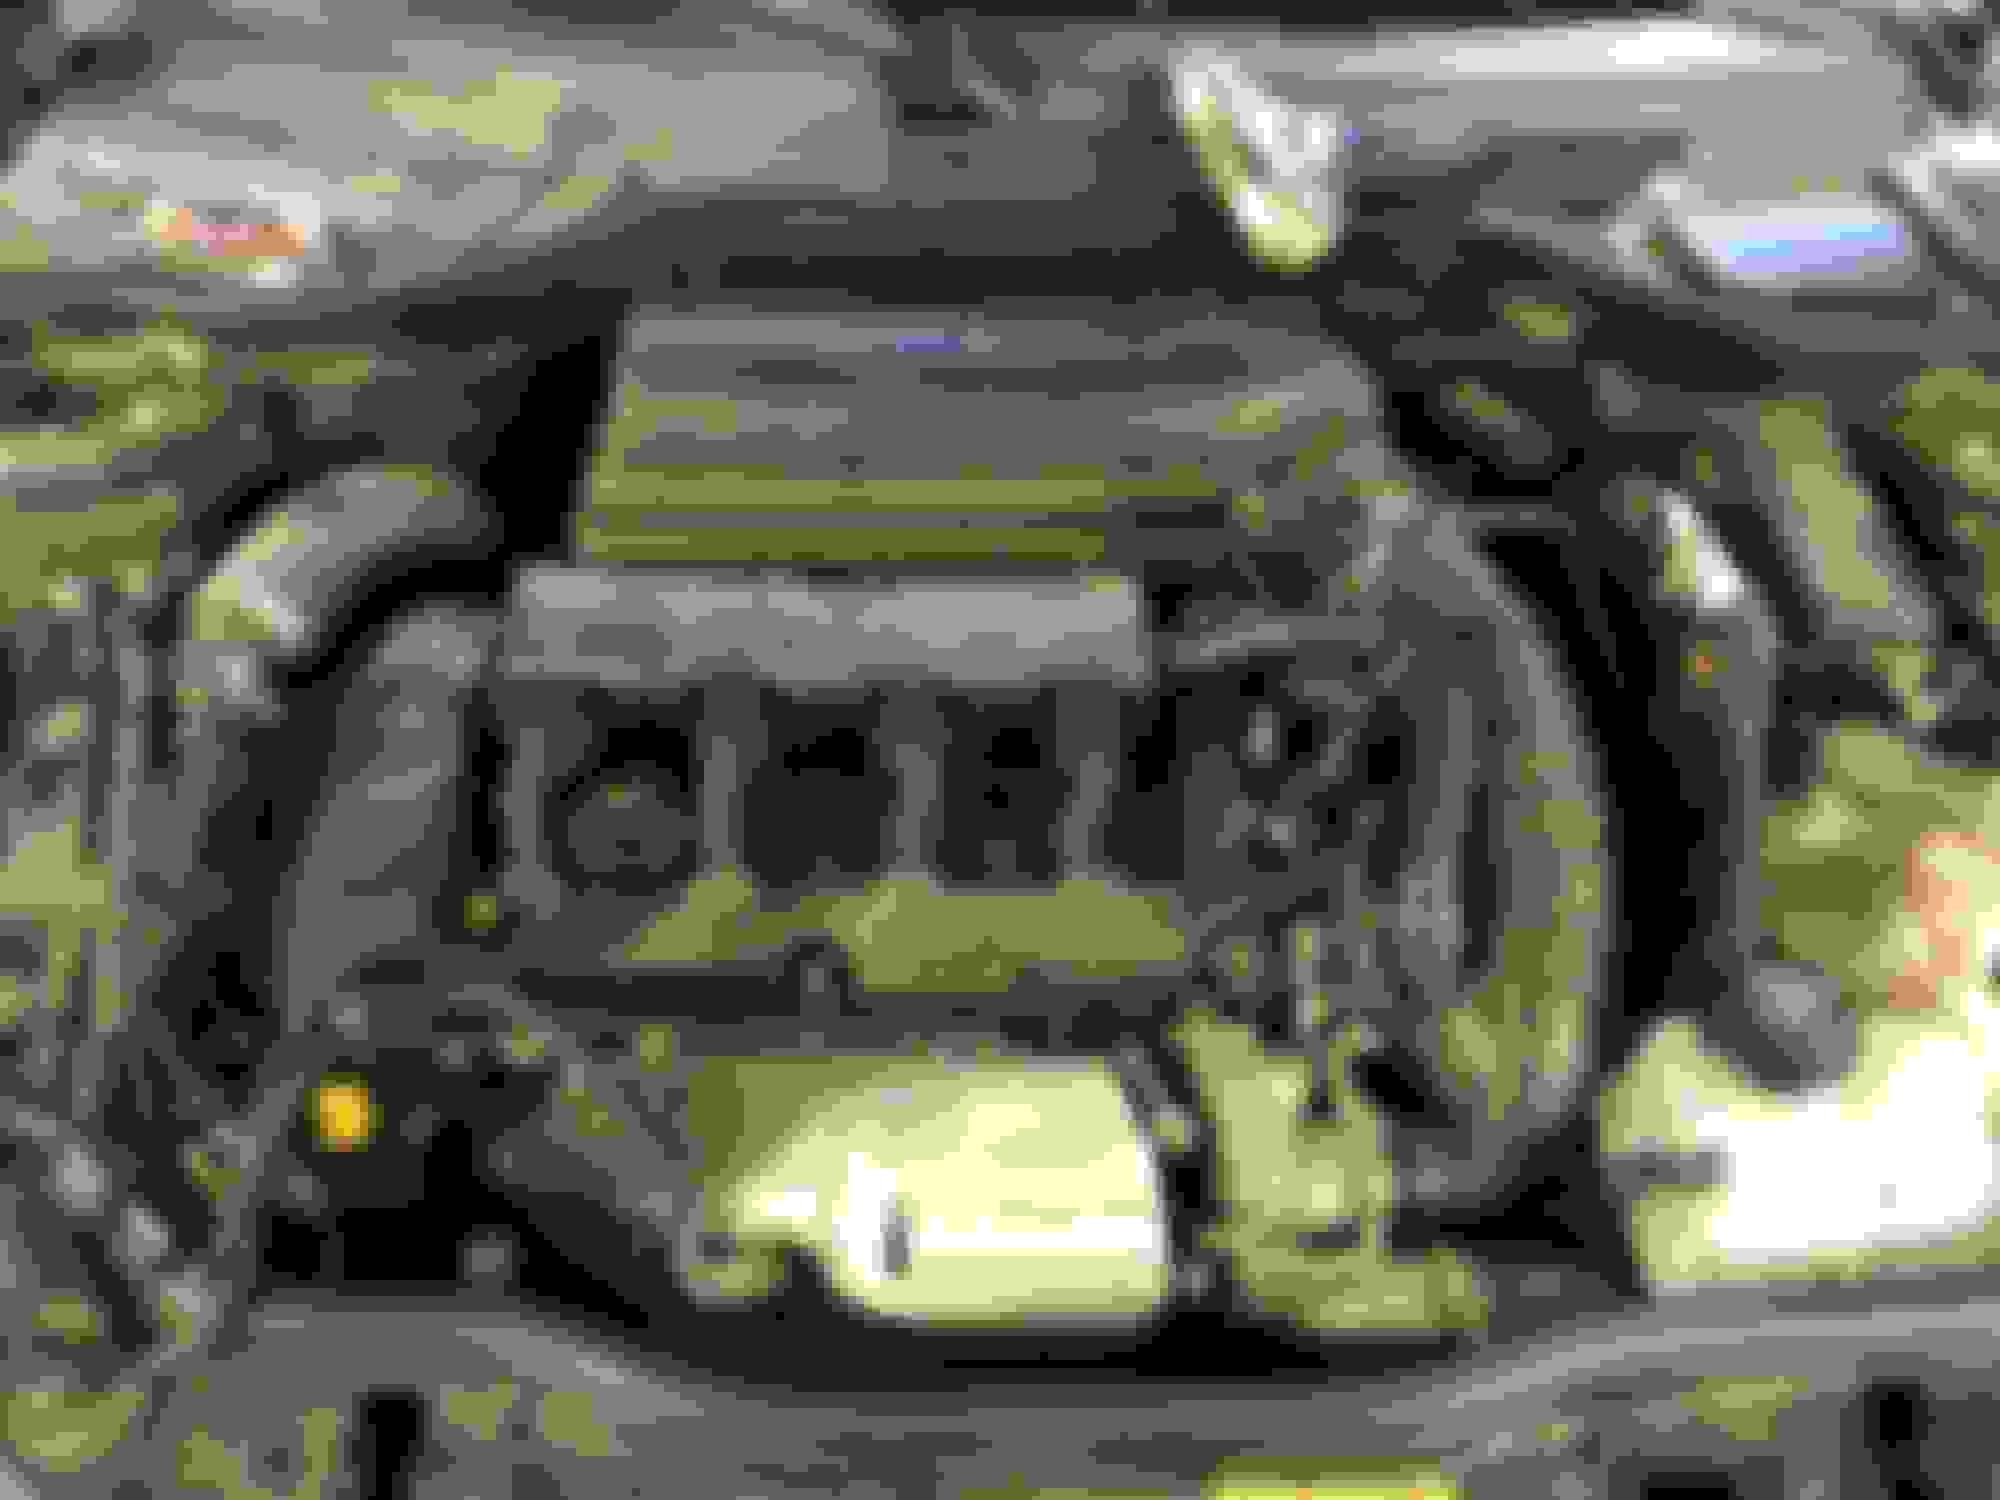
I recently bought this 08 clubman s with 107000 miles Now i did buy it with a blown head gasket so it�s been sitting for about a month but parts are being ordered now and I am starting to tear into it
I have a spare n14 from a different Cooper that I will be rebuilding and dropping in this
For now I�m planning to replace all gaskets, main bearings, rod bearings, piston rings, timing chain, and any other things I may find wrong with it on my way in
Good stuff. Have done this a few times myself. Just got a N14 from the junkyard that I'm tearing apart. It's addicting....and even though these cars have their fare share of issues....and are pricey to work on....I still do it. Ha
Looks like a good project. Glad to see one saved from the junk yard. Let us know if we can help with parts as we keep most the stuff you'll need in stock.
I�ve done a few myself as well here through work but this is the first one I�m building to keep for myself so it�s a bit more exciting also this wasn�t a junkyard motor I actually pulled this out of an 08 r56 that I replaced the engine in about a year ago I was planning on building it to sell it but ended up buying this r55 so I�m keeping it now and yea I�ll be sure to let you guys know if I need anything but I believe I have most parts already
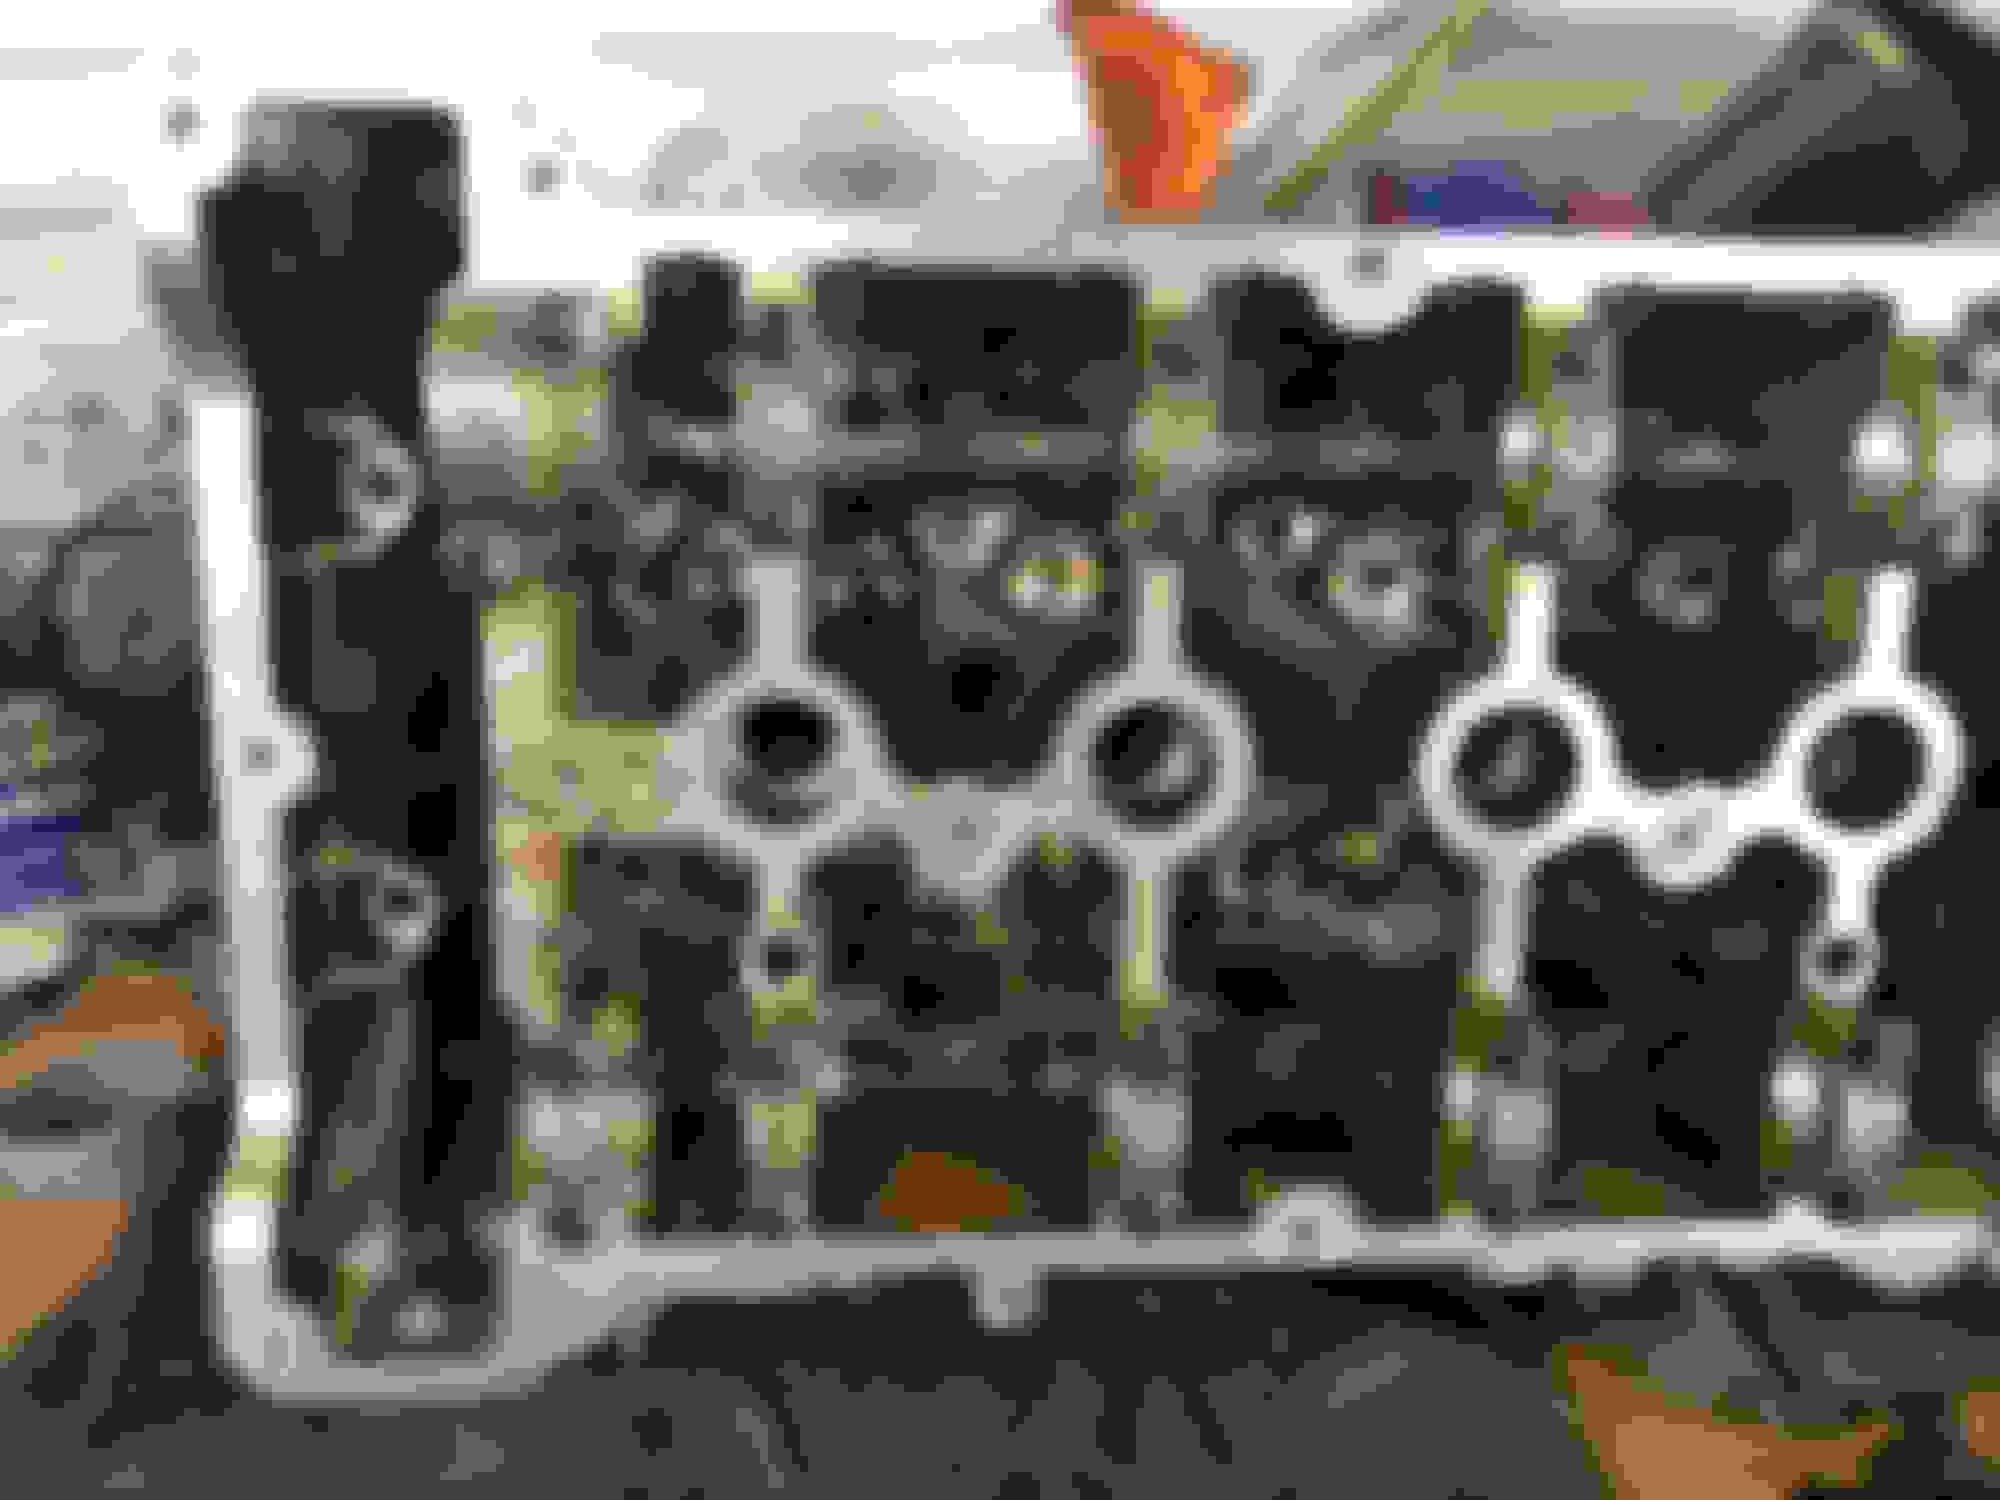
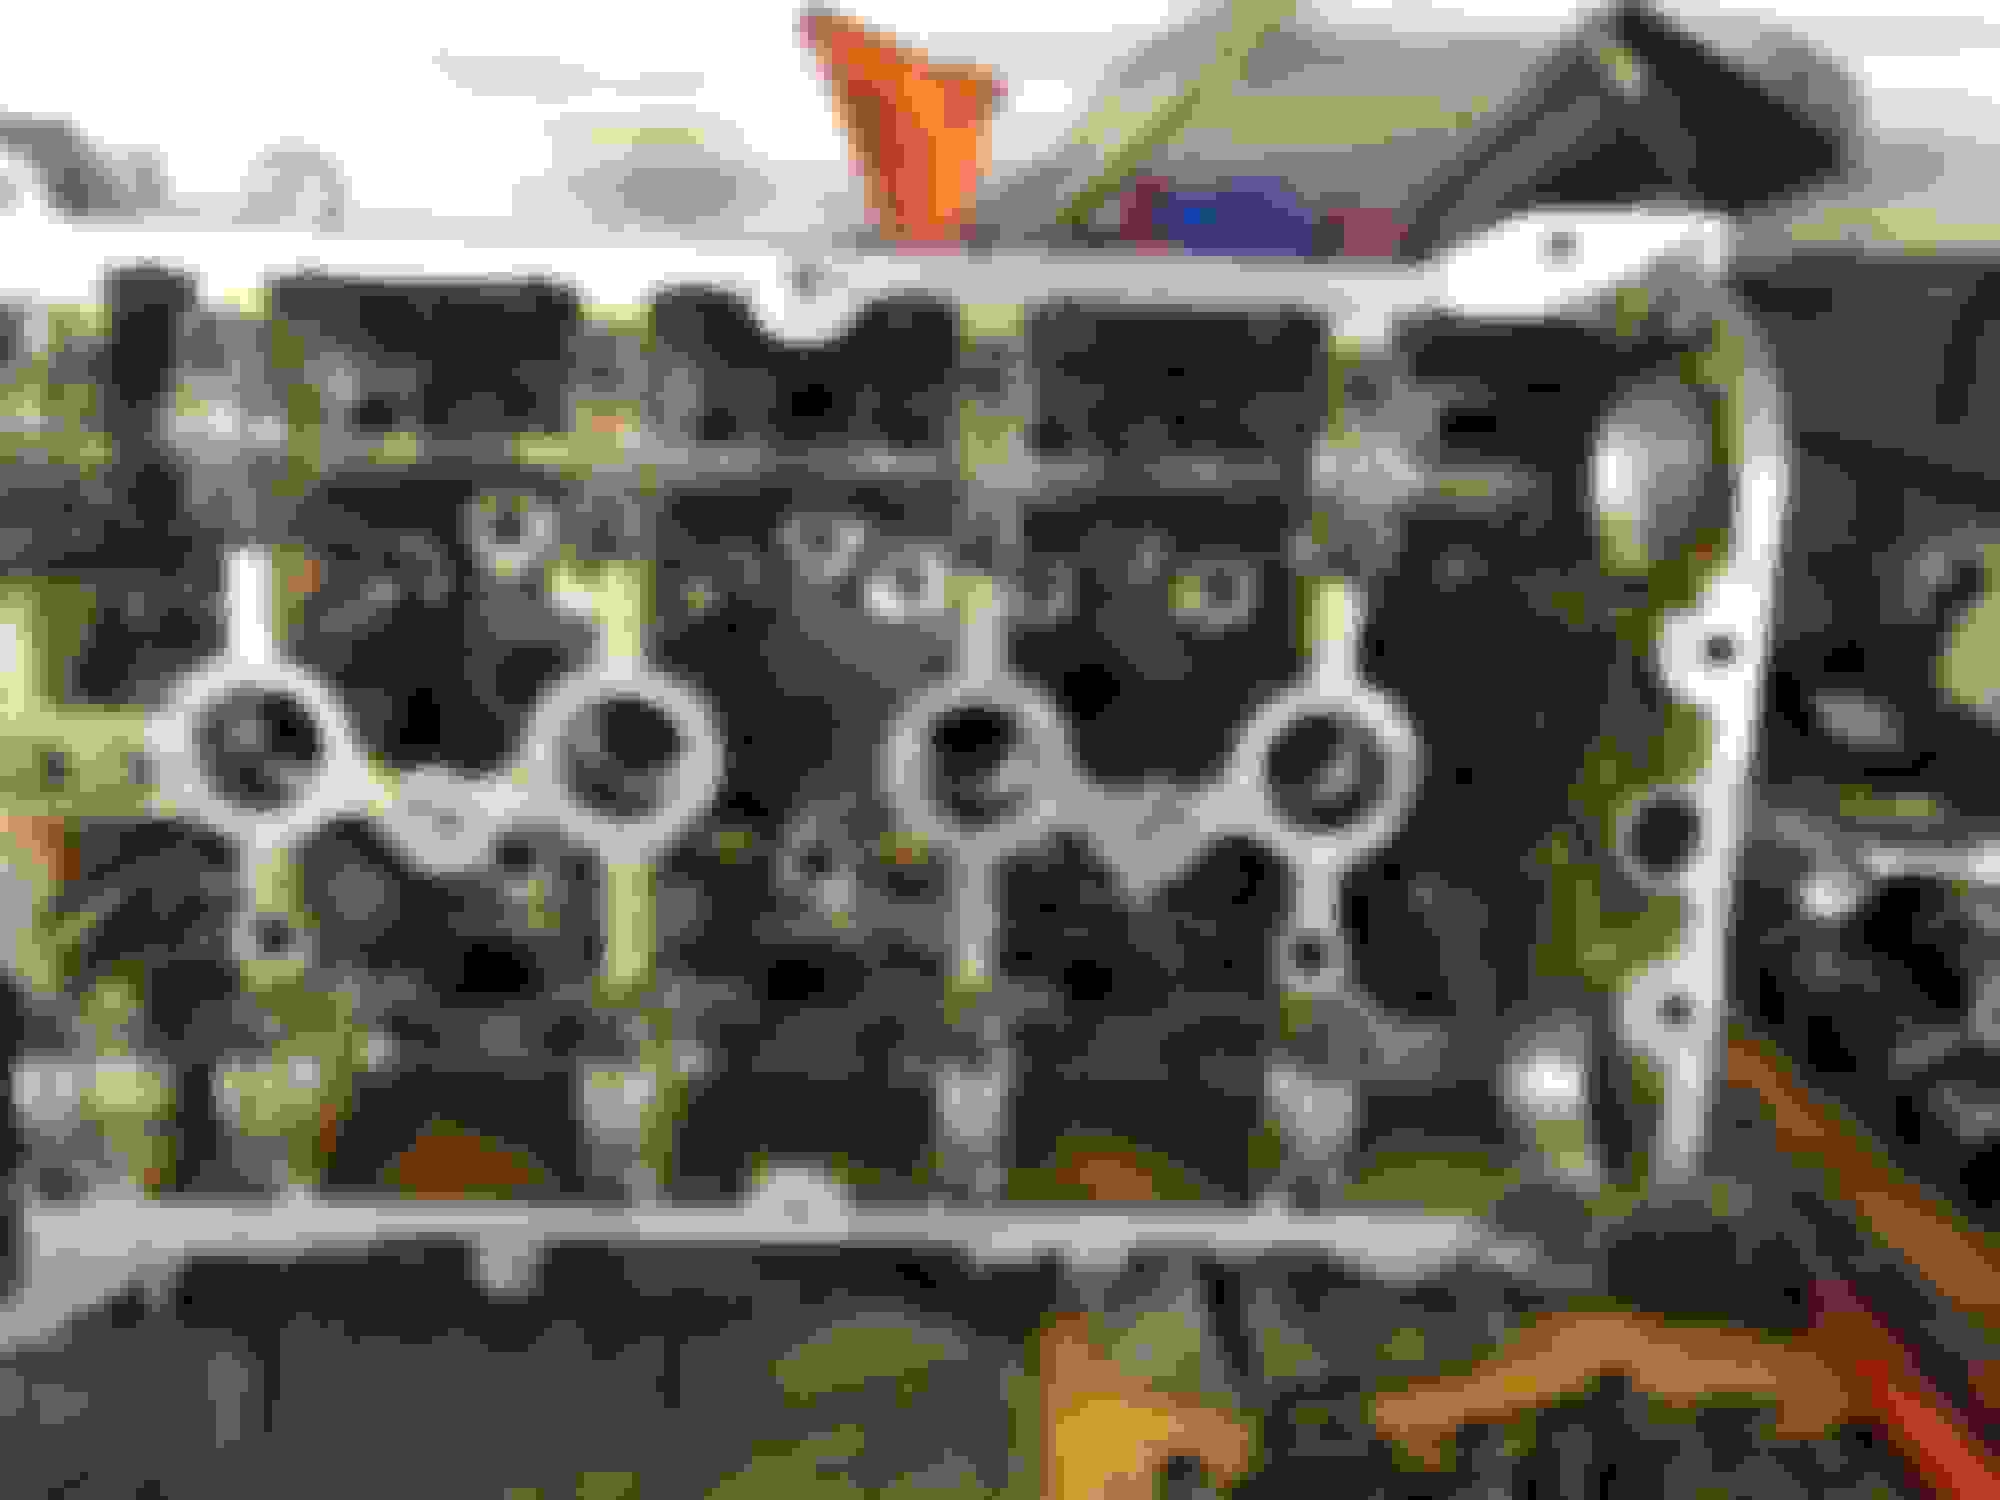
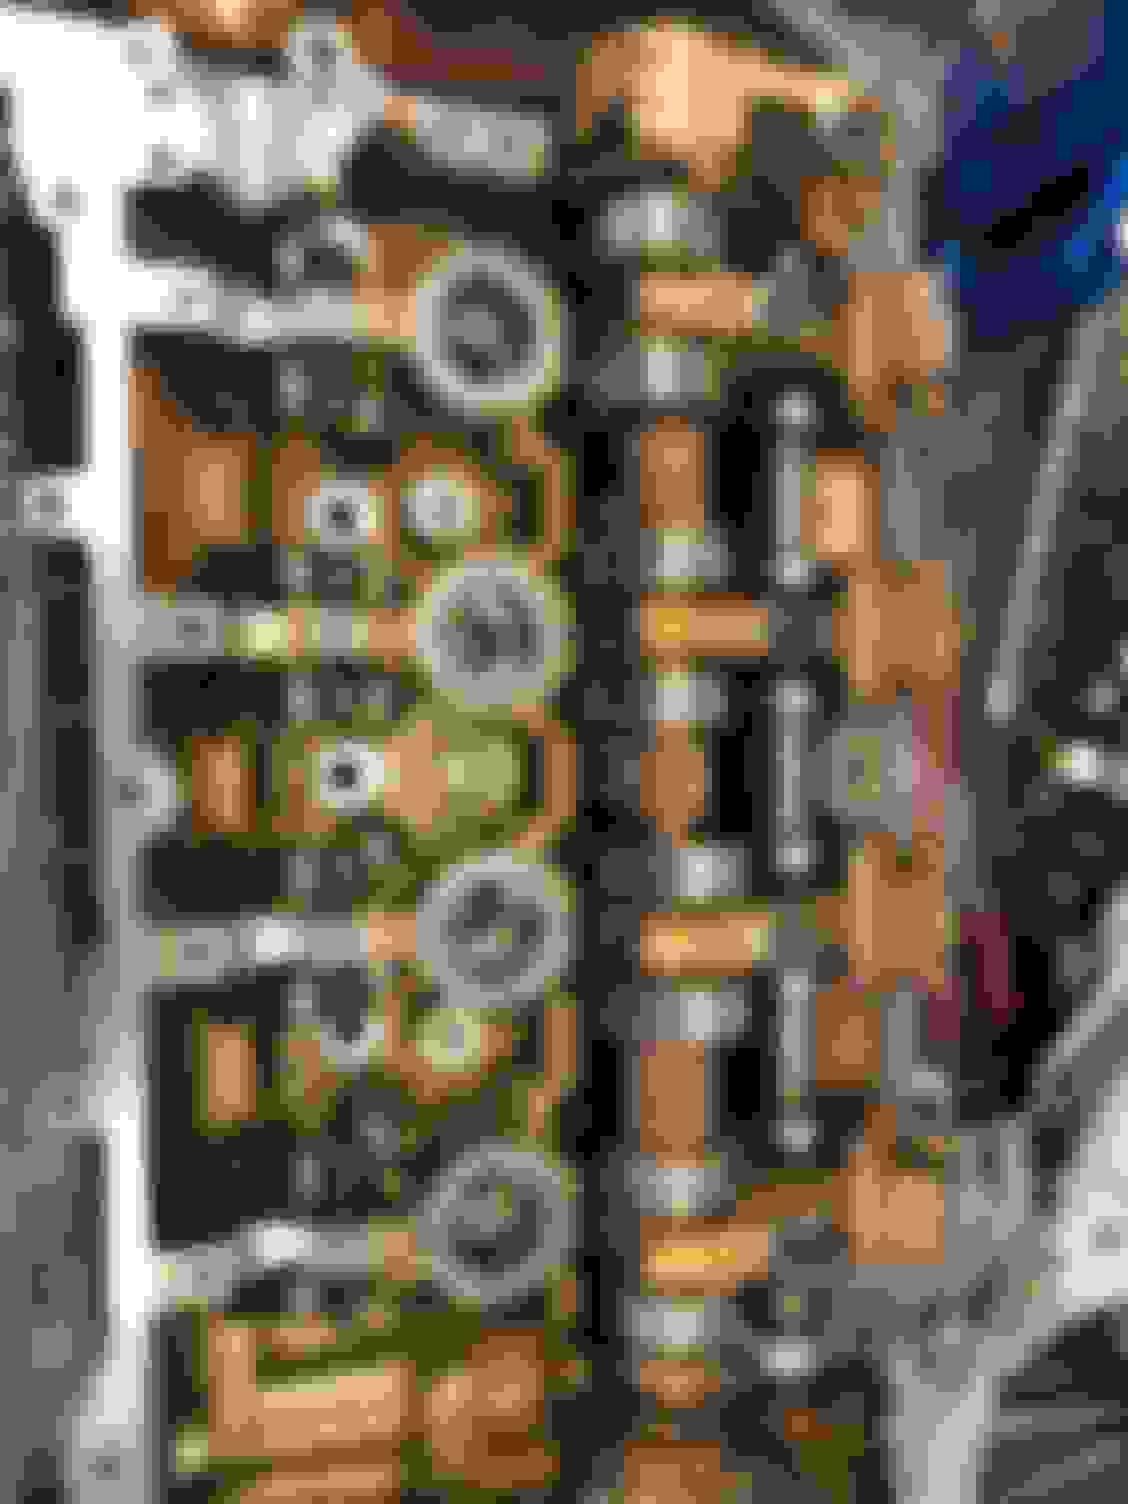
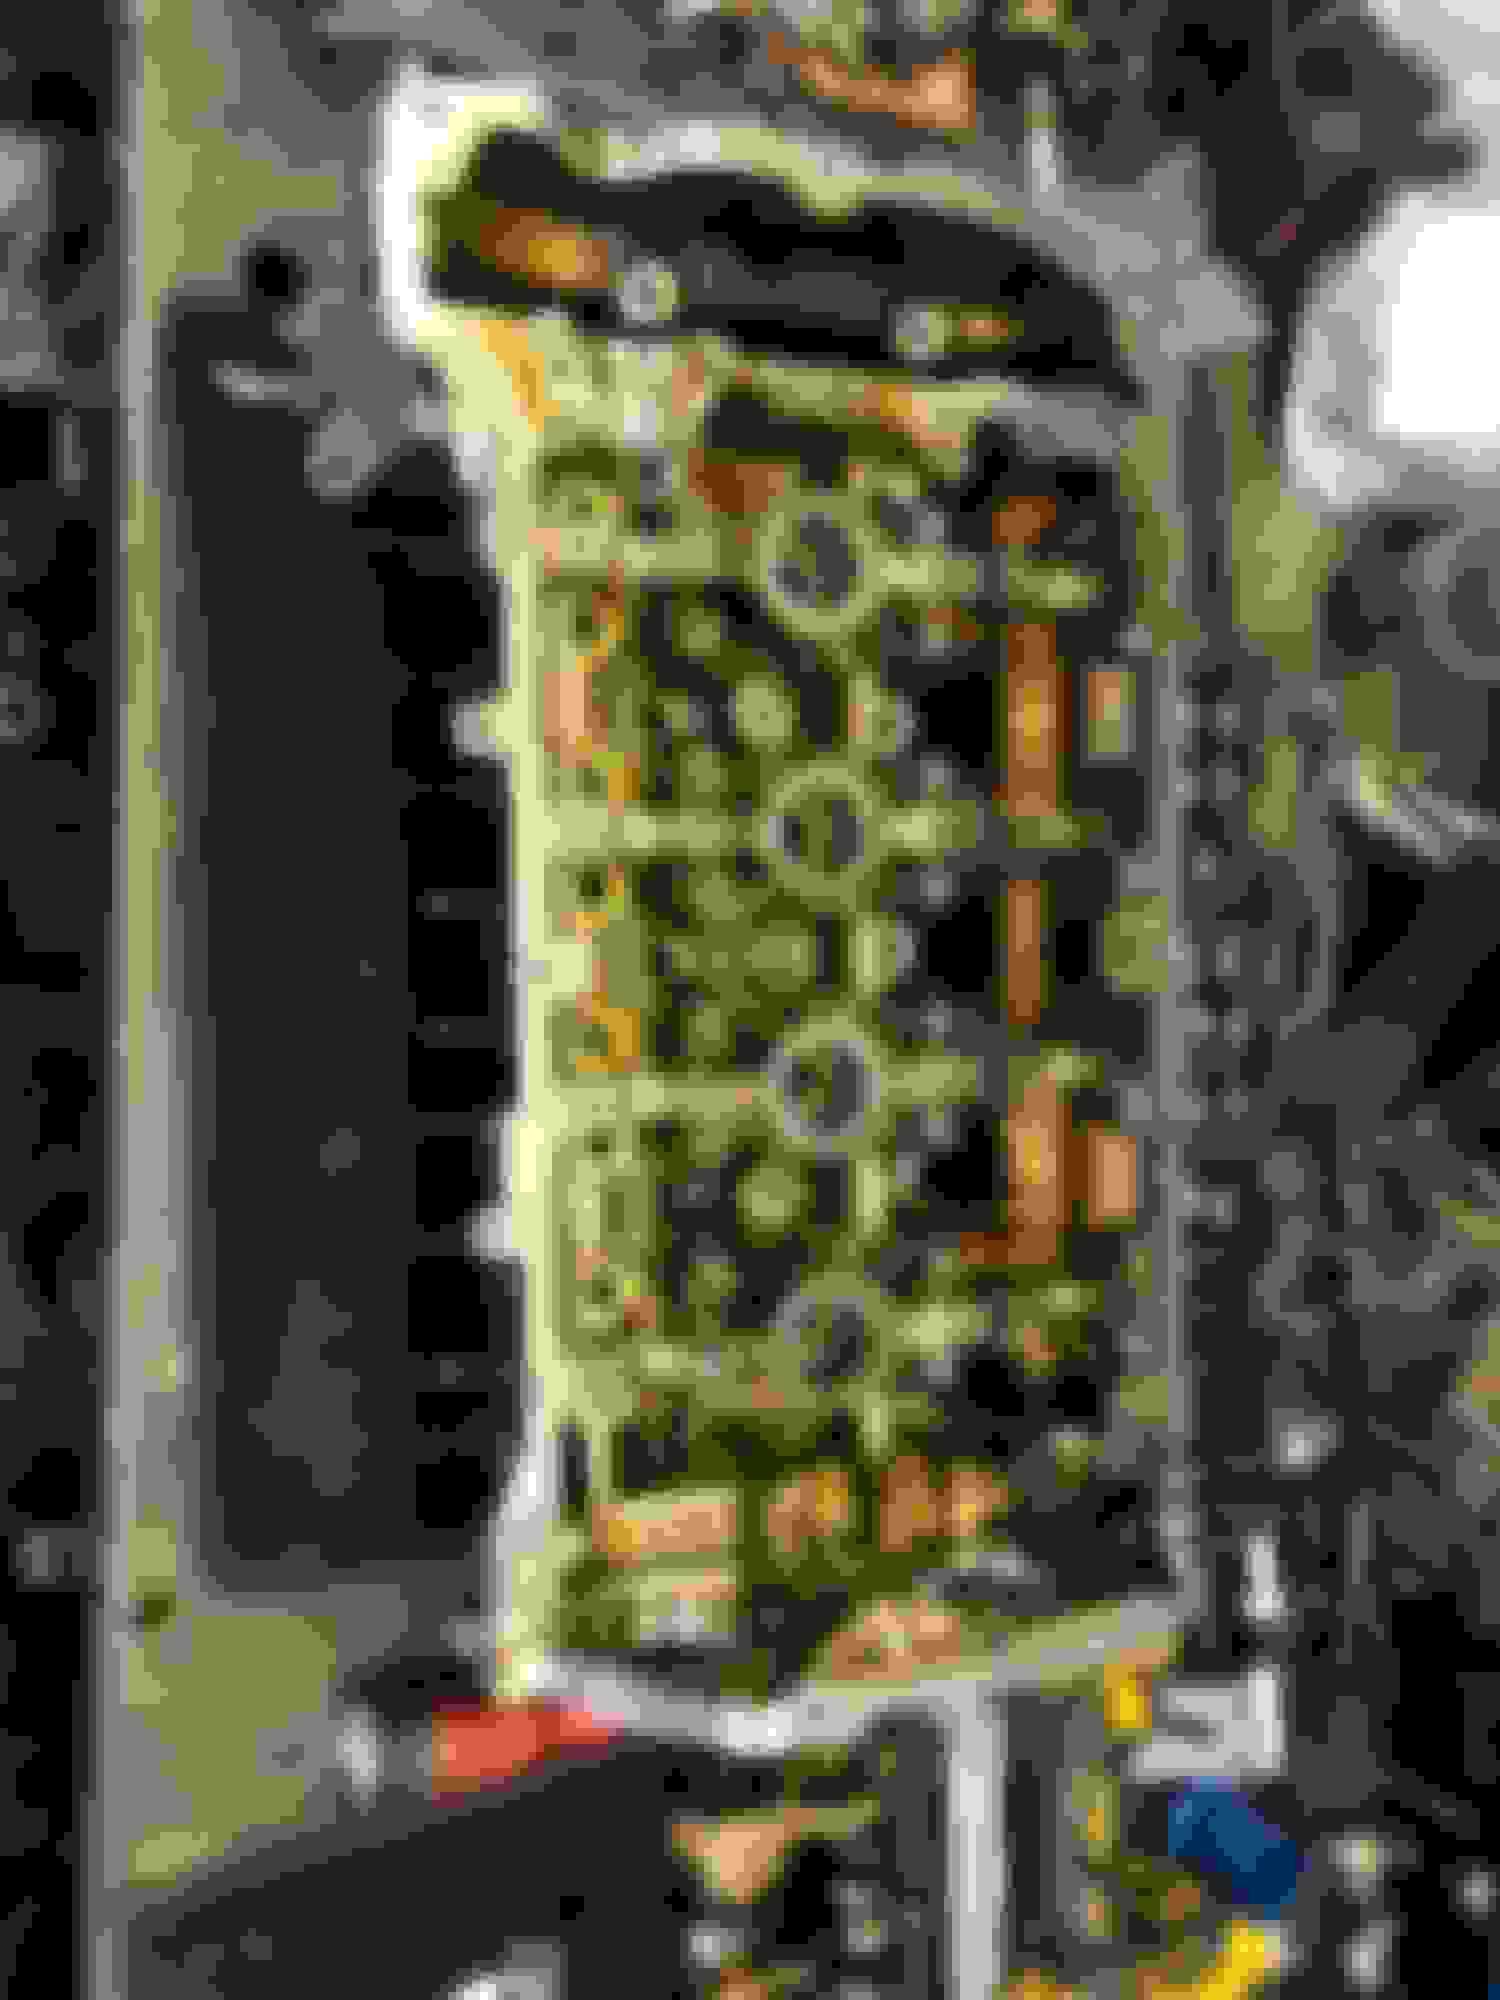
Today I started tearing the head apart to replace valve stem seals
Every exhaust valve seal was leaking as well as one on cyl 1 and one on cyl 2 on the intake side
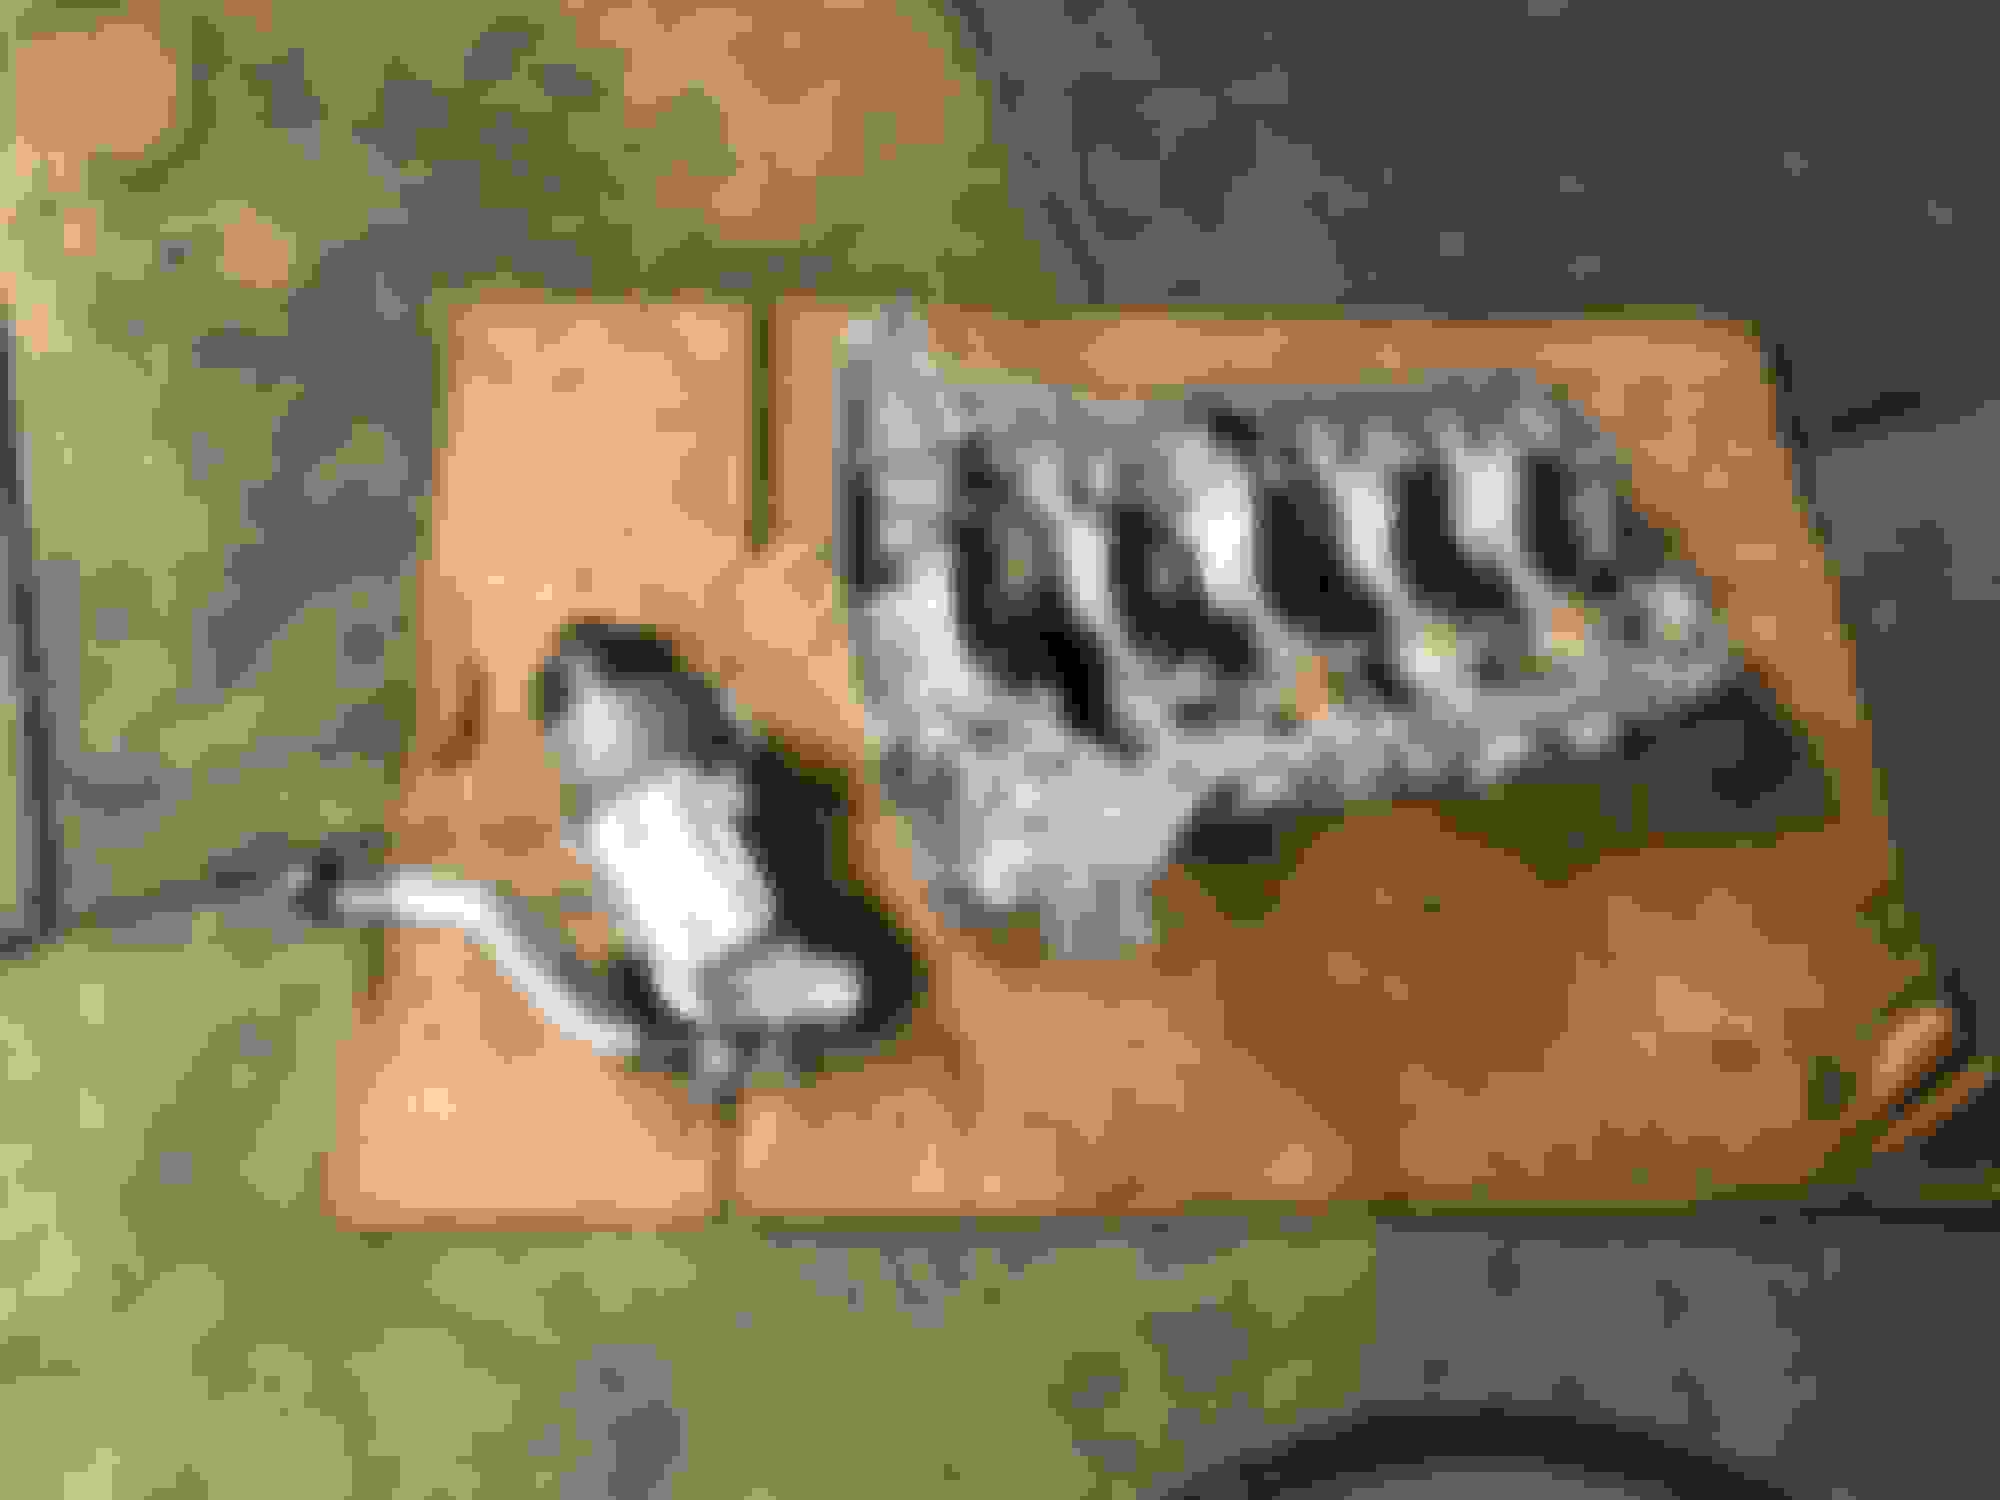
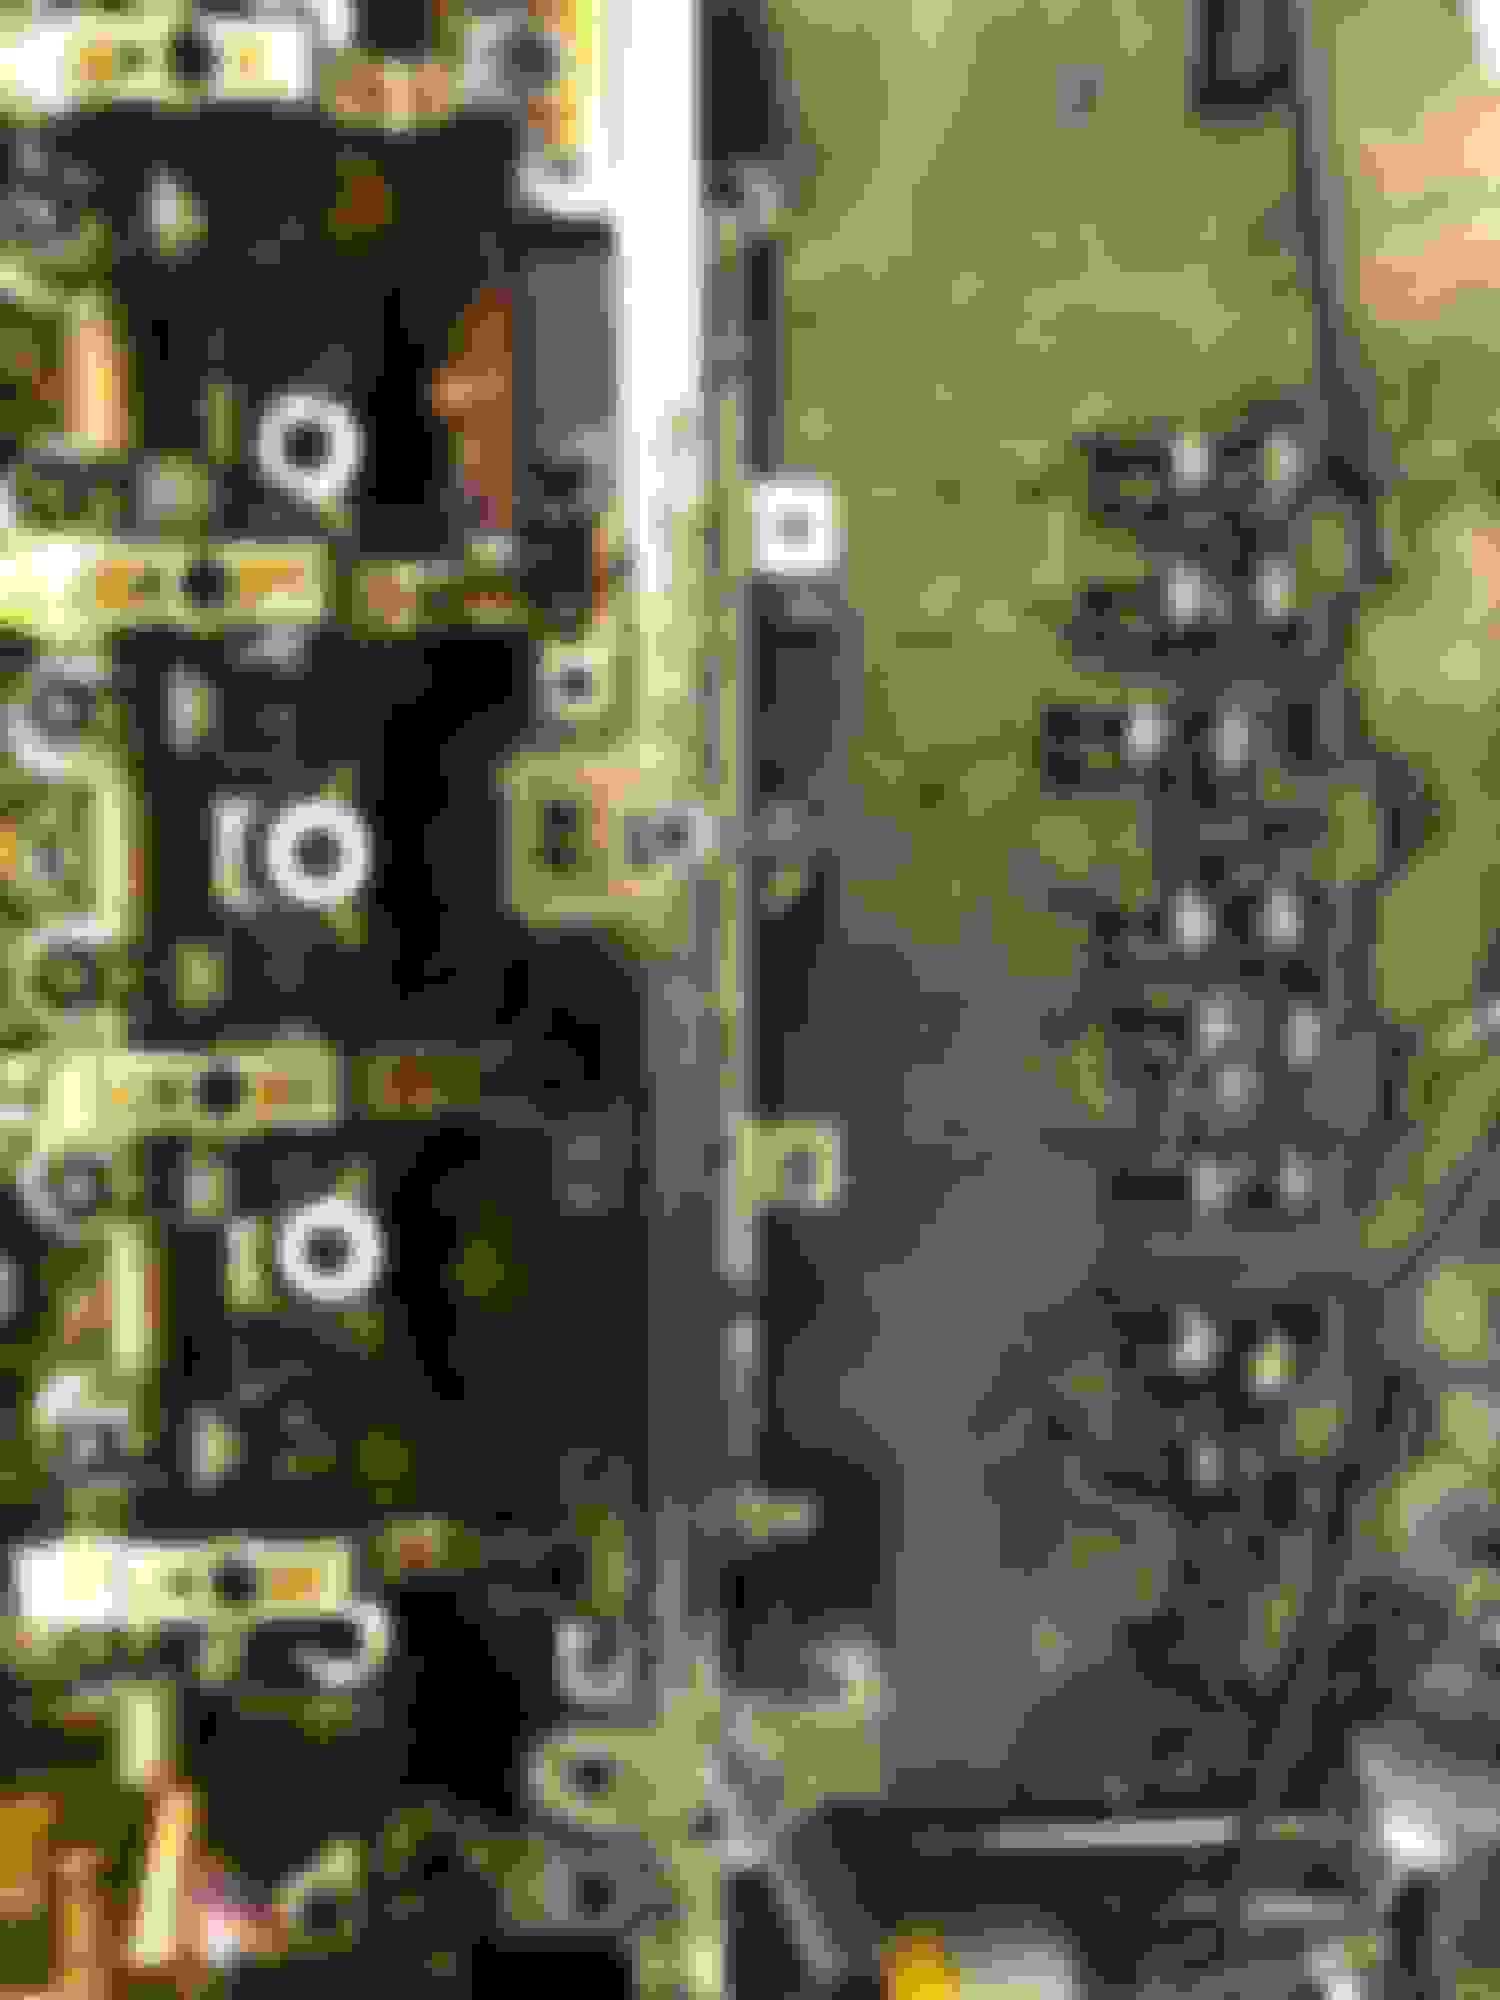
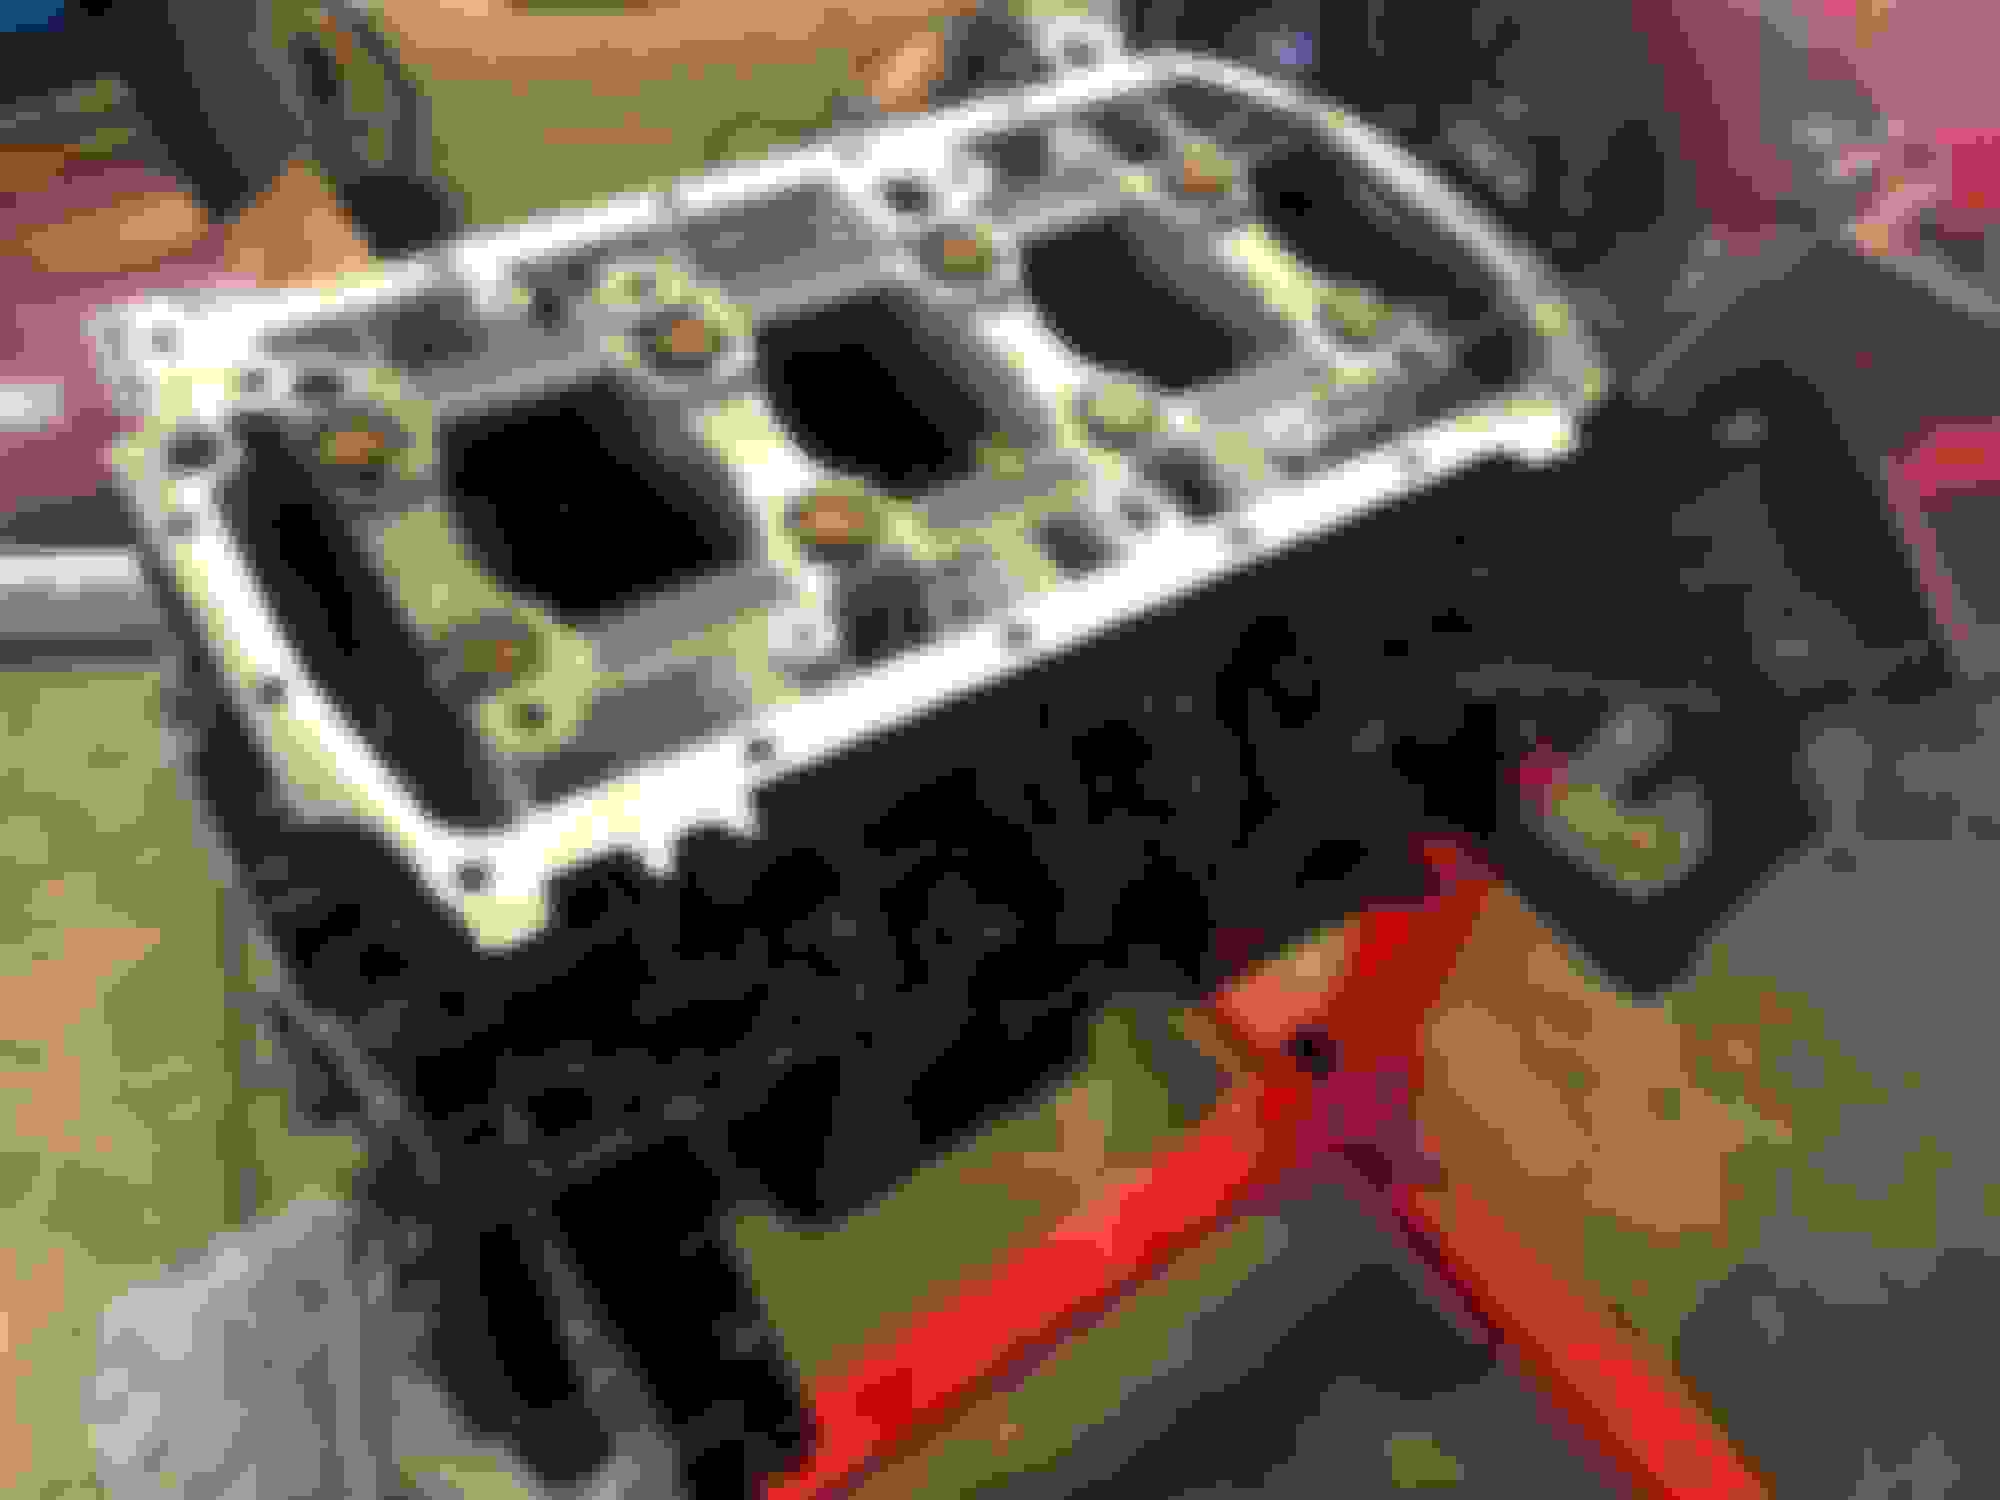
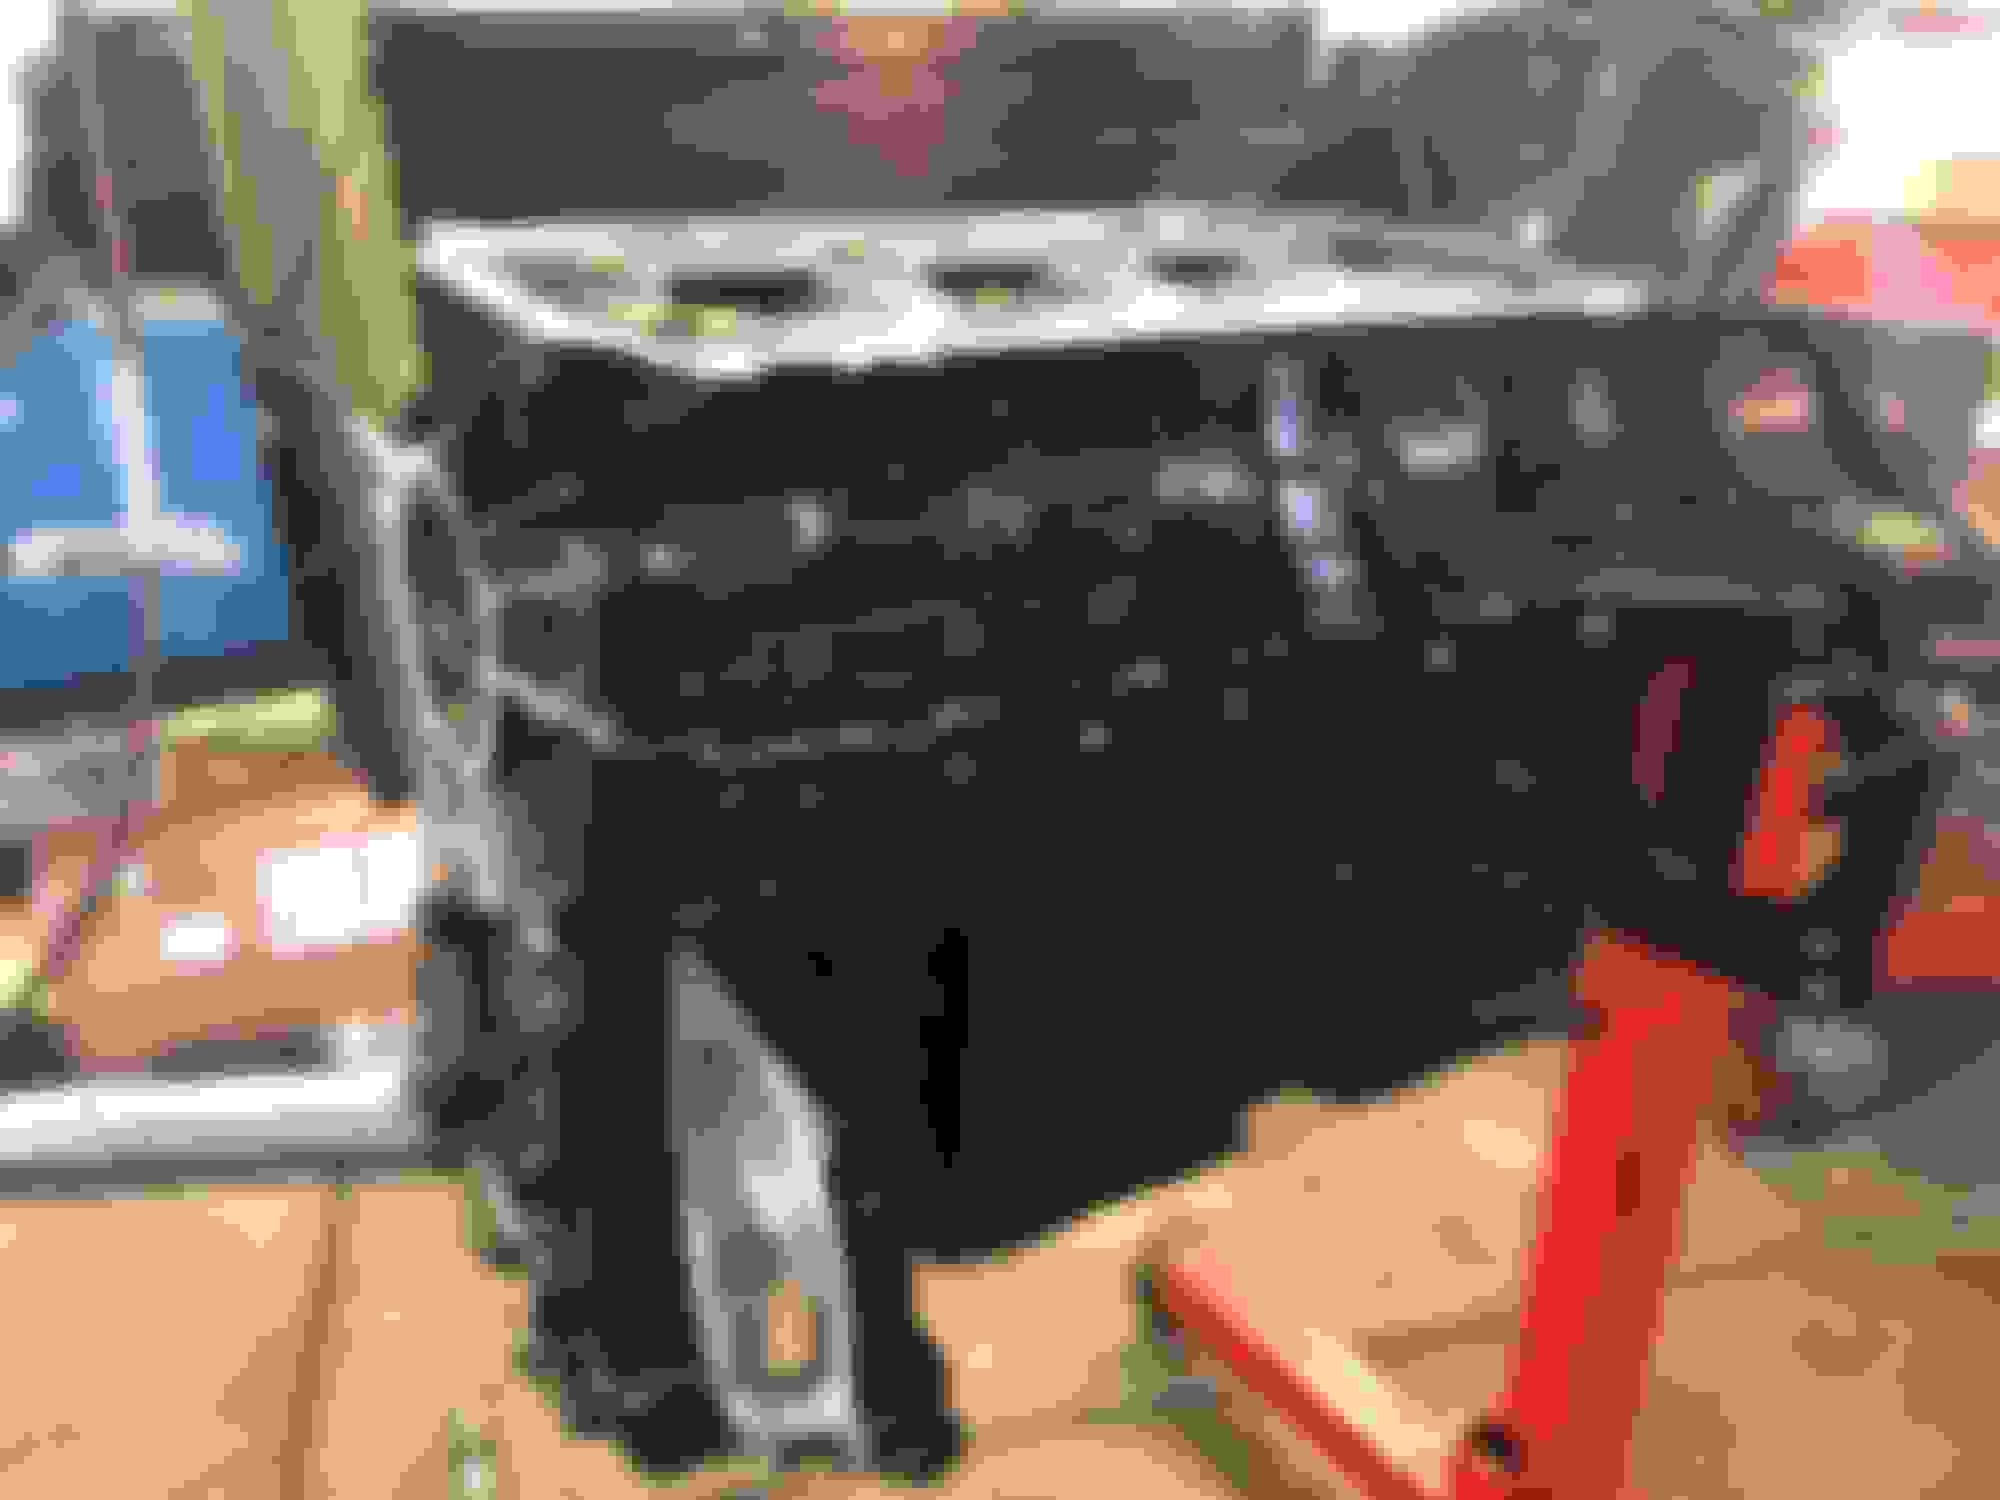
I got the block and head all cleaned up and ready for assembly
i also started building a 2.5� straight pipe exhaust I cut it at the cat and went all the way back with some v band clamps and flex pipe pieces in it as well
I finished up the exhaust today and finished pulling the drivetrain. I started lapping the valves and installing valve stem seals I was able to get the intake side all done after some major cleaning. The amount of gunk that direct injected engines build up on the intake valves and ports is ridiculous but everything is coming back together nice and clean.
Unfortunately that�s just an empty hole because the tow hitch is completely gone. But I am looking to get one so I can add a bike rack soon
Also I just recieved the turbo rebuild kit which I will start tearing apart soon. I should also be picking up my piston rings soon I will post info on those later
Last edited by Chrisg2121; Jan 25, 2018 at 04:34 AM.
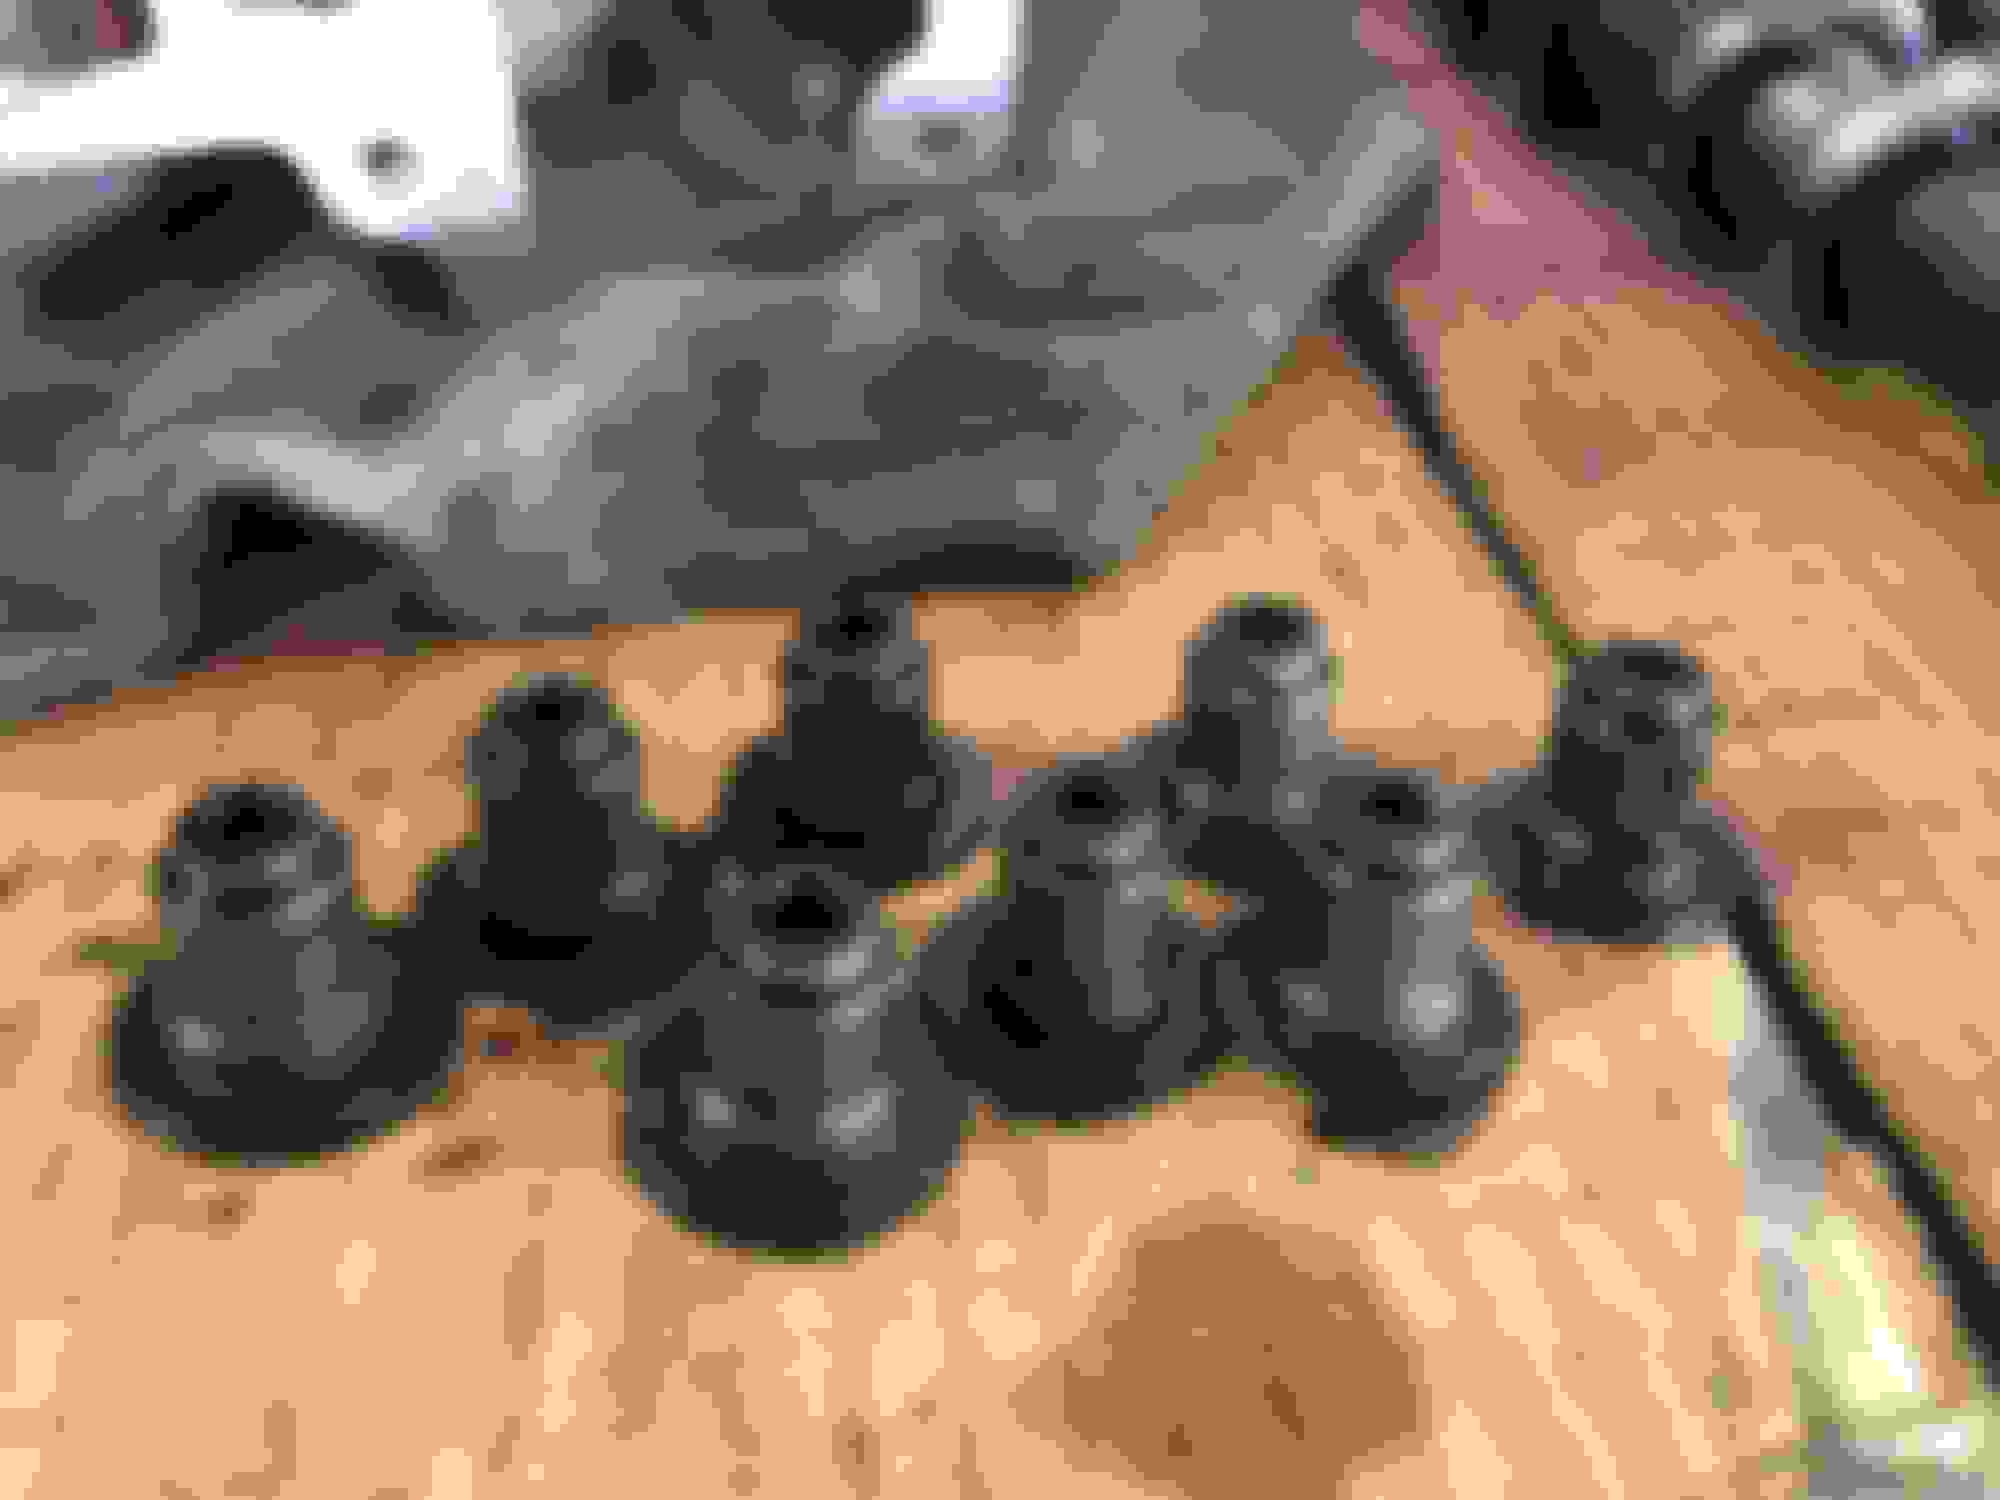
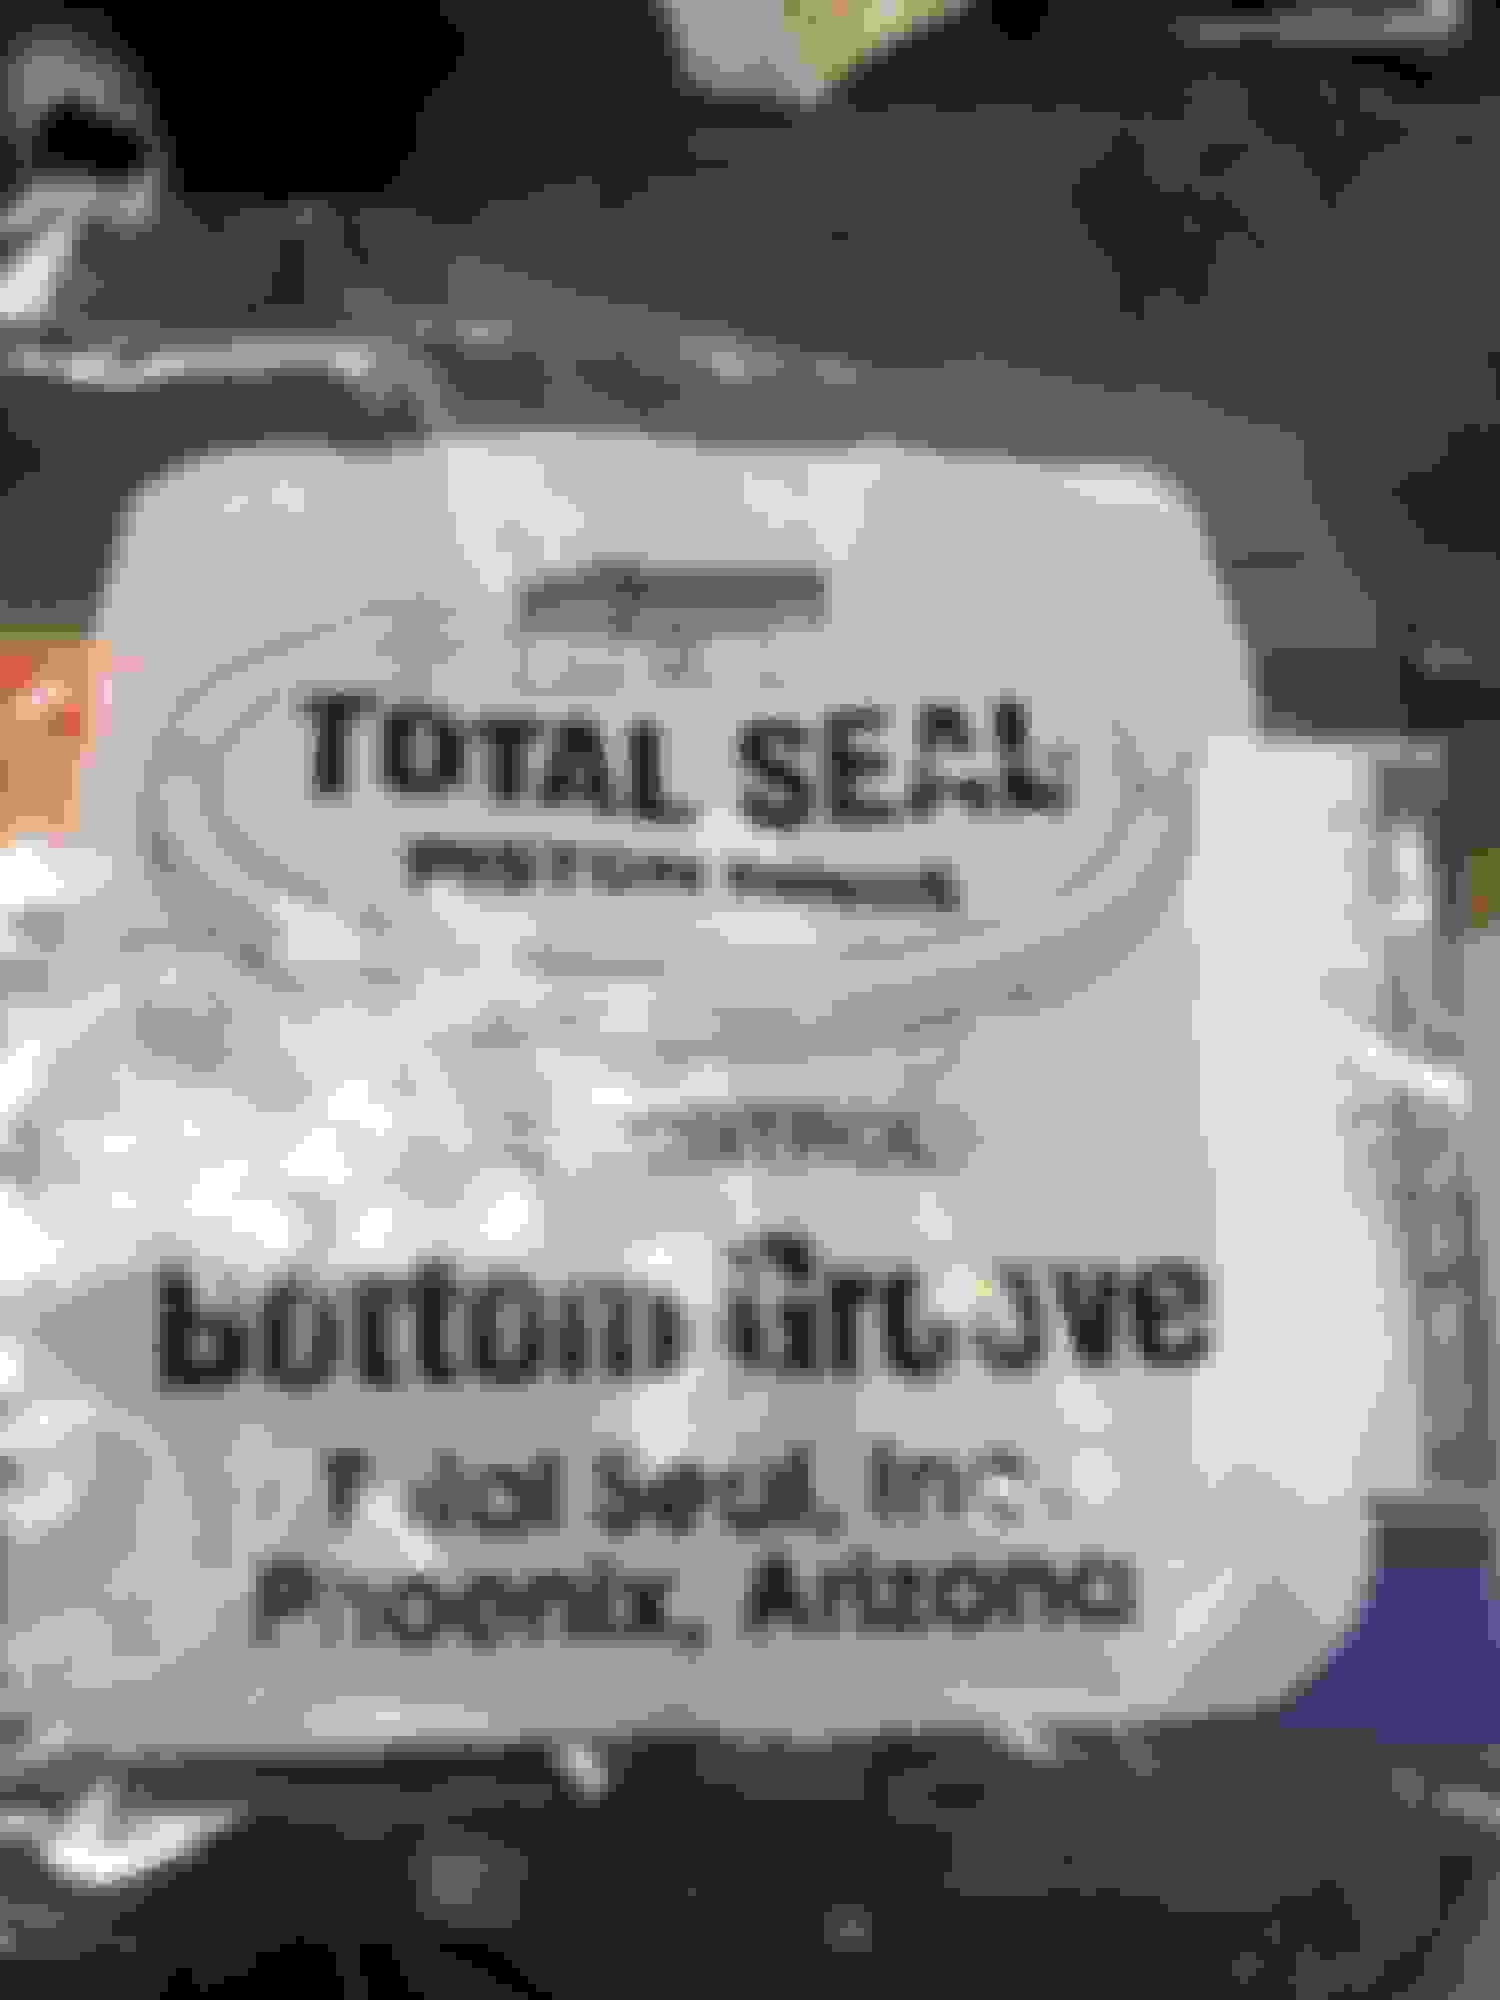
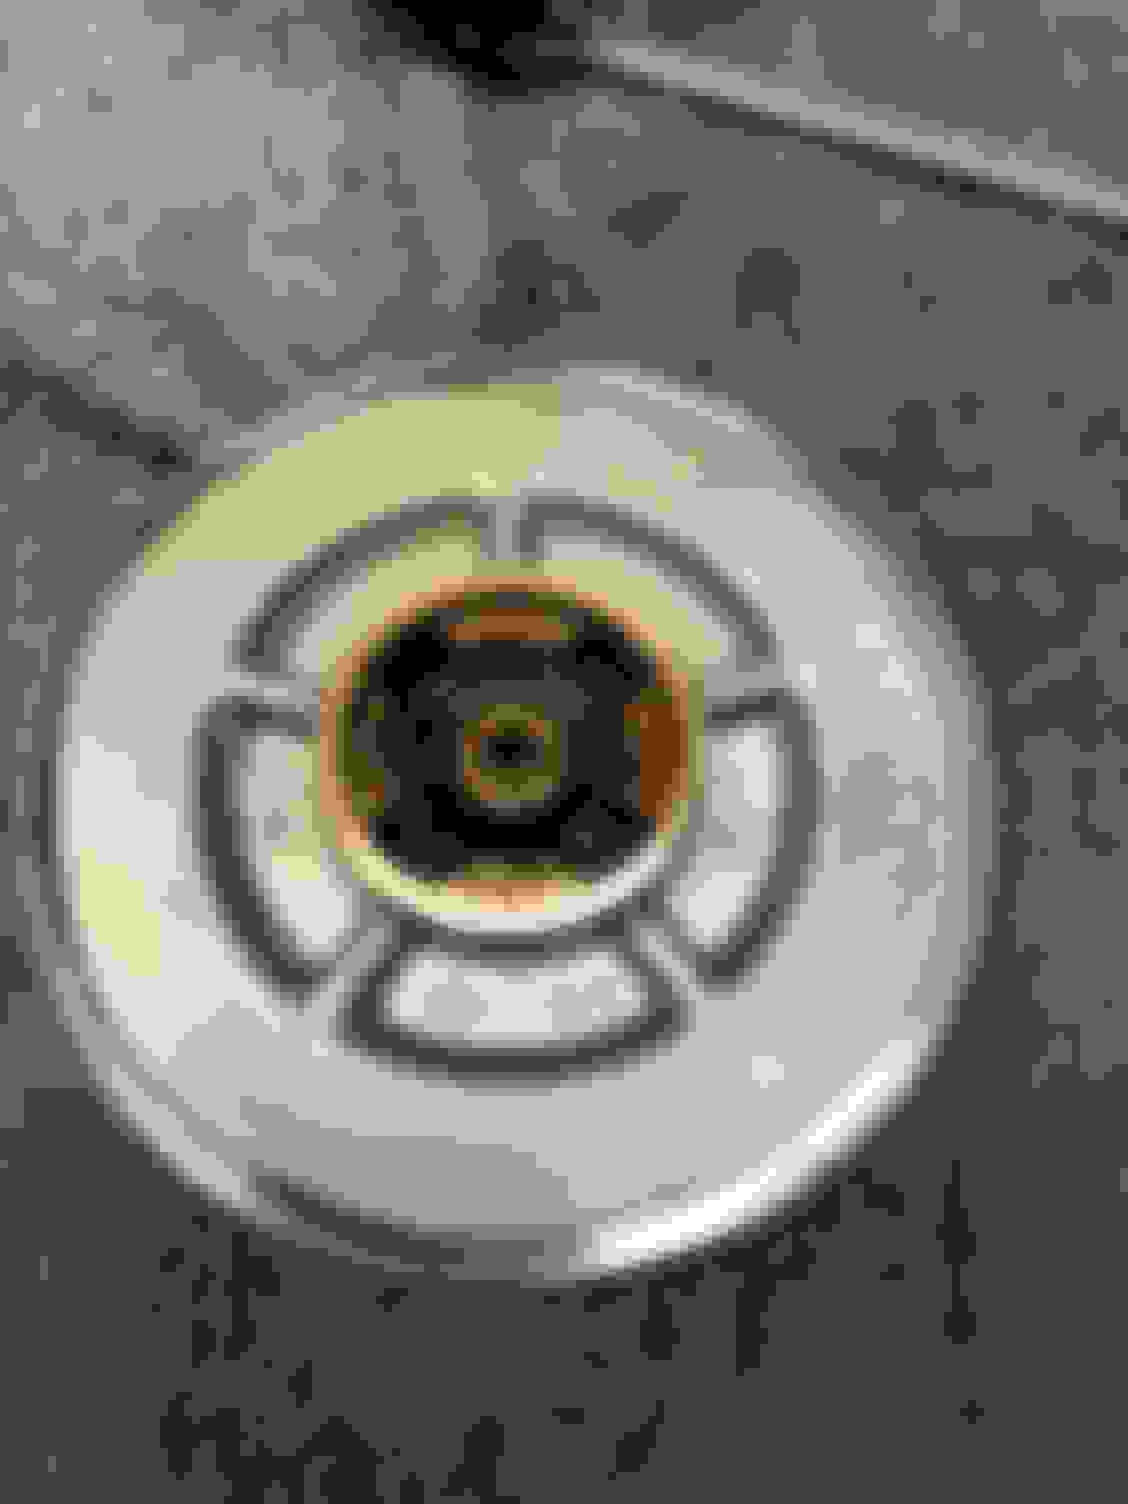
These are the style rings I�m having made they�re a gapless top ring which should eliminate blow by. They�re manufactured locally here in Phoenix so I�ve heard of them for a while and have been wanting to use them in a rebuild so I figured it would be worth it on this. I�ve done some research on them and there is definitely mixed reviews on any gapless ring, top or 2nd but Im willing to take the risk and give these a shot. They gave me a call last night saying they�re ready so I�m trying to go pick them up today. I�ll post more later
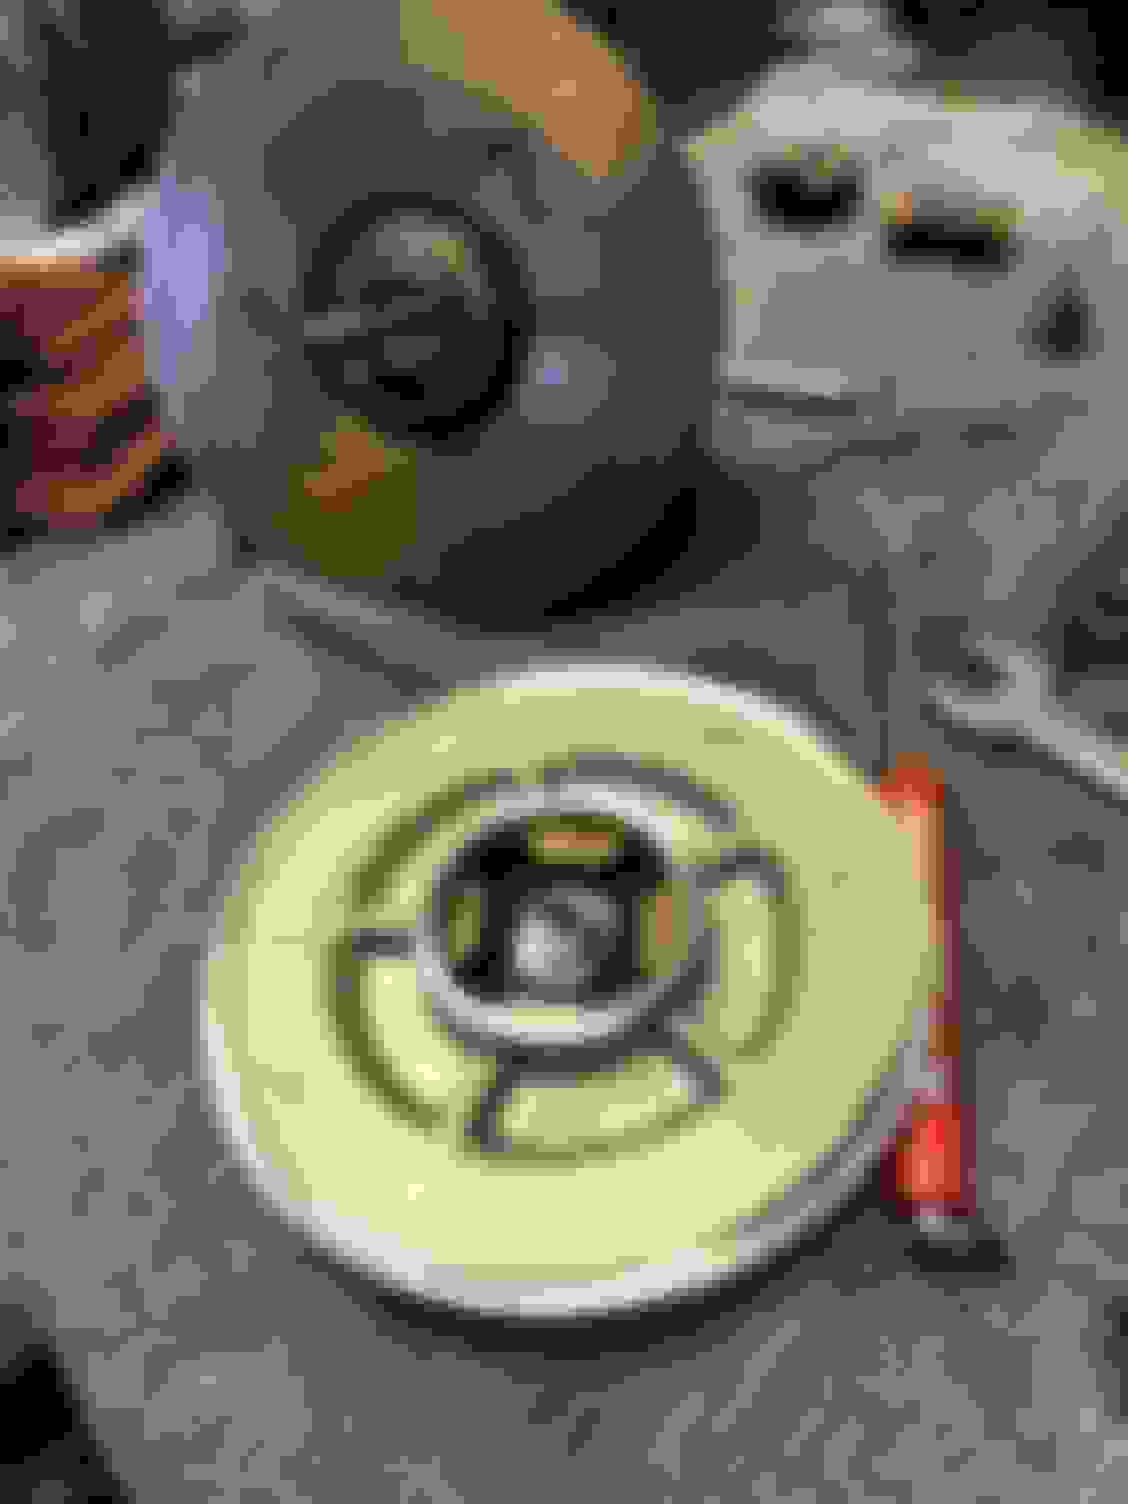
I picked up the piston rings today and they look great. I measured ring end gap and they�re all within specs. I installed rings on one piston but other than that not much else got done on the mini
Hopefully I should have more done tomorrow and I�m waiting on my main and rod bearings to come in after that i should have everything for reassembly
Quick questions for you (a reply by early tomorrow would be super helpful).
Although I have pulled several N14 engines I have never disassembled the bottom end of the block or rebuilt an engine.
I will make sure to keep track of all removed parts carefully but any advice to make disassembly (or assembly) of crank, pistons, etc go more smoothly?
I thought I read somewhere to lock the flywheel when disassembling the crack and pistons but not sure if that even makes sense (I have replaced the timing chain and clutch on a N14 so I know my way around it)so I'm ready to remove the clutch and flywheel and begin disassembling the bottom end and thought I would ask the forum first real quick for tips just in case before tearing into it.
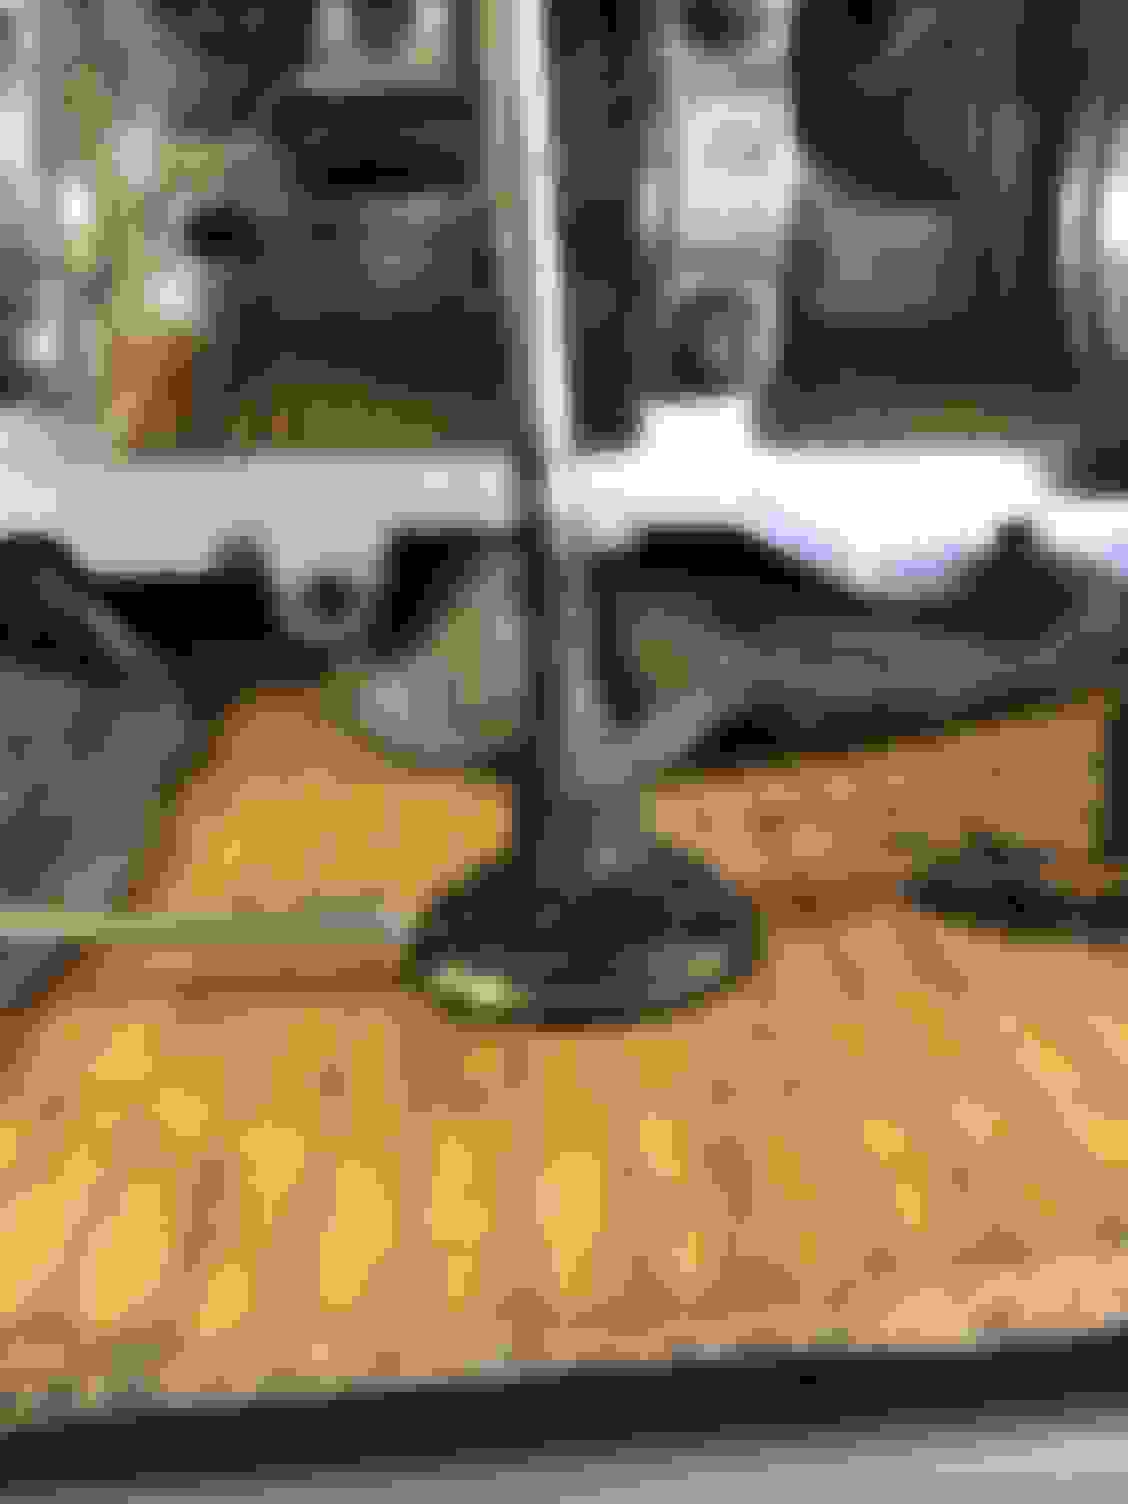
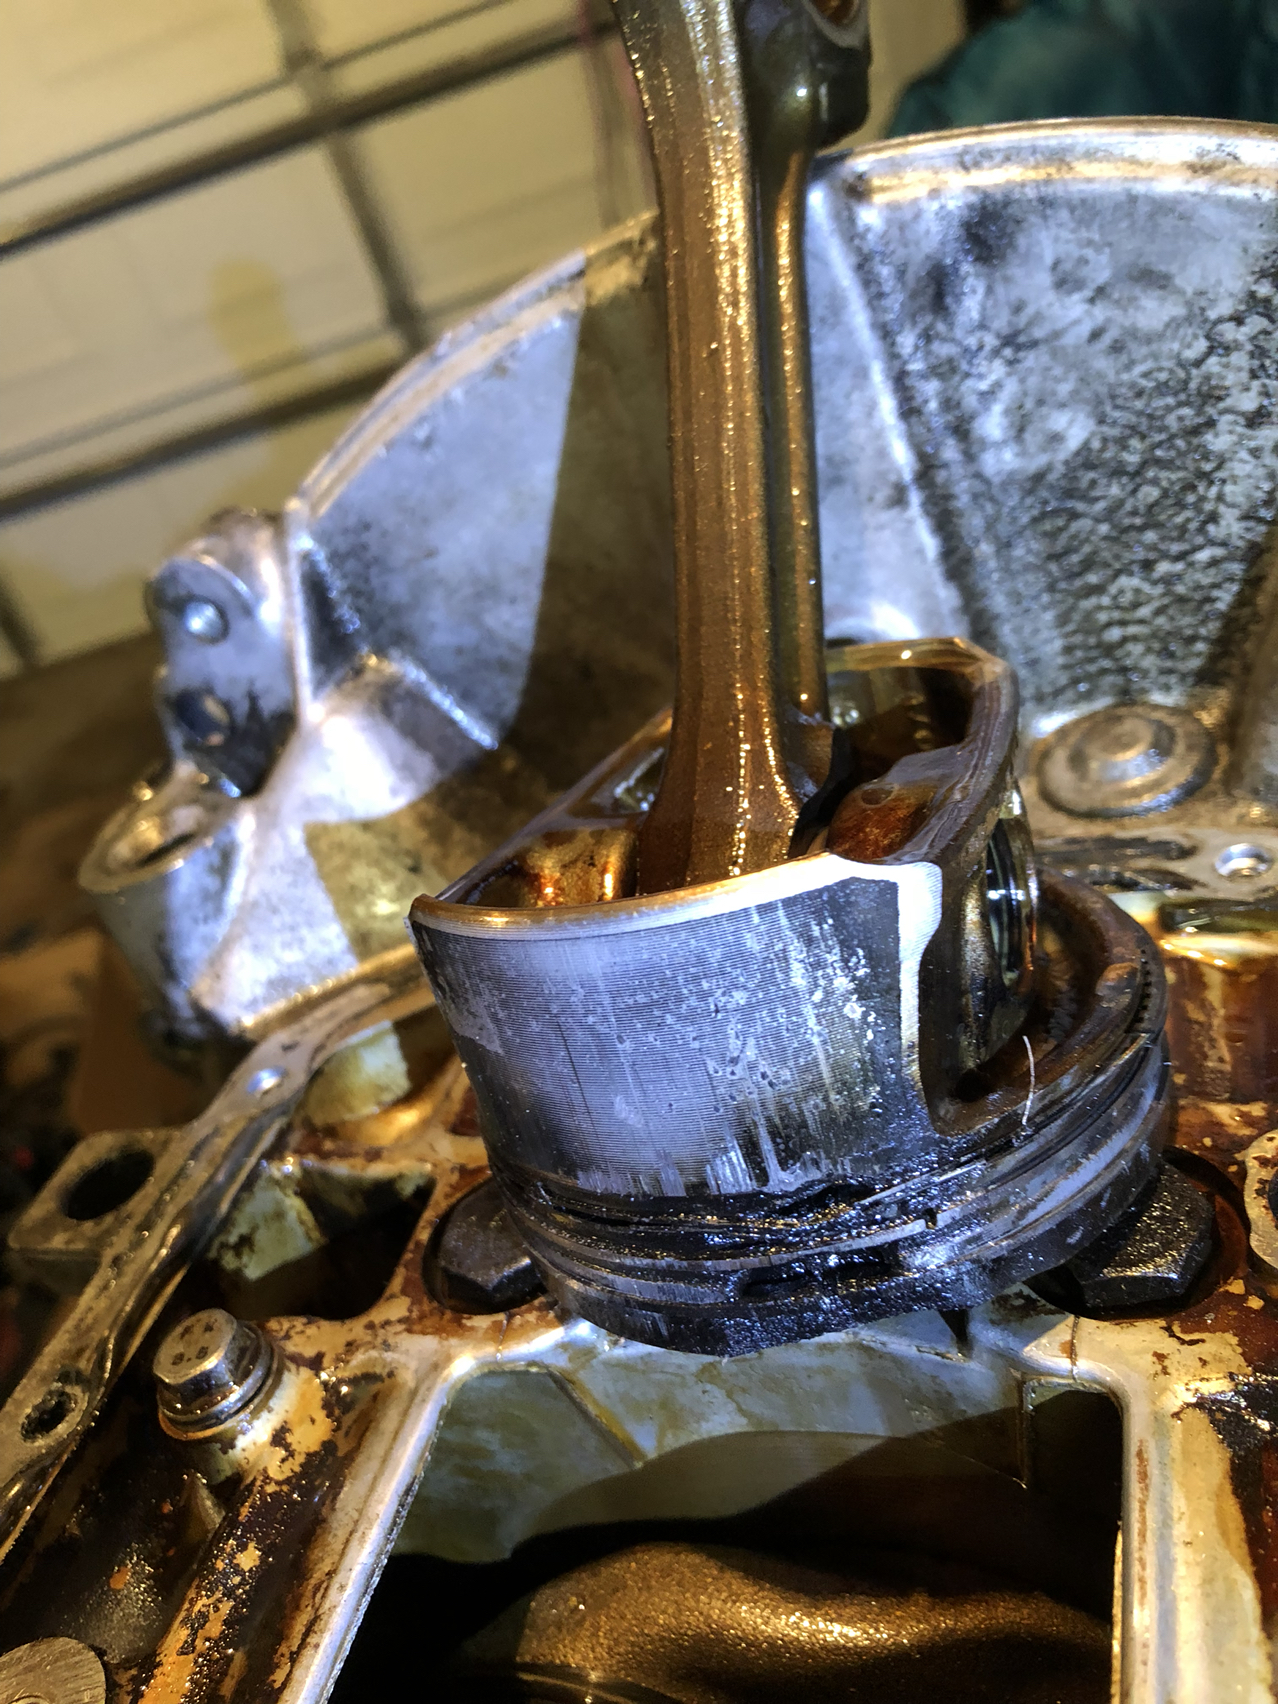
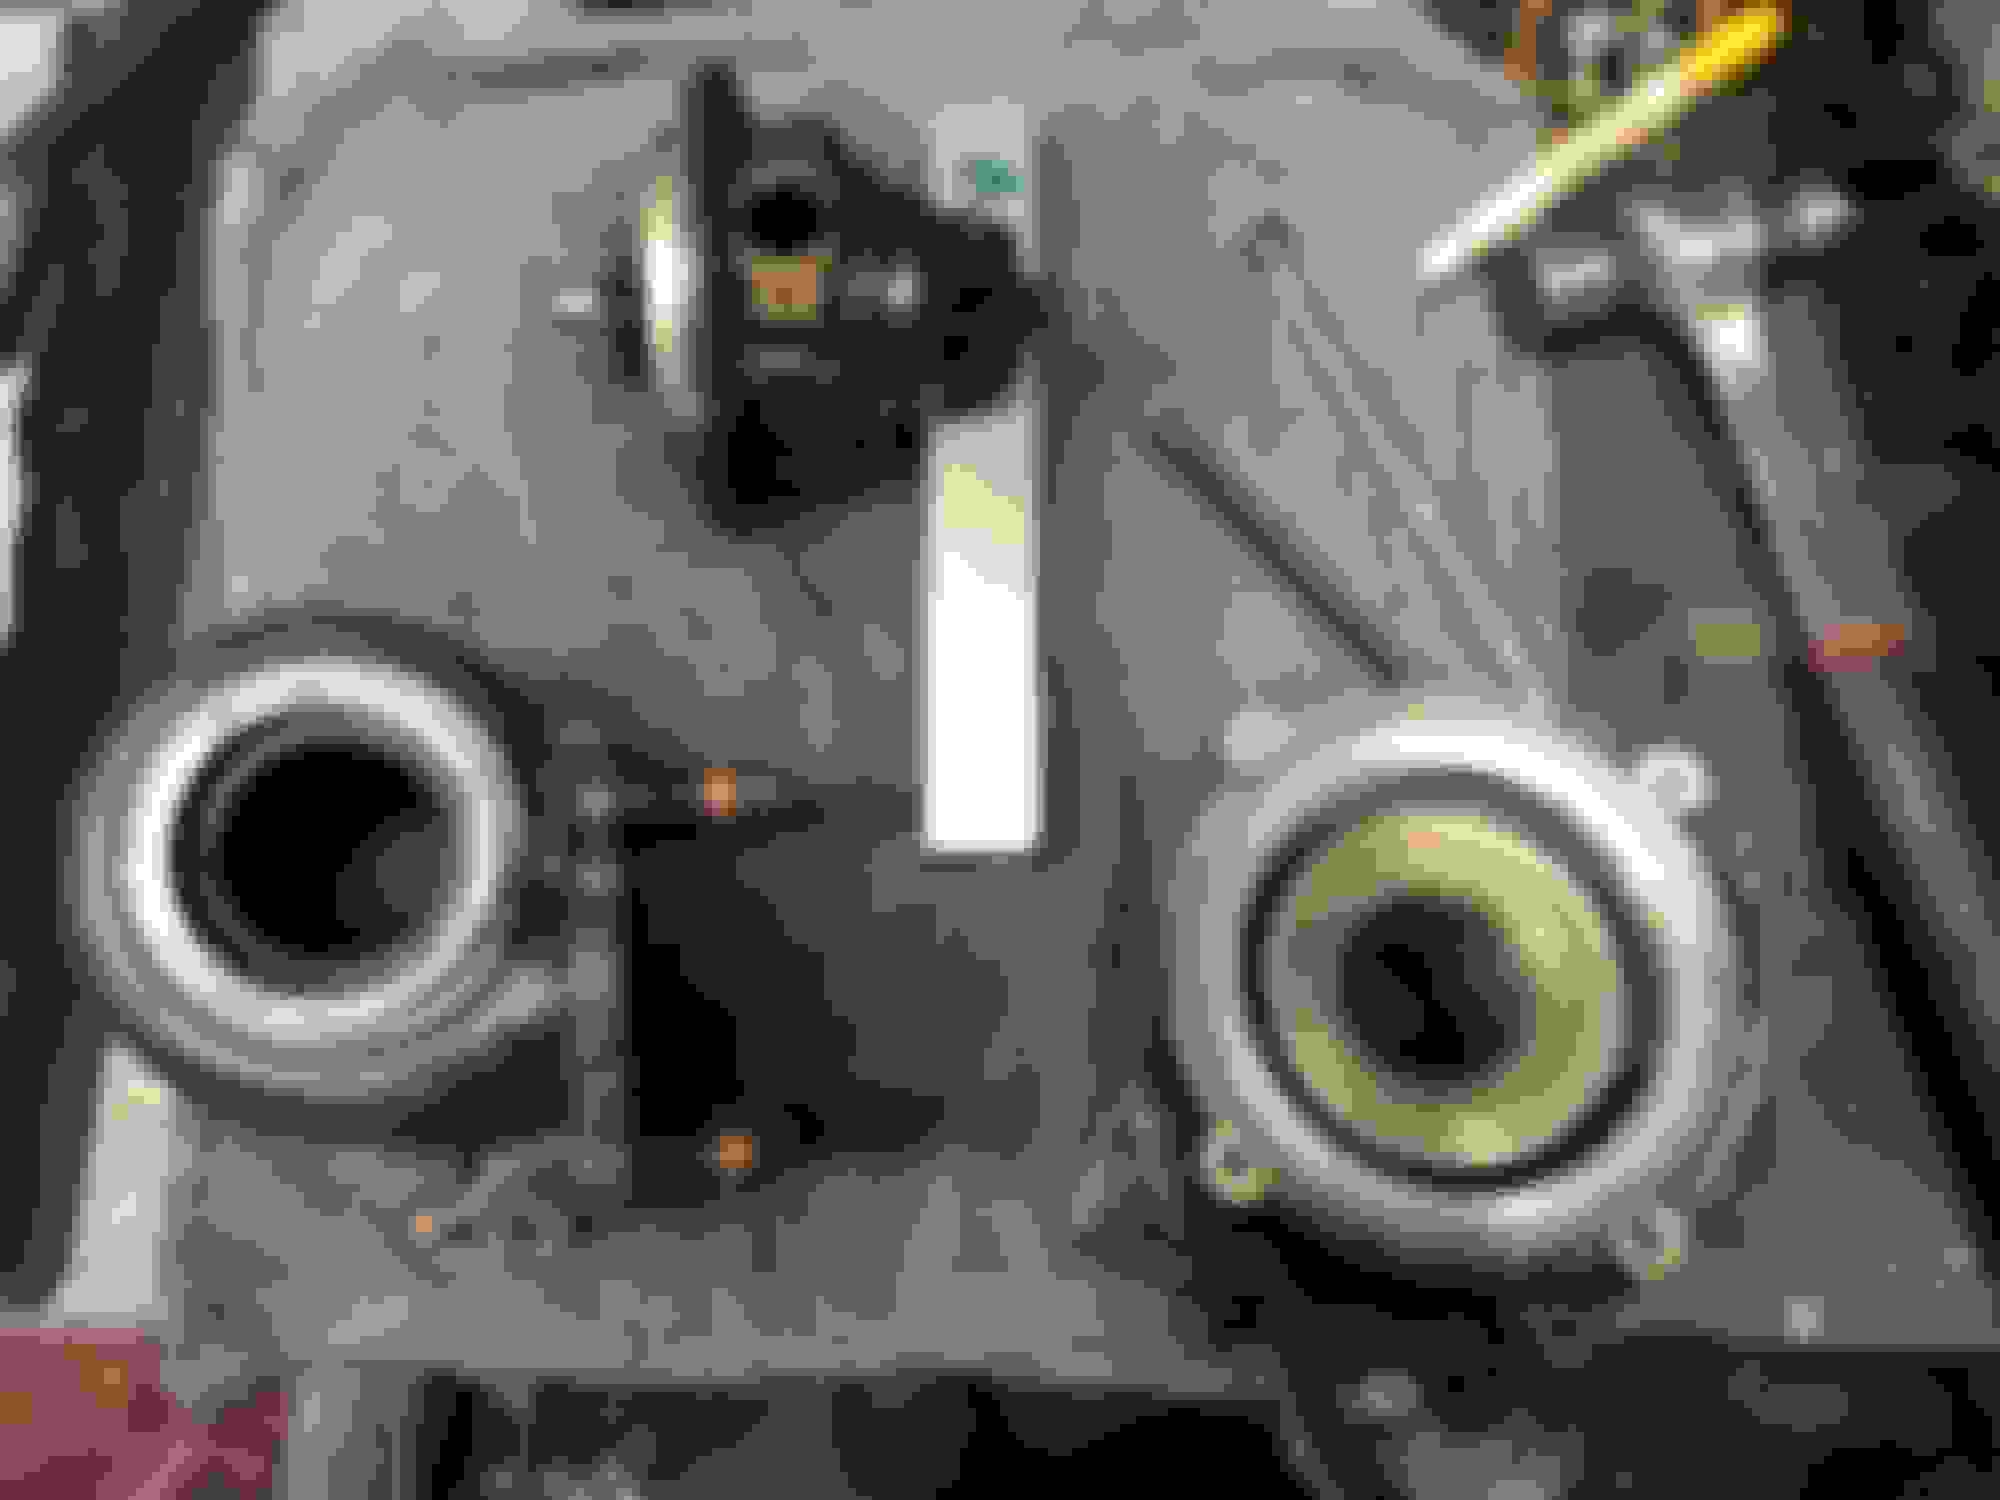
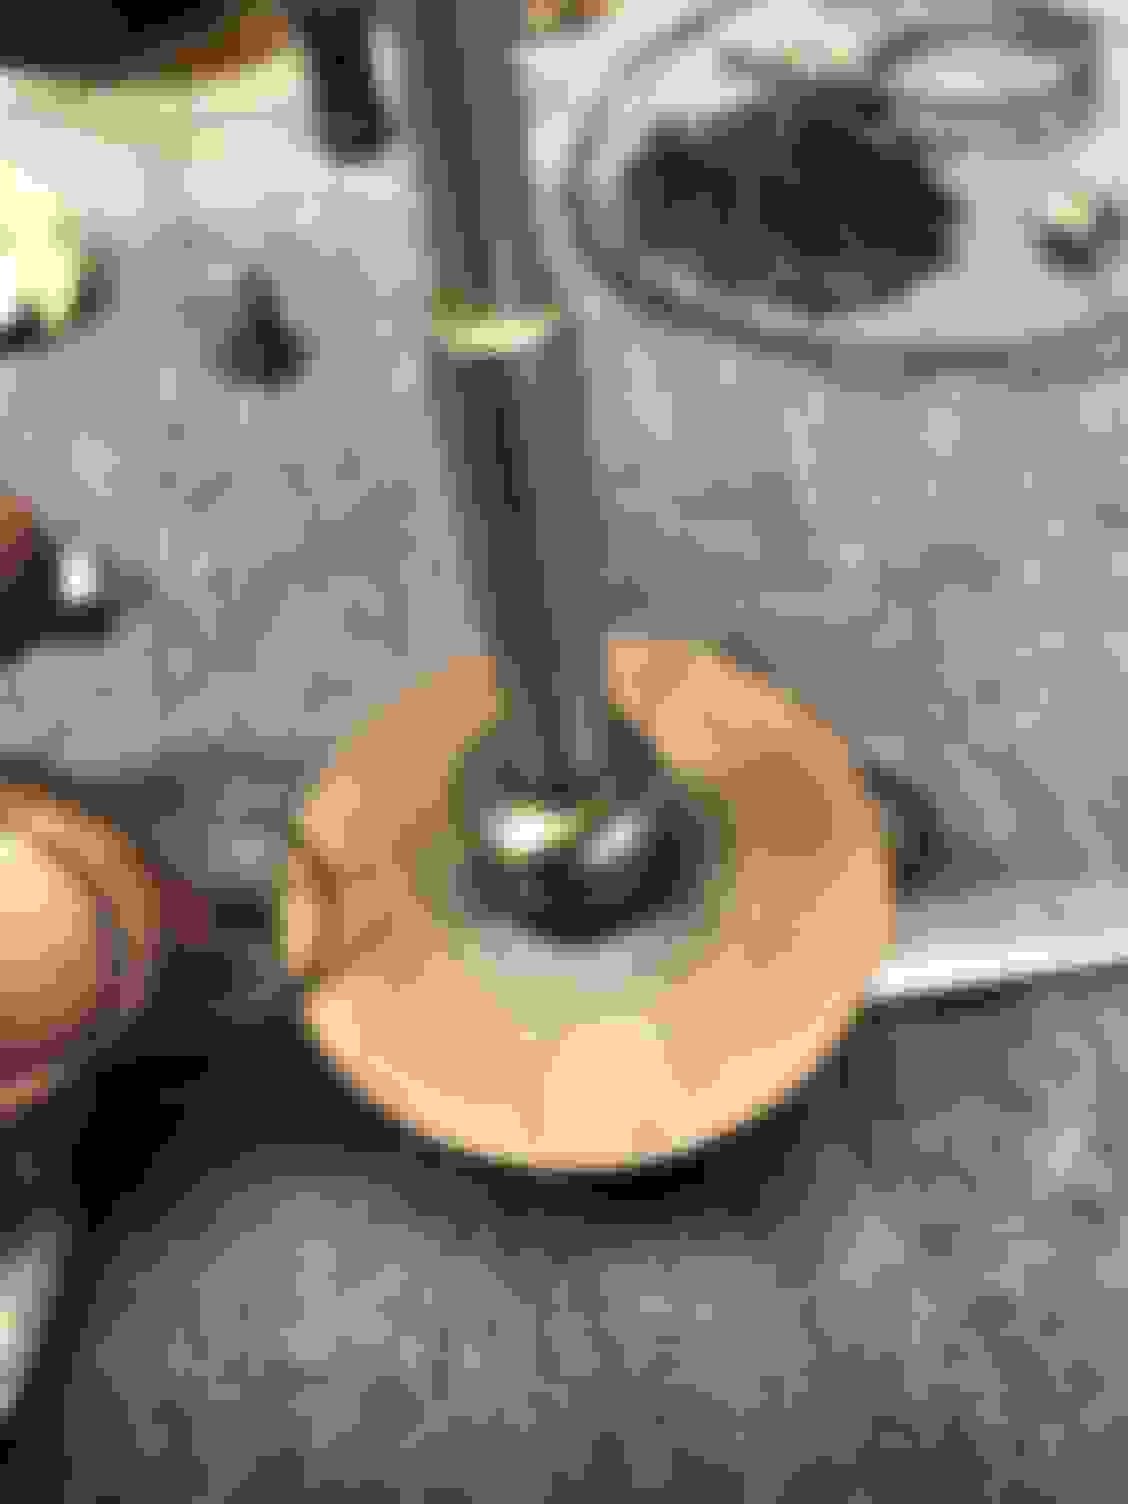
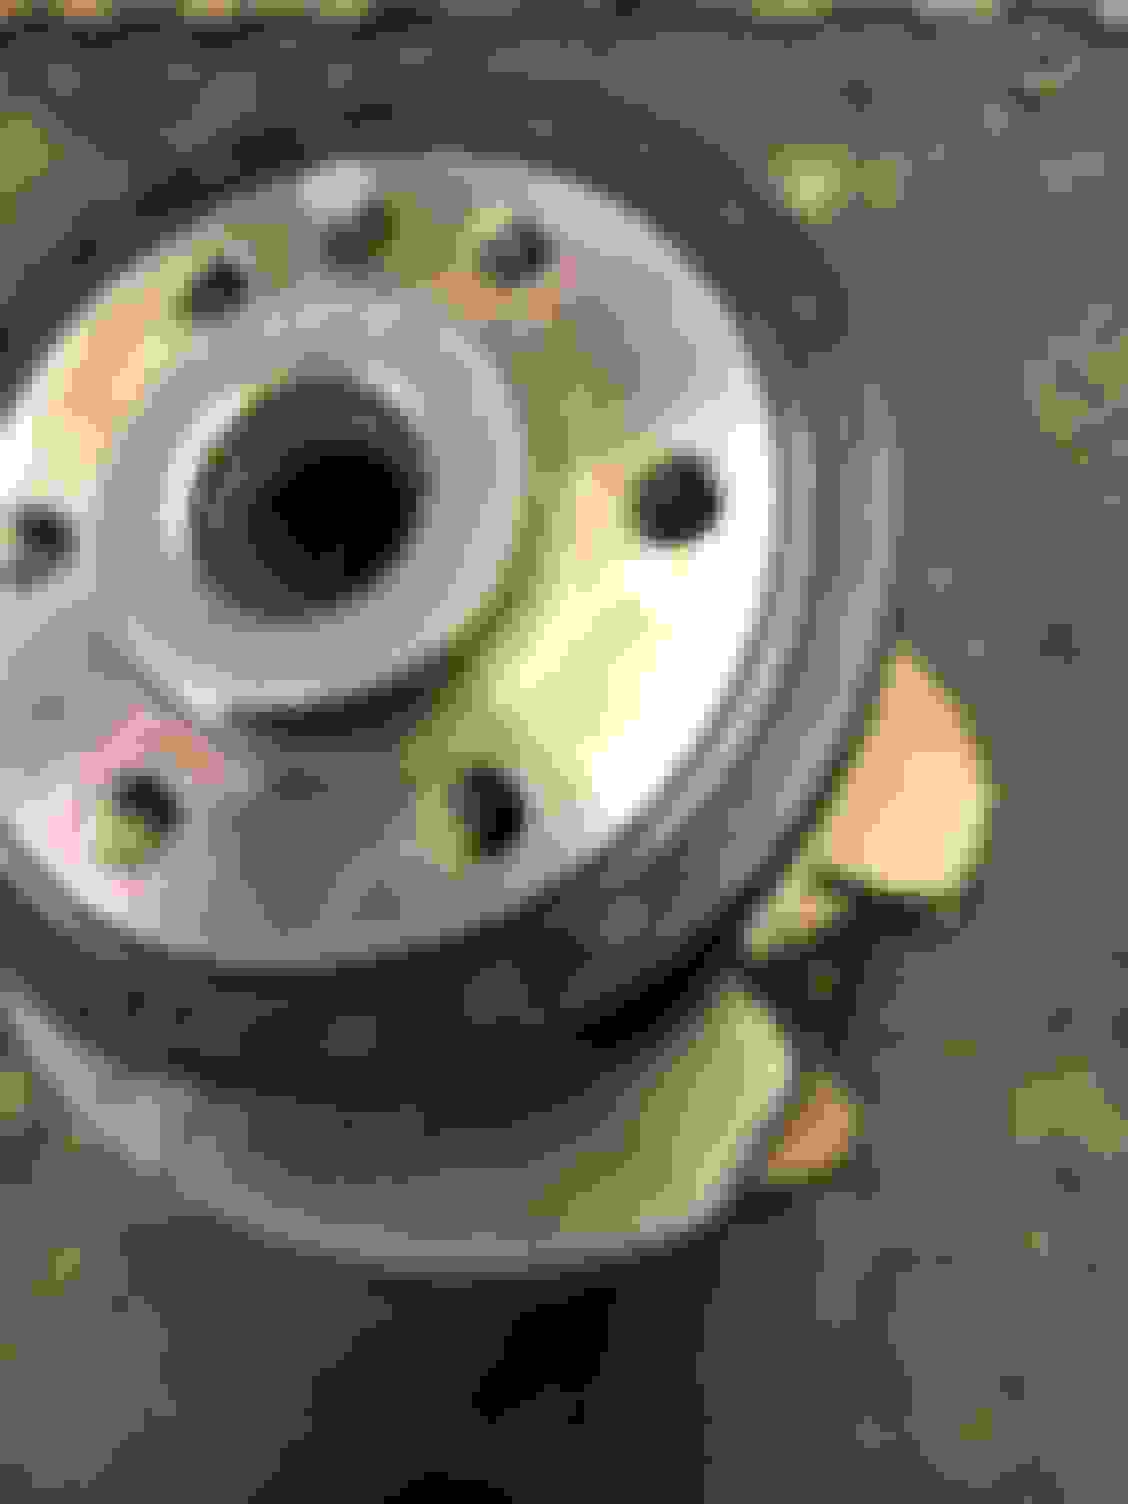
Also, I see some slight damage to one of the cylinder walls (see pic). It's smooth to the touch....no ridges when touching with fingers but it appears it was scratched or something.
Has anyone seen this damage before? What is it?
Note: only two pics total in this post. It may look like 4 but I had issues attaching.
So the way I did it was I put a pry bar into one of the flywheel teeth and used that up against the engine stand to then break loose the crank bolt with my 1/2 impact gun I cant imagine how hard it would be to break it loose by hand
I also had broken loose every flywheel bolt before I put it on the stand to make removal of that easier after
I think the proper way to do it is with the timing locking tool being used to hold the crank in place through the lower half of the block but it works out the same
the marks on that cylinder don�t look to great run your fingernail across it to see how it feels if it doesn�t feel horrible it may come out if you hone the cylinders but double check that piston too for any damage on the skirt or ring lands it may have damaged them
also make sure to remove the rear plugs on the lower half of the block right behind the oil pan those hide the last 2 main bolts also remove your piston and rod assembly before splitting the upper and lower part of the block other than that it should come right apart let me know if you have any other questions
Woah that�s bad!! No I think that was caused by detonation, which could have been caused by many different things (lean fuel mixture, excess heat) which would cause excess cylinder pressure at incorrect times doing some major damage
Is there any other damage you saw in there? How does the rest of that cylinder look like now that the piston is out?
Here�s a good article I read a while back about detonation http://www.enginelabs.com/news/deton...-it-using-efi/
The cylinder looks a little scratched up but not too bad. No rough edges or deep scratches.
It will need to be honed our maybe bored anyway.
I think when the ring gave out it started breaking apart and started to scratch the cylinder wall.
Other than that nothing else looks damaged.
With 150,000+ miles (seen a oil change receipt in the back seat at the junkyard and the engine had 146,000 miles on it in late 2017) I will be doing a full rebuild anyway.
First I'll get the block and head checked and cleaned then if it's good I'll start thinking about how I want to rebuild the engine. Upgraded internals for sure just not sure about all the options yet.
Need to start reading some of the other engine build threads.
Most likely I'll need new pistons. Not sure if they will be over-sized yet or not.
And I think most people building up the engine go with forged internals and new rods.
I don't really race or track any of my MINIs but since I'm rebuilding I want improvements. Don't need to go crazy with this build but I would like to upgrade some of the weak points of the N14.
Nice that�s good news
yea the machine shop should be able to let you know if they�d be able to just hone it or if they would have to bore it out as well which wouldn�t be a bad thing then you could upgrade to forged oversized pistons! I would say go a whole 1.0mm oversize! But make sure they are made of a 4032 alloy because those have a lower expansion rate which allows tighter piston to wall clearances which from what I�ve read eliminates the piston slap that forged pistons cause on cold starts. I�ve always wanted a set of forged pistons so I�ve researched them quite a bit but I�m just too cheap lol but one day I�ll have a set made for the right engine
Your stock rods and crank would be okay since those are already forged so the only worthwhile upgrade would be billet rods and a billet crank but the prices for those are so ridiculous it hurts
i have torn apart a few n12s n14s and n18s and I personally think the only weak links in these Prince engines are the timing chain guides and the exhaust valve seals the lowest mileage engine I had apart was a 2011 r55 with a 69,000 mile n18 and every exhaust valve stem seal was leaking horribly and the timing guides had some major wear on them other than that I feel these are pretty bulletproof in stock form
Today I rebuilt the turbo and it was surprisingly easy splitting the hot side was kind of a pain but it came apart and it went back together great
I�ve taken a few turbos apart before but I�ve never reassembled one. I probably should have finished the cylinder head but I couldn�t wait to rebuild this
i also received my main bearings, rod bearings, and thrust washer
Today I cleaned the block and painted it in semi gloss black. I also honed the cylinders with a 240 grit flex hone, installed main bearings, and got the crankshaft torqued down. I still haven�t got around to finishing the head but I should be able to get that done soon.