When you click on links to various merchants on this site and make a purchase, this can result in this site earning a commission. Affiliate programs and affiliations include, but are not limited to, the eBay Partner Network.
If you're talking about the 1st car, then no panels need to be removed. Simply unlatch the top (those two levers on either side of the rear hatch) and push the back of the top up. I used a piece of wood to hold it up and out of the way while I worked on the trim. Then all fasteners are exposed.
Thanks Martinb for your directions on the access to these screws, helped a lot. Bought these parts from ECS Tuning for $311 incl shipping. With your directions replaced these items in about 30 minutes Easy Pieasey.
I suppose it could be filed under "Its easy when you know how"
Regarding the cost, which is a bit much, I look at it regarding the damage this may cause if not replaced, leakage into the trunk area. If this happened the trim would HAVE to be replaced anyway, as well as any damage caused. Thanks for your assistance with information supplied. That's what these Forums are all about, helping each other with problems and resolutions.
My car had those roll bar covers on it when I got it (used). Were they an available option when new? Somehow I don't think the 2 previous PO's added anything to the car that didn't come on it.
And hijacking the thread for another topic, has anyone done a DYI top replacement? I'm getting close to needing one but the entire job seems to be more than I can handle. I've changed tops on my Miata a few times, but that was a manual top and had no magic electronics or electric motors and pumps.
Believe it was an option and came with the chrome line interior package. If they bought a less option/ loaded MINI, then most likely that how it came. Easy change though. If you need a factory top we have the parts. They came in Black, Green, and Blue. I know you will need the small install kit also for the top.
Do you have a diagram or pic of where these parts go?
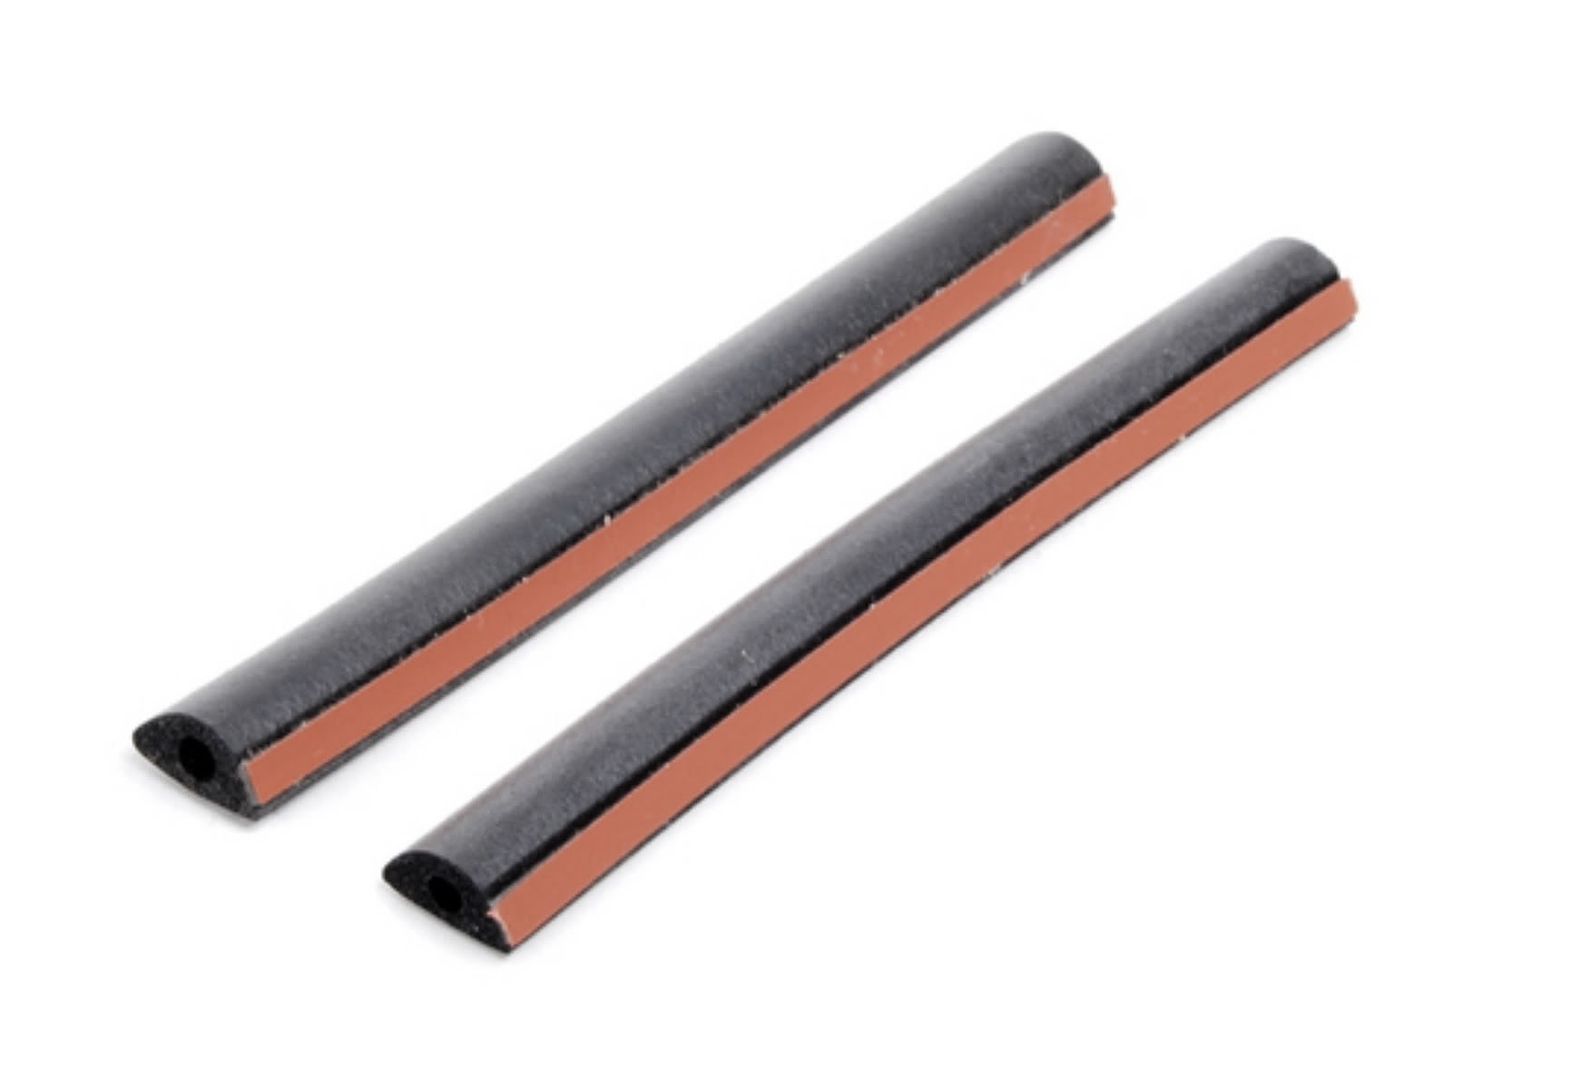
Wish I'd known about ECS before I ordered my left and right molding pieces from another vendor. Paid about $375 including shipping, but it didn't include hardware or the two small foam side seal pieces above. Do those foam parts commonly wear badly, or get ruined when you remove the molding?
Last edited by jonk1969; Nov 13, 2016 at 04:00 PM.
Reason: detail change
I just recently posted a simple repair in lieu of replacement. As IMO the upper rotted rubber does not impact the trim's ability to shed water, I don't think the foam inserts above would deteriorate as they are not subjected to ultraviolet. Perhaps others with more vert experience can chime in. Below is the link to my recent post and also are the pictures from the final product. Total cost, less than $20.
Wish I'd known about ECS before I ordered my left and right molding pieces from another vendor. Paid about $375 including shipping, but it didn't include hardware or the two small foam side seal pieces above. Do those foam parts commonly wear badly, or get ruined when you remove the molding?
Welcome, yea they don't get ruined like the outside, they get compressed a little. But they come with the new kit. And we have the hardware which on my MINI was all rusted and pretty bad.
I just recently posted a simple repair in lieu of replacement. As IMO the upper rotted rubber does not impact the trim's ability to shed water, I don't think the foam inserts above would deteriorate as they are not subjected to ultraviolet. Perhaps others with more vert experience can chime in. Below is the link to my recent post and also are the pictures from the final product. Total cost, less than $20.
Does the weather strip keep rain out?? Will water get in my boot without it? Just picked up an R52 and its rotted to hell. I'm afraid to drive it in the rain.
Does the weather strip keep rain out?? Will water get in my boot without it? Just picked up an R52 and its rotted to hell. I'm afraid to drive it in the rain.
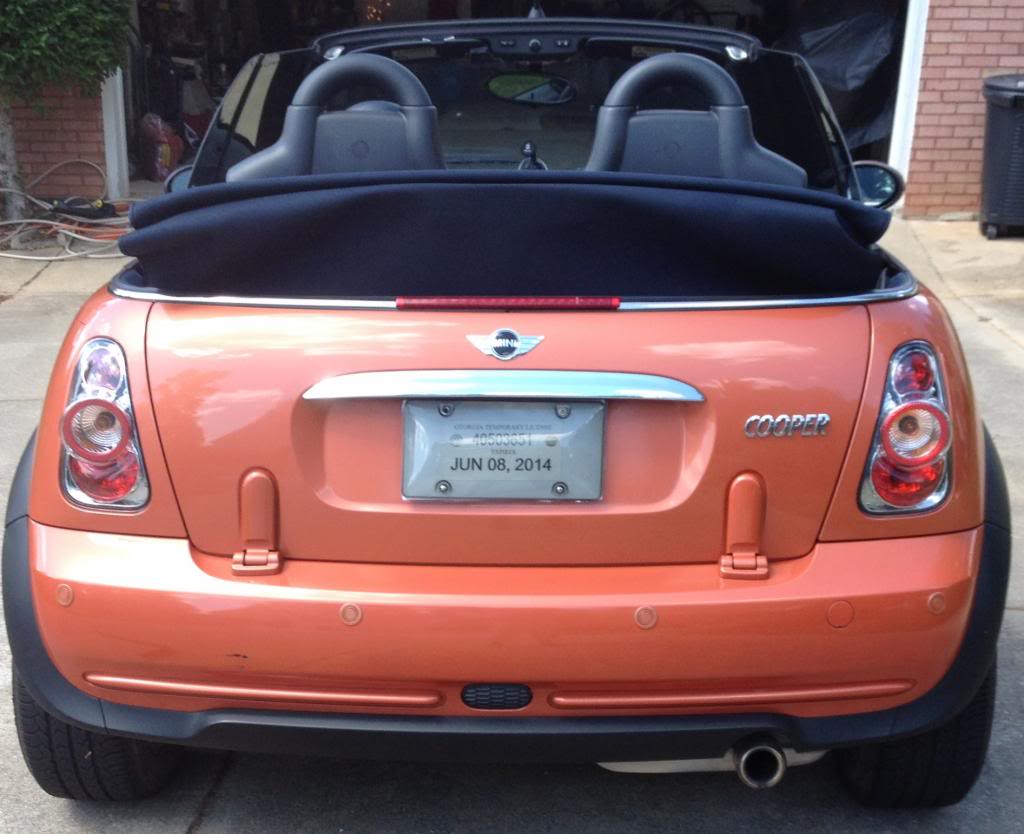
Yea, there is a channel in there and it suppose to drain out the back down the sides of the boot channel. There is a rubber seal that set in the corners. What I noticed on mine is with the new rubber seal the water trails over the seam where the top stitching can be seen and then goes down the side of the car. So it keeps more out of that channel gutter under the top. Also, my old trim on the bottom side was cutting into the paint a little over time as the plastic gut brittle. I had it repainted due to rust under those taillights, so its much better, but the old trim that's falling apart left marks towards the front of that trim where it meets the paint on both sides until the paint work fixed it and the new trim replaced. Great place to get rust over time I guess. If you open the trunk.
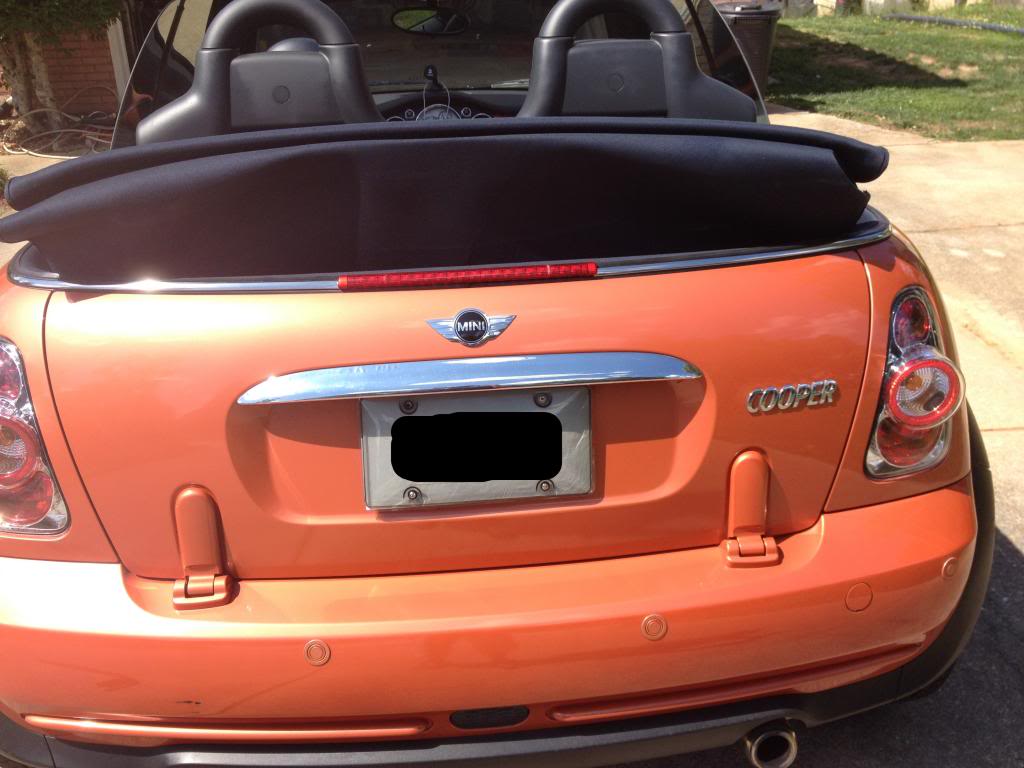
If you open the trunk like this and look on the bodywork shoulder ( rear quarter panel) near the trim at the top, if you have old trim you might have those rub marks.
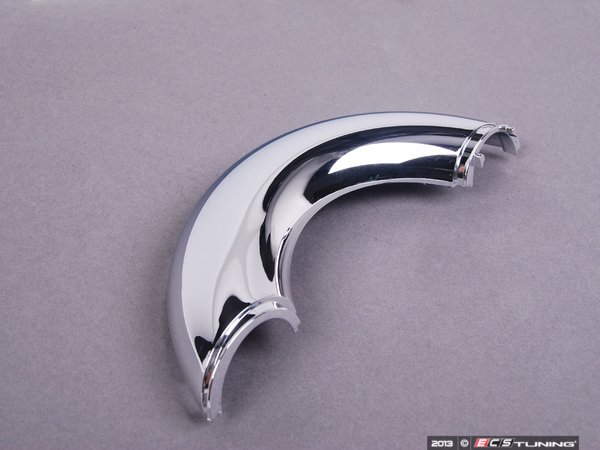
Just like the sunroof weeps, the vert rear gutters should also be cleaned out. The ECS picture is showing the weeps for the gutter below the bar stop light, there are two more, one on each side of the car.
I have noted that the bottom of the trim has rubbed the paint enough that it can be seen. I apply a sil-glyde type product on all the rubbers of the top including this trim twice a year (something I learned from having 7 other verts). It keeps the material more flexible and in this instance helps cut down the wear.
I put some painted black trim on (see link below to another post on this matter). Car was parked outside for the first two months until I sold my Vette, no water issues in that time.
And, one of the rattles that was driving me crazy was the rear gate emergency open. If you review this triangle shaped grasp lever, you will note that it sits on top of a peg that comes out of the plastic gate trim. I assume at one time there was some type of clip that held the handle in place as without the thing bounces around every time you go over any type of small bump. I used a plumber's faucet washer that pushes over the peg and holds the handle in place.
If you are getting vibe rattles in the back, check the under the car x braces that cross over the gas tank straps. I cut and put some rubber pads on the braces. Solved that rattle out.
Read some of my other posts where I show some other rattle points on the R52.
I noticed some triangular plastic pieces near that joint underneath the trim. Mine didnt seem to move.. are they to assist in aligning the two trim pieces?
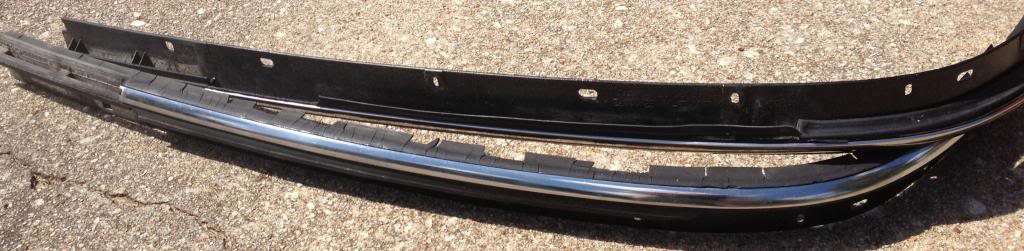
I am moving this thread into the R52 section. It is now well over a year and half since I did this inexpensive modification and there are no leaks associated with it and the painted trim has held up quite nicely as you can see by the pictures below. To recap:
1.) I trimmed off the rotted vinyl and applied a small bead of black silicone to cover up the stitches that are below the trim. IMO the trim did nothing but protect the stitches from UV rays. You might want to apply some blue painters tape just above the stitches so that you can minimize the silicone spread onto the top fabric.
2.) Once the silicone is dry, take a clean shop rag, dab some lacquer thinner on it and wipe the top of the black trim that remains after you have trimmed it. The material is gummy-like to start with.
3.) I bought some Cowles # S37750 1/2" chrome trim that you pick up at most autopart stores and painted it with a trim/bumper type semi-gloss back paint. I cut the pieces a little longer and hung them up so that I could paint them.
4.) Once the trim is dry you remove the double sided tape cover and slowly apply the painted trim to the old trim.
I have added blackout tape on the chrome beltline since I did this back in November of 2016.


 If you need a factory top we have the parts. They came in Black, Green, and Blue. I know you will need the small install kit also for the top.