When you click on links to various merchants on this site and make a purchase, this can result in this site earning a commission. Affiliate programs and affiliations include, but are not limited to, the eBay Partner Network.
How to remove interior door arm rest trim on 2002 Mini Cooper
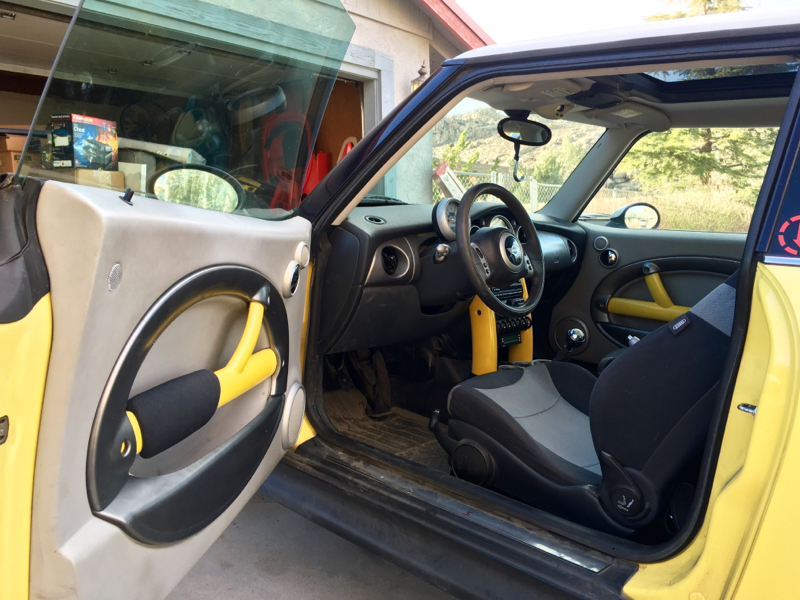
Ok so I have done a ton of looking up and cannot find anything! I want to take off the grey/silver door trim arm rest on the 2002 mini and I cannot figure out how to get it apart so I can repaint it.
I have the entire interior of the door trim off but I just can't figure out how to get that arm rest with the little leather pad.
Remember that this is the 2002 cause I have found stuff for later models but not the 02
Here's a DIY for taking the door off - http://www.minimania.com/MINI_Cooper_Door_Panel_Removal - but it sounds like you've already got it all off. If you're trying to get the large oval out of the panel, or the Y-shaped armrest out of the oval, pretty much everything is molded or plastic-welded in together. You may have to just mask off the oval and paint the Y while it's all in one piece.
We're trying to do the same thing and it looks like that part does not come off unless you drill out the plastic welds. I've not found any instruction on removing and then reinstalling them. We were going to go the route of masking and painting in place. Painting the back side isn't going to be possible though.
To bad they didn't give this part a better finish since it is a high touch area.
I have seen some leather wraps for this area but they are expensive.
I used a hot glue gun to "weld" it back together. There really isn't enough room for screws of any length.
If I remember correctly there are two small Philips screws holding the cushion on.
Nik
I know this is an old post, but how is the hot glue working out? I've been wanting to paint mine, but I didn't want to destroy the panel by not being able to put it back together. I've thought about using some slow cure epoxy to reattach it if I go through with my idea.
I know this is an old post, but how is the hot glue working out? I've been wanting to paint mine, but I didn't want to destroy the panel by not being able to put it back together. I've thought about using some slow cure epoxy to reattach it if I go through with my idea.
Overall its been working pretty good, I've only had a couple spots pop apart that I had to re-glue. An epoxy would probably be a bit better.
I know this is older but wanted to share my findings. I have a 2002 as well and there isn�t a clip to remove the pad. There are actually three T-8 torx screws on the back. You will need a Naro Driver to get at them with the panel assembled.
I know this is older but wanted to share my findings. I have a 2002 as well and there isn�t a clip to remove the pad. There are actually three T-8 torx screws on the back. You will need a Naro Driver to get at them with the panel assembled.
Good one!
I wonder how many door arm rests have been inadvertently destroyed without having this knowledge.
Thanks!
Agreed, good info! I thought all those trim pieces were secured to the door card by heat-staked pins in the same way as speaker grilles. Door card P/Ns changed with FL models, notably armrest style. Unsure if the trim retention method was also part of that change. I still have my original driver side door card (replaced by very spendy NOS) which had an unsightly dimple-dent but with pristine trim. If I can remove those with a torx driver as suggested, I'll do so and toss the card.
OK, I get it now. The suggested method and tools only removes the armrest pad - not the primary trim pieces. On FL door cards, the padded armrest slides and clicks into position from the front side with no attachment hardware on the back side to remove...
I know this is older but wanted to share my findings. I have a 2002 as well and there isn�t a clip to remove the pad. There are actually three T-8 torx screws on the back. You will need a Naro Driver to get at them with the panel assembled.
I NEED a Naro driver--even though I don't have this type of door trim. 😁
I always made one out of a screwdriver bit and vise grips.