
R50/53 GreekDrifter's R53


Thread Starter
|
5th Gear
Joined: Aug 2012
Posts: 1,021
Likes: 1
From: CT
Will the fabric go under the places where the plastics overlap and bolt together? Maybe it could damp out rattles, vibrations and such.Can't wait to see how it turns out. Thanks a ton for all the posts you make,... They really help us new guys trying to become more fluent in MINI.
AlexQS
AlexQS
so separating the door parts is a pain. so yuo got to pop the head of the rivet they made with the stem.


Yea dont just yank the pad off you will break it they decide to use 3 torx screws here (of course) and they are tiny i think this is only for cars before 09/2002 i have a 08/2002 so i have this bolt stily instead of a clip. ughh


and i tried my hand a sewing for the first time with a antique "singer" sewing machine its the only one we got. got the hang of it quick didnt bother triing to make straight even lines just wanted to make sure i could do it.


5th Gear
Joined: Apr 2013
Posts: 731
Likes: 5
From: Near Portland, OR, USA
I see... Ya I've been afraid to disassemble my door panels as of yet. Thinking that some weekend when I'm brave enough it would be an inexpensive DIY for me. I'll probably just put in some felt to get rid of the raddles.
The noises from the glove box, and down tubes of center console don't bother me a lot, But the door panels... They vibrate a lot if I try to turn up the stereo.
You've really got me thinking, remembering watching my mom sew clothes when I was little, having the paper patterns to follow, cutting the pieces, test fitting, etc..
You may have a better plan already, but incase you haven't thought of this yet... On the back side, fold the edge of the fabric over, and give it a double stitch in the machine to make it strong. When you wrap it around the plastic piece, sewing by hand, stitch it like the way a shoe laces, on the back side out of site, grabbing on the durable edge you made, so that you can pull it tight. -I dunno.. Just throwing ideas around


Thread Starter
|
5th Gear
Joined: Aug 2012
Posts: 1,021
Likes: 1
From: CT

it doesn't look half bad it will look great once i get it tight around the handle.


5th Gear
Joined: Apr 2013
Posts: 731
Likes: 5
From: Near Portland, OR, USA
I'm glad you got the red stripe to line up with the center of where the bolts/screws go on the ends. Those little details make I big difference in my opinion.
Will you add finish plugs to those holes? You can find Checked or Brit.Flag ones for $30 something.... I read a while back about a guy that found some white plastic plugs for a few cents a piece at hardware store, spray painted them metallic silver. I can't find that thread anymore though.
Will you add finish plugs to those holes? You can find Checked or Brit.Flag ones for $30 something.... I read a while back about a guy that found some white plastic plugs for a few cents a piece at hardware store, spray painted them metallic silver. I can't find that thread anymore though.
Thread Starter
|
5th Gear
Joined: Aug 2012
Posts: 1,021
Likes: 1
From: CT
whooo im done with the doors.... came out great. now to choose either to do the down tubes first or shift/brake boots. ...... pics at some point tomorrow.
yes im going to plug the wholes but probably with something cheap...
I'm glad you got the red stripe to line up with the center of where the bolts/screws go on the ends. Those little details make I big difference in my opinion.
Will you add finish plugs to those holes? You can find Checked or Brit.Flag ones for $30 something.... I read a while back about a guy that found some white plastic plugs for a few cents a piece at hardware store, spray painted them metallic silver. I can't find that thread anymore though.
Will you add finish plugs to those holes? You can find Checked or Brit.Flag ones for $30 something.... I read a while back about a guy that found some white plastic plugs for a few cents a piece at hardware store, spray painted them metallic silver. I can't find that thread anymore though.
yes im going to plug the wholes but probably with something cheap...
Thread Starter
|
5th Gear
Joined: Aug 2012
Posts: 1,021
Likes: 1
From: CT
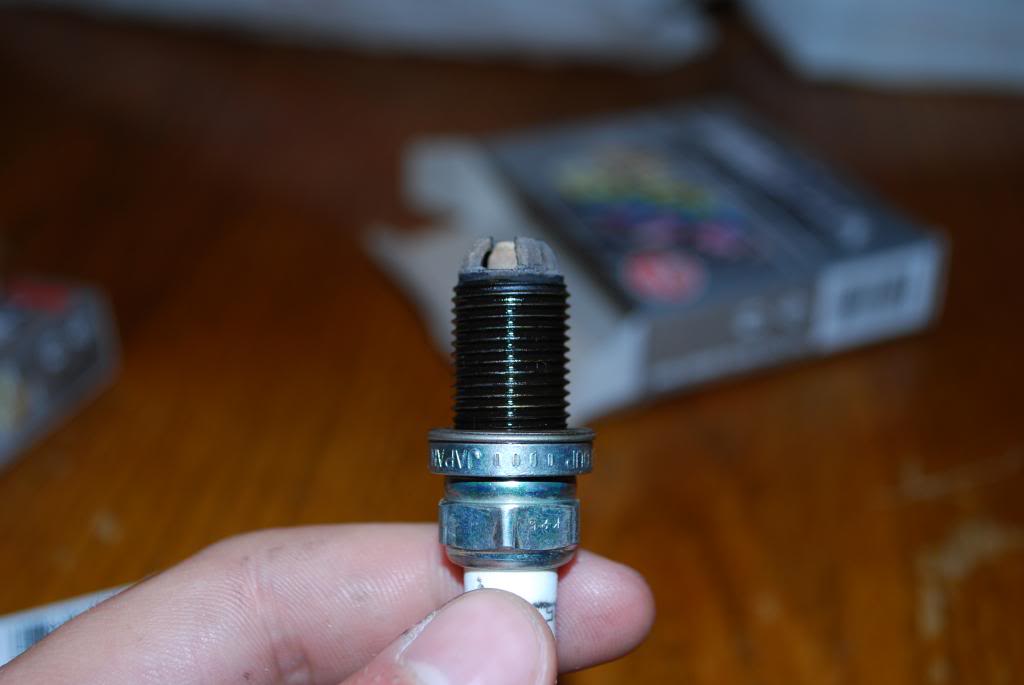
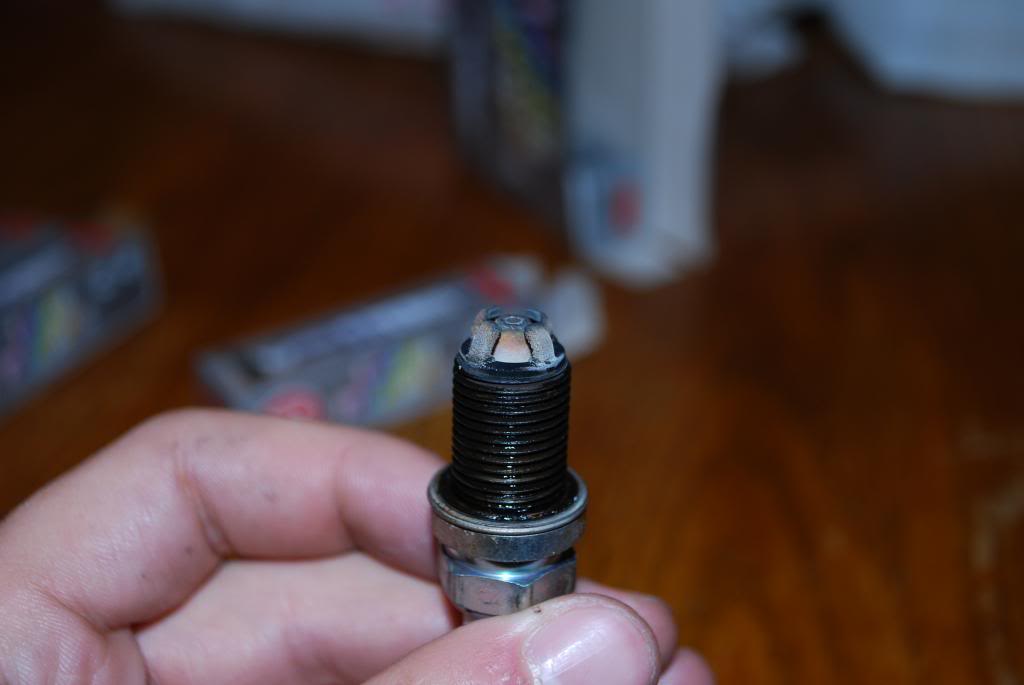
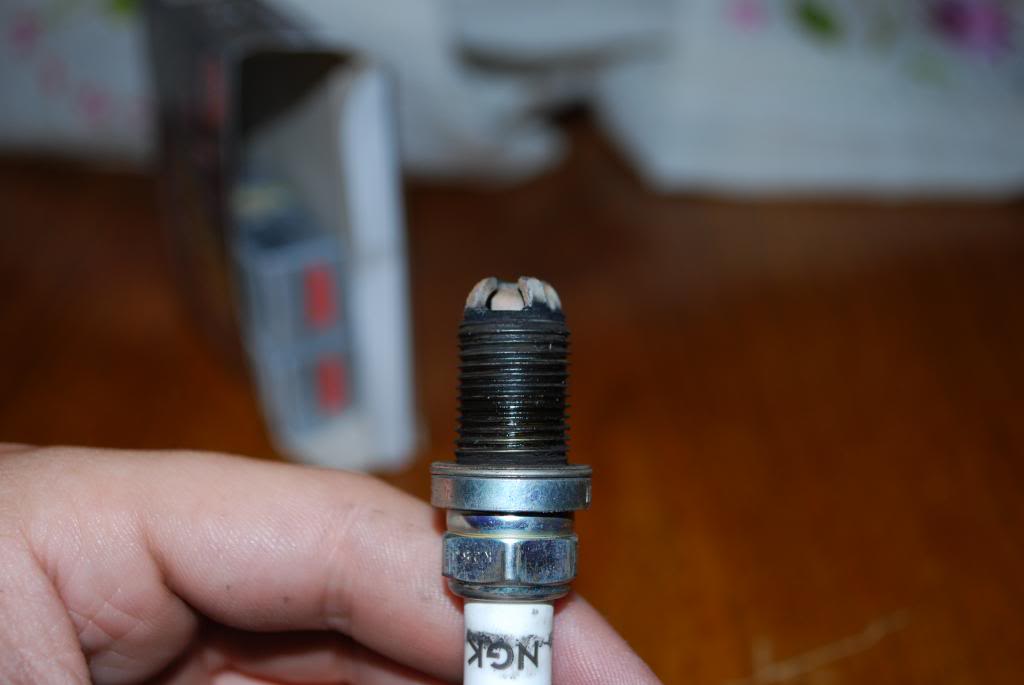
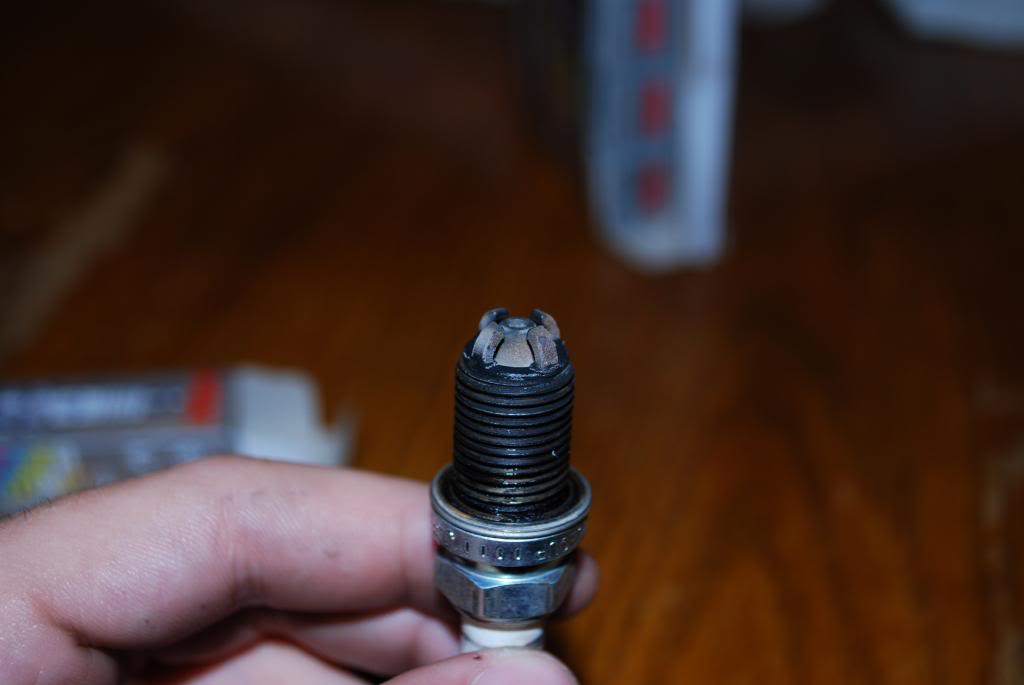
So i got some new plugs today just stock (NGK : BKR6EQUP).... hope fully thi solves my really bad MPG issue, i was getting a good 35mpg highway when i first got the car now im getting 24.5mpg :( ..... maybe hey were the original plugs? they say "NGK R5 BMW" on them and there is no mention in the manual of plug changes. at the dealer.
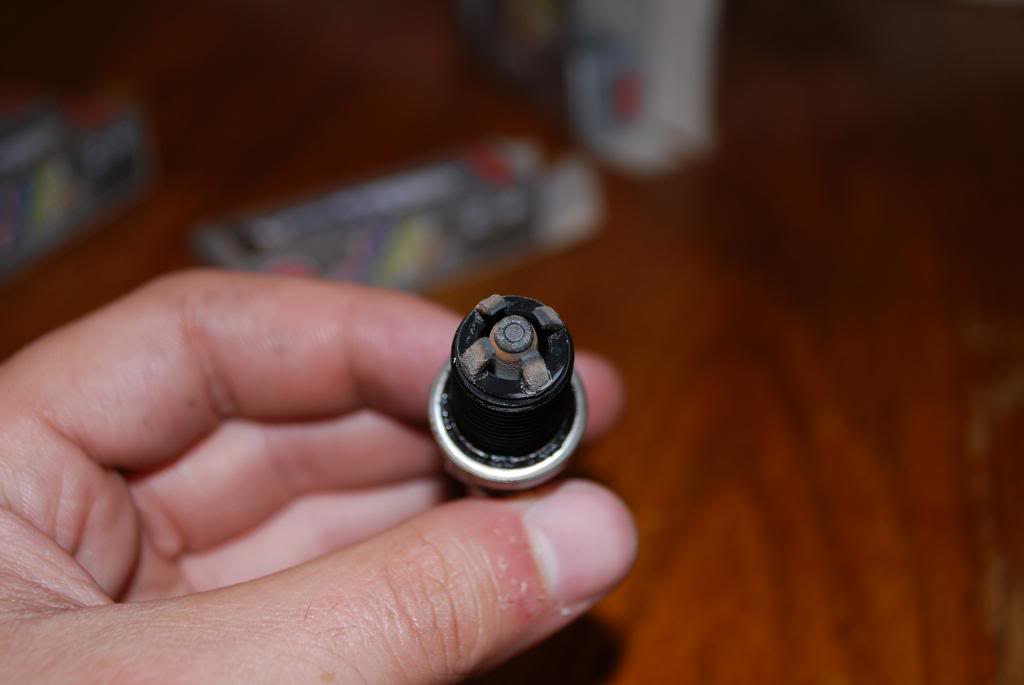
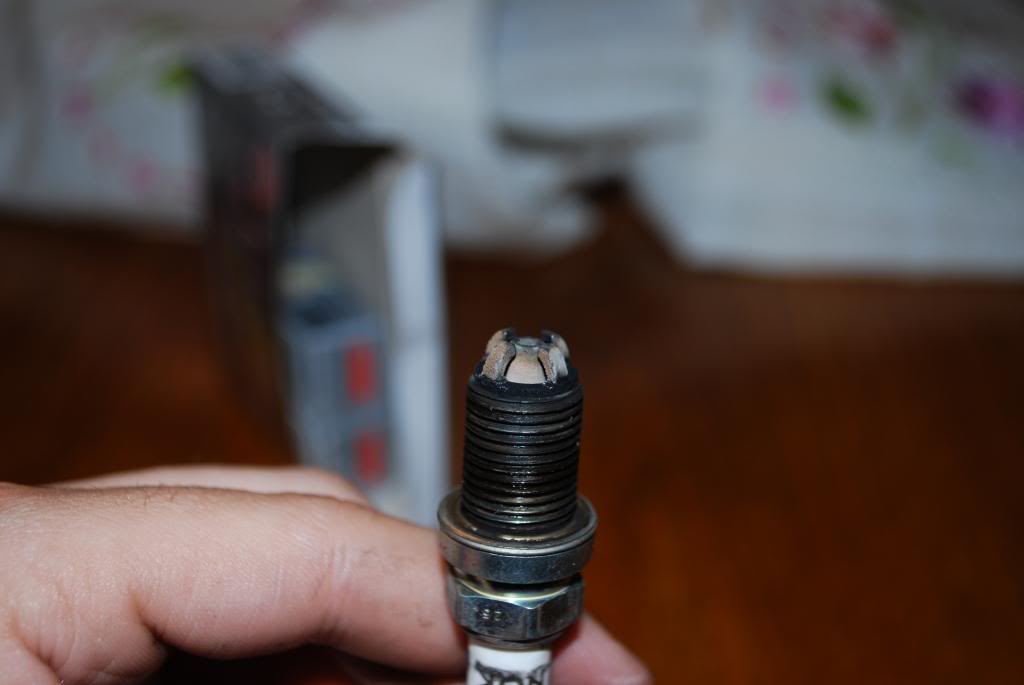
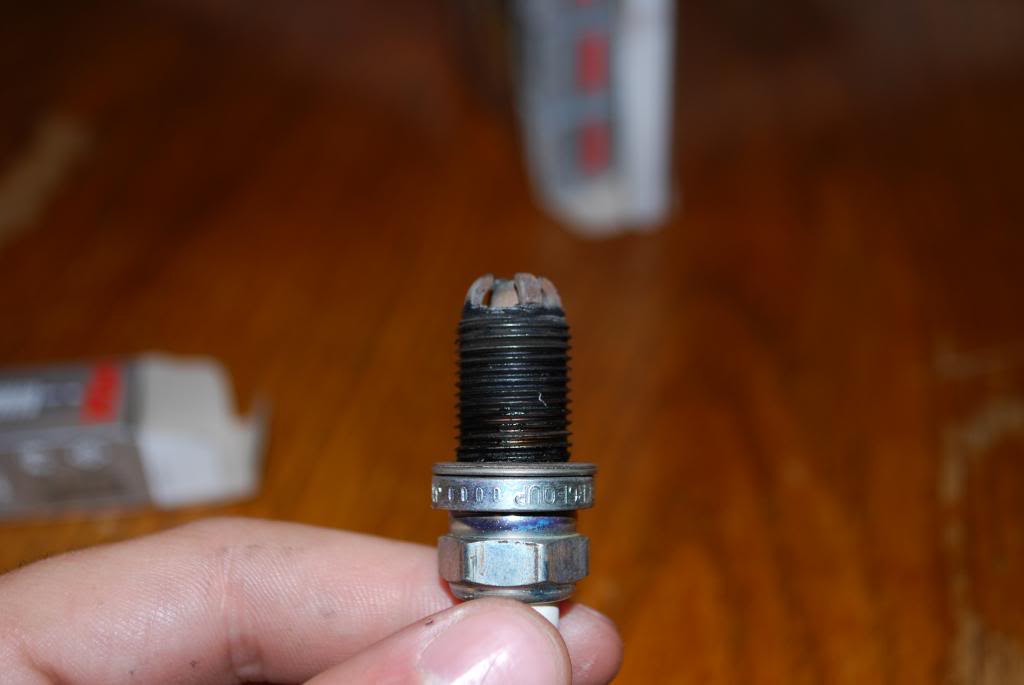
So mechanic gurus what do you think of my plugs what do you see? some input would be nice! the plug threads were very oily i dont know if they put oil on the thread when they were installed or if oil/gas was bypassing the plugs...
Cylinder 1
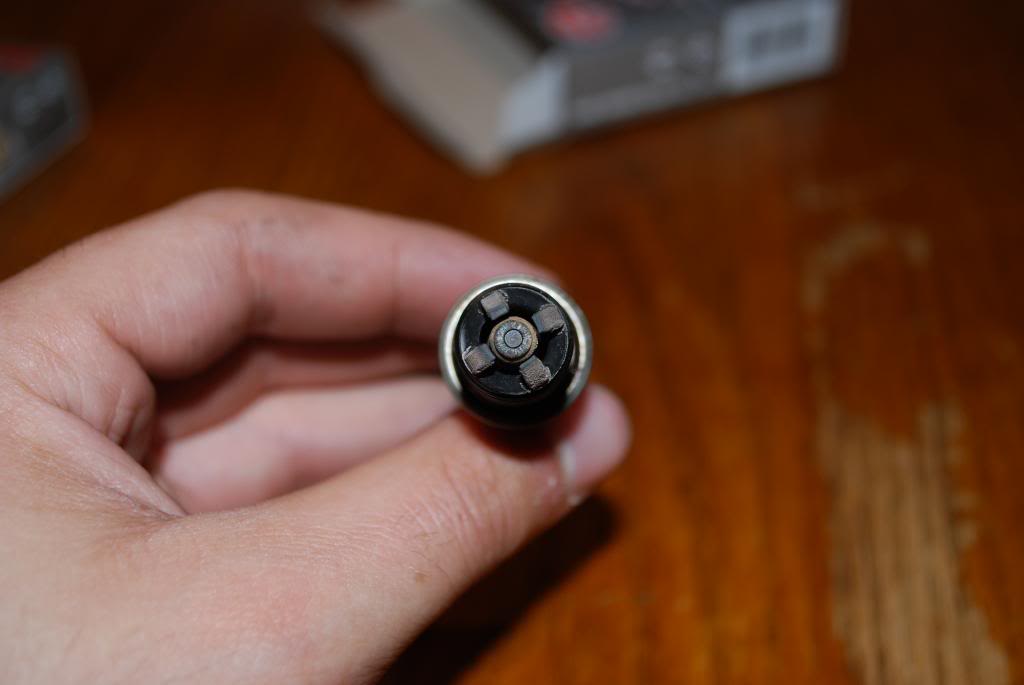

Cylinder 2

Cylinder 3
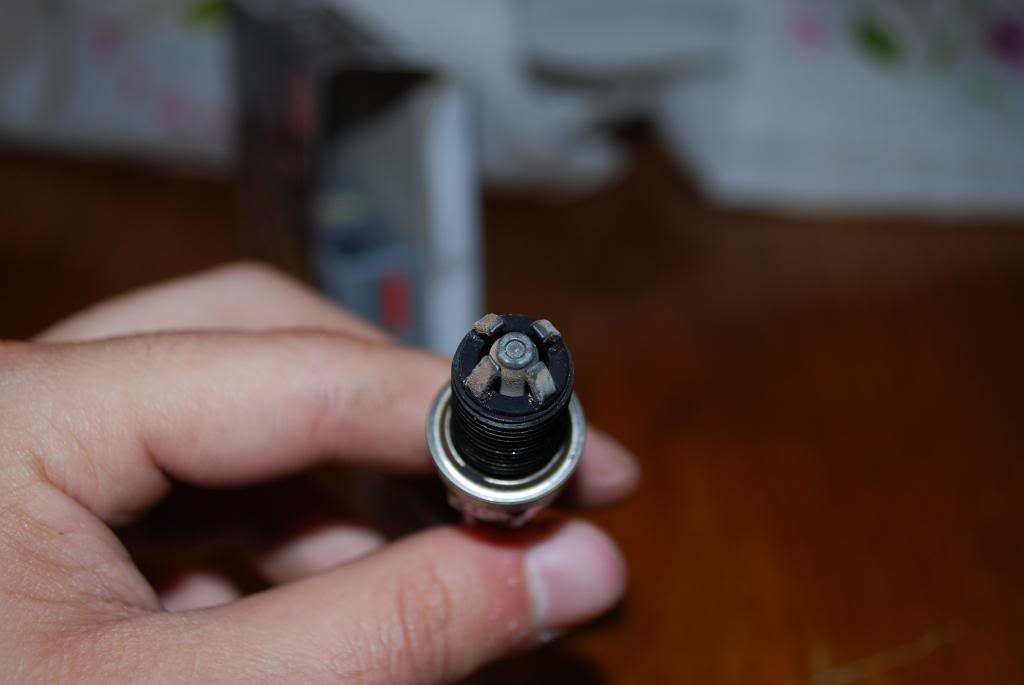
Cylinder 4

So mechanic gurus what do you think of my plugs what do you see? some input would be nice! the plug threads were very oily i dont know if they put oil on the thread when they were installed or if oil/gas was bypassing the plugs...
Cylinder 1


Cylinder 2


Cylinder 3


Cylinder 4


Thread Starter
|
5th Gear
Joined: Aug 2012
Posts: 1,021
Likes: 1
From: CT
yea ted it looks normal just like mine i though maybe that some people could read plugs better and see different things.
but starting up is better now before it would crank for a while before it would start and throttle response is better.
but starting up is better now before it would crank for a while before it would start and throttle response is better.
Thread Starter
|
5th Gear
Joined: Aug 2012
Posts: 1,021
Likes: 1
From: CT
so I order Koni Yellows the other day for the low low price of 565 with free shipping. should be here soon. just need to order some springs when I get the money
Last edited by GreekDrifter91; Jun 19, 2013 at 11:49 AM.


Thread Starter
|
5th Gear
Joined: Aug 2012
Posts: 1,021
Likes: 1
From: CT
but these craven speeds look great and they do their job.

6th Gear
Joined: Sep 2010
Posts: 1,807
Likes: 14
From: FL
Greek,
Don't know if your interested, but I've always wanted to try the strut bar from Donal-the-bonald with the cravenspeed tower defenders. Here's a link... Think they would both fit together?
http://www.ebay.com/itm/200922095293...84.m1438.l2649
Don't know if your interested, but I've always wanted to try the strut bar from Donal-the-bonald with the cravenspeed tower defenders. Here's a link... Think they would both fit together?
http://www.ebay.com/itm/200922095293...84.m1438.l2649
Thread Starter
|
5th Gear
Joined: Aug 2012
Posts: 1,021
Likes: 1
From: CT
Looks like it could fit im not quite sure how it grabs the shock though. but this might be to tall as well, becasue it sits above the shock towers. the jcw or Gp bar are almost even i think with the towers.