When you click on links to various merchants on this site and make a purchase, this can result in this site earning a commission. Affiliate programs and affiliations include, but are not limited to, the eBay Partner Network.
Aftermarket Outer CV Joint Boot for R56 Mini Copper S ?
Hey guys,
Anyone try Beck Arnley Part 103-3047 for the outer boot? UPDATE: THIS PART DOESNT WORK. Correct part is NAPA 686-2375 See below.
I received the part ($20) but it has the inner ridges which are typical for an inner CV boot (see my pic below) which has rollers, as opposed to ball bearings which are typically on the outboard side of the car near the brakes. Is this correct? Maybe it fits, Im not sure without cutting the old one off. UPDATE:
I ordered the Beck Arnley part above for my 2008 Cooper S automatic but their information is incorrect. They list the part above as being for the outer CV joint but its for the inner (unless somehow I got a box with an incorrect part inside it from Amazon...unlikely). Beck Arnley....ya blew it. Why ya gotta waste my damn time....arrrrrrrrrgh!
I don't want to cut my old boot off yet untill Im sure as the hole is very small and I can still drive the car.
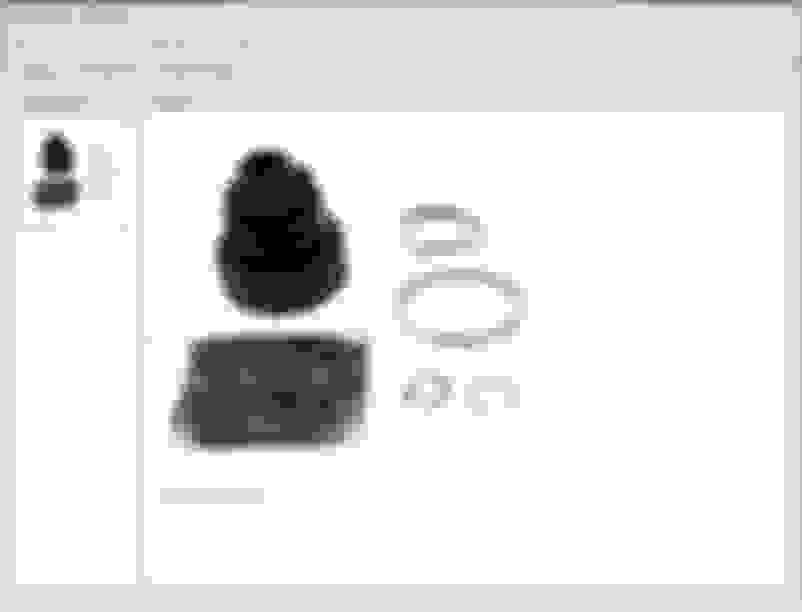
NAPA Part 689-2375 outer CV boot for R56 Mini Cooper S
Ok ladies, hopefully I can save some of you some cash. NAPA makes the correct part. Its $20 ordered through your local NAPA store. (Part # in title is incorrect, correct # is 686-2375) Yes it comes with grease and a new circlip / snap ring.
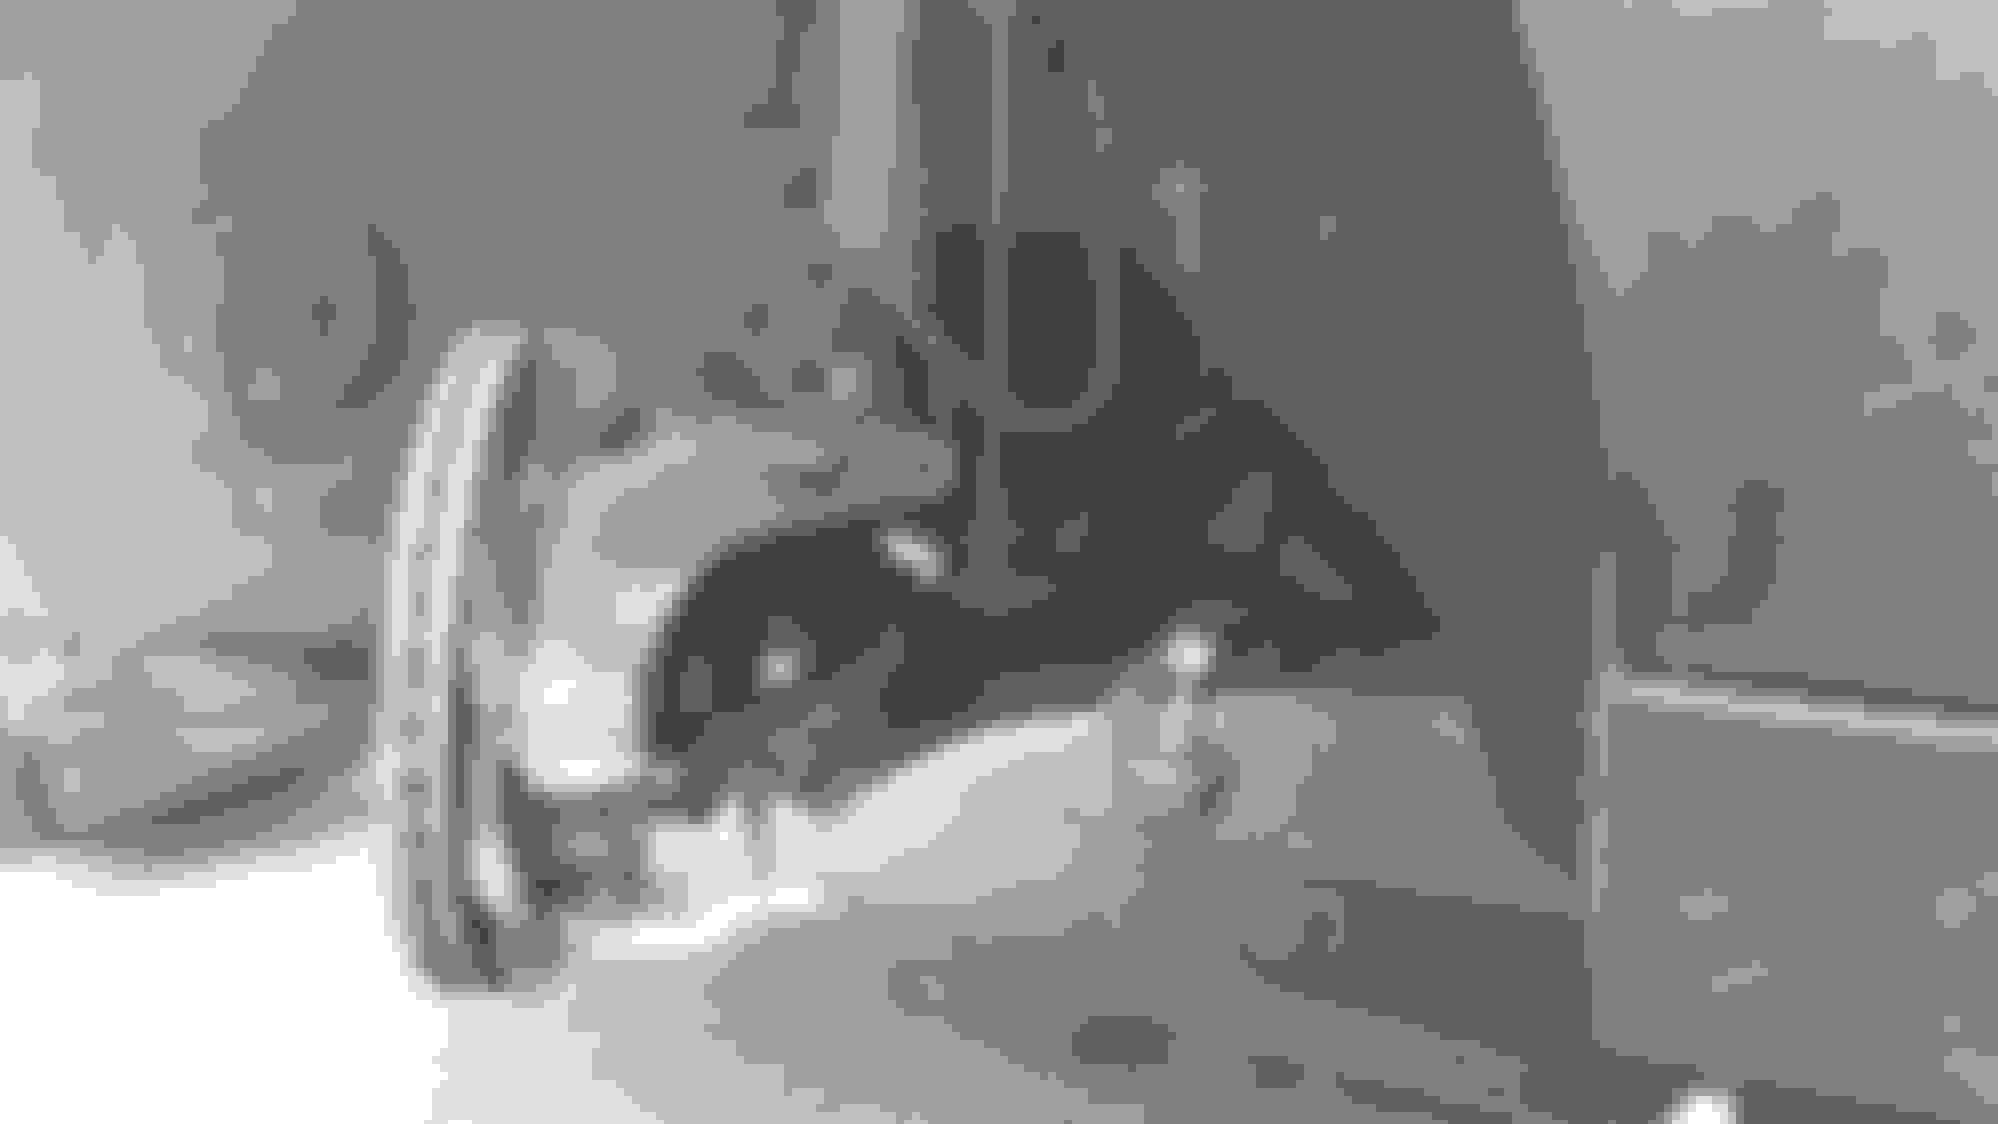
How to change the outer CV boot on R56 Mini Cooper S
--ACCIDENTALLY DELETED my instructions while trying to edit...sorry guys.
I'm pointing to the groove with a screwdriver here. This will also help you reference how the parts need to go back together
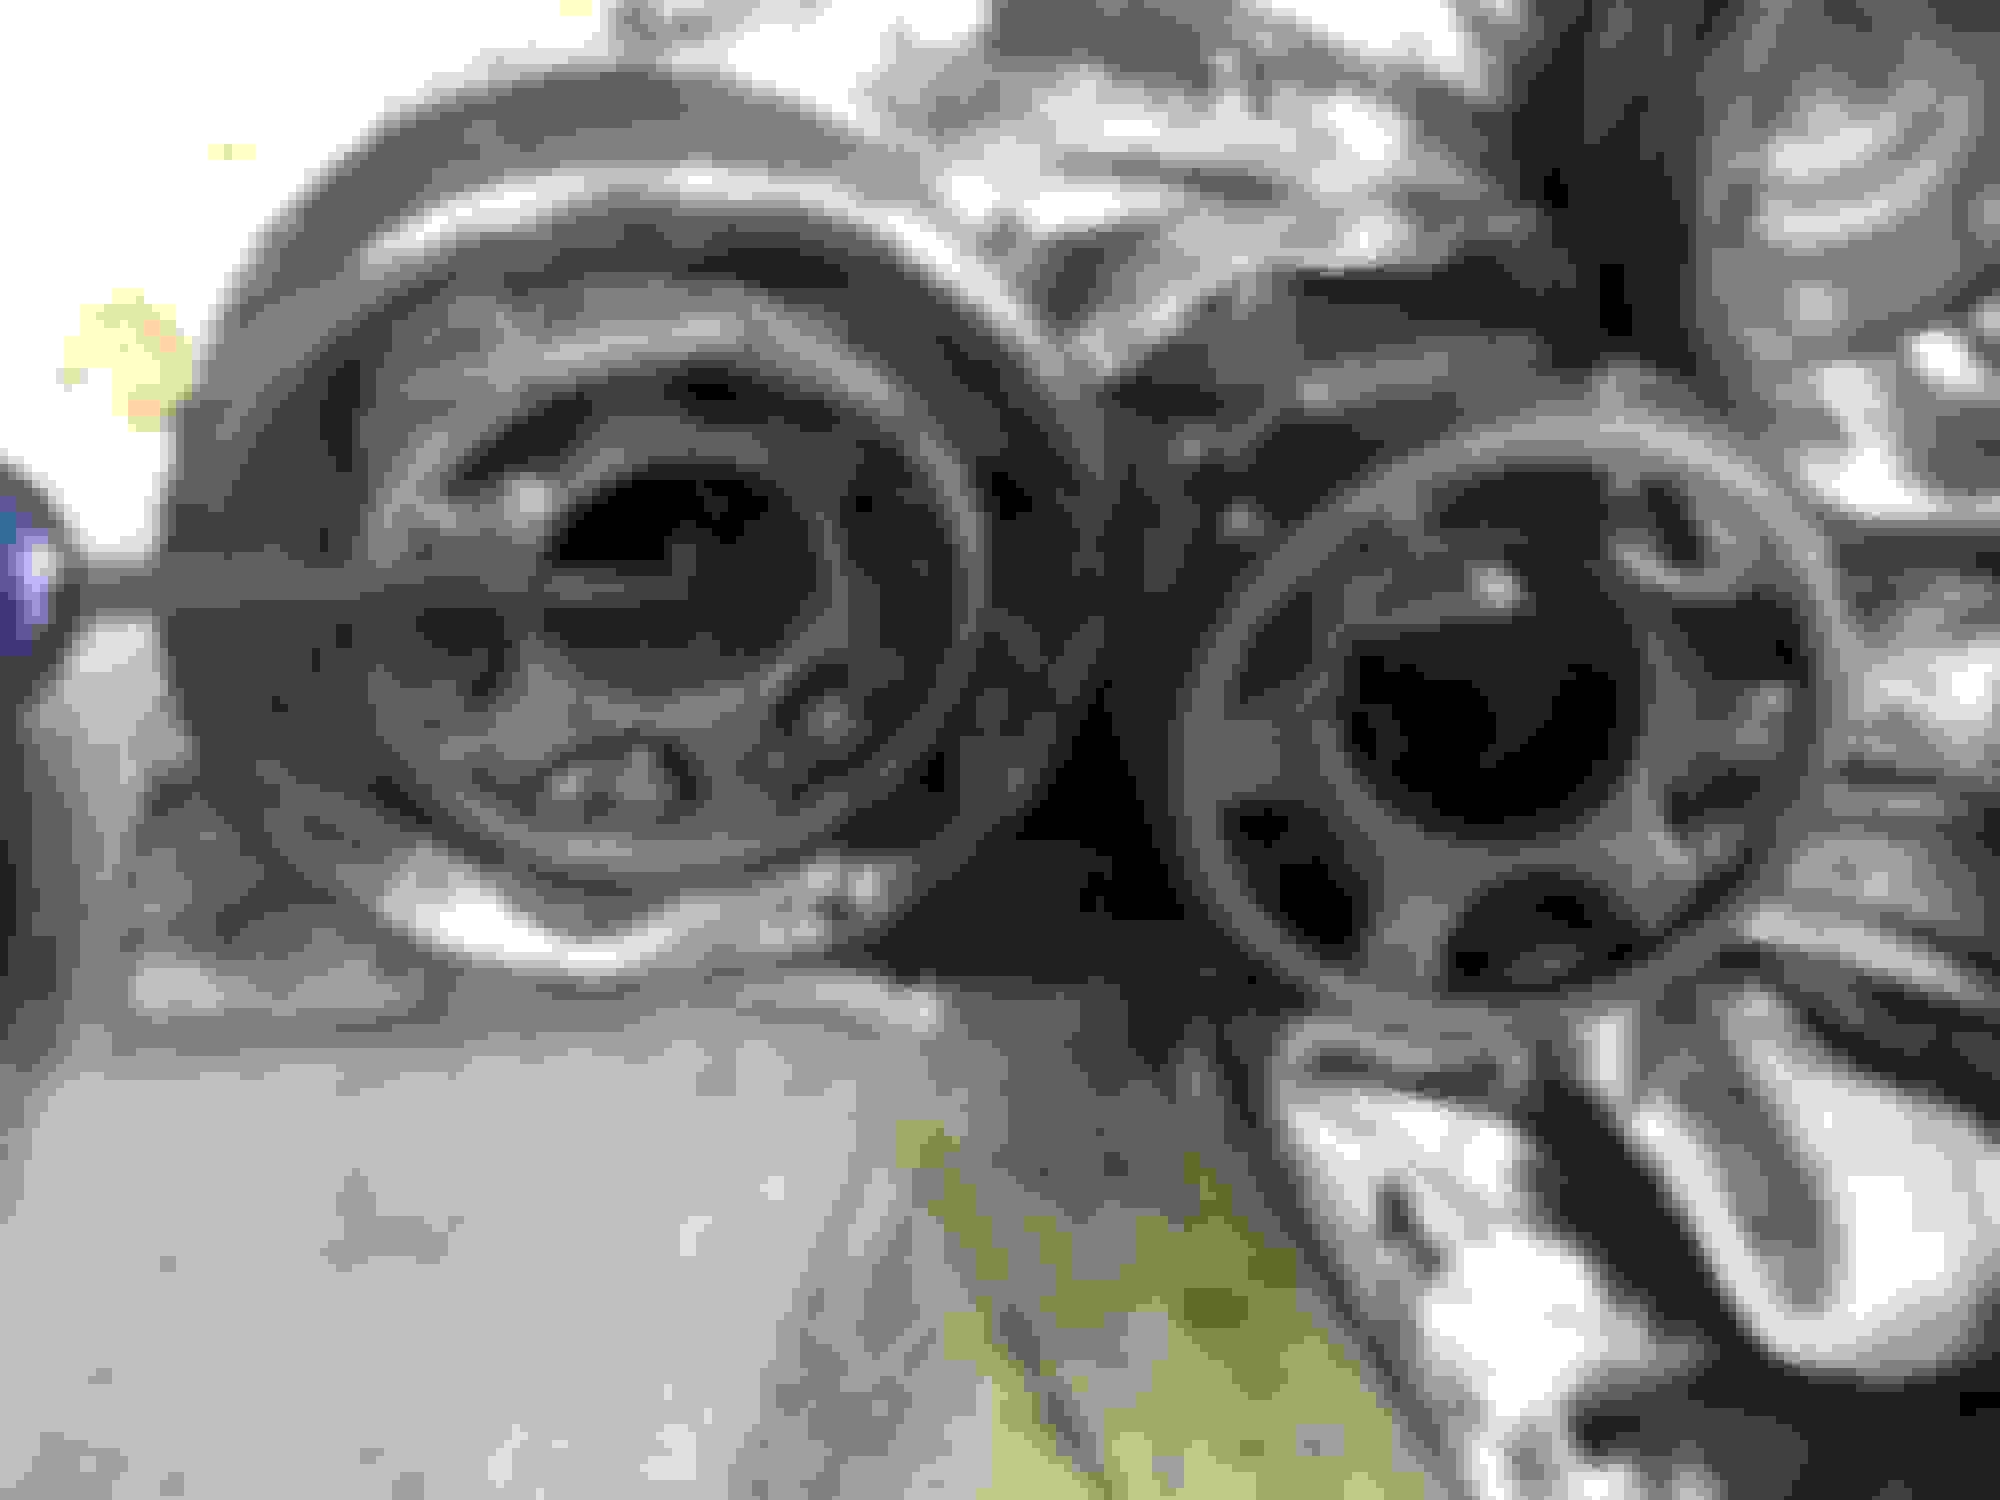
To get the ball bearings out just push the cage all the way down (you may need to tap the cage with a hammer, preferably using a brass punch / drift) to get the ball bearing to pop free. Remove all of them. Again make sure you pay attention to the way the cage faces so you dont get it upside down on reassembly. Hint: the races that the ***** fit in are wider at the top (outside) of the cage.
Once the ***** are out you can actually spin the entire cage and races and pull it all free but you don't need to. You can get it pretty clean without taking it completely apart if you're nervous about getting it all back together correctly. However, taking it apart is the best way to get it 100% clean. I'm sorry but I don't have pics of that part.
Clean all the old grease out with some towels (They suggest not using parts cleaner or degreasers to prevent from contaminating the new grease with any residue) then push the ball bearings back into cage one by one. They need a tap to fit in.
-Now slide the new small metal clamp onto the axle followed by the CV boot followed by the large metal clamp.
-Fill the newly assembled cv joint with the new grease. If you can fit all the grease in put the remainder inside the new boot.
-Put the cv joint onto the end of the axle and tap it with a hammer until you can barely see the splines of the axle showing. You're trying to get the circlip to enter into the recess in the end of the axle. I didn't use the new circlip that came with the kit. I left the original one on there. It will look like this when the CV joint is tapped all the way onto the axle. See the axle splines barely showing?
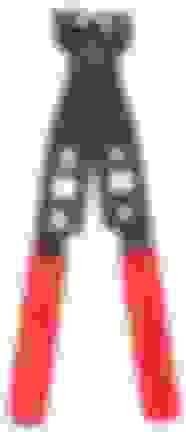
-Then rap the clamps around the cv joint until tight and use the boot clamp tool to tighten permanently. These are one-use clamps. Some clamps can be reused without destroying them.
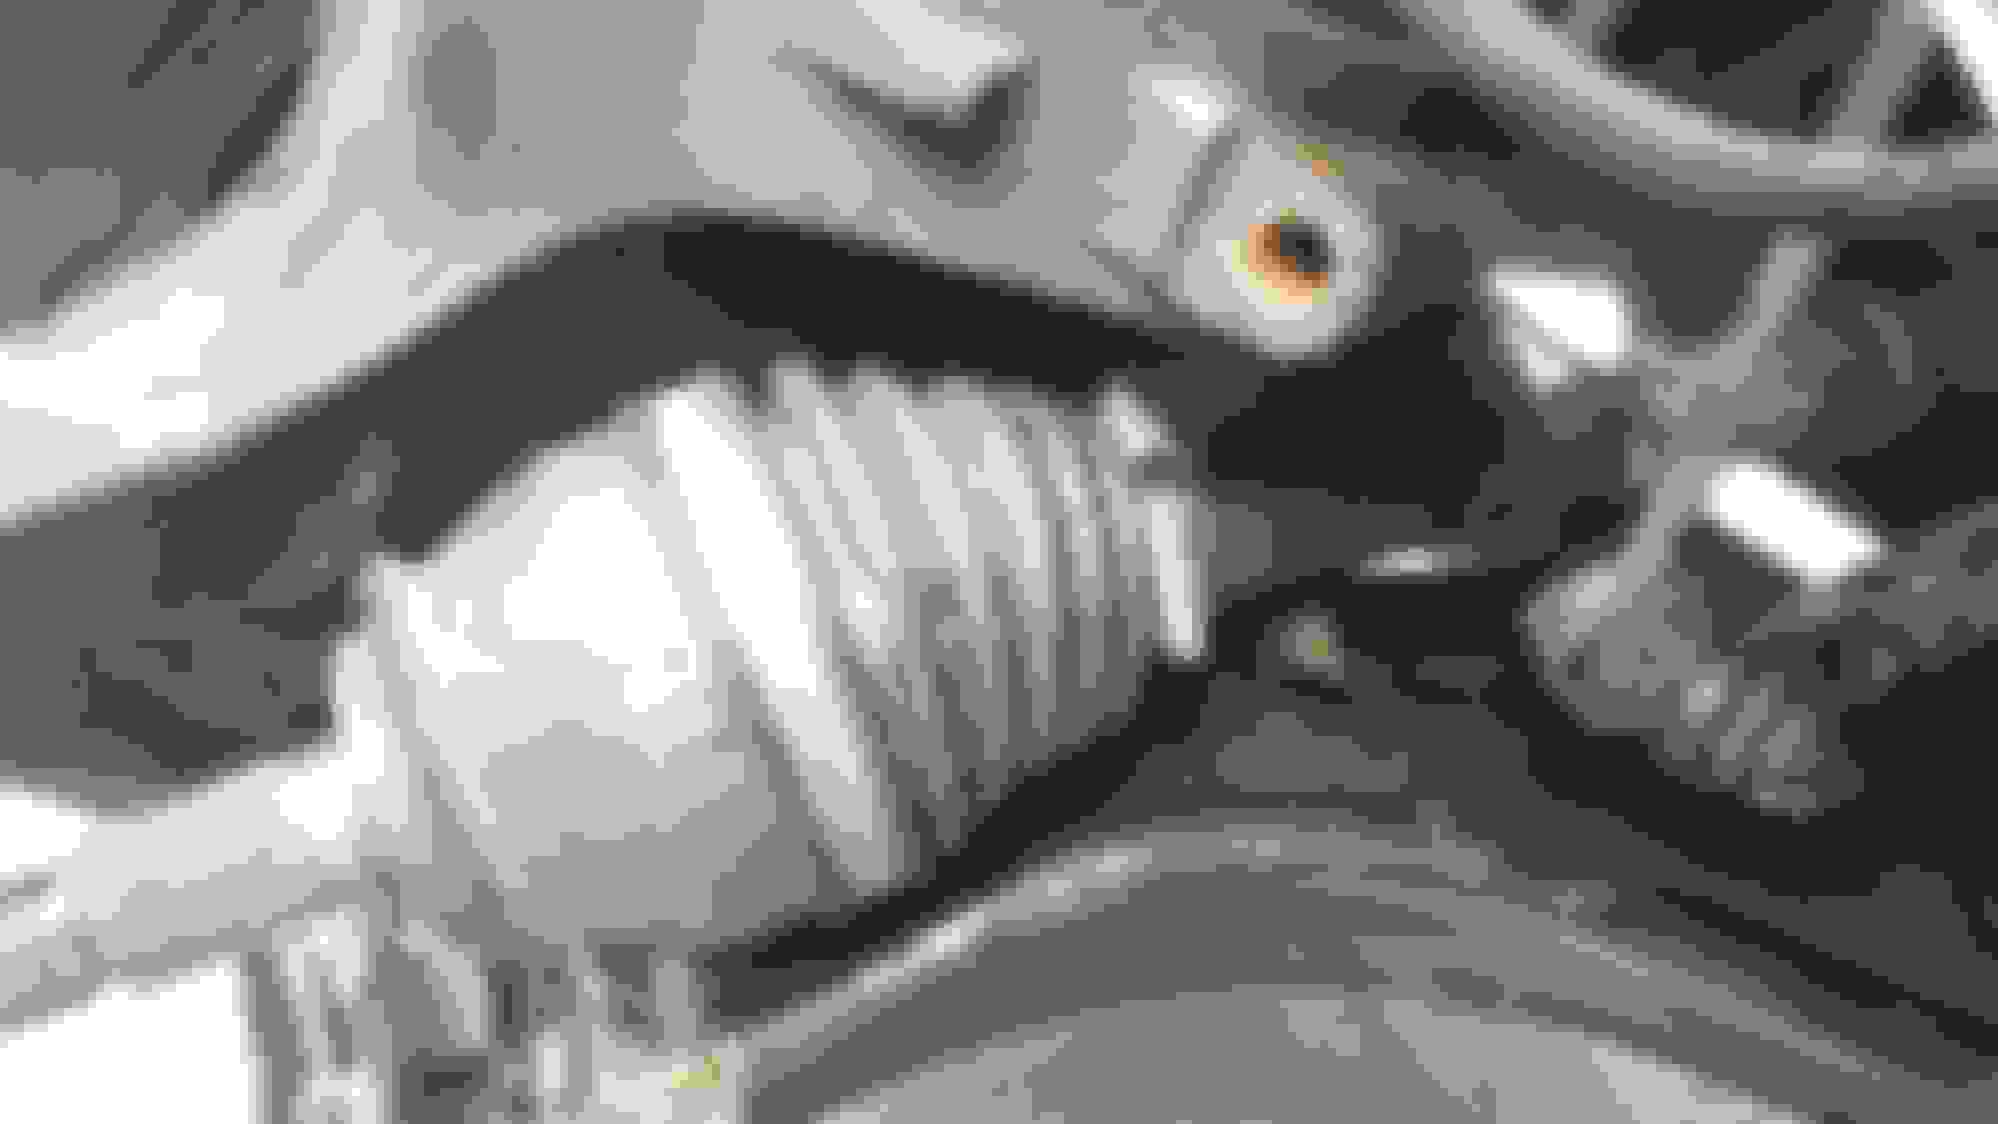
-Make sure and put some grease on the splines of the end of the CV joint that goes into the hub. Also make sure to put a coating of grease on the face of the end of the hub where it comes in contact with the INSIDE OF THE WHEEL BEARING. This will prevent the cv joint from becoming seized inside hub and will prevent if from making a clicking noise when you accelerate from a stop. Here:
Here is the only pic I have of that:
- reinstall the strut pinch bolt, 2 ball joint nuts, tie rod end nut and axle nut to spec (134 foot pounds).
Great write-up! Just the same way I used to rebuild CV joints many years ago, except I would remove the shaft from the car and do the deal in a vise. Still a messy job!
Oh no!! I must have made a hole in the outer CV joint when I changed the lower ball joint. The grease has flung out.
It never fookin ends!!
I don't think the CV joint is damaged. Sounds like the description here is for rebuilding the CV joint. Can I just get the new boot on by unbolting the bottom of the strut and steering arm and swinging the hub assembling forwards on the lower ball joint? I've done that on another car and there was just space to squeeze the drive shaft out the hub.
Read the post again. It's exactly what you're looking for.
Job went smoothly other than the head of the bolt on the strut snapped off while trying to remove it. Luckily I did manage to get the nut off the other end and tap it out. I must say I'm not sure it was necessary to remove the bolt from the strut at all. Once the steering arm and lower ball joint are released, the hub assembly will push out the way because of the top mount rubber compliance.
I found it tricky to get the CV joint back on the shaft. The inner bits wanted to move around rather than slide on to the shaft splines. I found I had to keep it firmly pressed on with one hand to keep it aligned while tapping with the hammer. It took about 5 attempts before it went in. Just be patient and keep trying.
My life was probably made easier by the fact I had already changed the steering arms and lower ball joints so all the nuts came off easily. If you have not done them before, it would be really good to wire brush all the nuts and bolt threads clean and then soak them with dismantling lubricant (PlusGas) a day before you start work. The last thing you want is to be fighting seized parts.
I used Q-Drive Universal CV Boot Kit from Euro Car Parts. Stock number 656770400.
The original boot has these dimensions: Big end ID 80mm, Small end ID 26mm, Boot length 110mm.
When the head comes off a bolt you really feel sad.
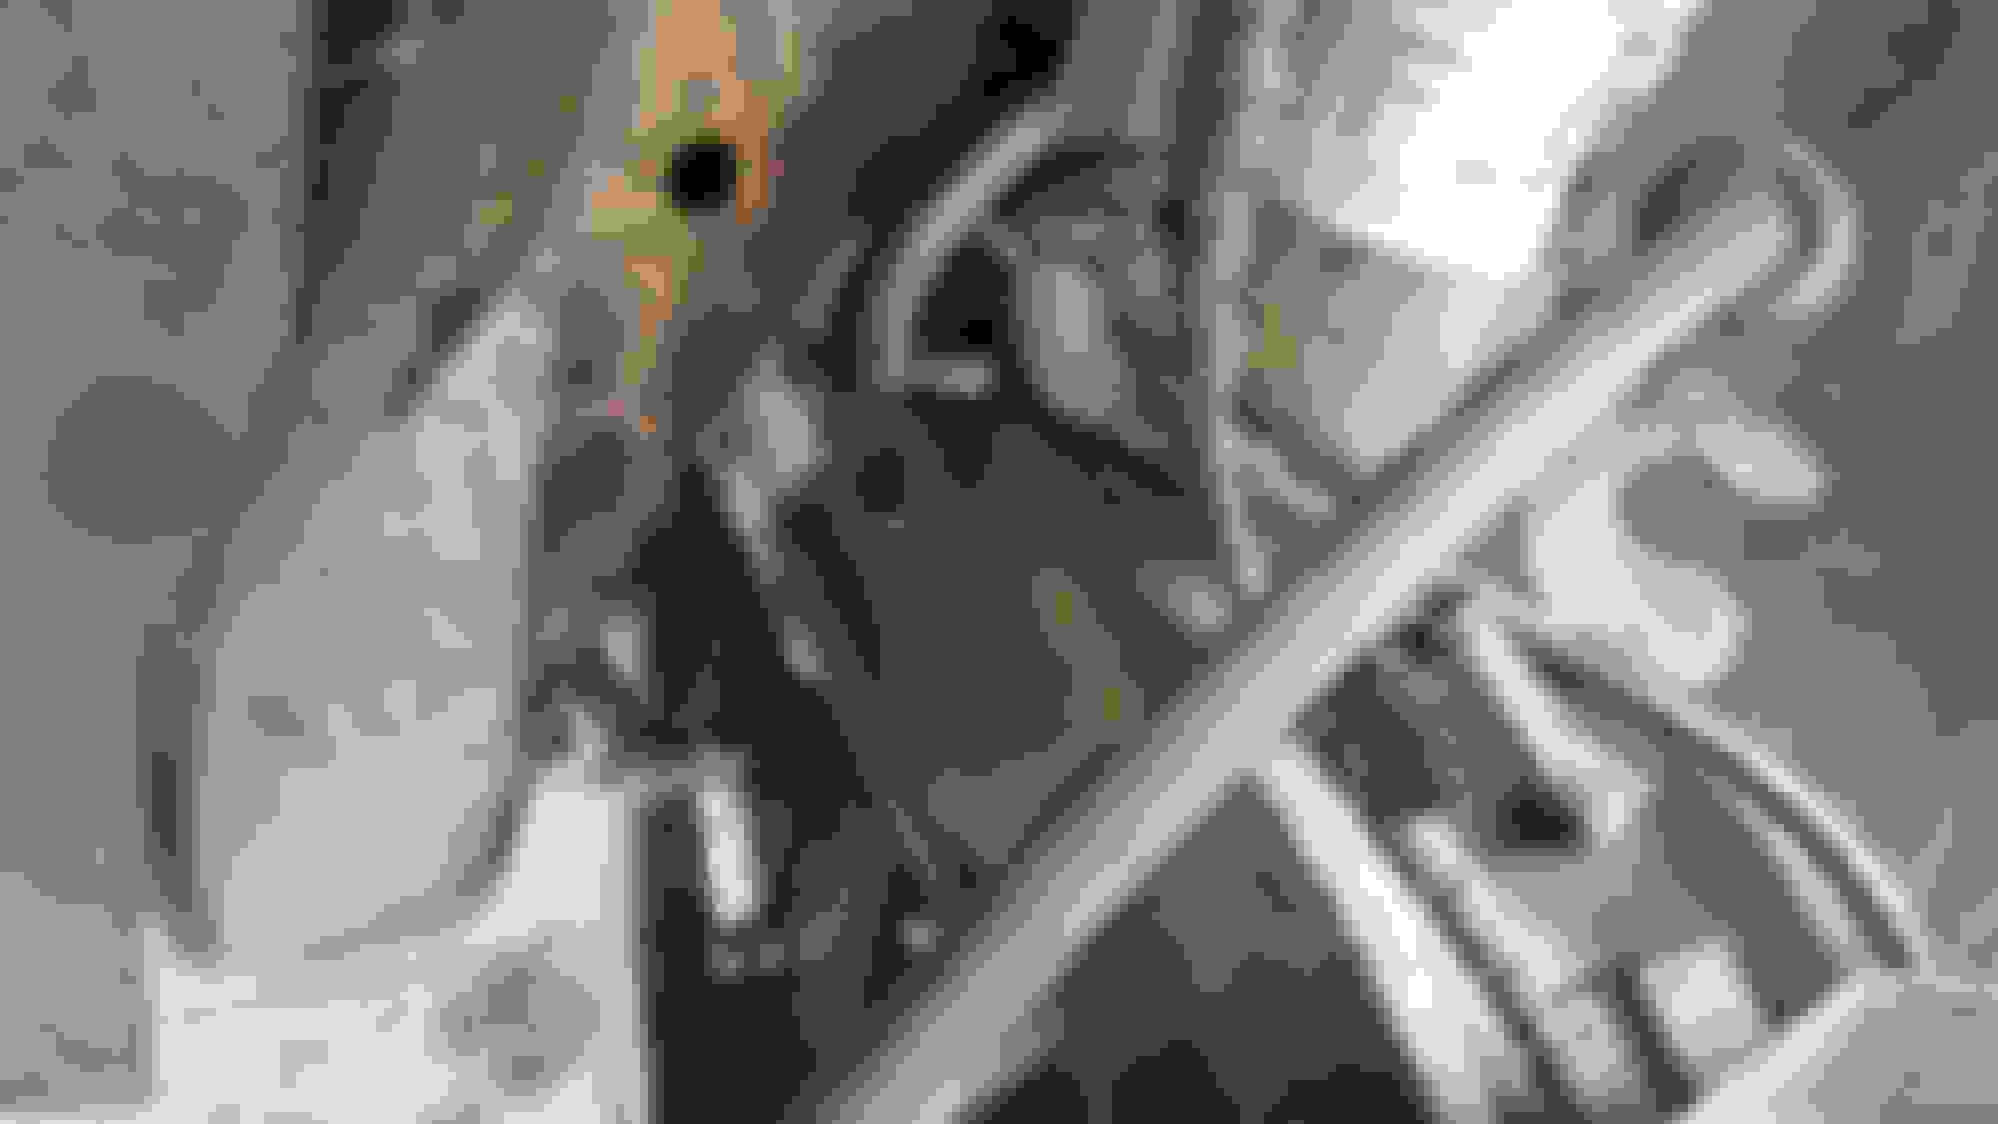
Strut Connection.
CV Joint tapped off the shaft
Thankfully it retained enough grease to keep it alive.
I'm not sure it is even necessary to remove the strut bolt.
You don't need to release the strut nut unless you plan to remove the entire knuckle which does give you more room to work.
I personally would not use the clamps you used to secure the boot. Is that what the kit came with? Remember they are spinning incredibly fast at highway speed and can create an imbalance and shaking because they are heavy on the side the screw is. But if you dont notice any vibration...
Those circlips inside the shaft always make it tough to get the joint on and off. Super annoying but not as annoying as the circlips at the other end of the axle where they go into the tranny. Those suck bad.
You don't need to release the strut nut unless you plan to remove the entire knuckle which does give you more room to work.
I just held my knee against the hub assy. to push it out the way while I worked on the drive shaft. I think people have two choices; remove the strut bolt and lean the hub assy. forwards on the lower ball joint OR... tell me how good my poetry was. I mean OR.. keep the strut affixed and release the lower ball joint so the hub assy. can swing on the strut compliance. Both should work easy enough.
I personally would not use the clamps you used to secure the boot.
I know the screw type are not ideal but I do not have the crimping tool for the pinch tight sort. I figure with the mass close to the axis of rotation it won't cause too much issue. That said the boot did get a little squashed up where the screw was pulling in and I had to smooth it out with a flat head screwdriver. If you have time to order the crimping tool from an affordable source then go ahead and do it.
I know the screw type are not ideal but I do not have the crimping tool for the pinch tight sort. I figure with the mass close to the axis of rotation it won't cause too much issue. That said the boot did get a little squashed up where the screw was pulling in and I had to smooth it out with a flat head screwdriver. If you have time to order the crimping tool from an affordable source then go ahead and do it.
Ya thats other issue with those clamps...they tend to pinch the rubber.
You sure the larger clamp clears the knuckle as it spins? The screw stands quite tall.