When you click on links to various merchants on this site and make a purchase, this can result in this site earning a commission. Affiliate programs and affiliations include, but are not limited to, the eBay Partner Network.
I tend to go to Cha Cha Cha! or the Taco Pedaler on NE Broadway as it is close to home when I crave Mexican. The Taco Pedaler is good but a bit on the pricey side. I haven't gone wrong with Cha Cha Cha! though. Not that it is Mexican in the slightest but Hale Pale (or as it is more commonly known That Tiki Bar) has one of the best rum selections I have ever seen.
I tend to go to Cha Cha Cha! or the Taco Pedaler on NE Broadway as it is close to home when I crave Mexican. The Taco Pedaler is good but a bit on the pricey side. I haven't gone wrong with Cha Cha Cha! though. Not that it is Mexican in the slightest but Hale Pale (or as it is more commonly known That Tiki Bar) has one of the best rum selections I have ever seen.
I lived very close to that neighbourhood for a long time, until 2005. The place may not have opened at that time. I am now gladly out of the City of Portland.
I took Mini to see his friend Paul Bunyon this Sunday morning. Paul have been depressed with the lost of 42,000 acres of forest to senseless arson in the Columbia River Gorge.
Mini and Paul
note the checker flag shirt Paul wears - he lives just a stone throw from Portland International Raceway
excuse #1
Herr Polizei: "We were looking for the entrance to PIR and we saw this man in checkered flag shirt and there are two ramps up front that the Mini fits so we thought this must be the special Mini entry."
excuse #2
Herr Polizei: "Paul is so down from the recent senseless arson of Eagle Creek fire that Mini wanted to give him a hug."
I did the location scout beforehand with Google street view. I didn't realize there are actually a few parking spots until I got home inspecting the photos closely and saw the 2 hour parking sign which Google street view was too poor to show. It was early Sunday morning and there were only a few souls out at the time. Just as well as it give a better relative scale of Paul and the Mini.
The pavement is so full of litters that I had to do some digital rubbish pickup during post. So much stupid and ignorant people now we share our once great and livable city with.
A few more part/tool showed up. I invested in a O2 sensor socket not knowing if it is really necessary but I thought I better be safe than sorry. I have never need to use a specialty socket for O2 sensor on any of my vehicles. Also a battery terminal T-bolt which I was a dumb **** to break one.
I took Mini to see his friend Paul Bunyon this Sunday morning. Paul have been depressed with the lost of 42,000 acres of forest to senseless arson in the Columbia River Gorge.
Mini and Paul
note the checker flag shirt Paul wears - he lives just a stone throw from Portland International Raceway
Mini went to the Gorge for some twisties fun and sight seeing. We went up and down the same twisties twice with a bit of controlled spirited good driving. No drama and no squirrel or frog were harmed. We were radio silence and just enjoying the Milltek exhaust and the engine whine.
one room post office
the West end of the Gorge is extremely windy - better grab onto the door handle tight or the 60 MPH East wind will rip the door off the hinges
While stepping off the pavement into the forest shrubs I saw these plants that I immediately think of nettles. I have no experience with this edible wild plant except were intrigued from watching TV where people foraging wild plants for food. These just look awfully like what I saw so I took a photo intending to check it out at home on the web.
I didn't dare harvest any to risk being stung; the photo is out of focus
pnwR53S: From my survey of the aluminum tanks, the prices range from about $50 on eBay, to as high as $287 on a couple of Mini performance specialist shops. To my untrained eyes, I see little difference so I decided to take the challenge and find the cheapest one I could. My criteria is I must be able to reuse the factory cap with it.
I shopped around on the web and found the lowest price one that comes with a billet aluminum machined cap. I cannot tell if the cap has built in pressure relief mechanism. Since I am suspicious of the design and quality of the pressure relief cap I set out not to trust any cap that is included with the aluminum tank. Most of these tanks appear to be manufactured from a common design or copy of the design. I was counting on the one that I chose would have the collar and thread cut to be compatible with the plastic factory cap. Except a few tanks that are sold without the metal cap, I cannot find any that tell me I can use the factory cap with the tank. The tanks that are sold without the metal cap typically cost twice as much or higher. From what I observe most tanks that shipped with the cap is more likely than not, compatible with the factory cap. I decided to take a chance if I can find a tank with significant saving. Found one I did, and it was shipped from California, with the cheapest price you can find on eBay.
a few days later it arrived from California
It turned out my hunch is correct. I can reuse the Mini factory cap with this new tank. The factory cap threads smoothly and snugly (very important) with the tank collar, and I examined too the fluid escape paths of the cap against the collar (also very important).
As I don't plan to swap in the tank soon, I cannot verify the three mounting points mate perfectly. I did performed a rough (my calibrated fingers as caliper) check of the two hose fittings and I see no reason I should be worry.
I should add that when using one of these metal tank the level should not exceed about one half the depth as with the factory plastic tank to allow adequate air space for the coolant to expand.[/QUOTE]
pnwR53S
So in my quest to replace all the fluids, I was planning on changing out the coolant. My coolant tank seems fine but I've read that they tend to fail. My questions to you is:
How did you Ebay coolant tank work out? You happy with it?
If so can you let me know which vendor you bought it from?
I'm looking at this one.... https://www.ebay.com/itm/Radiator-Wa...NZDAr~&vxp=mtr
It seems to be very similar to the one you have purchased. (can't find it in black)
thanks in advance.
I actually just bought another tank as I am planning on the same swap, I opted for one with the more universal radiator cap design. The first fleebay tank I had purchased my stock cap wouldn't thread on.
pnwR53S
So in my quest to replace all the fluids, I was planning on changing out the coolant. My coolant tank seems fine but I've read that they tend to fail. My questions to you is:
How did you Ebay coolant tank work out? You happy with it?
If so can you let me know which vendor you bought it from?
I'm looking at this one.... https://www.ebay.com/itm/Radiator-Wa...NZDAr~&vxp=mtr
It seems to be very similar to the one you have purchased. (can't find it in black)
thanks in advance.
I bought mine from stage2racing on eBay. I am still using the original factory one as it is in good condition.
The wait is over. The shifter arrives from the US vendor. Here are photos that I took showing the details which the site is very lacking.
the big coil spring is the lateral centering spring
the cable cassette that replaces the factory plastic one
the fasteners
the cable entry points
here you can see the standoff for the centering spring that can be adjusted to align with the one inside the gearbox
Overall the quality based on my visual inspection is very good. The movements are smooth and the mechanical design is sound. The throw displacements are set by design and cannot be adjusted. It seems to me you can adjust the resting spot of the lateral center, but not fore/aft. Like I mentioned before it is made in the tiny country Lithuania.
The height of the shift **** measured from the top of the cable cassette is about 17 inches. Compared against the stock shifter it will elevate the shift **** by about 6 inches, taking just a touch shy of the horizontal spokes of the steering wheel.
the bottom sketch marked M is the Mini's stock shift **** height WRT the steering wheel
The biggest challenge of installing the shifter is cutting the plastic center console just right. A bad slip of the scalpel would end up like a bad plastic surgery.
Excited for you, would love to see this once installed, depending on the feel I may snag one too.
The only thing that is giving me pauses of installing it right away is I am trying to think thru what is the best way to transfer the exact plastic surgery cut lines to the center floor console. I would not want a plastic surgery ***** job gone wrong look in the Mini.
I am sick and tired of looking for the MINI aux gauge pod and have done some exploratory CAD work pondering fabricating my own. I am thinking that I can kill two birds with one shotgun blast if I dive in and Just Do It.
the NLA MINI aux gauge pod
my preliminary CAD (cardboard aided design) exploration of fabricating my own
my thought is to either fabricate it out of fiberglass or sheet aluminum
you can see the challenge is to accommodate the 12Vdc receptacle
speaking of ***** job gone wrong, this is one owner's quest to keep the cupholders
Yes, I had. I decided that I will just cut into mine instead of spending the money up front. Should I want to revert back, these consoles are dime a dozen as very few Mini outlives them.
I am sick and tired of looking for the MINI aux gauge pod and have done some exploratory CAD work pondering fabricating my own. I am thinking that I can kill two birds with one shotgun blast if I dive in and Just Do It.
the NLA MINI aux gauge pod
Why don't you 3D print the console when you get the CAD work done? I'd be interested in one and have a 3D printer.
Why don't you 3D print the console when you get the CAD work done? I'd be interested in one and have a 3D printer.
LOL, you have fallen to my cheeky joke. CAD stands for cardboard aided design. I have considered a 3D printer but decided that I don't need another hobby. Way too many already.
Funny. 3D printers can become another hobby. For the most part you can just print and go. Fortunately I also have a teenage son that will print what I need and I don't need to mess with it much. Usually I can convince him to build the CAD model also. A little payback for supporting him all these years, and for the up coming college years.
What does day-old pizza has to do with Mini? It is my way to maximize precious daylight and outdoor working temperature for Mini projects. A few teaser photos for now.
home made goodness down to the pizza sauce - char siu and anchovies
It is D-day. One fine day that the sun would be out late in the day and forecasted to reach upper 50s. Reheating my home made pizza would save a lot of time to get ready for the work ahead.
I planned to swap out the worn tires with the set of summer performance wheels, and to begin the installation of the shifter. These all to be done while the Mini is up on jack stands. Installing the long shifter will be a lot of labour.
I let the interior warmed up by the solar gain so not to break any brittle plastic parts; hence I started working under the car first.
the center exhaust pipe and the center support is removed; next is to remove the long heat shield
one of the best ideas that I have is to mark the original location of the long heat shield so I can put it back exactly how it was from the factory
I was extremely careful not to damage any of the heat shields; the small one at the front on driver side also needed to be removed as it overlaps the long one; I also discover the connector for one of the oxygen sensor behind the heat shield
now starting to remove the center floor console
plying this switch panel out is always very challenging not to mar the plastic trim panel or the console; I refer to photo from the past to see where the retaining features are
more boring trim removal
I actually skip a lot of photos as I already have them from last time I removed the console
now the mostly plastic factory shifter is exposed ready to be lowered
to accommodate the new long shifter this center console will needed to be extensively cut up; my concern is its structure integrity after the cut
there are 4 Torx bolts securing the entire shifter to the exhaust tunnel; they are mounted with rubber vibration absorbing bushings
to remove the white plastic cover one must first lower the shifter down so you can carefully unclip the retaining barbs
I chose to tackle this project only when the ambient temperature is warm enough so the plastic parts are not brittle
the trick to unclipping the countless barbs is to tackle them one by one and use tooth picks to keep the barbs unlocked while you go on and attack the next one; I managed not to break any with this little trick
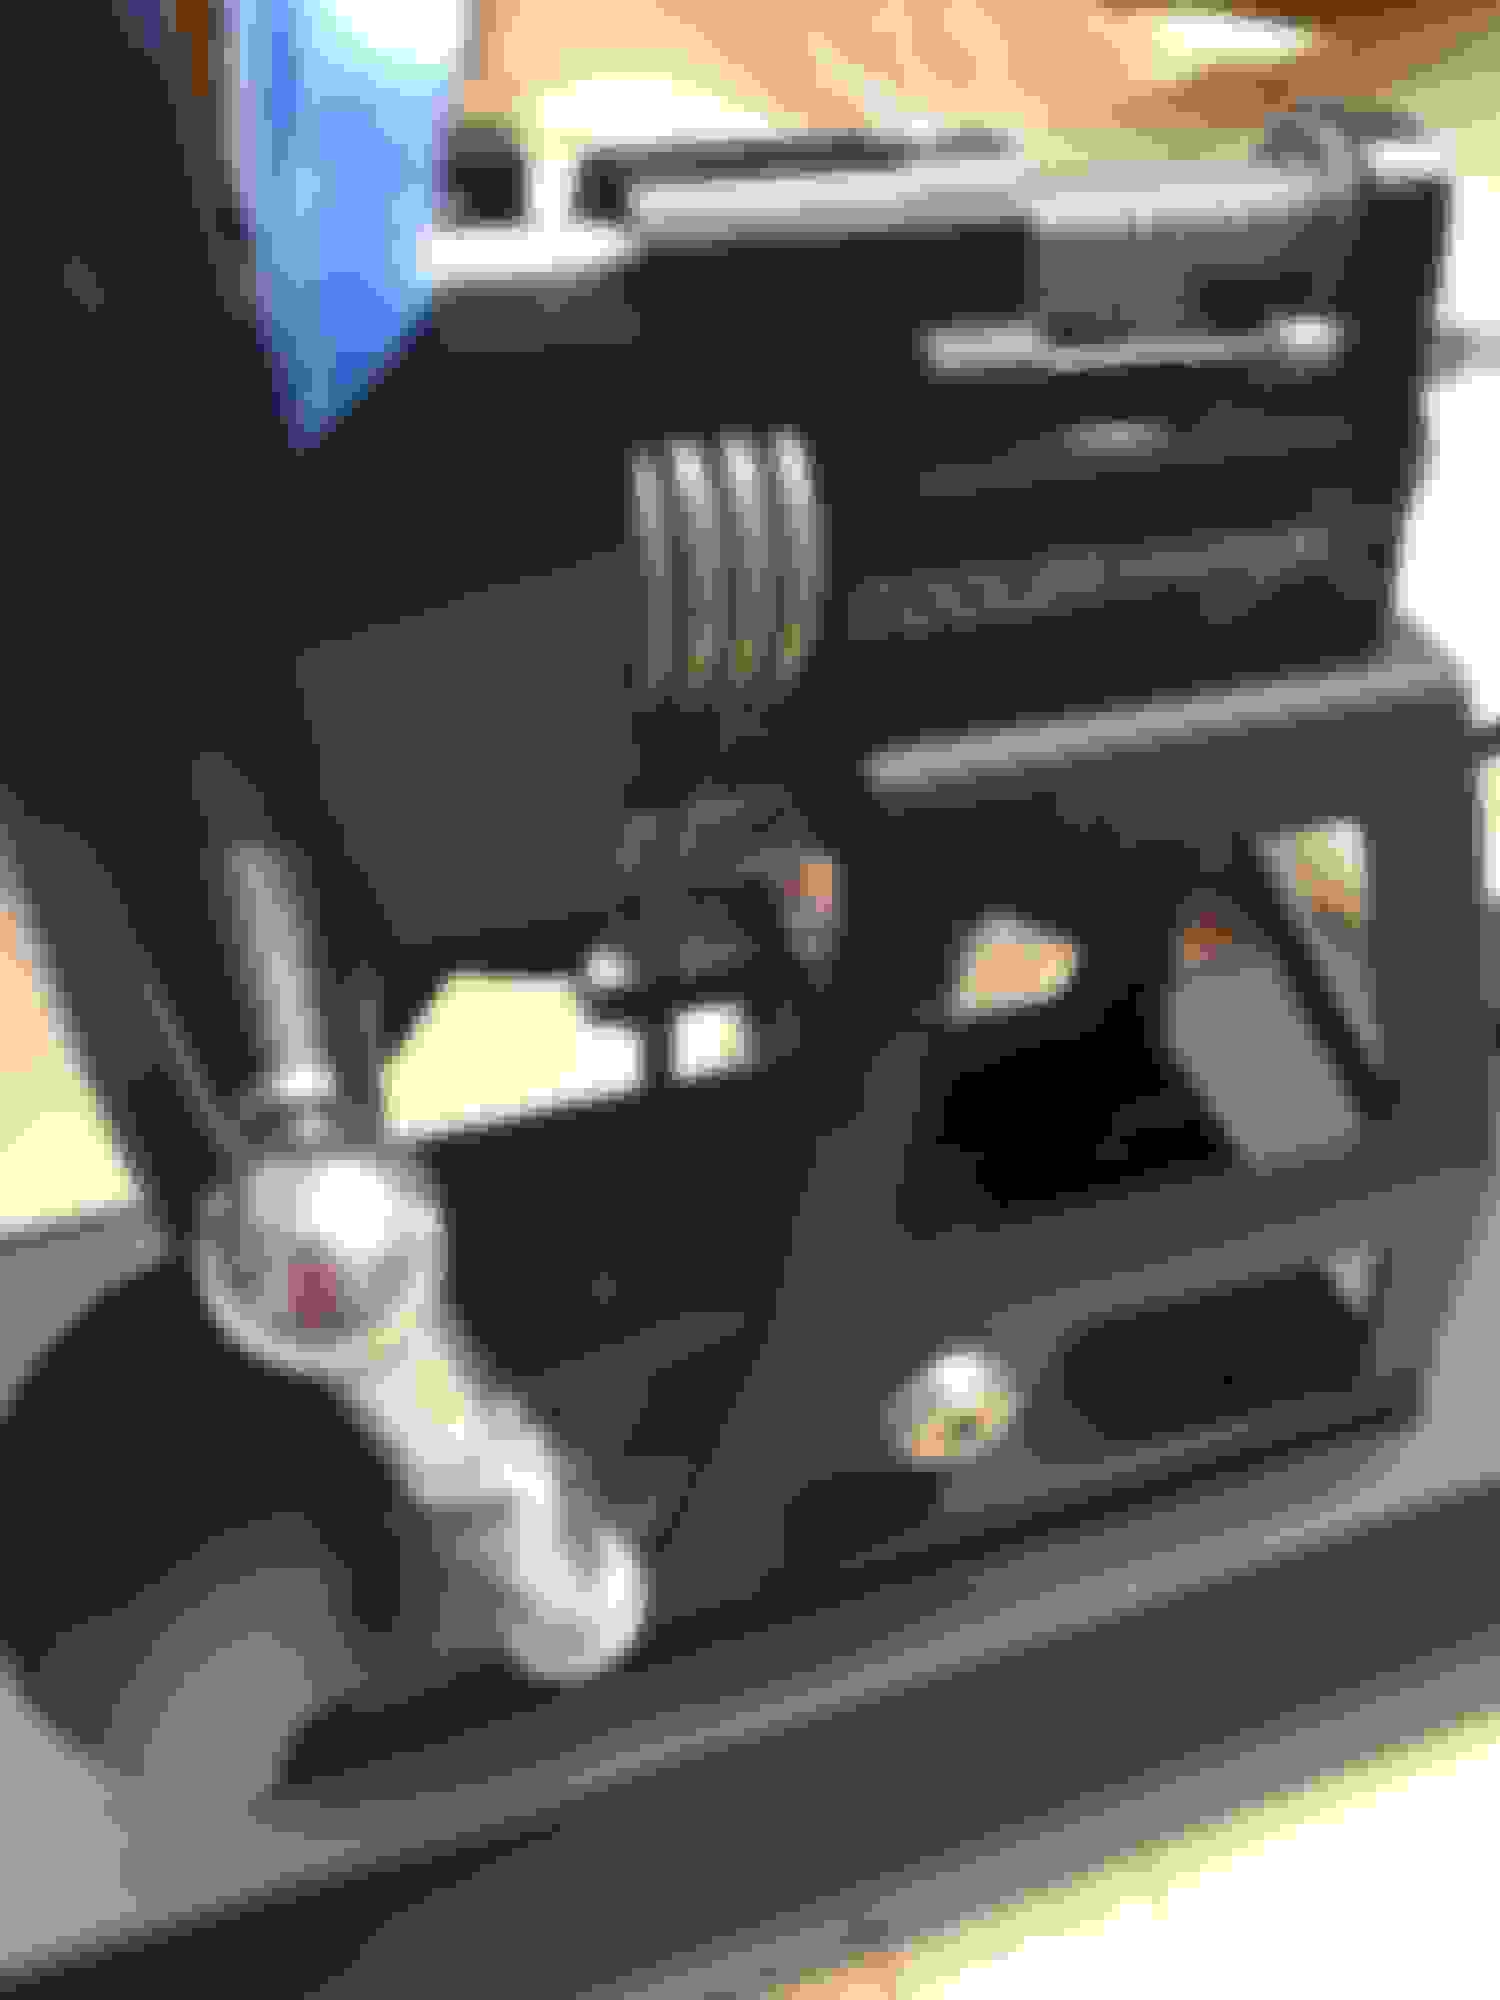
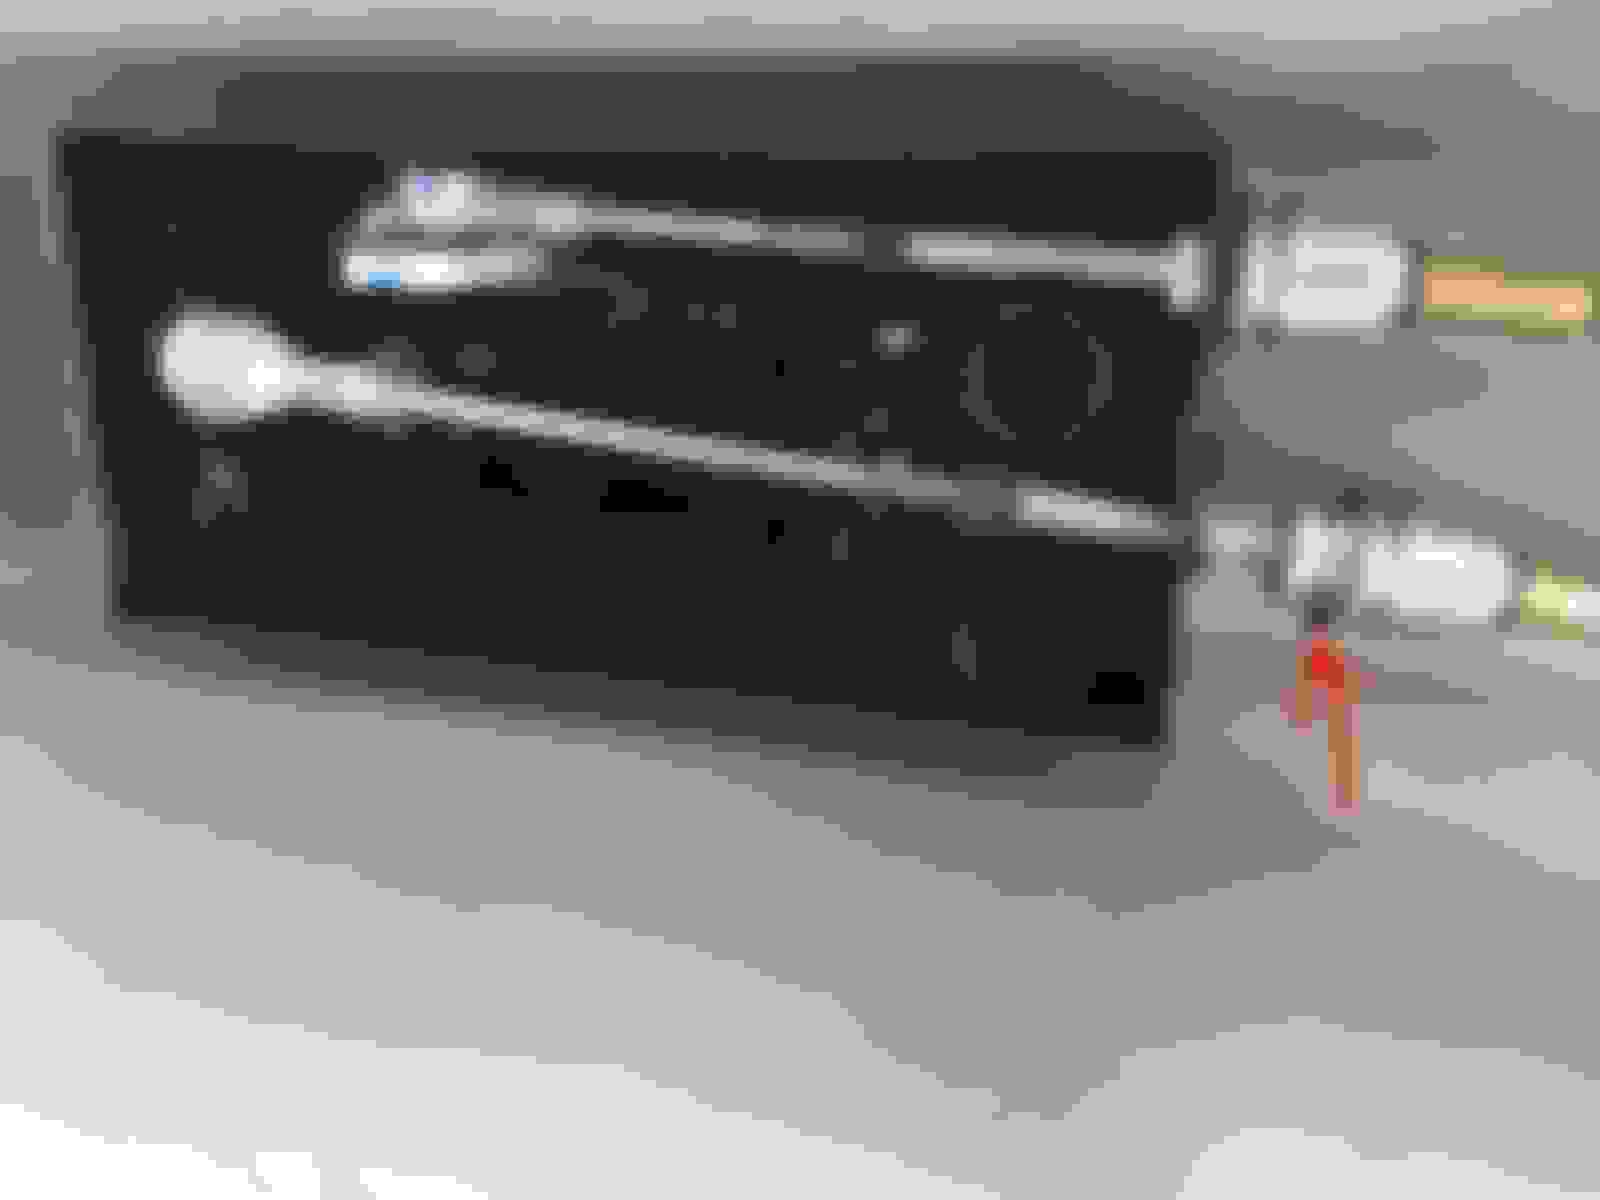
next is to slide out the spring sheet steel U-clips locking the cable jackets to the cassette; it requires considerable force to pop the ball joints at the end of the cable and there is no room for one to apply force while crawling under the car but I managed with a few tricks; the red arrow is a gasket
After a lot of work the shifter is mounted and the shifting cables connected, but there is still a lot for work ahead.
I spent some time locating the positions of the gears before setting out to perform alignment and adjustments
It took me another few hours the next day to wrap up the mechanical installation.
I didn't wrap up the installation of the long shifter in the same day as I only worked on it a few hours in taking advantage of the afternoon sun. I didn't want to rush the job only to realize I have done something wrong after buttoning up the undercarriage. I also took the opportunity to study the stock exhaust header for a place to mount a bung for a wide band oxygen sensor - which I resigned was not possible. I also paid special attention for a location to bring the harness for the wide band sensor from the cockpit down to the exhaust header.
One of the most difficult step that I encountered installing the new shifter is the shift cable retaining clips. The factory plastic cable cassette has straight sides so all you have to do is slide them in or out vertically. Not so with the steel cable cassette of the CoolerWorx shifter. The metal cassette edges are folded for the bottom cover to screw onto. You have to install these two spring steel retaining clips by sliding them in sideways in the very confined space. One thing that worried me is the thickness of the two cable ports. With aftermarket product you just never know as the tolerance can be poor.
It turns out the thickness (built up with two steel metal rings welded to the box) is very accurate. It would be a real drag if they are too thick as it will require the shifter to be removed and ground down.
At first I could not get the spring clips to slide into the slots with all my might. I decided to not use the thin fabric gaskets as no water should ever make it to the cables. The gaskets are may be 0.3mm thick. I was just able to slide the clips in without the gaskets with the aid of a pair of Channelock pliers.
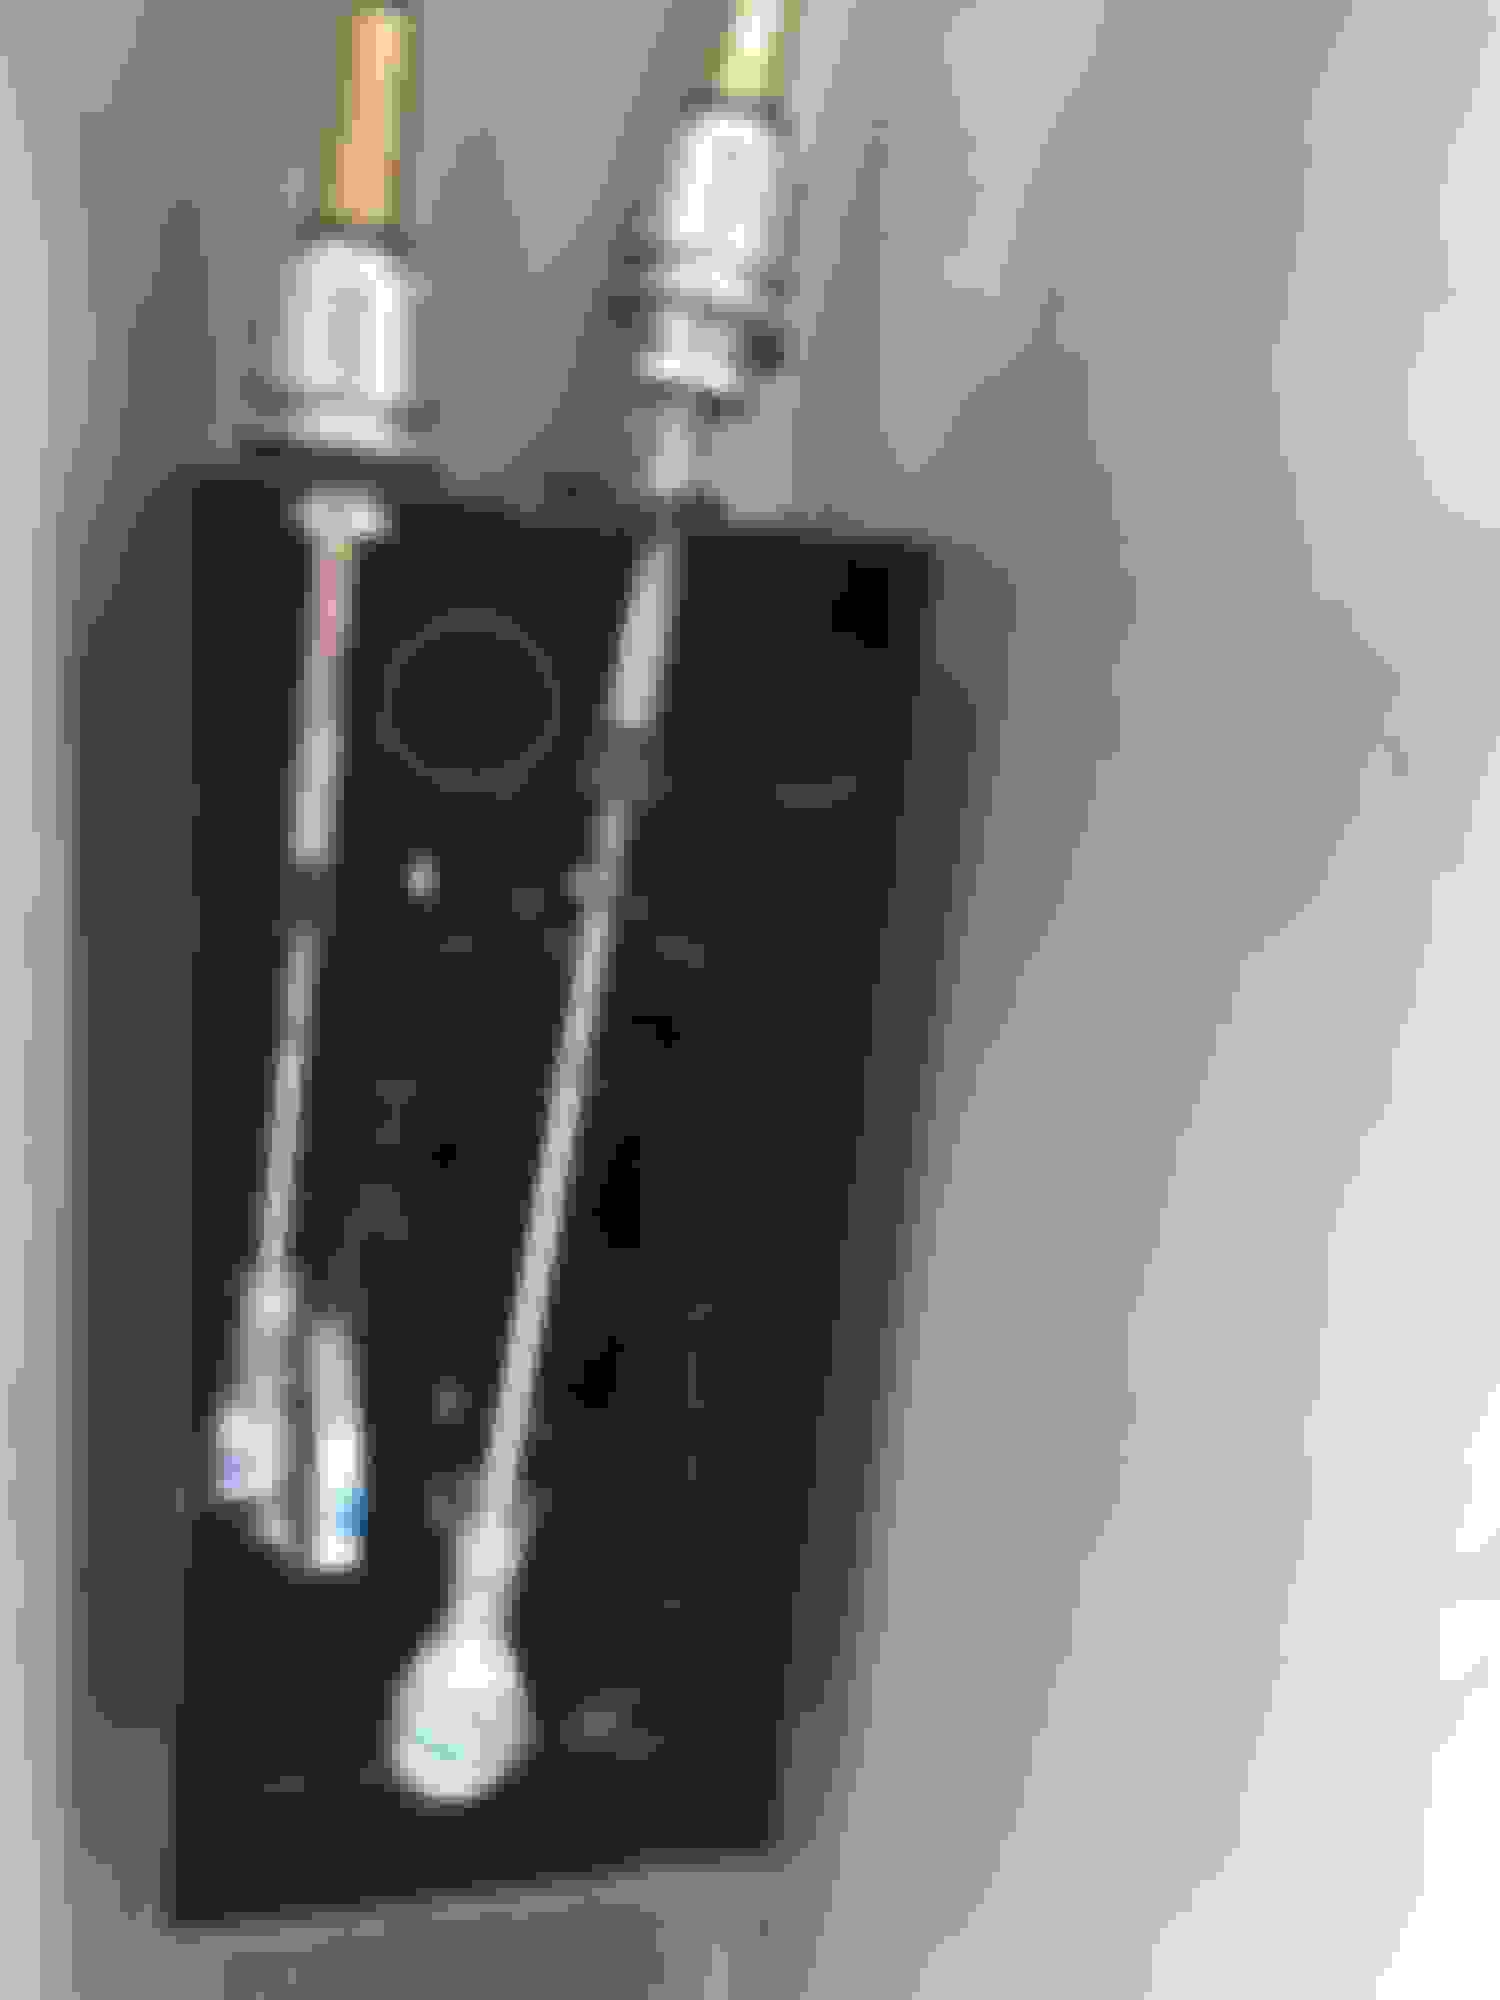
you have to slide in the two spring clips horizontally in the confines of the steel cassette
a view from the engine room up to the bridge; full steam ahead! - aye aye sir
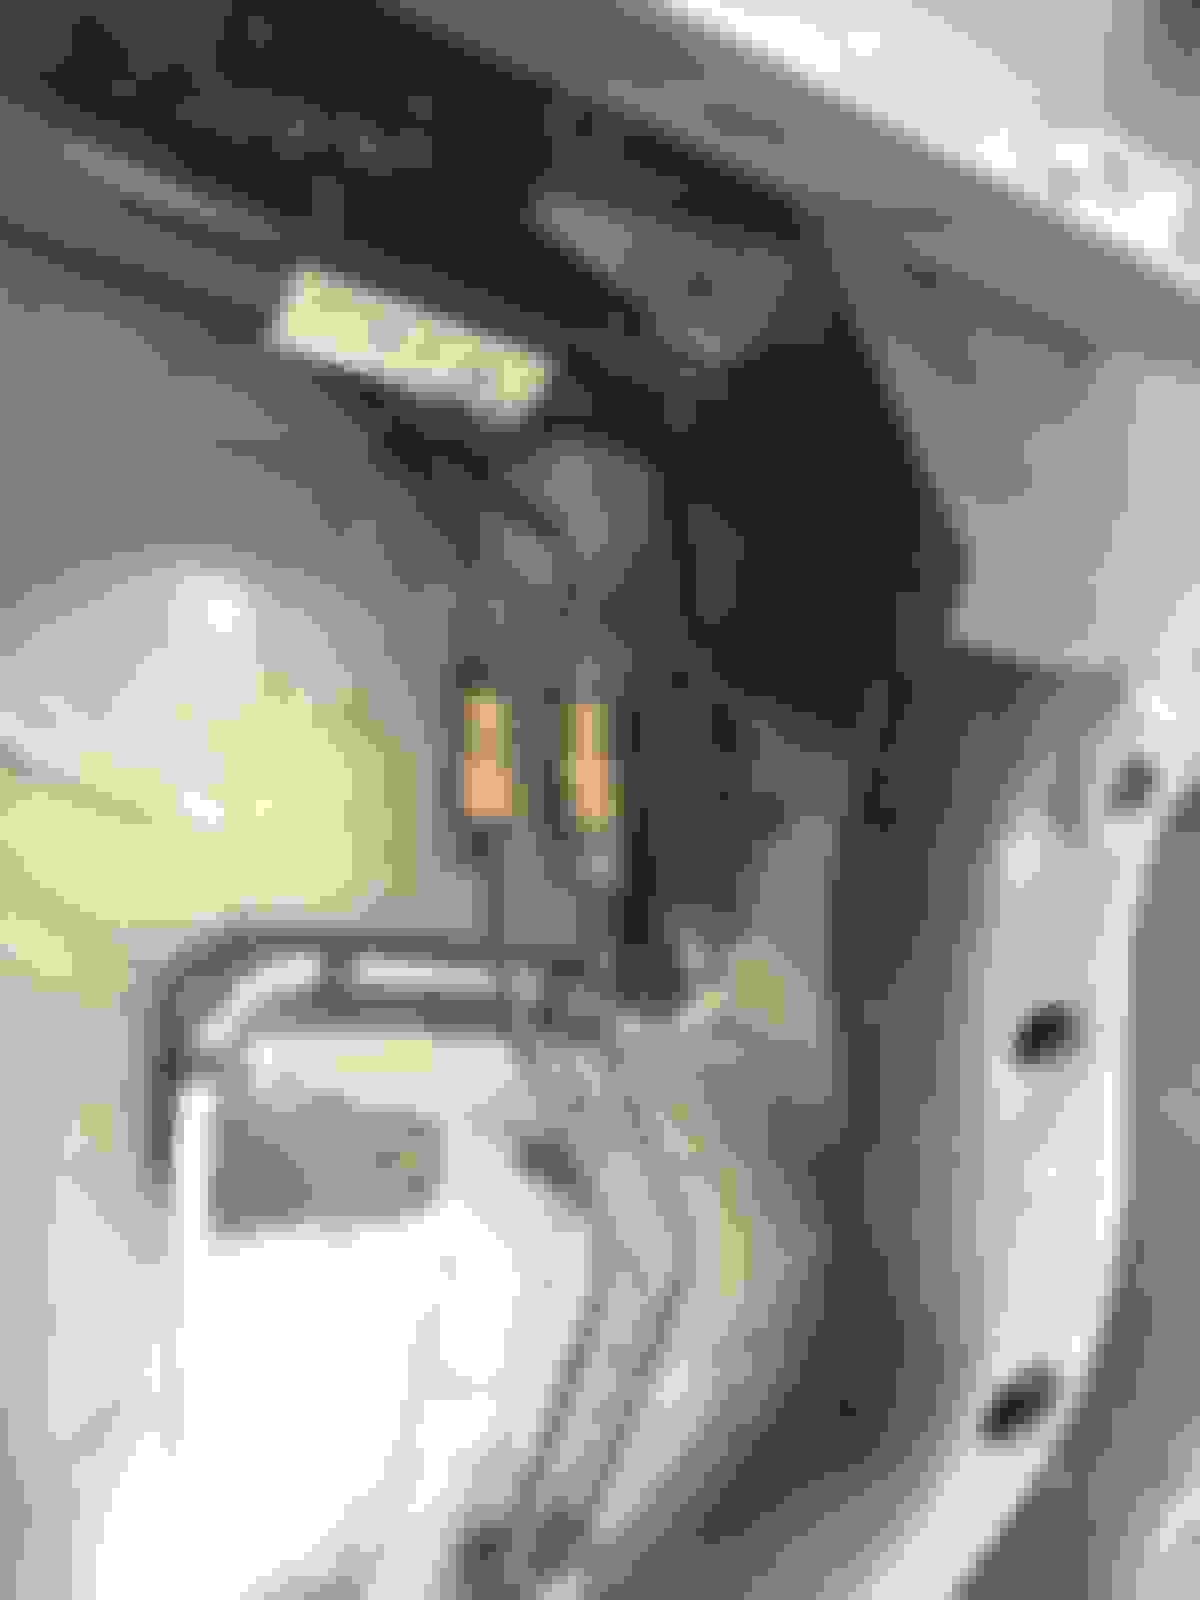
I found the connector for the post cat oxygen sensor hiding behind this small heat shield
everything behind the heat shield is pristine
note the air condition condensate drain (black rubber cup with a drip hose)
the drip hose for AC condensate
examining the header carefully I concluded that this is one viable location for installing the wide band sensor; it is almost right opposite the pre-cat narrow band sensor
Duh!
the 2 1/2 inch Milltek exhaust pipe is nice and center on the center support
Before re-installing the heat shields and the exhaust pipe I verified the location of all the gears including the reverse. I had a hard time finding the reverse as I didn't realize it take a lot of force to pull it left to overcome the detente. Because of the additional spring of the CoolerWorx the effort is increase and I just didn't pull it hard enough.
One big discovery is I would realize that I can utilize the cable cassette of the CoolerWorx to bring the cable harness of the wide band sensor from the cockpit to the header. It would be protected from the elements being behind the heat shield.
One thing that I dread is the increased thickness of the shifter's cable cassette may require modifying the heat shield. It turns out that was not necessary. I managed to re-install all the heat shields back to the exact location from the factory. The marking that I did make the reinstalllation and alignment a breeze.
The remaining mechanical work is to install the shifter stops. There are two screws that restrain the lateral movements for the forward gears, and one screw for the reverse gear's lateral movements.
the lateral restraining stops (the set screws) installed
The new shifter will take some time to get used to. In my unbiased first assessment it does not come near how good the shifter in the Porsche GT4 feels. Like another owner pointed out, the lateral centering spring in the CoolerWorx shifter is too strong since there is already one in the Getrag gearbox. This is my one single biggest criticism.
The machined knurling on the shift **** feel quite nice. Switching from the big stock **** to this cold machined aluminum one take some getting used to. The shift **** height, in my opinion can be 2 inches lower to be more natural. Surprisingly, without the rubber vibration isolators even without the plastic console and the shifter boot re-installed yet there is no objectionable noise or vibration. I actually like that you can hear the gearbox a little bit whine more.
I too notice the lateral flexing of the shifter structure especially pulling sideways to shift into reverse. CoolerWorx cut out too much sheet metal to have that all-business racing look. In all the mechanical installation is quite straight forward. You do have to pop out the lower ball joint of the the small arm to be able to get the shifter through the floor opening. I didn't encounter any alignment issues with any fasteners which often happen with aftermarket performance products like this.
I am deferring tackling the plastic console until I am totally satisfy with the shifter and that it is a definite improvement over the stock shifter. I have to say the stock shifter is pretty damn good given it is mostly plastic.
I have taken a few test drives and slowly getting used to the different feels of the shifter. Only with time will tell.
Mini with the summer performance wheels and tyres
so kids, the moral of the story is if you are good and persevere, dreams do come true like for Mini


 The place may not have opened at that time. I am now gladly out of the City of Portland.


 Just as well as it give a better relative scale of Paul and the Mini.