Drivetrain My build. Teaser photos and updates


Thread Starter
|
5th Gear
Joined: Aug 2008
Posts: 1,100
Likes: 13
From: Inman, SC
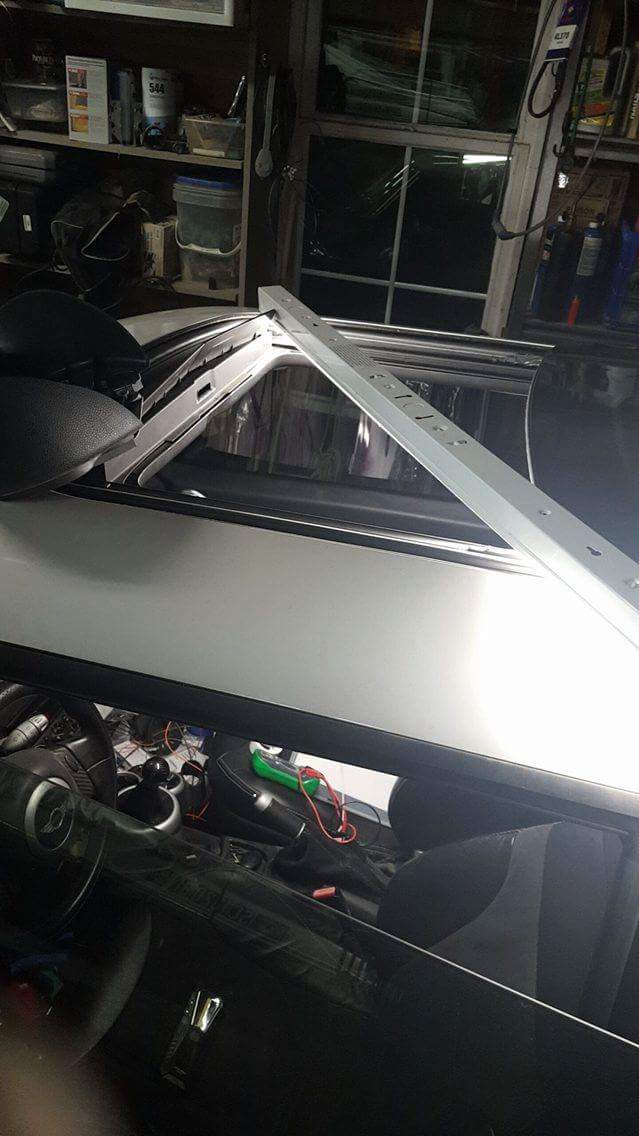
sometimes you just gotta love having a sunroof.
New battery is in the car (had a whoopsie with the braille I had in the car.. use the correct charger kids! And use one that shuts itself off instead of pumping 20V into the battery when you forget about it while talking to someone ! (:| )
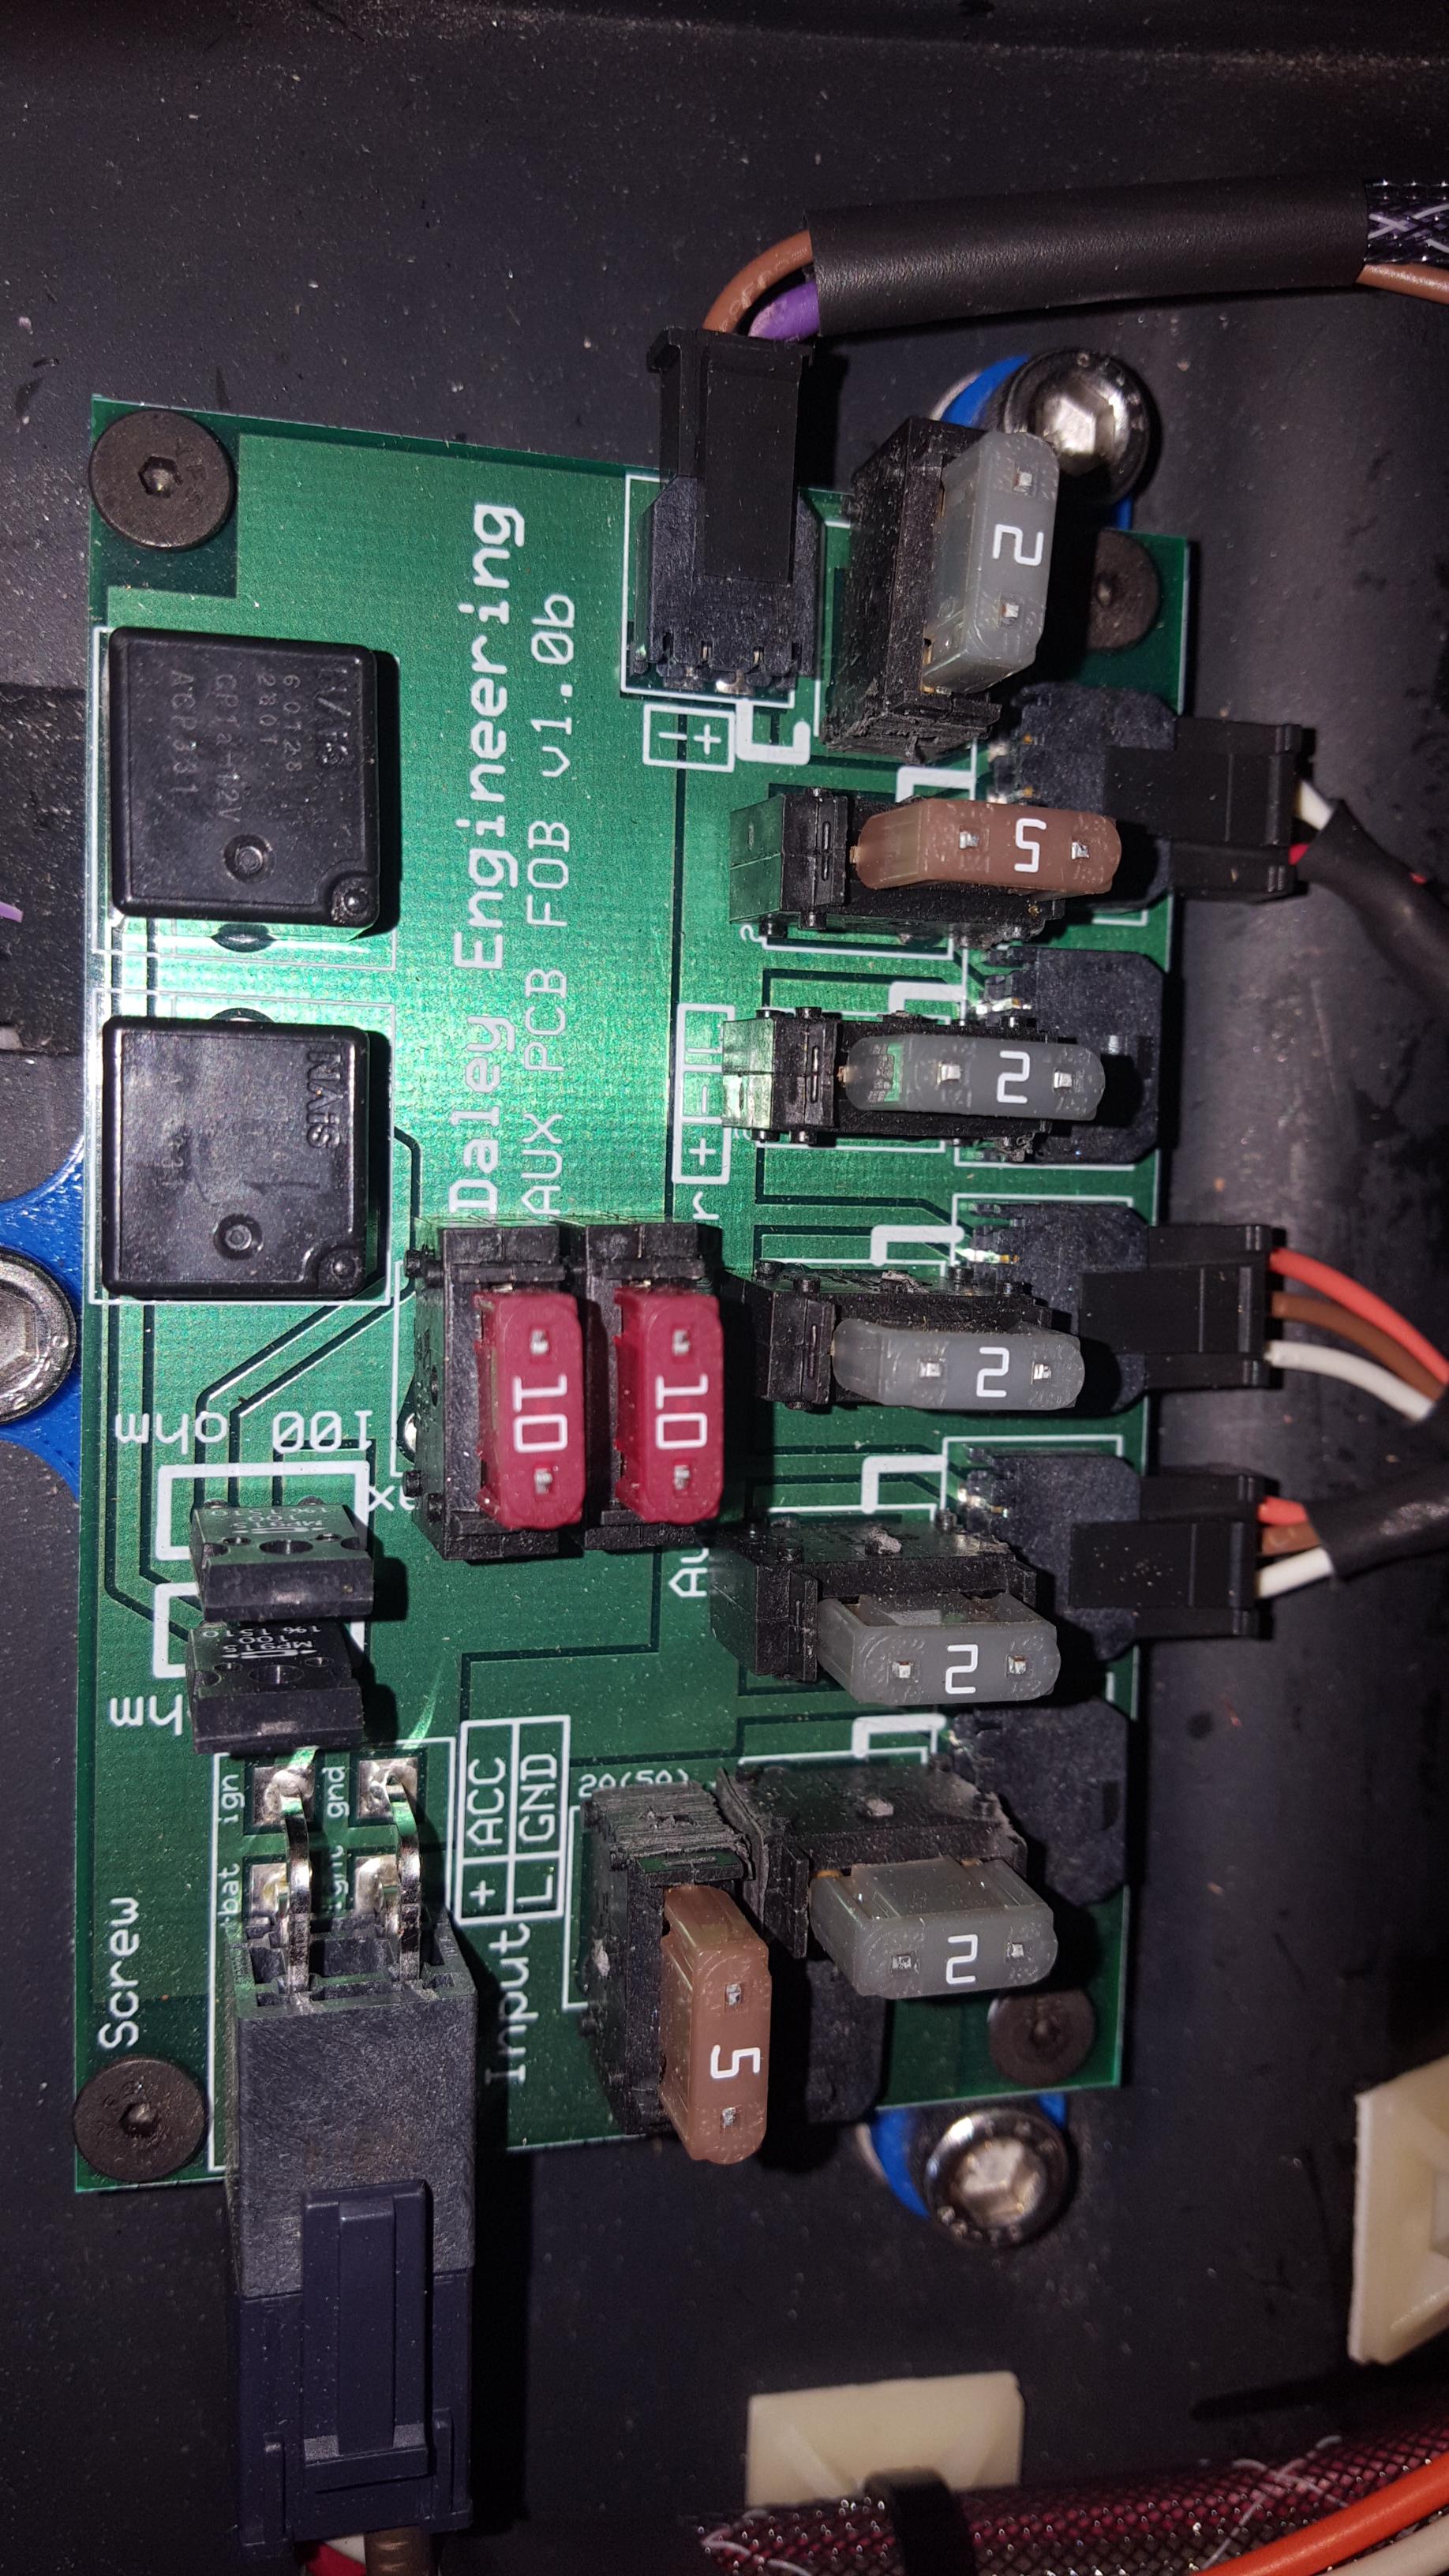
Close up on the auxiliary board.
Uses 2 panasonic relays. The 100 ohm resistors are there to reduce the voltage to the coil on the relays, just to help with spikes, and longevity of the coil. It's rated to 25 or 30V, but the duty cycle was 100% at ~10V, so the resistors help drop the voltage to a good level.
the main inlet power is fused with the 10A fuses, and each outlet port is fused as well.

did a little more work after this, but not much. This is basically how the wiring will sit under the dash. Does not interfere with anything, and the cover closes easily and allows all of the cables to move to avoid straining connections.
A lot of the 'main' die down points are using releasable / reusable zip ties in case I ever need to dig back into it.
The only gauge that is not running off this board will be the boost gauge, as it is mechanical with two needles, and the only power it needs is for the lighting, but it will work with the factory PWM circuit (dim with the dash brightness), so I will play around with that more on it's own. I will probably have to add a resistor in line to it to bring it's brightness into line with that of the dash, but from that point, it will dim and brighten with the dash control.

and finally a fun little gif. not sure where I will mount the boost gauge yet... perhaps down next to the cup holders. Its just so non visible down there though...
New battery is in the car (had a whoopsie with the braille I had in the car.. use the correct charger kids! And use one that shuts itself off instead of pumping 20V into the battery when you forget about it while talking to someone ! (:| )
Close up on the auxiliary board.
Uses 2 panasonic relays. The 100 ohm resistors are there to reduce the voltage to the coil on the relays, just to help with spikes, and longevity of the coil. It's rated to 25 or 30V, but the duty cycle was 100% at ~10V, so the resistors help drop the voltage to a good level.
the main inlet power is fused with the 10A fuses, and each outlet port is fused as well.
did a little more work after this, but not much. This is basically how the wiring will sit under the dash. Does not interfere with anything, and the cover closes easily and allows all of the cables to move to avoid straining connections.
A lot of the 'main' die down points are using releasable / reusable zip ties in case I ever need to dig back into it.
The only gauge that is not running off this board will be the boost gauge, as it is mechanical with two needles, and the only power it needs is for the lighting, but it will work with the factory PWM circuit (dim with the dash brightness), so I will play around with that more on it's own. I will probably have to add a resistor in line to it to bring it's brightness into line with that of the dash, but from that point, it will dim and brighten with the dash control.

and finally a fun little gif. not sure where I will mount the boost gauge yet... perhaps down next to the cup holders. Its just so non visible down there though...


Thread Starter
|
5th Gear
Joined: Aug 2008
Posts: 1,100
Likes: 13
From: Inman, SC
 While I do not intend to start doing that, Might I suggest a few.
 aVe - specifically his BOLTR's - funny canadian guy. not an engineer but could be. Lots of practical knowledge, loves to neard out about tool design and tears stuff apart and figures out what will break. Also loves to fabricobble (do something crazy on the cheap in a very resourceful way)
Bad Obsession Motorsports - Project Binkey
(shoehorning an celica GT4 drivetrain into a classic mini) - british humor and great fabracation. They try to do a lot of it (besides having a rotisserie and some other stuff) with items you might have access to or would not be that difficult to make. Use cardboard for templates for sheet metal, and usually use a angle grinder to cut and shape the steel, then bend it up in a home-made brake and weld it in.
This Old Tony - american or canadian stuck in europe. Machinist channel. Good stuff. Superbly edited. makes lots of stuff, pick up lots of little helper techniques in the middle of his videos.
NYC CNC - guy started out as a hobby machinist with a cnc in his NYC (manhattan) appt, grew into a business but he does well edited videos, shows a lot of his mistakes, and I have used a lot of his channels to stay on top of interesting techniques.
He is still learning some things, but he has taught me a lot as well.
Abom is good as well. but it's heavy machining and long-format videos.
Oh, and last but definately not least.
Welding Tips and Tricks : this is a must if you are getting into welding. Great instructional videos. Amazingly nice guy, and has fantastic 'arc shots' (videos of what you see through your welding helmet) so you can see what the weld process should look like. Helps to know what you should be seeing so you can aim for that while you are doing it. Also goes through lots of equiptment, techniques, etc. Wonderful wonderful channel. And if you get into aluminum welding, pick up some of his tig fingers. Worth way more than what he charges. bahaha (don't tell him that though!)

 While I do not intend to start doing that, Might I suggest a few.
 Bad Obsession Motorsports - Project Binkey
(shoehorning an celica GT4 drivetrain into a classic mini) - british humor and great fabracation. They try to do a lot of it (besides having a rotisserie and some other stuff) with items you might have access to or would not be that difficult to make. Use cardboard for templates for sheet metal, and usually use a angle grinder to cut and shape the steel, then bend it up in a home-made brake and weld it in.
:
Thanks for sharing this. I've been watching the videos all day

Really talented and funny guys.


Your fabrication skills ... well done.
__________________

MINI Guru/ MINI Owner Since 2004 | NEW Lifetime Part Replacement | Local Pickup
Milltek | Genuine MINI | Forge Motorsport | NM Engineering | ECS Performance | M7 Speed
Customer Service Hours: 8am-8pm EST|Sales Team Hours: 8am-11pm | SAT 10am-7pm 800.924.5172
MINI Guru/ MINI Owner Since 2004 | NEW Lifetime Part Replacement | Local Pickup
Milltek | Genuine MINI | Forge Motorsport | NM Engineering | ECS Performance | M7 Speed
Customer Service Hours: 8am-8pm EST|Sales Team Hours: 8am-11pm | SAT 10am-7pm 800.924.5172
Thread Starter
|
5th Gear
Joined: Aug 2008
Posts: 1,100
Likes: 13
From: Inman, SC
lol! nope. Stock internals. Stock head :3 (that might come some day. We shall see) Stock internals are good for 280whp on a turbo, turbo is good for a lot more than that, but we will see the sort of power balance we can get with 15-16psi and e85

Neutral
Joined: Nov 2016
Posts: 10
Likes: 0
From: Seattle

We have similar taste my friend! Just glad to see your passion! In road race trim our MINI would run about 540whp and I was just wondering what you were trying to push! Cant wait to see more of your build!!
Dez
Thread Starter
|
5th Gear
Joined: Aug 2008
Posts: 1,100
Likes: 13
From: Inman, SC
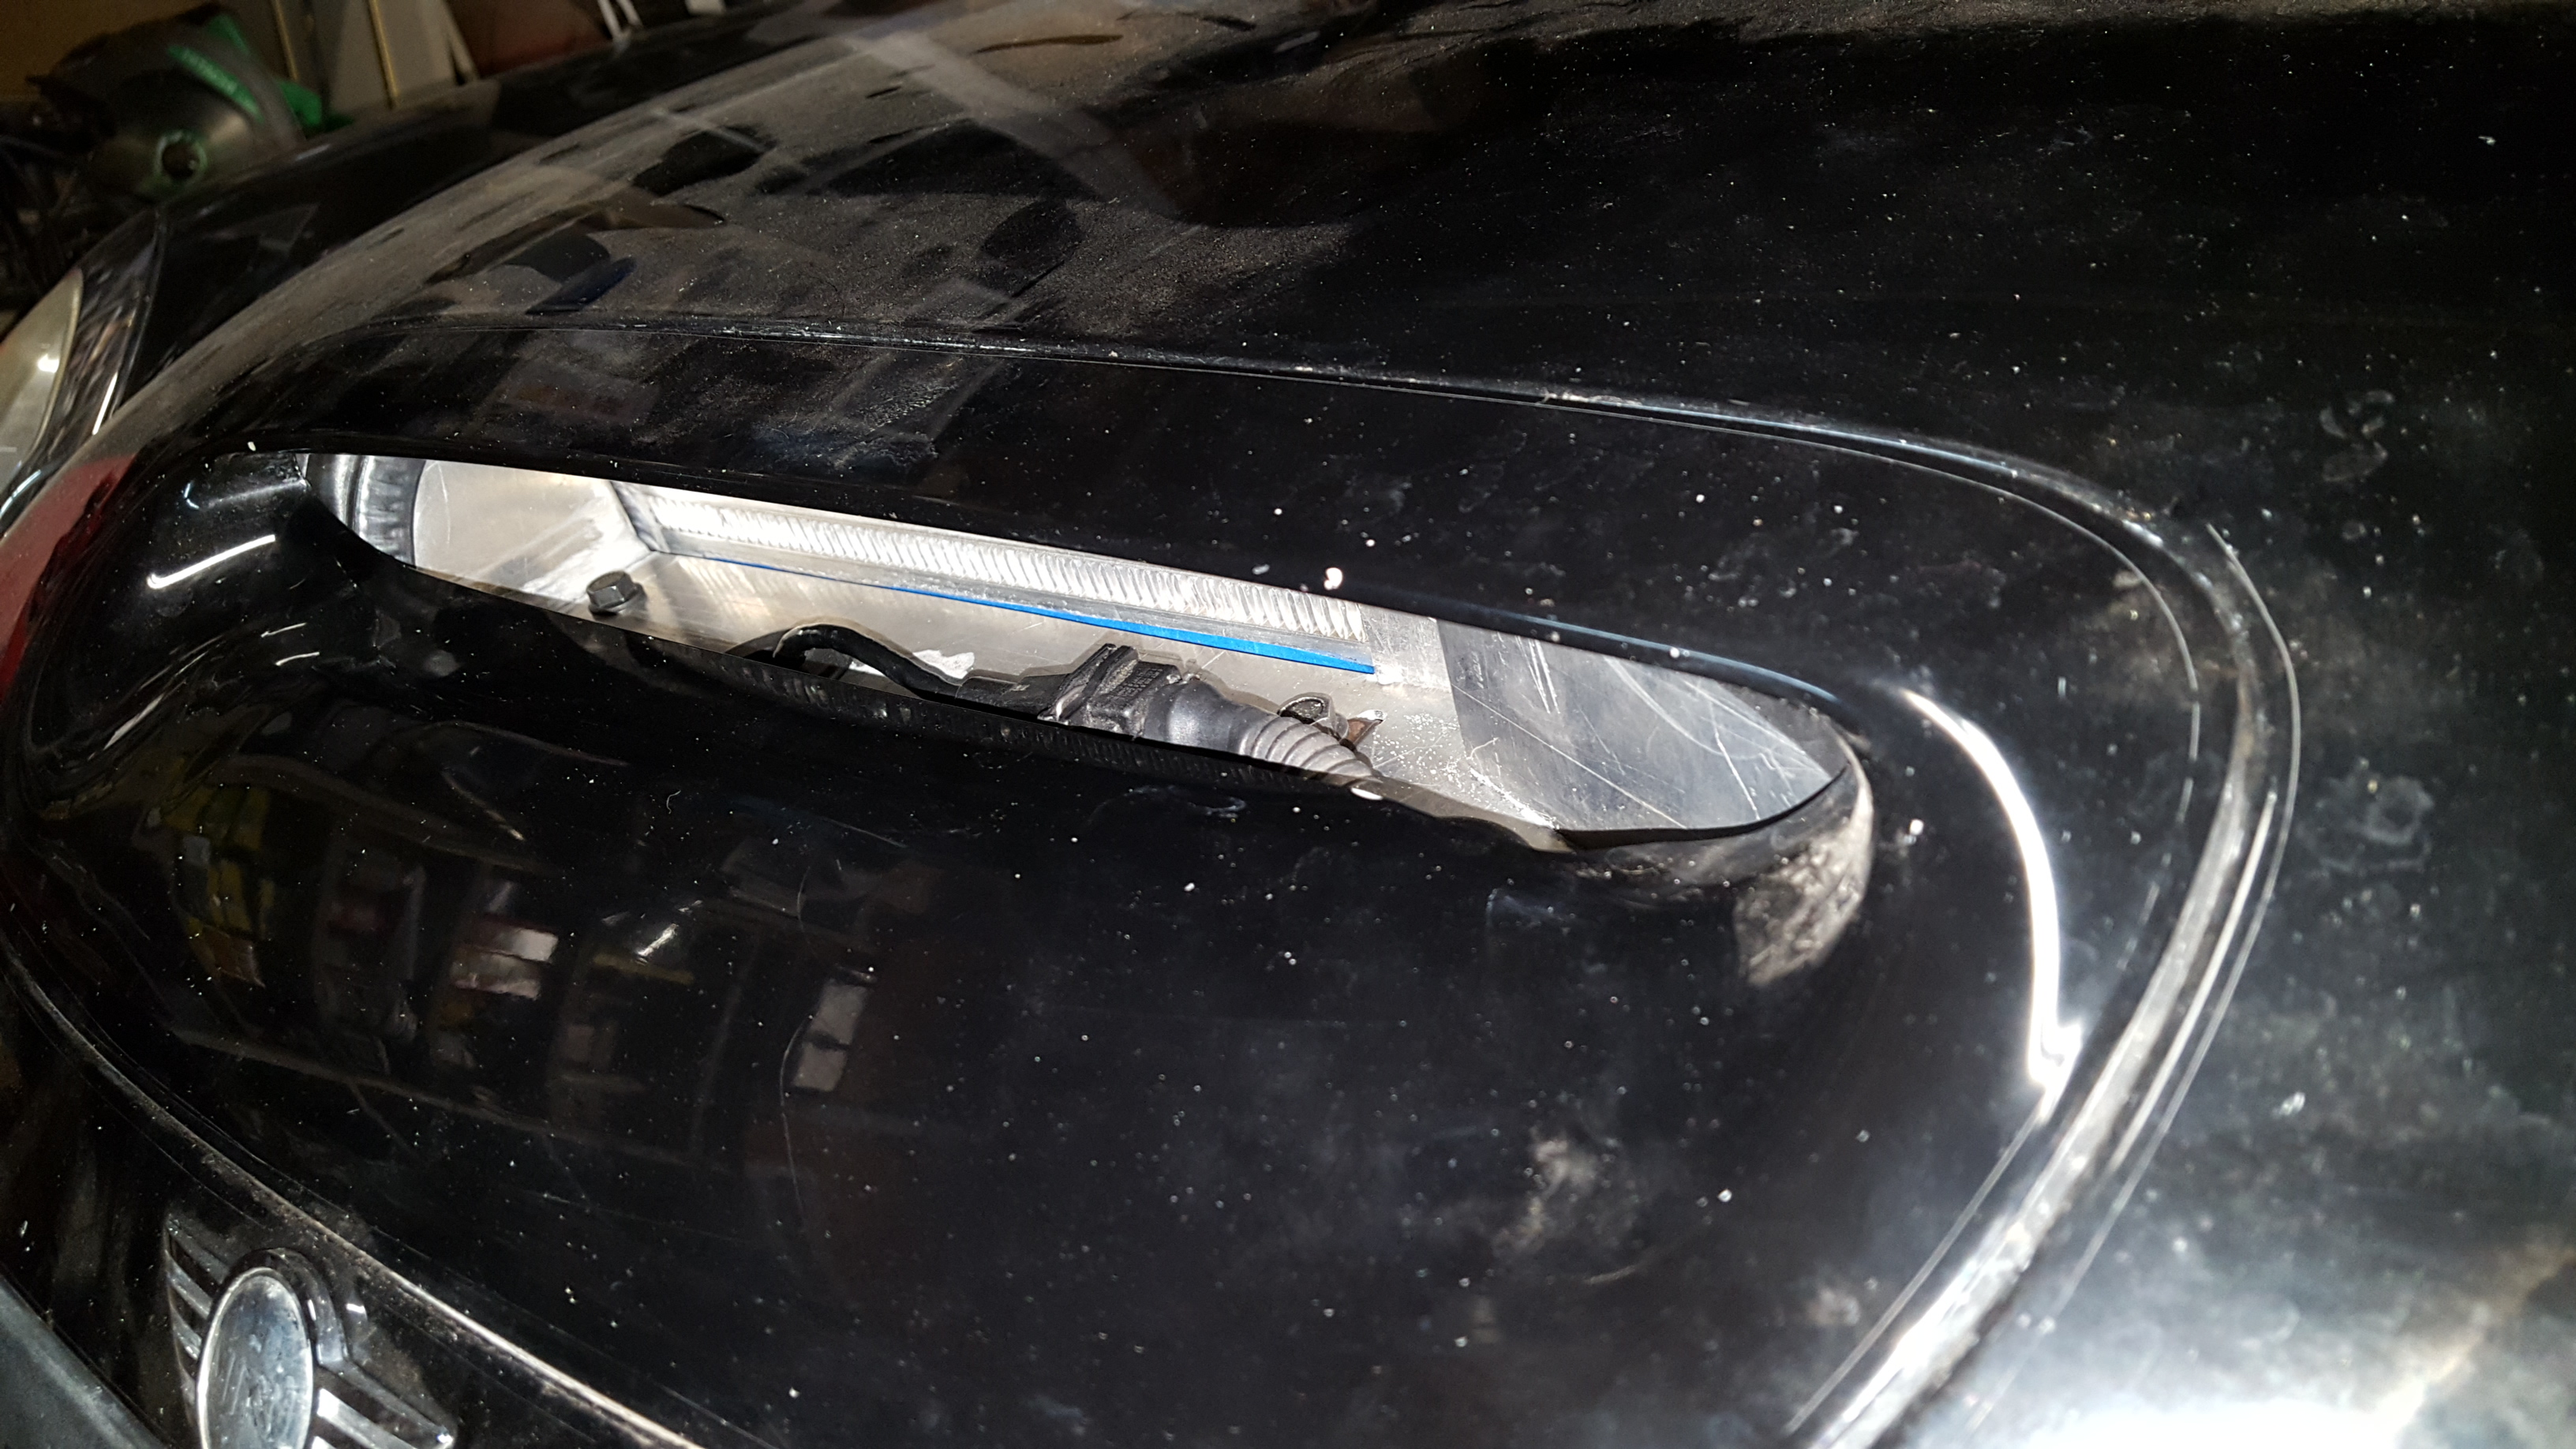
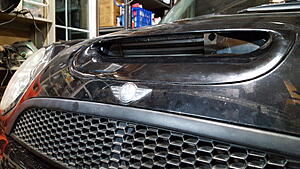
Intercooler ducting finished!
Finally finished up a 'round to it' this evening and made the ducting for the intercooler. What a PITA! But not too bad. Lots of trimming and hand filing and shaping and taking the part on and off.
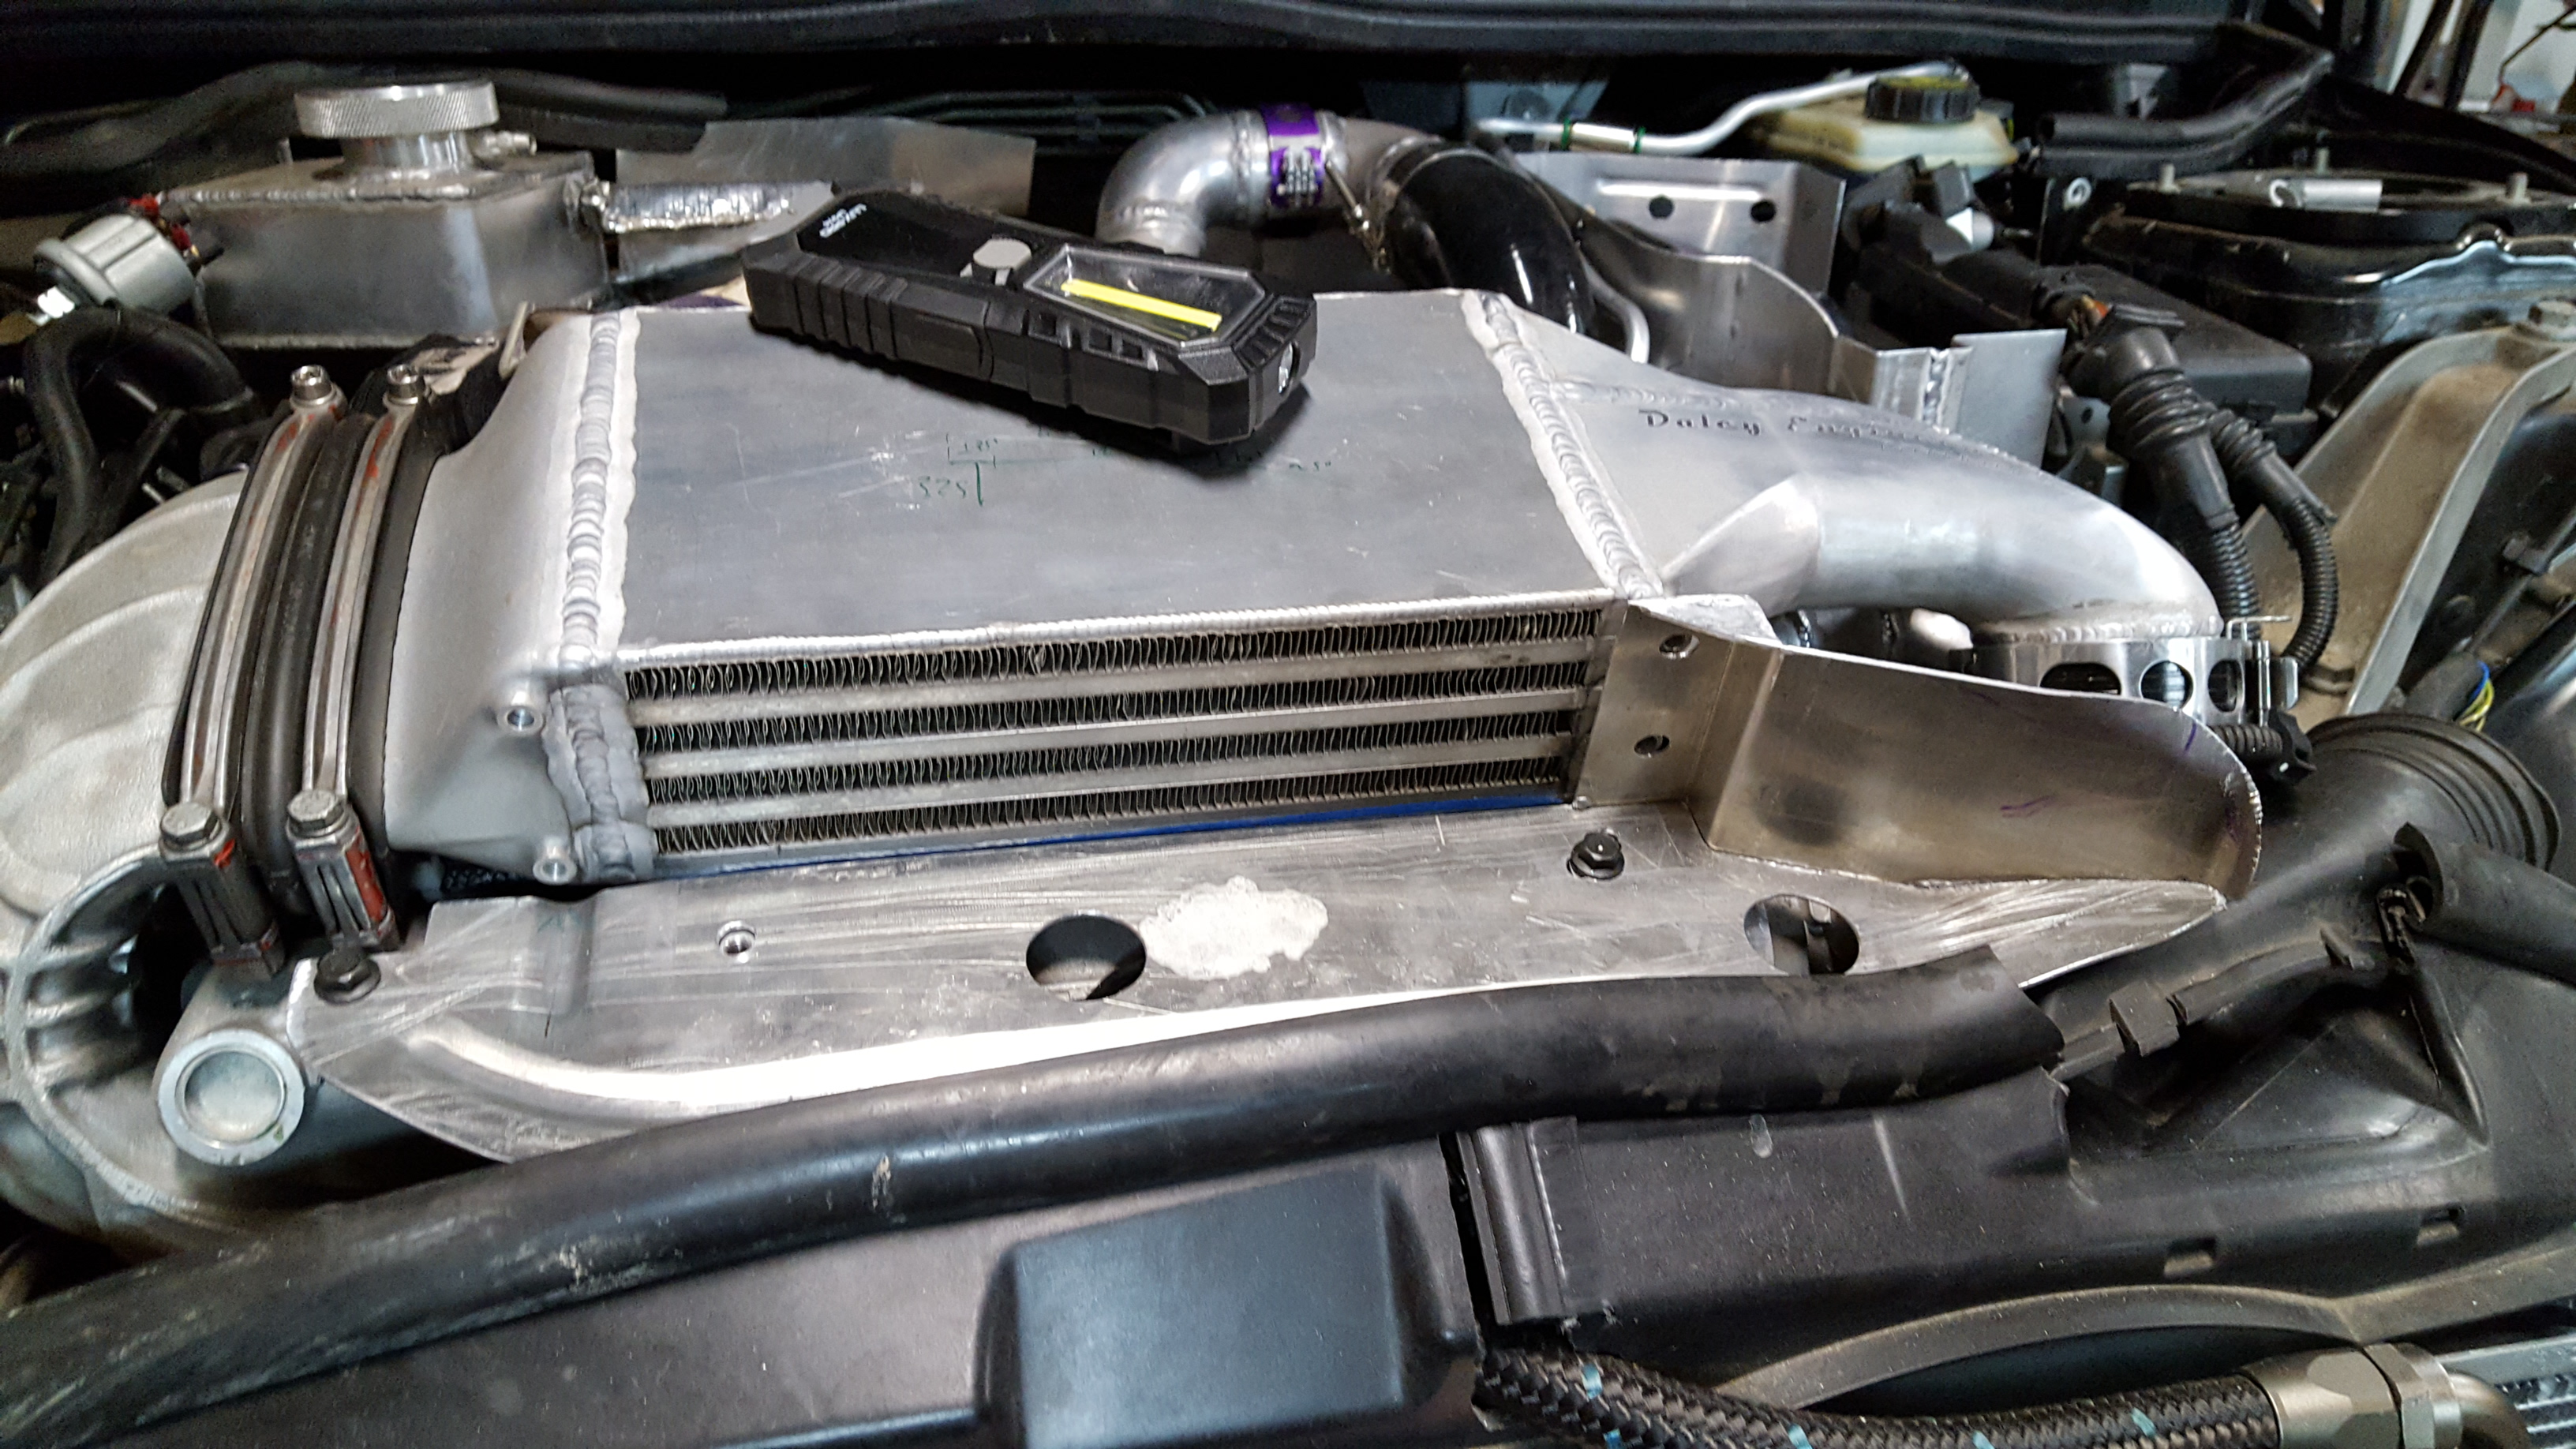
I started by making the base that picked up off of three of the factory intercooler bracket mounts. The other large holes are for the knock sensor connection.
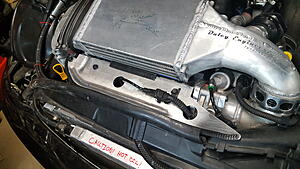
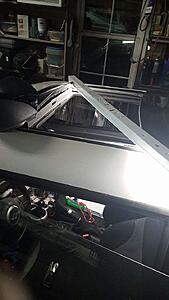
Next i shaped the sides. These are what took the bulk of the time. Getting them close enough to the closed hood so the bulb seal could do its thing, but far enough away that there were no issues closing the hood or resultant rattles.
Had to make it in a few pieces. Lots of welding, linishing, blending, bending, notching, bending, rewelding etc was done.
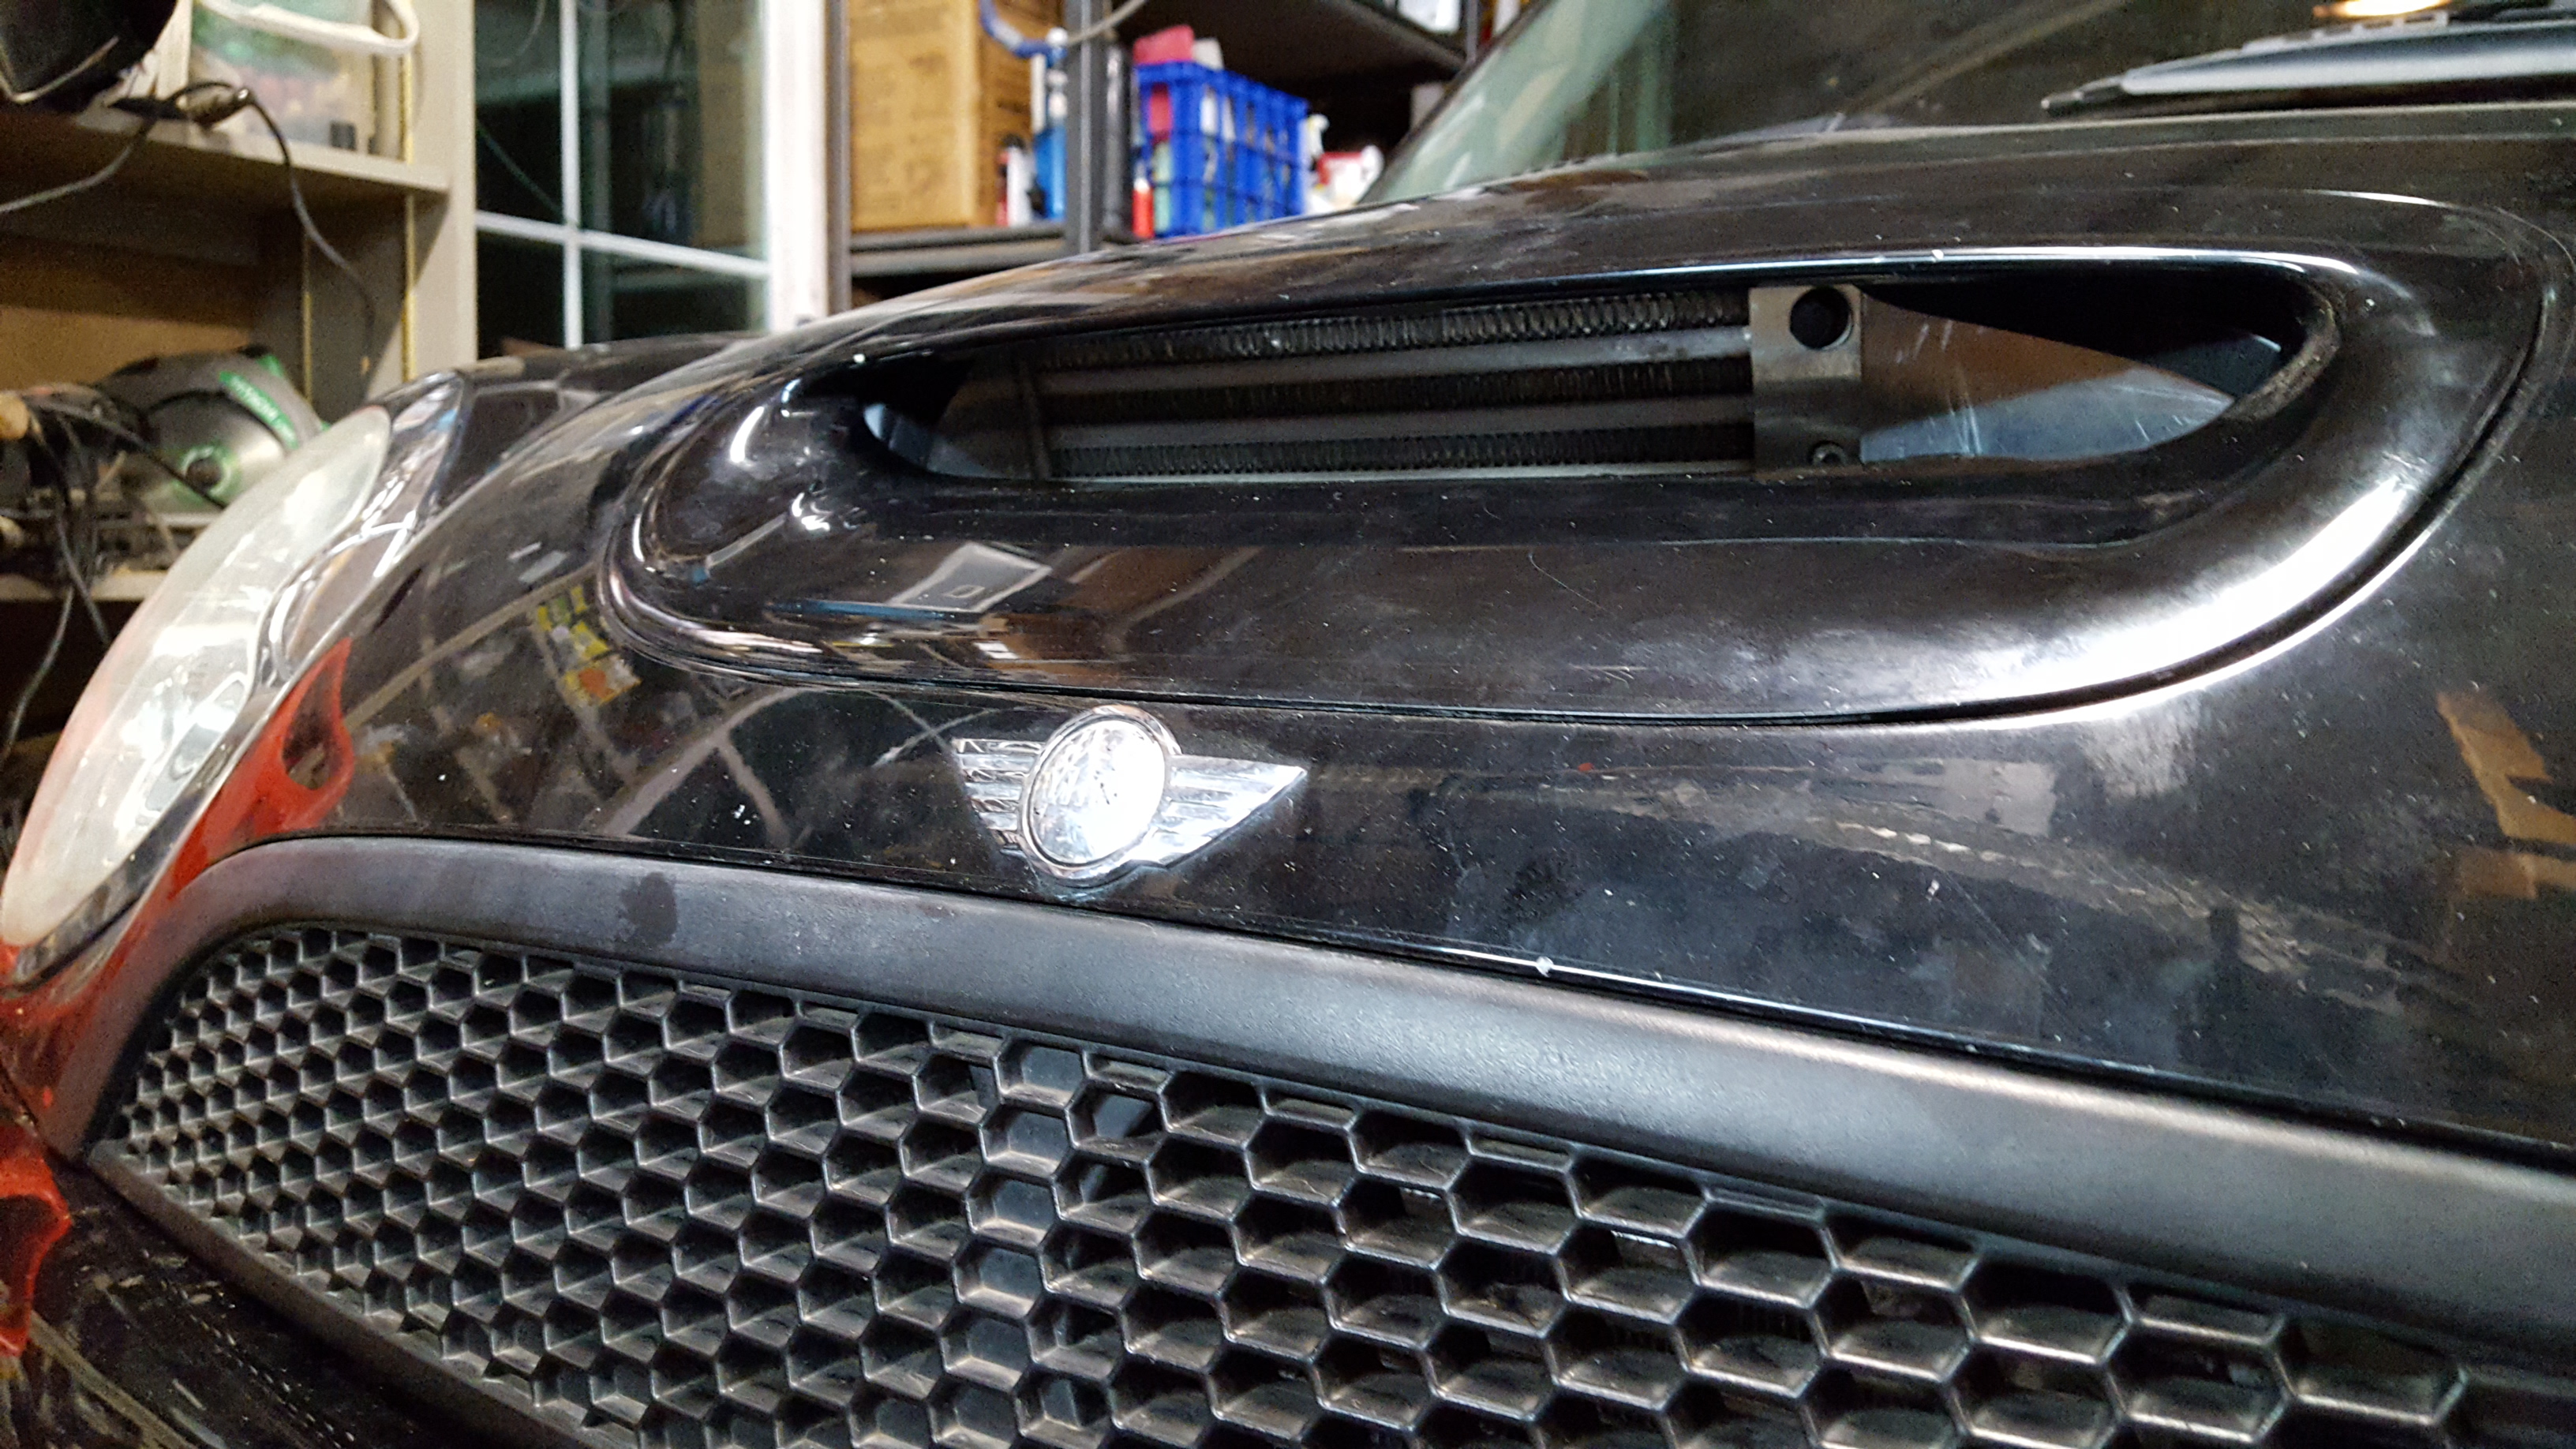
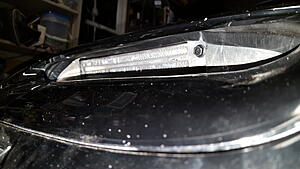
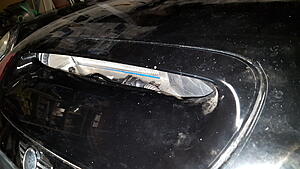
The top piece ended up getting the most change. I had to actually bend it 45 deg furthar forward and trim it down in order to get the bulb seal on and have the hood close.
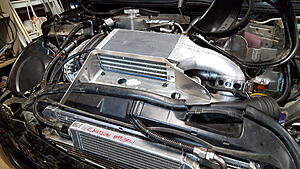
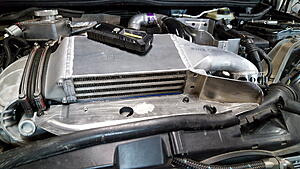
Finished with bulb seals installed! Still keeds a few foam strips on the back where it meets the front of the intercooler.. but other than that.
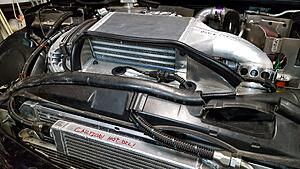
Seals well.
I started by making the base that picked up off of three of the factory intercooler bracket mounts. The other large holes are for the knock sensor connection.
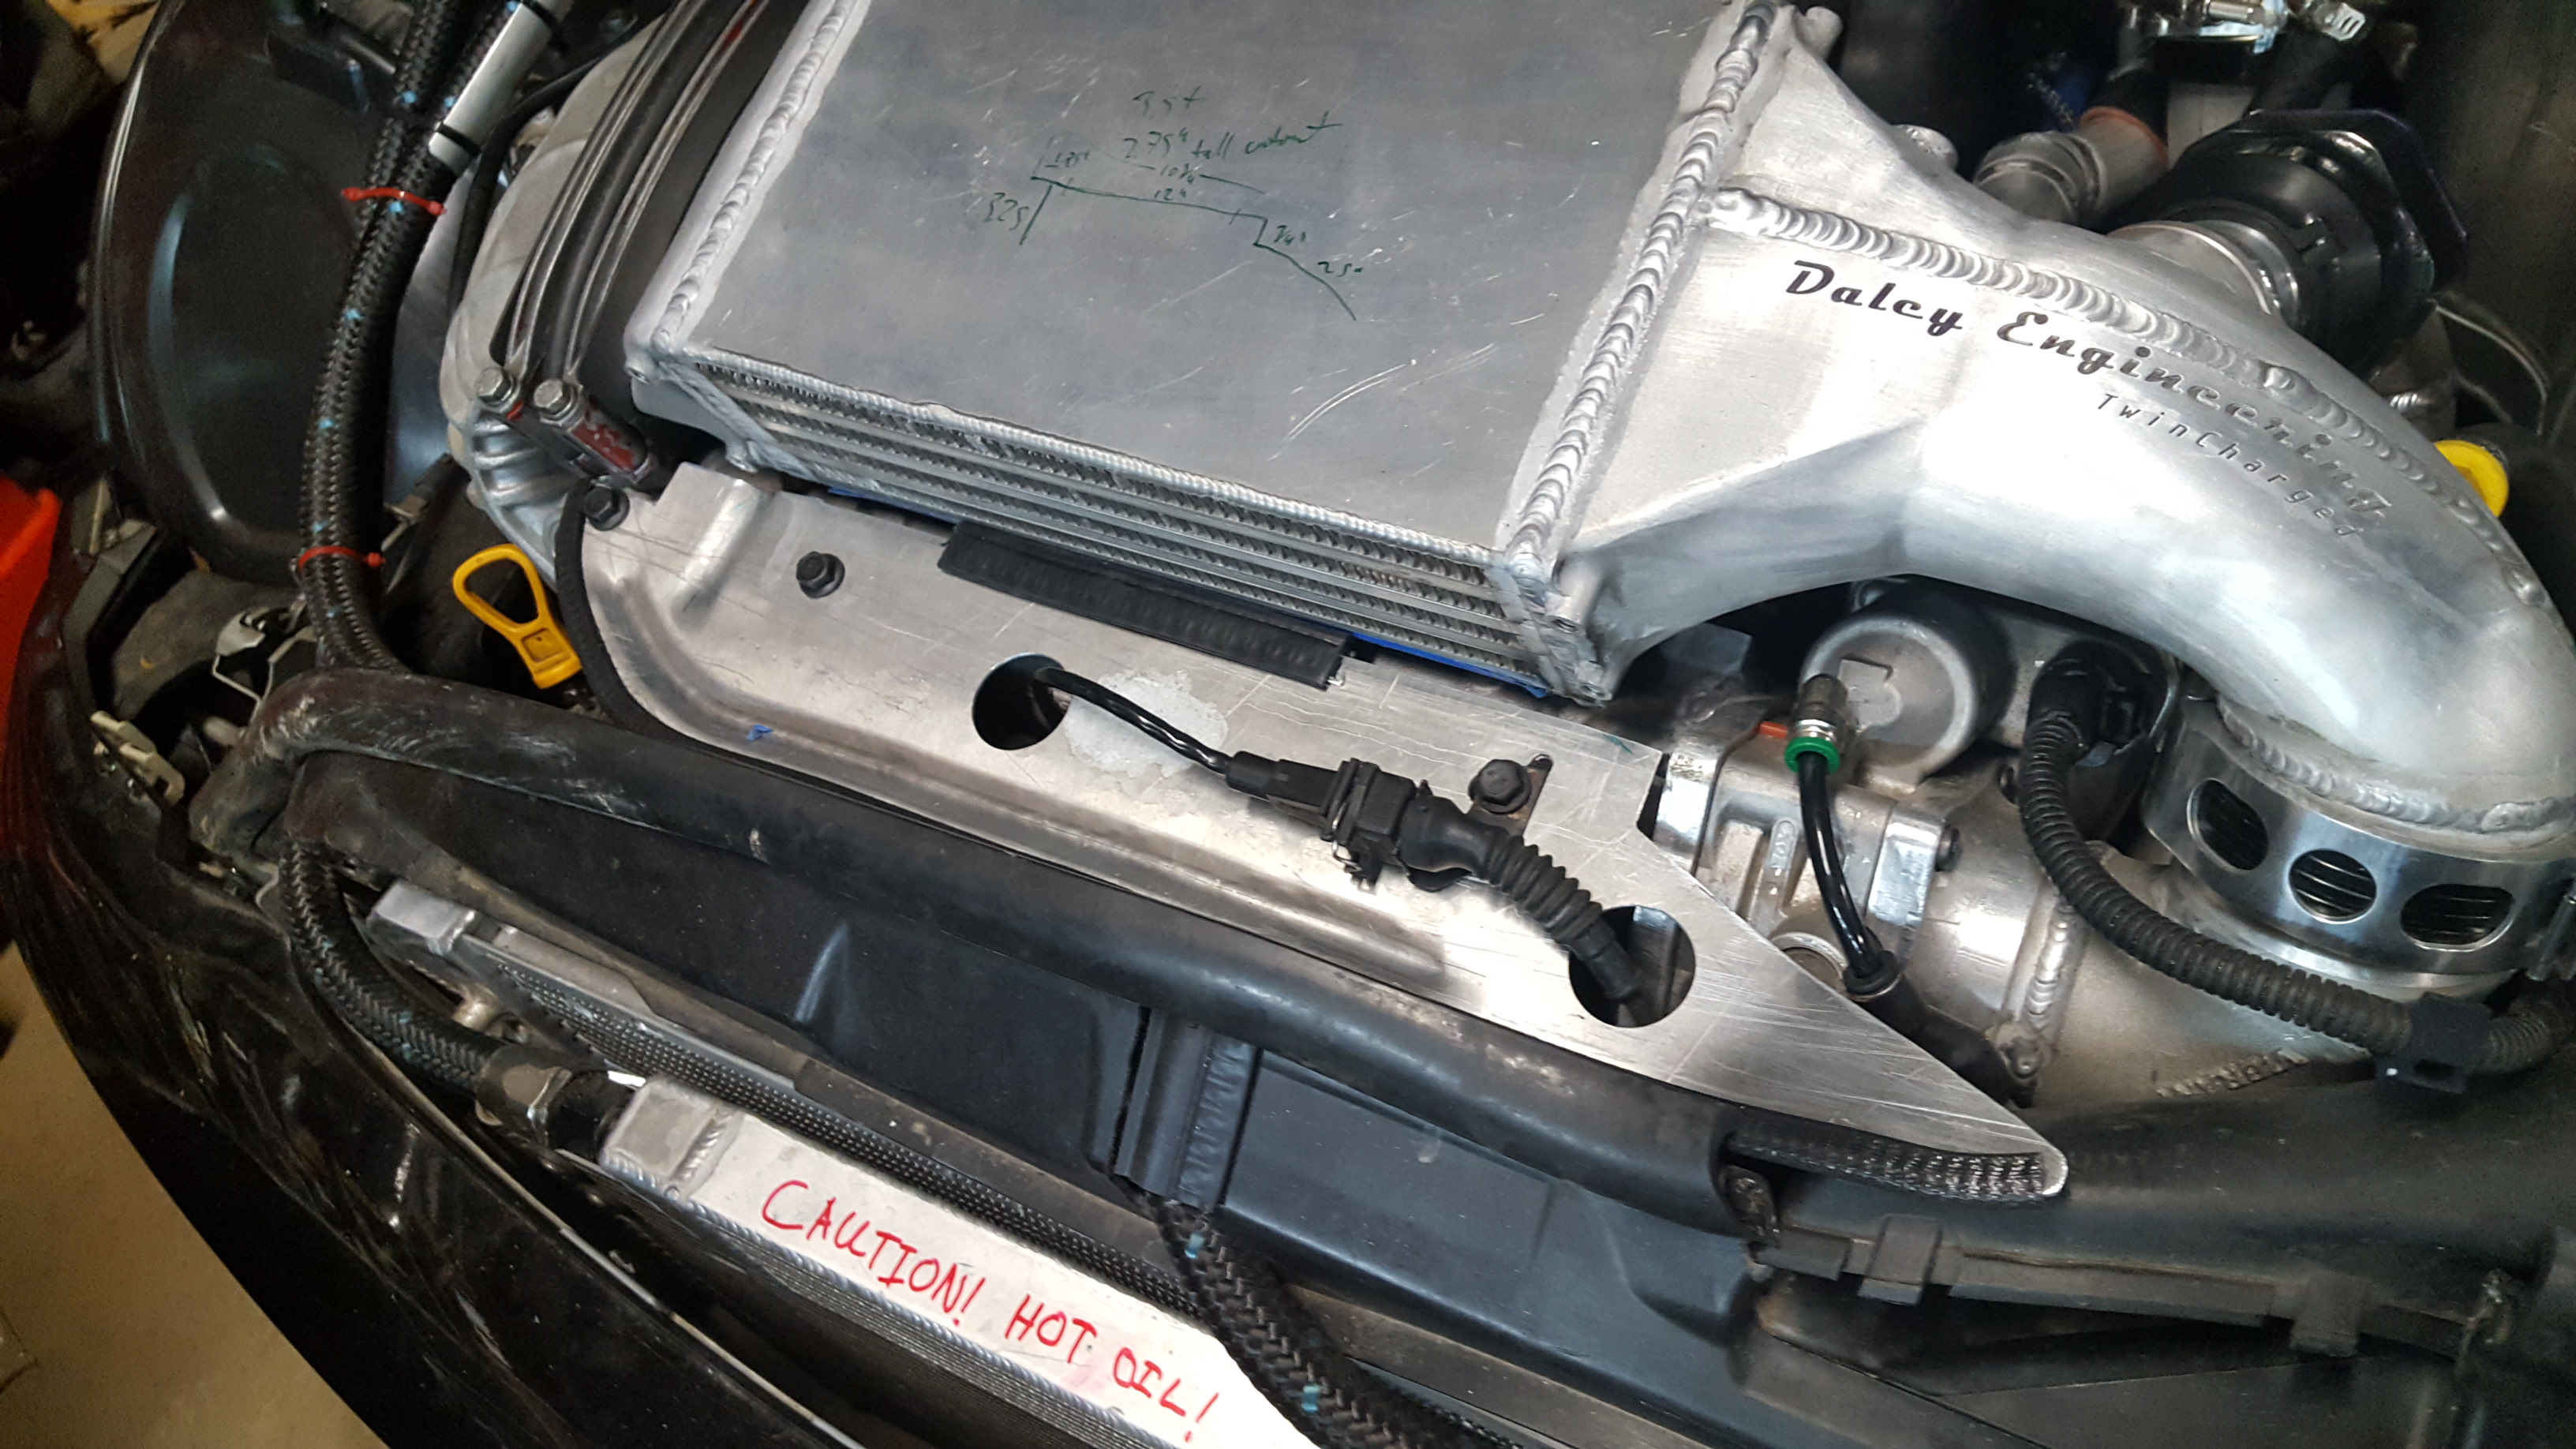
Next i shaped the sides. These are what took the bulk of the time. Getting them close enough to the closed hood so the bulb seal could do its thing, but far enough away that there were no issues closing the hood or resultant rattles.
Had to make it in a few pieces. Lots of welding, linishing, blending, bending, notching, bending, rewelding etc was done.
The top piece ended up getting the most change. I had to actually bend it 45 deg furthar forward and trim it down in order to get the bulb seal on and have the hood close.

Finished with bulb seals installed! Still keeds a few foam strips on the back where it meets the front of the intercooler.. but other than that.

Seals well.