
Detailer's Domain: 10 VW GTI - paint correction and opti coat


Thread Starter
|
Former Vendor
Joined: Mar 2009
Posts: 868
Likes: 0
From: NJ
Detailer's Domain: 10 VW GTI - paint correction and opti coat
Subject - 2010 VW GTI
Requirements - Full Exterior Paint Correction and Opti Coat installation.
We get another one ready for Waterfest.
Exterior
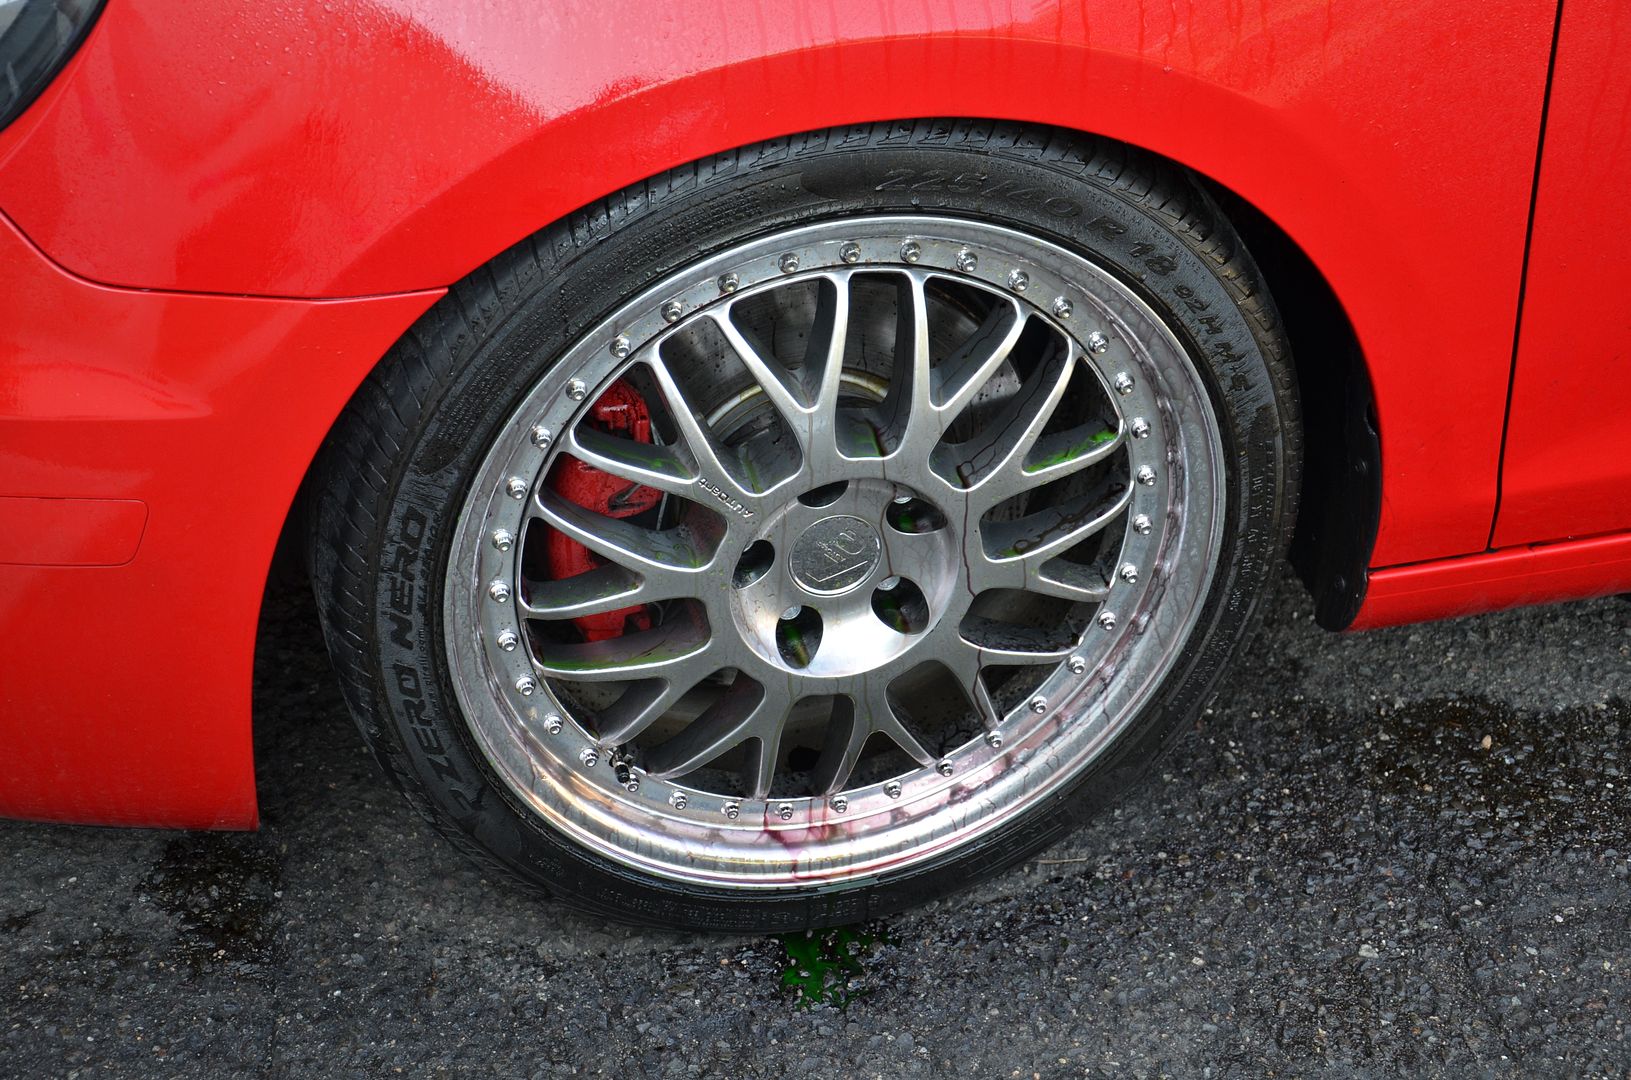
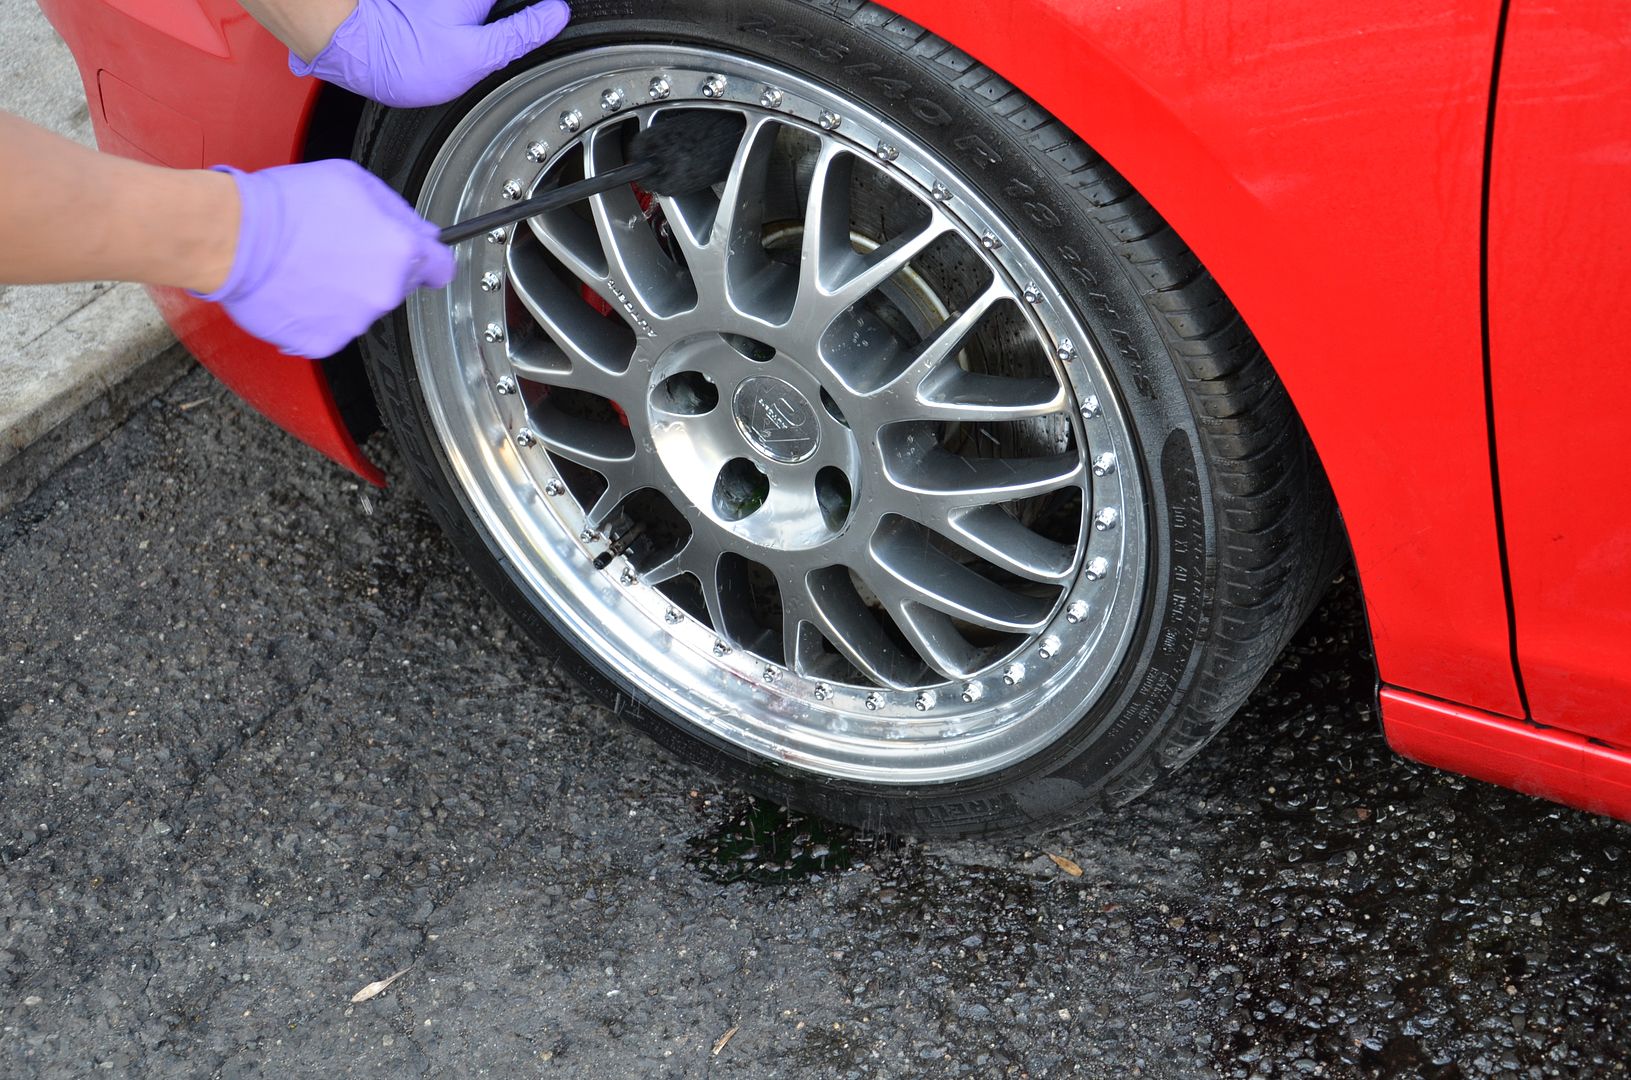
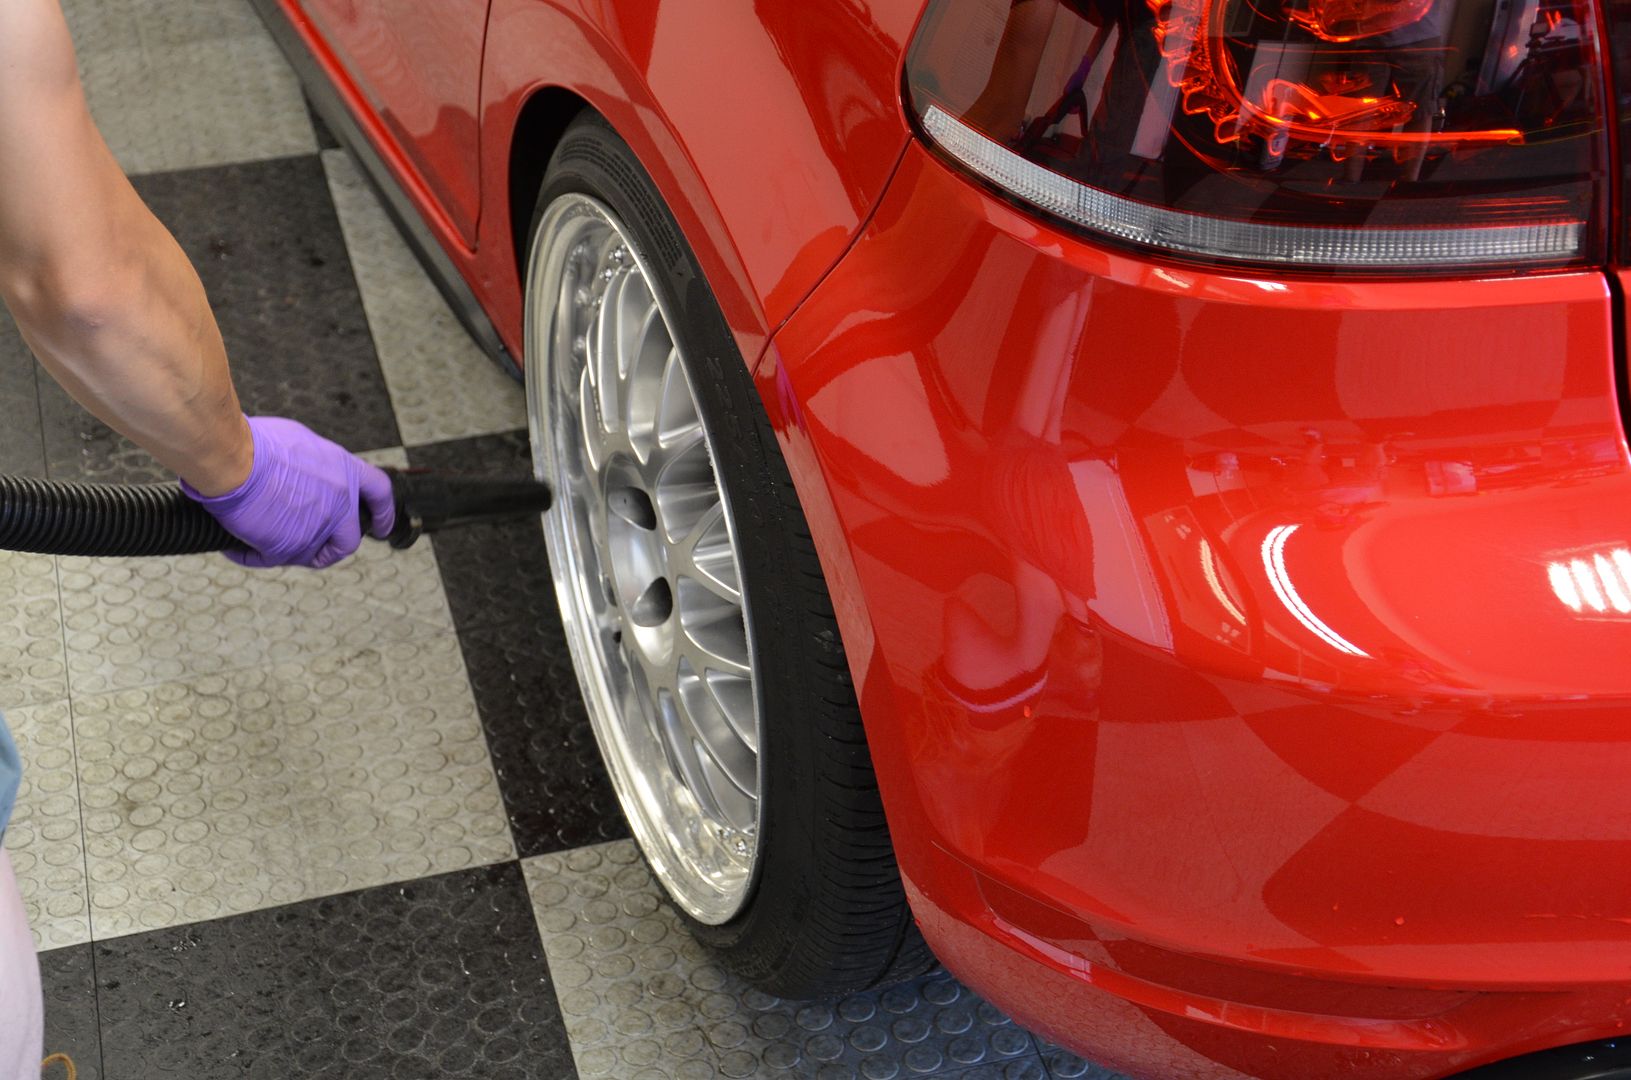
- Wheels were prepped with Sonax Wheel Cleaner and cleaned up with various brushes
- Tires were spritzed down with Adam�s All Purpose Cleaner and washed down
- Wheel wells were cleaned up
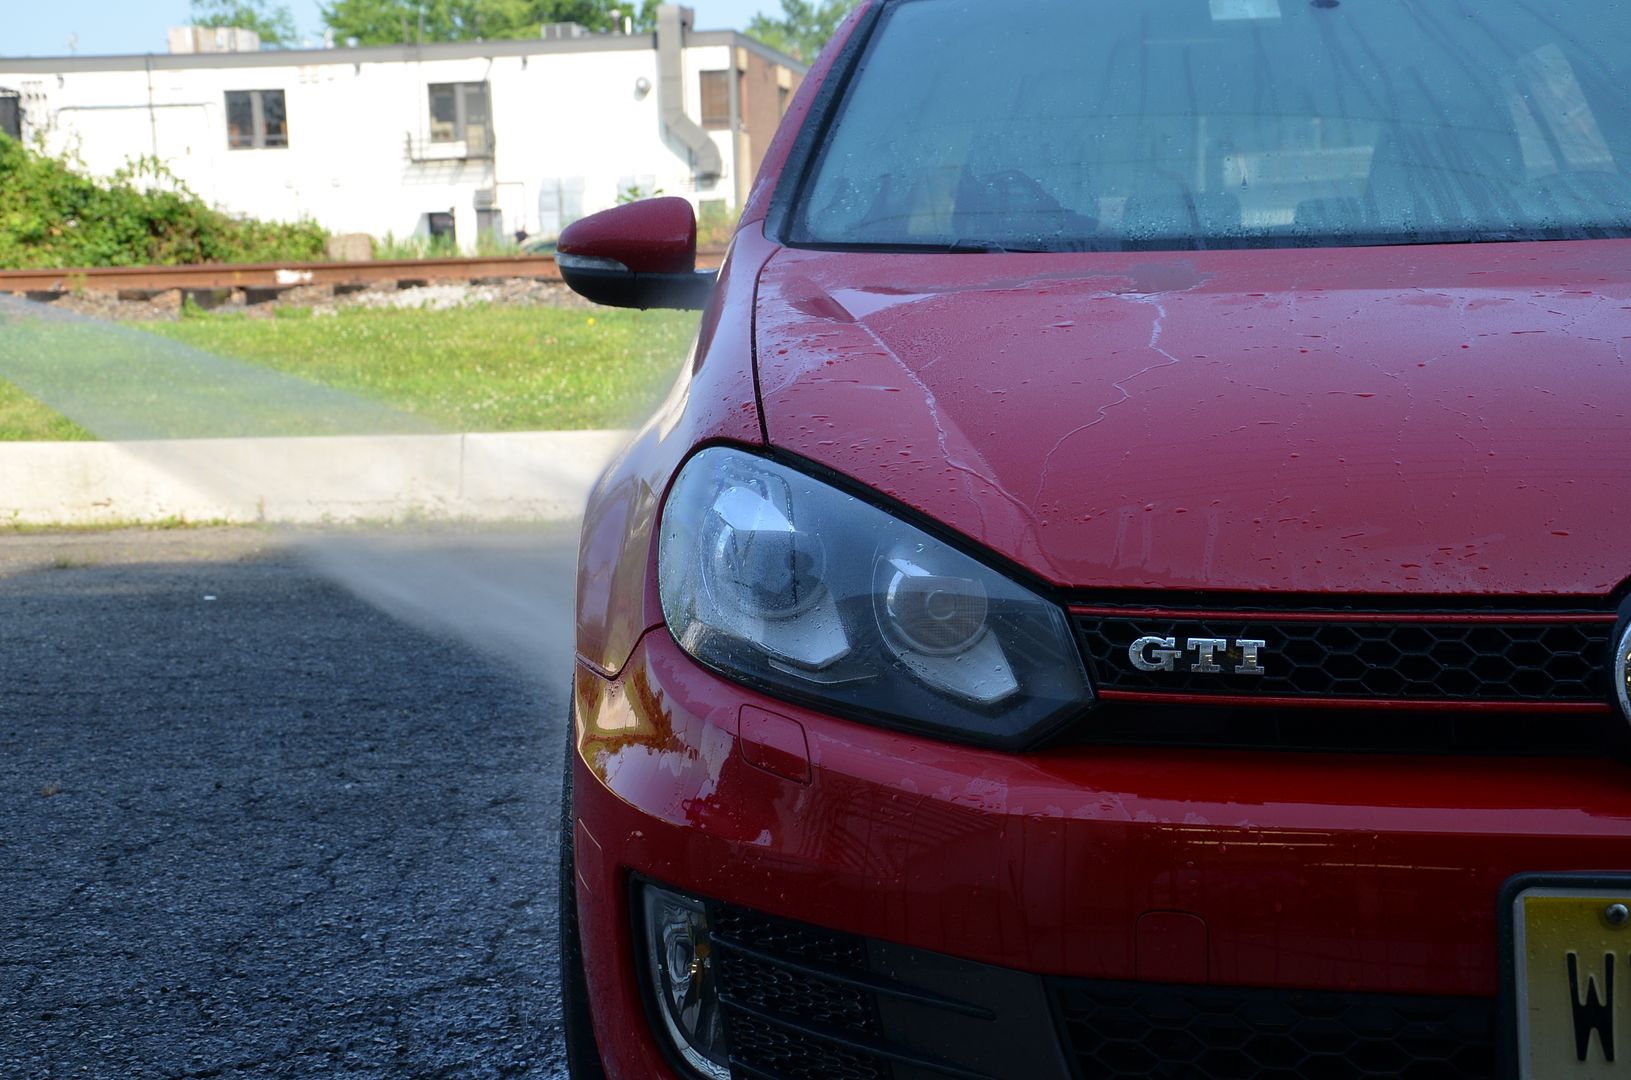
- Washed with 1Z einszett W99
- Wolf's Decon Gel
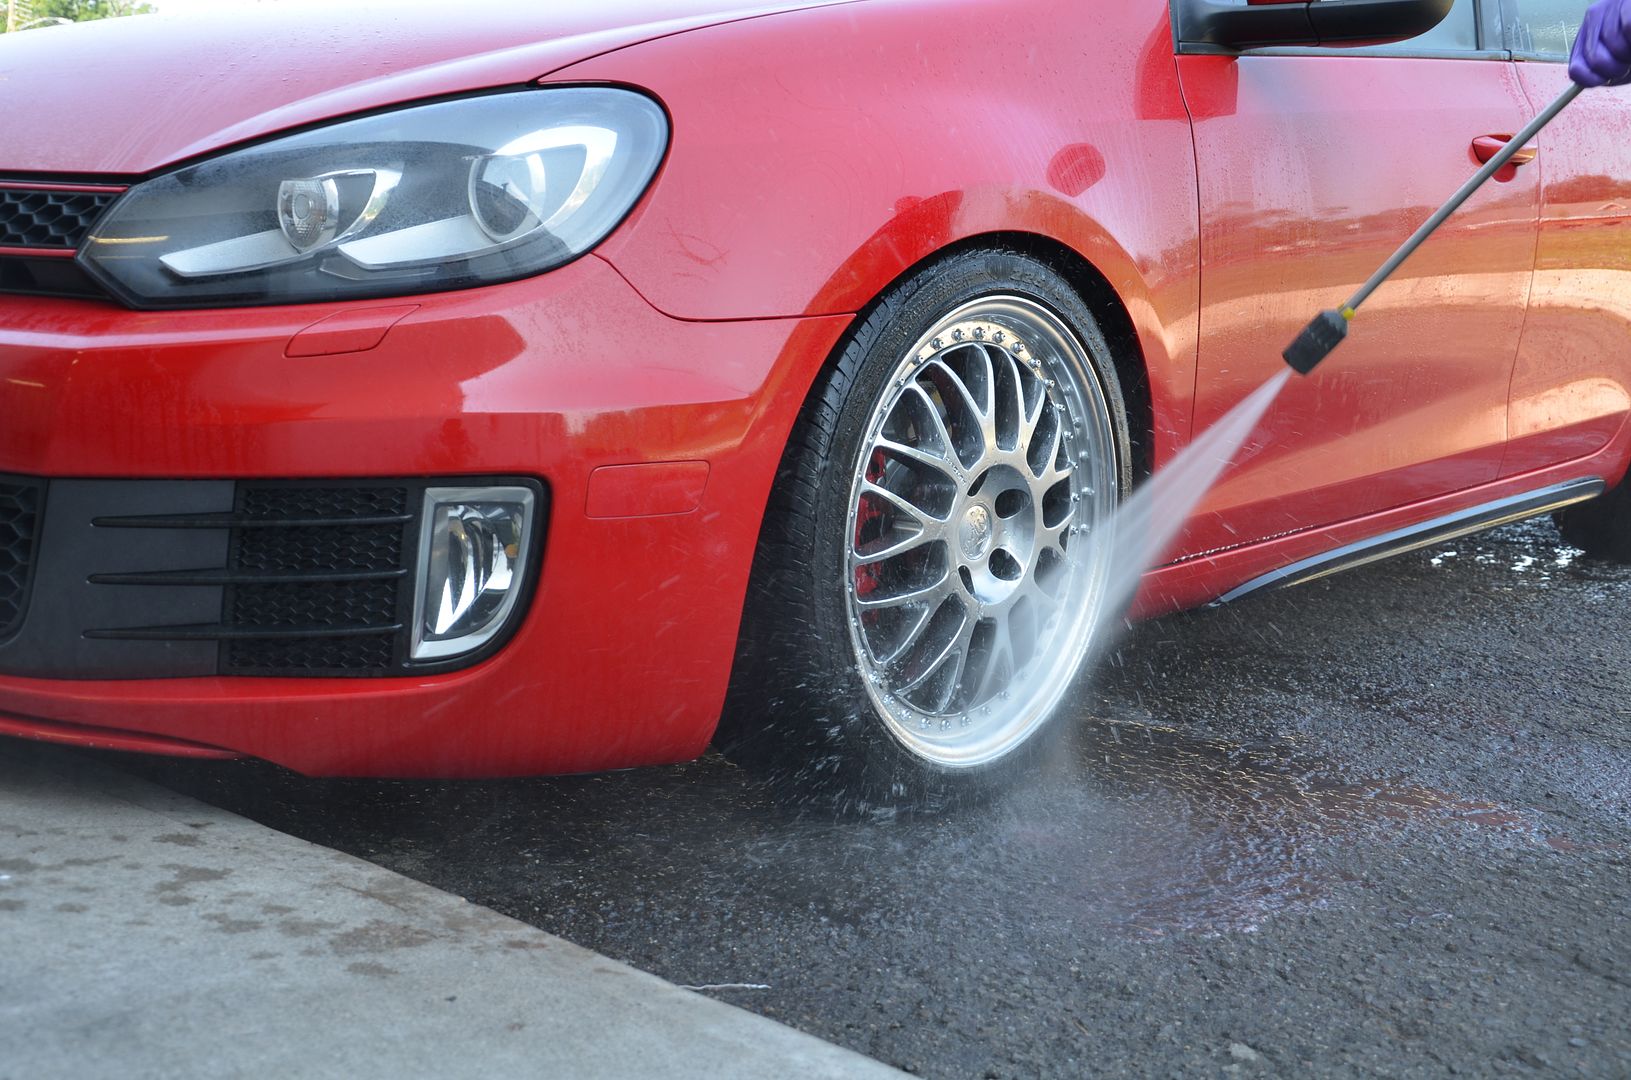
- Wash down and rinsed
- Door jambs were cleaned up
- Nano Scrub AutoScrub
- Dried
- Tires dressed
- Masking
- Paint Measurement
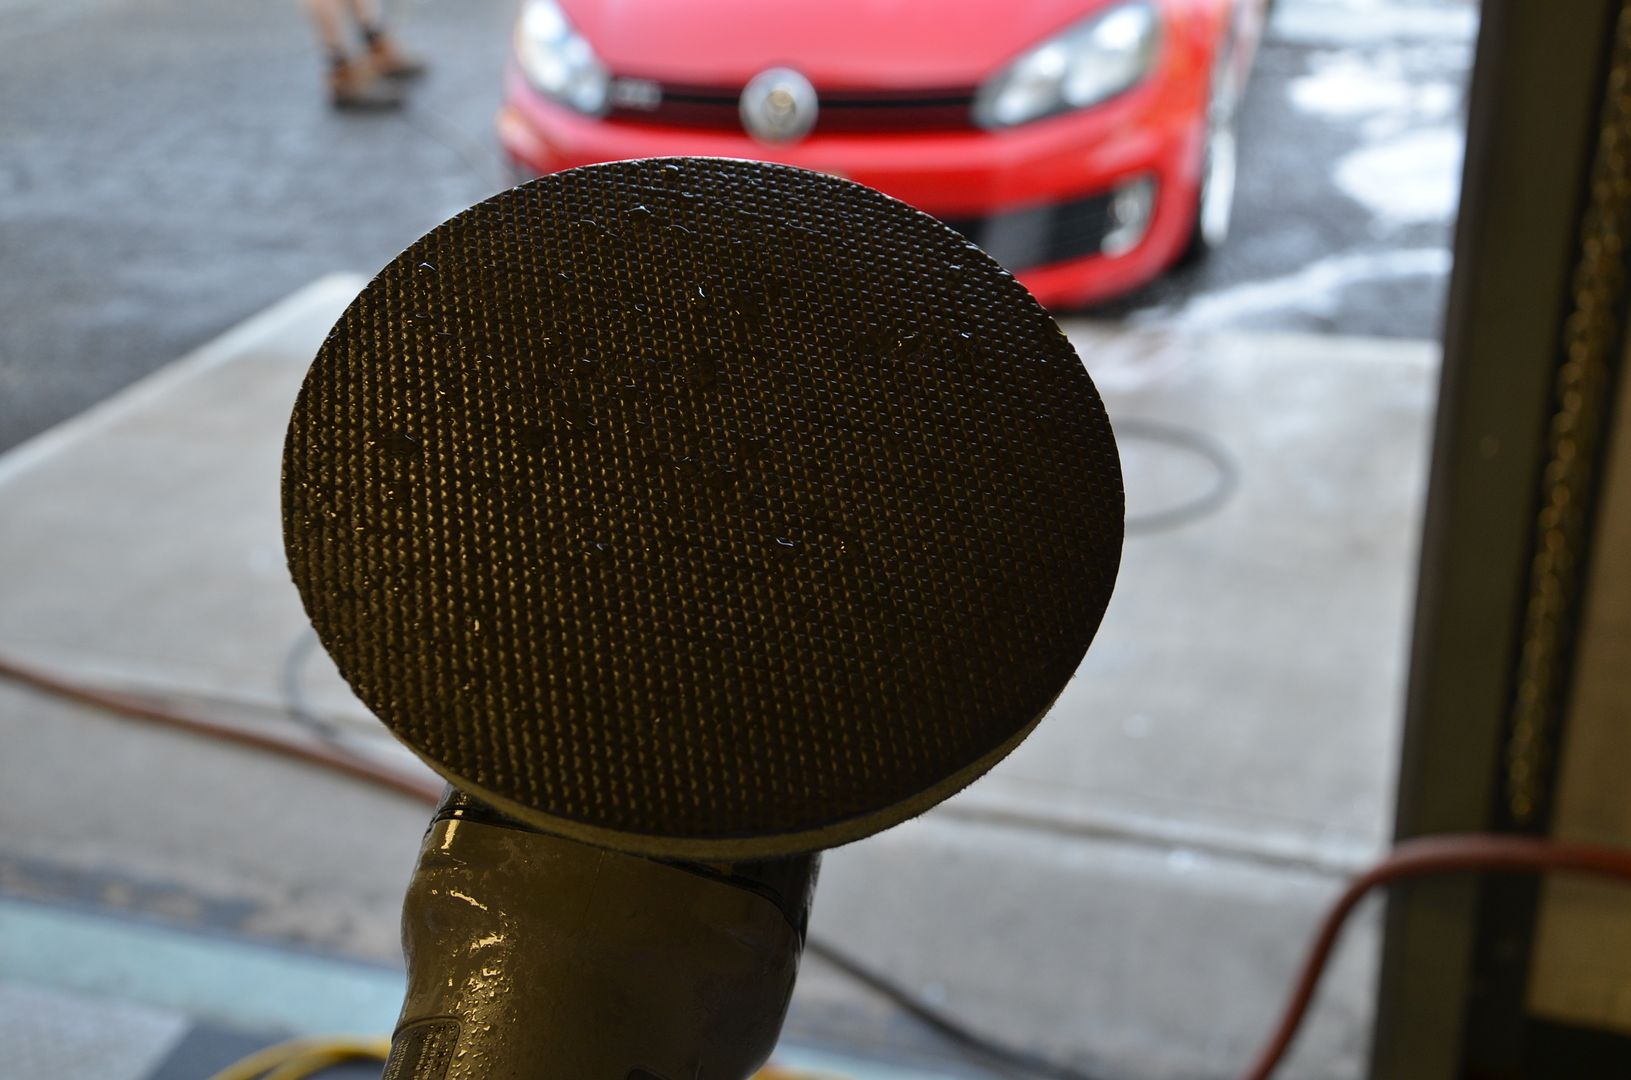
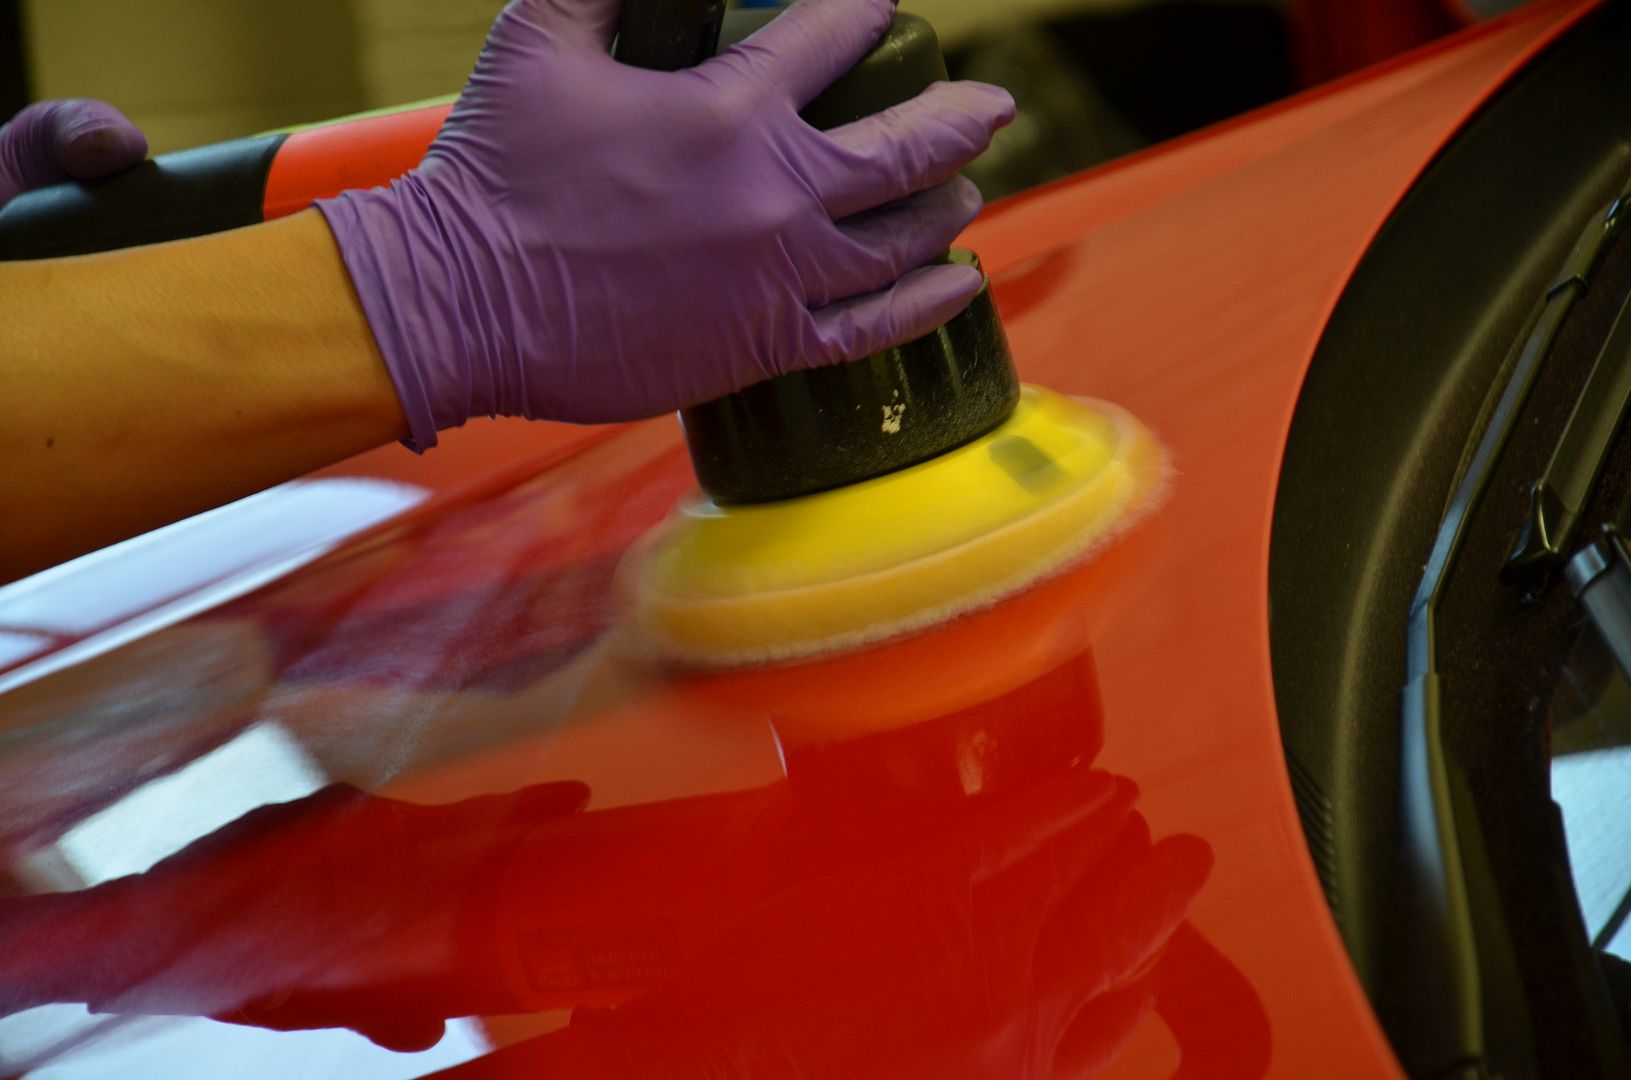
- Meg's M105 with Surbuf and Griots Orbital
- Sonax 5/5 Fine Abrasive Paste - Microfiber DA Cut Pad - Griots Orbital
- Sonax 3/6 Nano Polish - Uber Green Pad - Griots Orbital
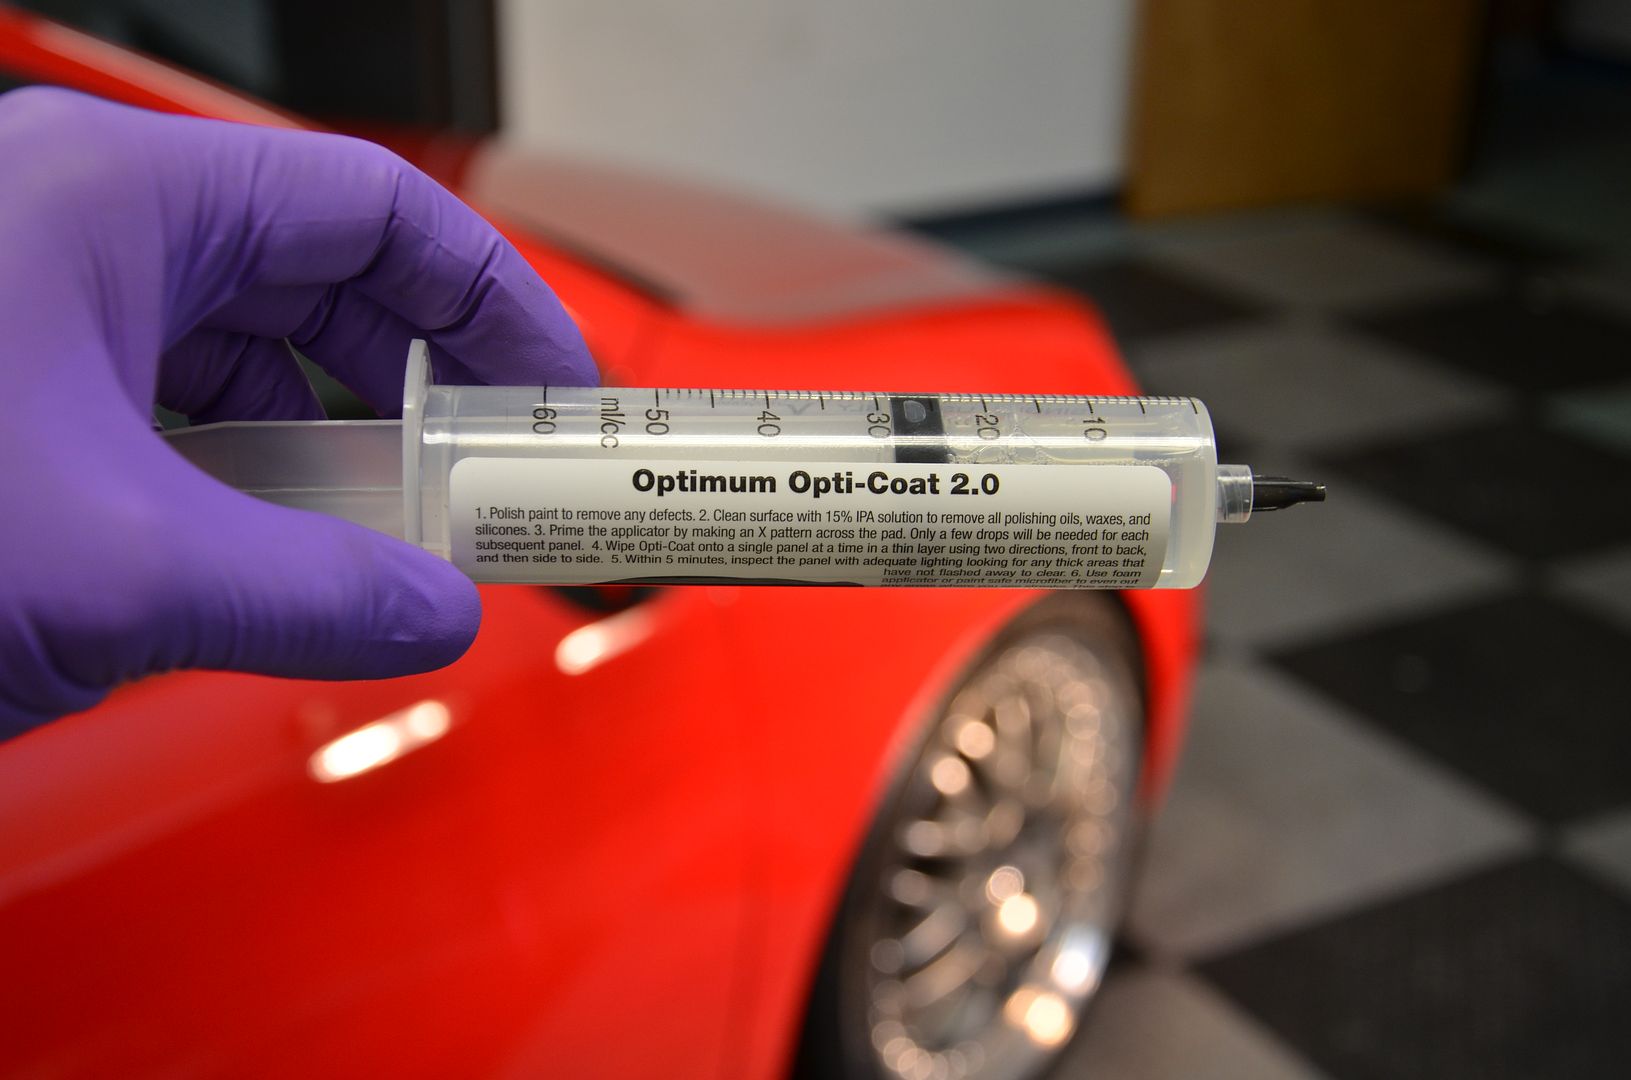
- Opti Coat
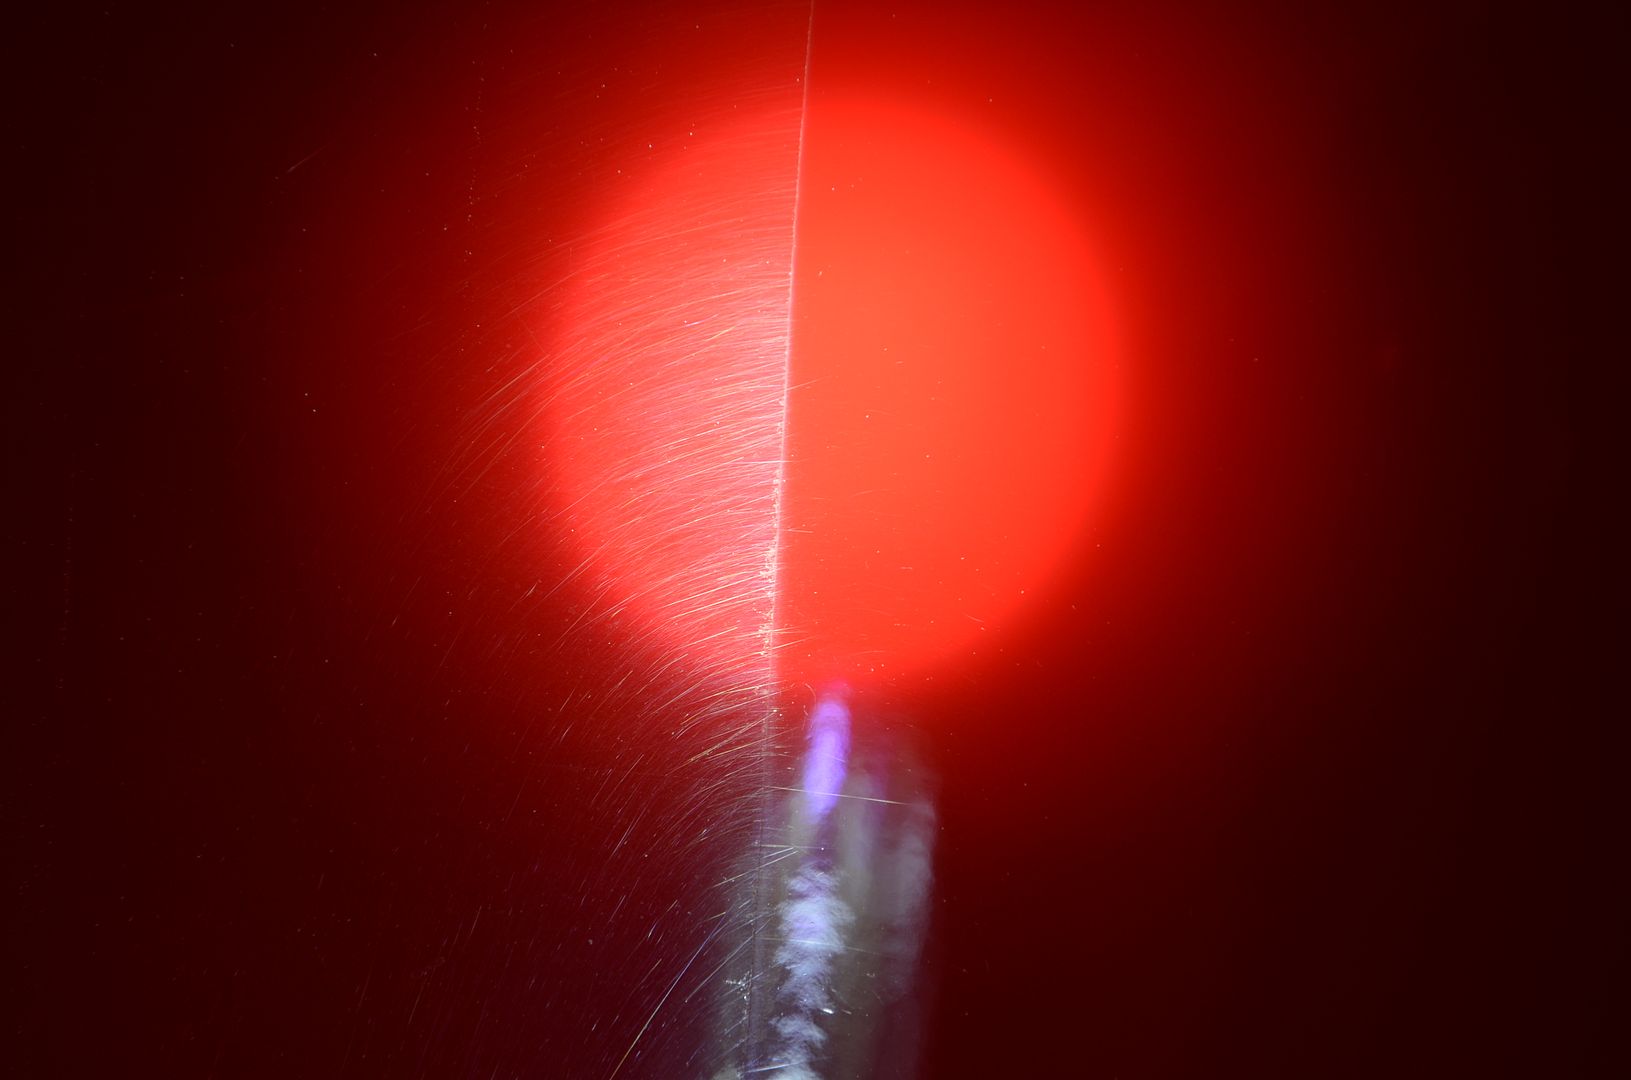
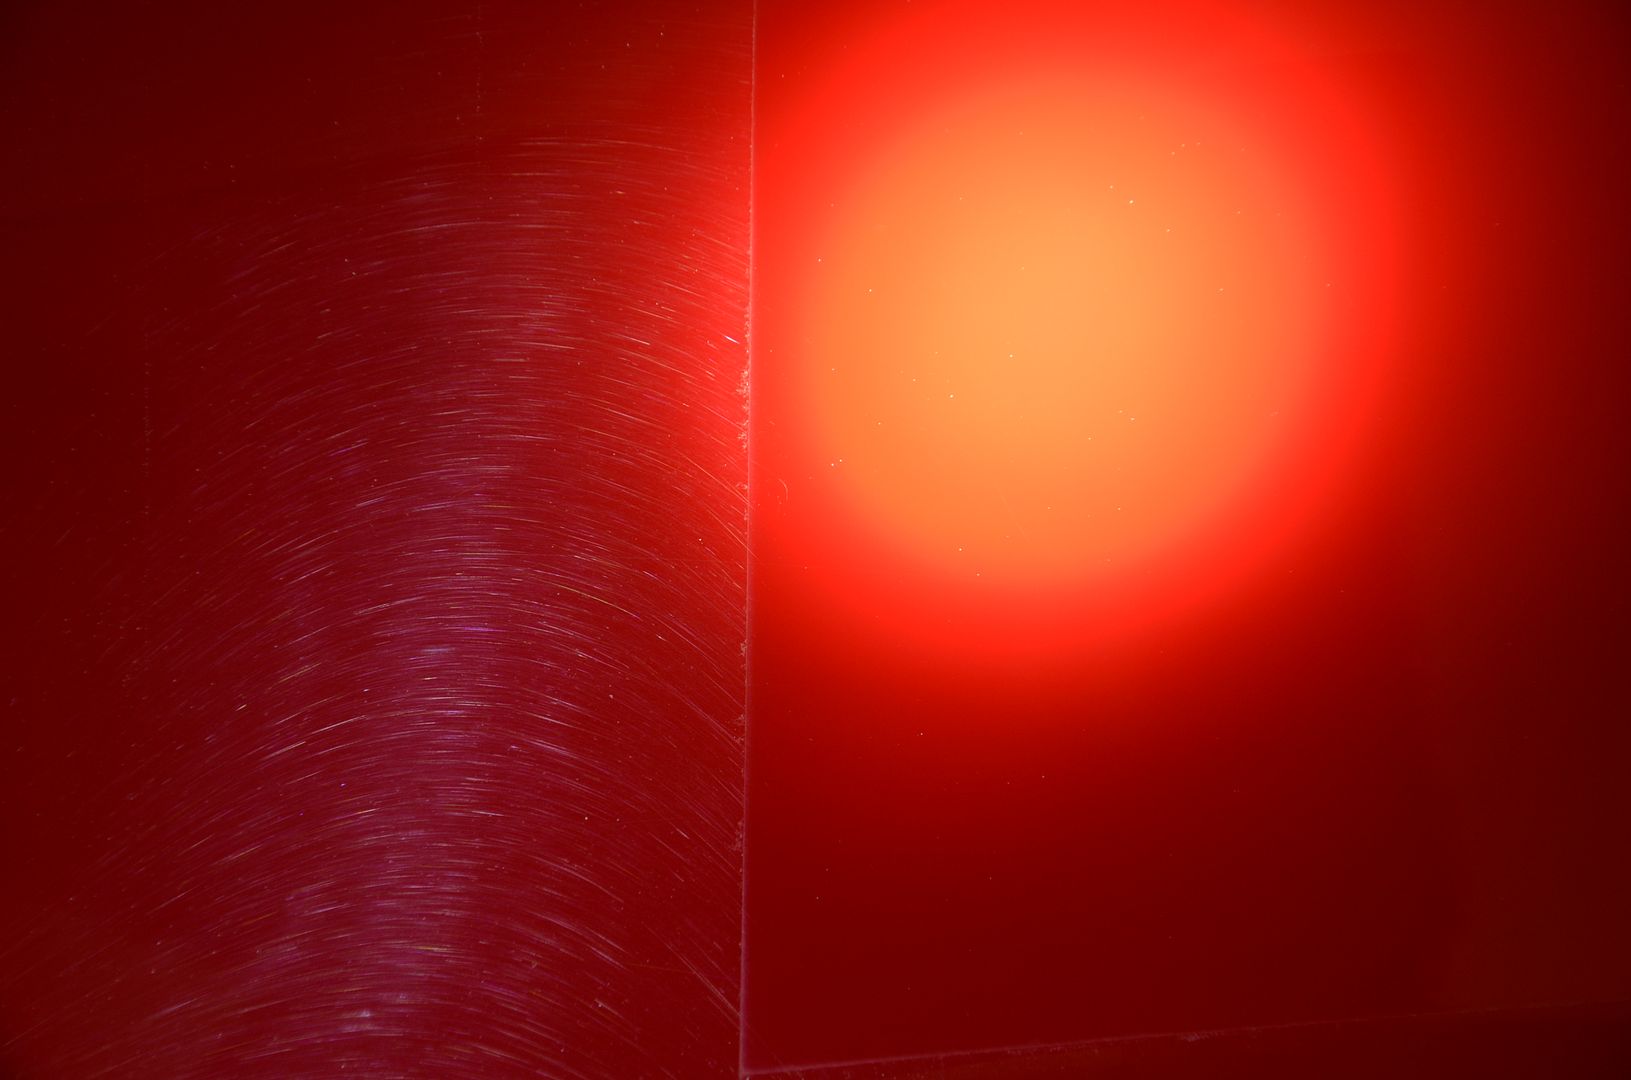
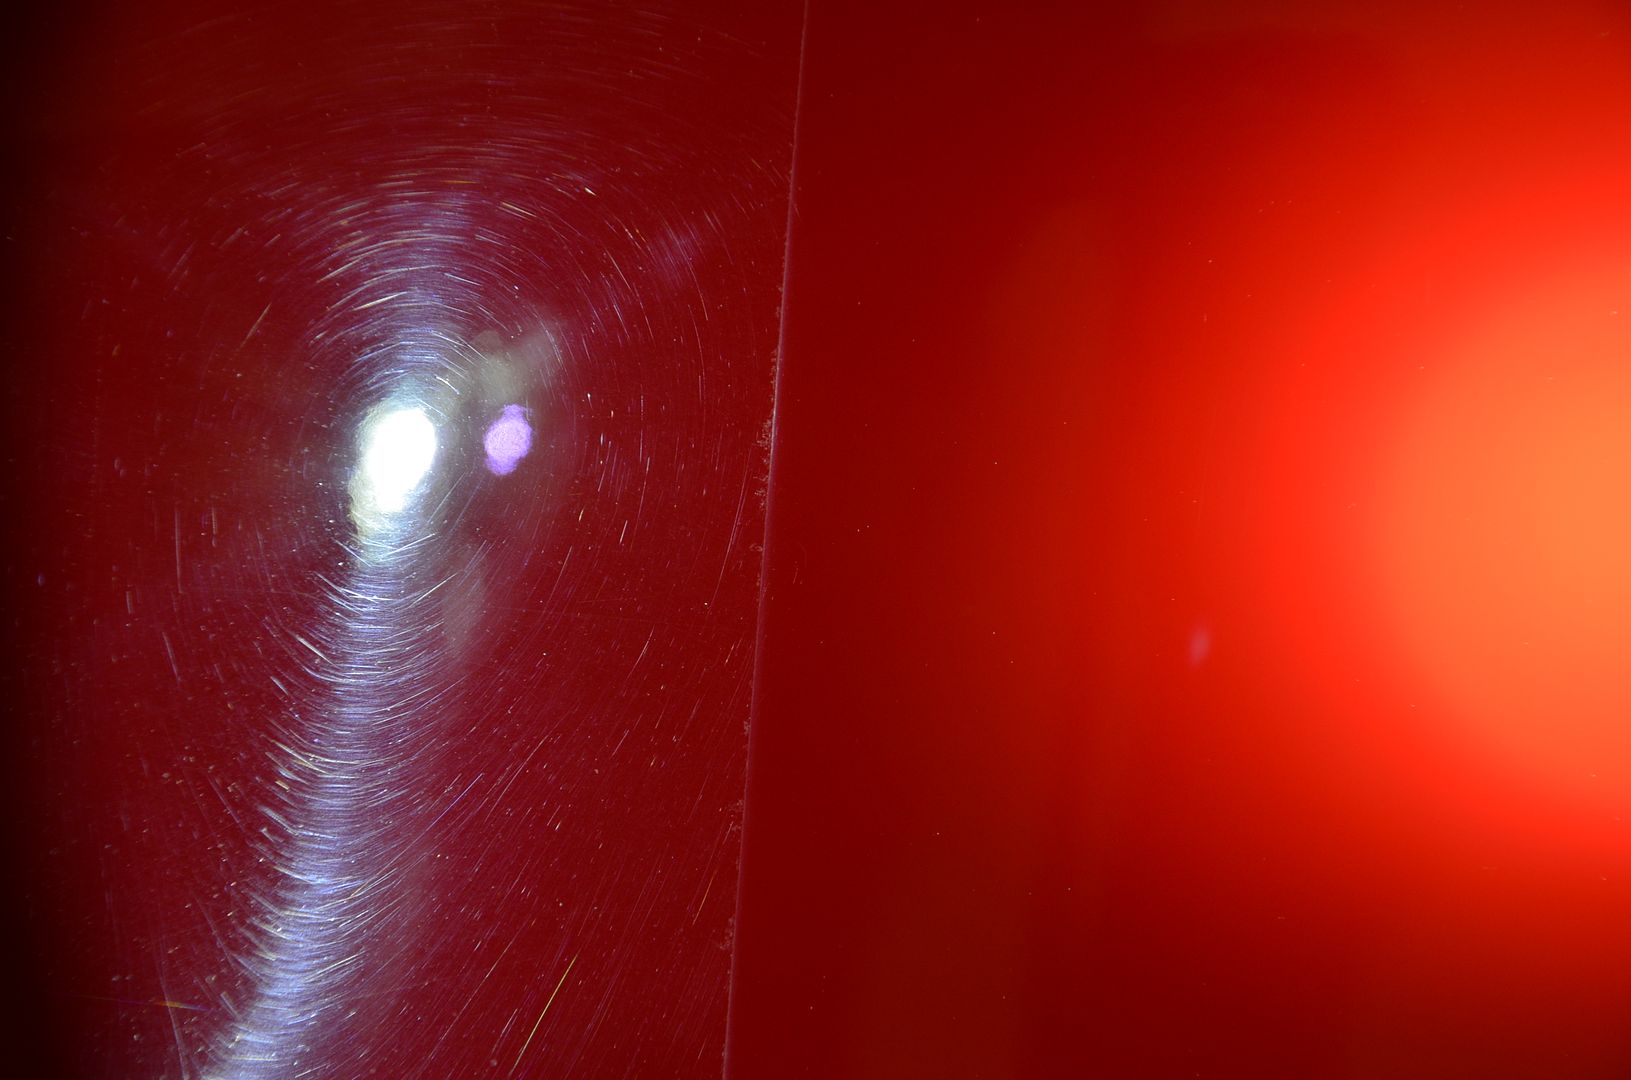
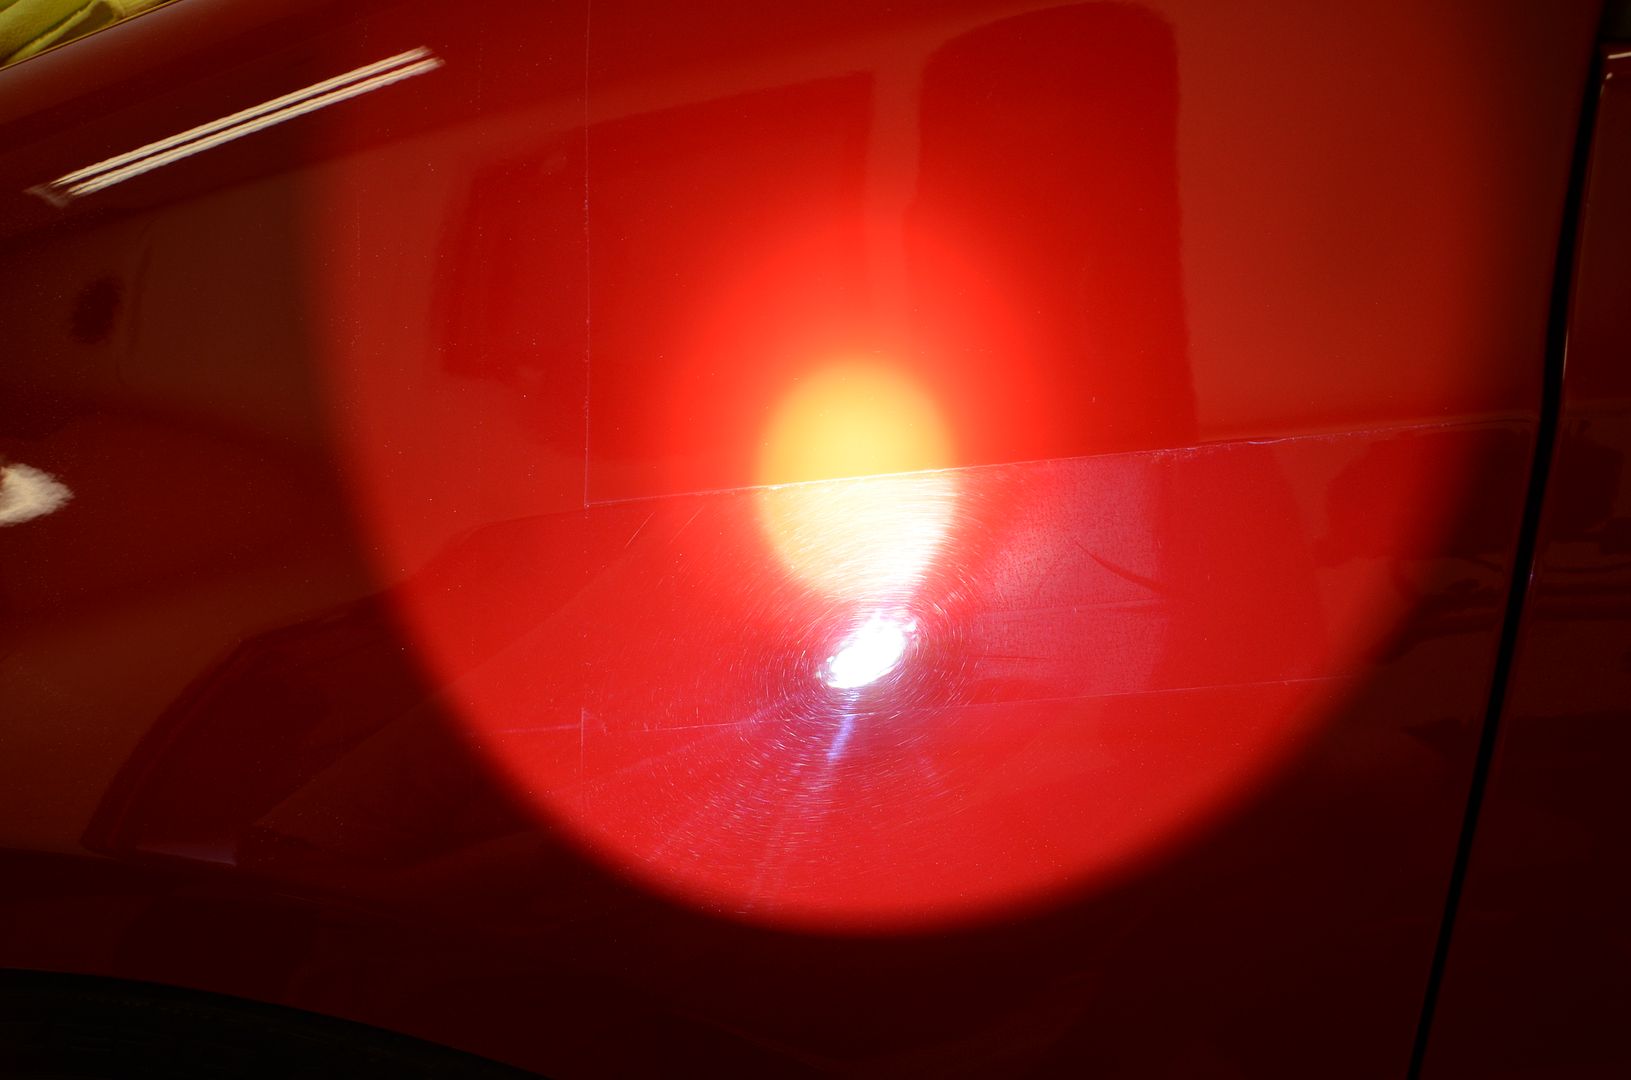
- Inspection with Fenix, 3m Sun Gun, Infratech, and natural sunlight
- Wheel wells were cleaned and dressed
- Rubber and Plastics Treated
- Exterior windows and mirrors cleaned and sealed
- Exhaust tips cleaned
- Windows were autoscrubed, cleaned, and sealed
Products used
Links to products used -
1Z einszett W99
Wolf's Decon Gel
Sonax Full Effect Wheel Cleaner
NanoSkin AutoScrub System
Meg's M105
Sonax Compound 5/5 - Coming Soon
Sonax Nano Polish 3/6 - Coming Soon
Opti Coat
Adam's Super VRT
Optimum Metal Polish
Tools used
Uber Wool Wash Mitt
Uber No Name MF Towels
Griot's 6 inch Random Orbital Polisher
Uber Buffing Pads
Defelsko Paint Meter
Fenix TK35
Brinkmann
Kranzle Pressure Washer
Cam Spray Foam Canon
2 Grit Guard Buckets with Caddies
Uber Firehose Nozzle
Metro Air Force Blaster
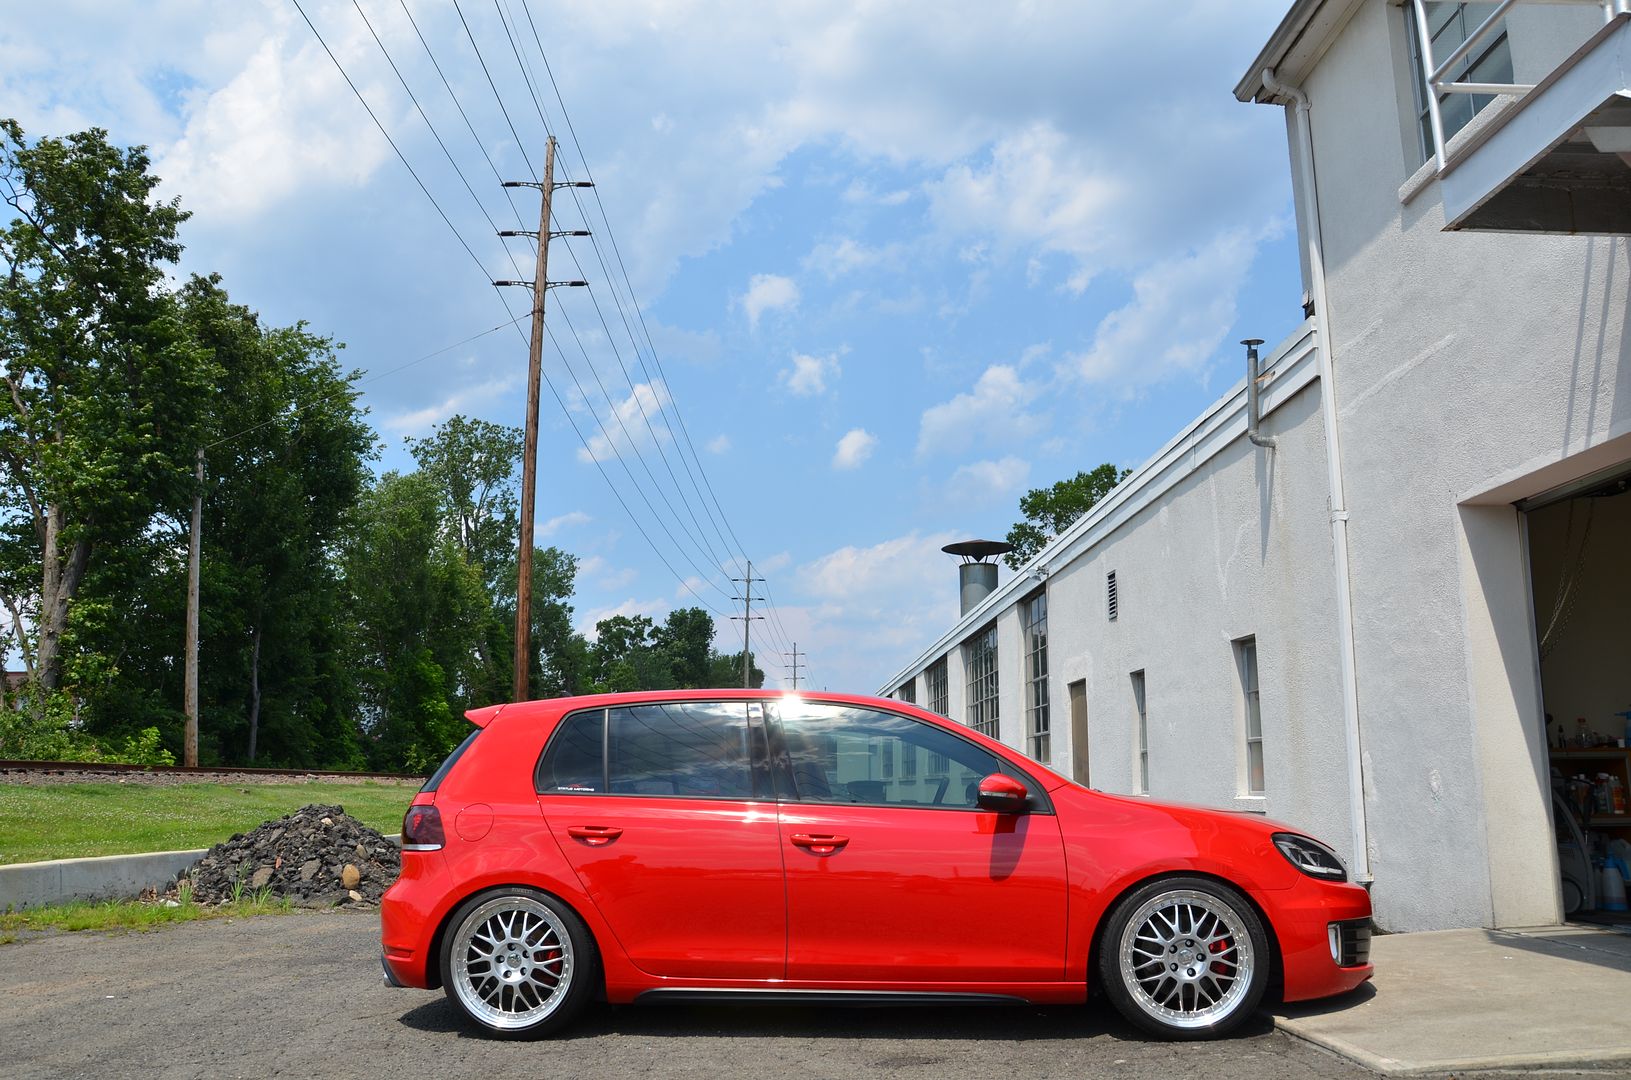
Before
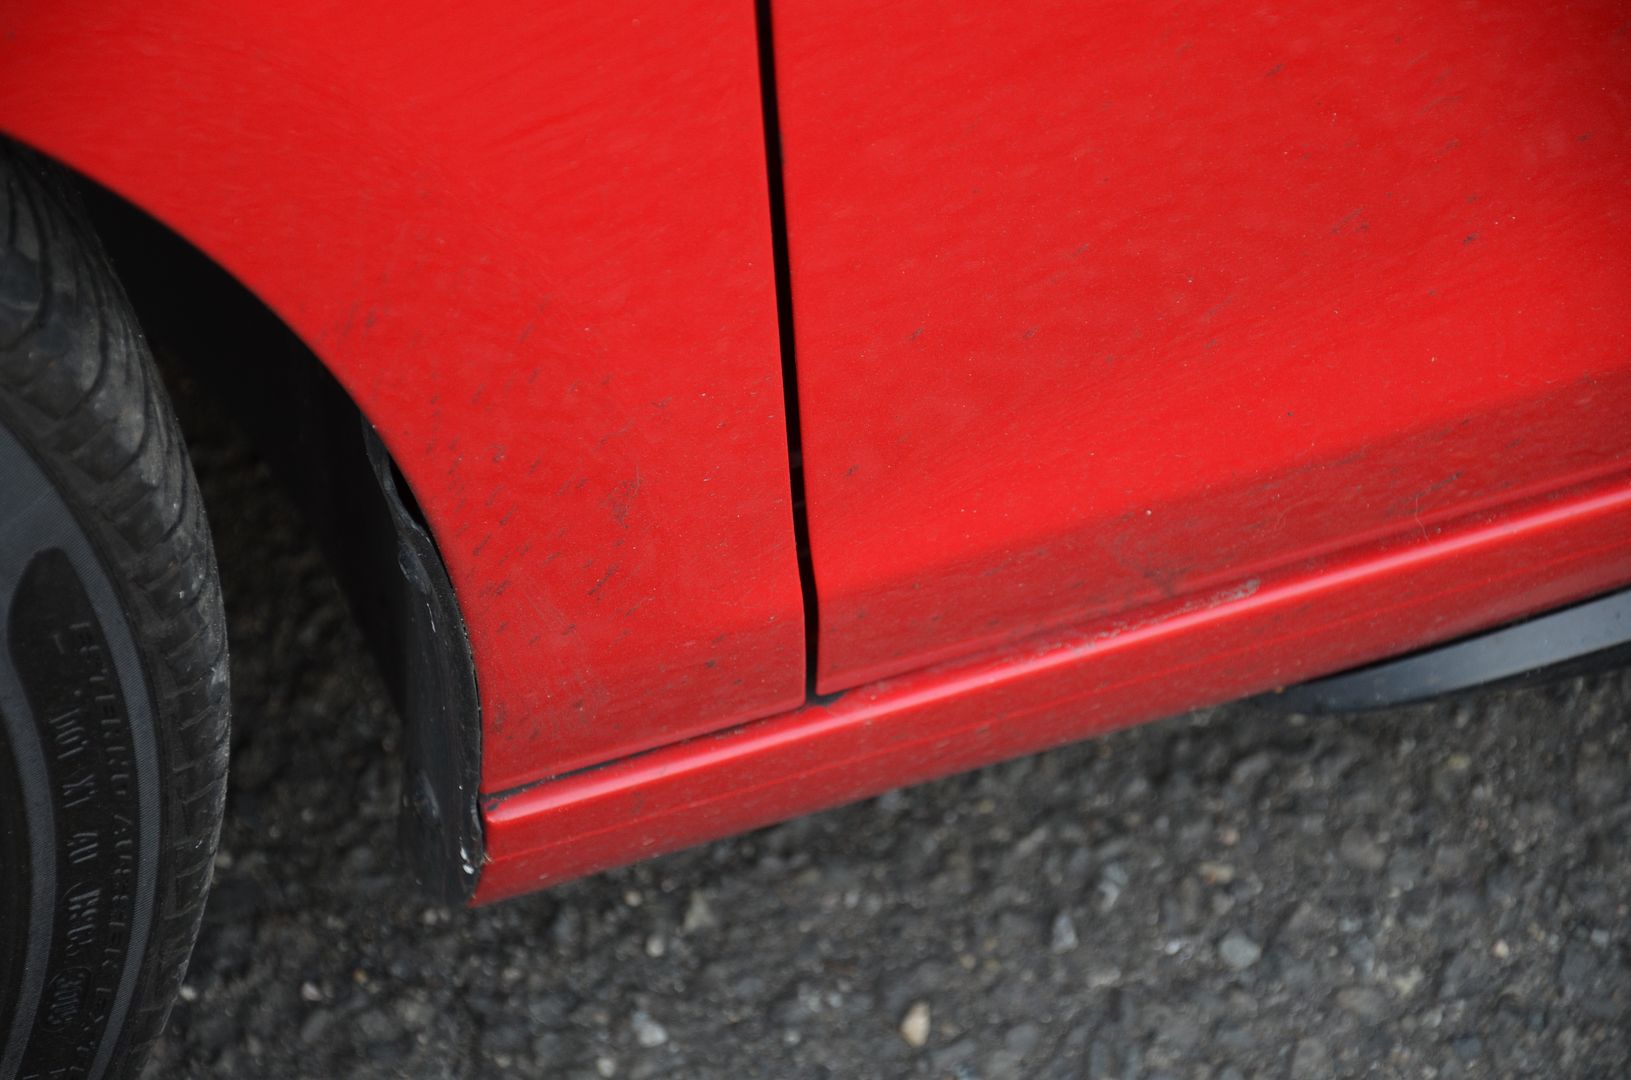
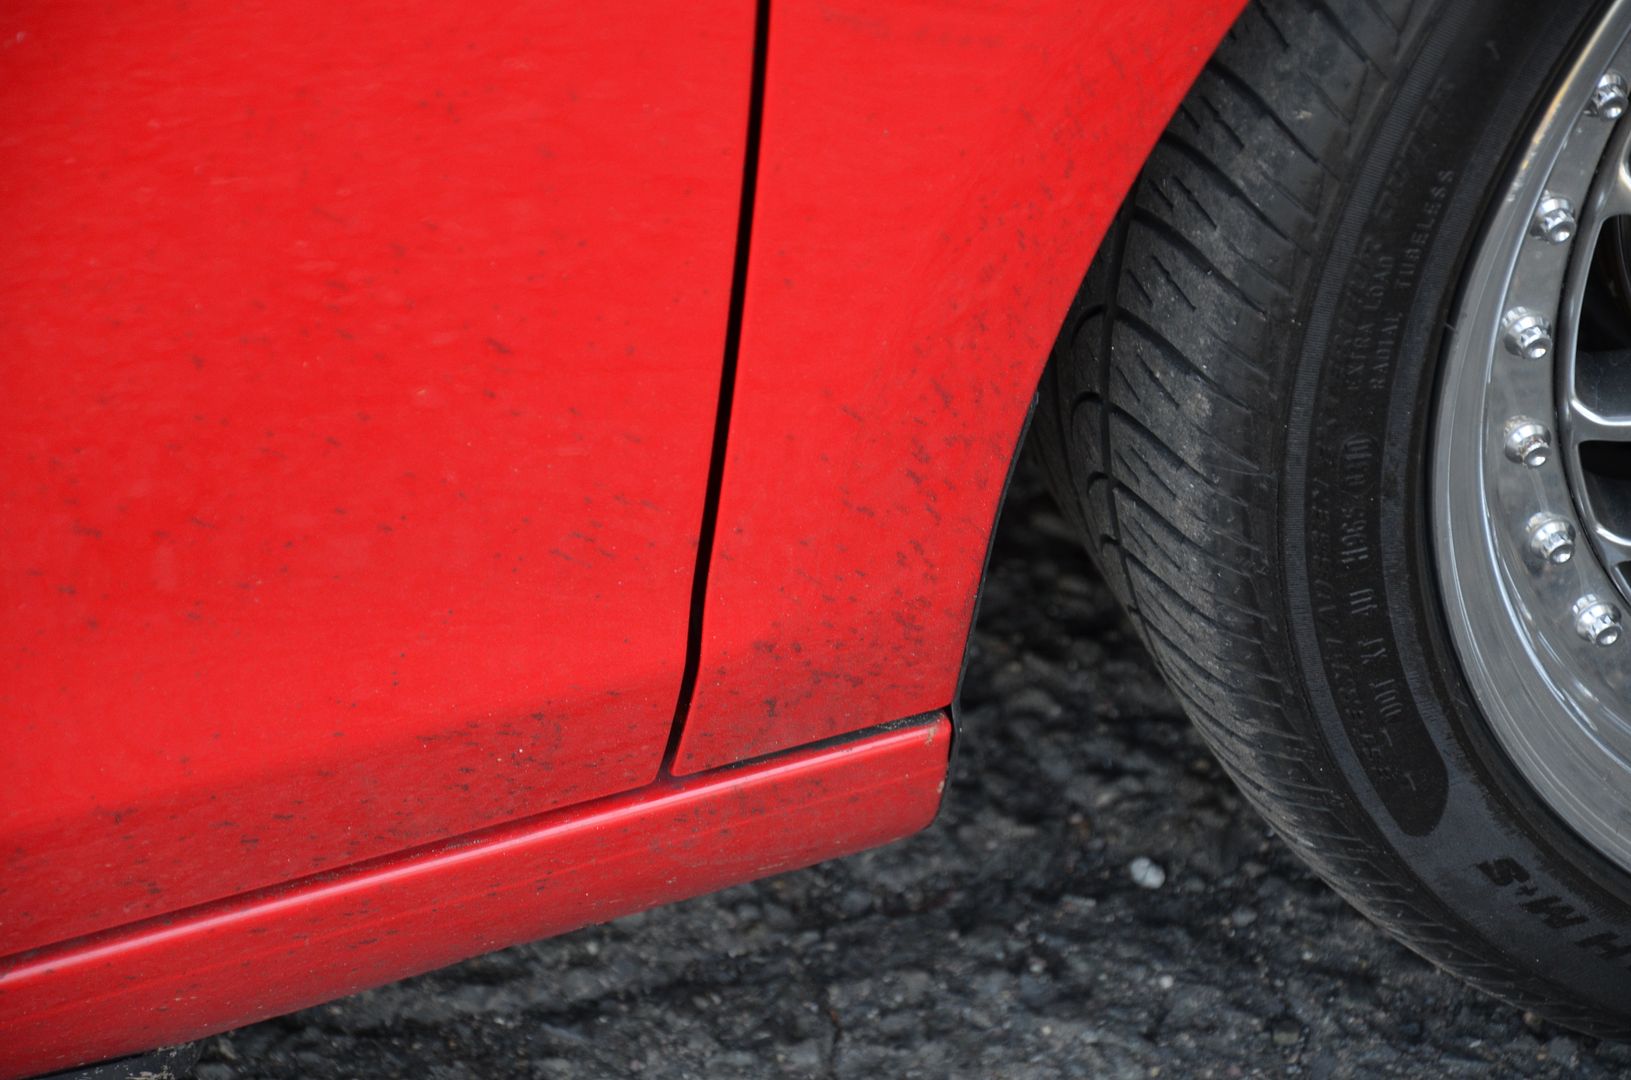
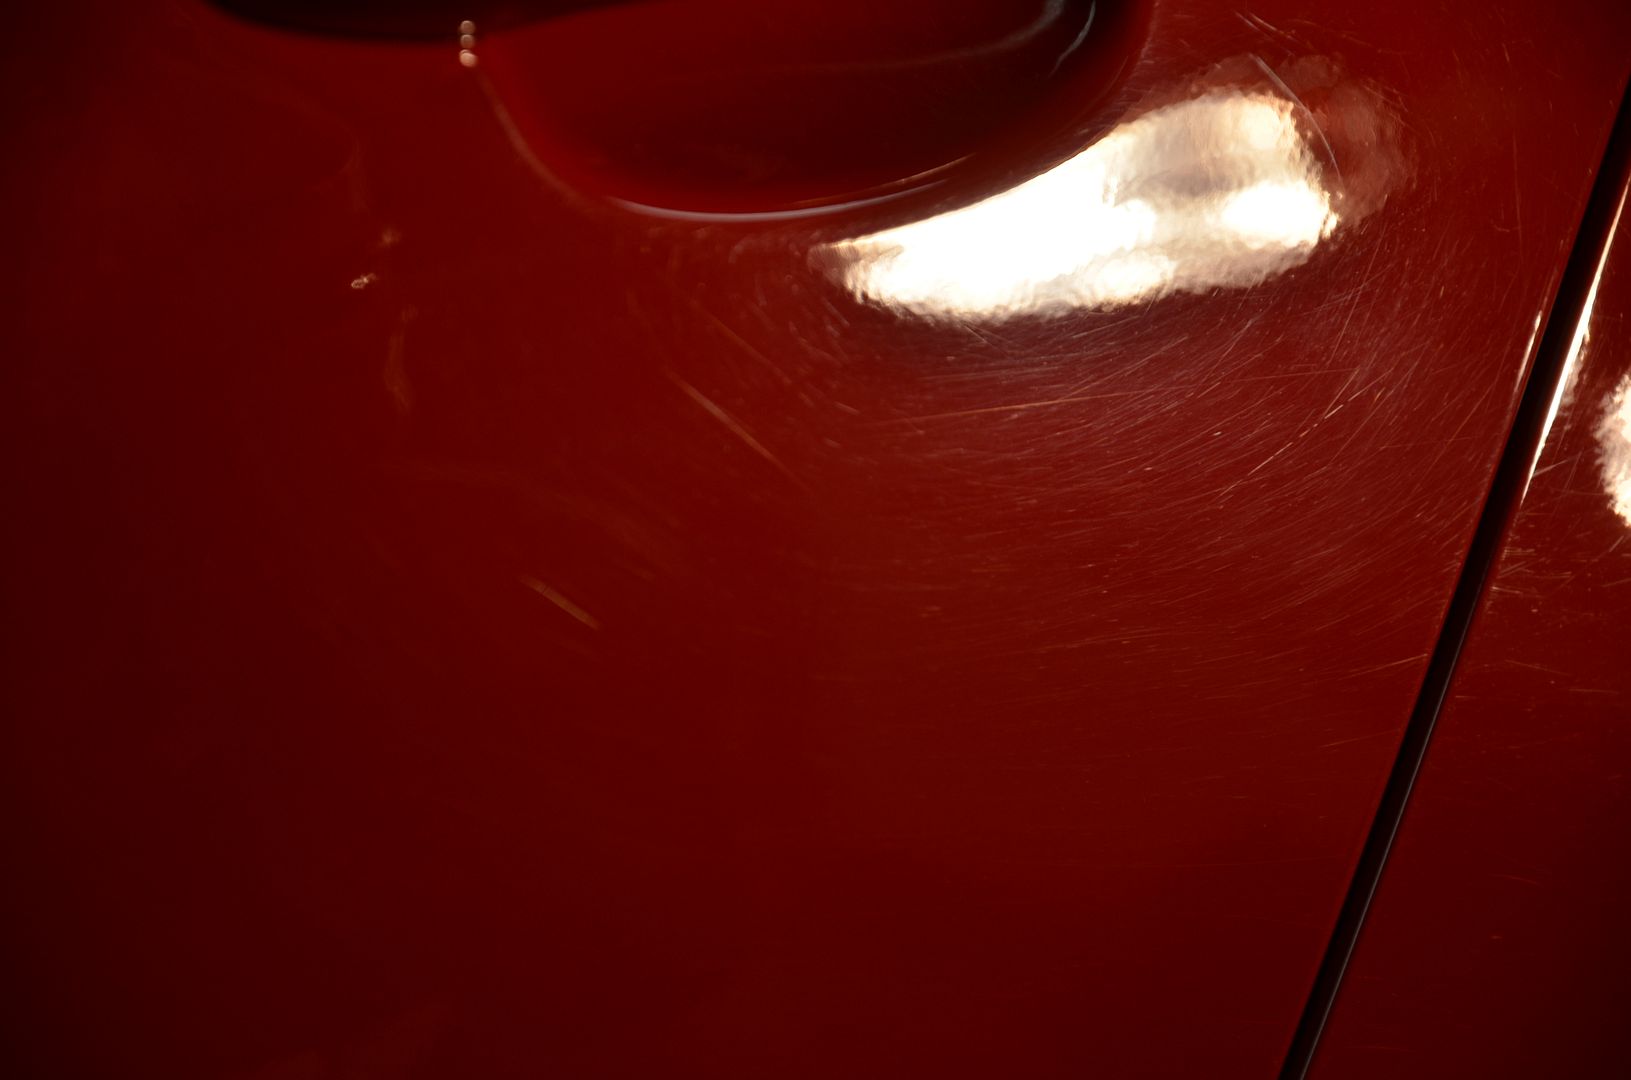
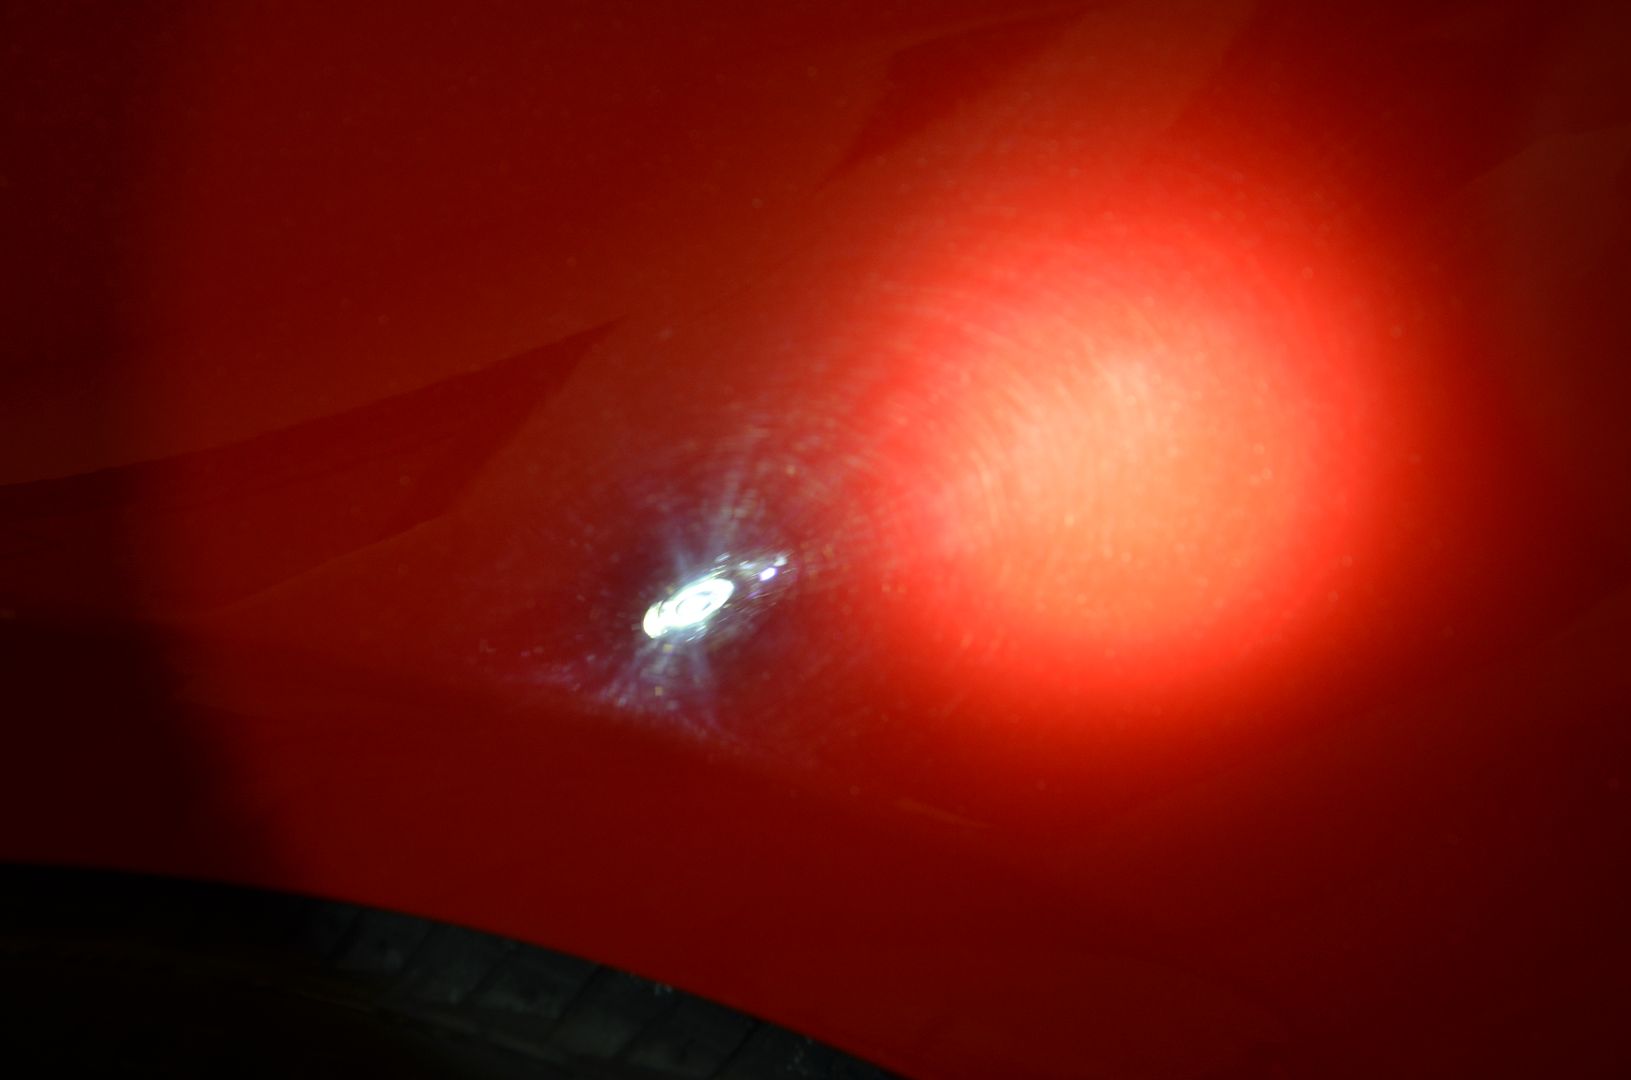
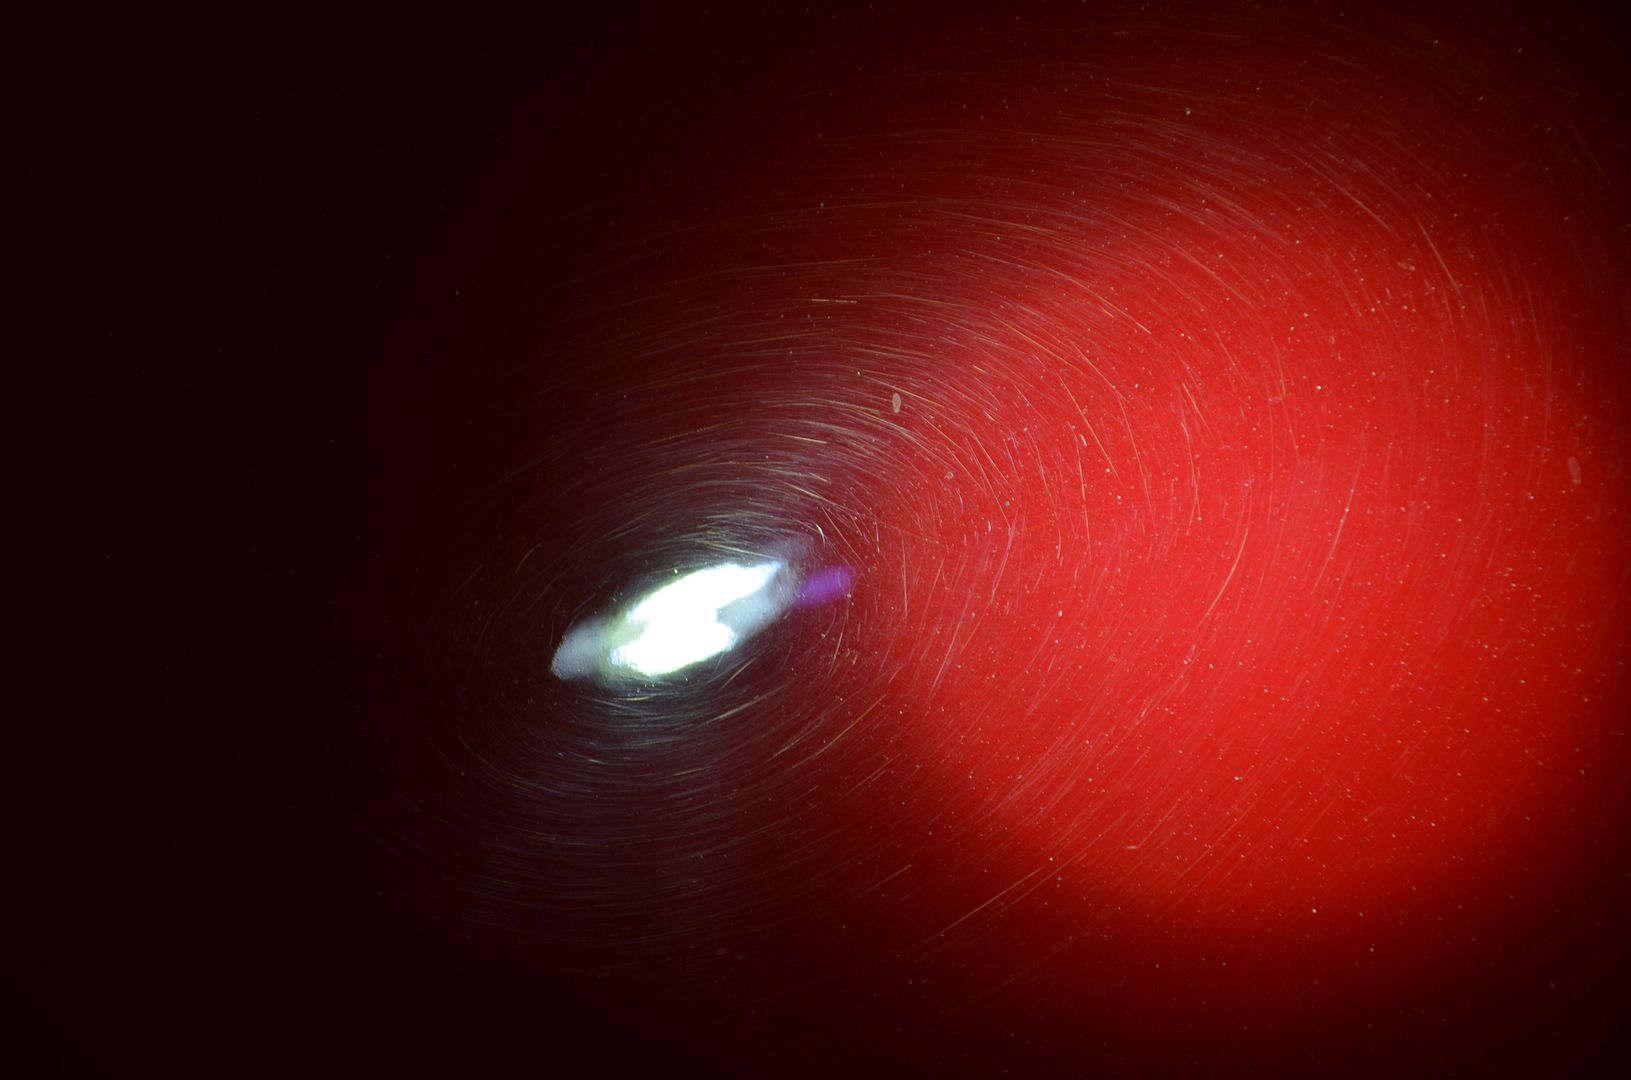
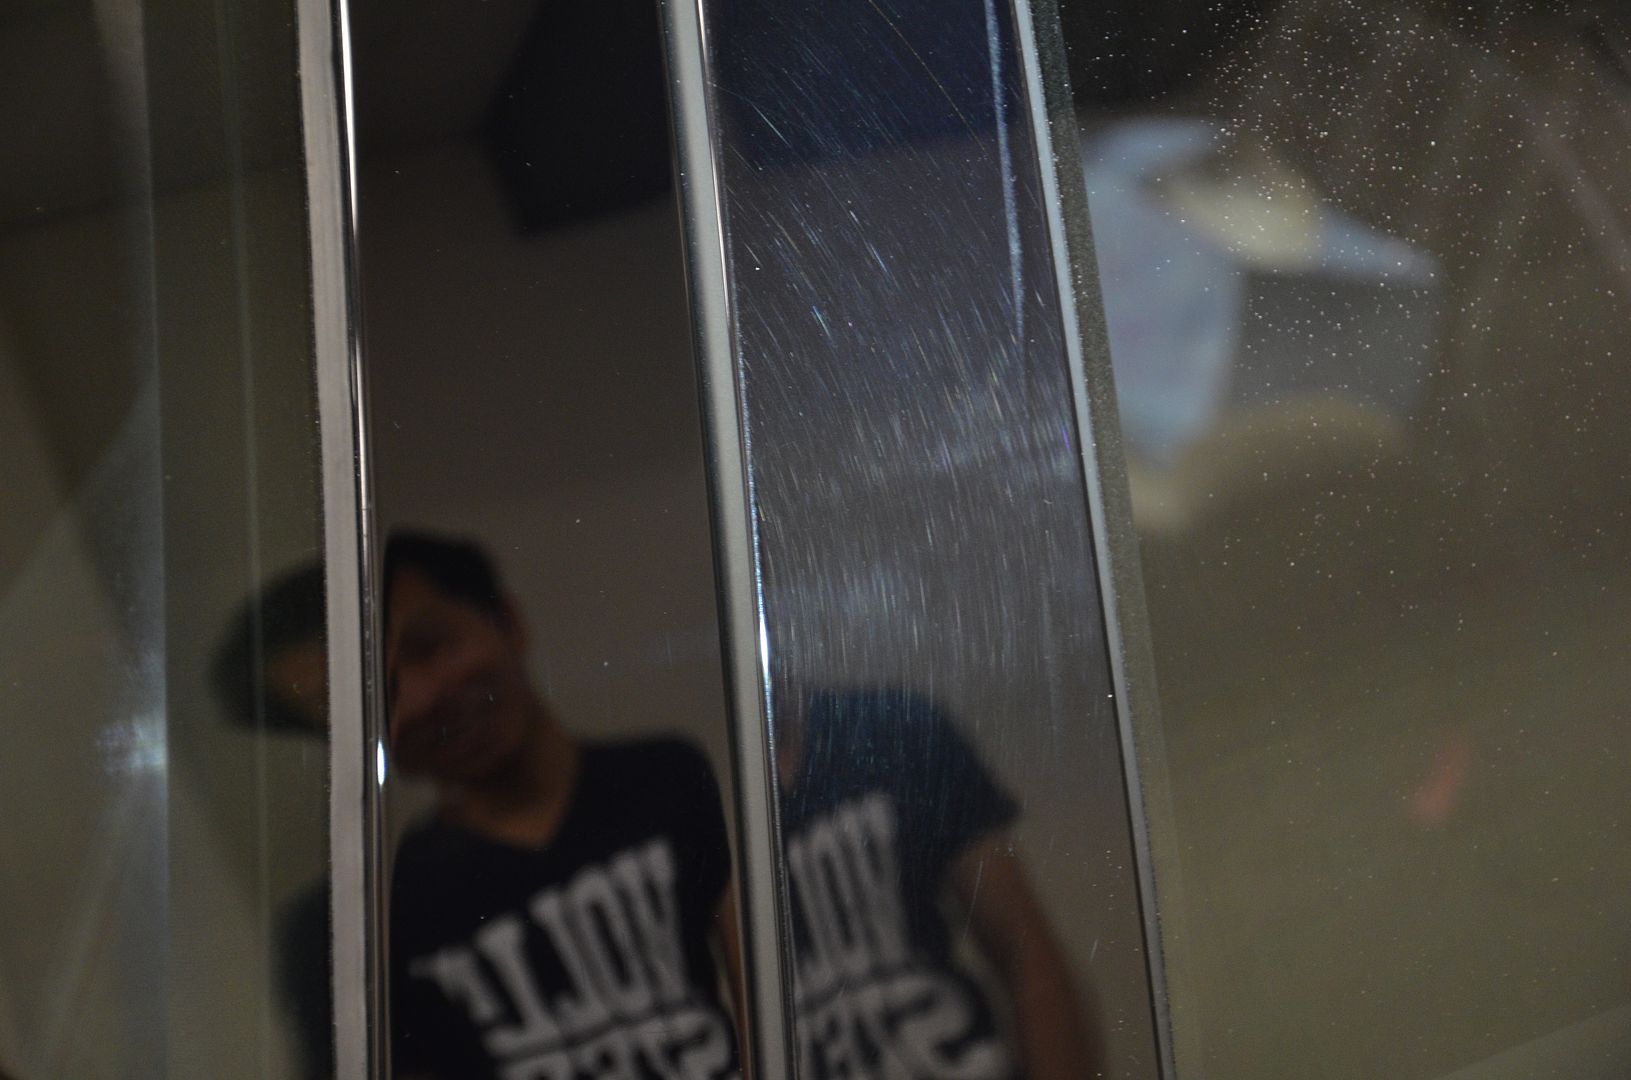
Direct sun shots out side, Wow this is bad


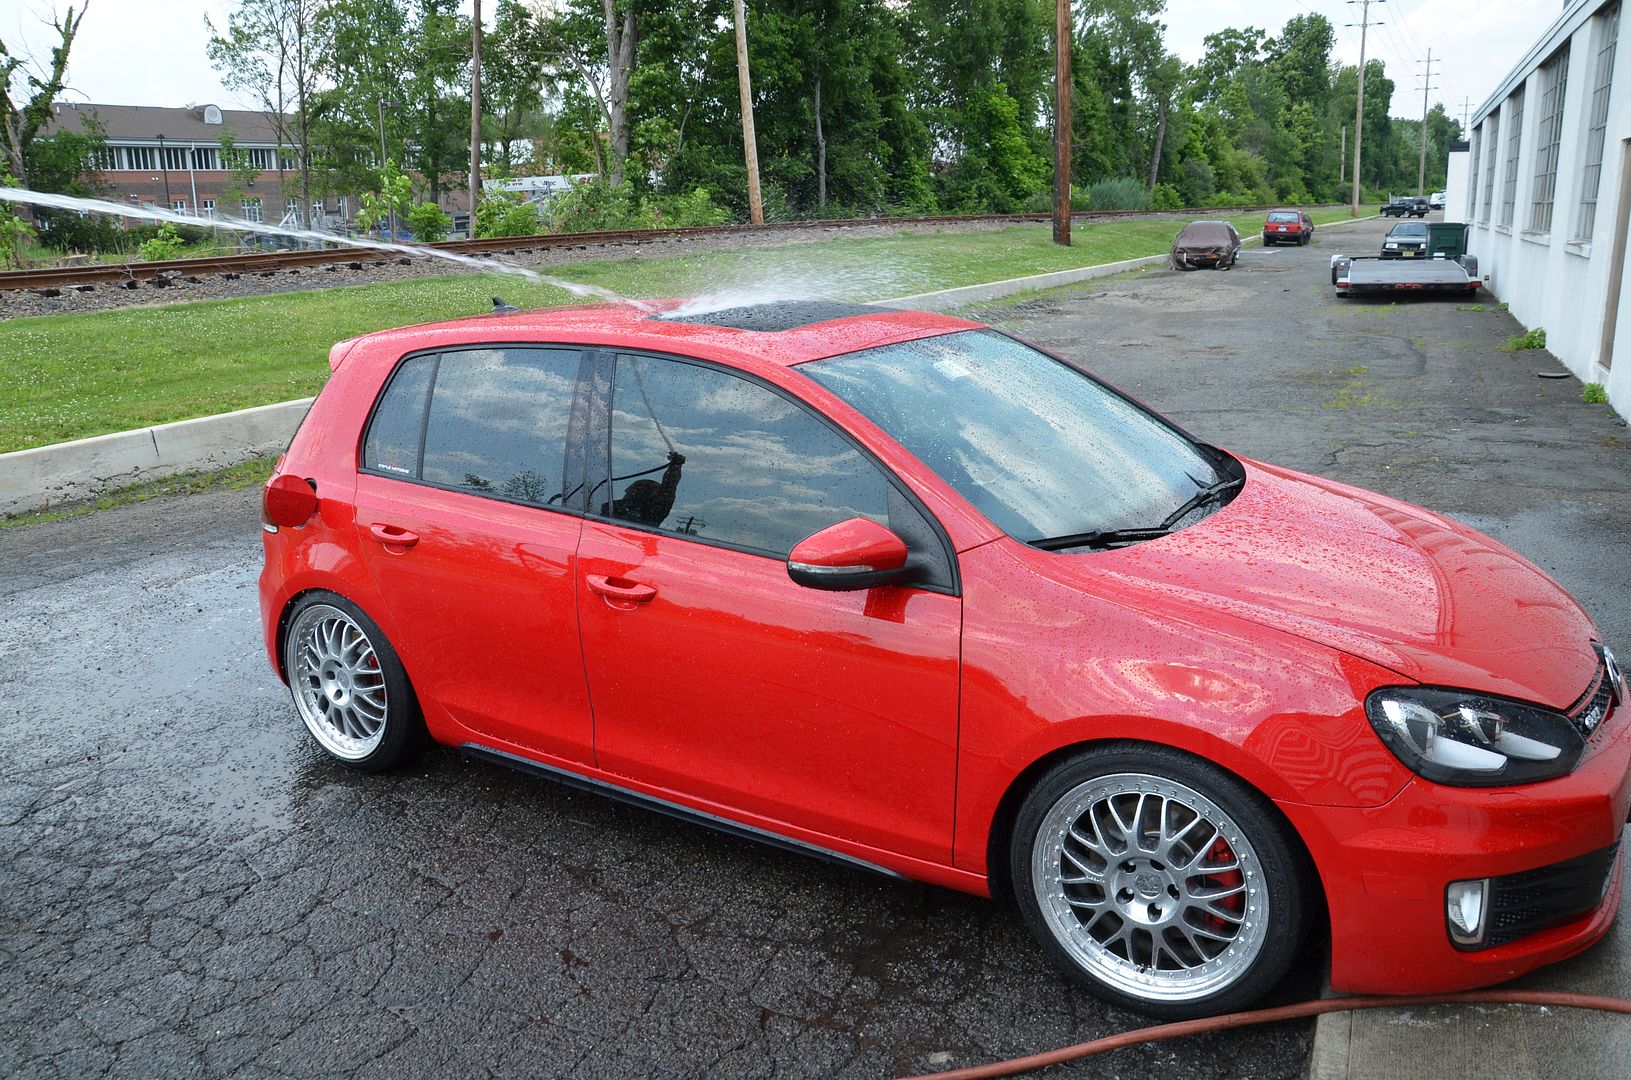
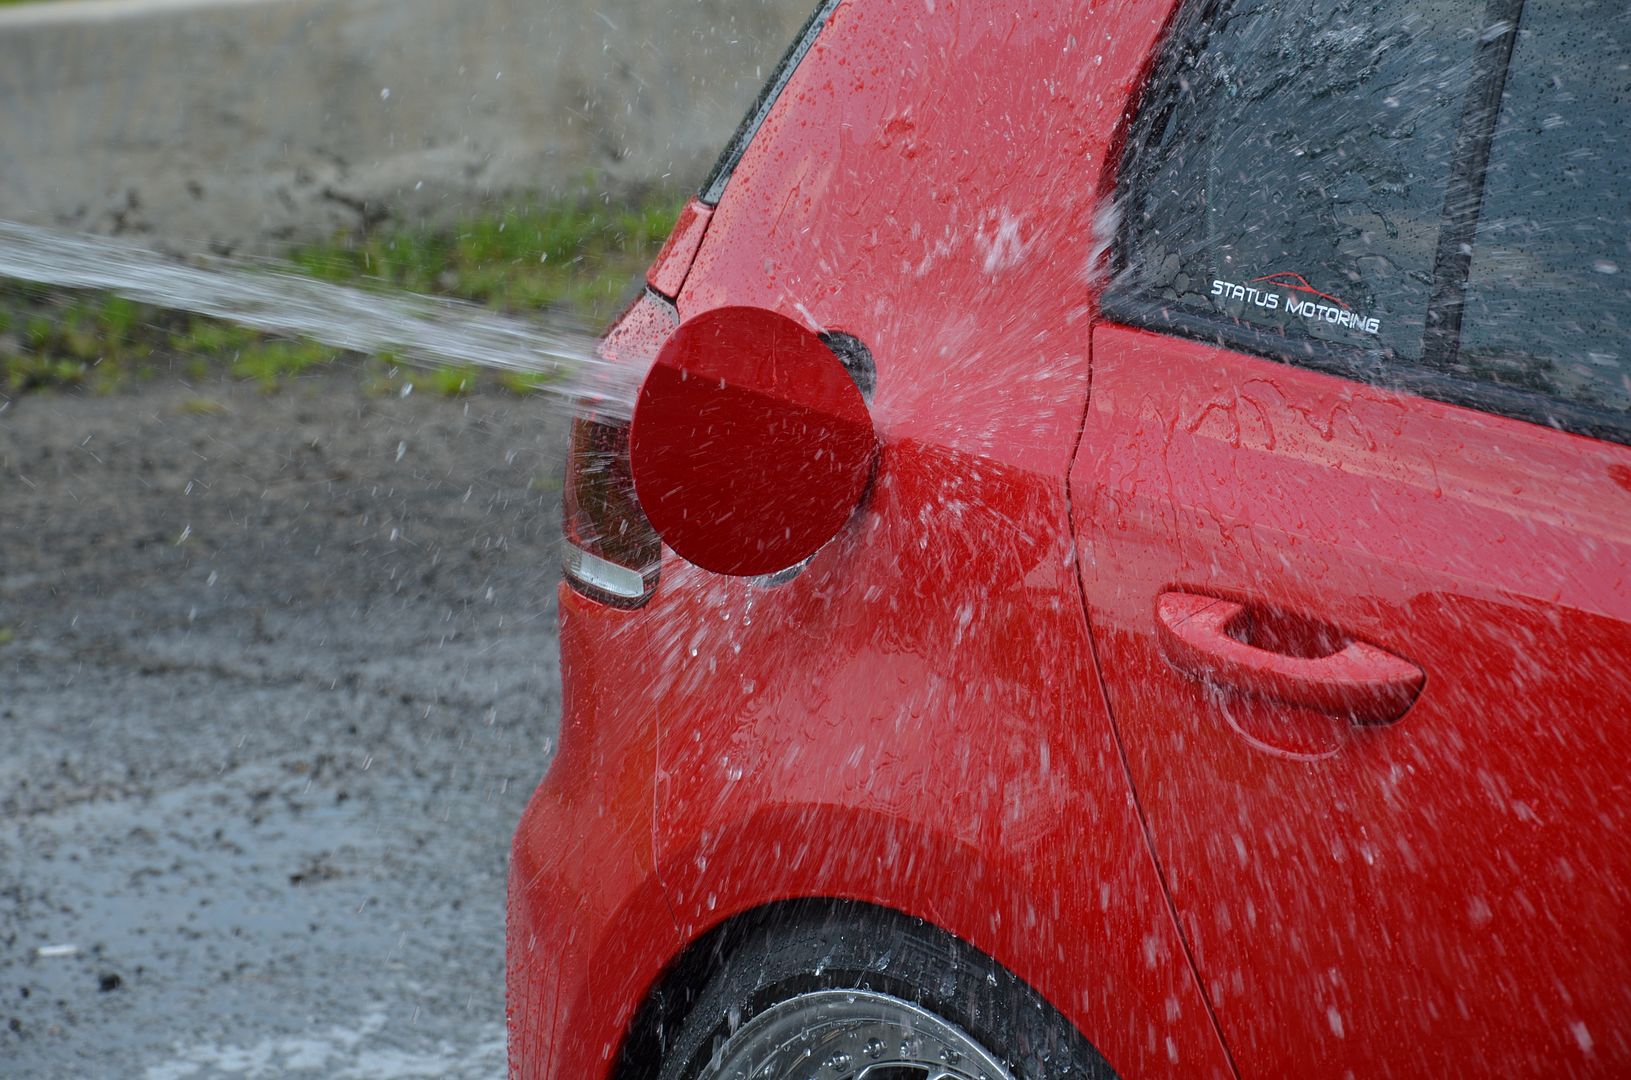
Prep - Wheels/Tires/Wash/Decon/Autoscrub
Pre soak /Bug and Tar
Sonax Full Effect Wheel Cleaner
Wheel woolie in action (coming soon)
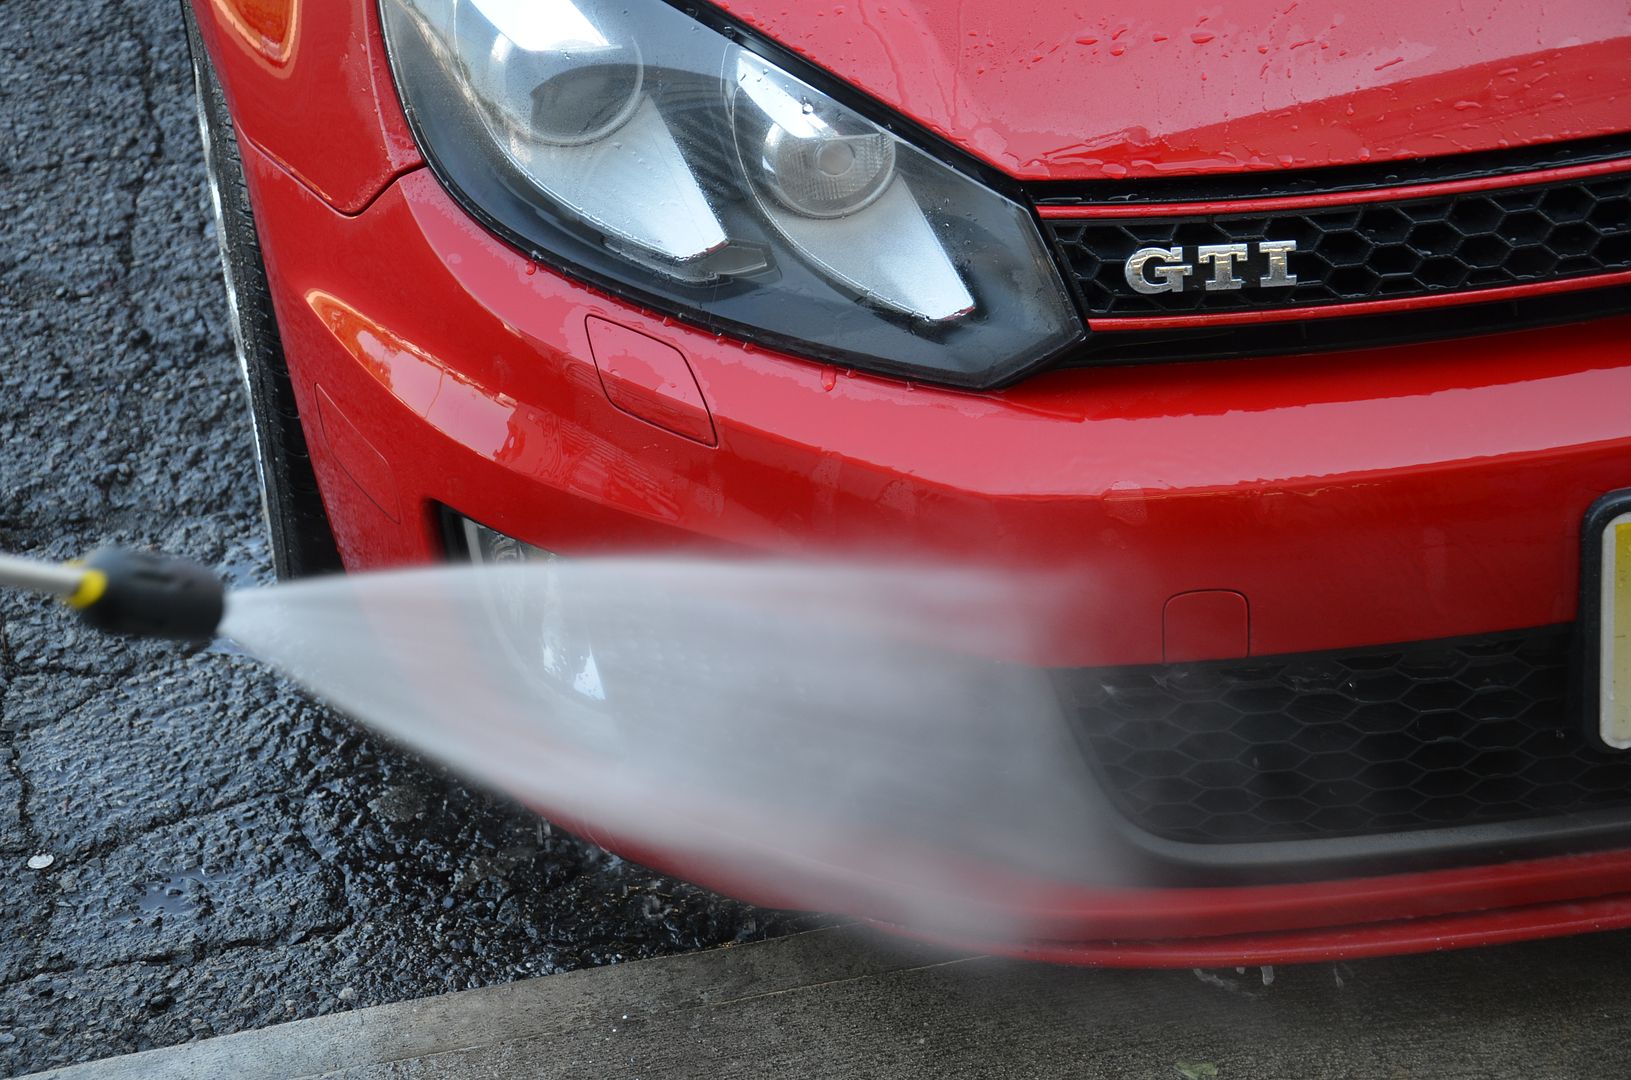
Rinse wheels
Rinse bumper
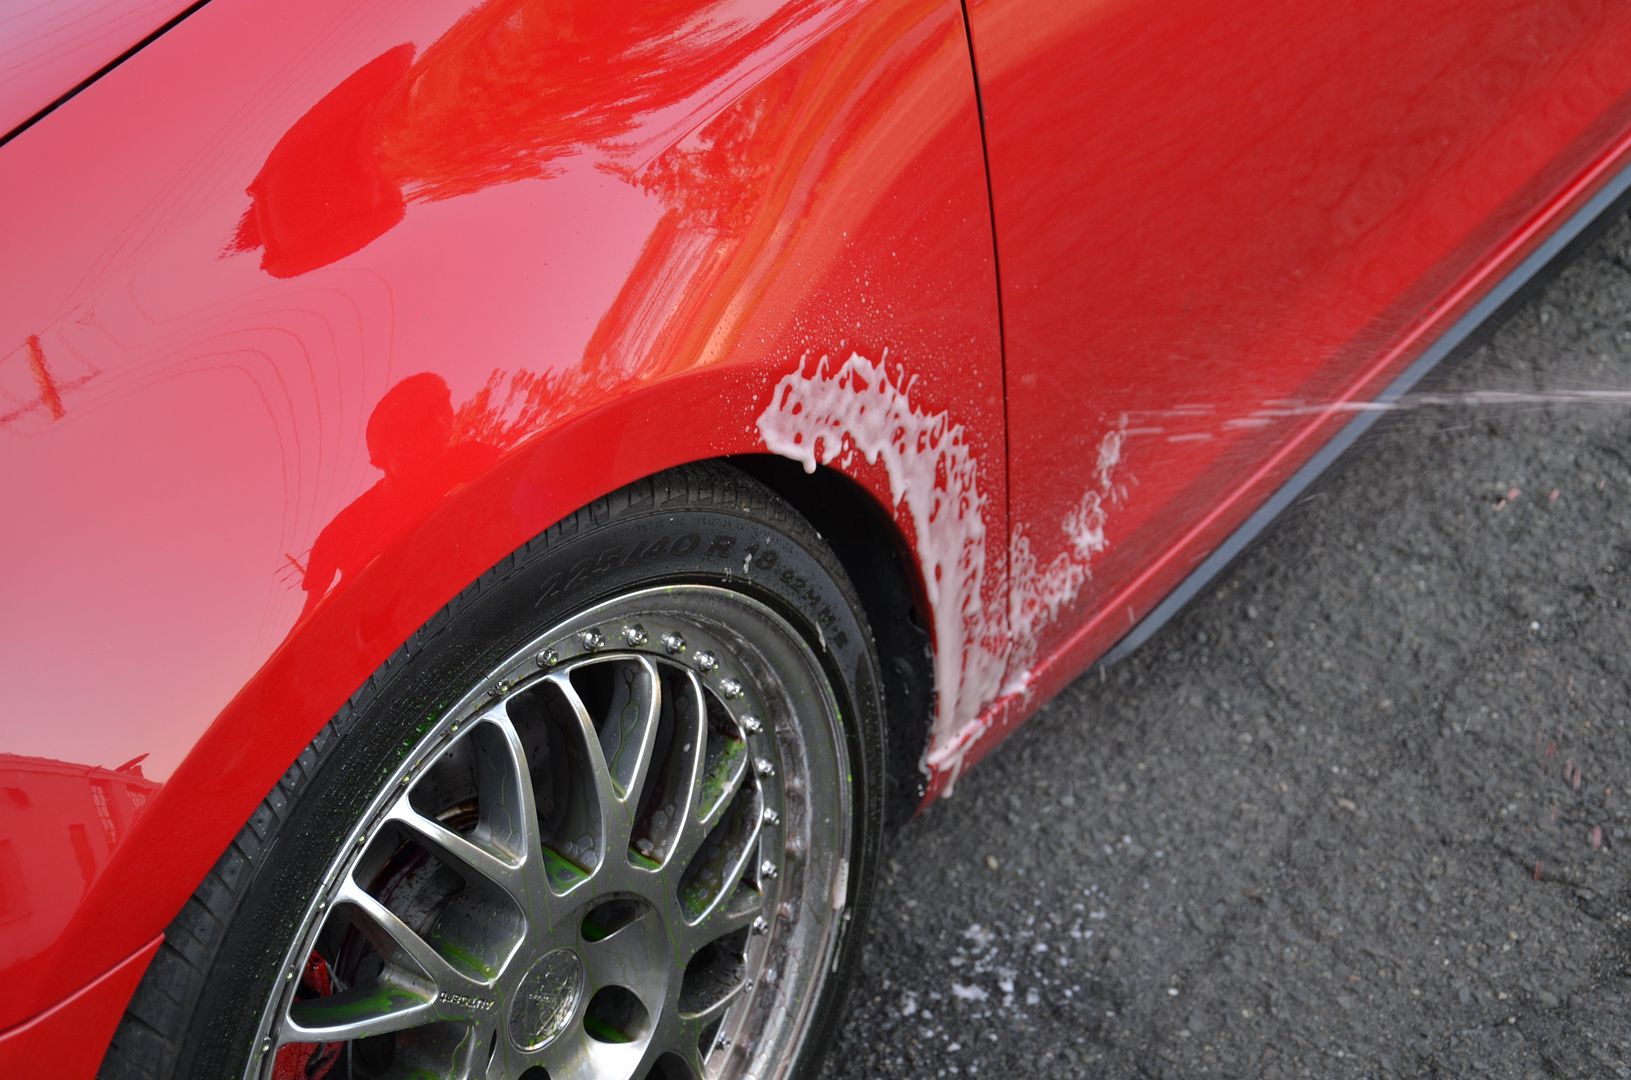
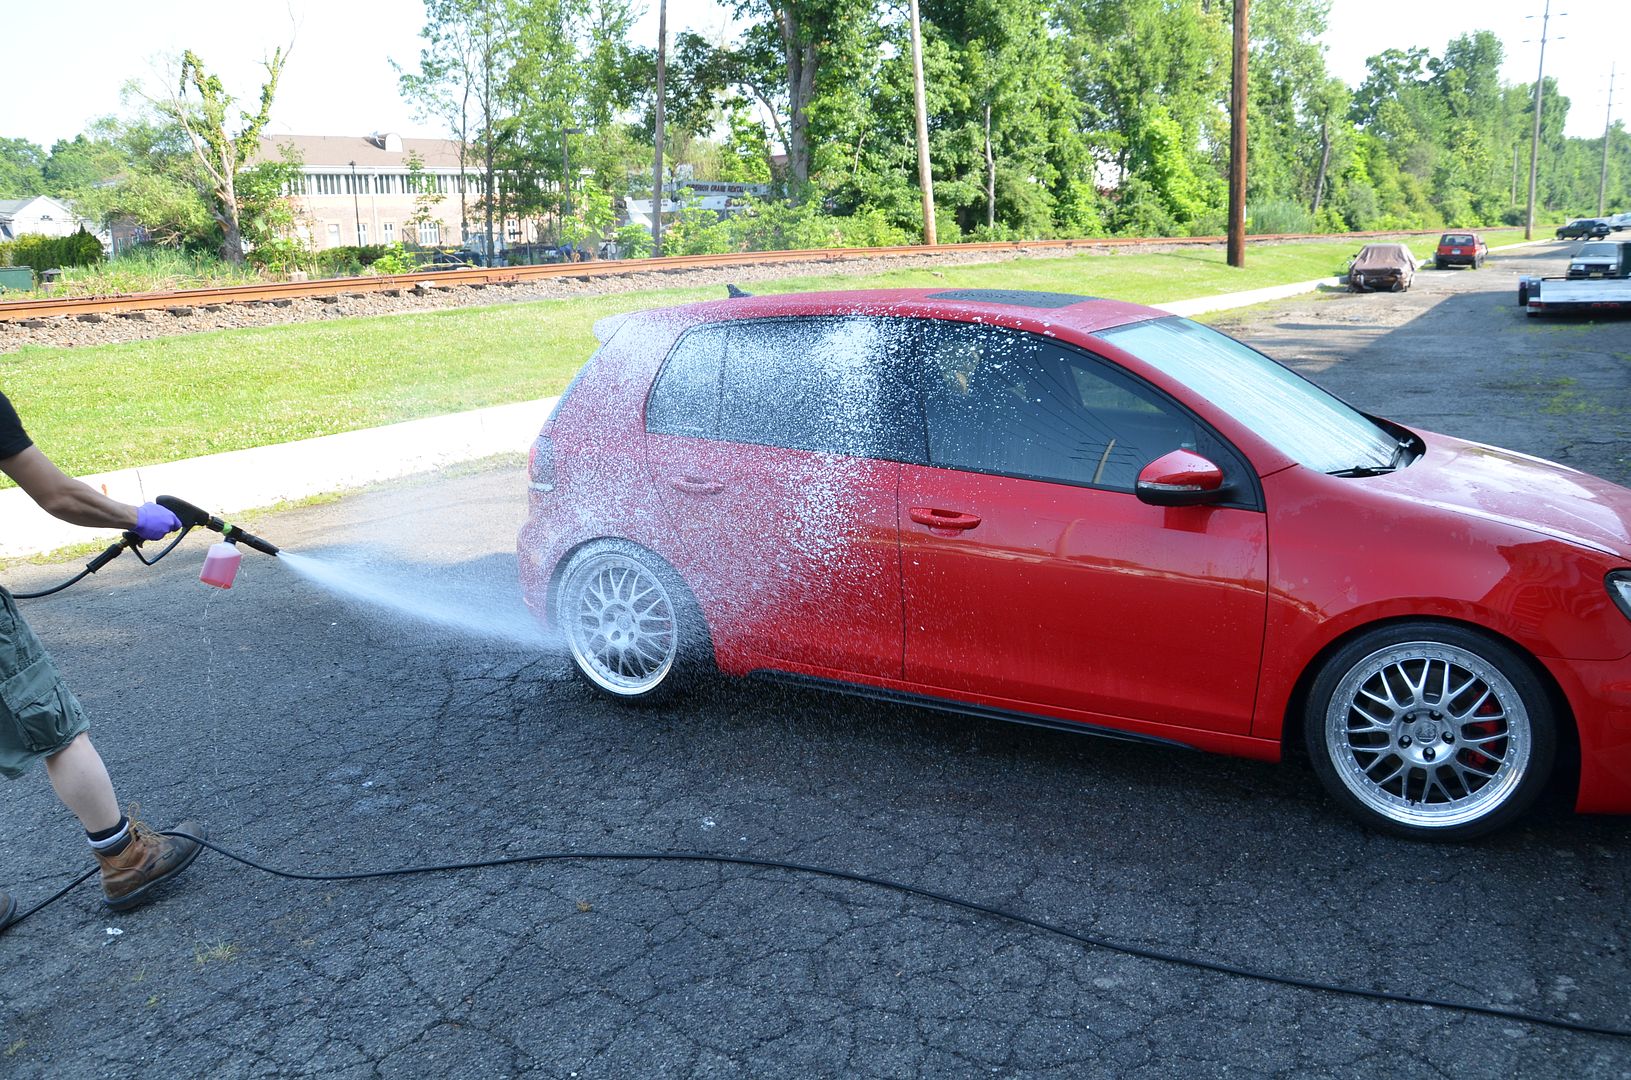
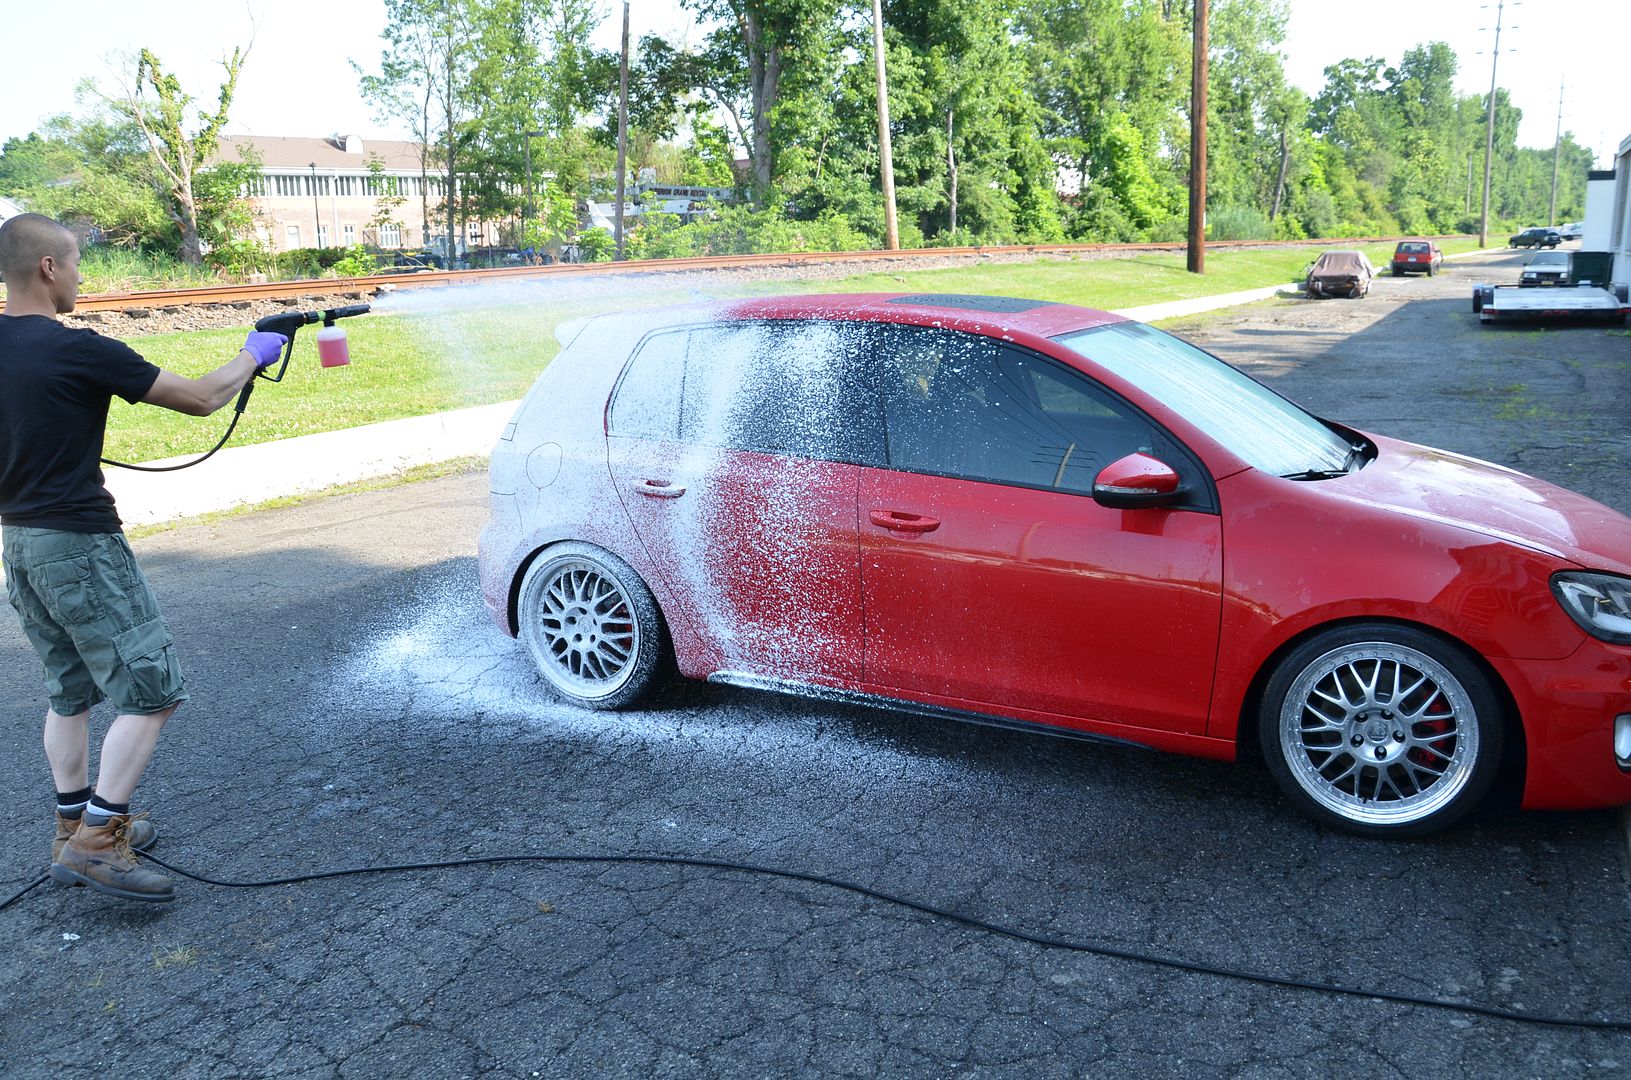
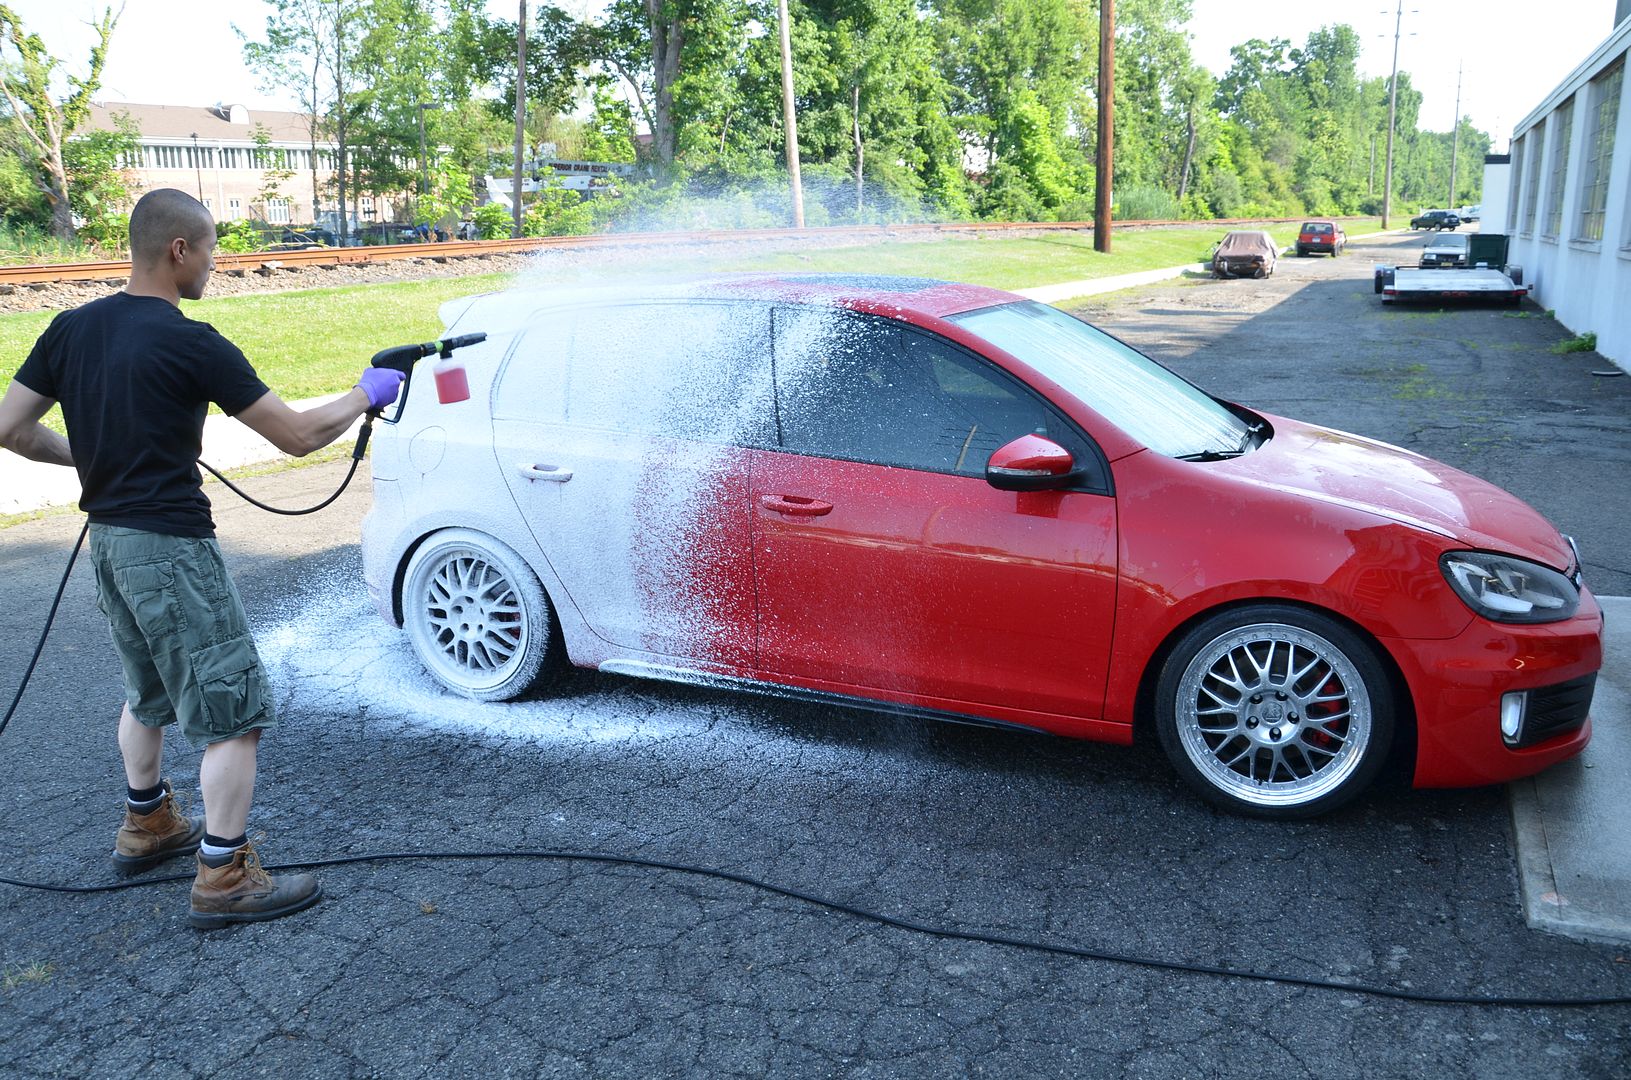
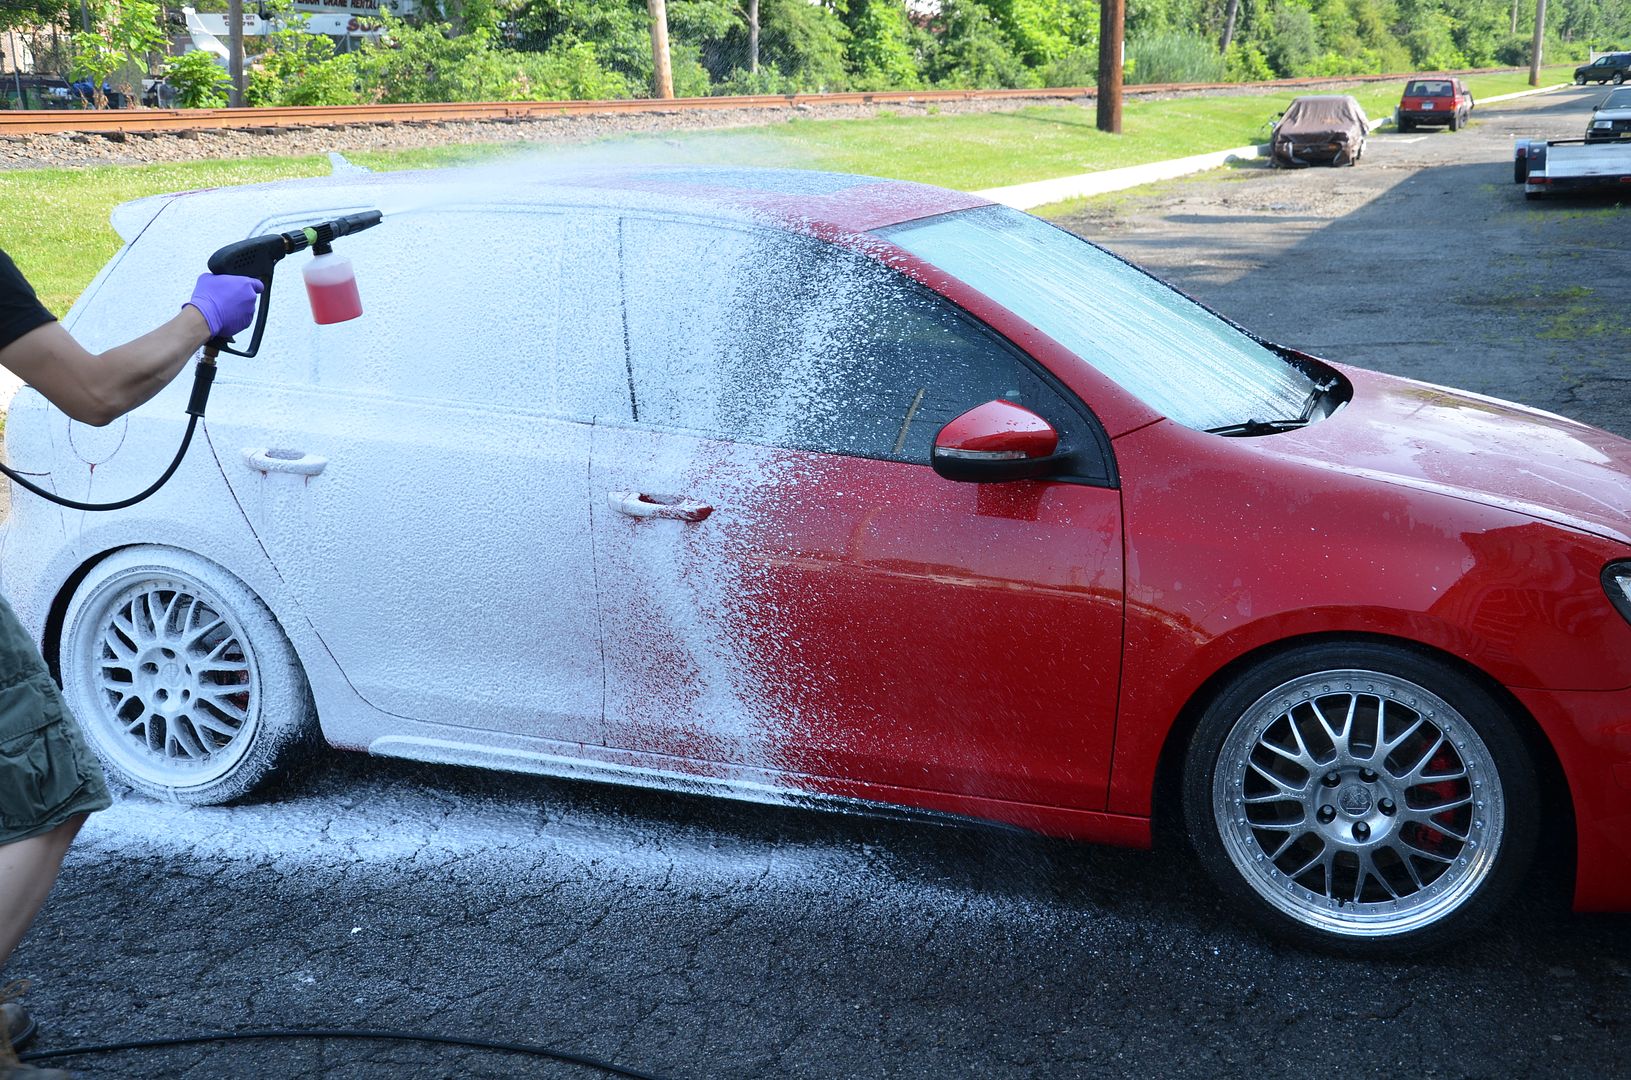
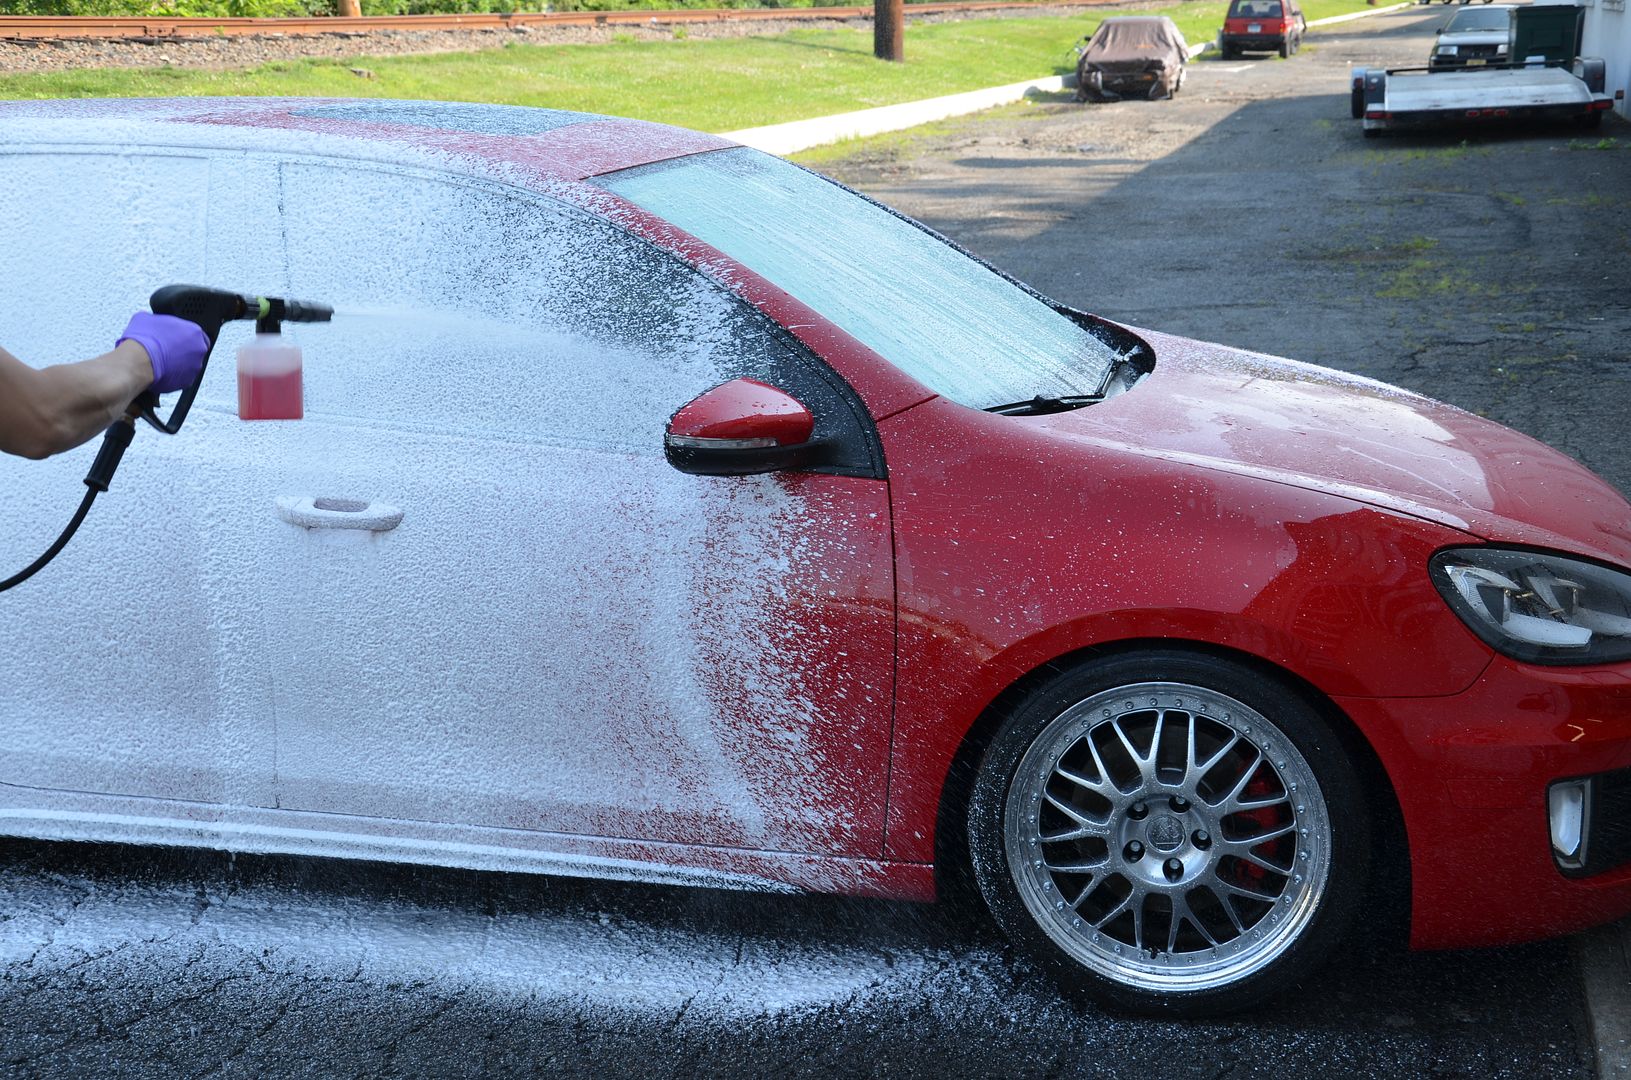
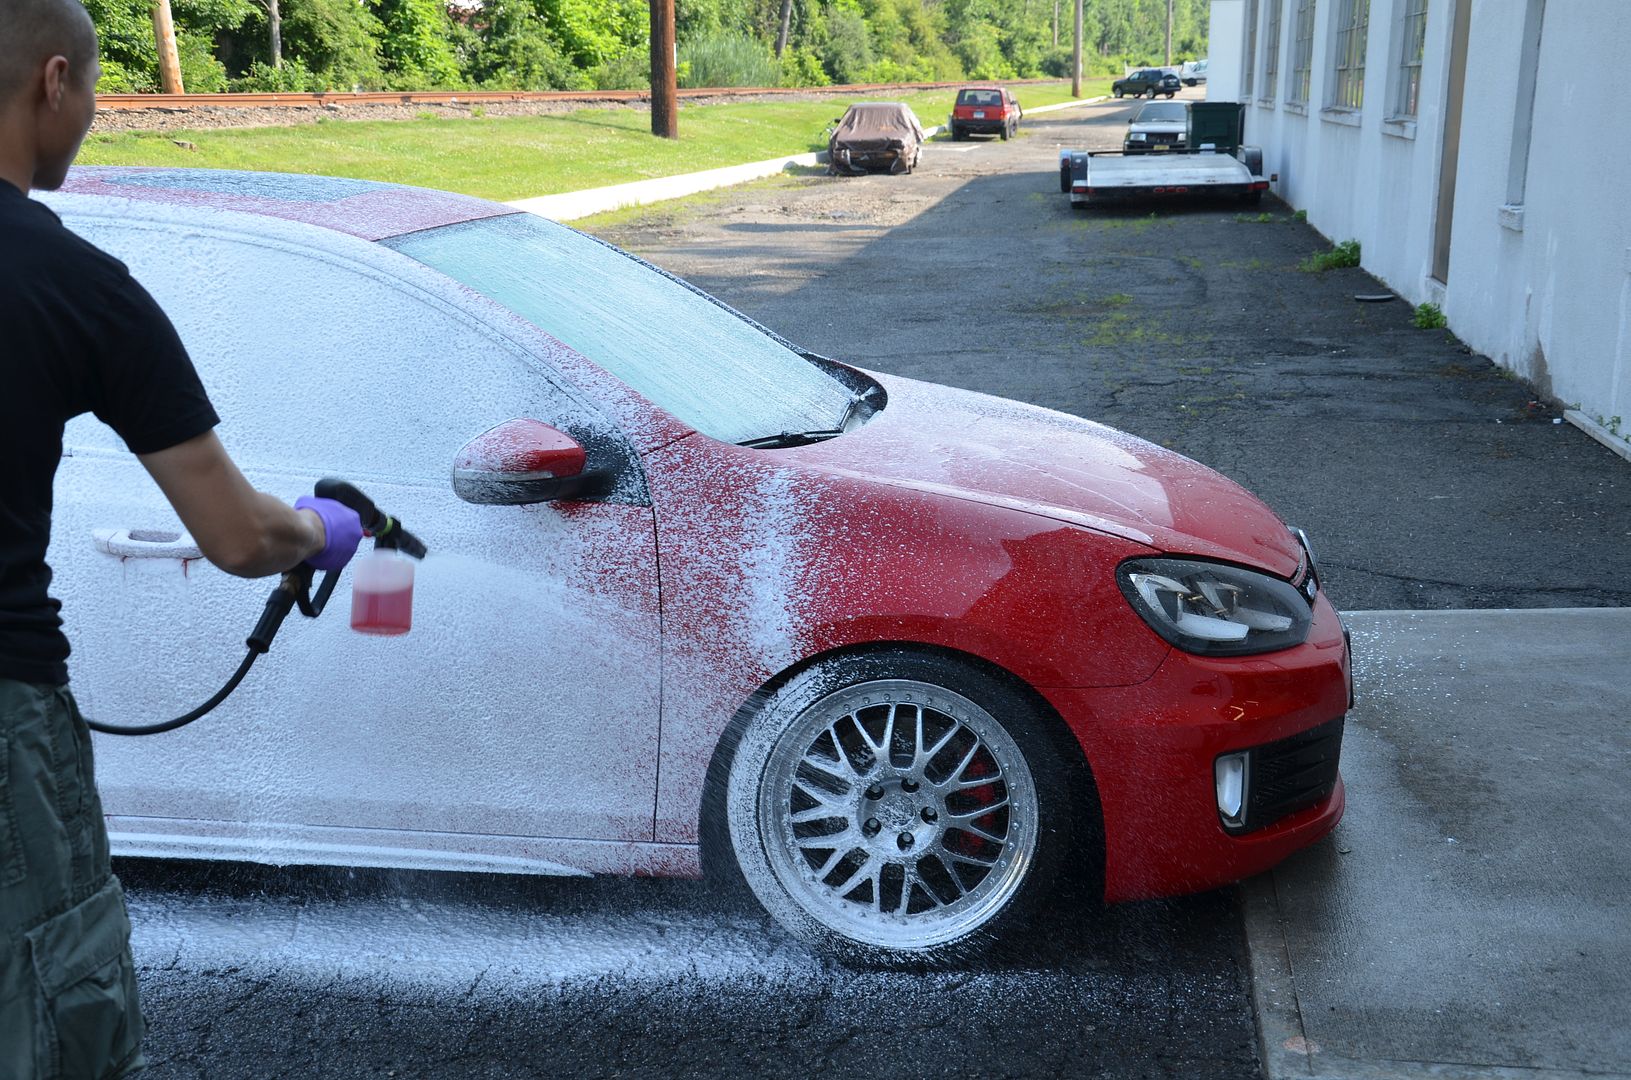
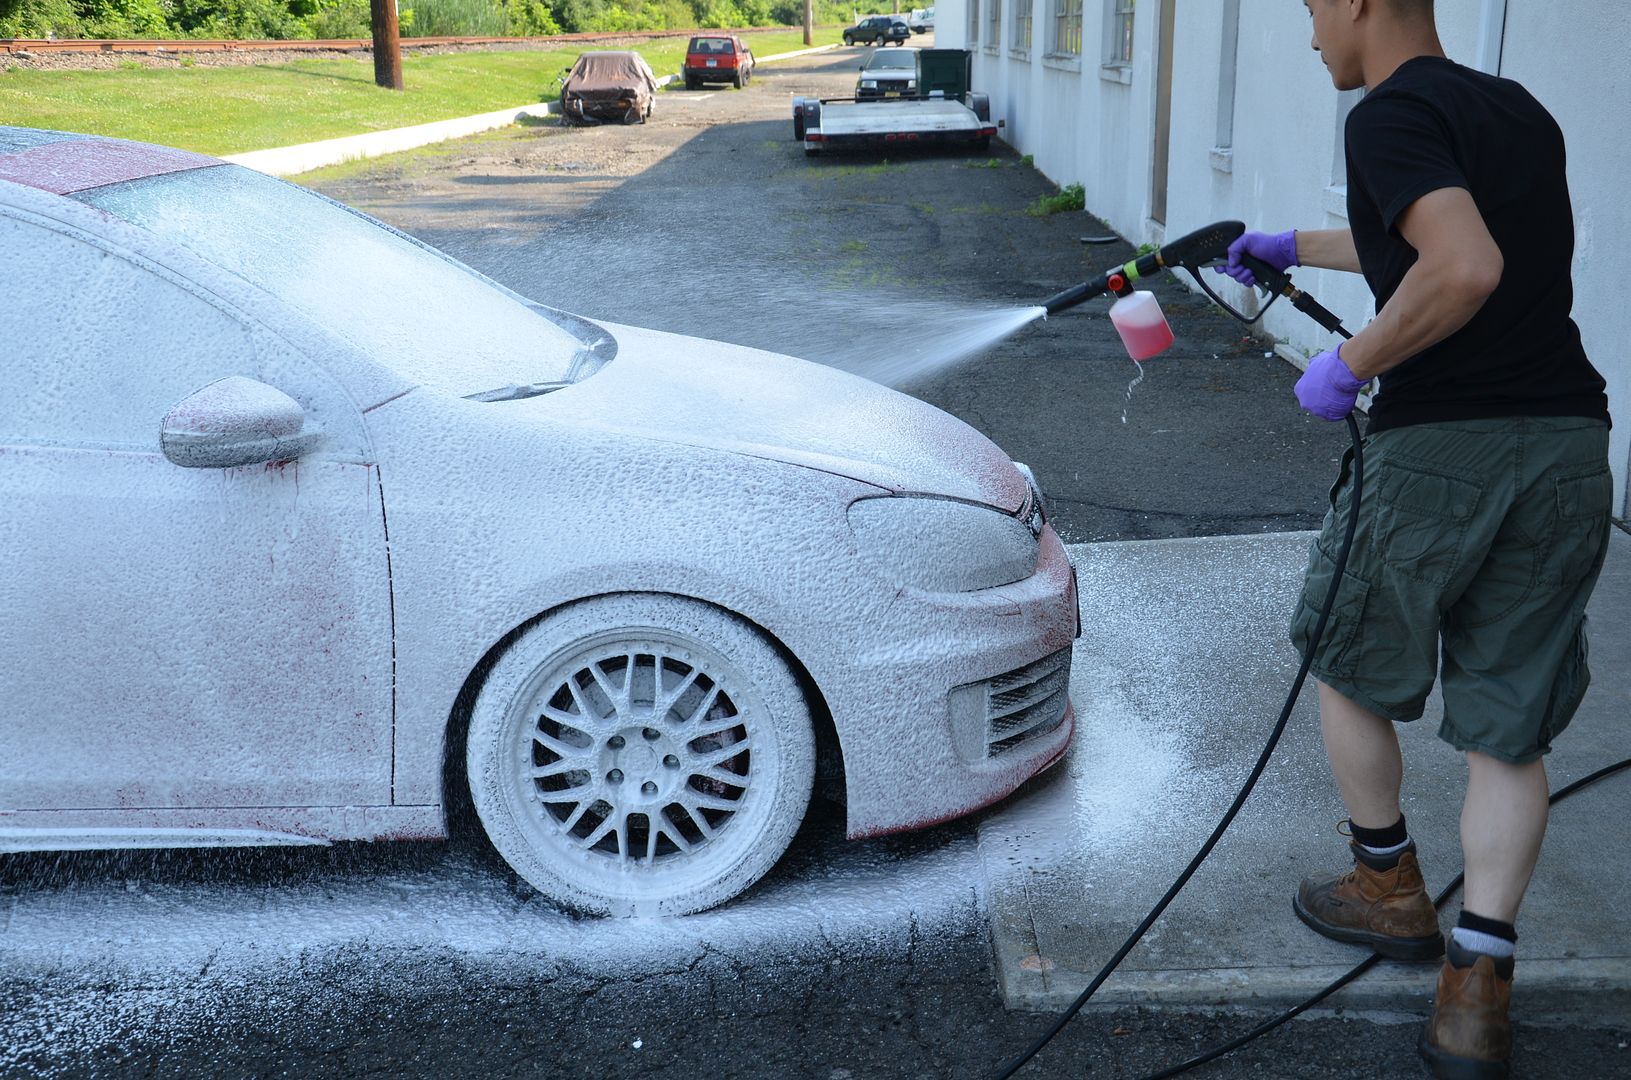
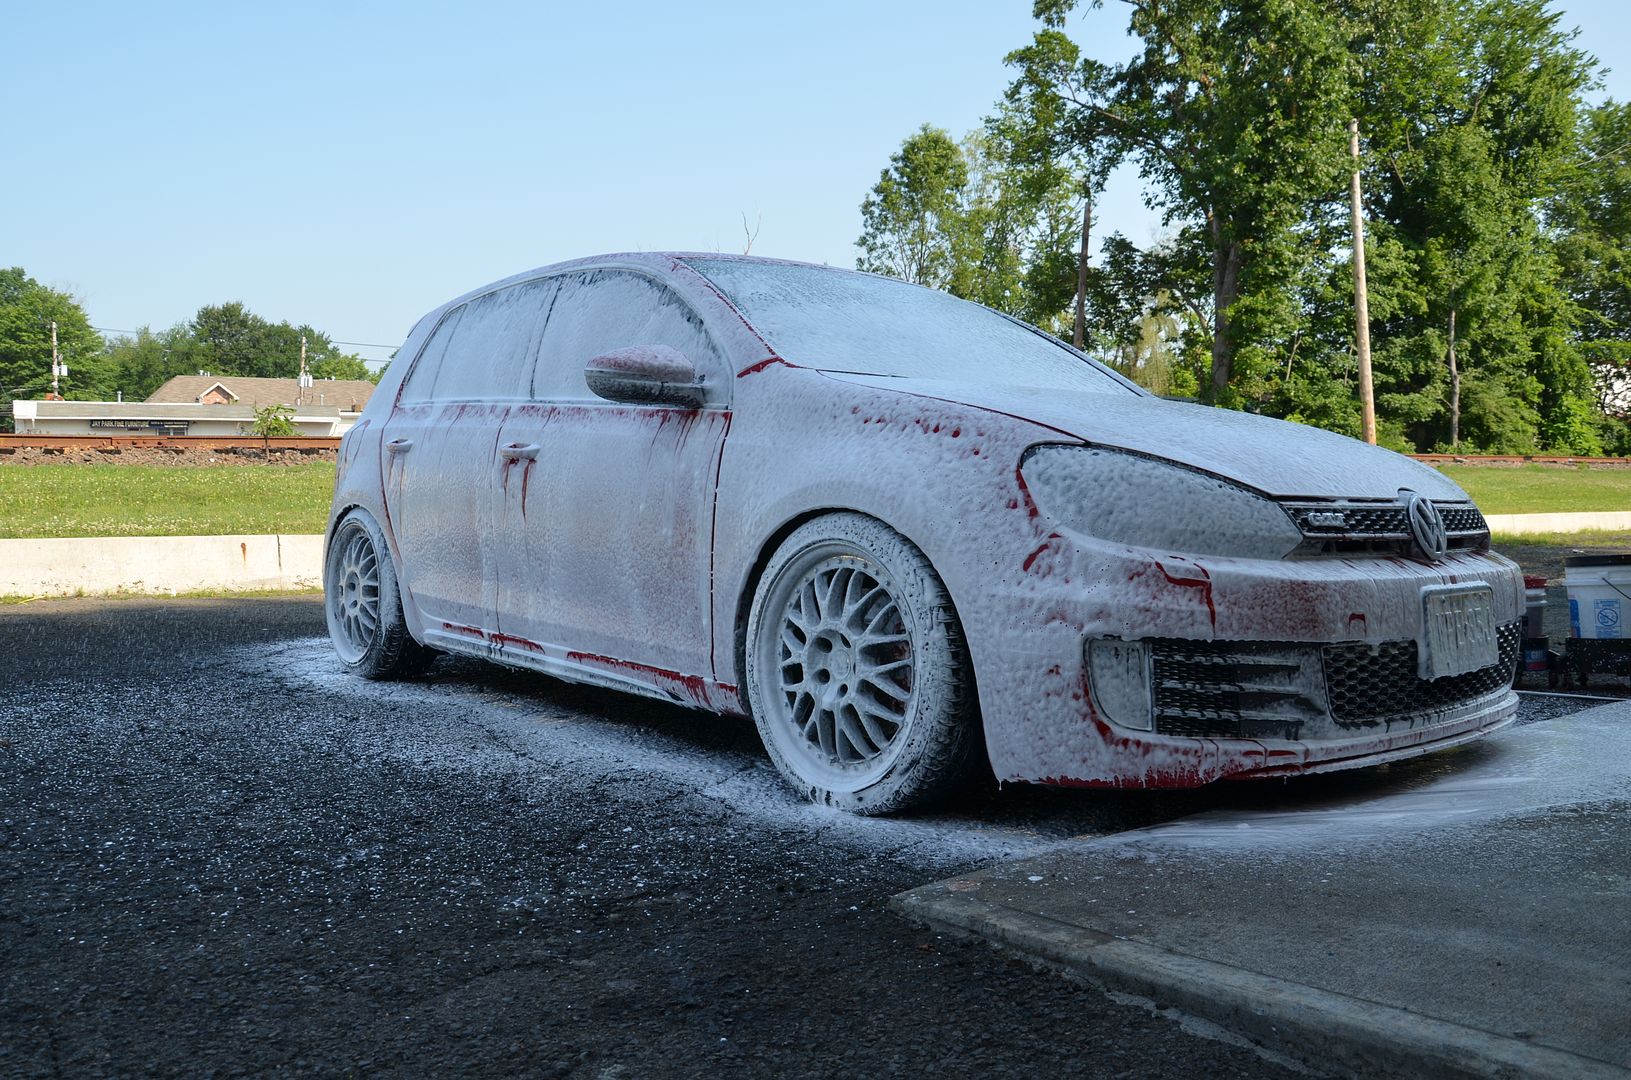
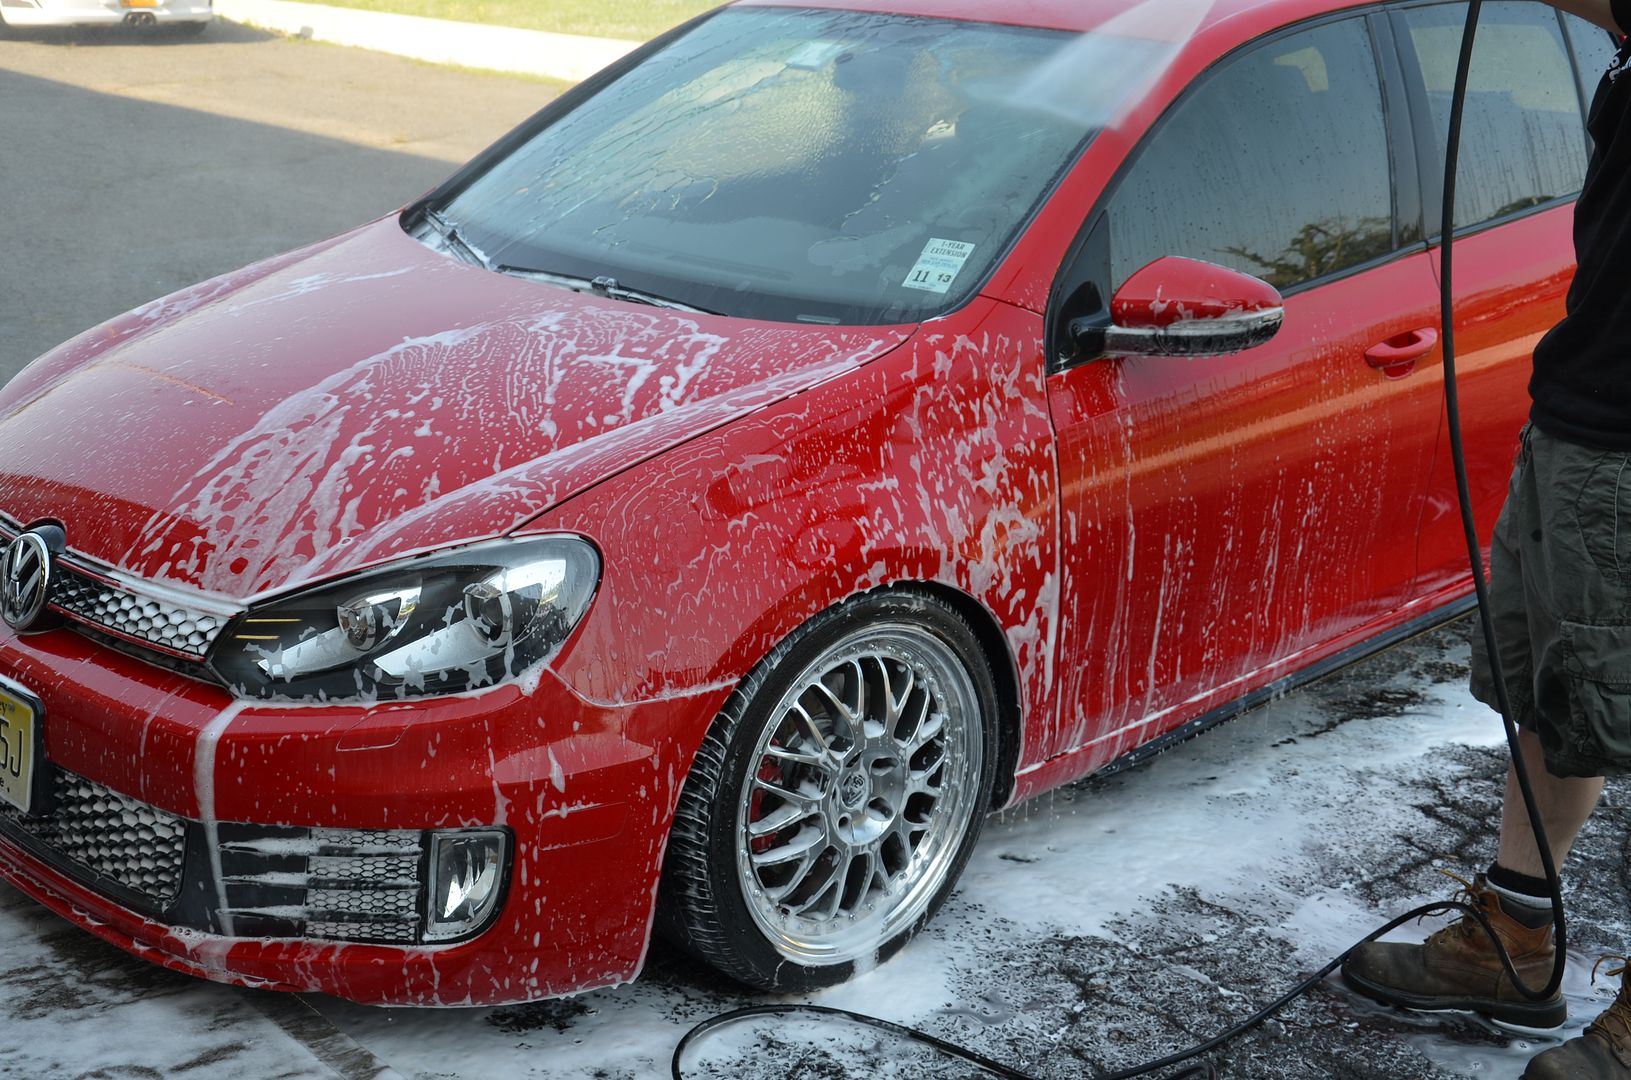
Foaming up the car
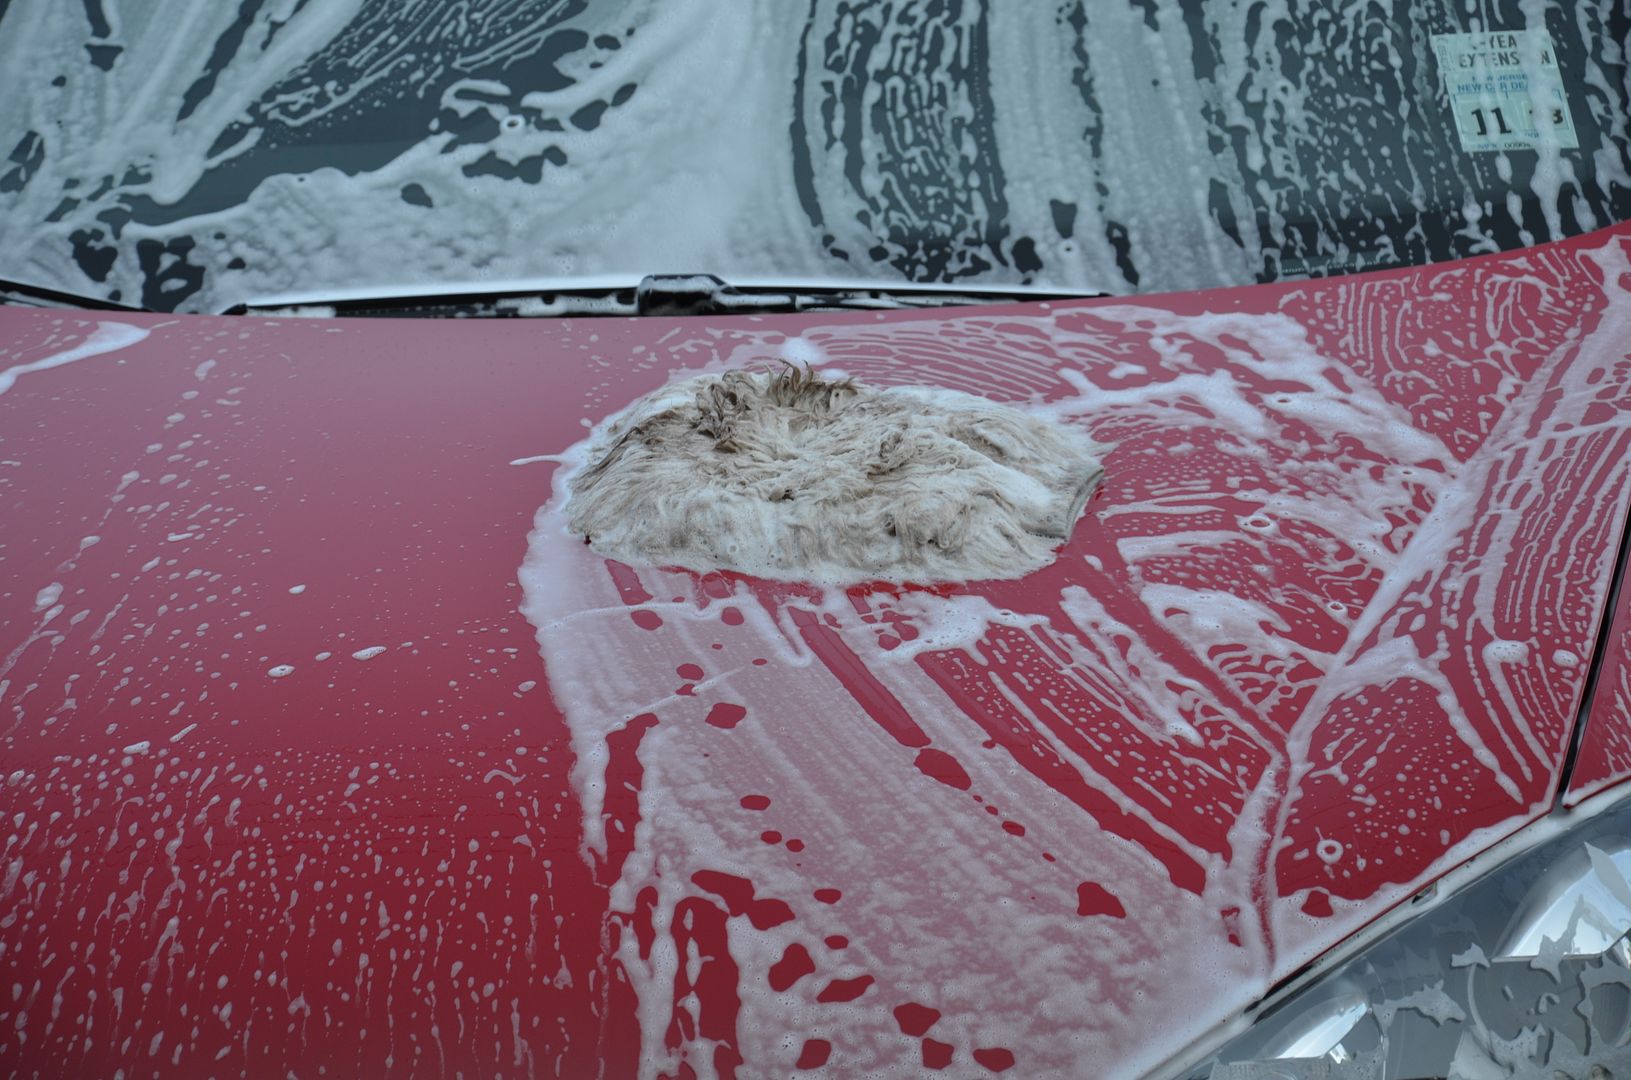
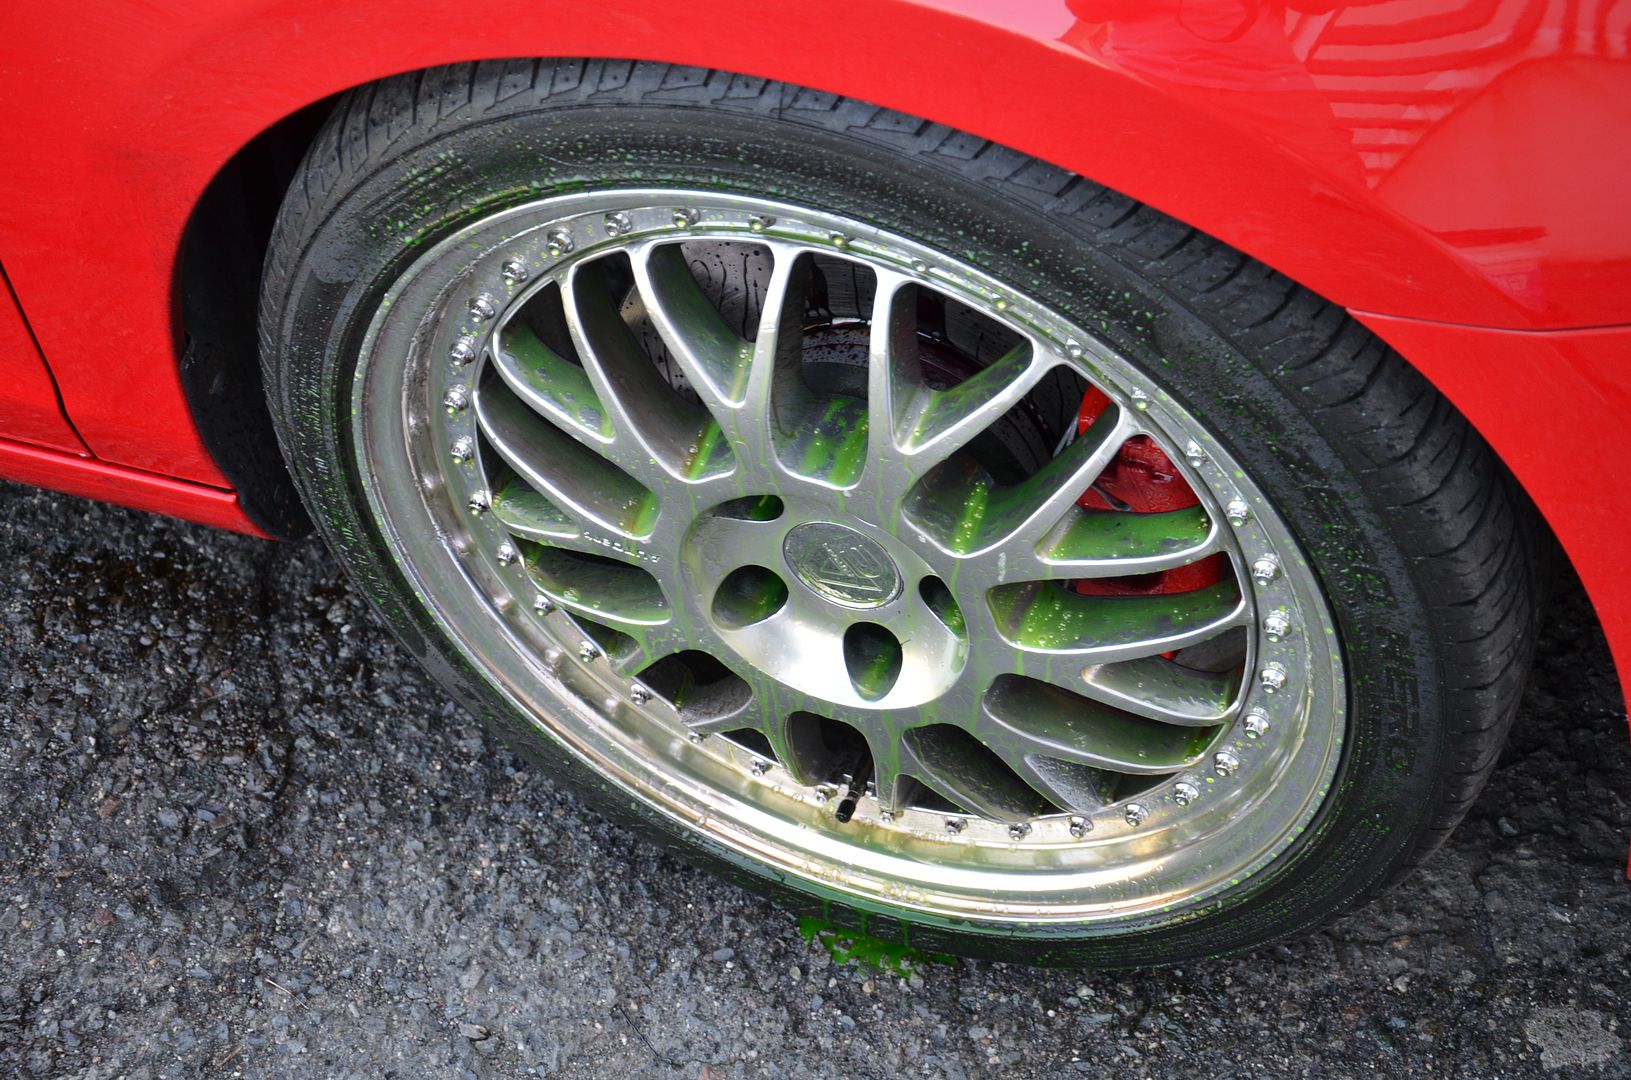
Decon
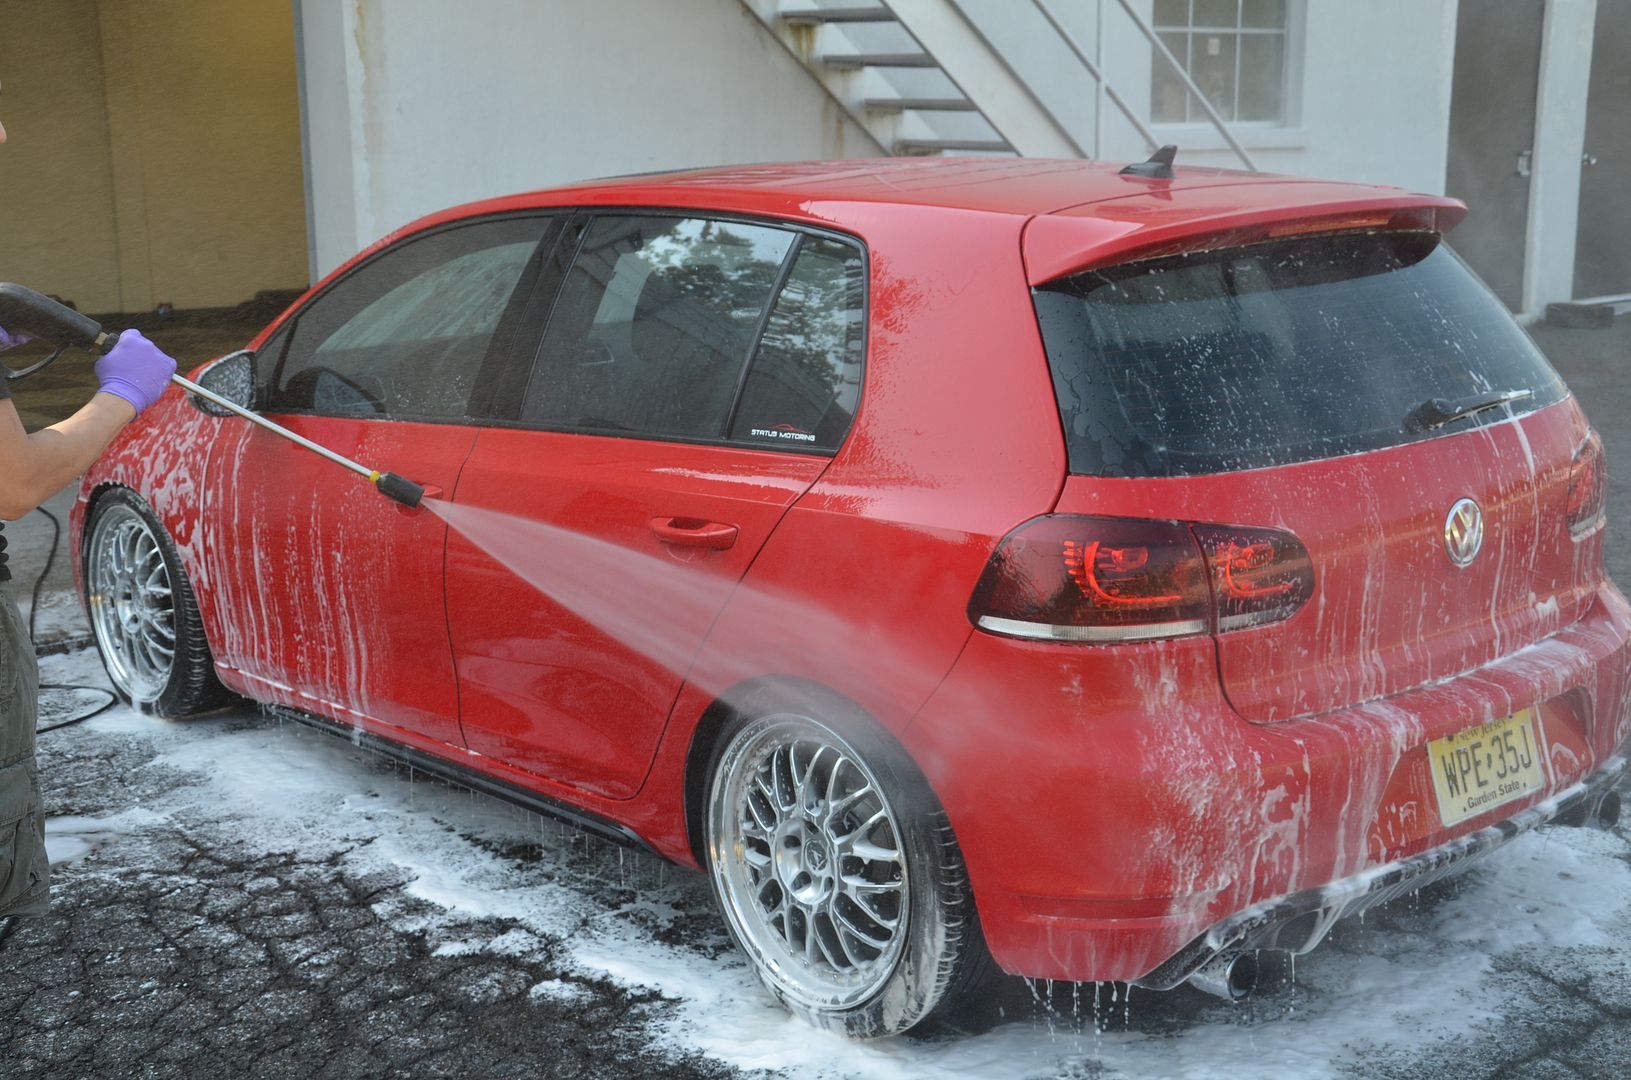
Rinse
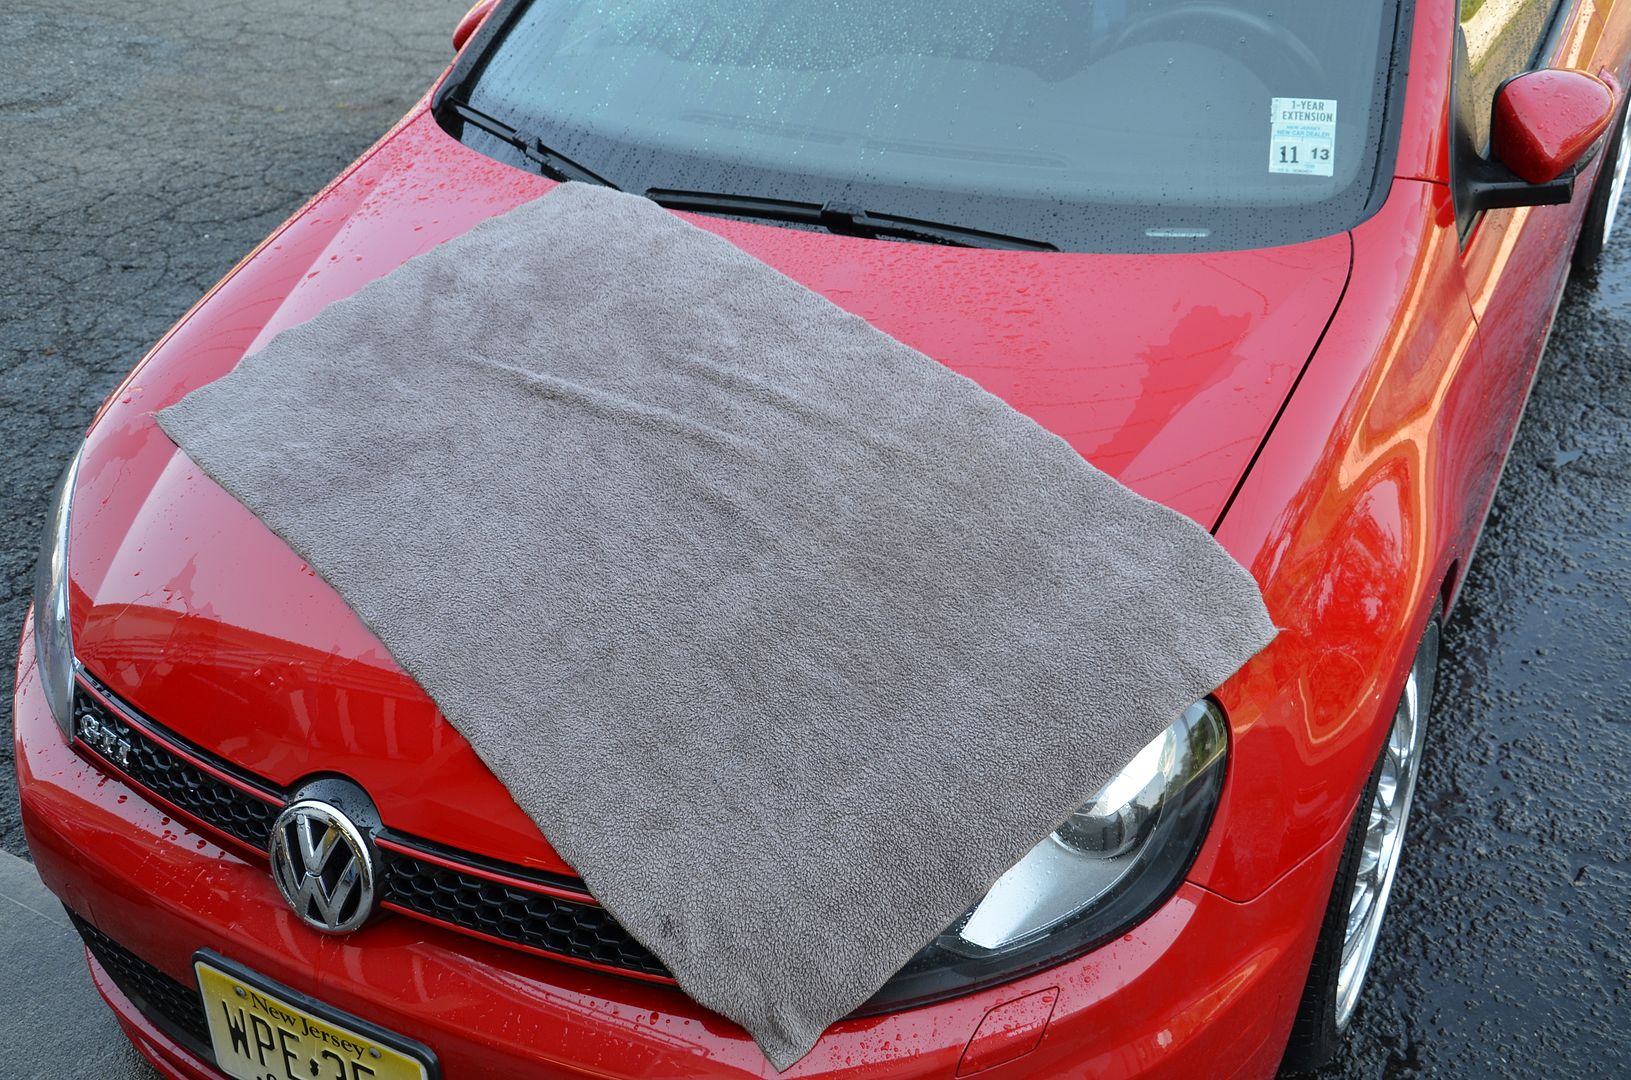
Drying with the Uber Super Drying Microfiber Towel
AutoScrub
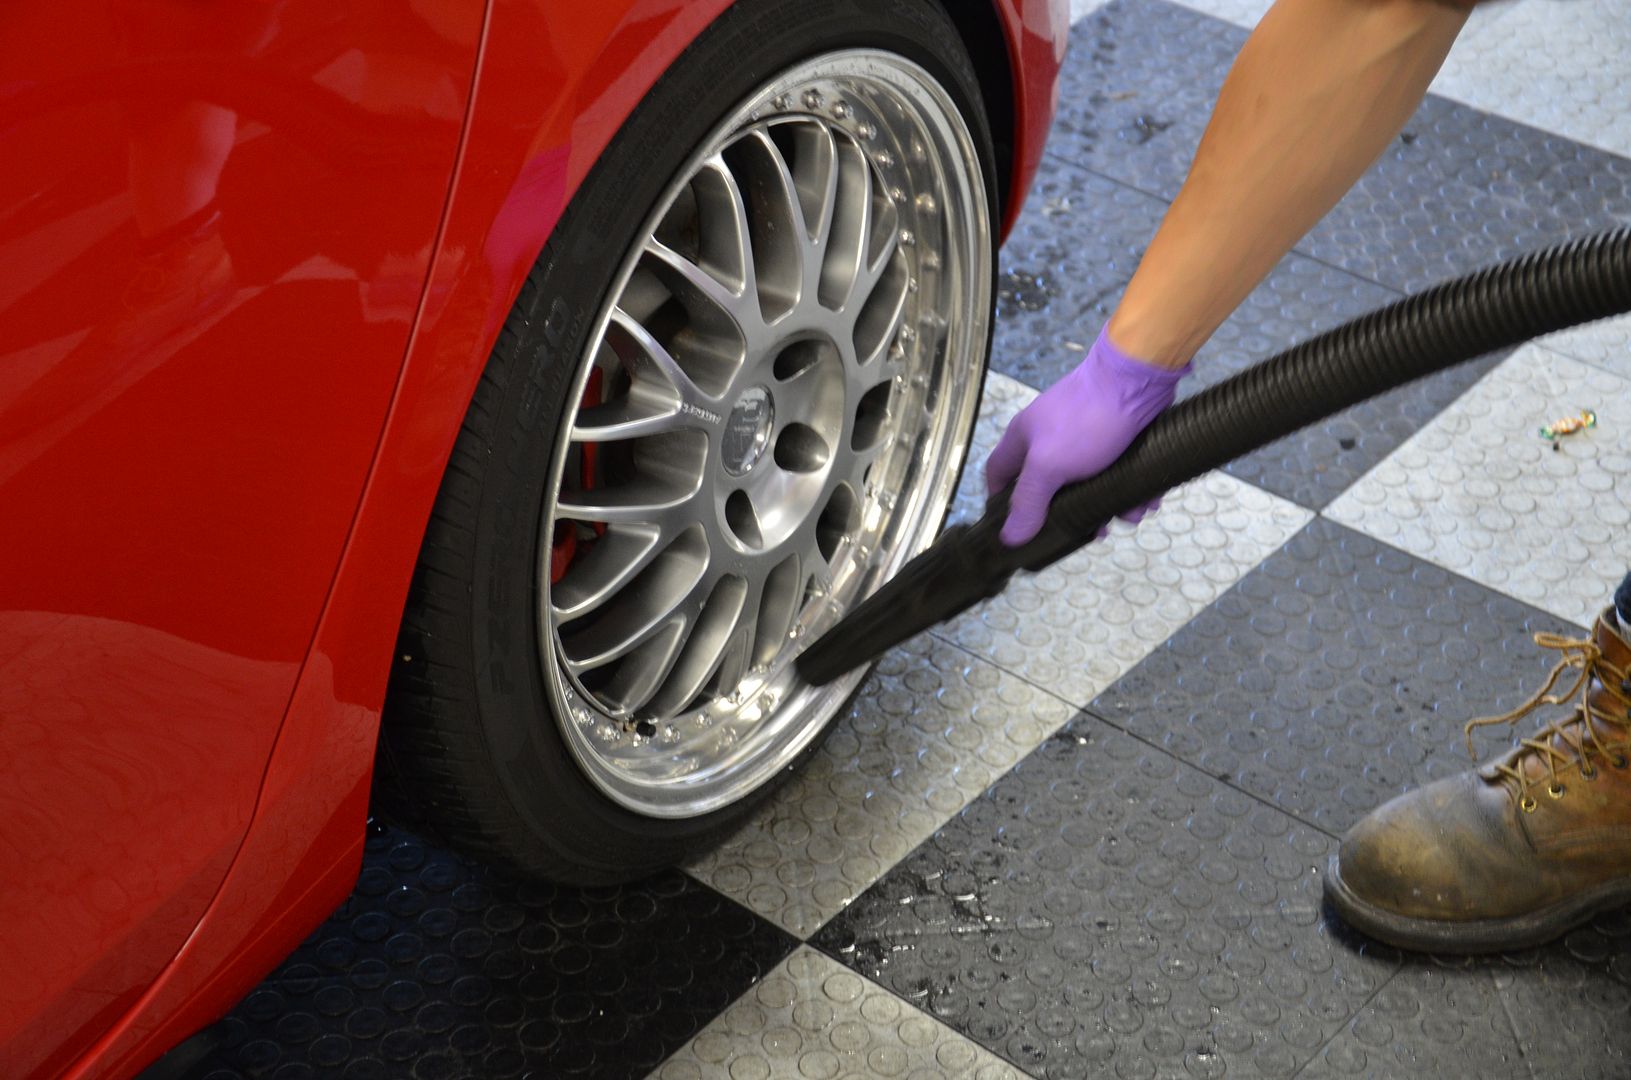
Blowing out the excess water
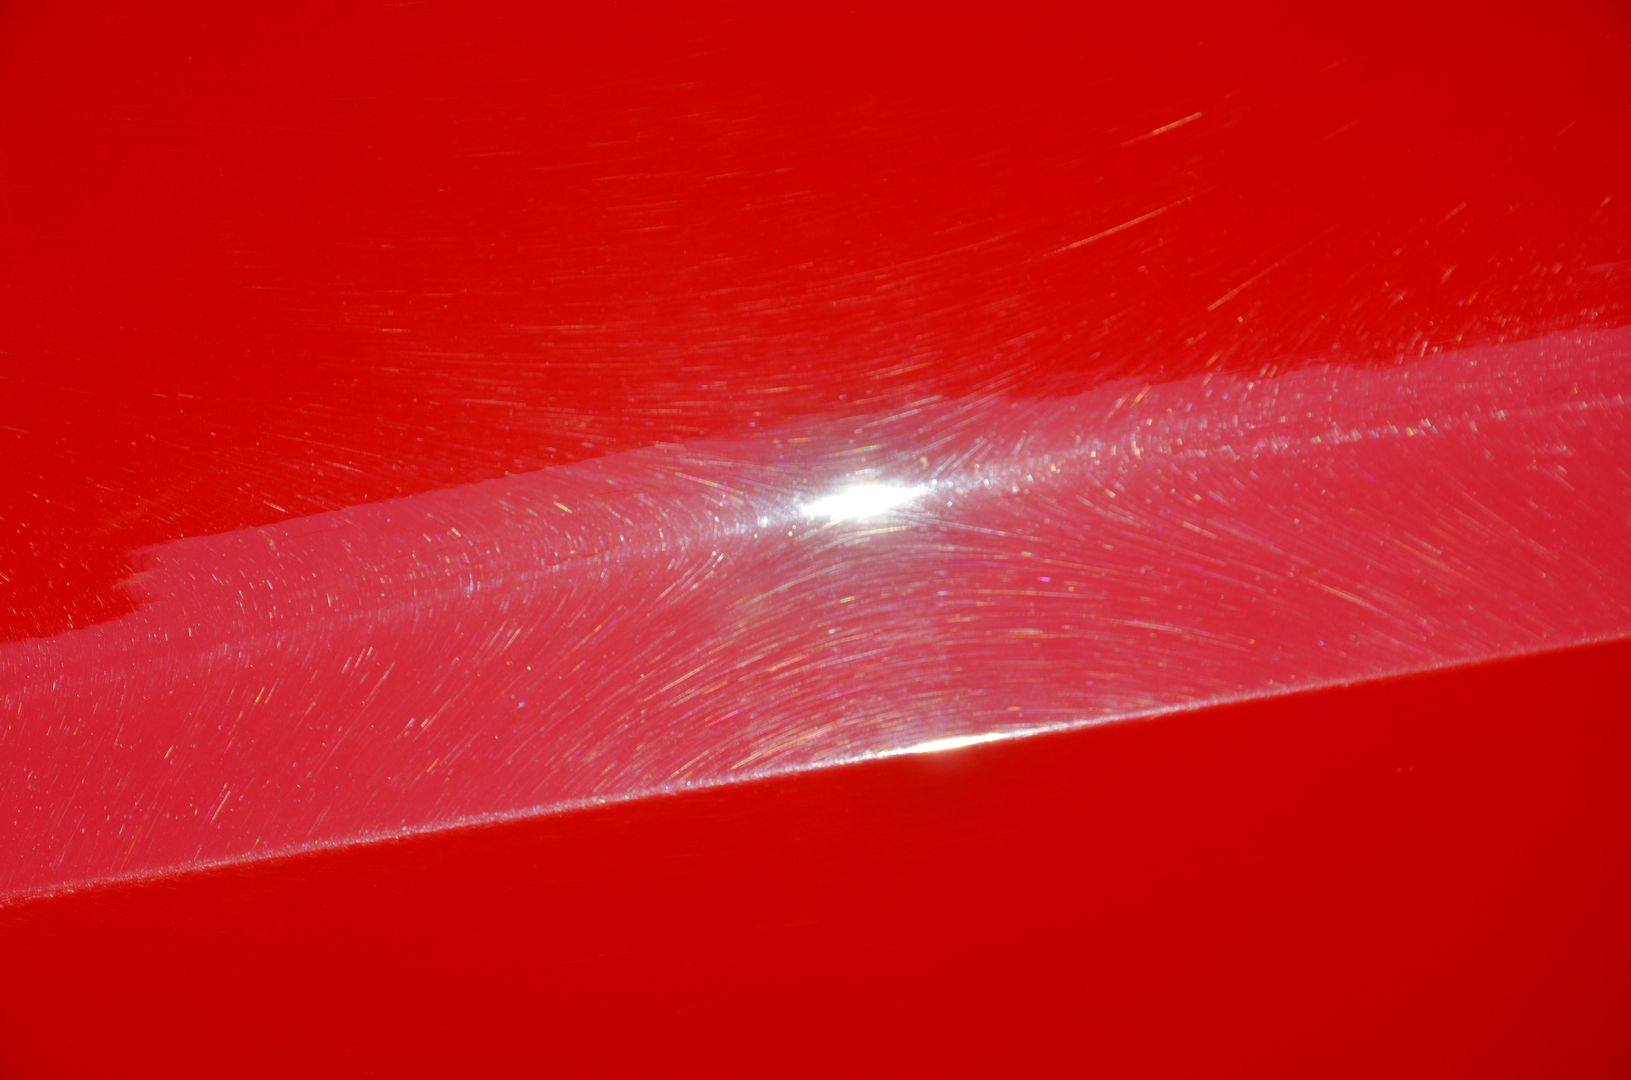
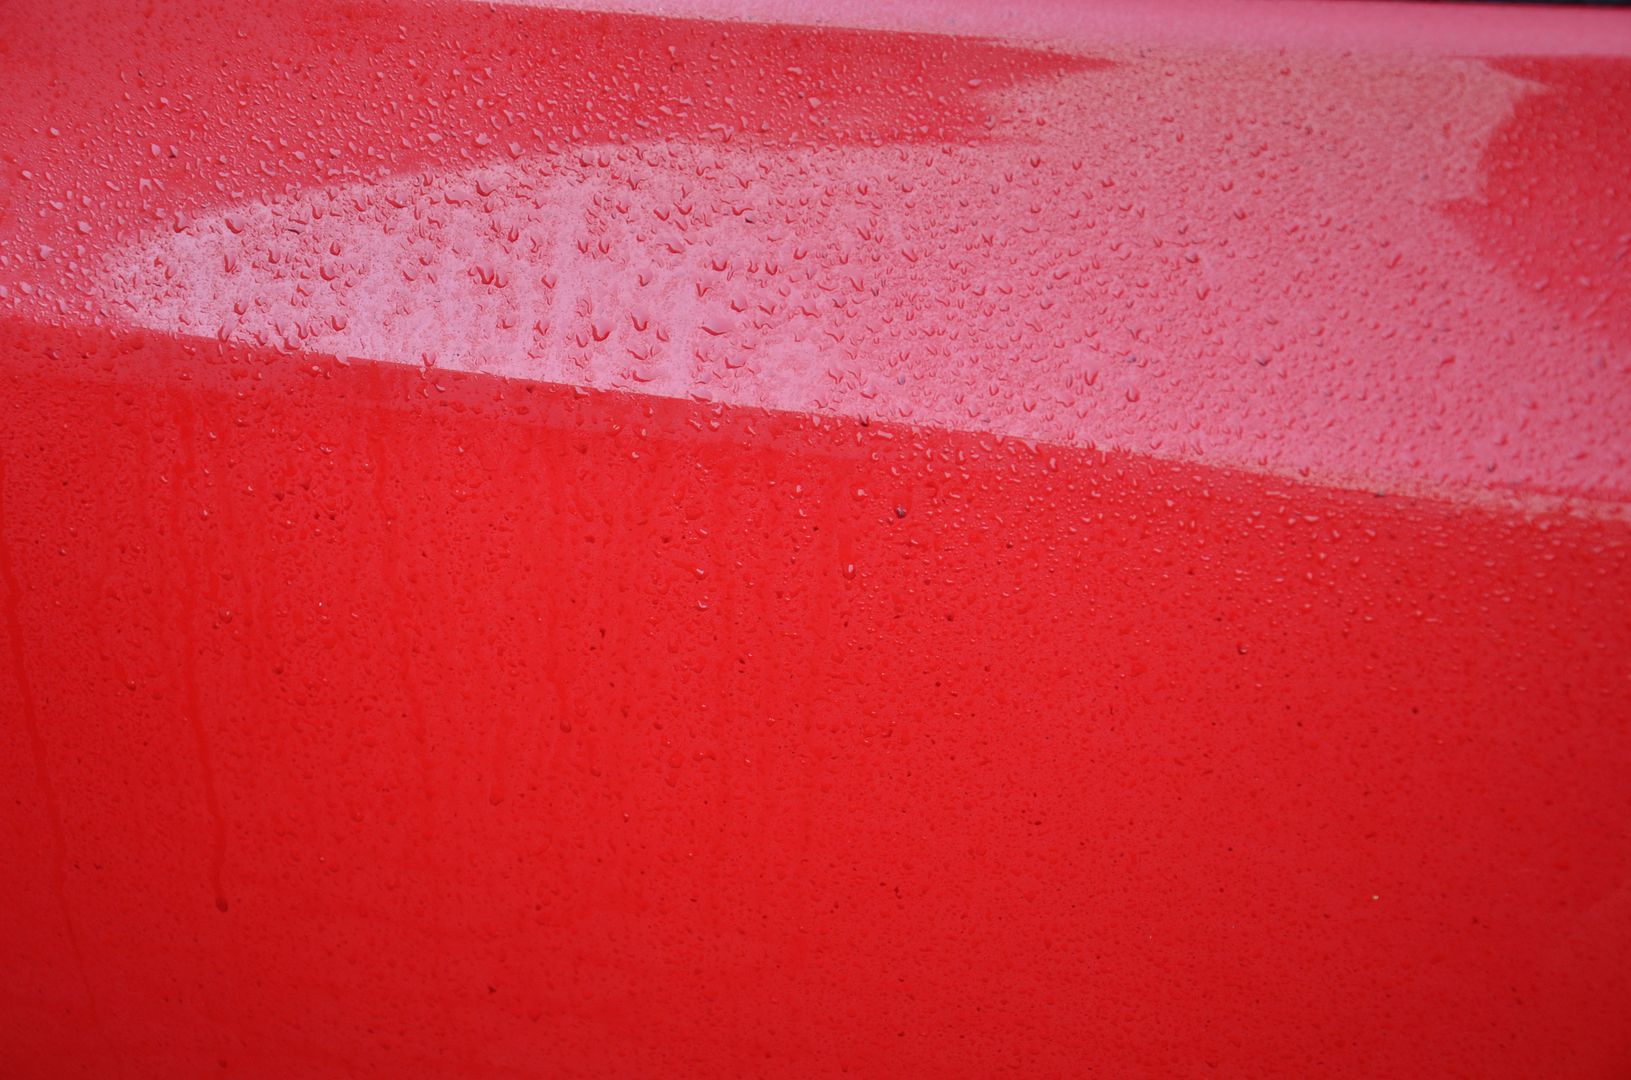
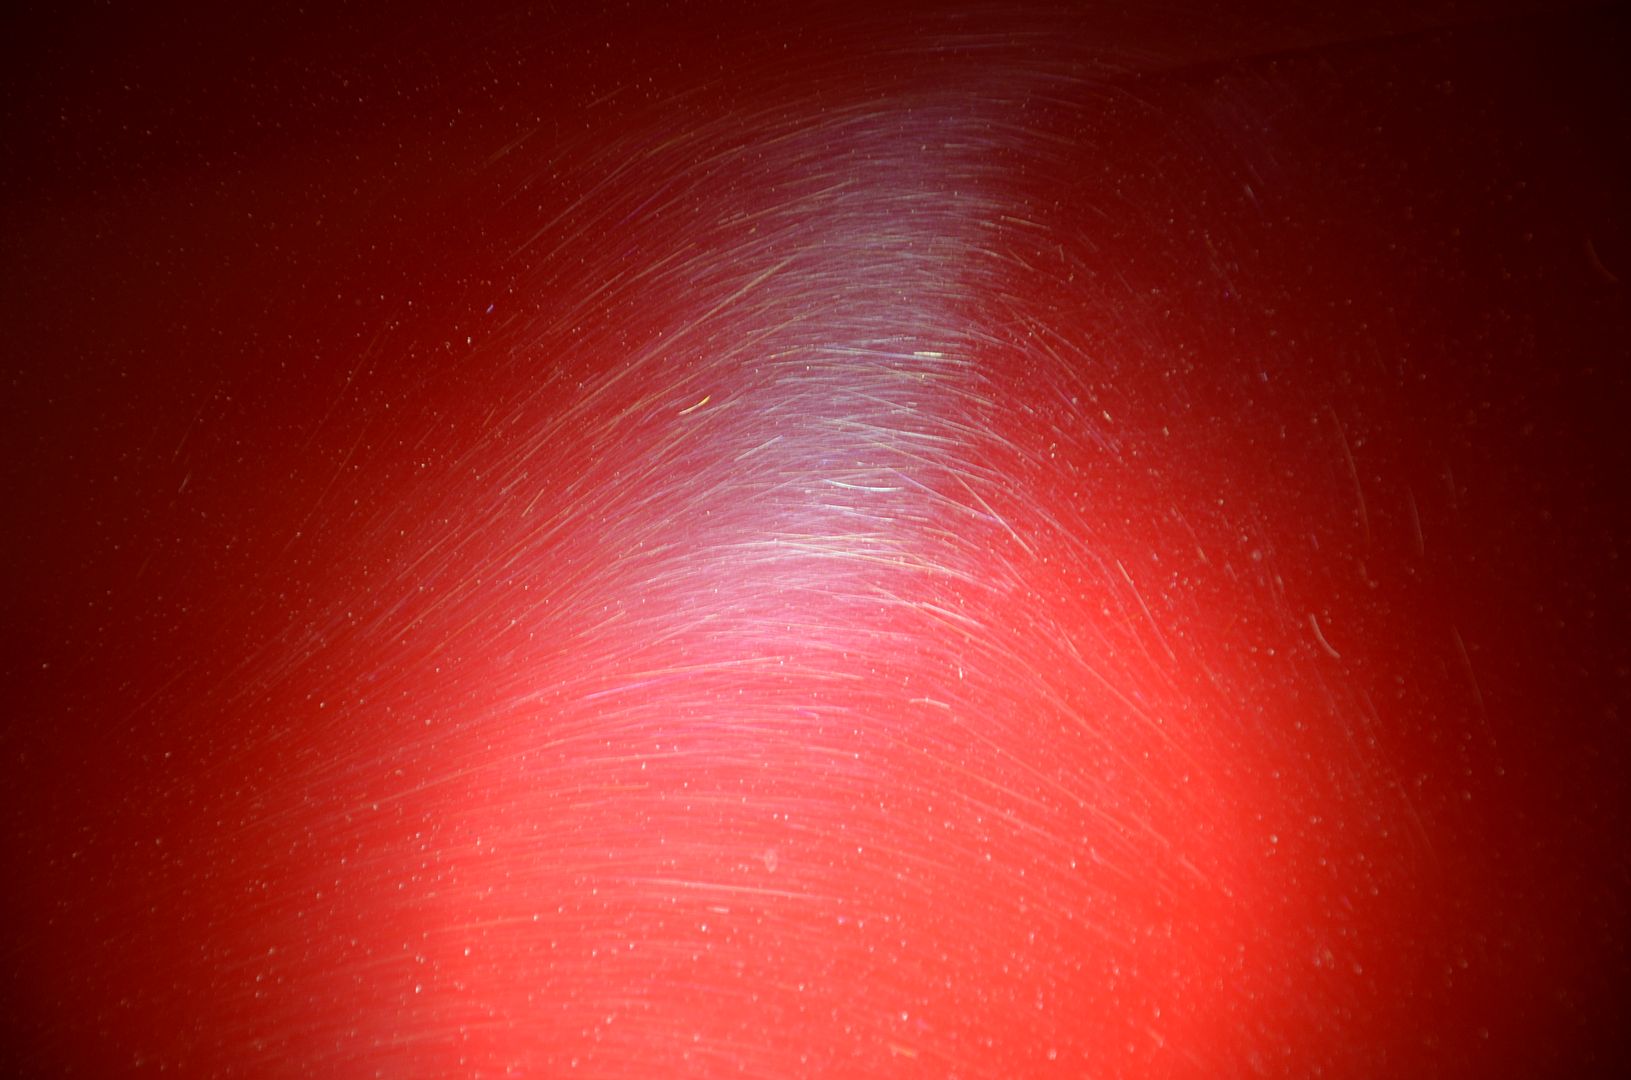
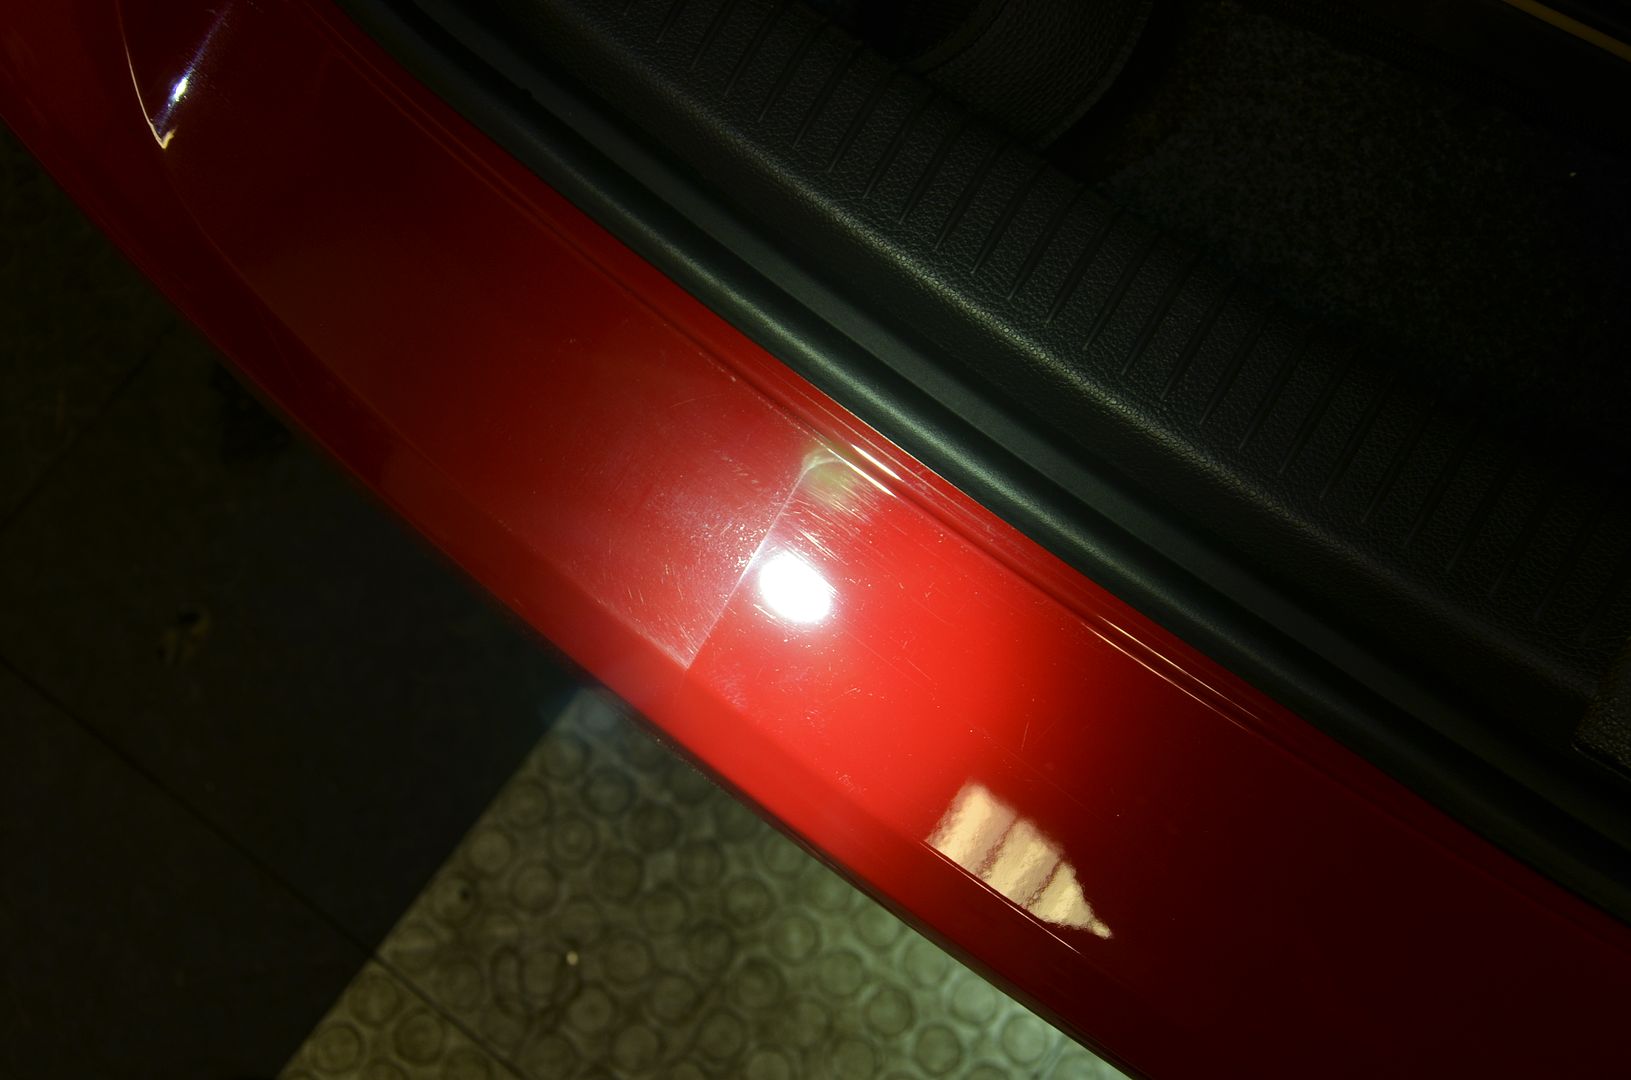
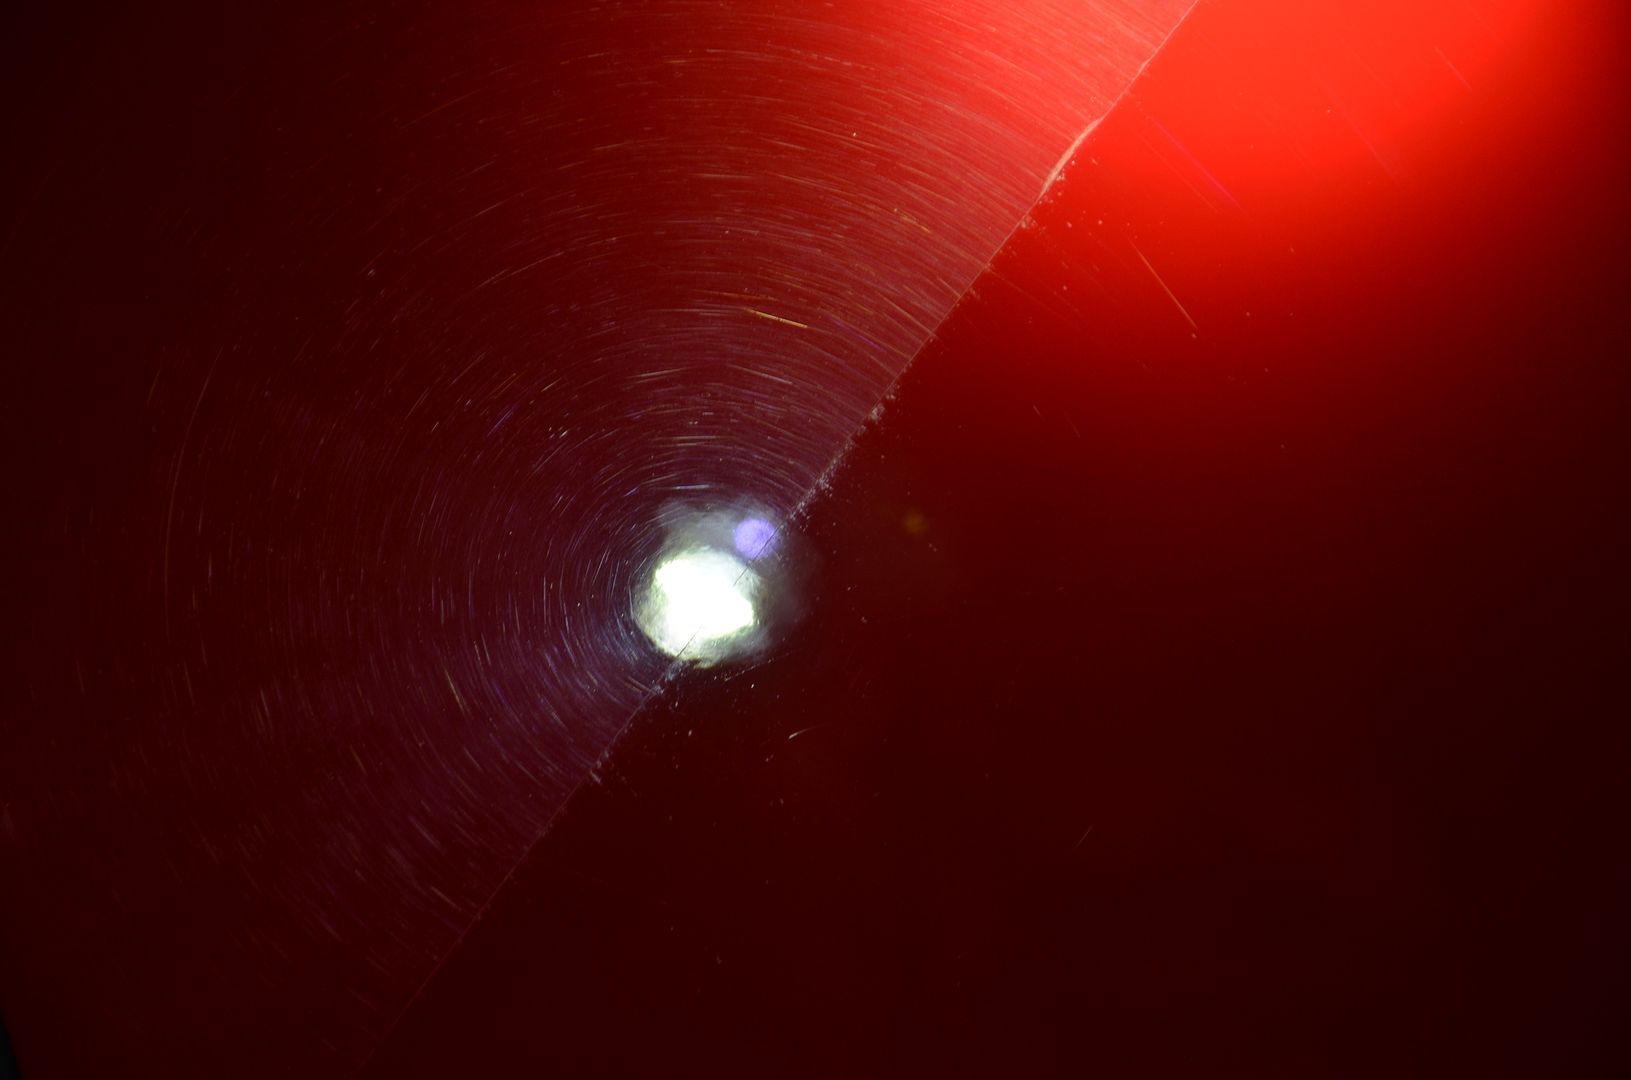
Shots of the paint after prep
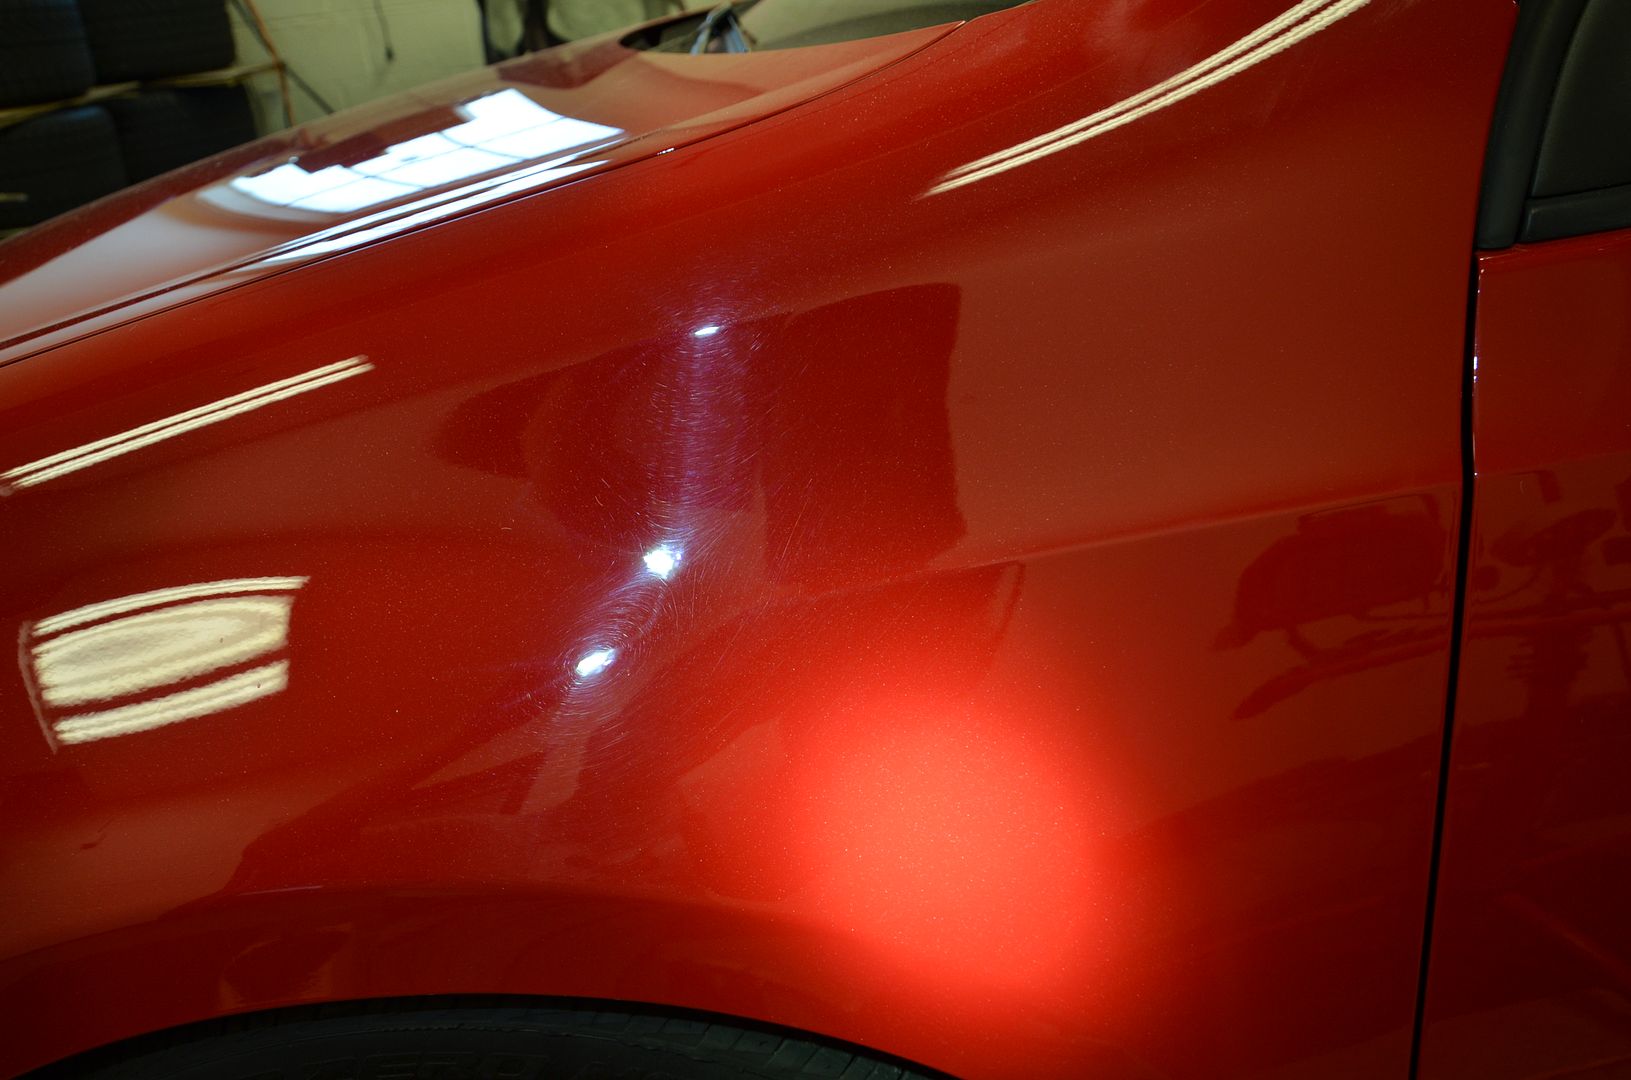
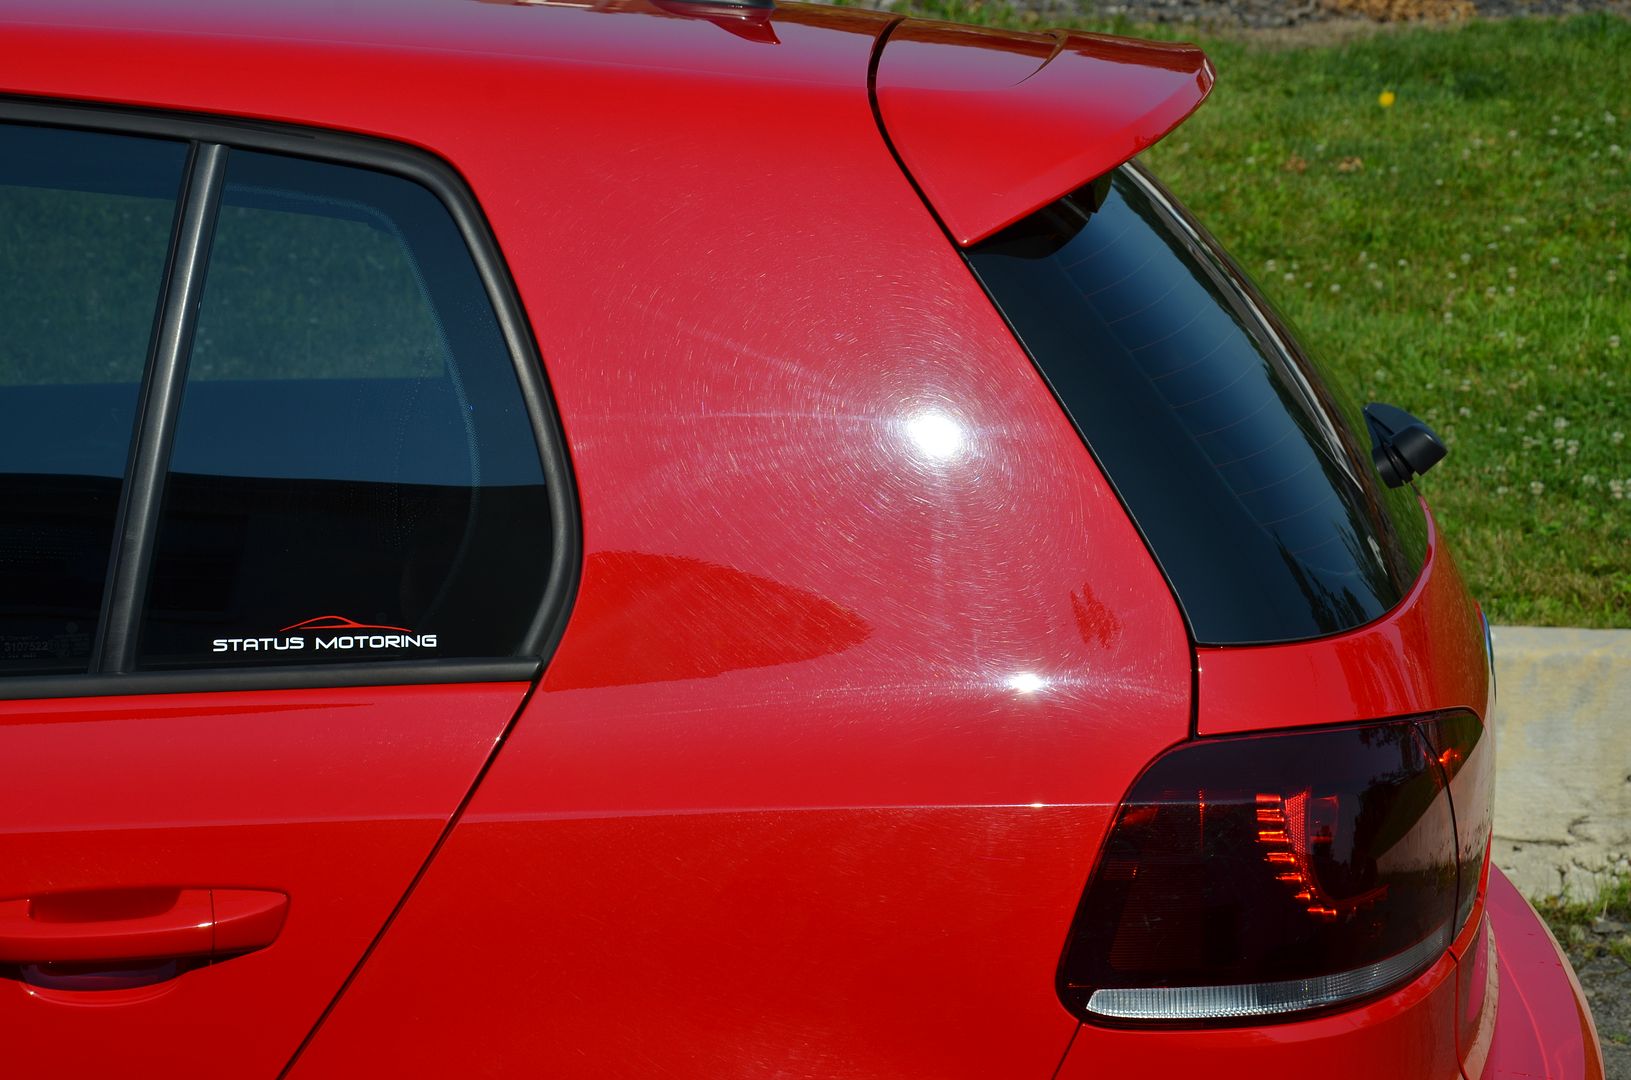
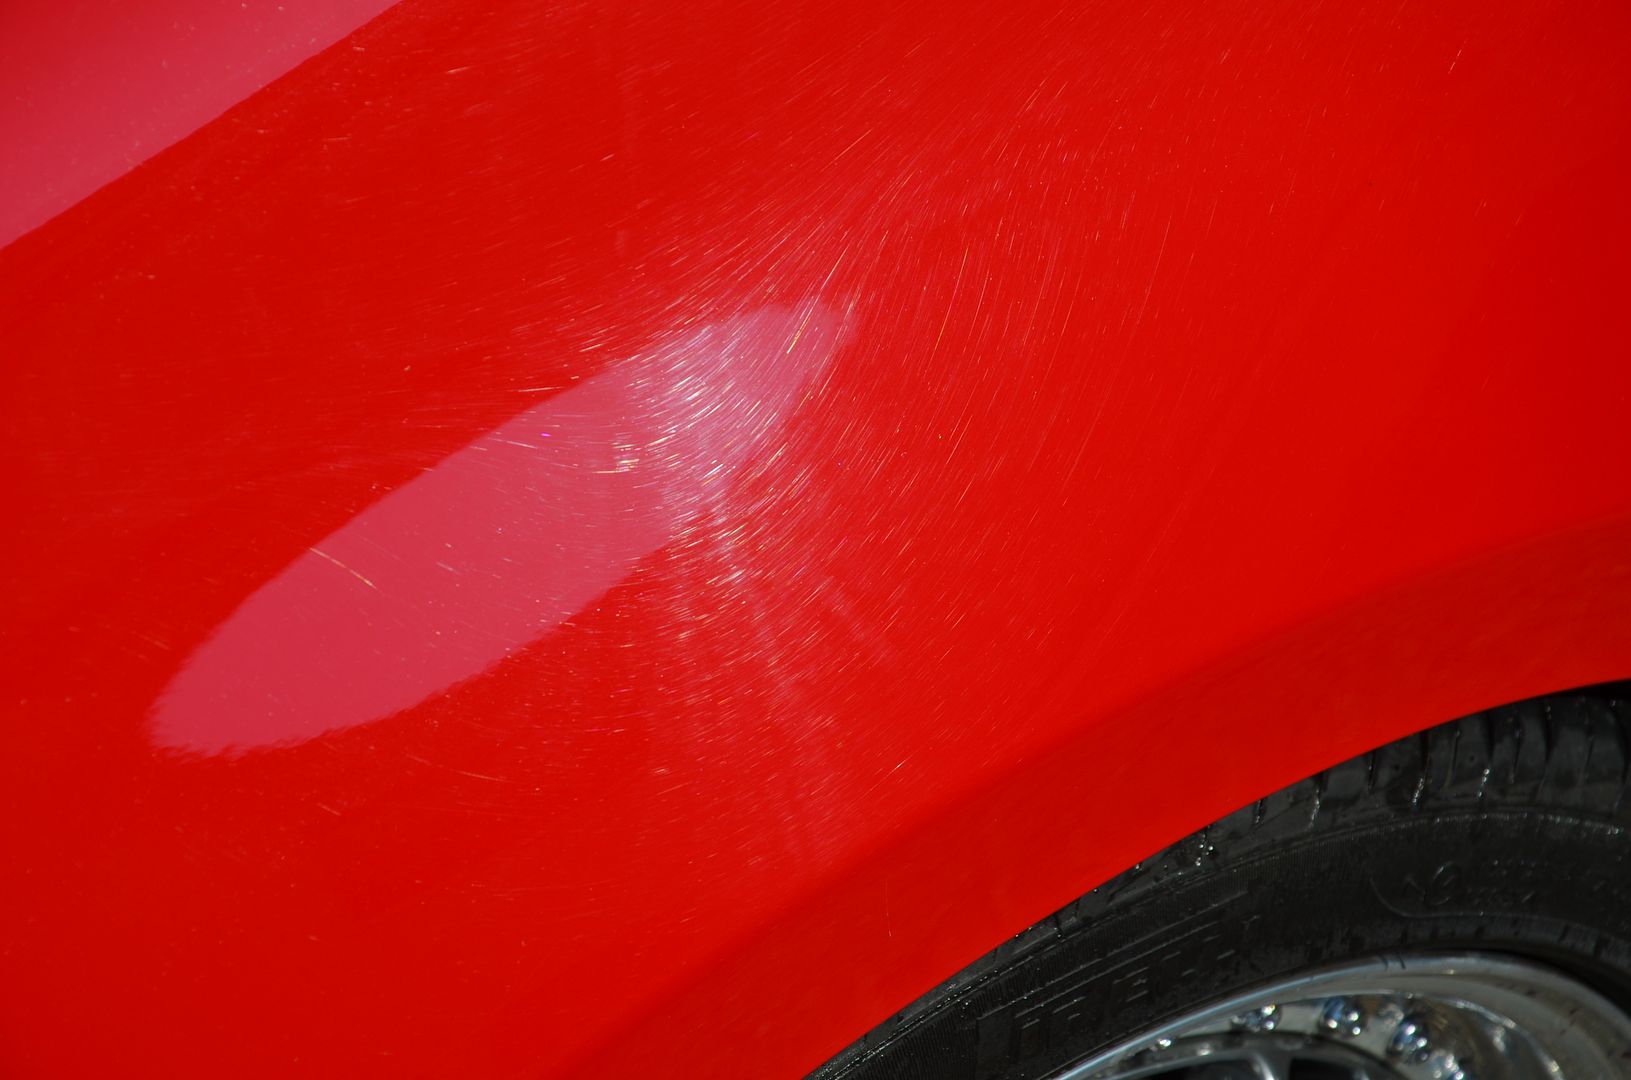
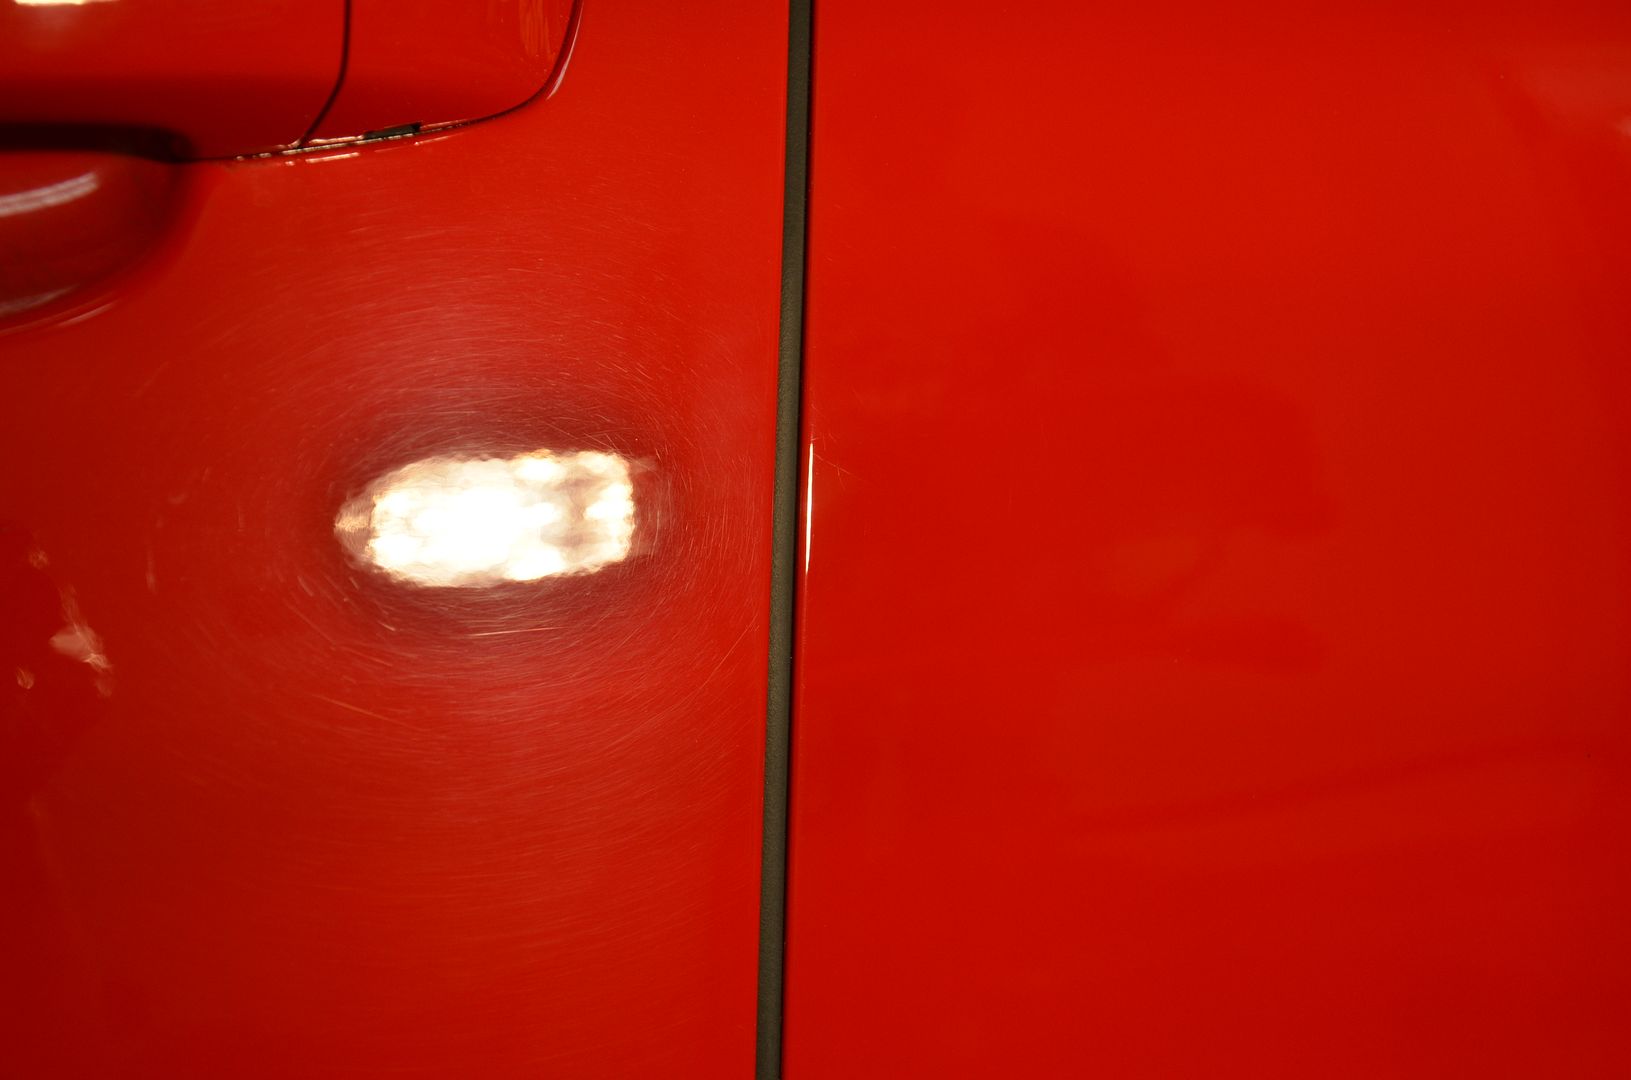
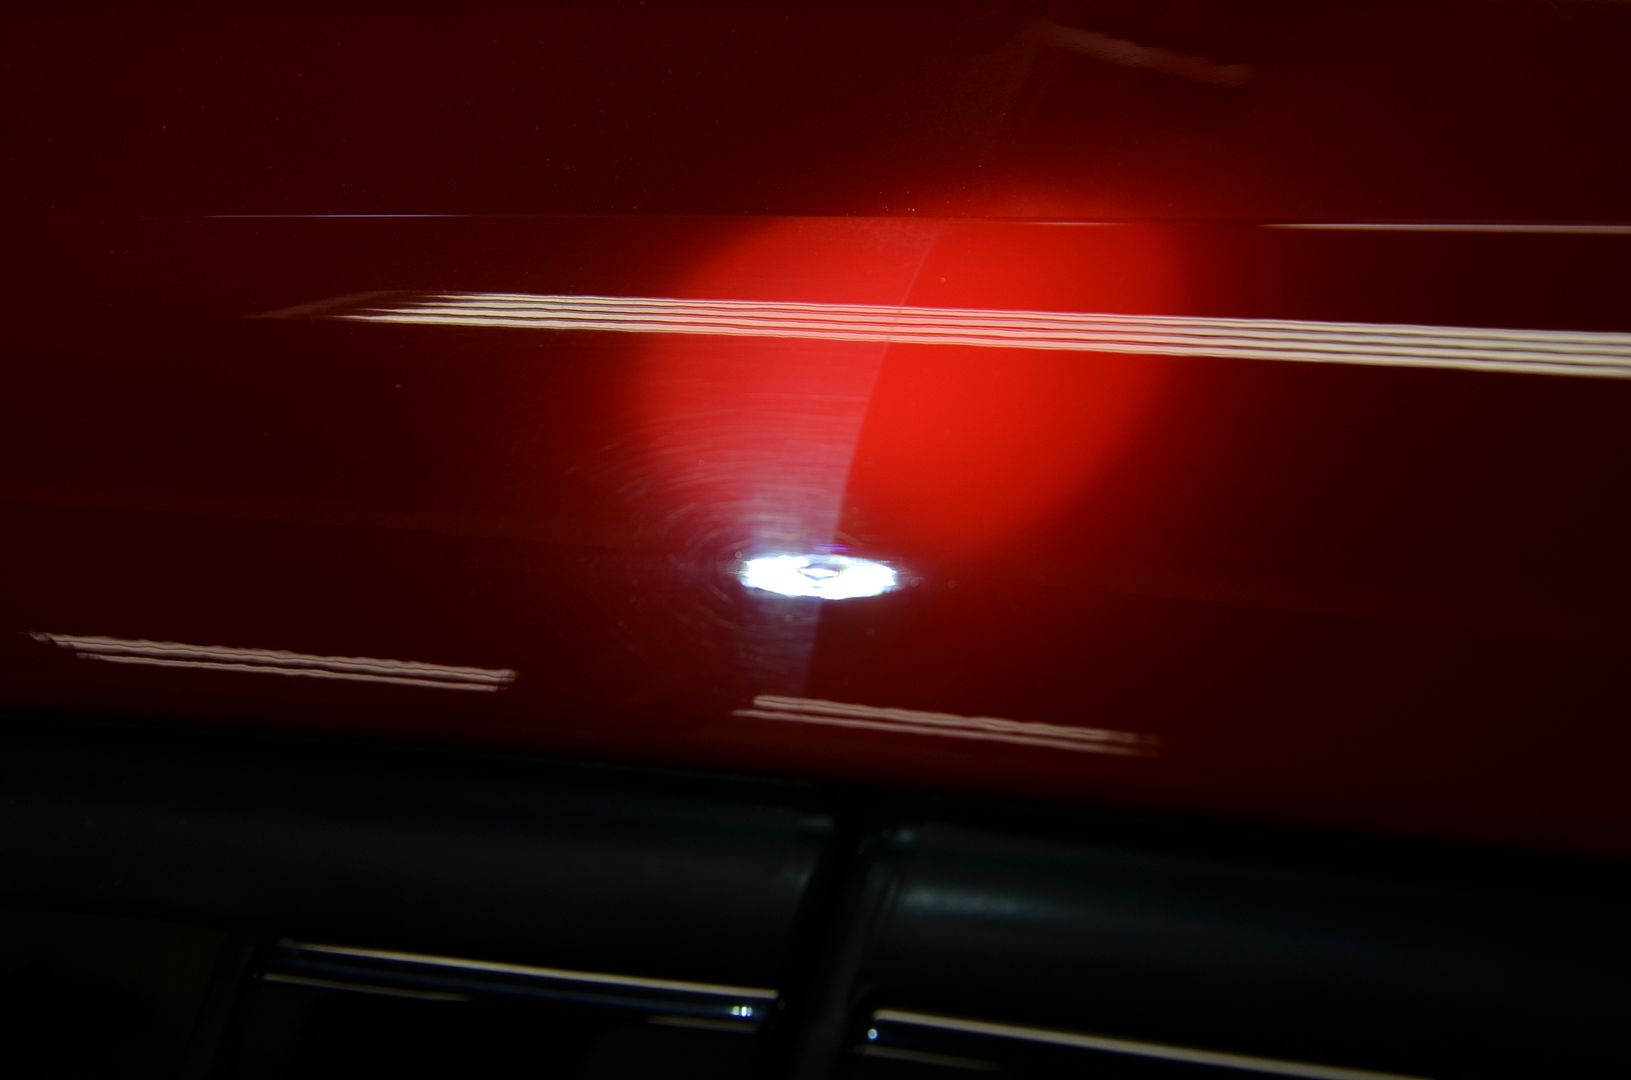
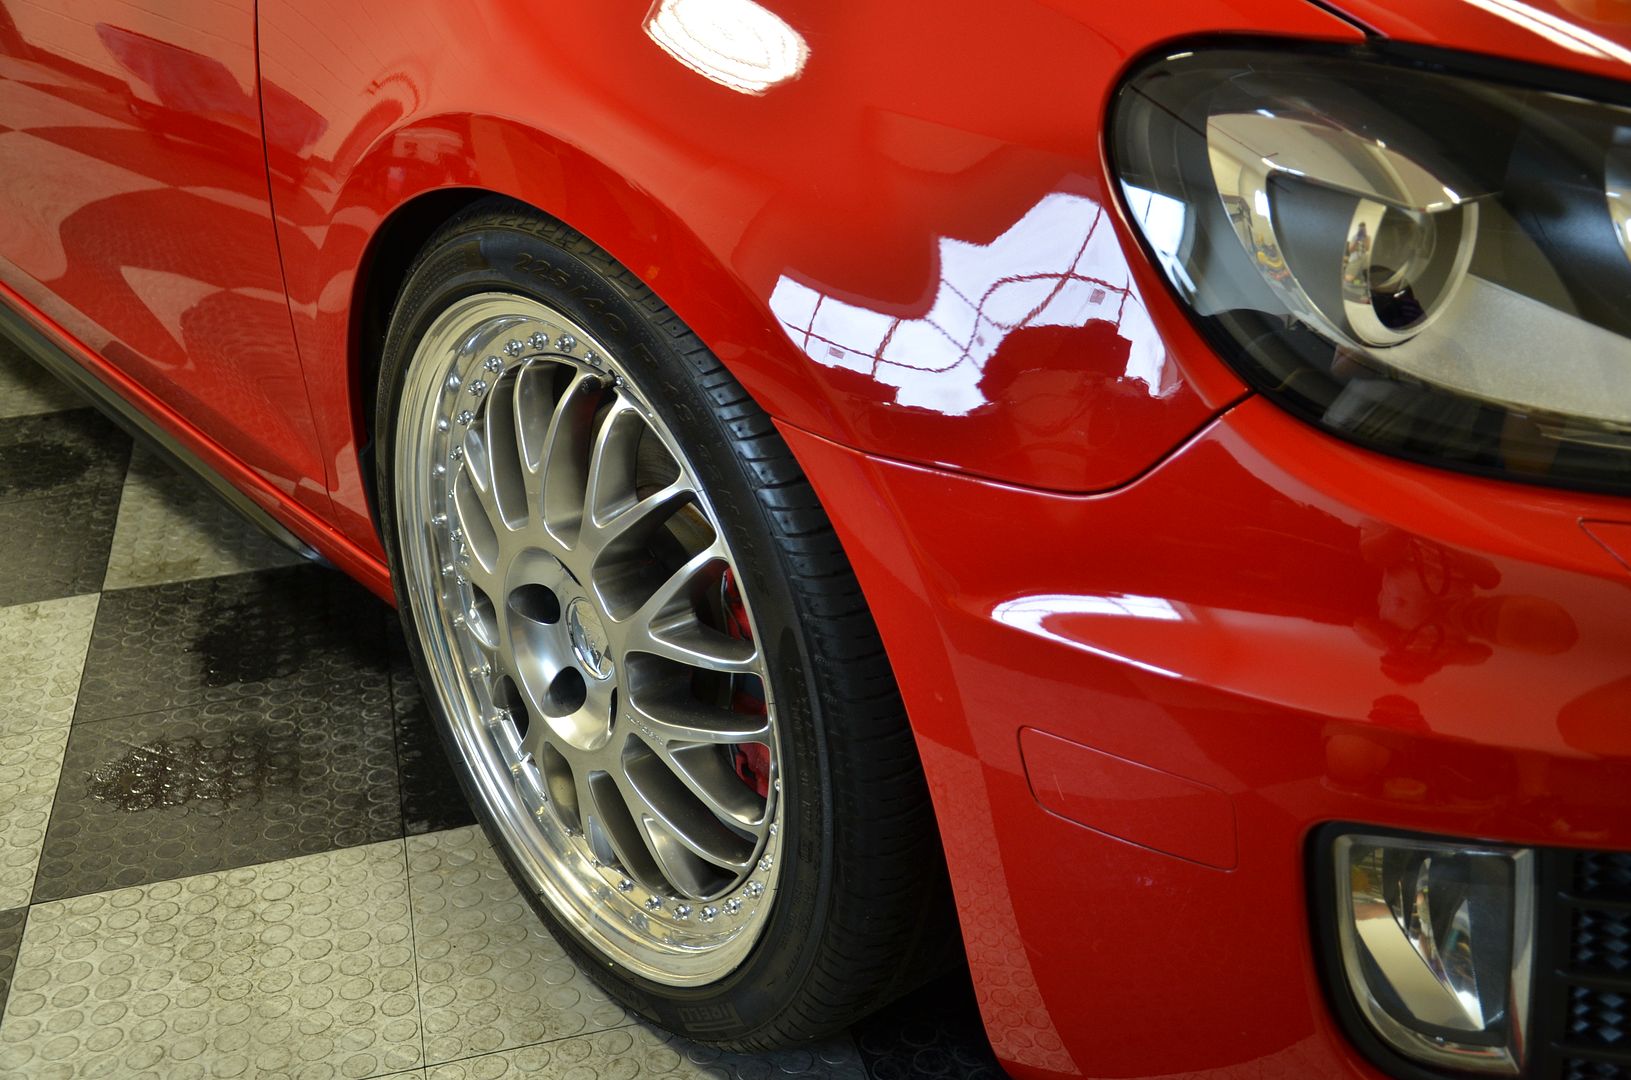
50/50 shots (before and after compound and polishing)

John in the background happy with the progress on making his baby shine

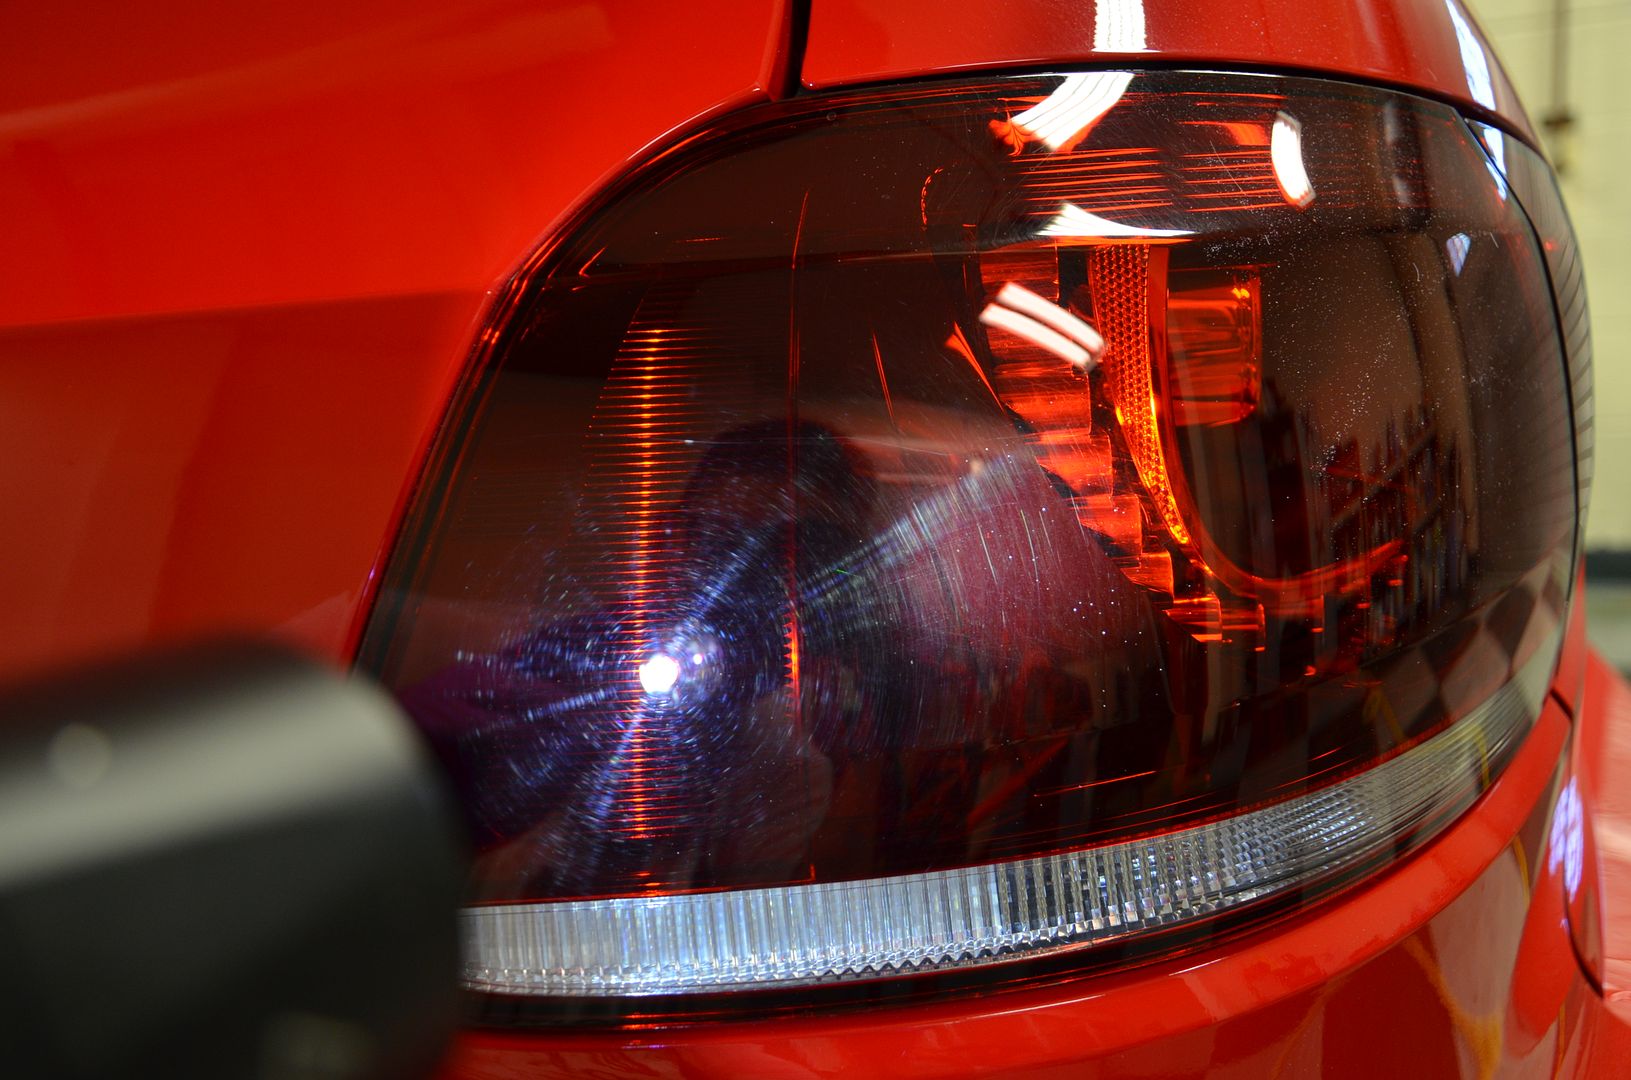
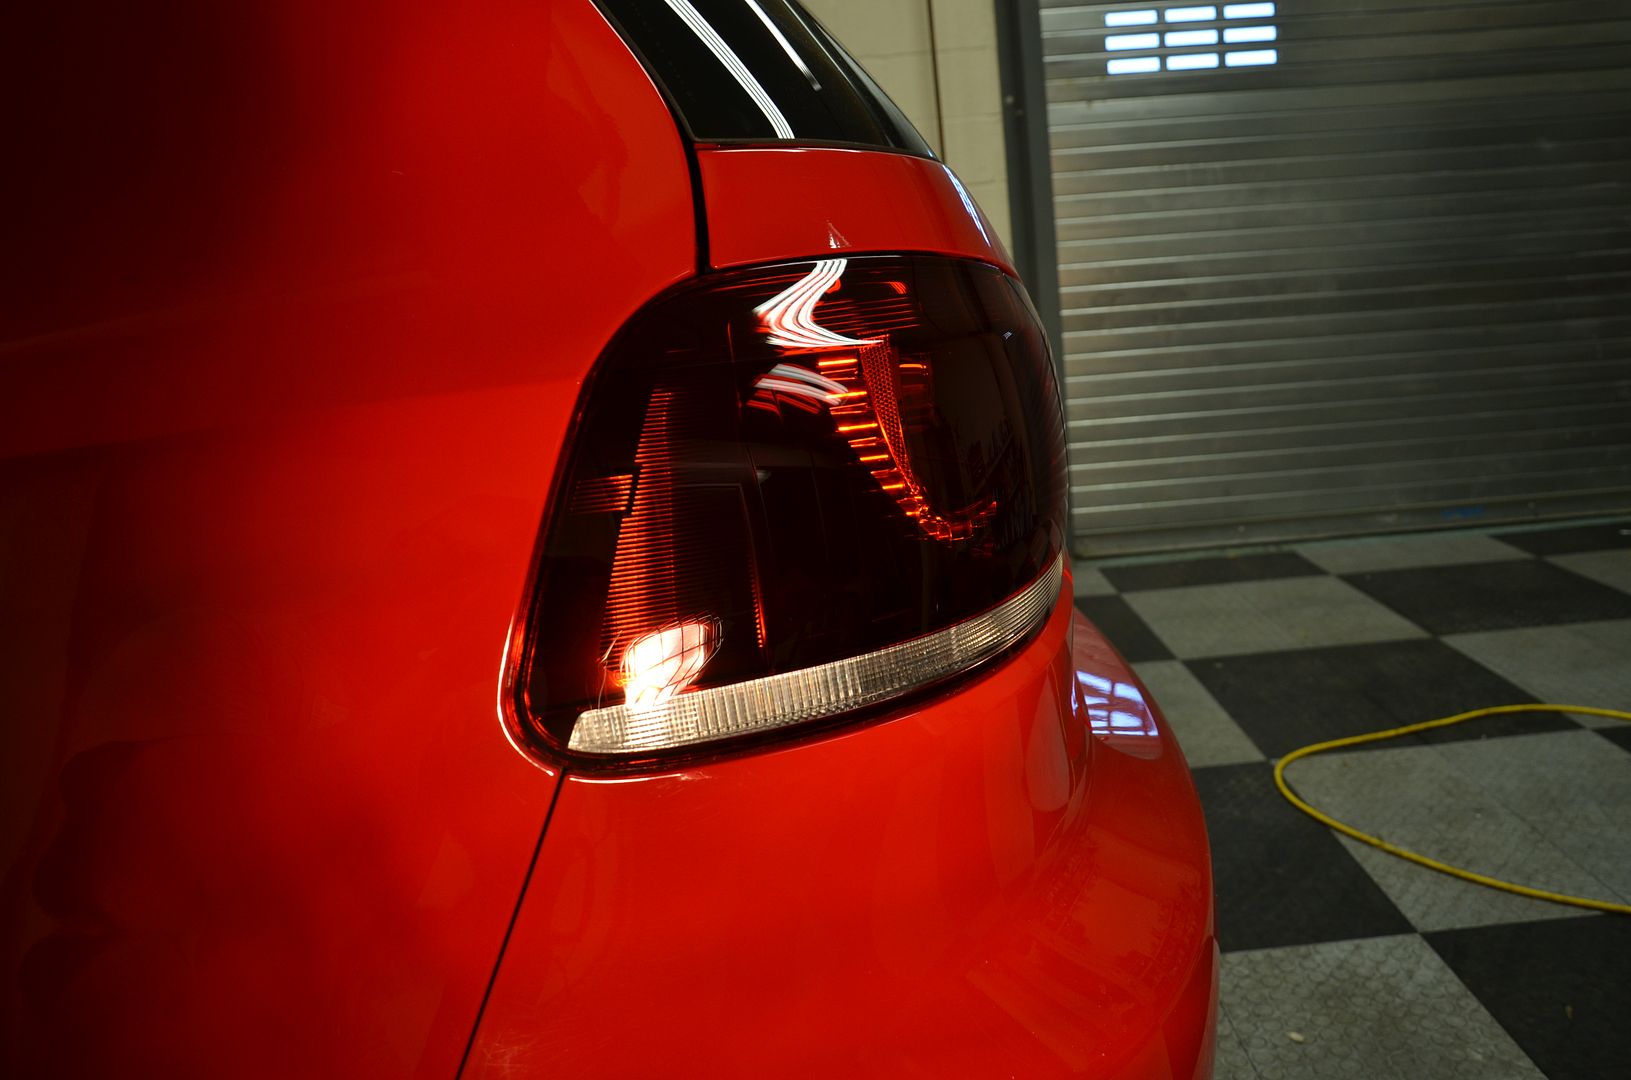
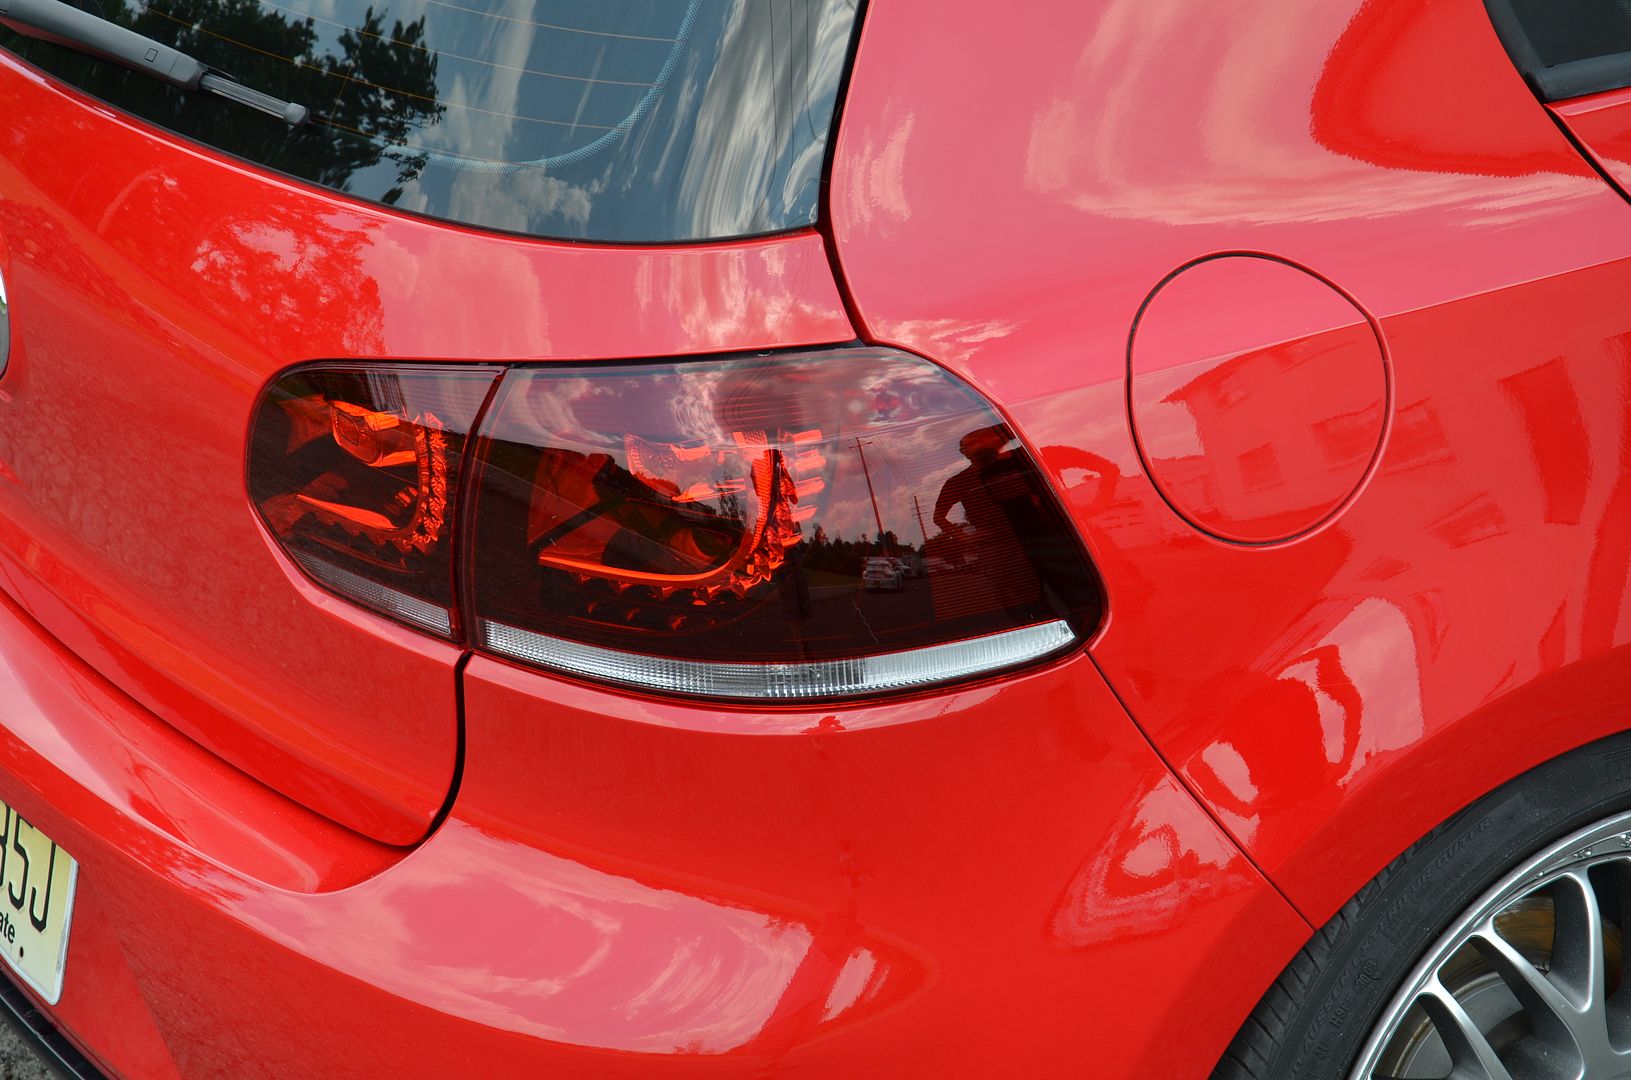
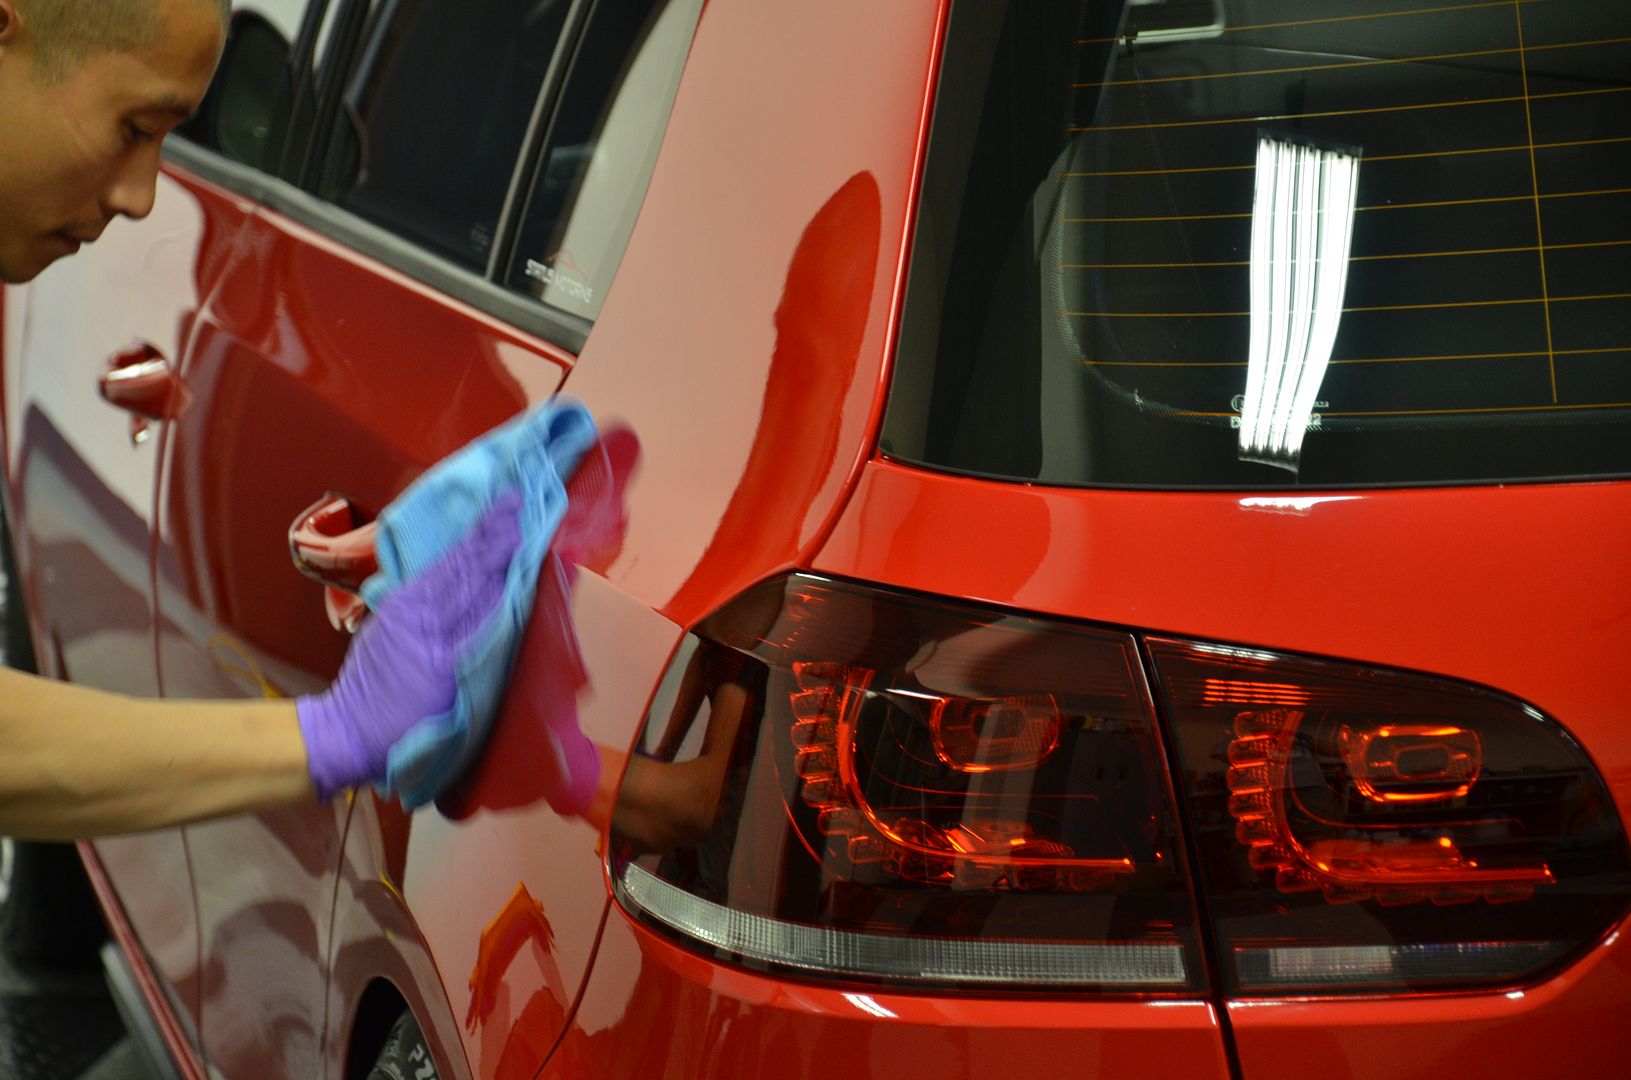
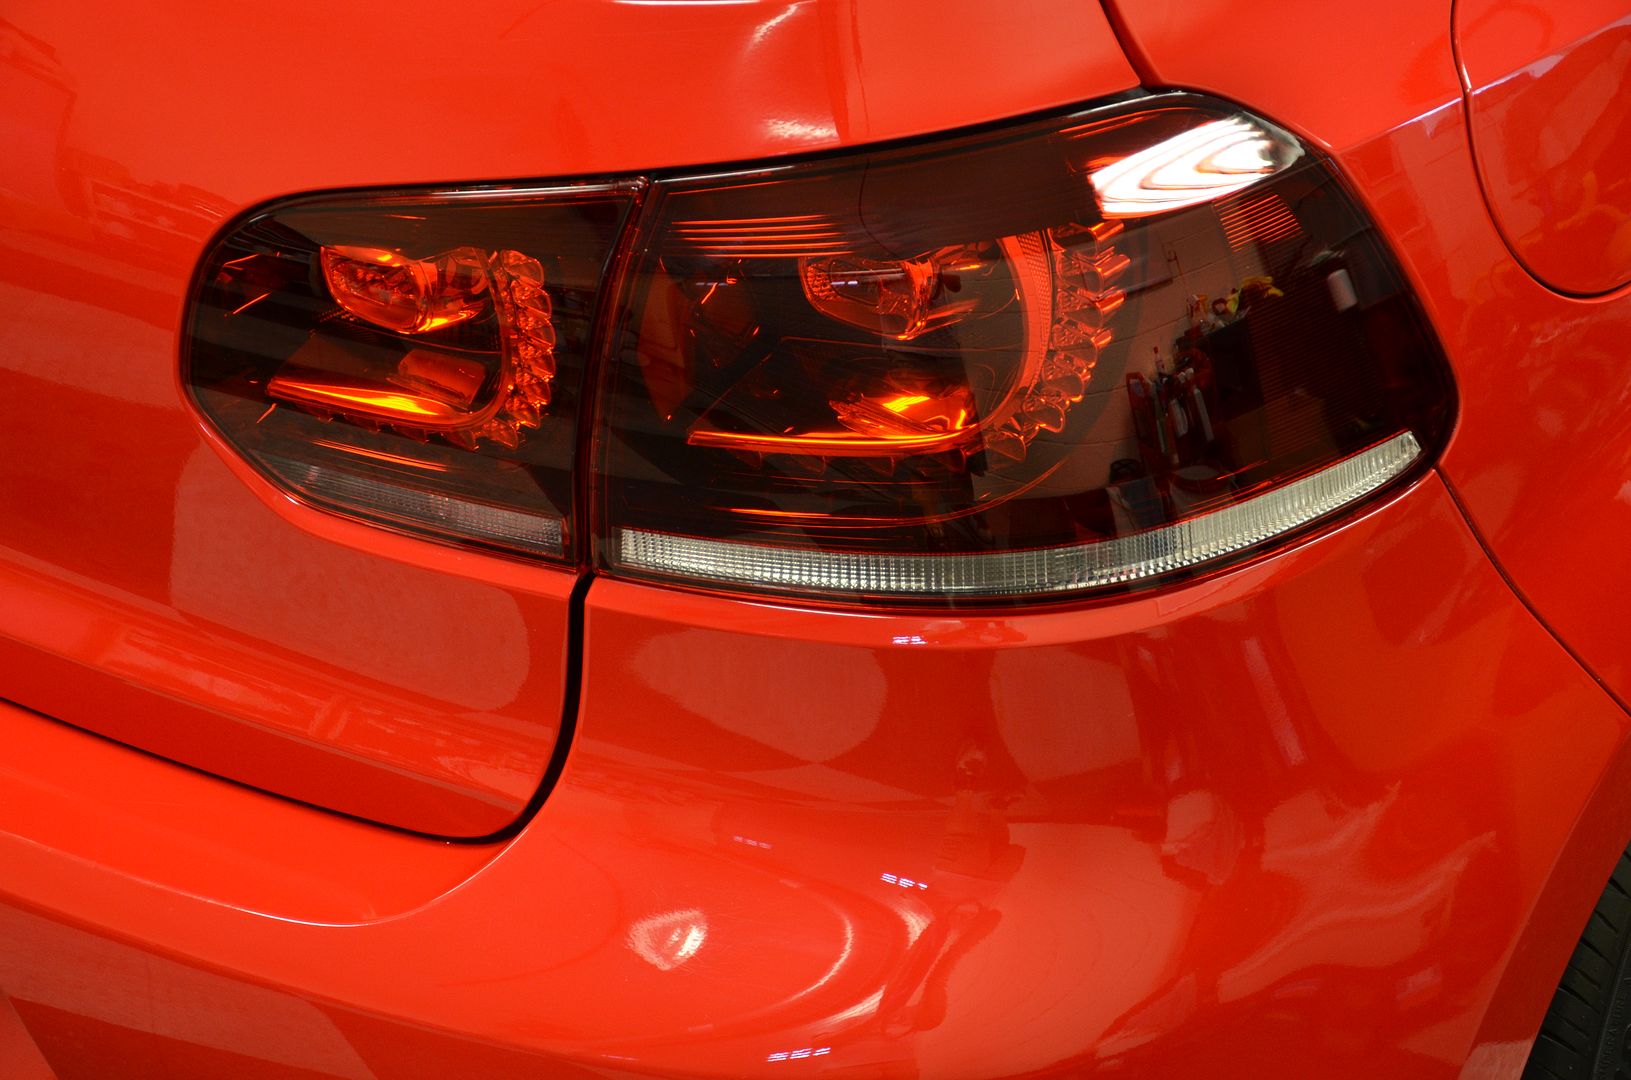
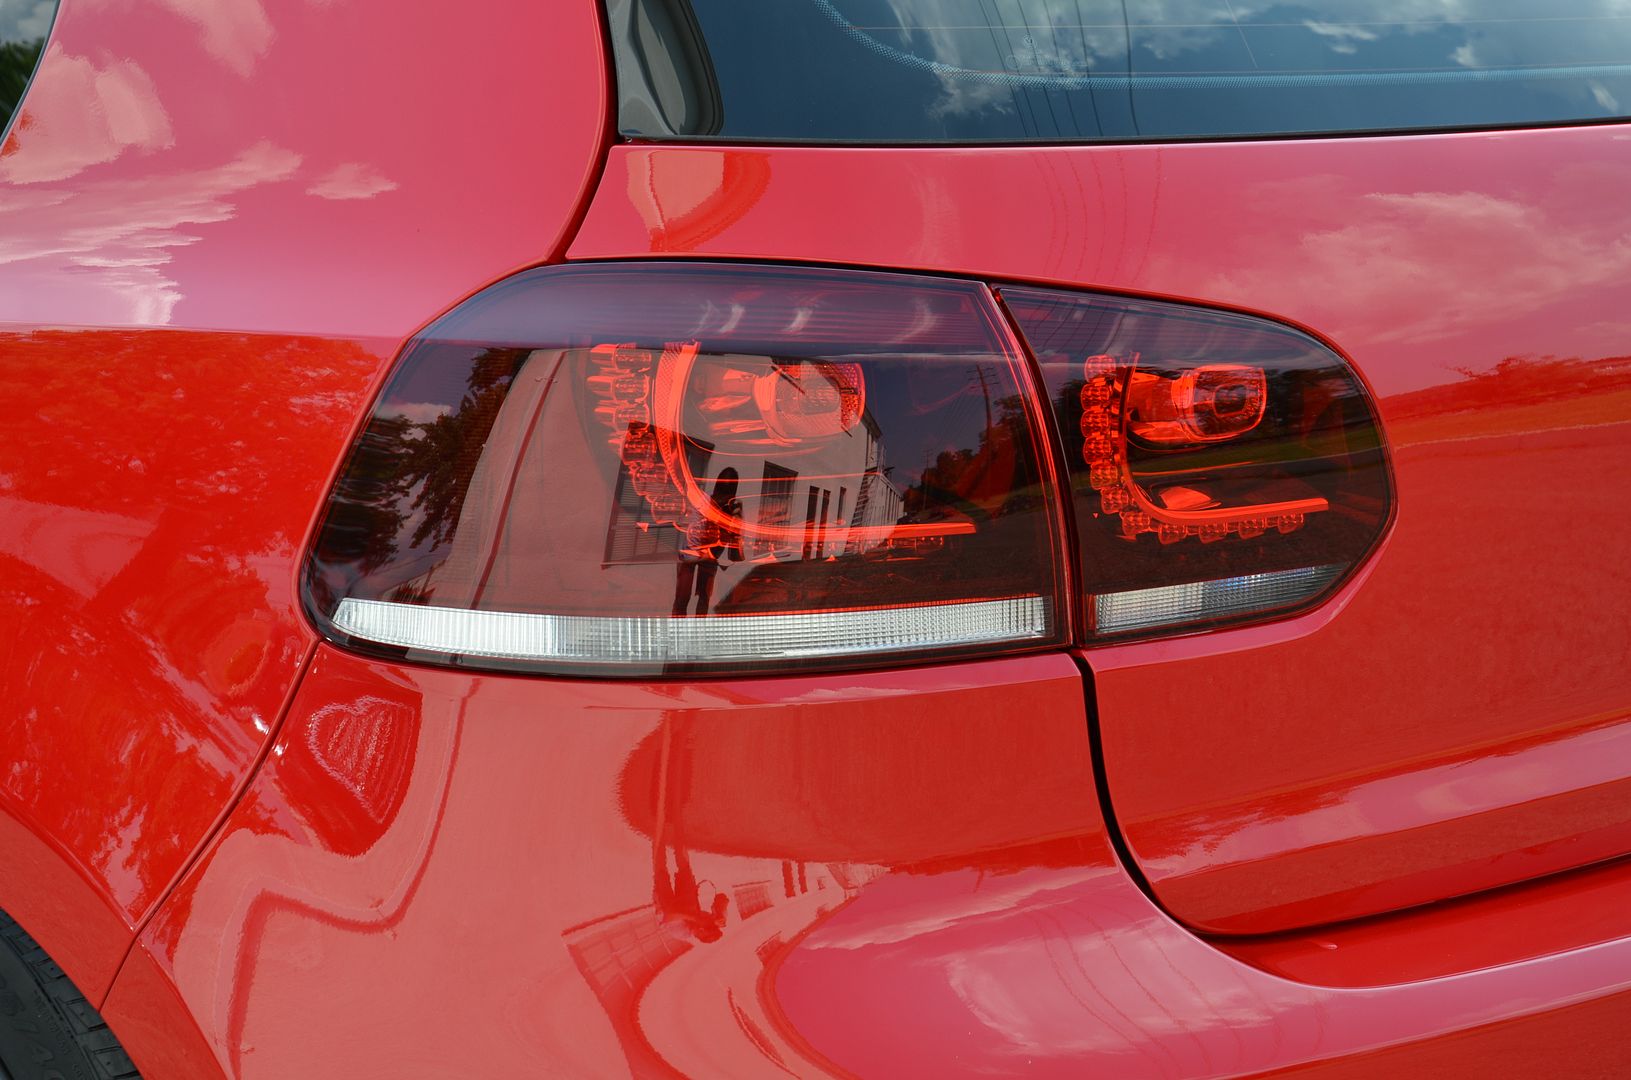
Tail lights were cleaned up - Sonax 5/5 followed by Sonax 3/6
Before
After
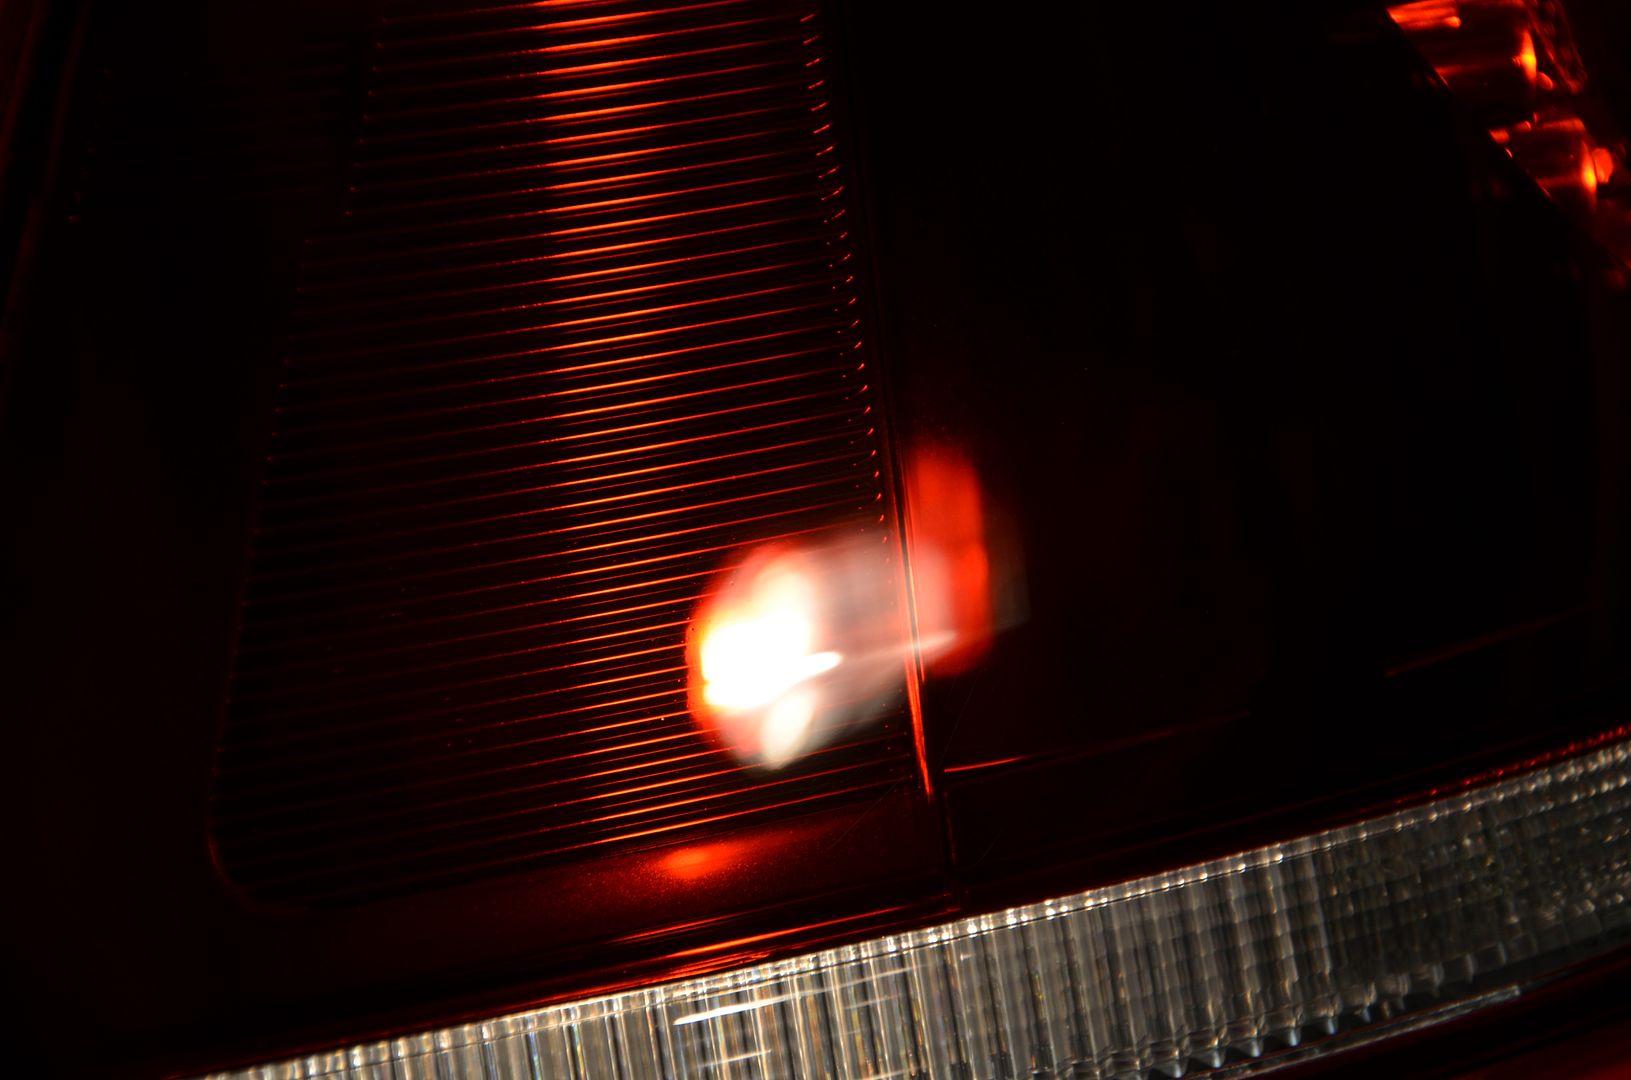
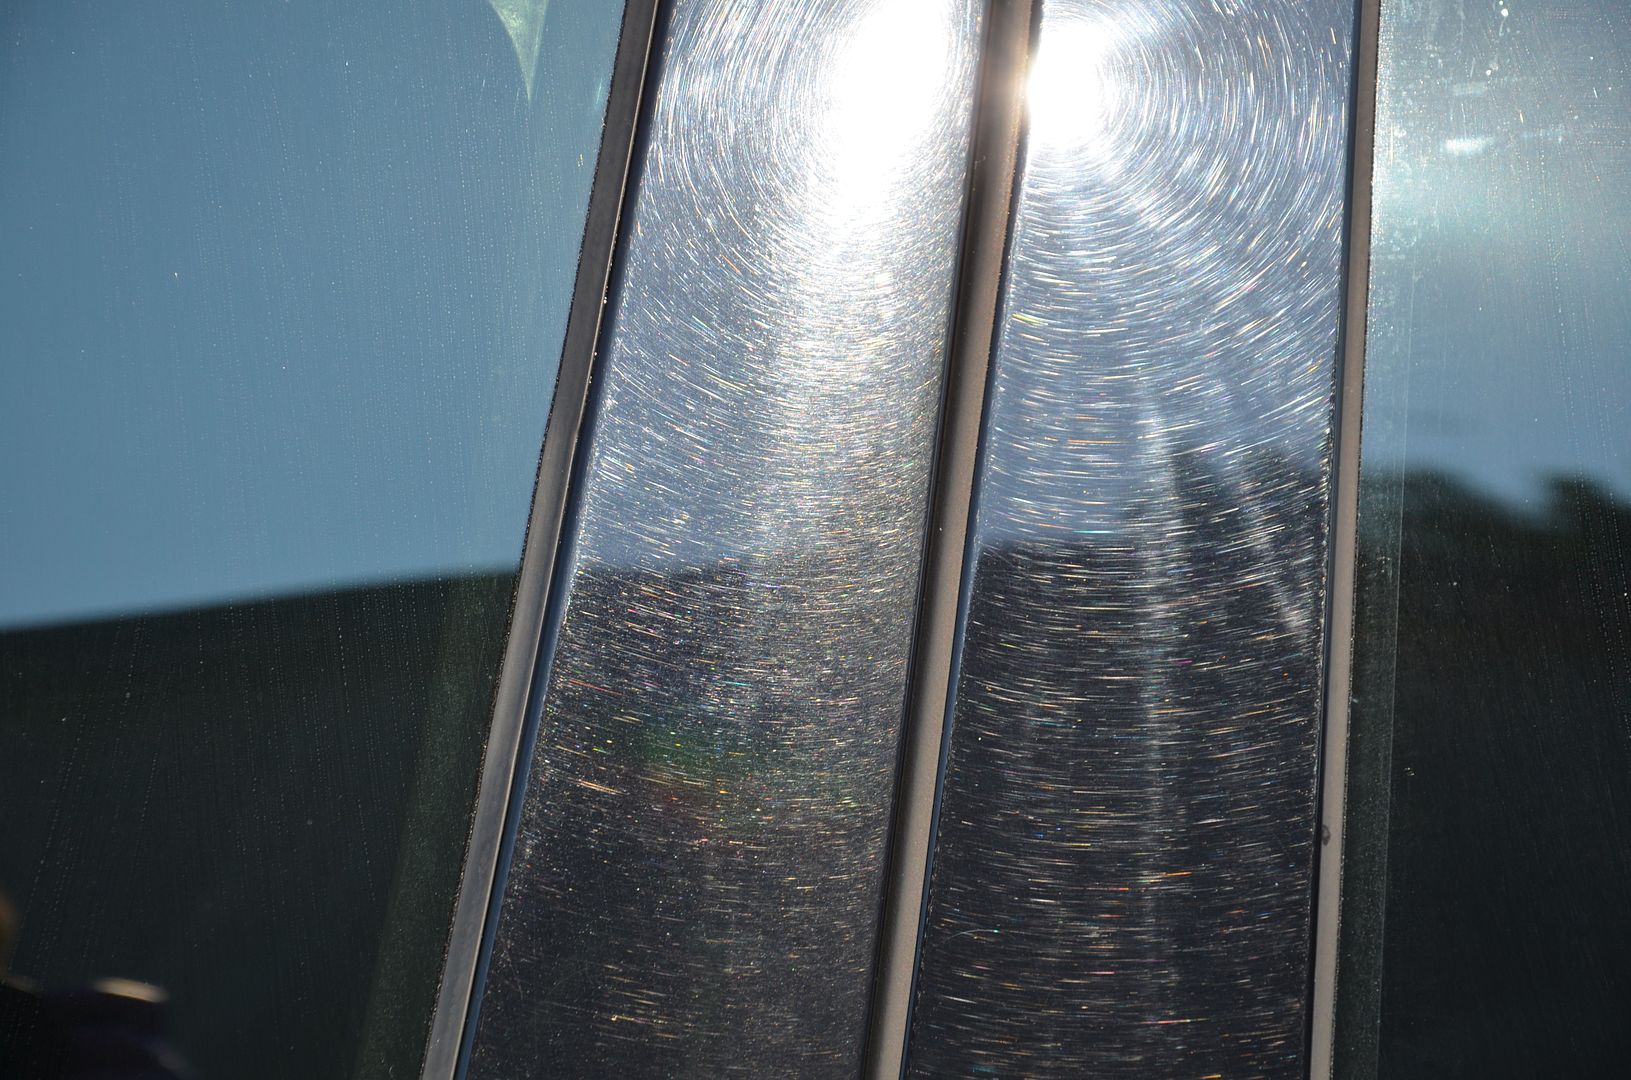
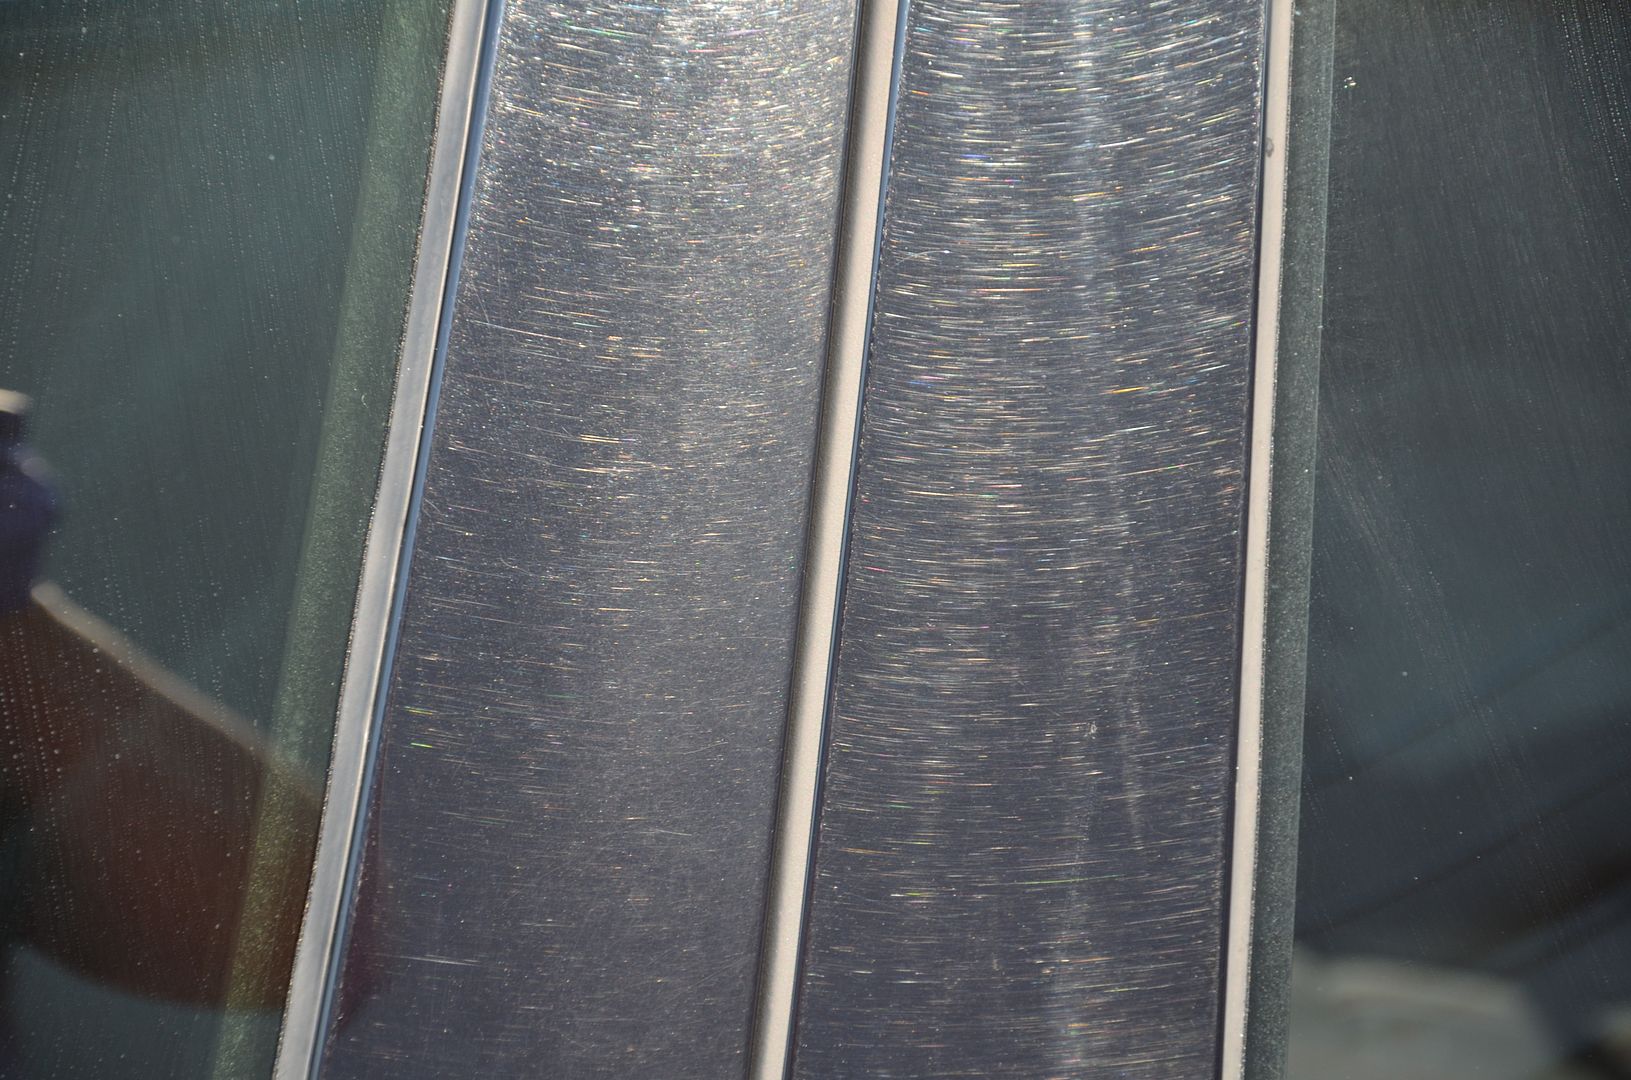
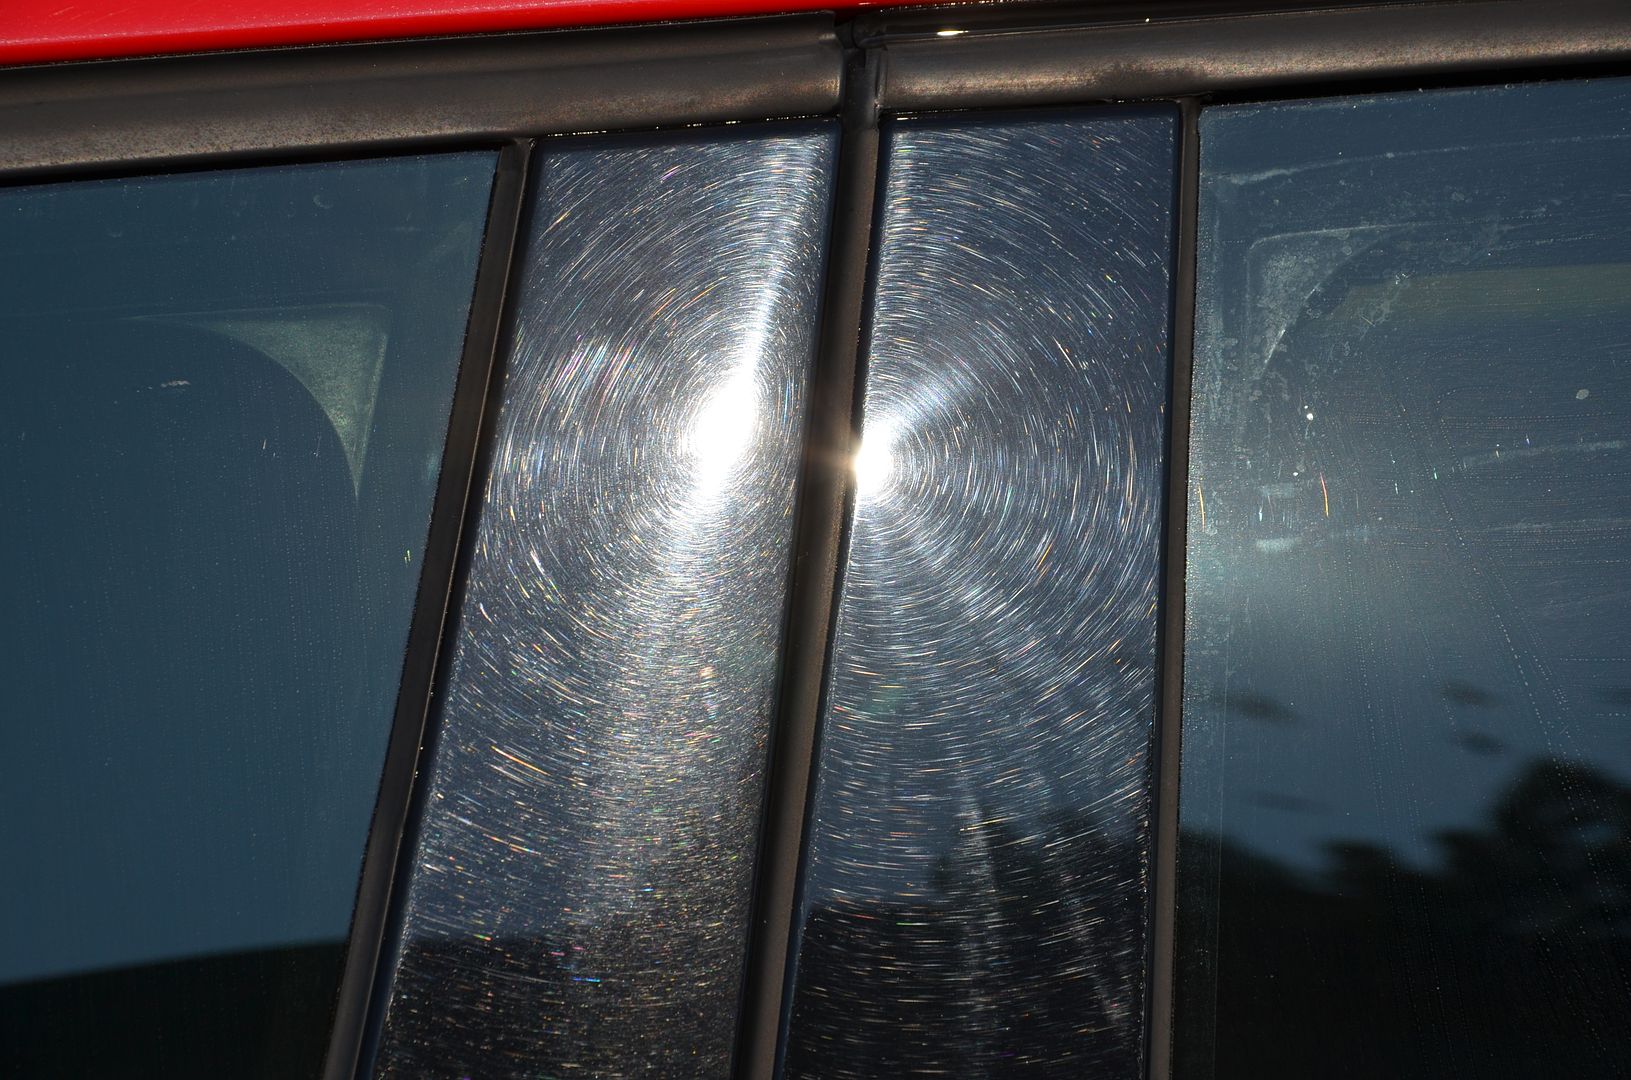
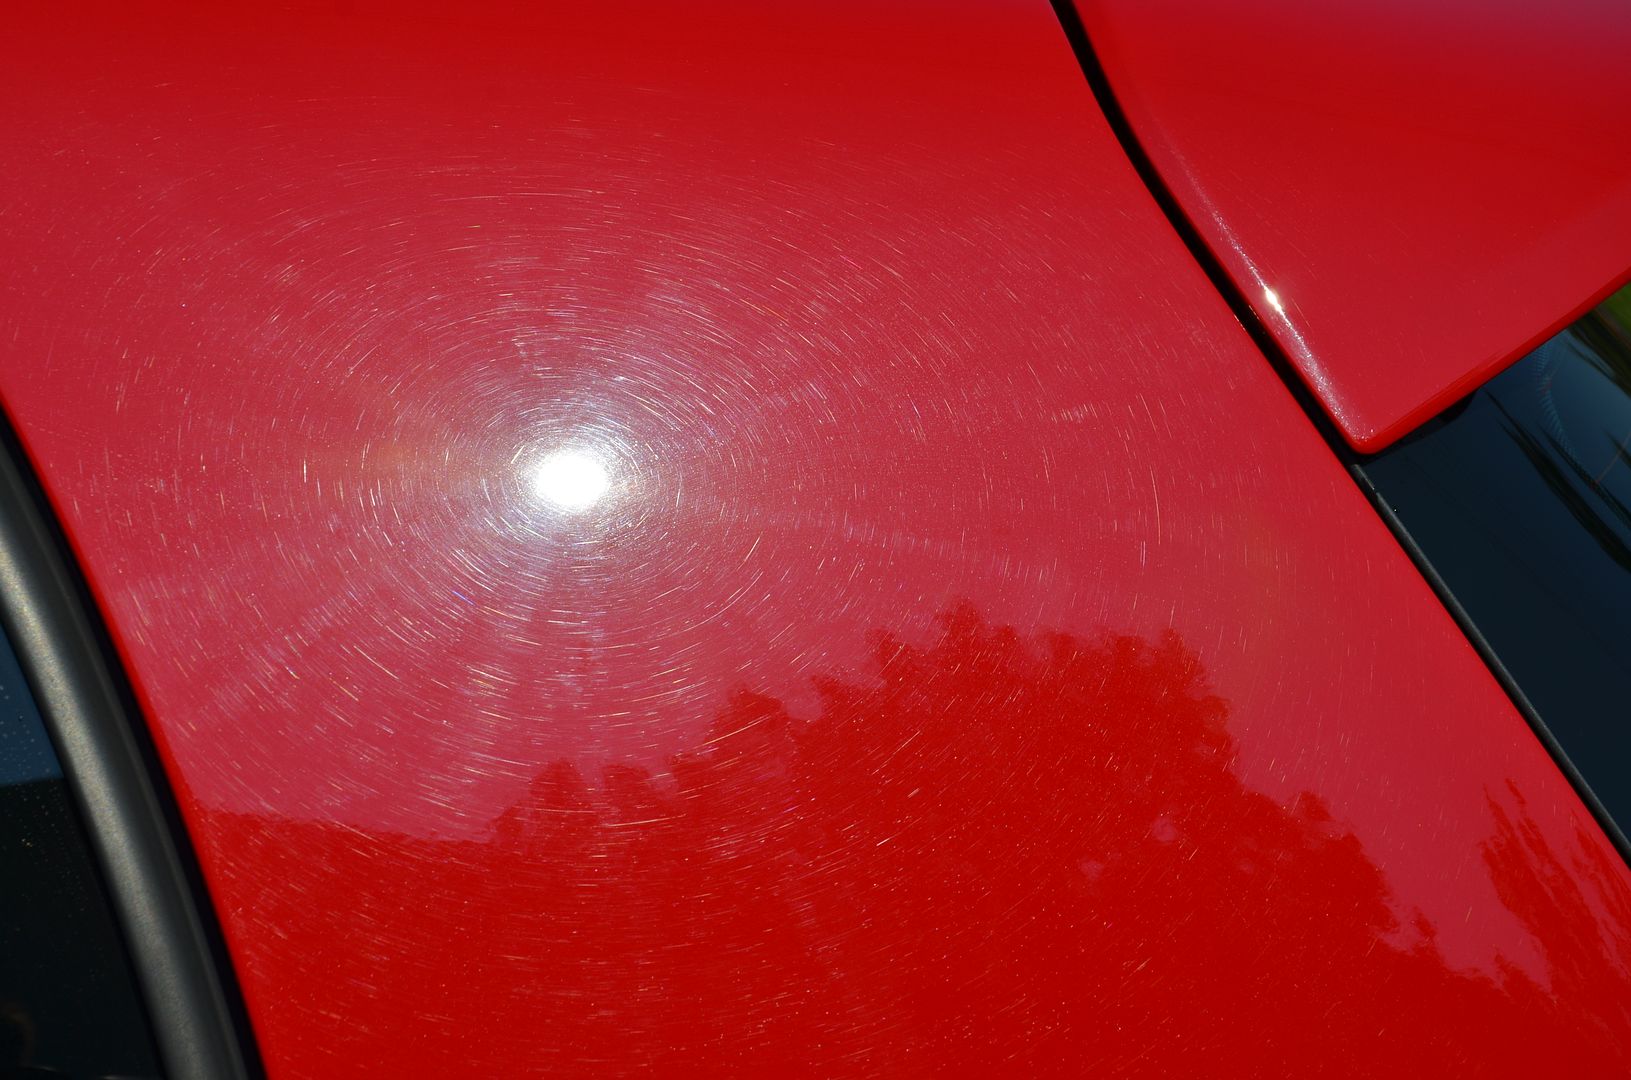
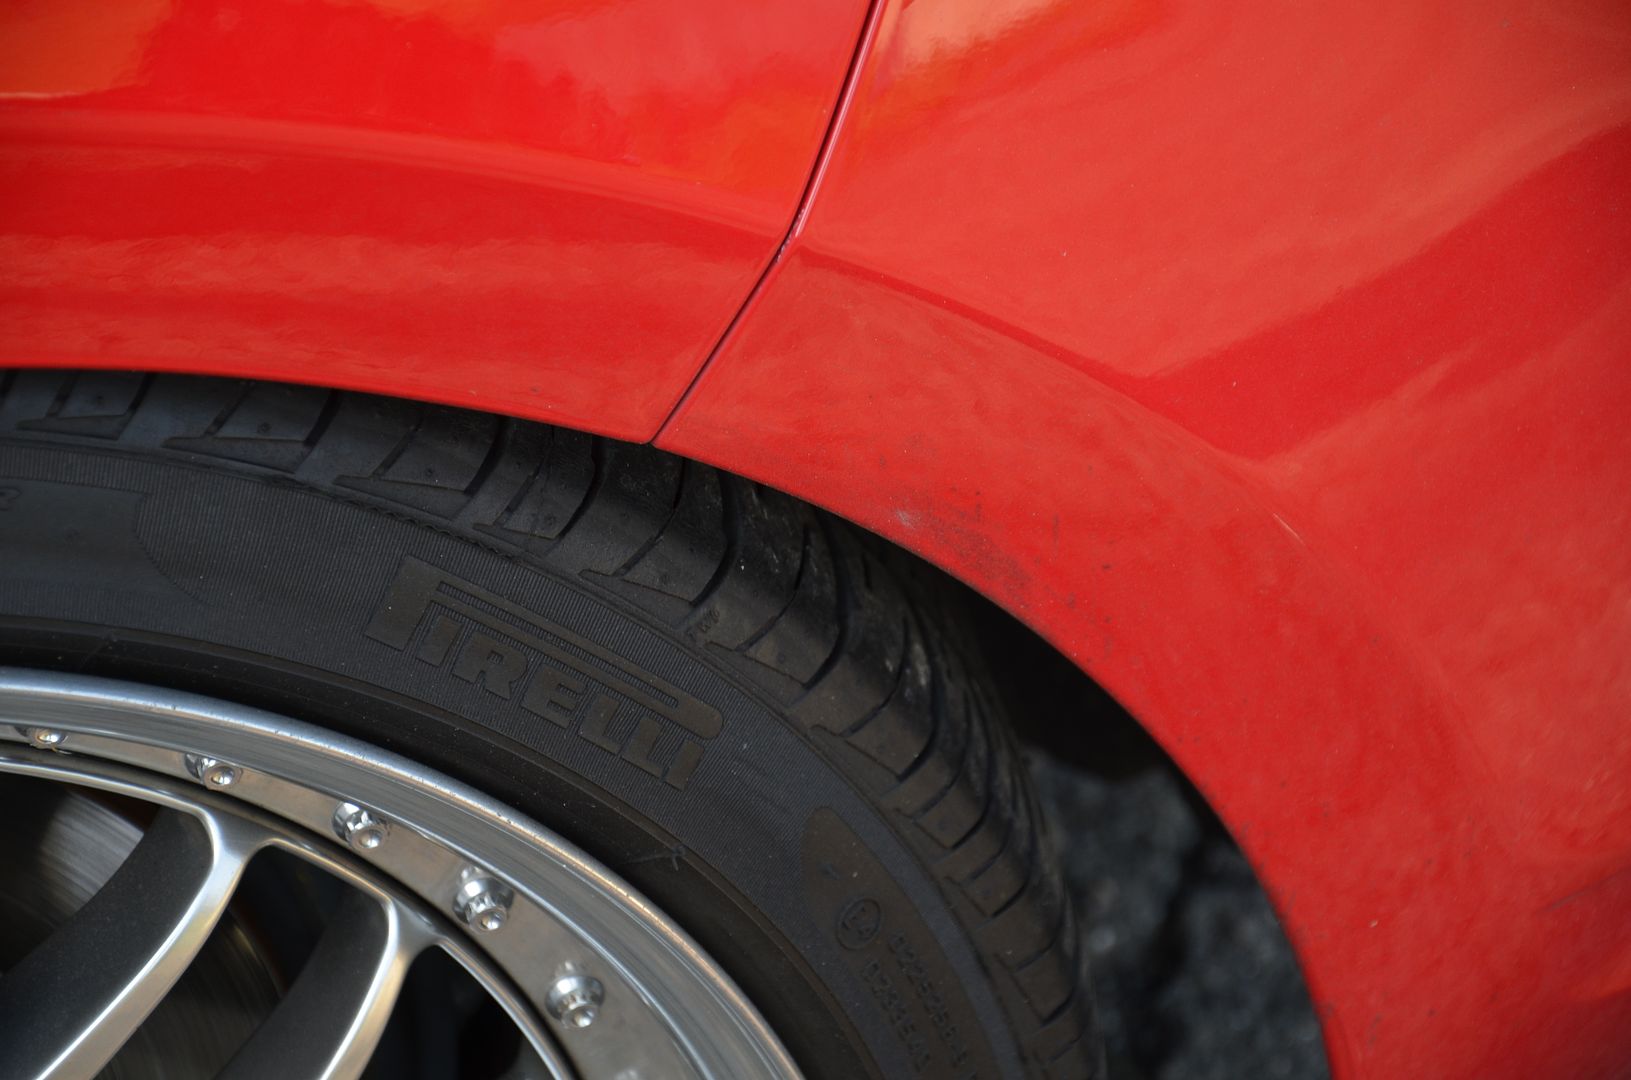
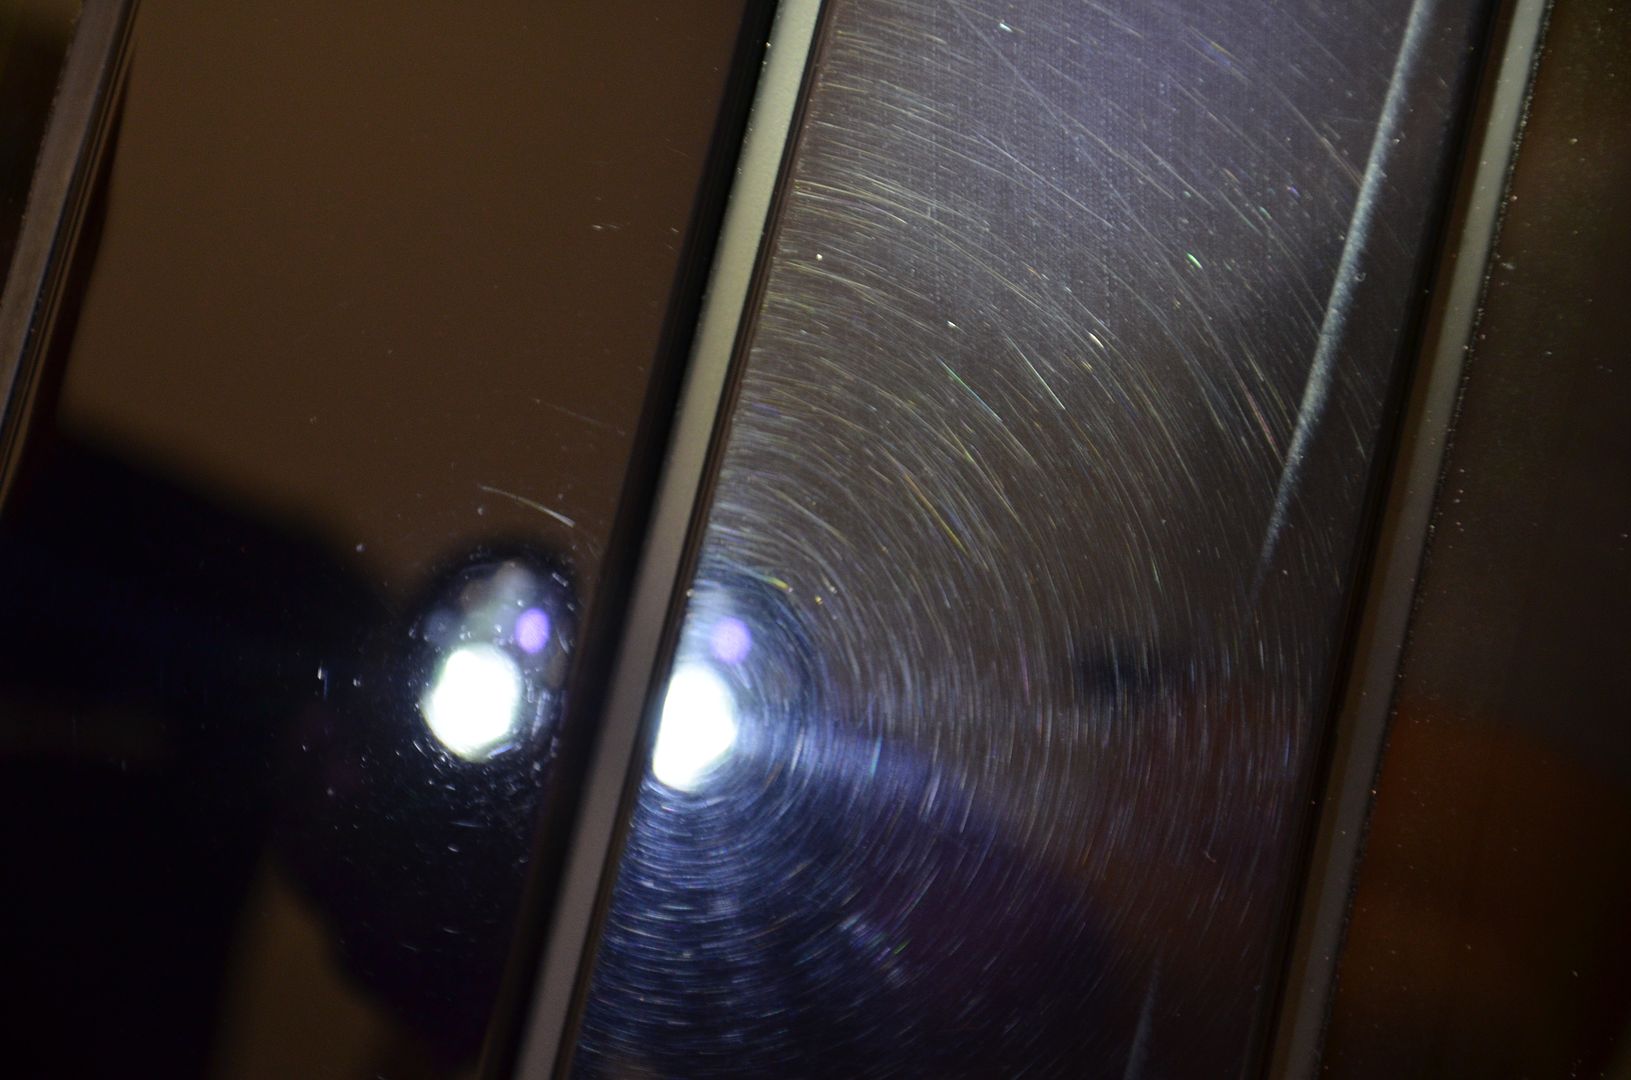
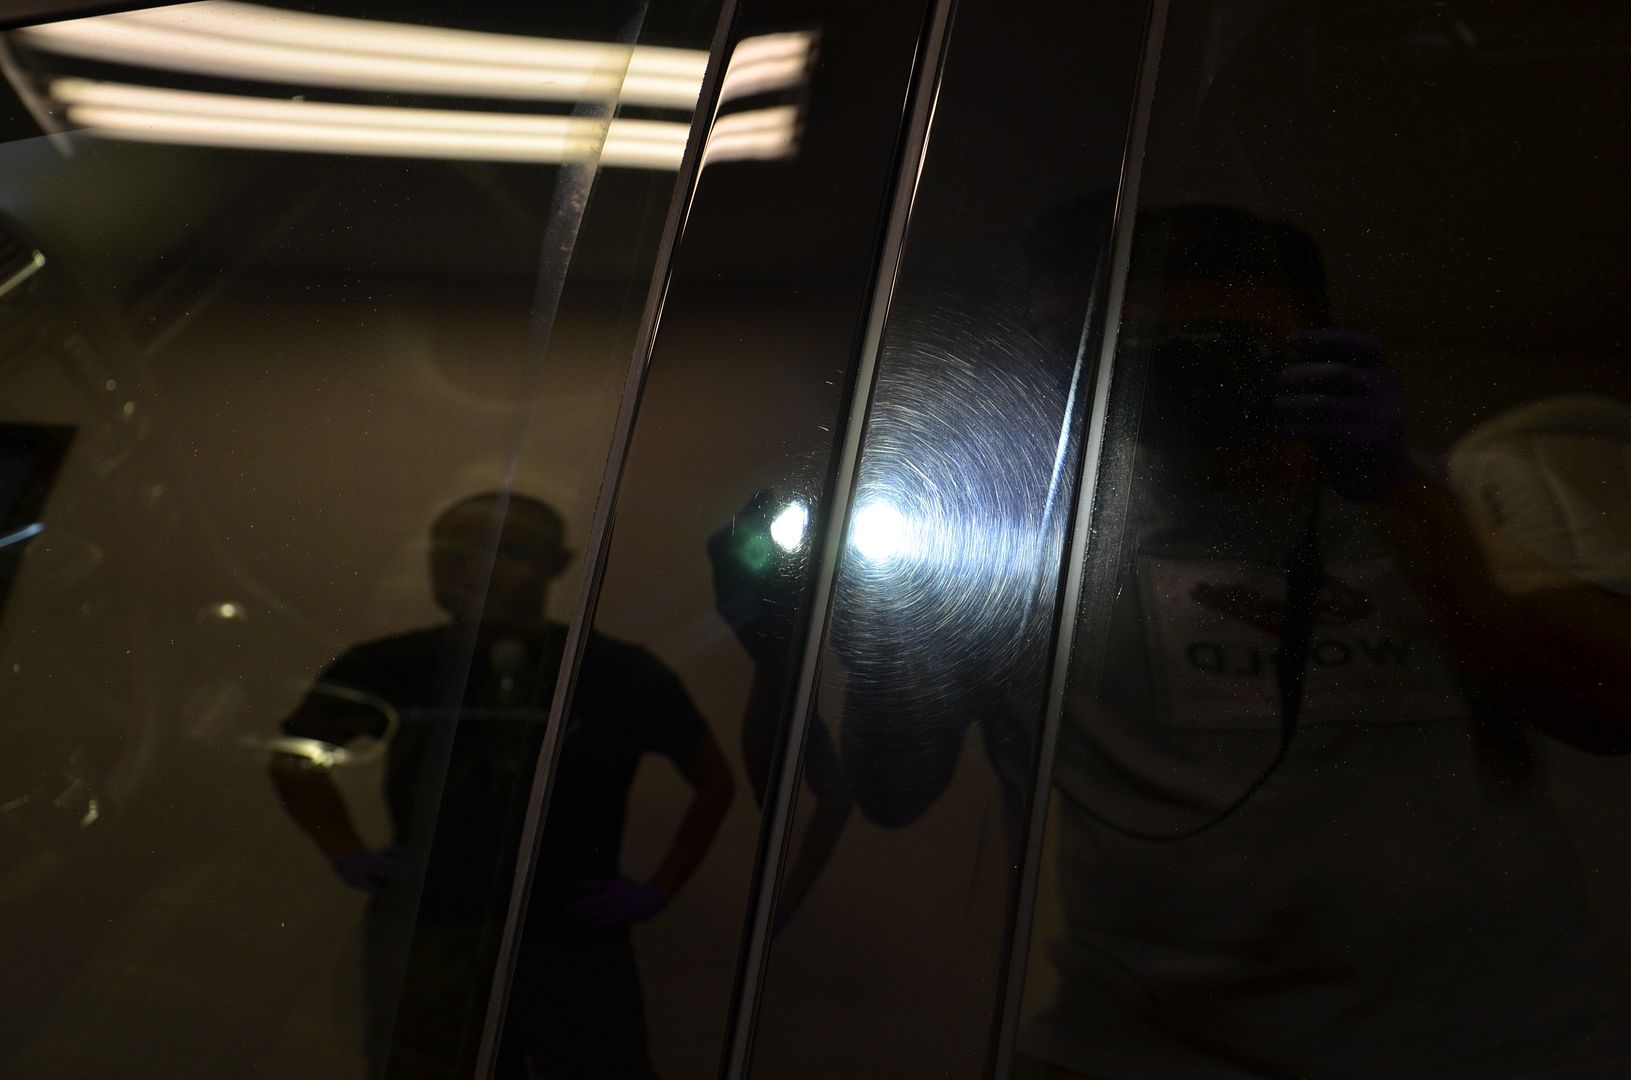
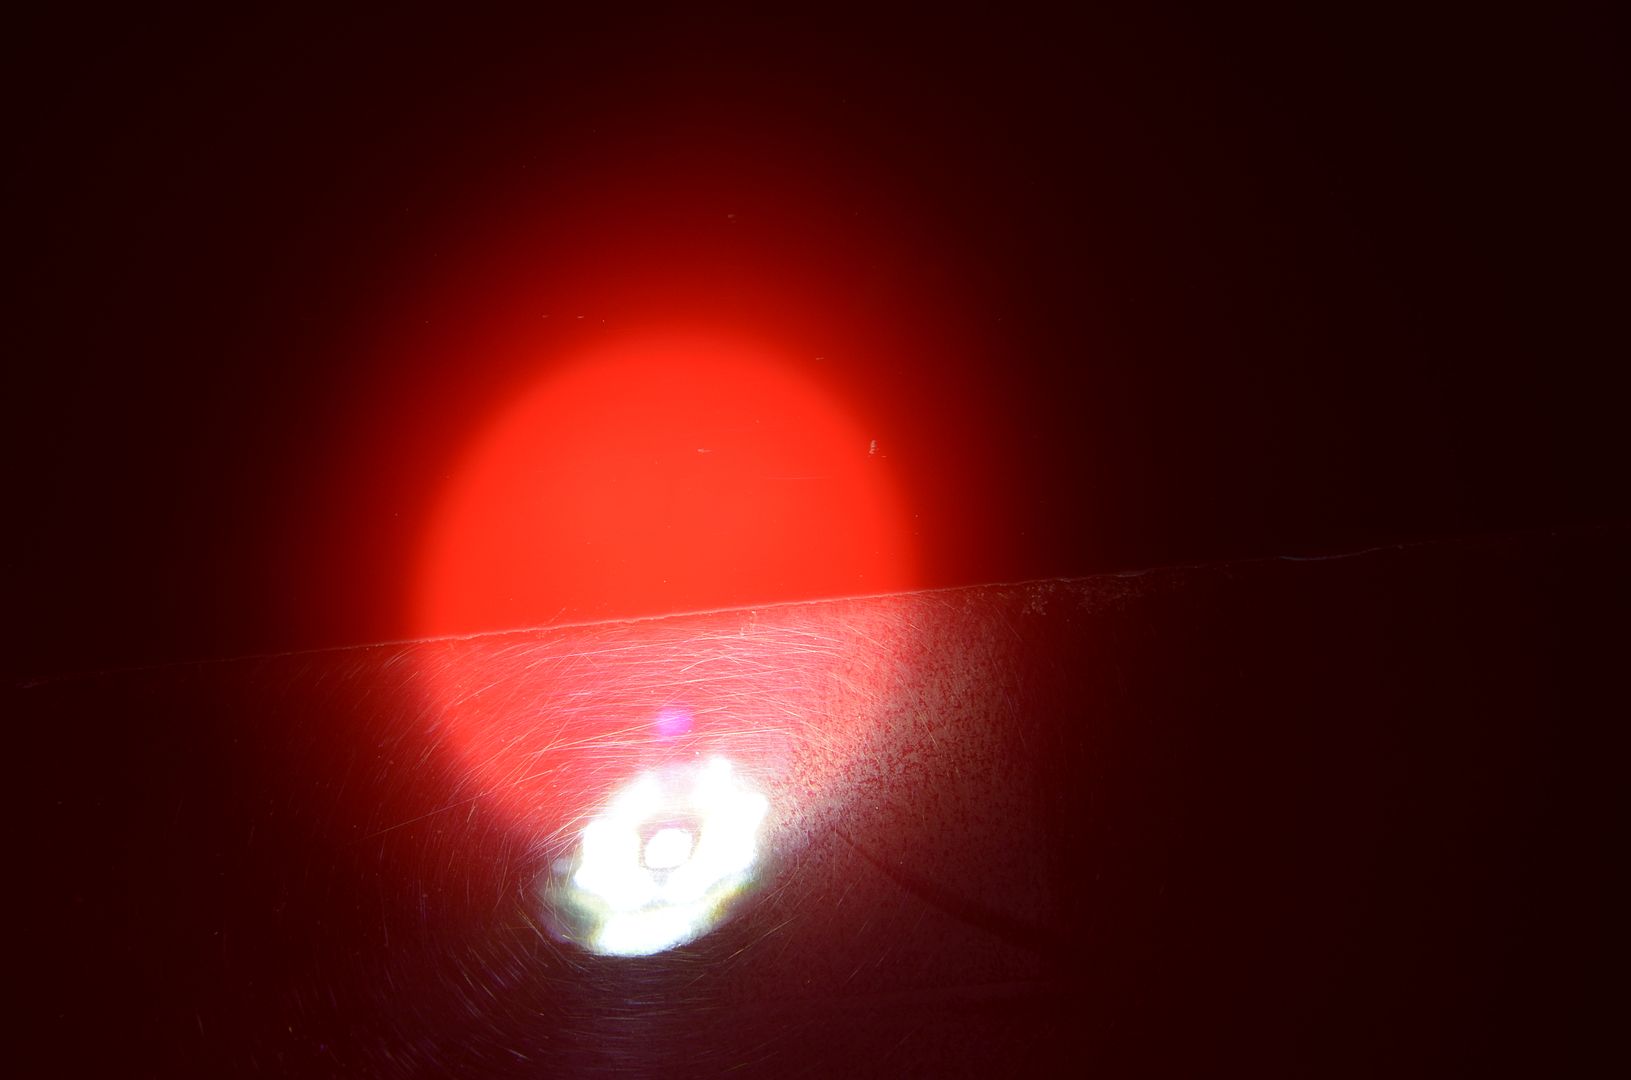
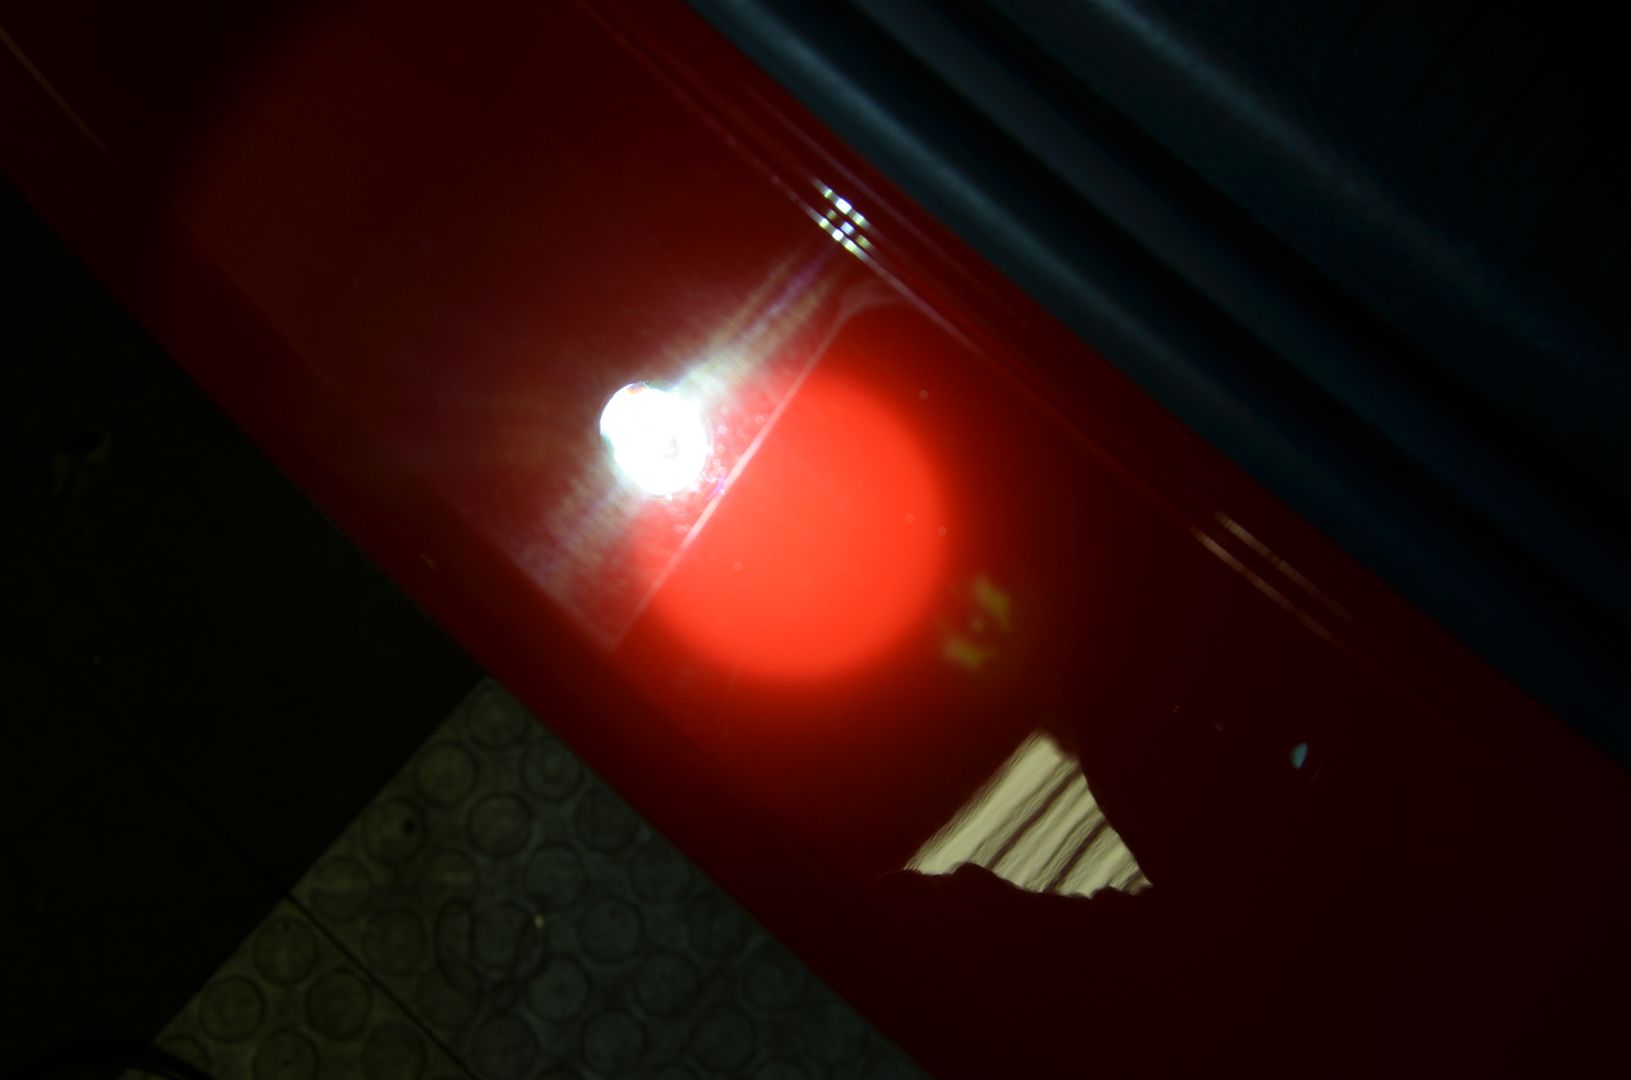
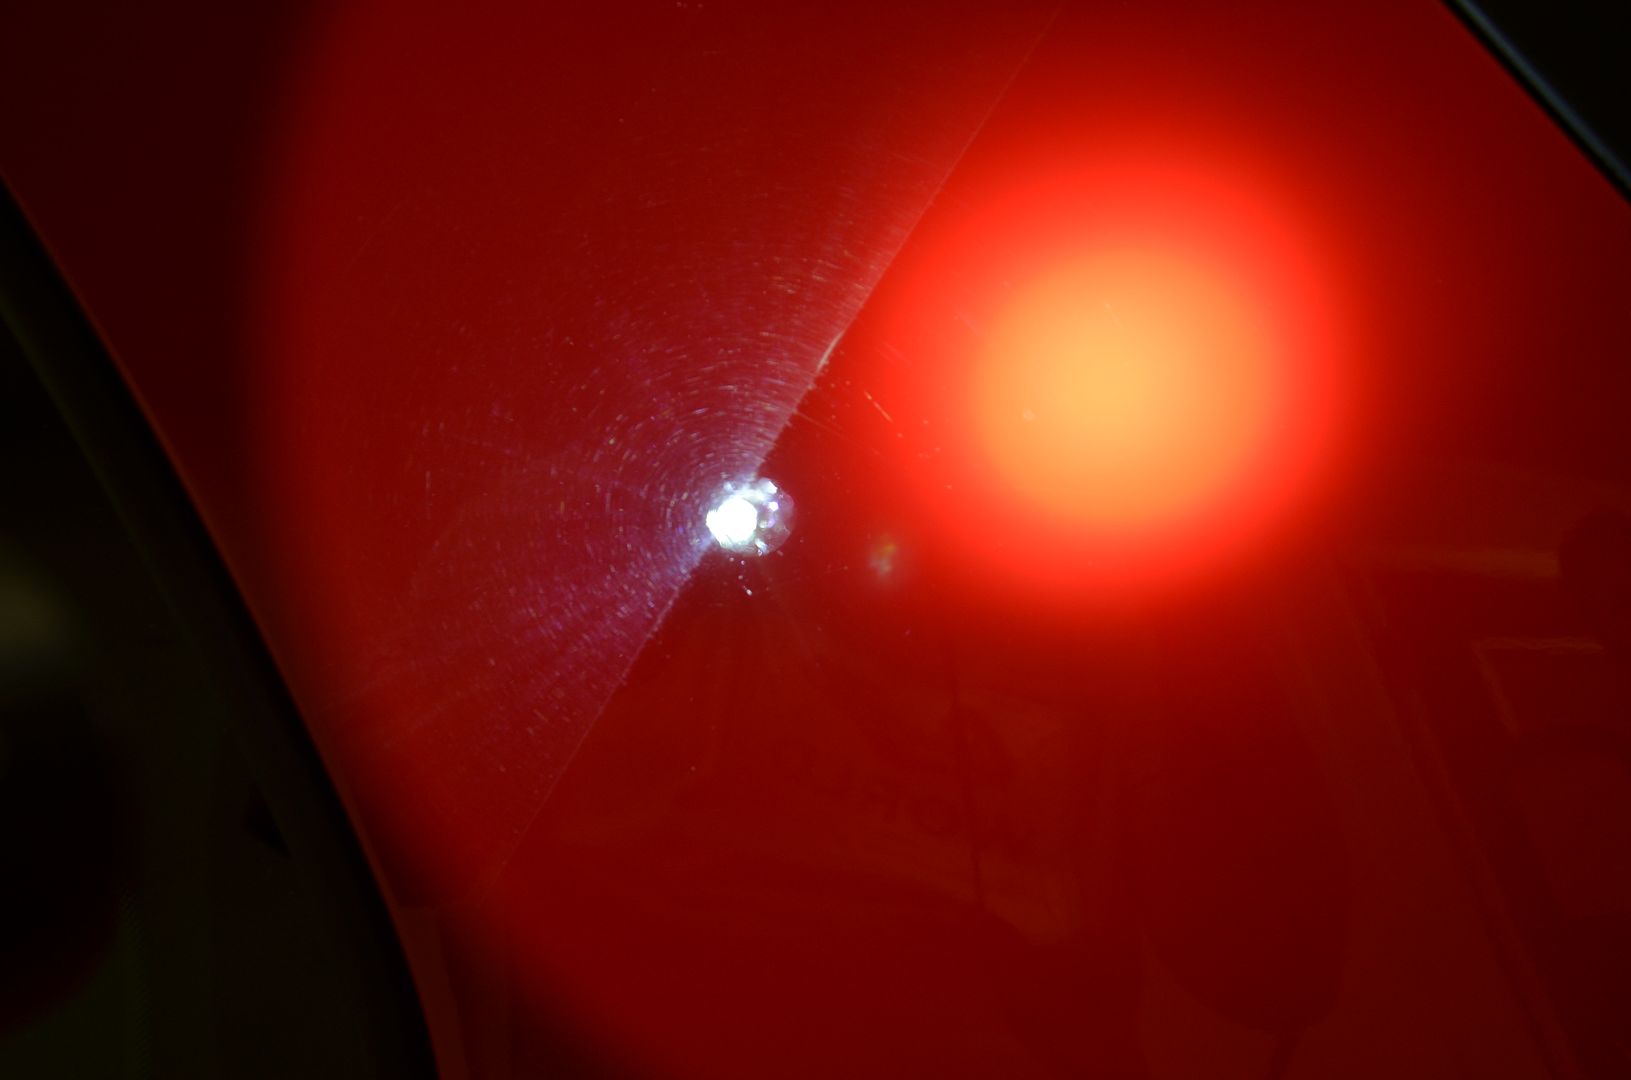
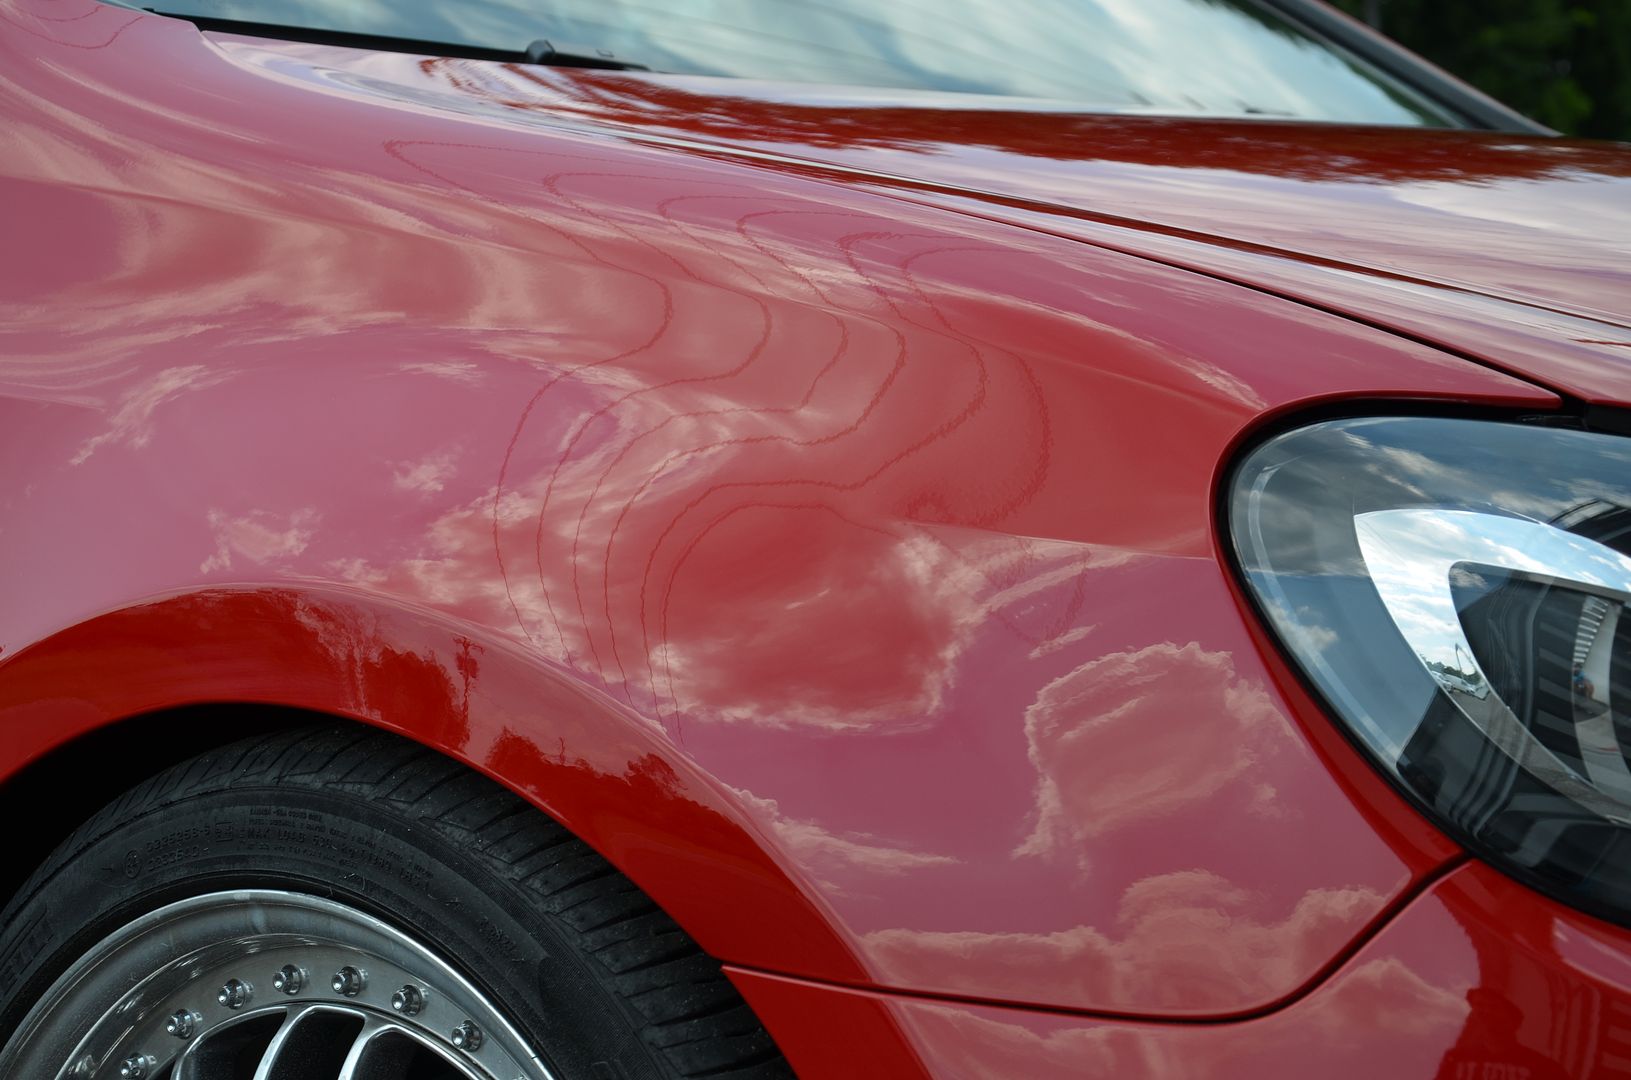
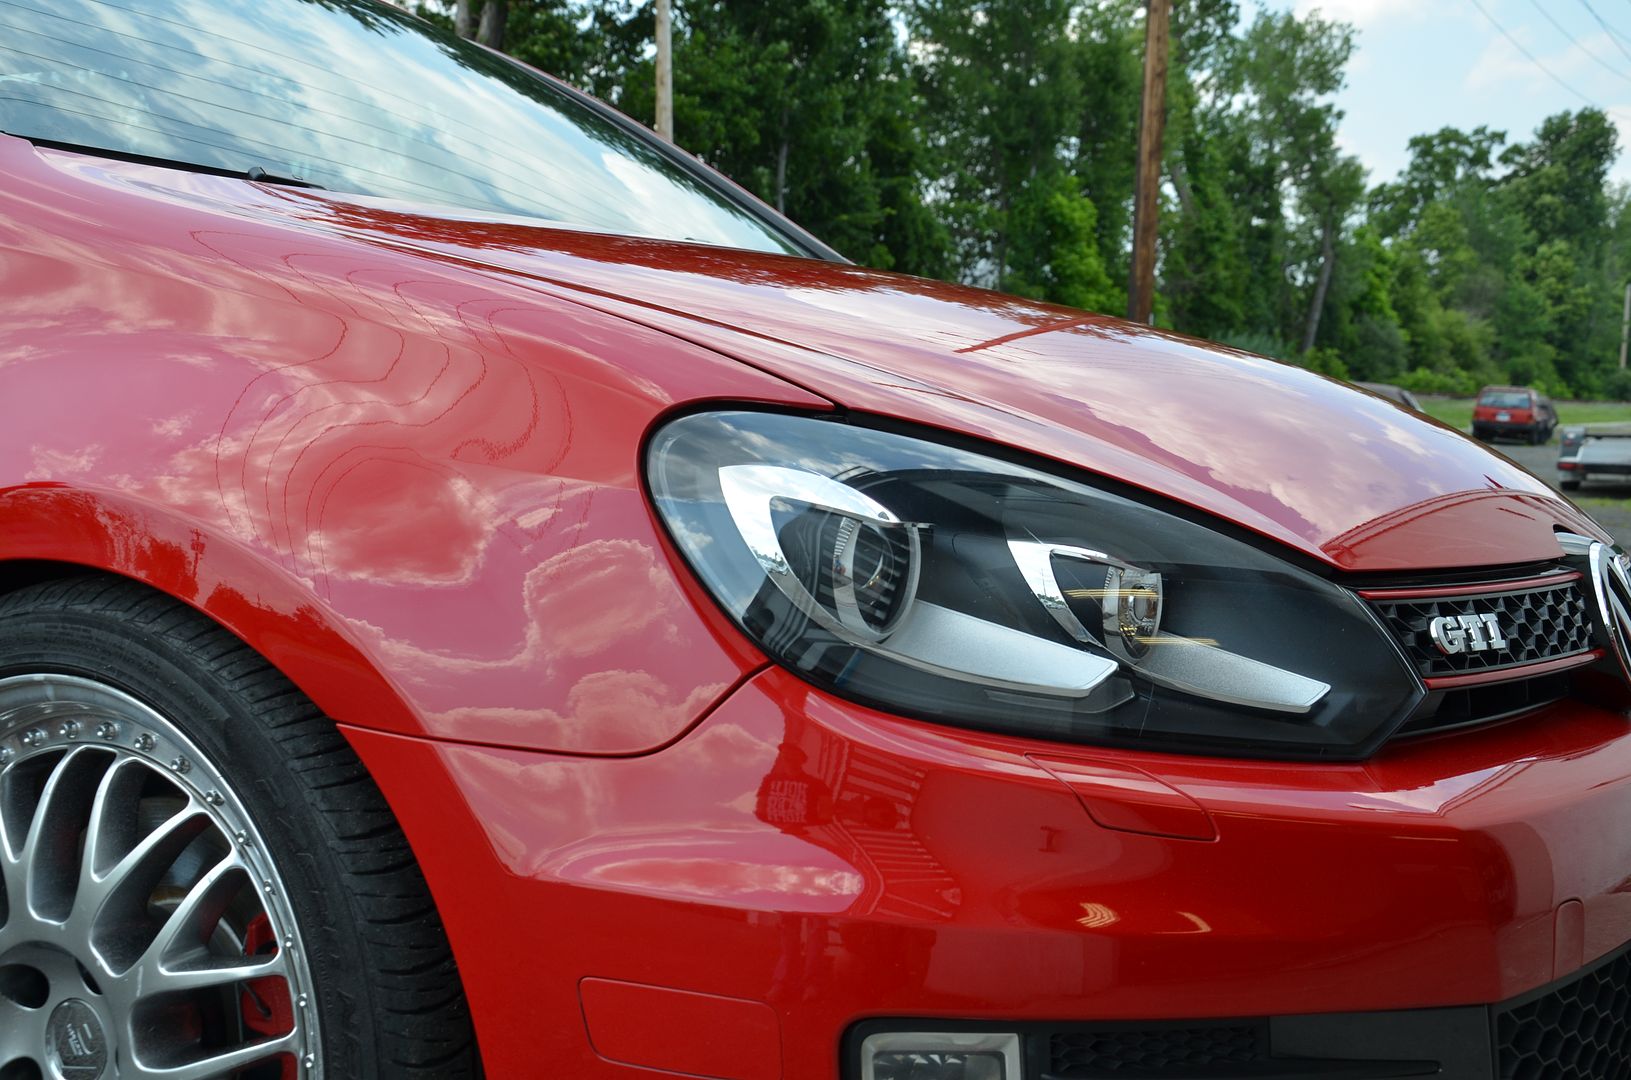
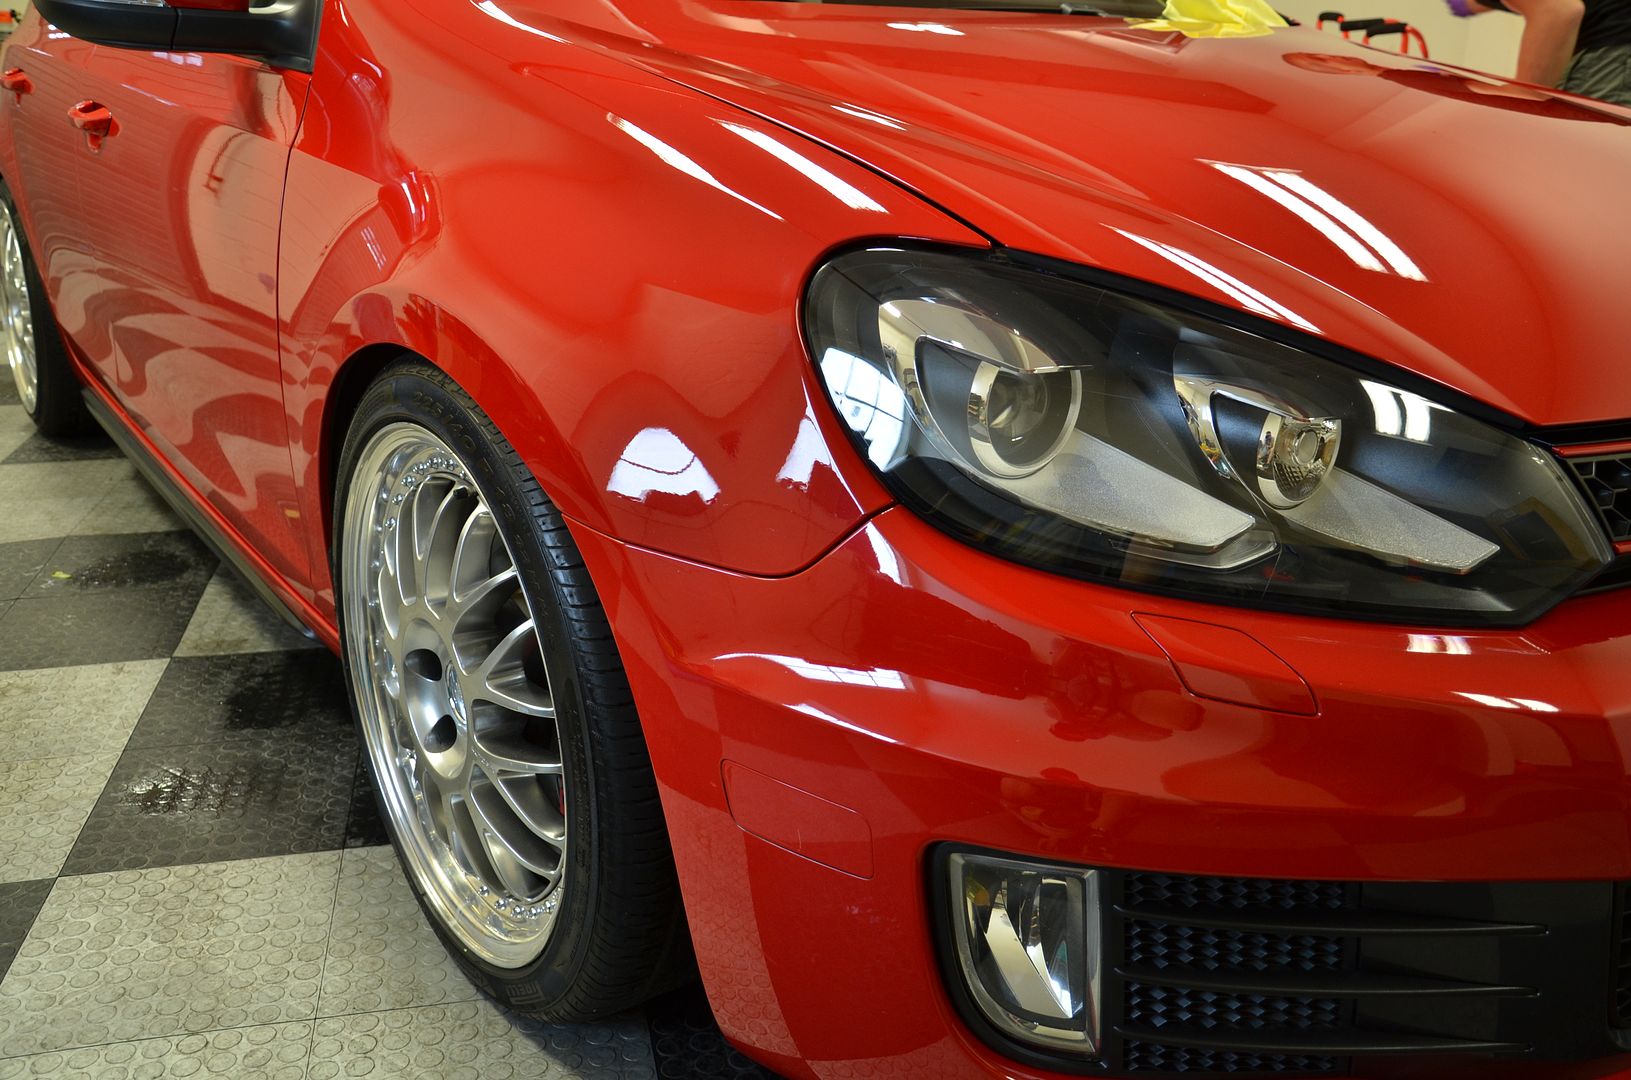
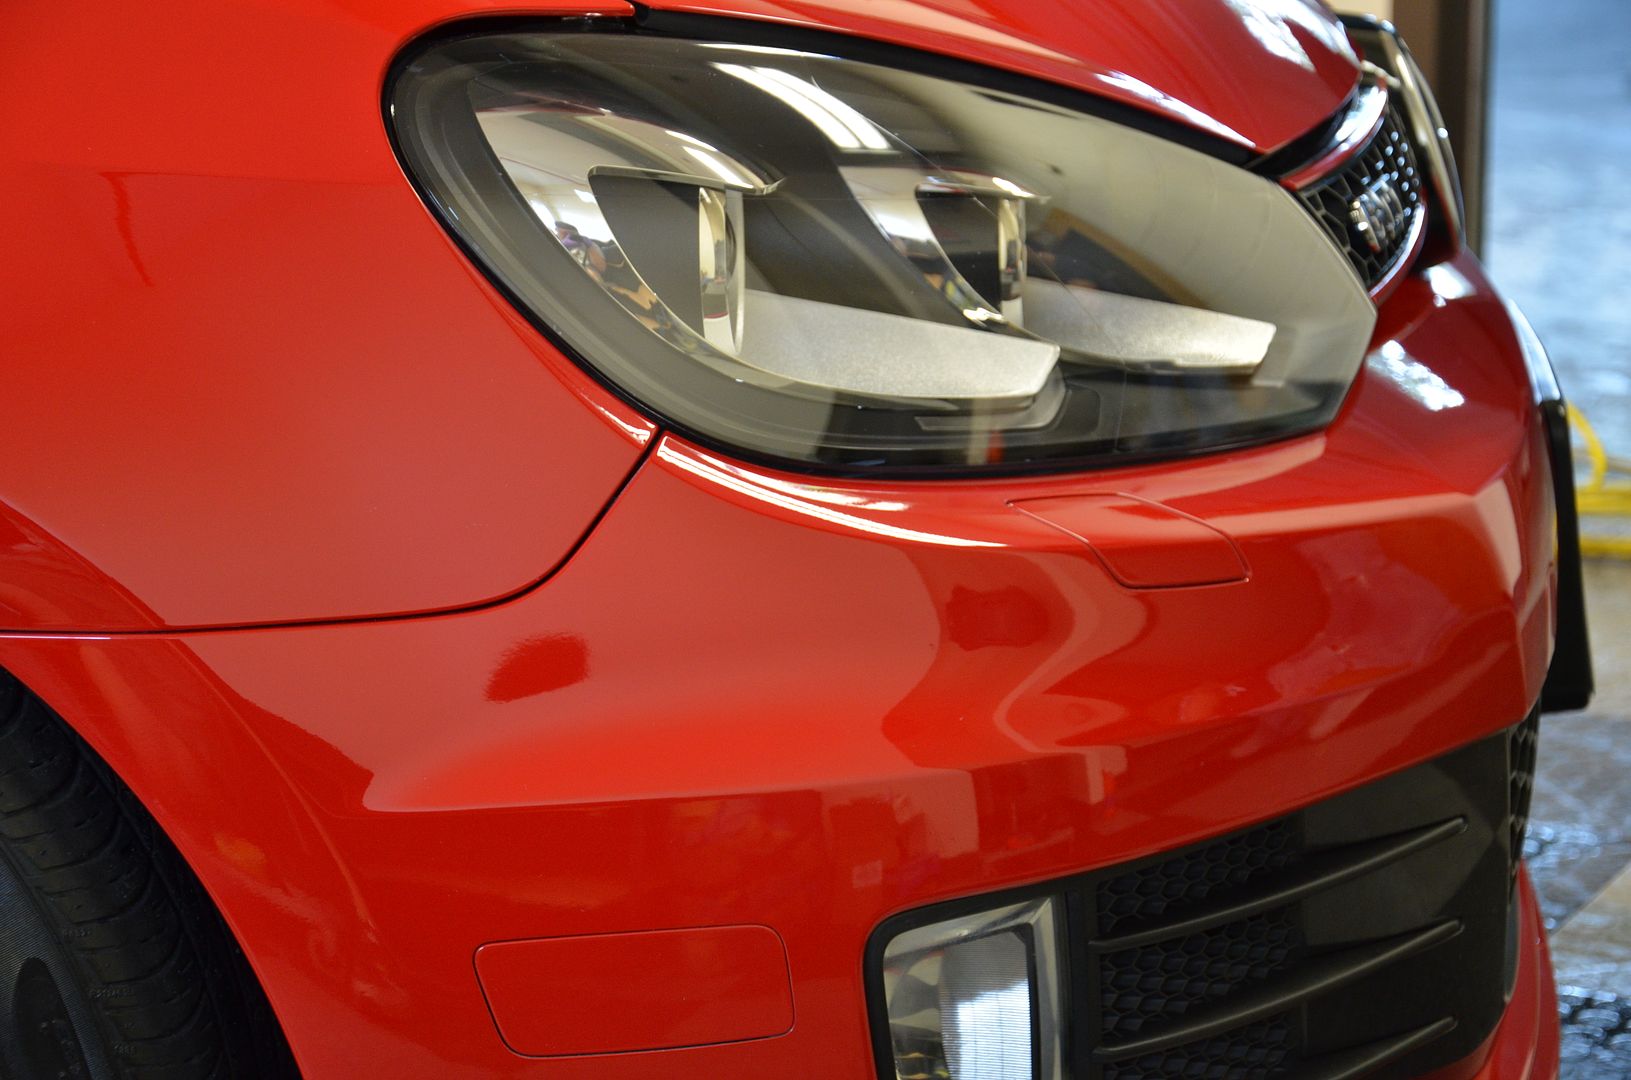
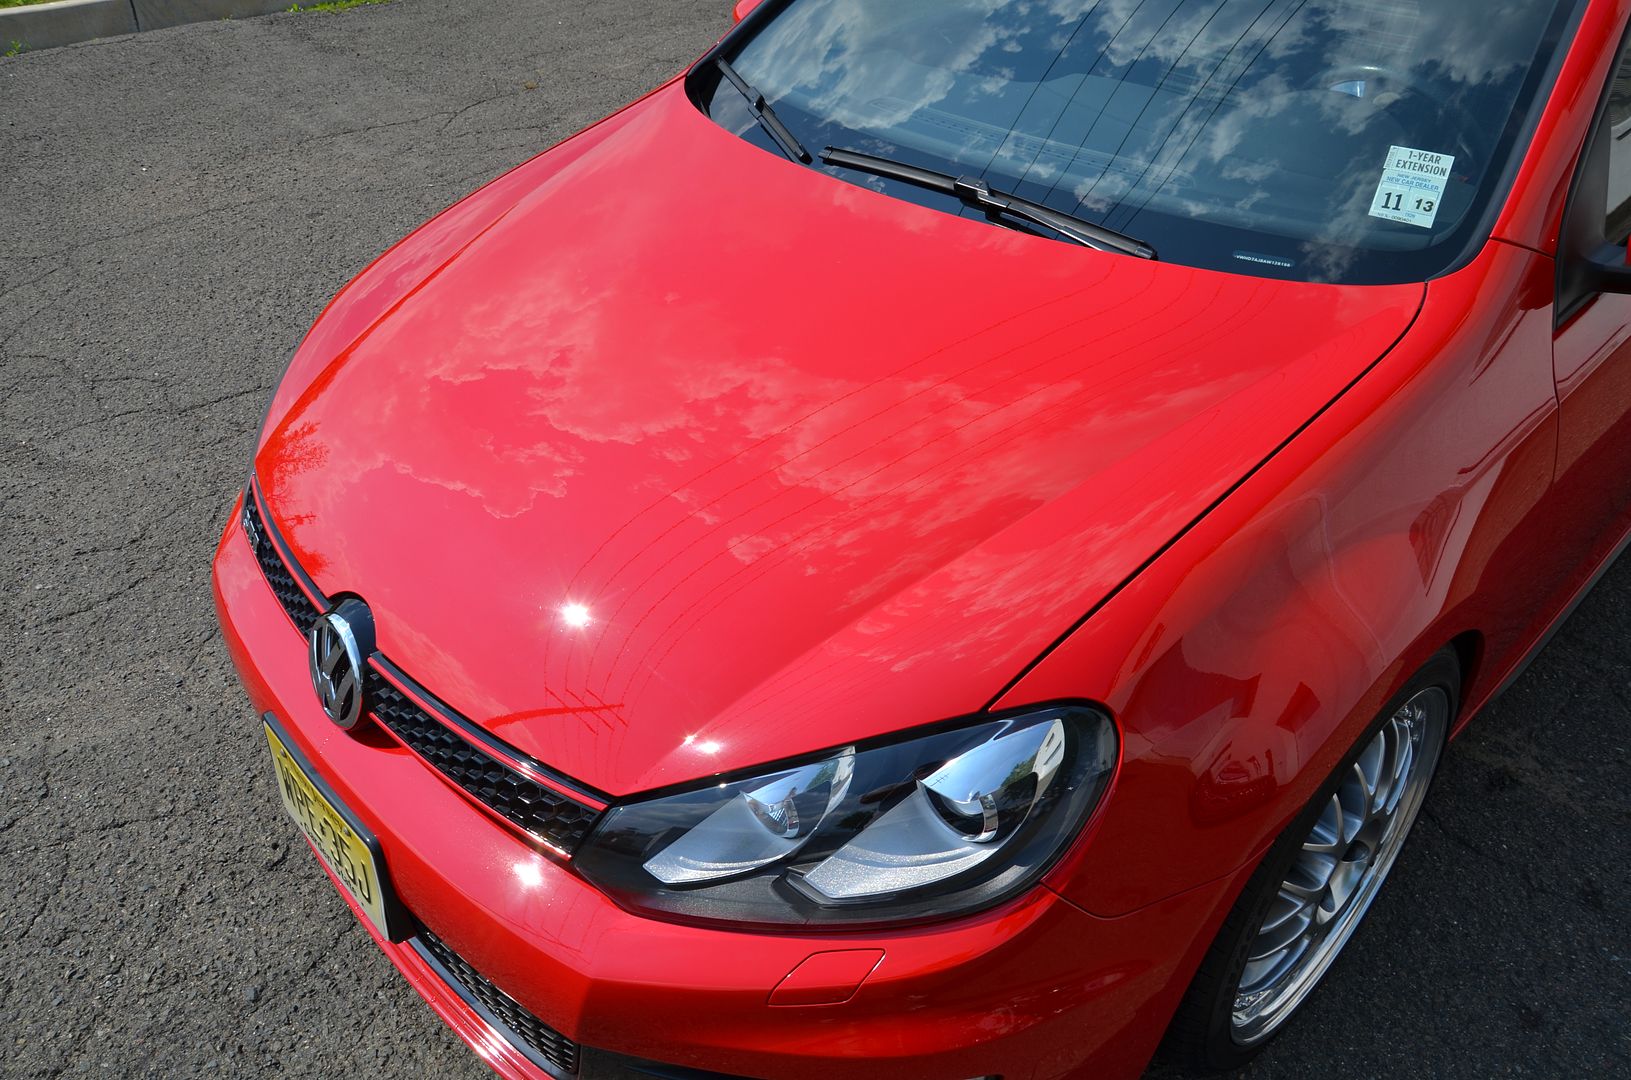
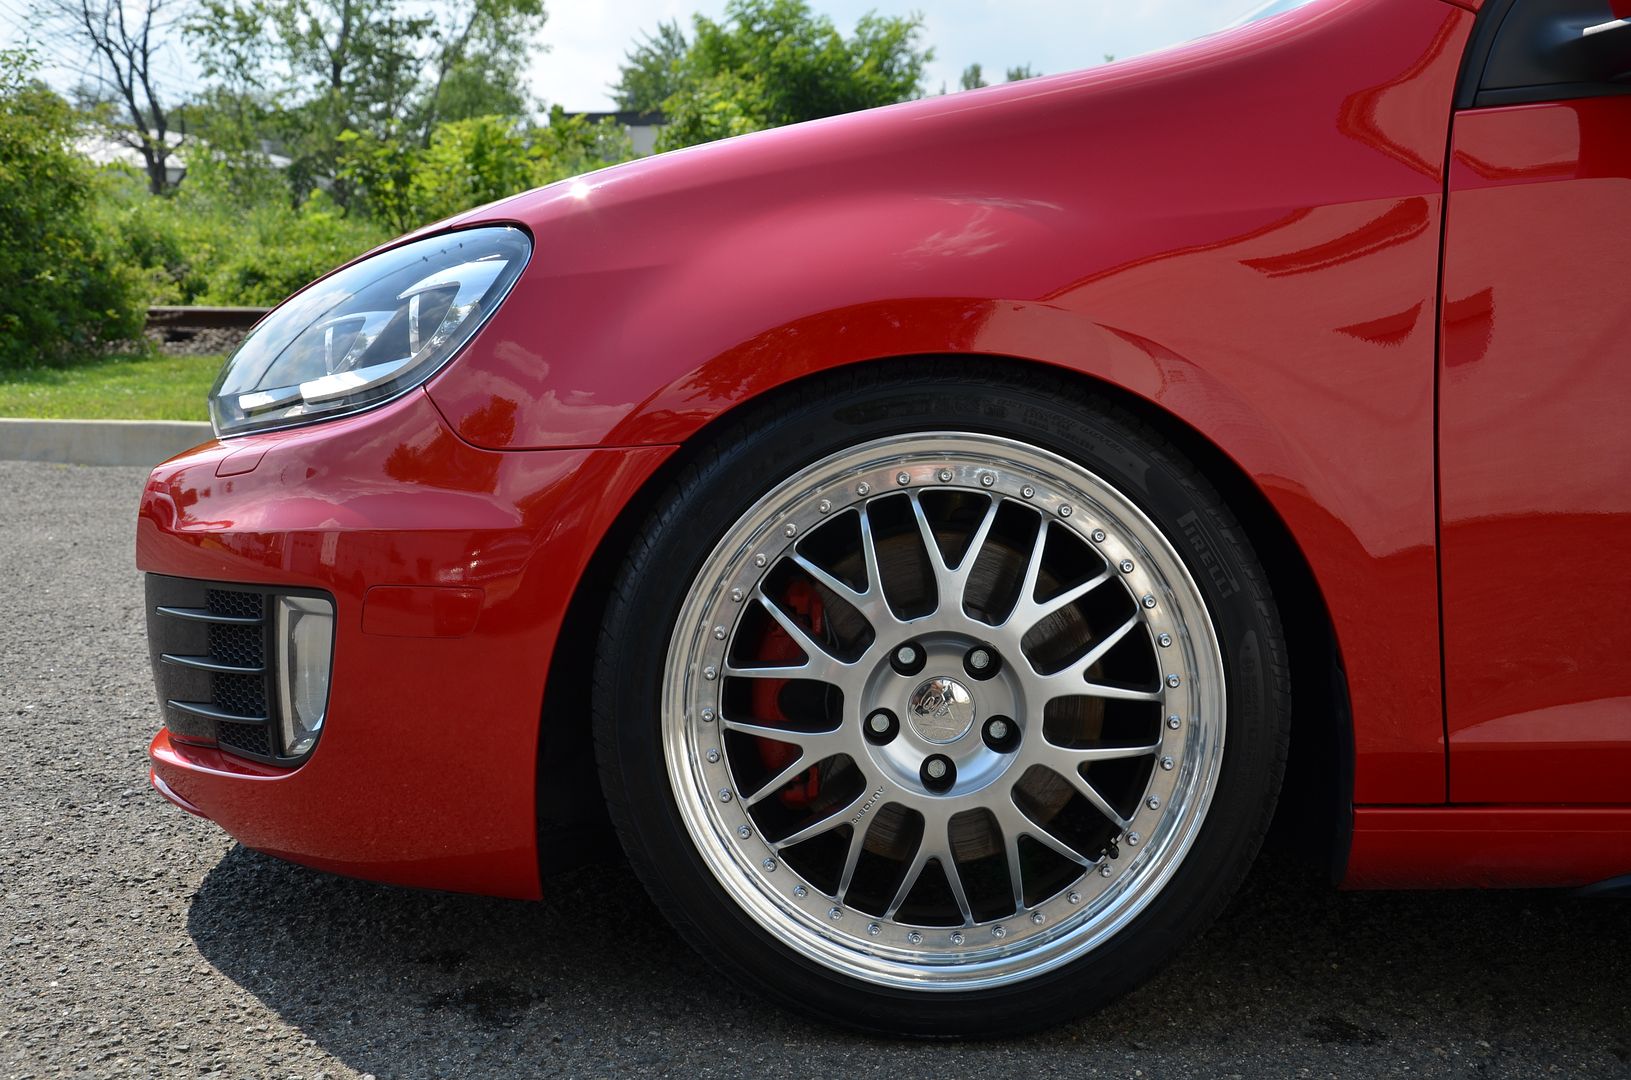
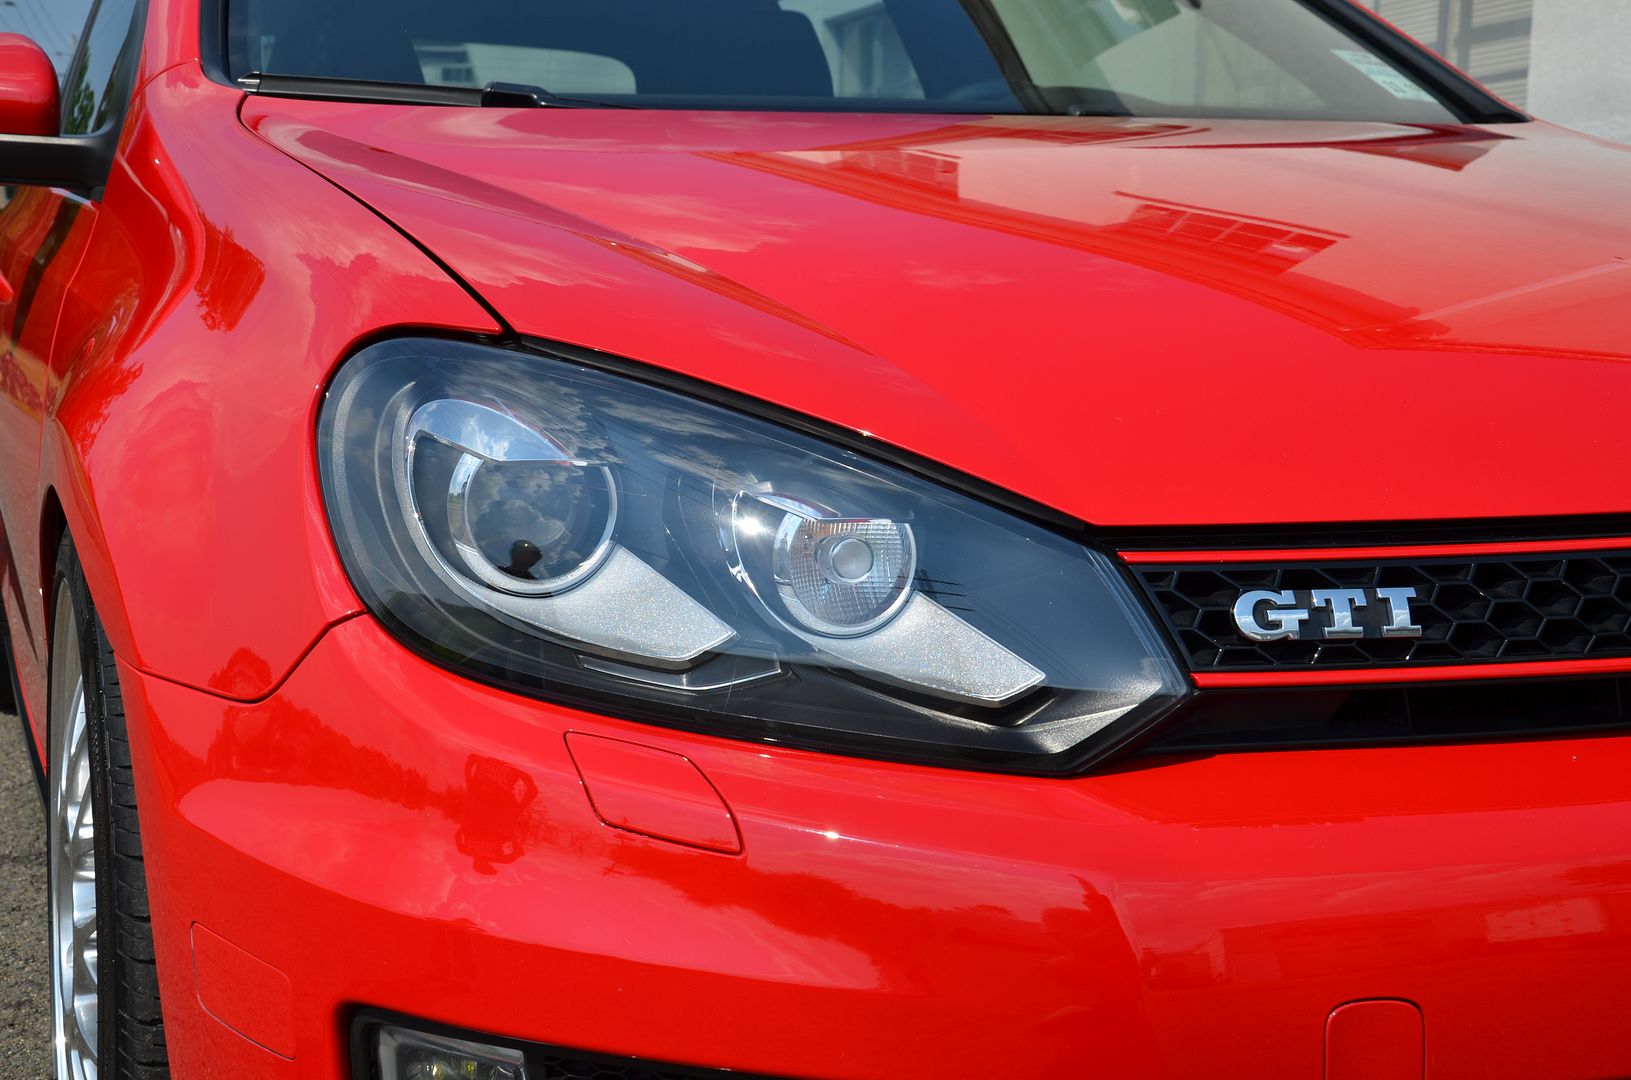
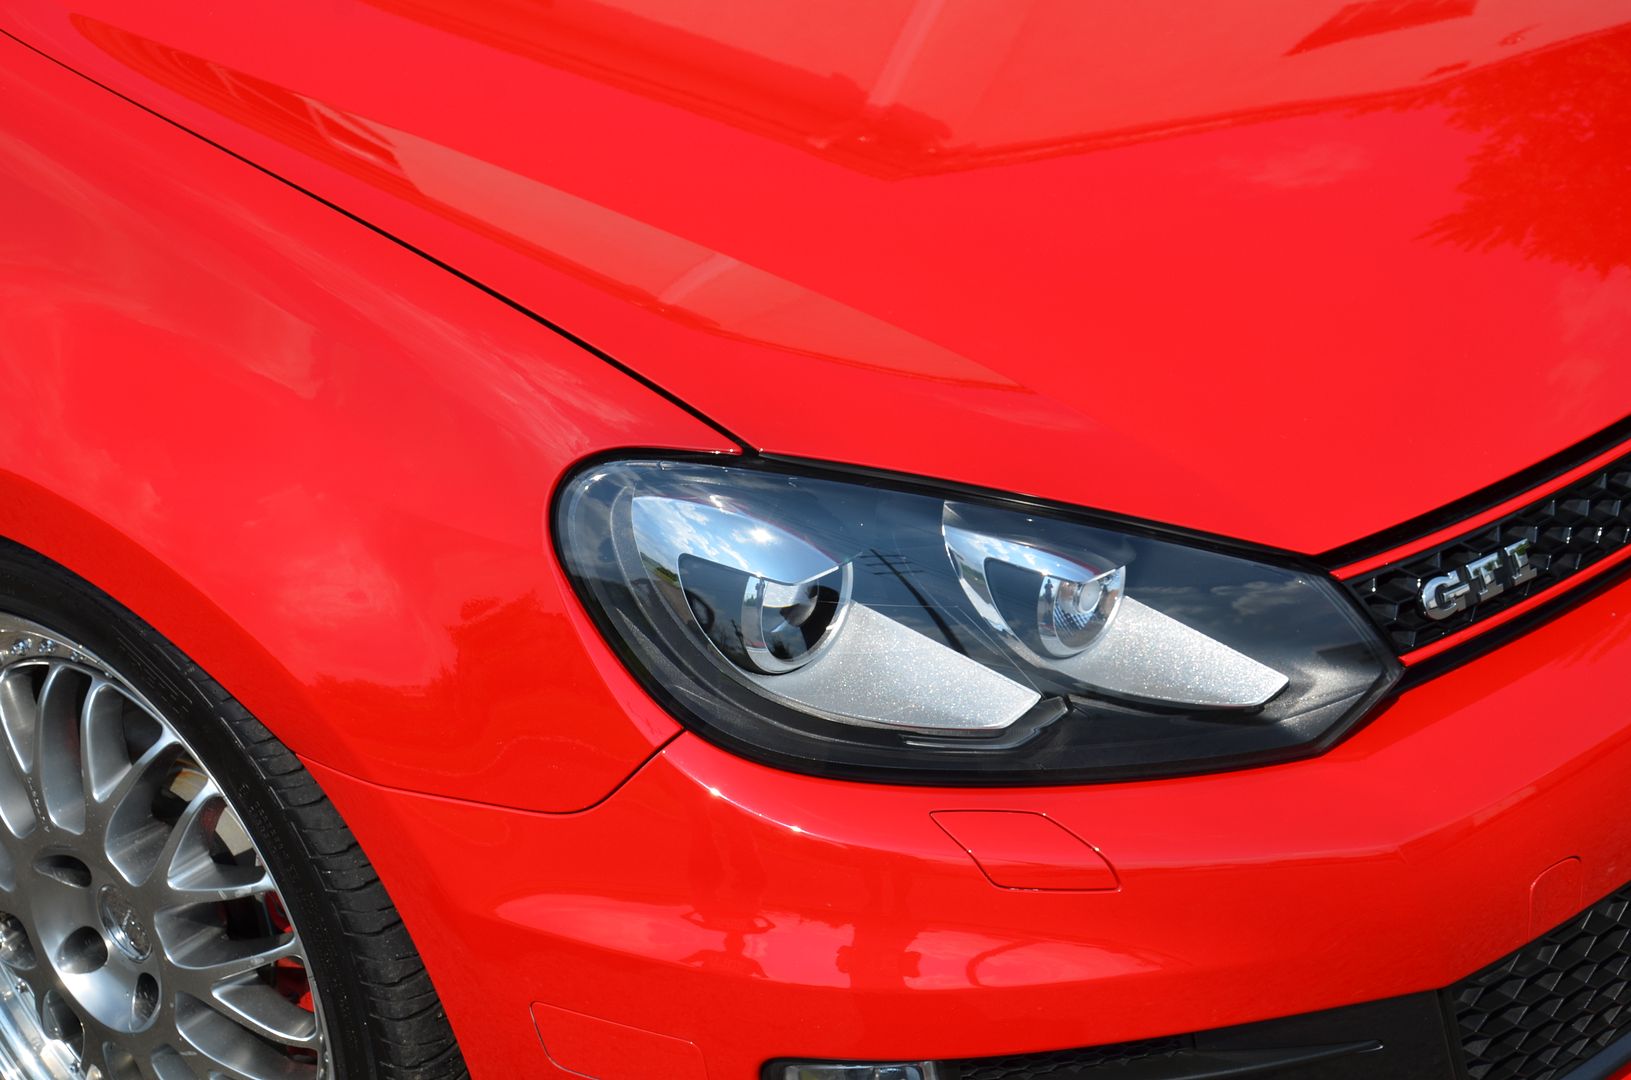
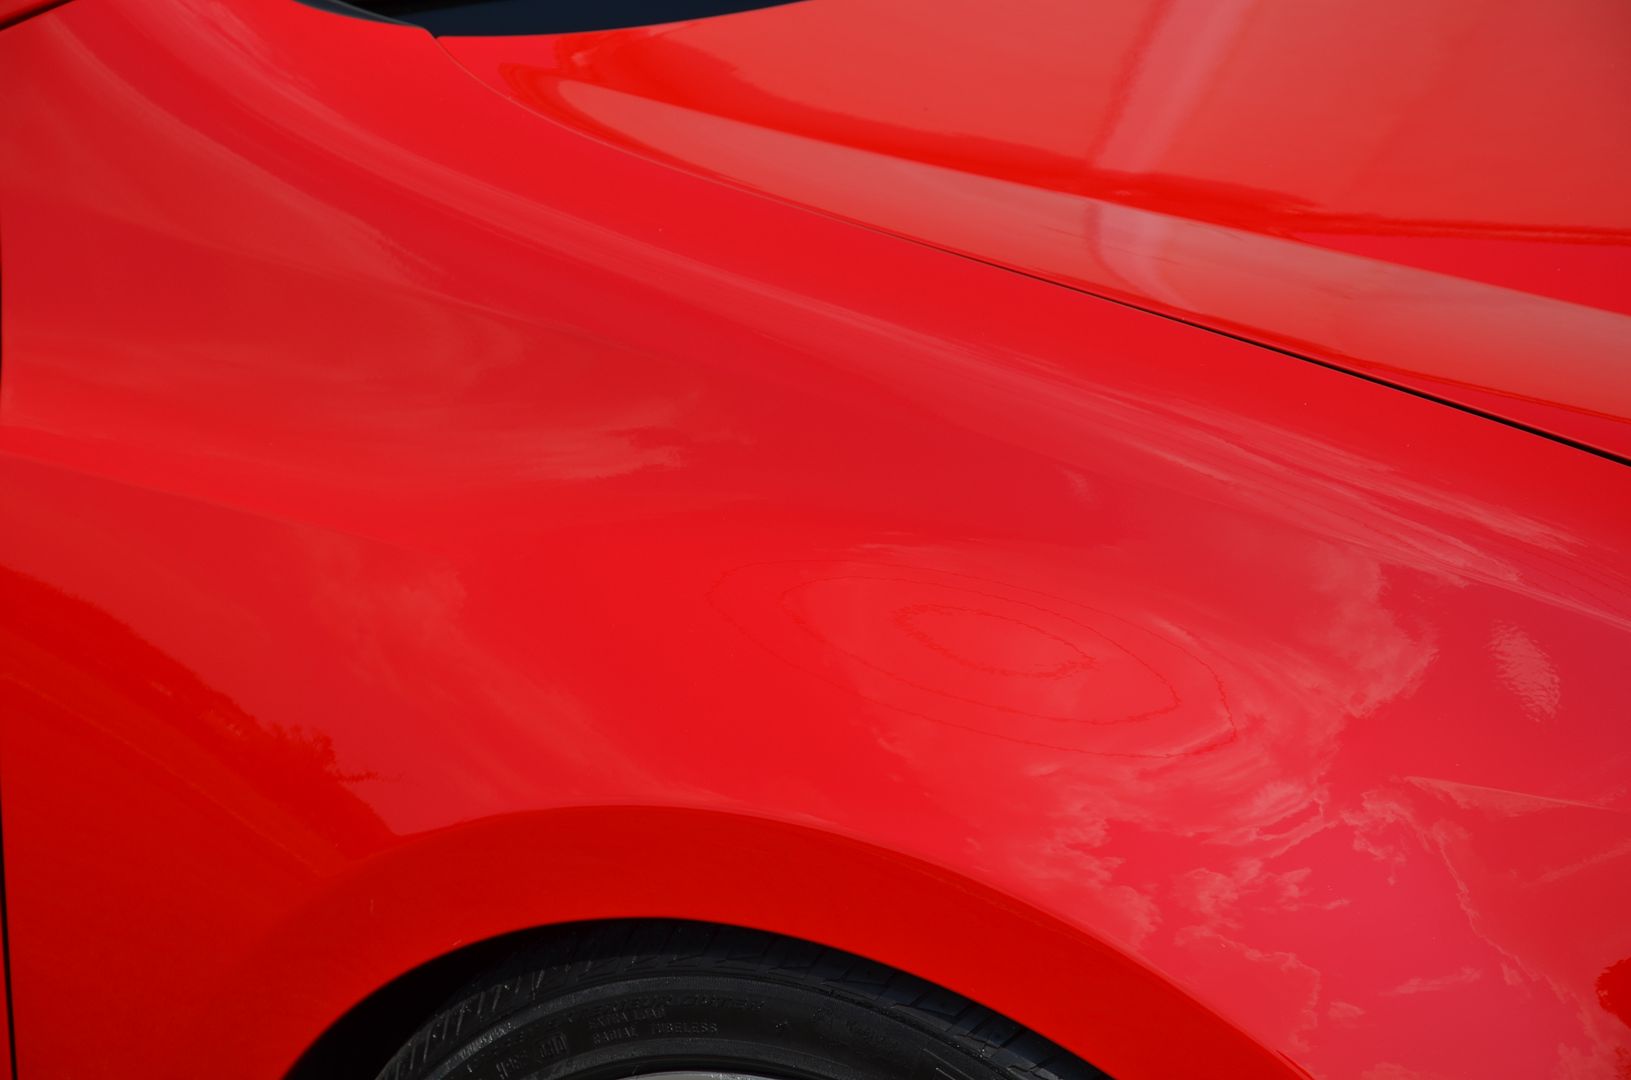
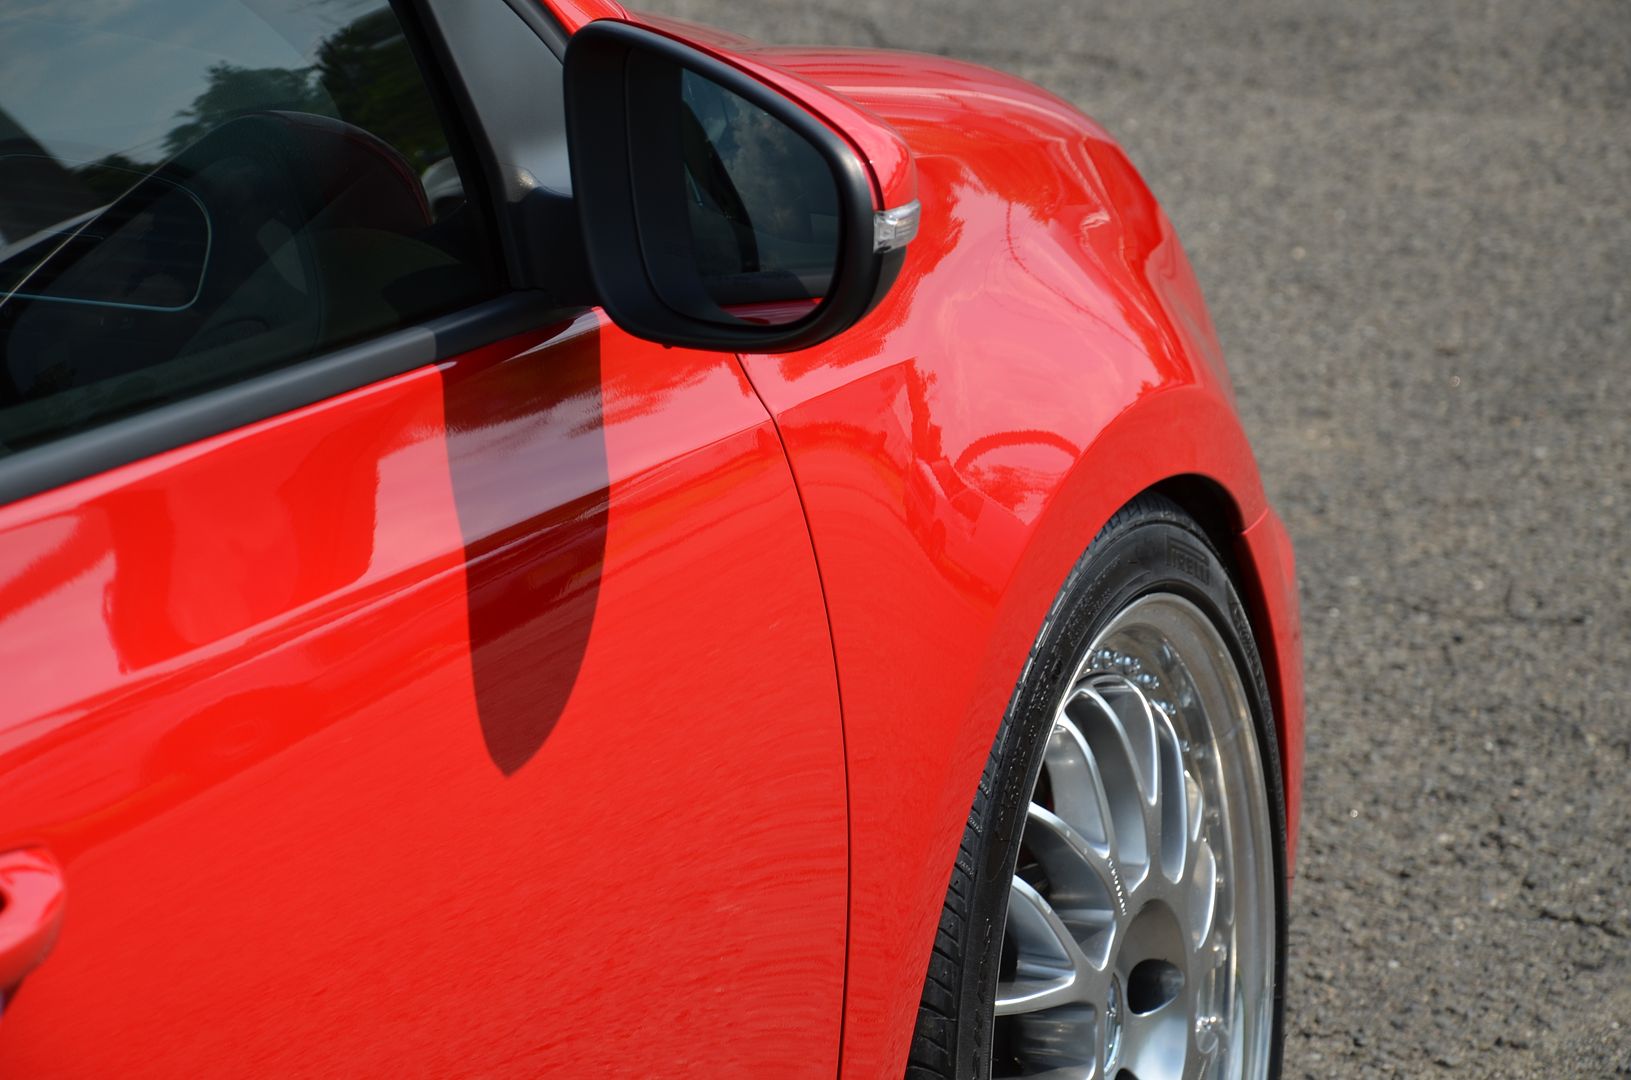
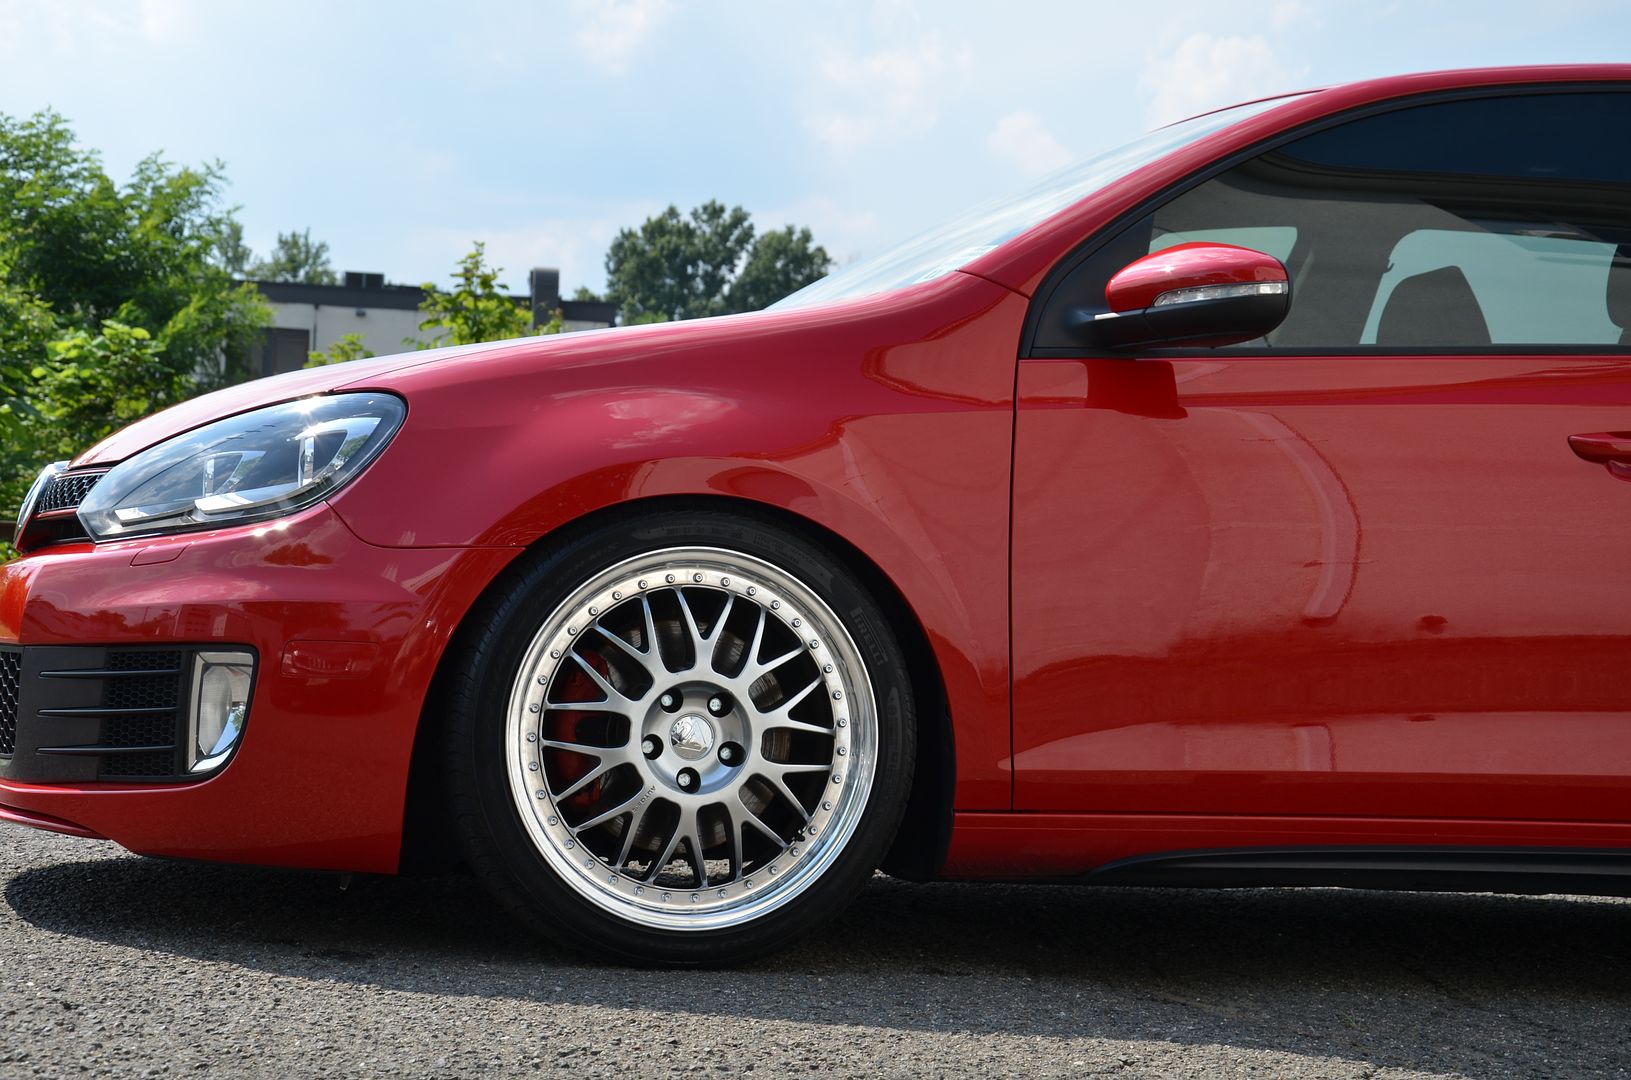
Close up shots after correction
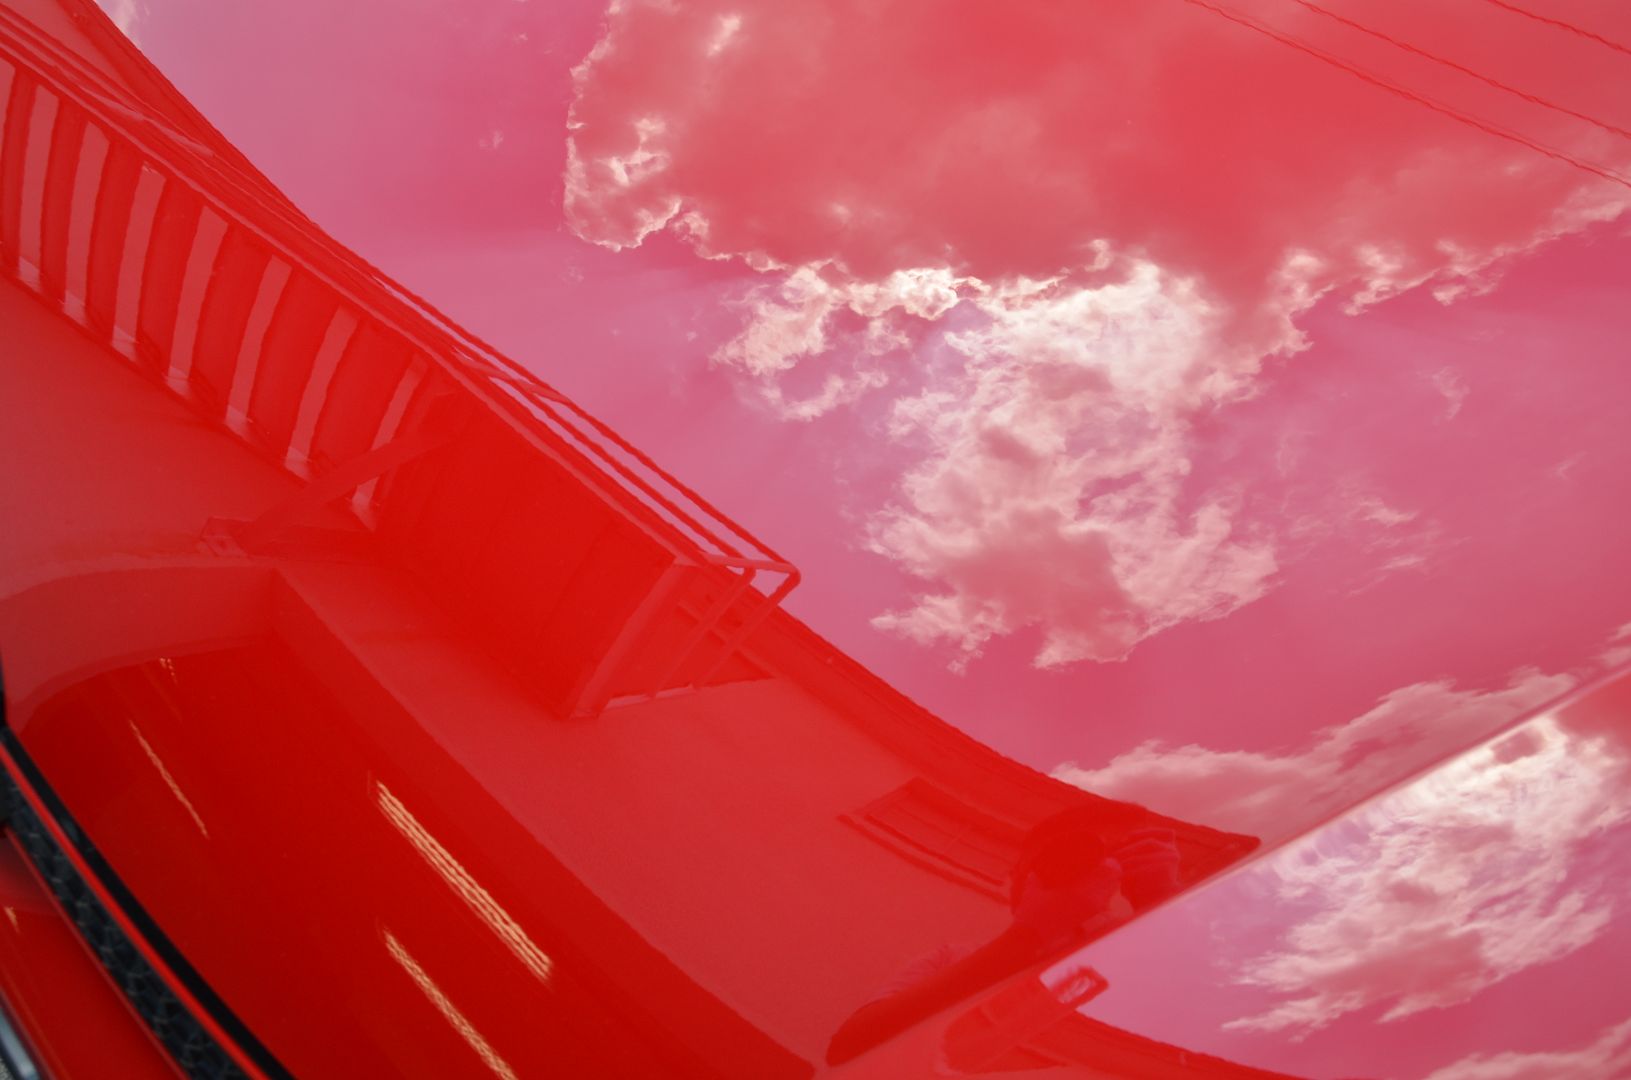
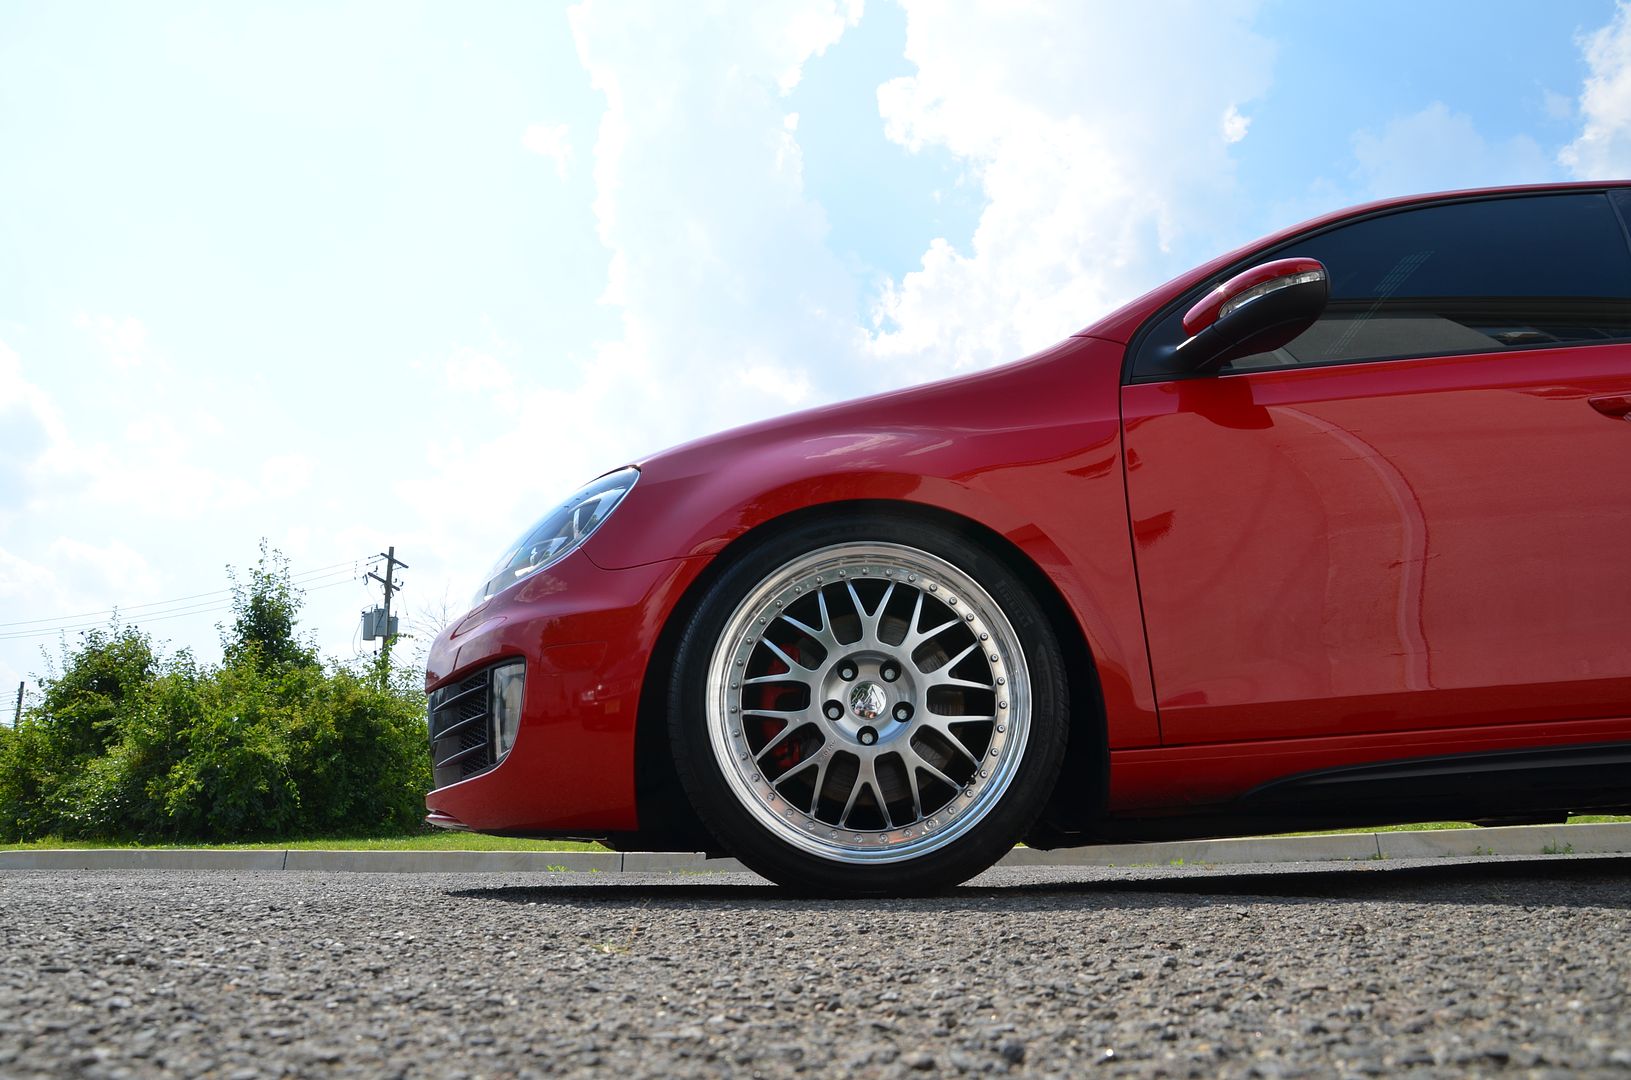
Action shots
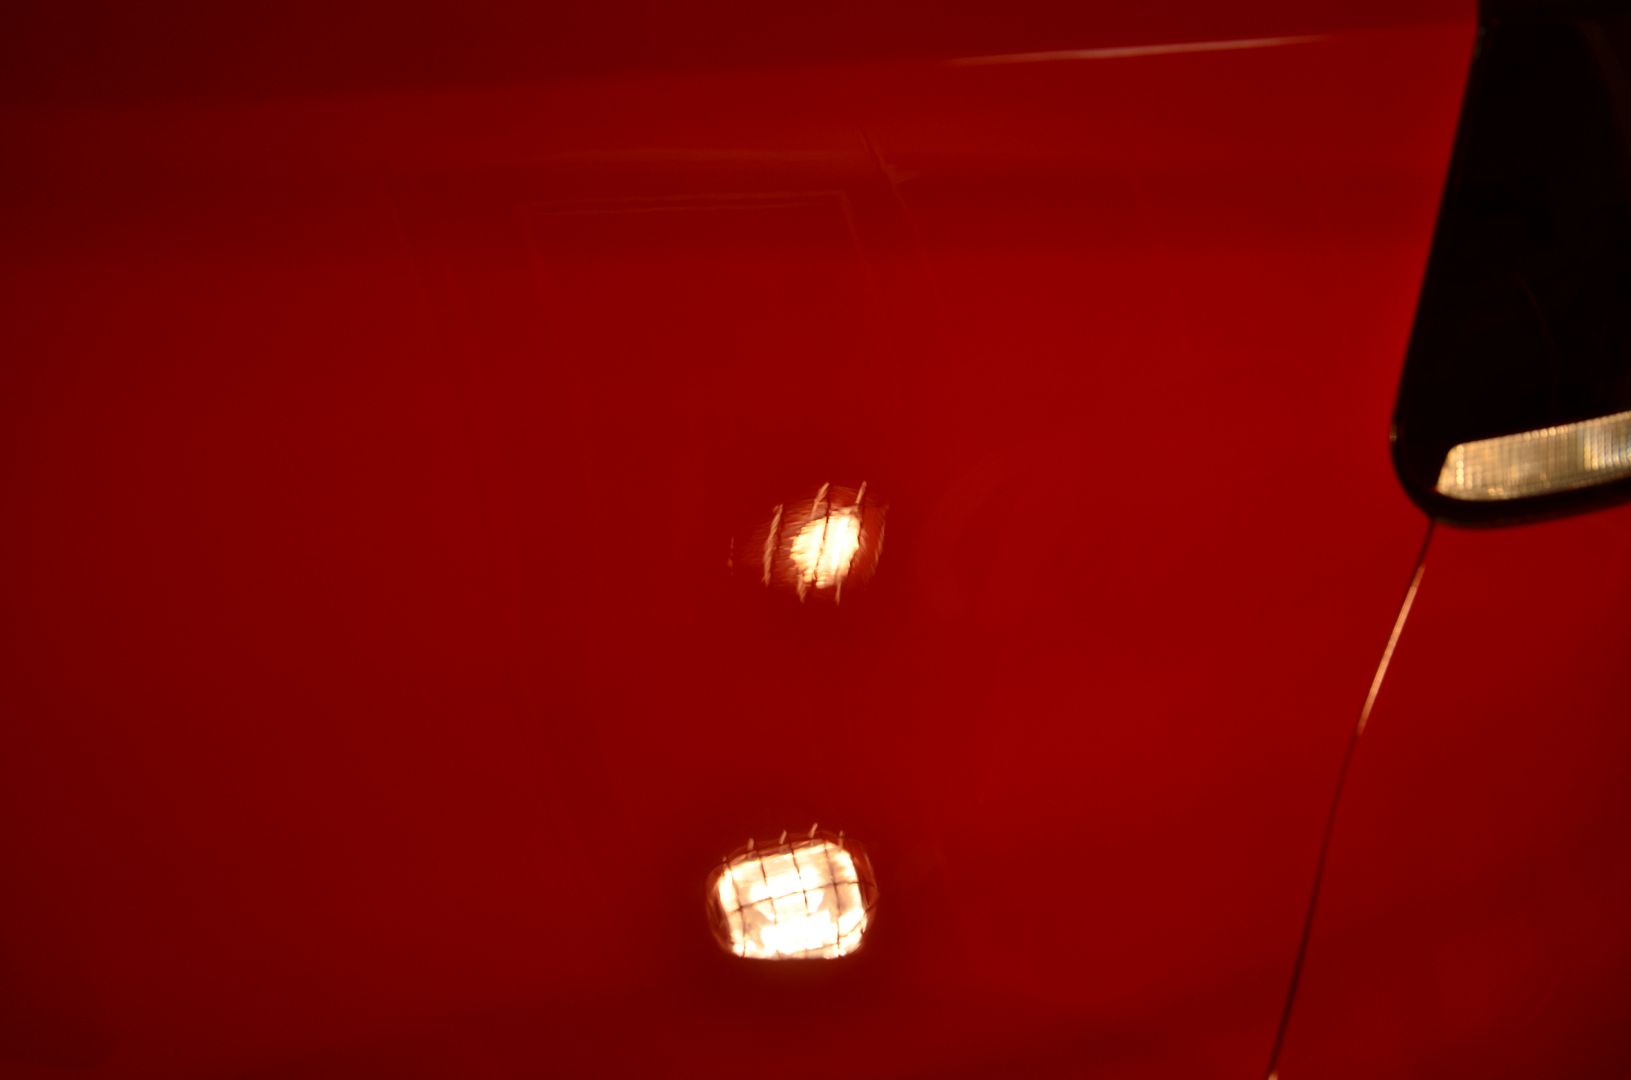
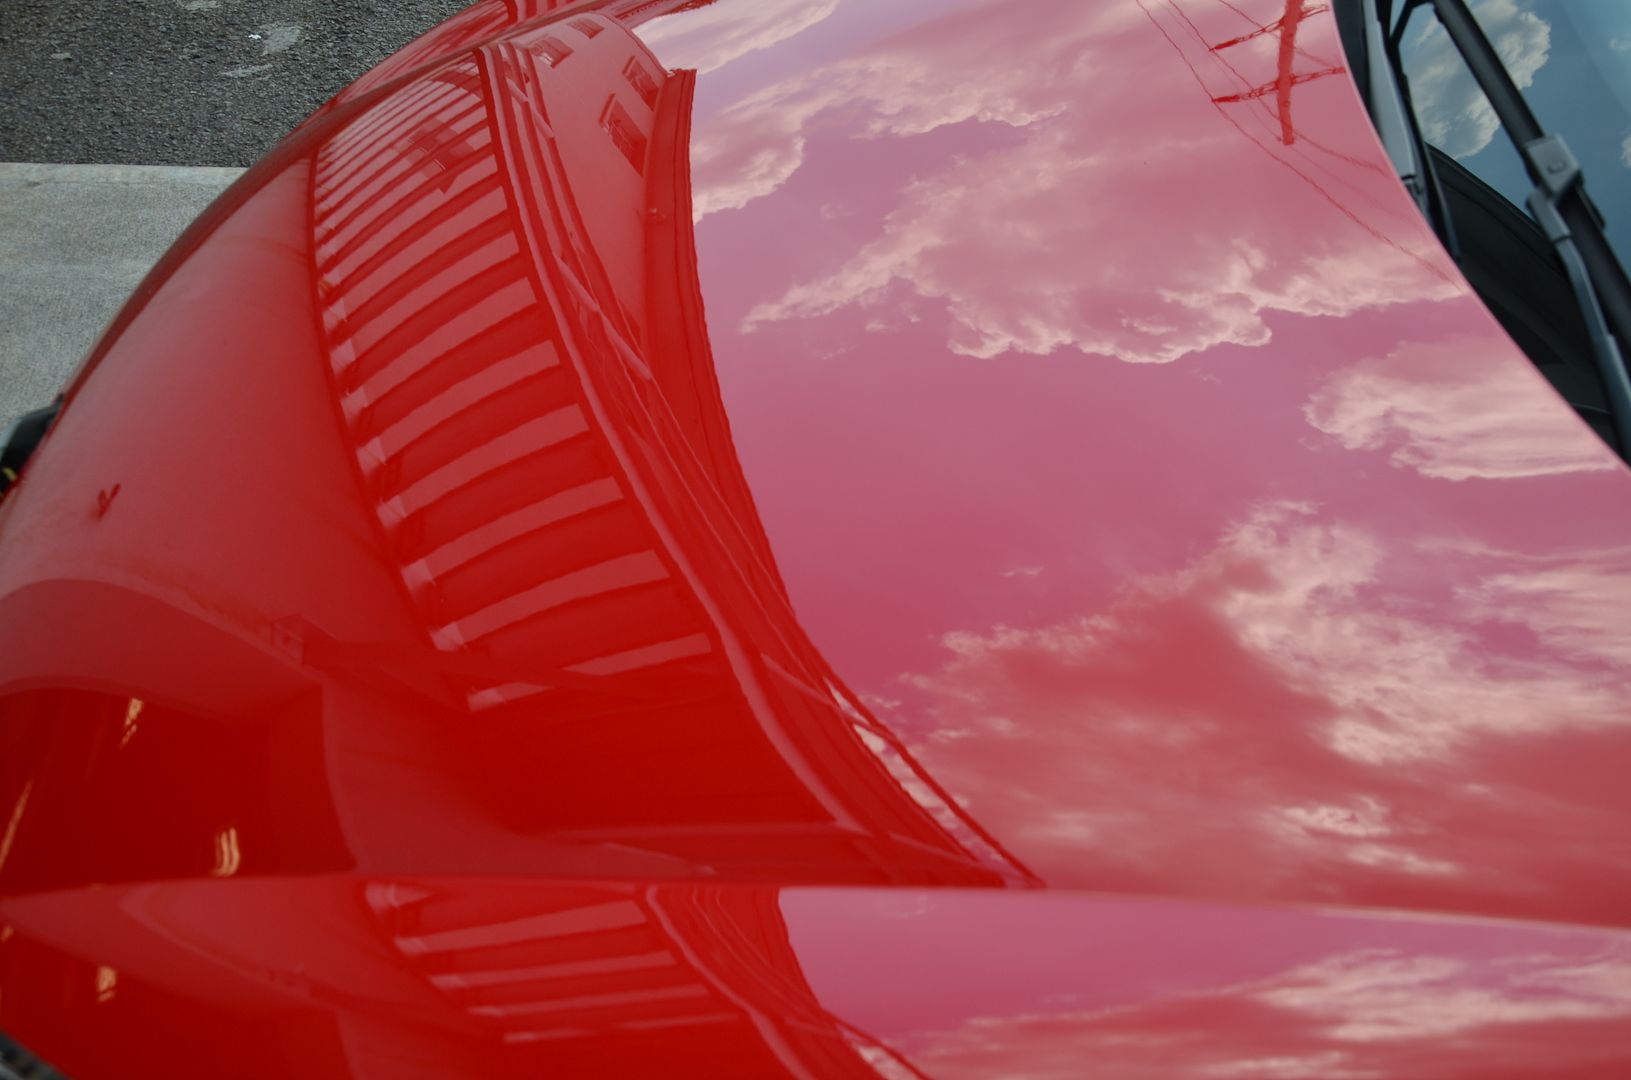
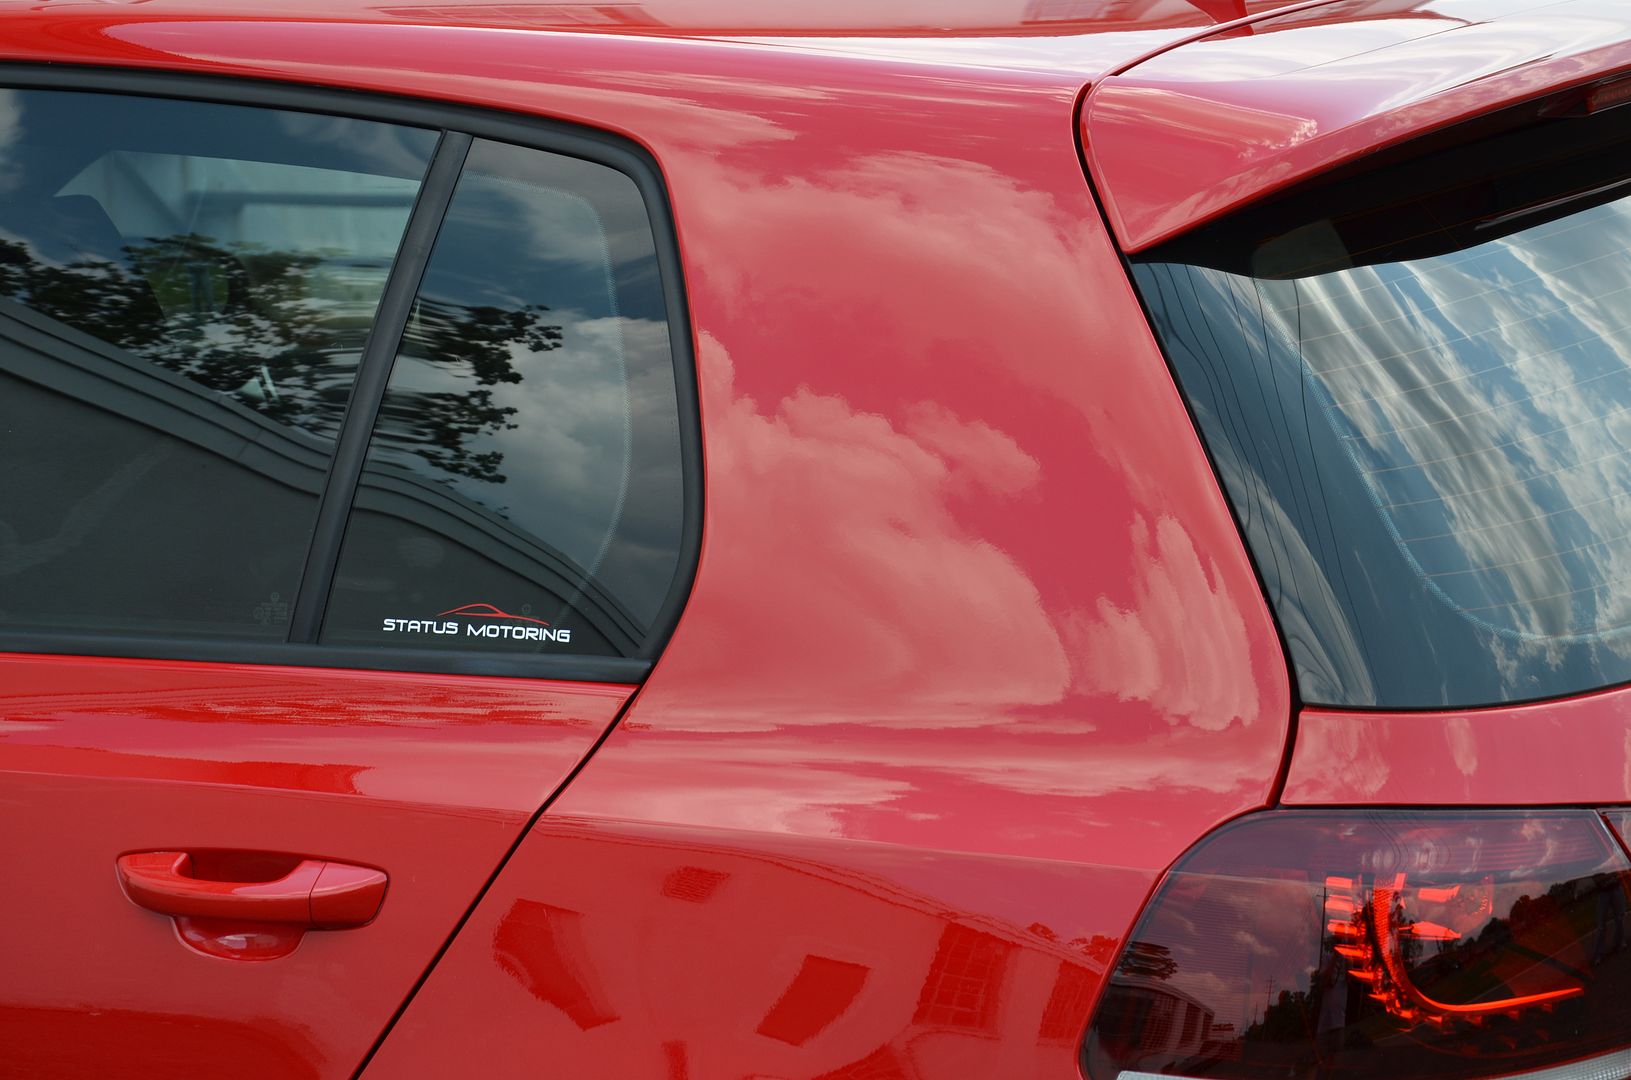
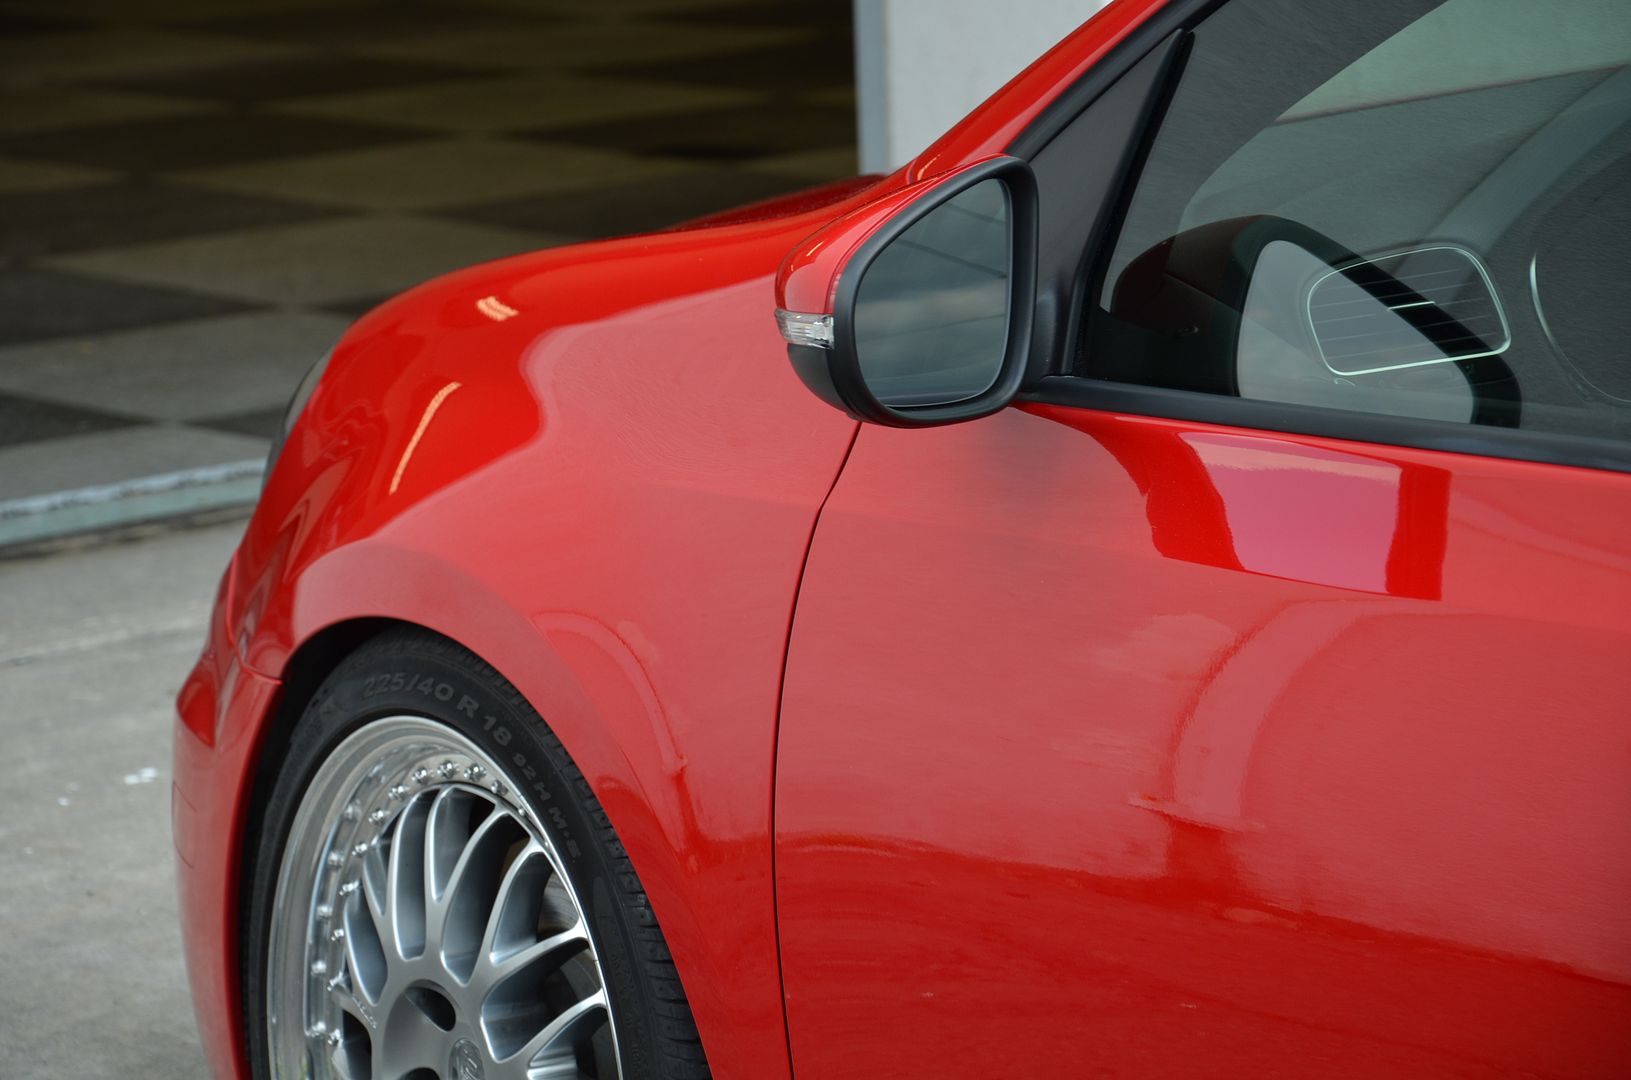
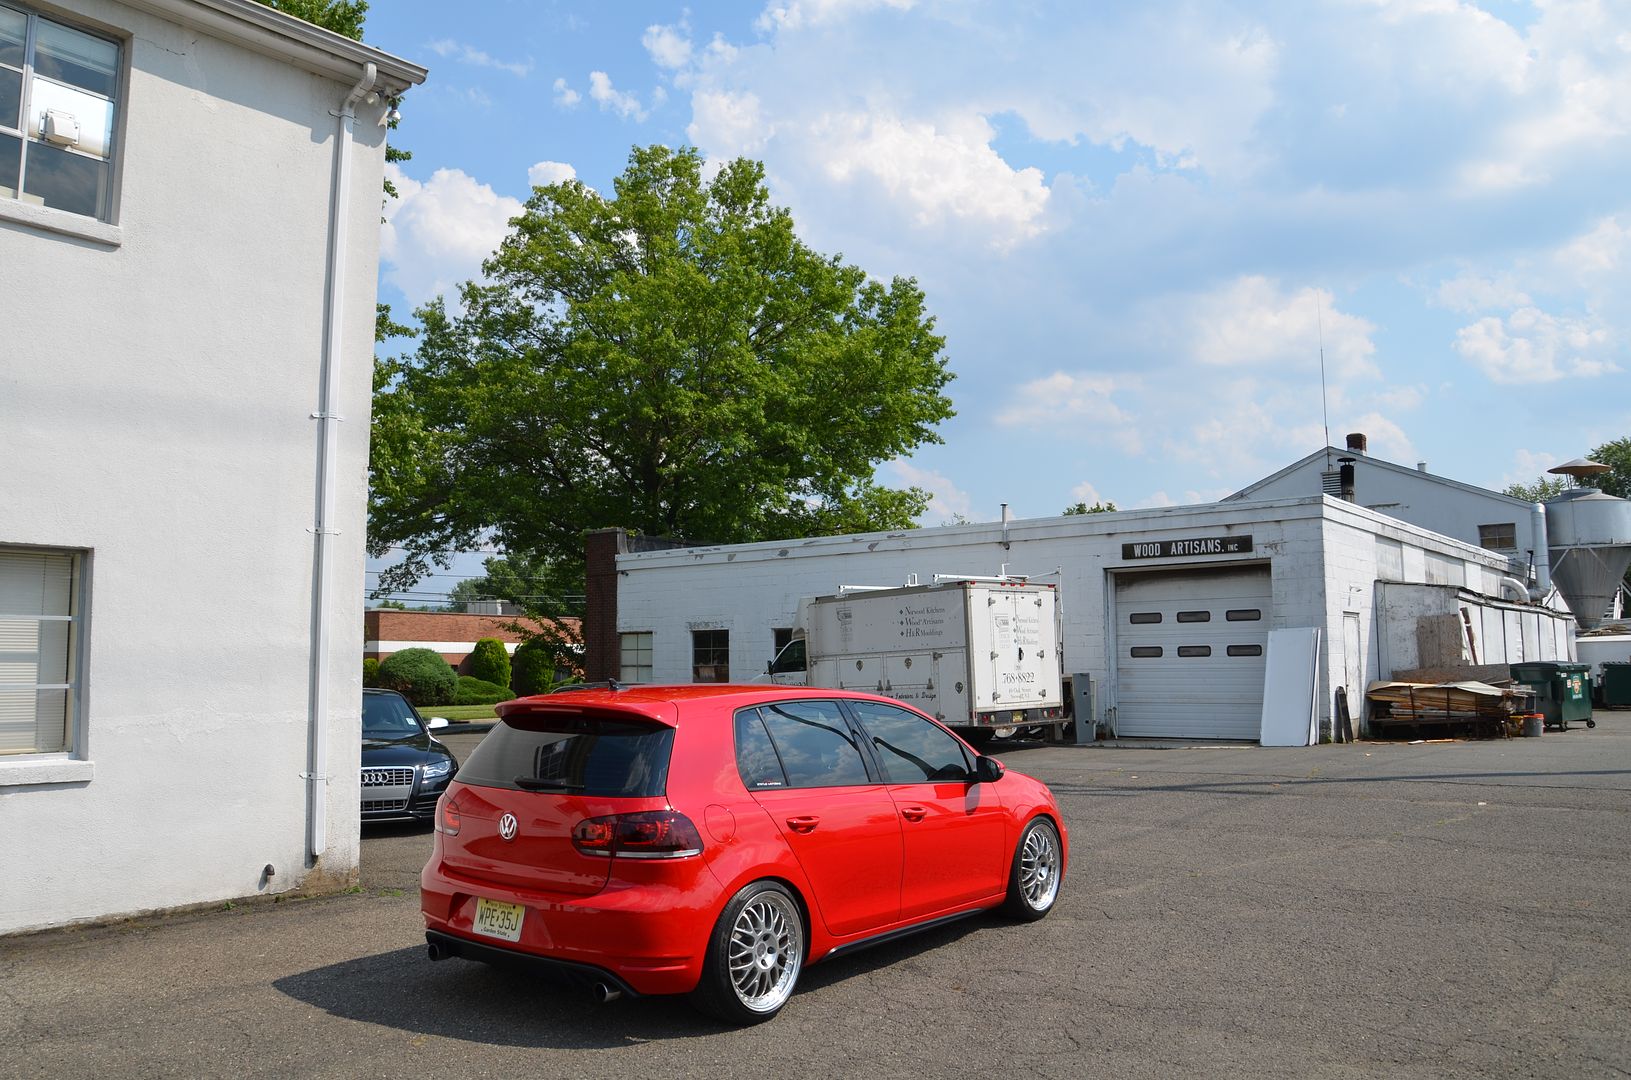
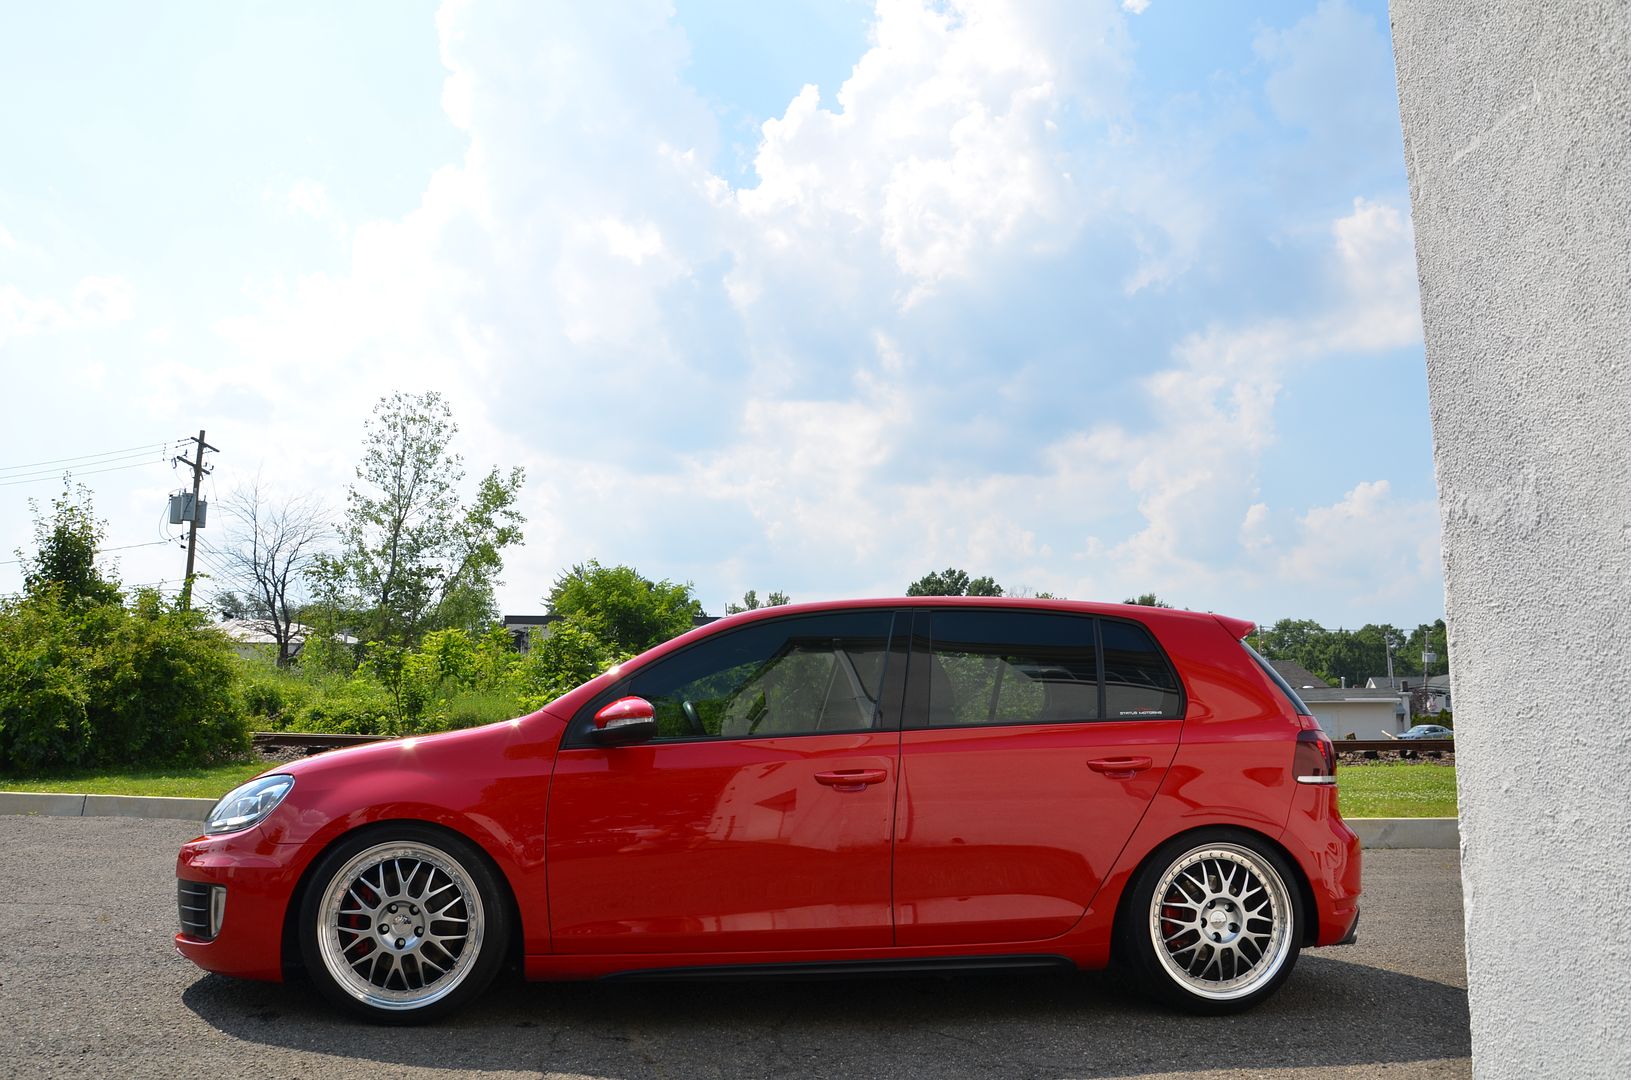
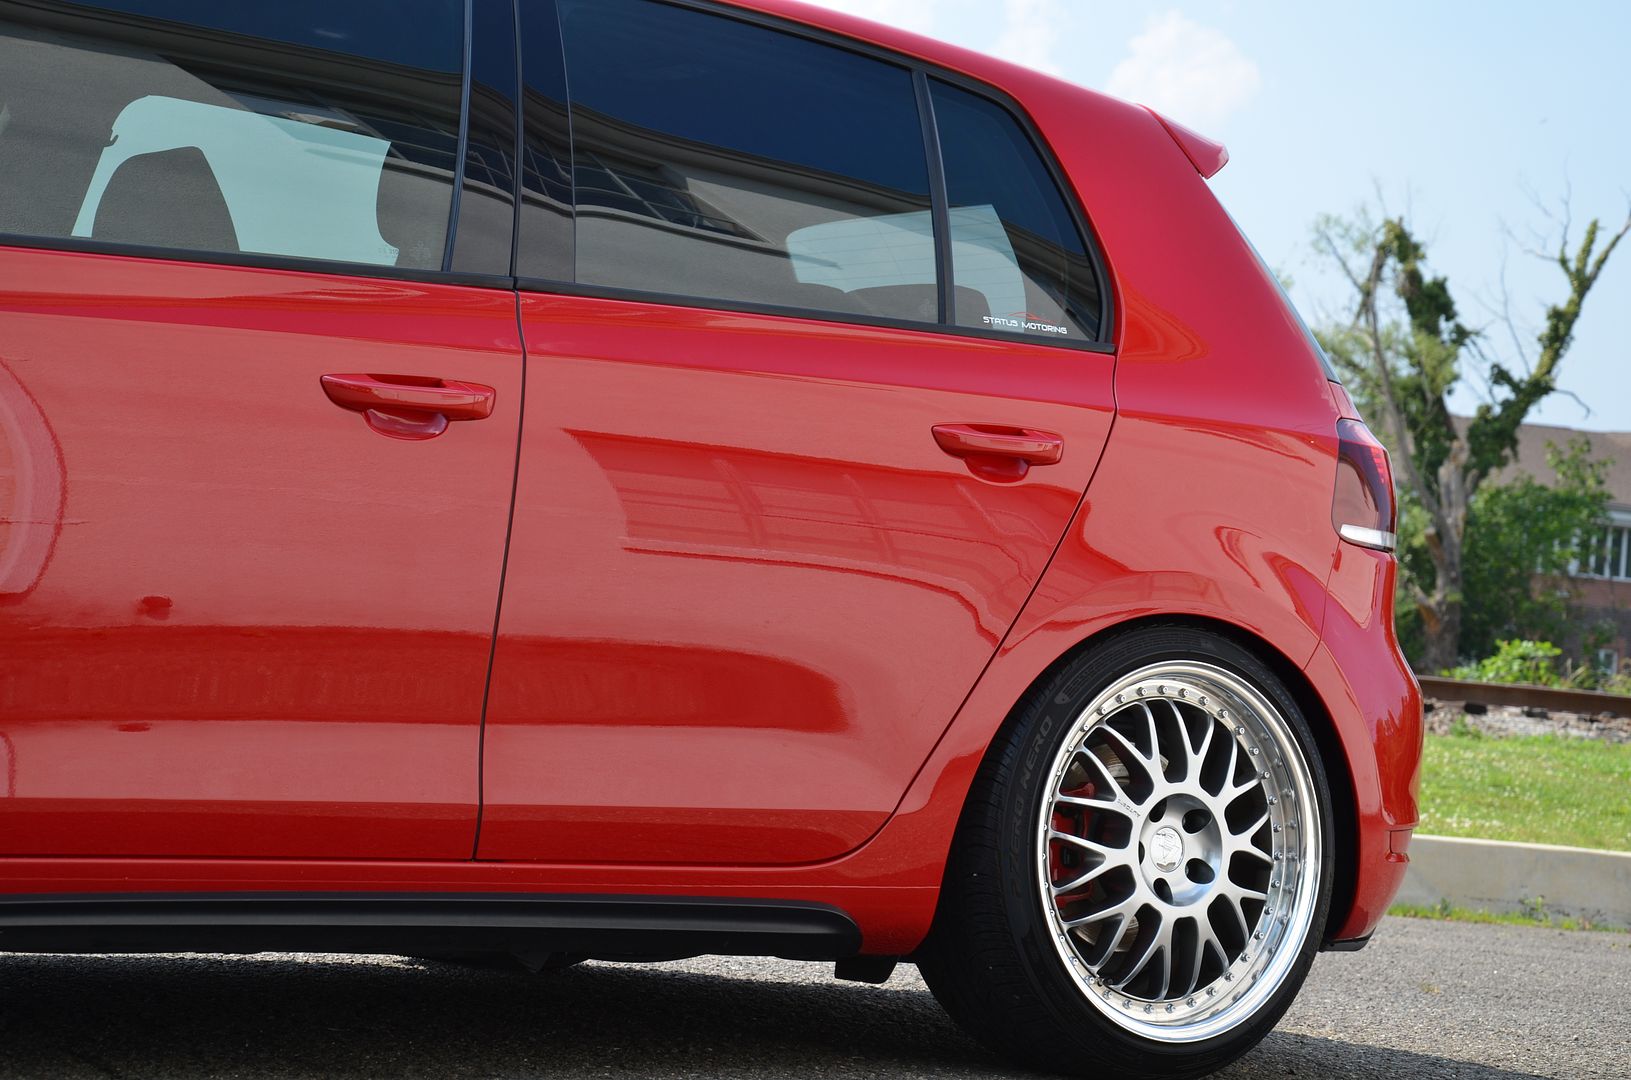
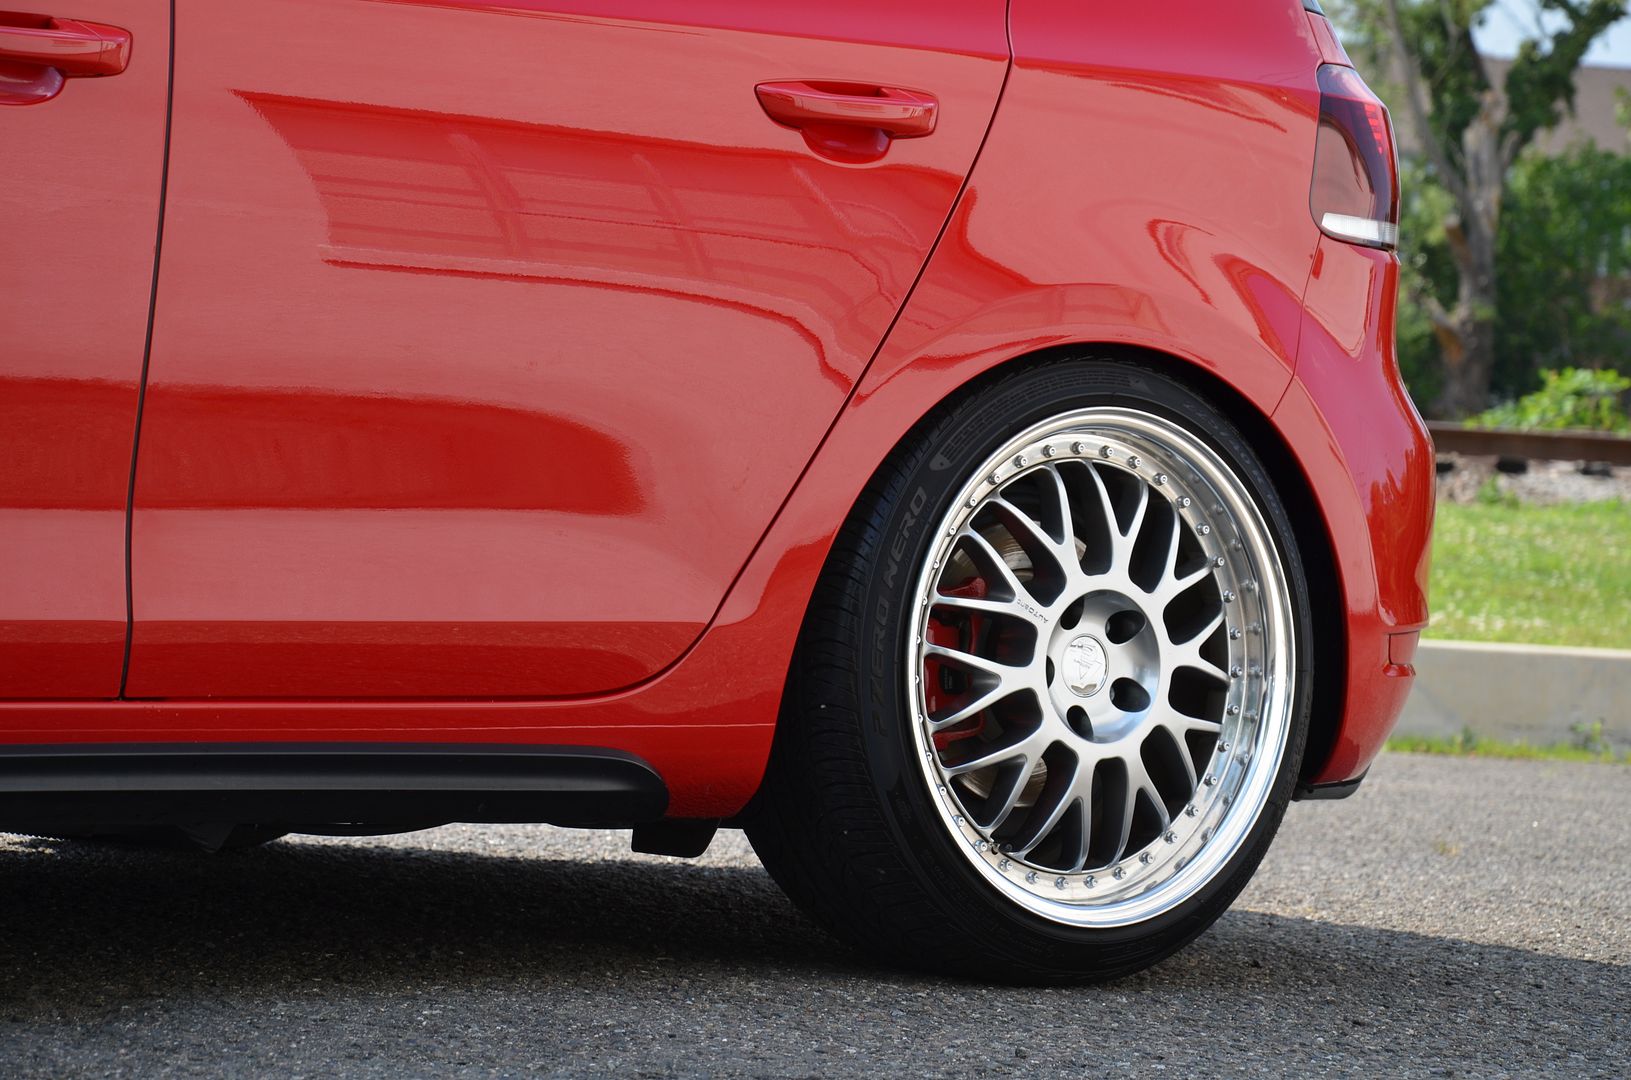
Outside shots after paint correction
Rinse off all the dust from compound and polish
Opti Coat
Buffing off the Opti Coat
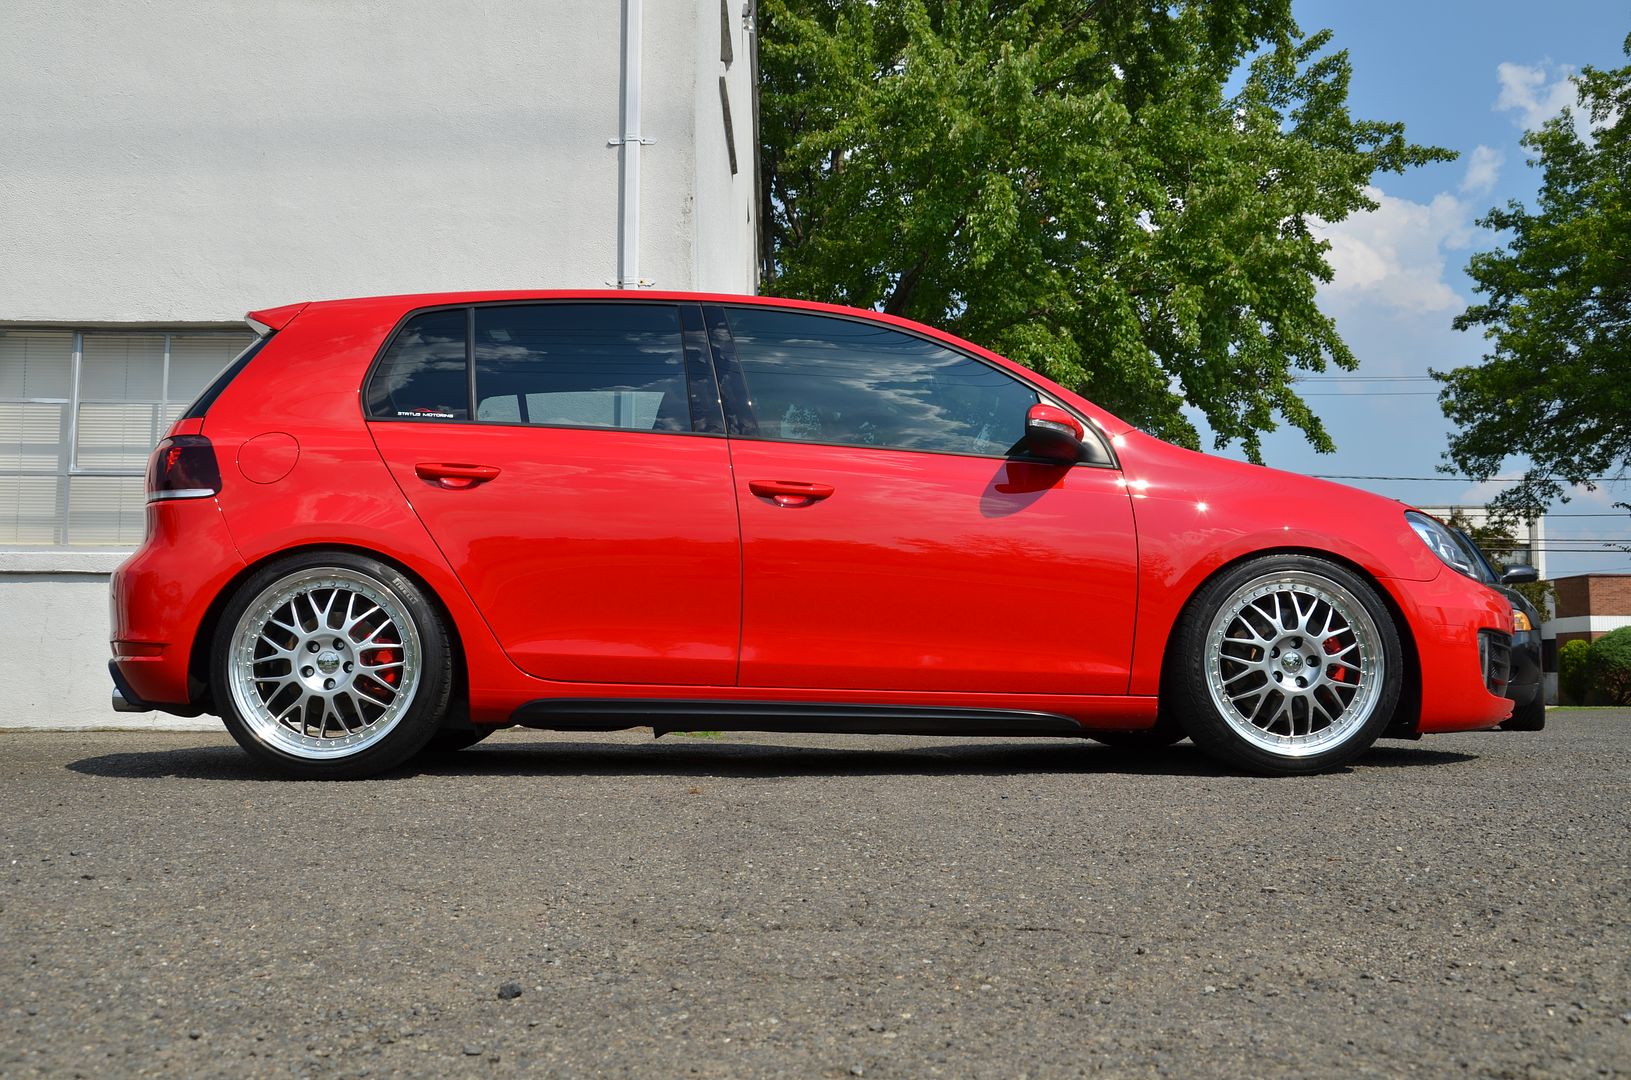
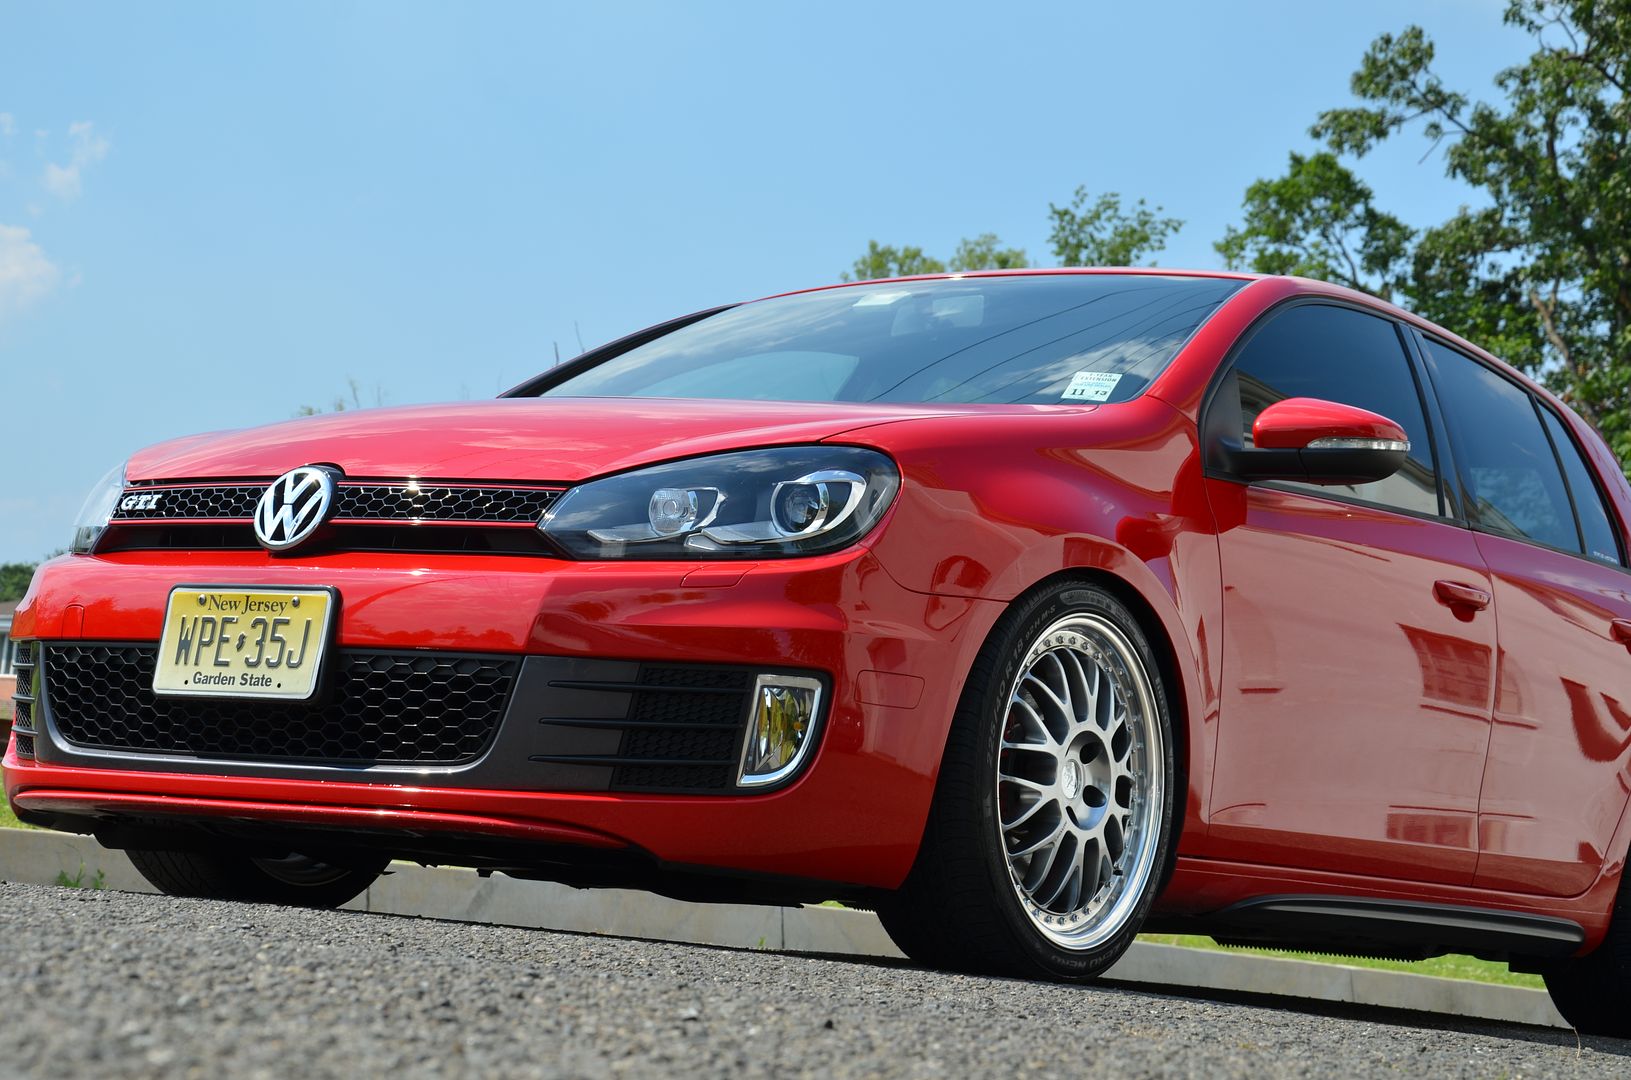
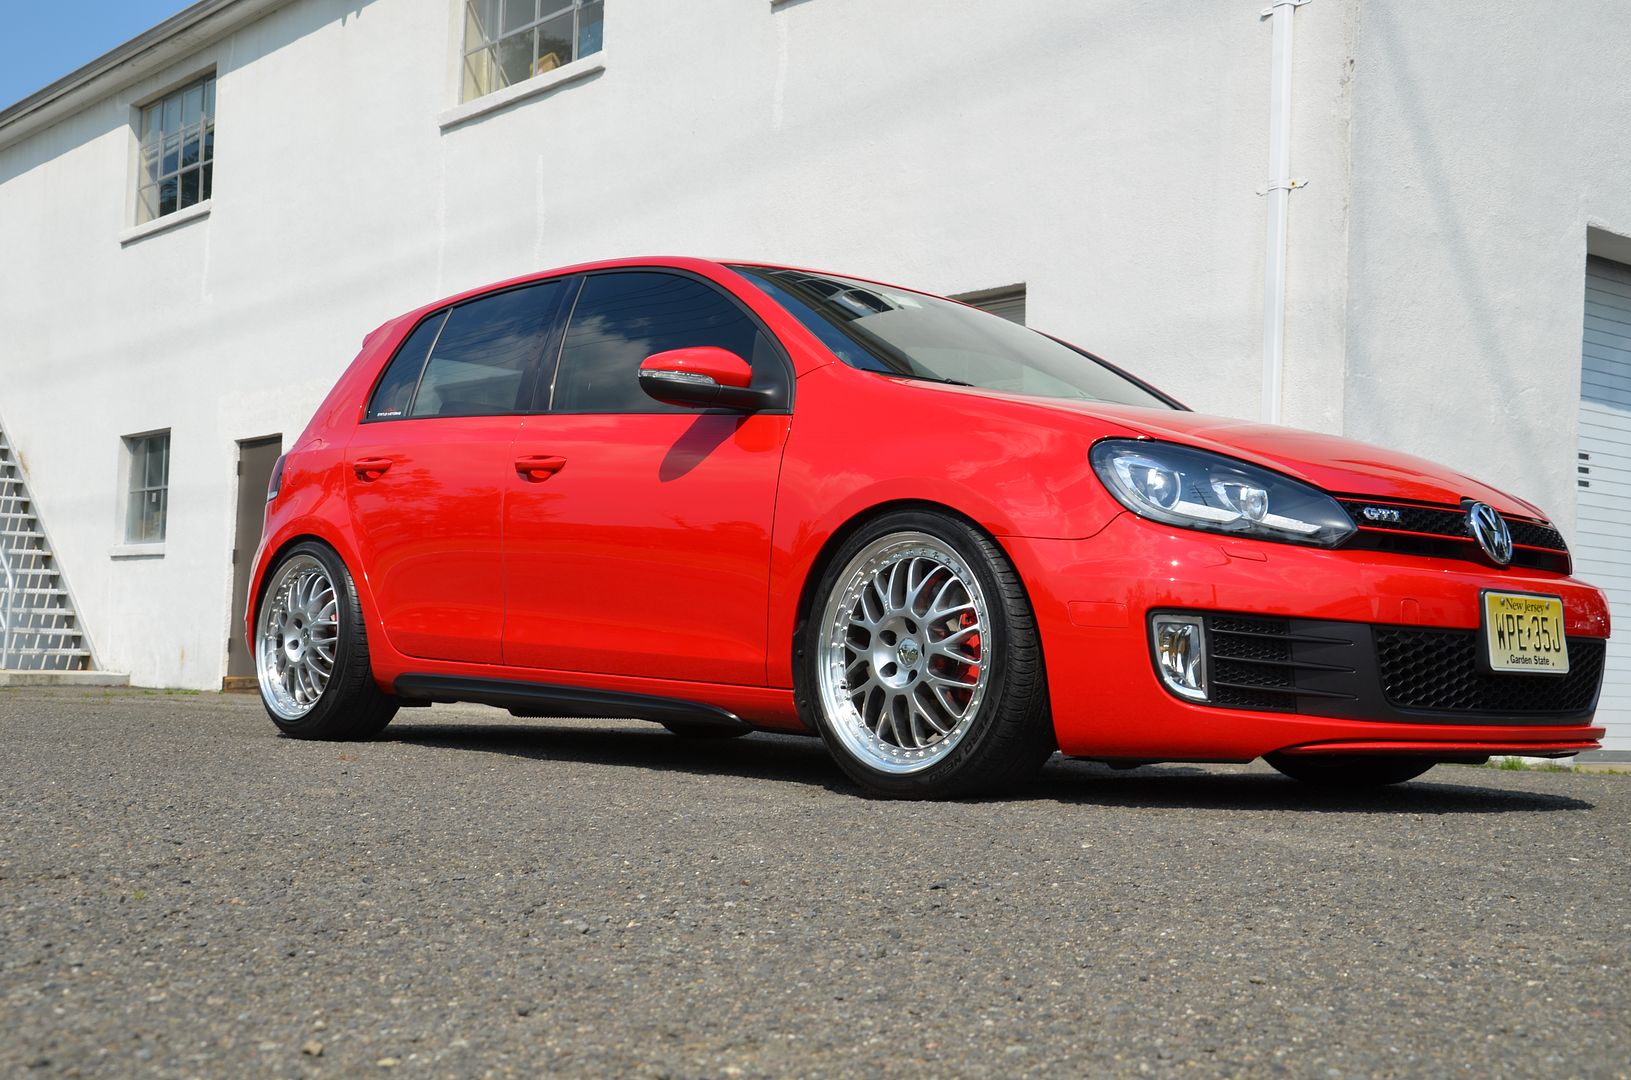
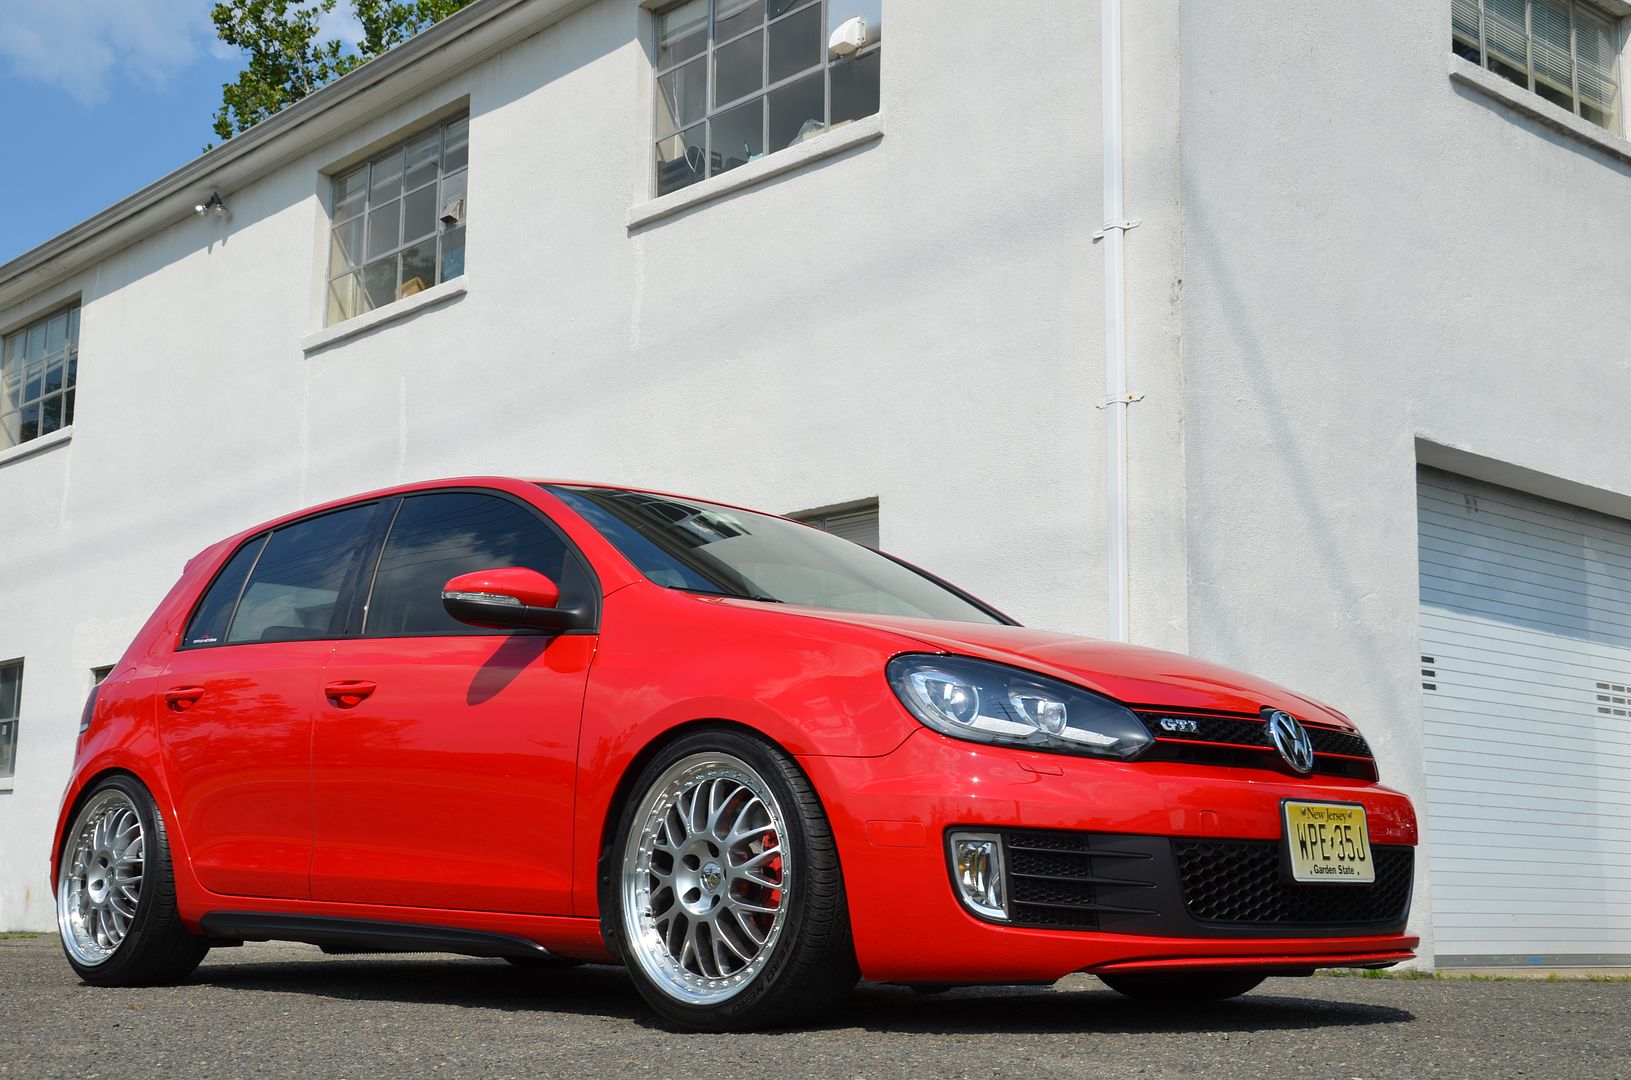
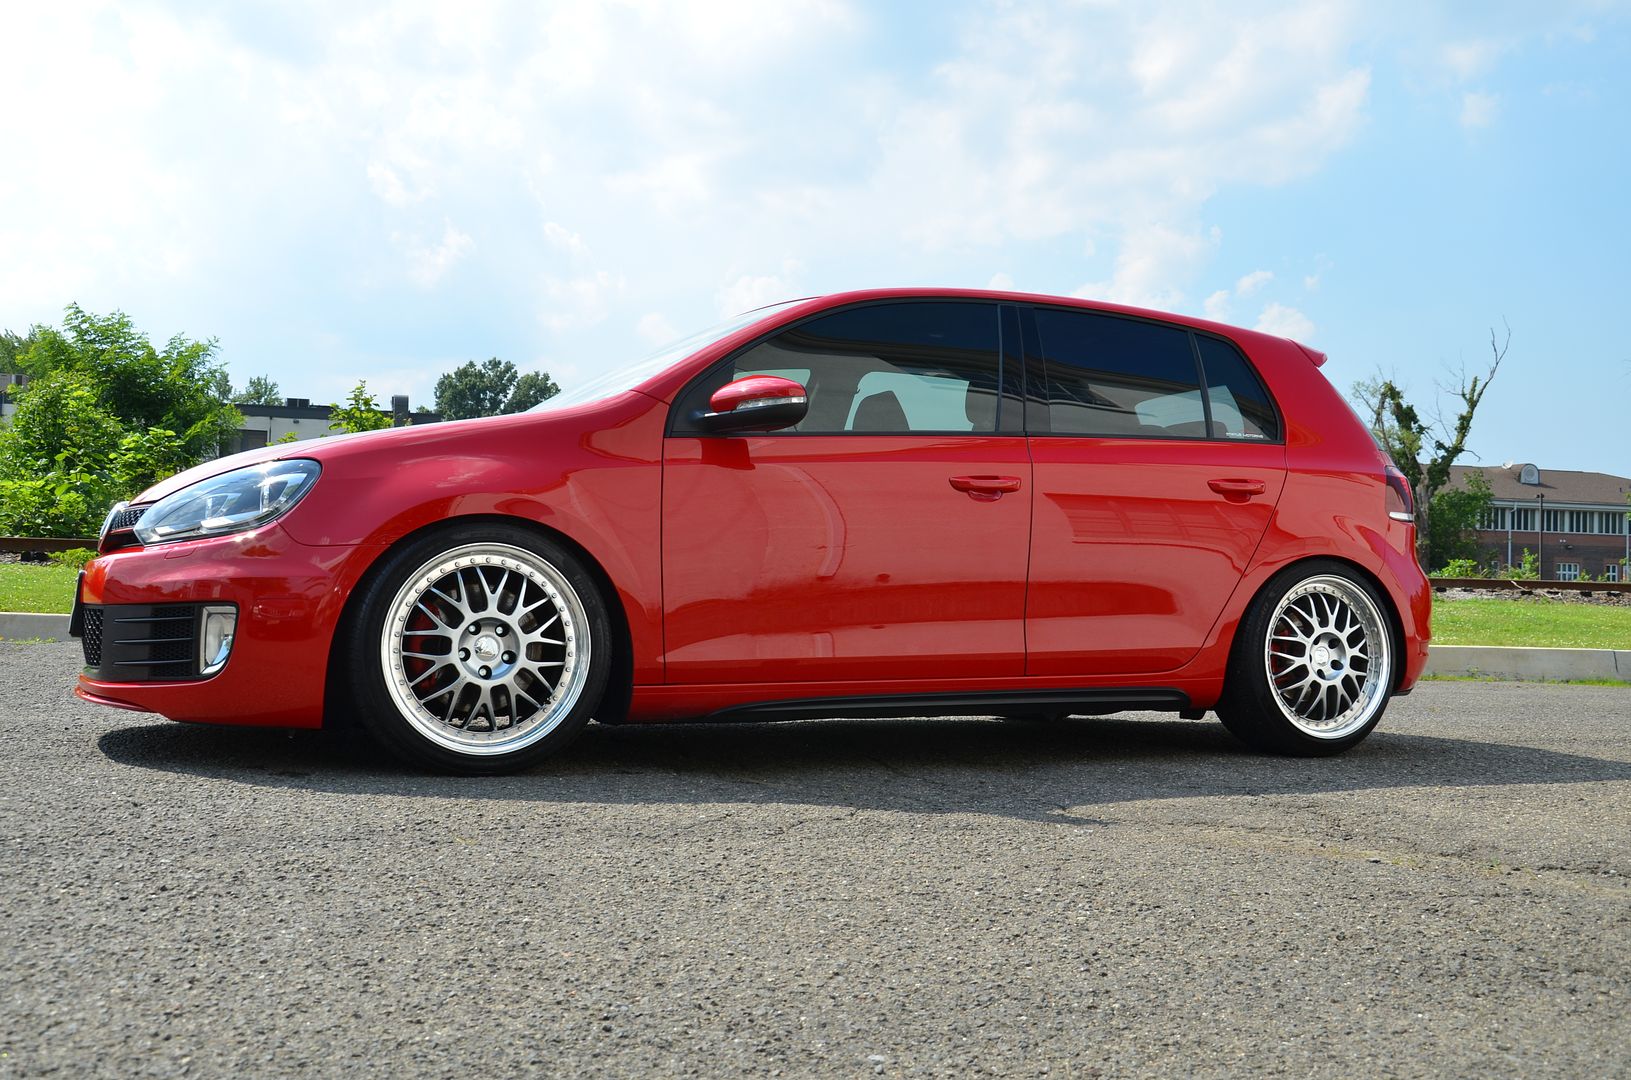
After


Requirements - Full Exterior Paint Correction and Opti Coat installation.
We get another one ready for Waterfest.
Exterior
- Wheels were prepped with Sonax Wheel Cleaner and cleaned up with various brushes
- Tires were spritzed down with Adam�s All Purpose Cleaner and washed down
- Wheel wells were cleaned up
- Washed with 1Z einszett W99
- Wolf's Decon Gel
- Wash down and rinsed
- Door jambs were cleaned up
- Nano Scrub AutoScrub
- Dried
- Tires dressed
- Masking
- Paint Measurement
- Meg's M105 with Surbuf and Griots Orbital
- Sonax 5/5 Fine Abrasive Paste - Microfiber DA Cut Pad - Griots Orbital
- Sonax 3/6 Nano Polish - Uber Green Pad - Griots Orbital
- Opti Coat
- Inspection with Fenix, 3m Sun Gun, Infratech, and natural sunlight
- Wheel wells were cleaned and dressed
- Rubber and Plastics Treated
- Exterior windows and mirrors cleaned and sealed
- Exhaust tips cleaned
- Windows were autoscrubed, cleaned, and sealed
Products used
Links to products used -
1Z einszett W99
Wolf's Decon Gel
Sonax Full Effect Wheel Cleaner
NanoSkin AutoScrub System
Meg's M105
Sonax Compound 5/5 - Coming Soon
Sonax Nano Polish 3/6 - Coming Soon
Opti Coat
Adam's Super VRT
Optimum Metal Polish
Tools used
Uber Wool Wash Mitt
Uber No Name MF Towels
Griot's 6 inch Random Orbital Polisher
Uber Buffing Pads
Defelsko Paint Meter
Fenix TK35
Brinkmann
Kranzle Pressure Washer
Cam Spray Foam Canon
2 Grit Guard Buckets with Caddies
Uber Firehose Nozzle
Metro Air Force Blaster
Before
Direct sun shots out side, Wow this is bad
Prep - Wheels/Tires/Wash/Decon/Autoscrub
Pre soak /Bug and Tar
Sonax Full Effect Wheel Cleaner
Wheel woolie in action (coming soon)
Rinse wheels
Rinse bumper
Foaming up the car
Decon
Rinse
Drying with the Uber Super Drying Microfiber Towel
AutoScrub
Blowing out the excess water
Shots of the paint after prep
50/50 shots (before and after compound and polishing)
John in the background happy with the progress on making his baby shine
Tail lights were cleaned up - Sonax 5/5 followed by Sonax 3/6
Before
After
Close up shots after correction
Action shots
Outside shots after paint correction
Rinse off all the dust from compound and polish
Opti Coat
Buffing off the Opti Coat
After


Can you explain a bit more what Opti-coat is? What does it do? How long does it last? How to maintain it? What does it replace? What waxes can still be used with it? How to apply it? Etc. Thanks!
Looking great as always.
Looking great as always.
 I'm curious as well.

1st Gear
Joined: Jun 2012
Posts: 30
Likes: 0
From: Honolulu, HI
Trending Topics
Thread Starter
|
Former Vendor
Joined: Mar 2009
Posts: 868
Likes: 0
From: NJ
Opti-Coat is based on a resin pre-polymer that we manufacture and once it is applied, it crosslinks and reacts with urethane and other clear coat paints to form a permanent film. Opti-Coat has better chemical resistance, scratch &mar resistance, and release properties than any automotive coating in use. Like a regular clear coat, Opti Coat lasts indefinitely unless it is removed by polishing, sanding, or paint removers.
DIRECTIONS
1. Remove defects to your satisfaction
2. Clean surface to remove all polishing oils, waxes, and silicone.
3. Prime the applicator by making an X across the pad. Only a few drops will be needed for each subsequent panel.
4. Wipe Opti-Coat on a single panel at a time in a thin layer using several directions for even coverage.
5. Inspect the panel with adequate lighting withing 5-10 minutes looking for any thick areas that have not flashed away to clear.
6. Use applicator or paint safe microfiber to even out (no pressure)any spots where you see streaks.This step is key, as any spots not leveled will have to be abrasively repaired is allowed to cure. Panels will feel a bit tacky and will be self -leveling during cure time, so avoid any unnecessary touching,wiping, or contact to produce the best results.
7. Repeat steps 1-6 for each panel where application is desired.
NOTE: Take care to get complete coverage in your initial application as Opti Coat Can Not be layered.

2nd Gear
Joined: May 2012
Posts: 124
Likes: 0
From: Lenox, Ma.
All of your threads like this make me want to bring my Tundra down to you, but I'm too scared you'd look at it and laugh!
You guys do awesome work. Keep posting pics please!
That Opti Coat looks cool. Would it be a good product to use on a new car to help protect it?
I'd bring my Mini down to you just so I could watch you work on it.
You guys do awesome work. Keep posting pics please!
That Opti Coat looks cool. Would it be a good product to use on a new car to help protect it?
I'd bring my Mini down to you just so I could watch you work on it.


Thread
Thread Starter
Forum
Replies
Last Post
molala
MINIs & Minis for Sale
1
Oct 2, 2015 01:53 PM
Mini Mania
Interior/Exterior Products
0
Sep 4, 2015 11:43 AM