Mini Cooper 2007-2013: How to Replace VANOS Solenoid
This article will walk you through the process of replacing the VANOS solenoid in the comfort of your own garage.
This article applies to the 2nd Gen MINI Cooper (2007-2013).
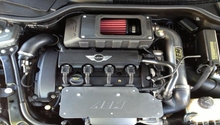
The VANOS system (German for variable camshaft timing) is designed to improve engine breathing across the RPM range, which in turn improves power, fuel economy, and emissions. The MINI R56 N14 engine utilizes one VANOS solenoid, which is mounted to the cylinder head, and the R56 N12, N16, and N18 engines utilize two VANOS solenoids, also mounted on the cylinder head. Over time, these solenoids can become fouled up and the o-rings can develop leaks. Generally, you will get an engine problem code if your VANOS solenoids are bad - generally 2A9A, 2A98 (P0016), 2A82, 2A9B, 2A99 (P0017), 2A87, or 2845. If you are experiencing either of these problems, replacing your solenoid(s) is a pretty easy job that won't break the bank. Keep reading and we'll walk you through the process.

Materials Needed
- 10mm socket and ratchet
- Flat head screwdriver
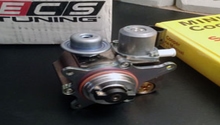
- New VANOS sensor (for N14 or N12, N16, N18)
Step 1 – Remove the VANOS sensor (N14)
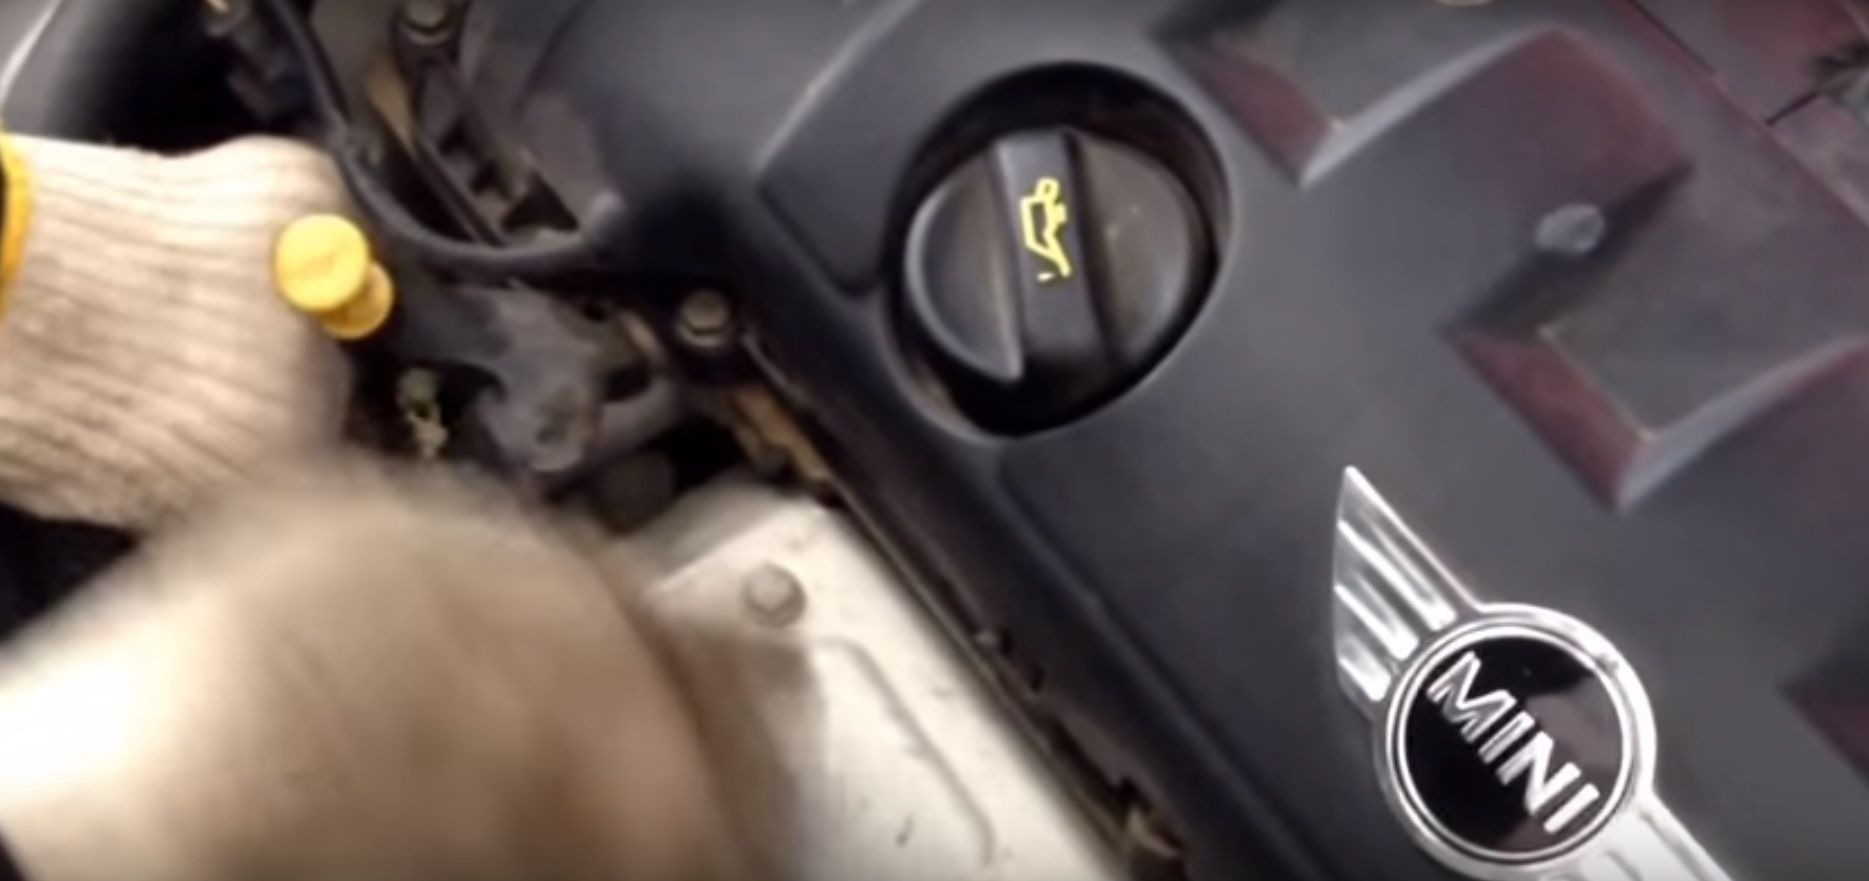
Disconnect the air intake hose by removing the 10mm bolt on the clamp with a socket and ratchet. Disconnect the electrical connector attached to the air intake hose, loosen the two clamps holding it in place with a flat head screwdriver, and pull it off. With the air intake hose out of the way, you'll be able to access the VANOS sensor. Remove the 10mm bolt holding it in place and disconnect the electrical connector on the back of the sensor. If you have a hard time removing it, use a flat head screwdriver to pry it off.

Figure 1. Remove the 10mm bolt from the air intake hose. 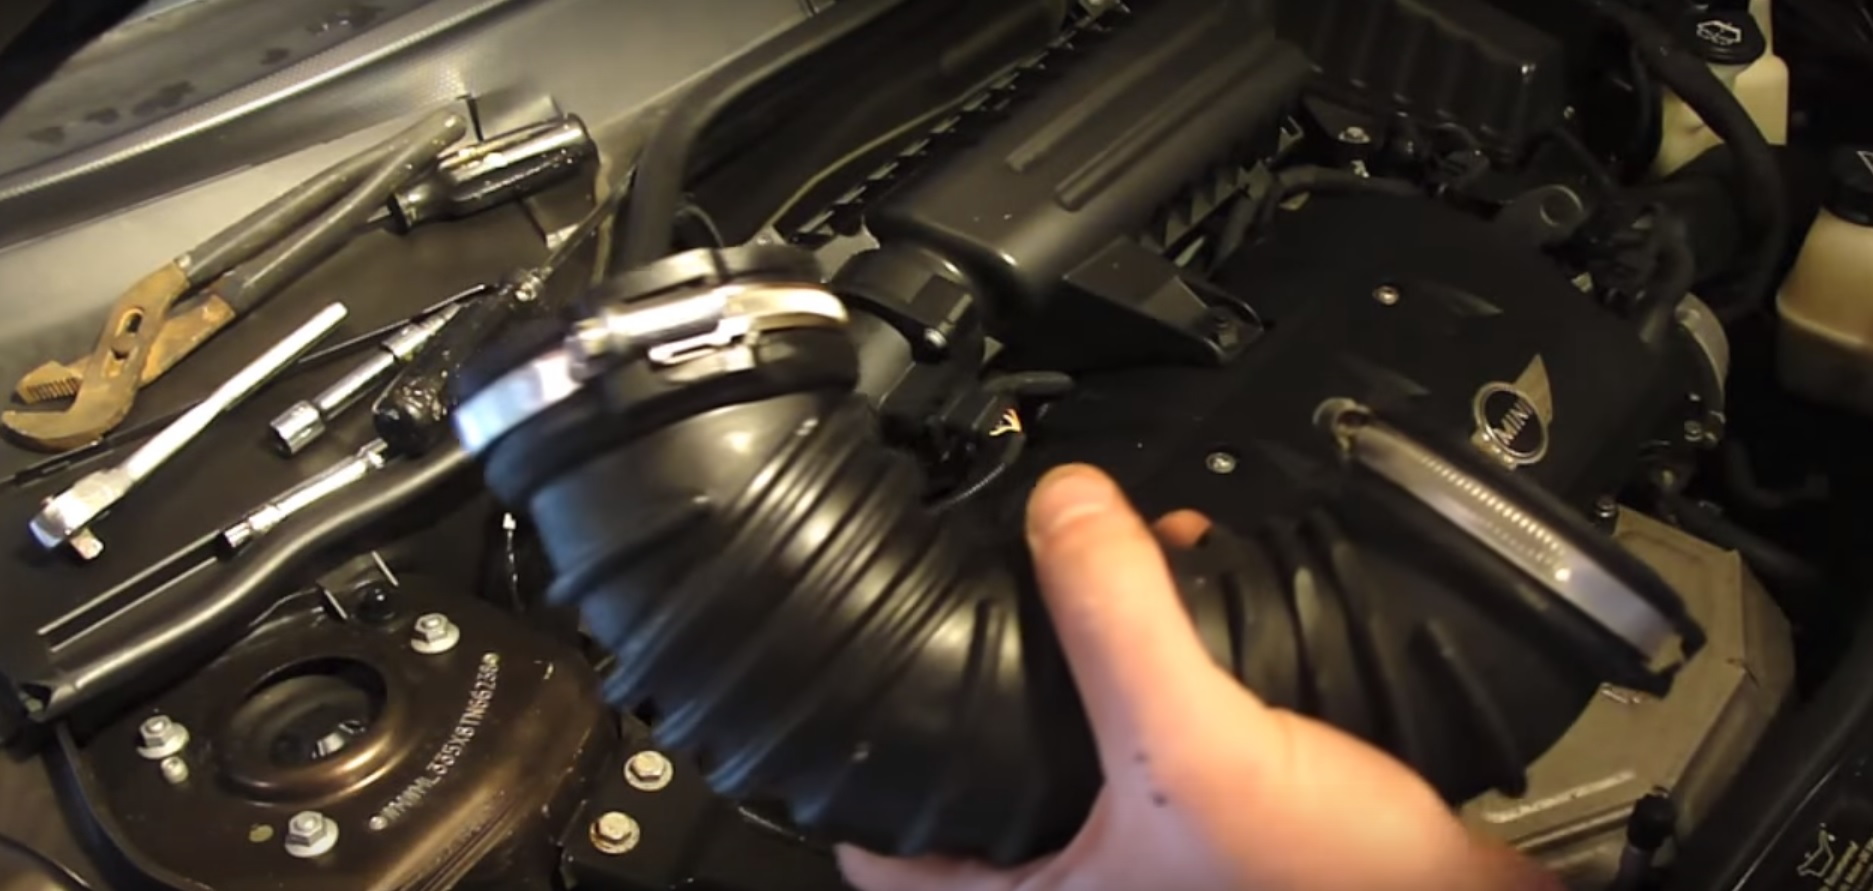
Figure 2. Loosen the clamps on the air intake hose and remove it. 
Figure 3. Remove the VANOS sensor.
Step 2 – Install new VANOS sensor (N14)
Connect the electrical connector to the back of the new VANOS sensor. Slide it in place and replace the bolt, then tighten it. Replace the air intake hose and tighten the clamps, then replace the bolt and tighten it.
Step 3 – Remove VANOS sensors (N12, N16, and N18)
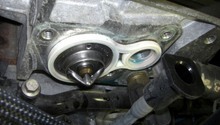
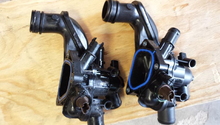
The N12, 16 and 18 engines have two VANOS sensors — one for the intake camshaft above the head and another mounted in front of the cylinder head. To remove the exhaust sensor, disconnect the electrical connector and remove the 10mm bolt holding it in place.
Pull the solenoid out of the head, carefully using a flat head screwdriver to pry it if it won't budge. Make sure the o-ring comes off with it. To remove the intake solenoid, loosen the top clamp on the air intake hose and pull it off the mass airflow sensor. Loosen the bottom clamp and remove the hose. Disconnect the electrical connector from the solenoid and remove the 10mm bolt, then pull it out.
Step 4 – Install new VANOS sensors (N12, N16, and N18)
Connect the electrical connectors to both sensors and replace the 10mm bolts. Replace the air intake hose on both ends and tighten both clamps.
Related Discussion and Videos
- 08 R56 Mini Cooper N12 VANOS solenoid replacement - YouTube.com
- VANOS/VVT Solenoid Change 2008 Mini Cooper - YouTube.com
- Can't get intake VANOS solenoid off - NorthAmericanMotoring.com