Mini Cooper 2007-2013: How to Replace the Fuel Filter
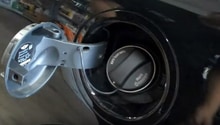
If you are in the habit of filling up at big name gas stations, your fuel filter only needs to be replaced every 50-100k miles. But if you are the kind of driver who fills up at the cheapest, no-name gas stations, or drives in 3rd world countries, it pays to change it much sooner.
This article applies to the Mini Cooper (2007-2013).
The fuel filter is an important part of the fuel system, ensuring only bright fuel is delivered to the easily clogged little holes in the fuel injectors. For the Mini Cooper, it is recommended to be changed at around 100k miles by the factory, but they don't really care if the car lasts past the warranty. Most people in the know will tell you a fuel filter ought to be replaced at 50-75k miles, and the real sticklers suggest every 30k miles. Replacement kits are relatively cheap, so changing it out yourself is a good way to go if you have a little bit of patience and DIY know-how. Mini provides an access panel so you don't have to remove the gas tank, but you do have to pull the rear seat out of the car to get at it. Read on for a step-by-step guide.

Materials Needed
- Flat head screwdriver
- Rubber mallet
- Needle nose pliers
- Ratchet
- 10mm socket
- Vaseline
- Nitrile gloves
- Paper towels
- Turkey baster
- Old fuel recovery container
Replacement of the filter in the Gen II (2007-2013) Mini is about the same as the Gen I (2001-2006). There are really no tricks to it or special tools needed. You will be working with gasoline and its fumes, so be sure there is no source of ignition and plenty of ventilation where you are working.
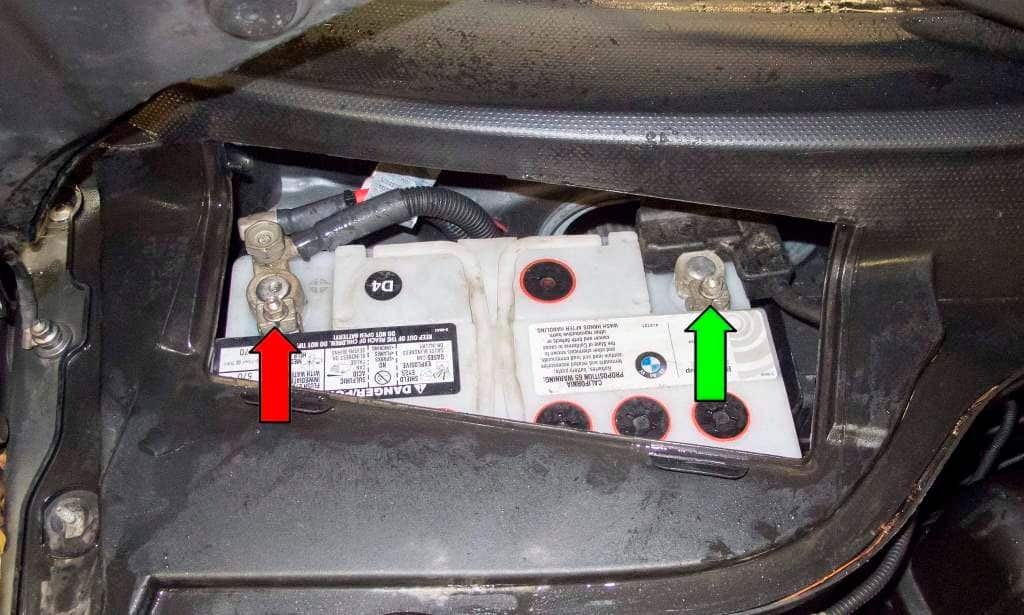
Step 1 – Disconnect negative battery lead
Open the hood and lift the access cover by the windshield on the passenger side to get to the battery. Disconnect the negative (black) battery lead as shown in Figure 1. This will prevent any sparks or inadvertent startup of the fuel pump while working on the filter, which would cause a major fuel spill and a perilous amount of cleanup to occur.
Step 2 – Remove the rear seat
The hardest part of this job is removing the rear seat in order to get to the access panels. Fold the seat backs forward, and press the release latch on the central pivot, which holds both seat backs. Lift the pivots out, one seat back at a time, and fold them back upward to 45 degrees, which will allow the outside pivot to slide free. Repeat for the other seat back.
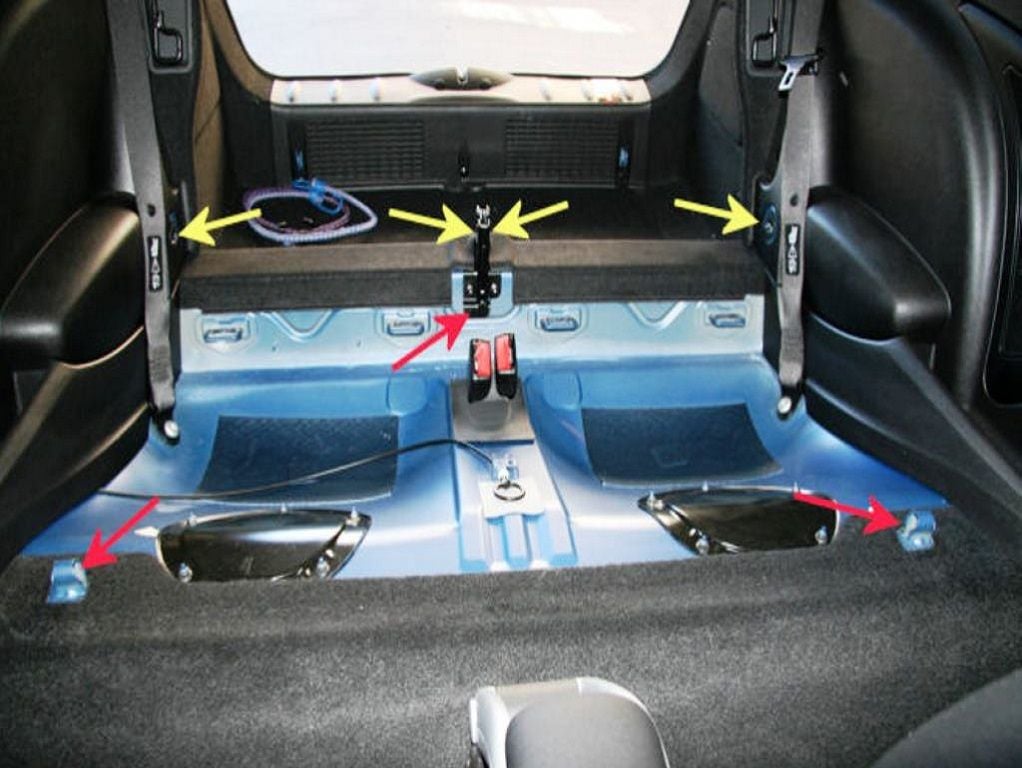
Figure 2. The seat is anchored at these points. 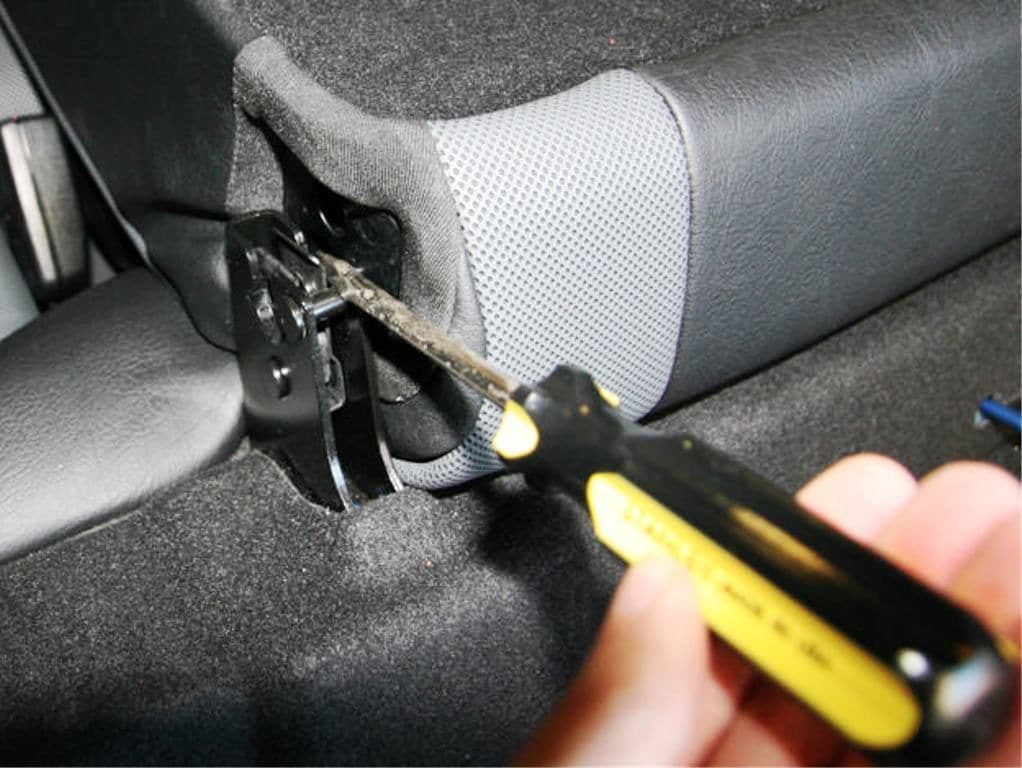
Figure 3. Press the latch to release the seat back center pivot. 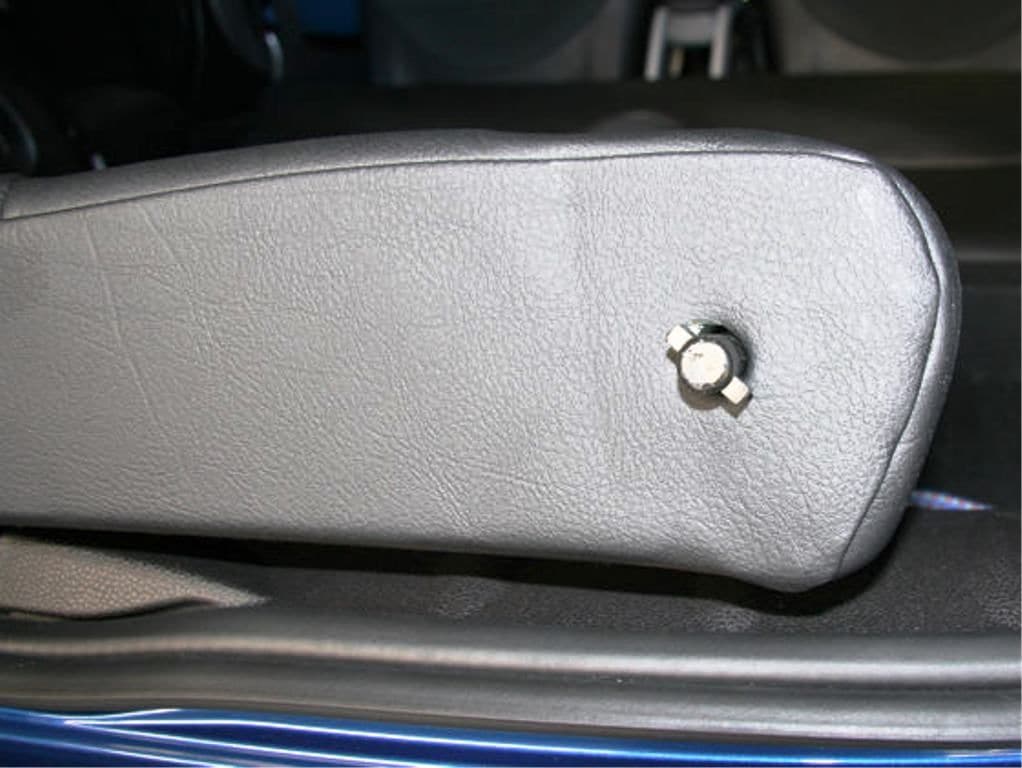
Figure 4. The slots and tabs on the outside pivot will line up at about 45 degrees.
The lower cushion is held in place by clips on the floor. Pull out the plastic grommets for the child seat anchors. Reach under the front edge and pull up to release it. With the front loose and angles up, press down in the center of the seat to pop the rear hook free.
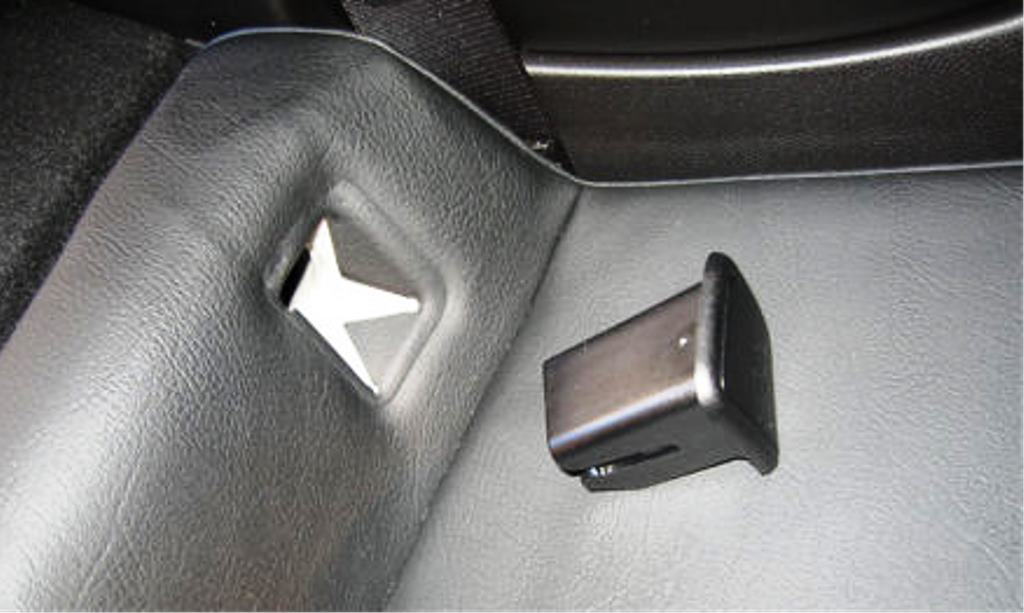
Figure 5. The seat is anchored at these points. 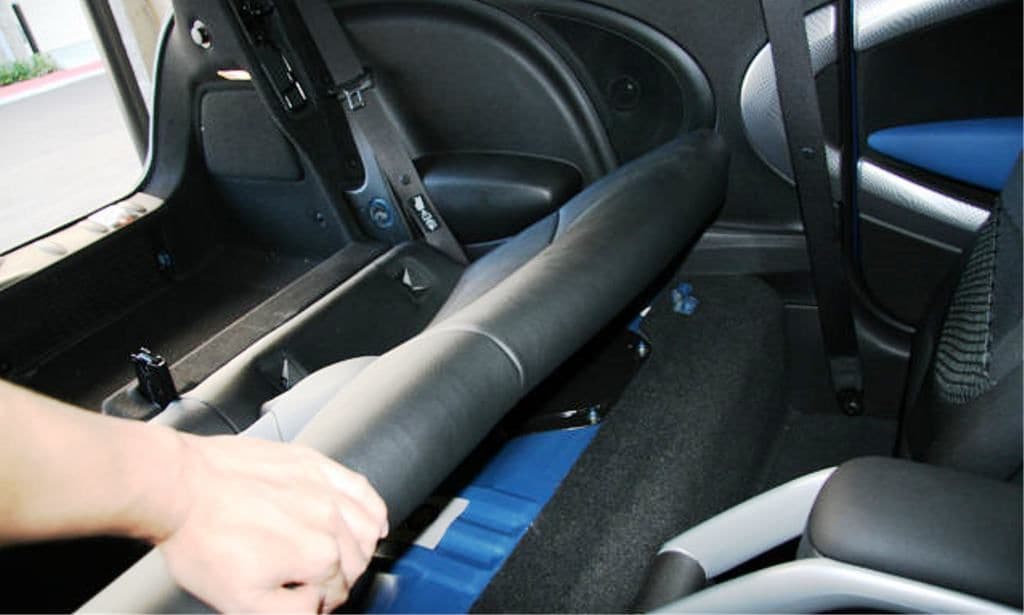
Figure 6. Pull up on the cushion to pop it free of the clips. 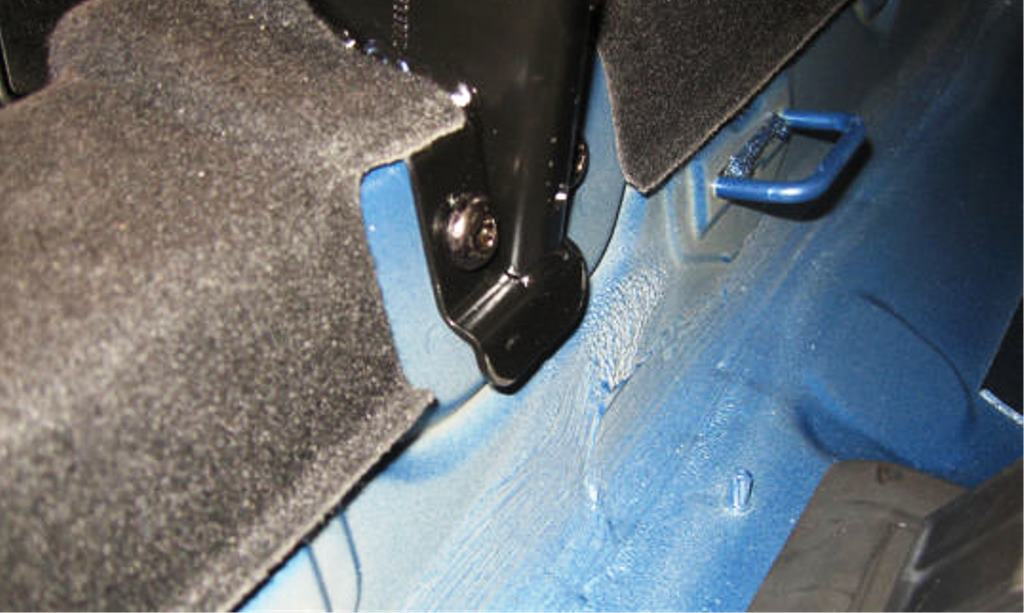
Figure 7. The seat cushion is held in the center by a single hook.
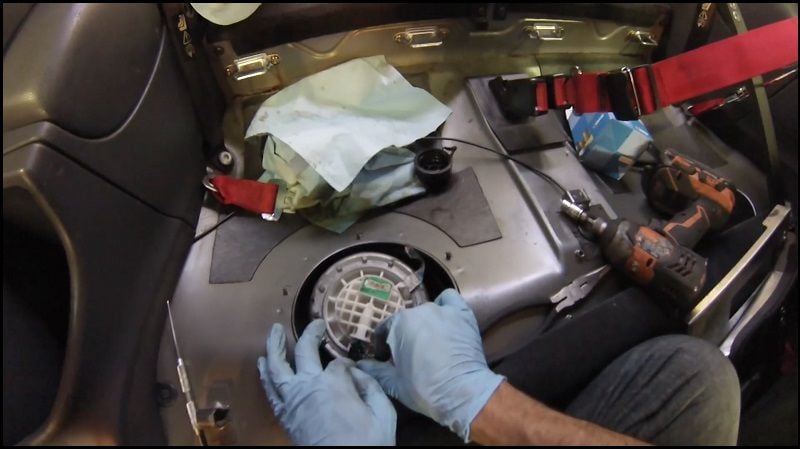
Step 3 – Remove access panel
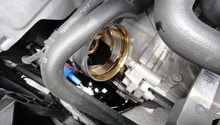
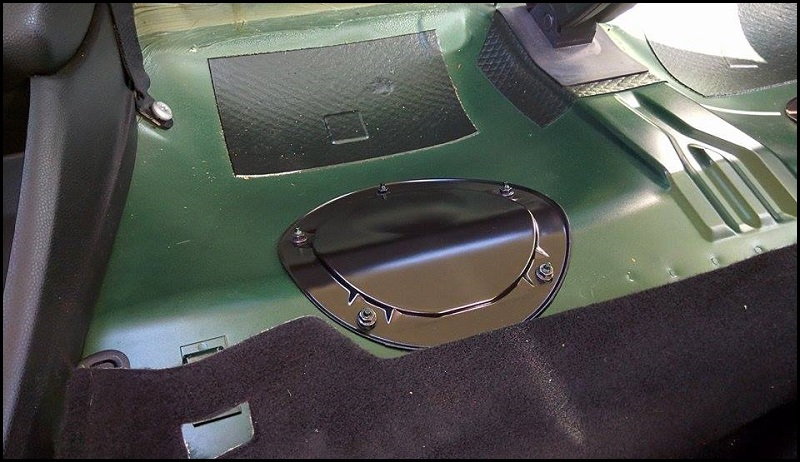
The filter is located under the rear seat on the passenger side of the vehicle. Once the seat is removed, the access panel to the fuel filter can be seen (Figure 8). Remove the 10mm nuts that surround the exterior of the panel. Using a flat tip screwdriver, pry up on the cover to remove it from the body. This will expose the top of the fuel tank and the filter.
Step 4 – Remove locking ring
Brush or blow away any dirt or debris which may have gathered around the filter housing so it doesn't fall into the tank. Gather some paper towels and pack them loosely around the fuel line connection. Using needle nose pliers, push in on sides of the fuel line connector tab, then pull and twist the fuel line to remove it. When this happens, a small amount of fuel will discharge from the connector.
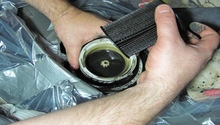
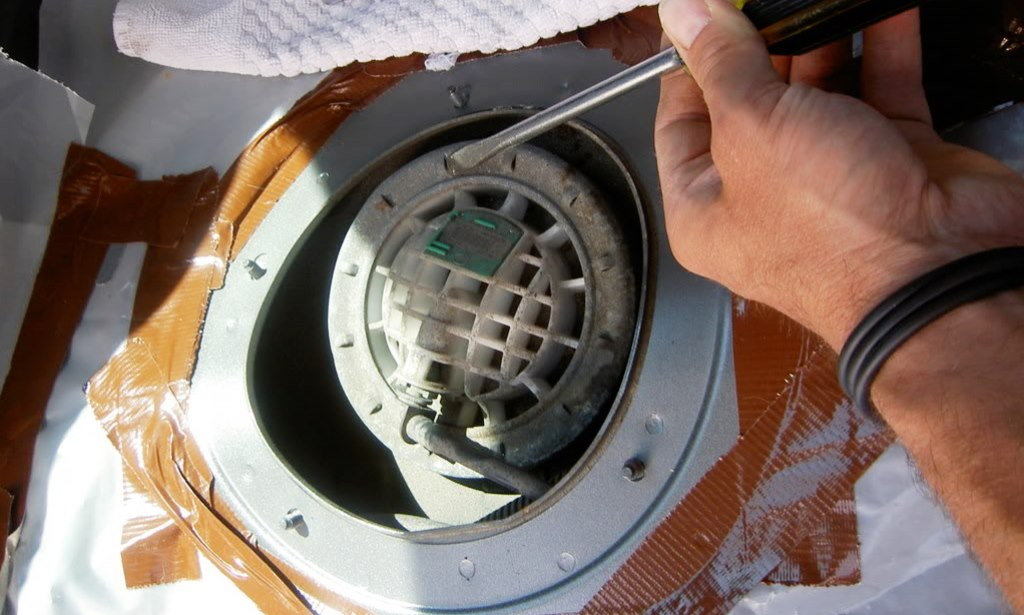
Before removing the locking ring, mark both the ring and on the access hole edge so you can tighten the ring down to the same approximate torque afterwards. Using a flat tip screwdriver and hammer, place the screwdriver tip against the edge of one of the ridges (Figure 9). Tap the screwdriver to rotate counterclockwise. Do this gently and be patient with it as it turns. Continue to tap on the cap until comes free and set it aside.
Step 5 – Replace filter
The plastic canister that the fuel filter is in comes apart in two pieces, with several O-rings keeping them sealed. Hold the base of the filter canister with one hand, or a pair of oil filter pliers, and twist the lid counterclockwise a 1/4 turn. You may find a screwdriver in the slot just below the fuel line that helps you to turn it. Then gently pry the top away from the base. This may be a little difficult because the O-rings can get stuck, so it may take some persuasion to make it happen.
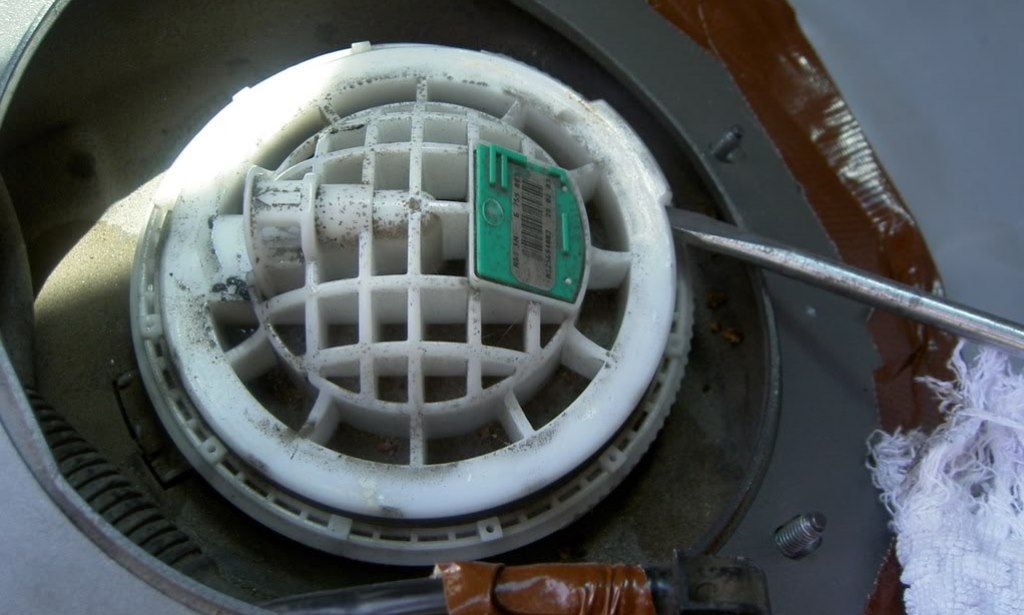
Figure 10. Unlock fuel filter canister lid. 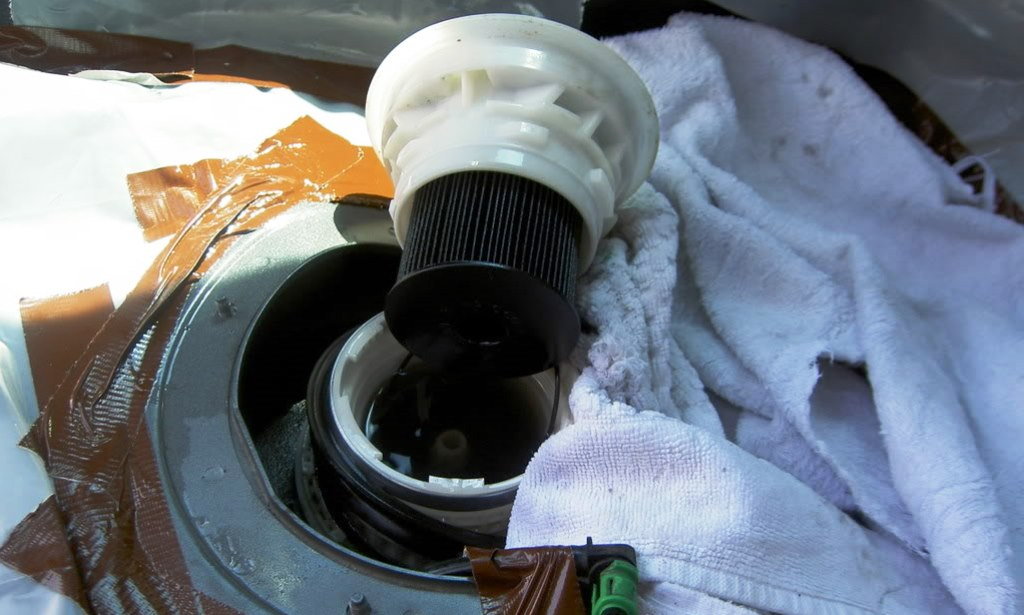
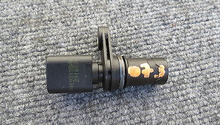
Figure 11. The filter as installed in the canister.
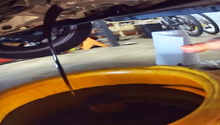
Be careful as you pop the lid off, as there is still plenty of fuel left in the canister and it may spill all over the place. Once the lid is off and set aside, twist and pull the old filter to remove it from the canister housing. Once removed, get the turkey baster and suck out all of the dirty old fuel left, depositing it into the used fuel container. Clean out any residual dirt in the bottom of the canister with a clean rag, making it as clean as possible. Inside the canister, there are three O-rings which need to be replaced: two on the lid and one inside the lower canister (Figure 13). The red arrows are the two smaller O-rings, while the green arrow shows where the larger diameter O-ring goes. Once installed, place a thin layer of Vaseline on the O-rings to help everything slide into place easier. Push the new filter into place into the canister housing and be sure to get it to insert all the way.
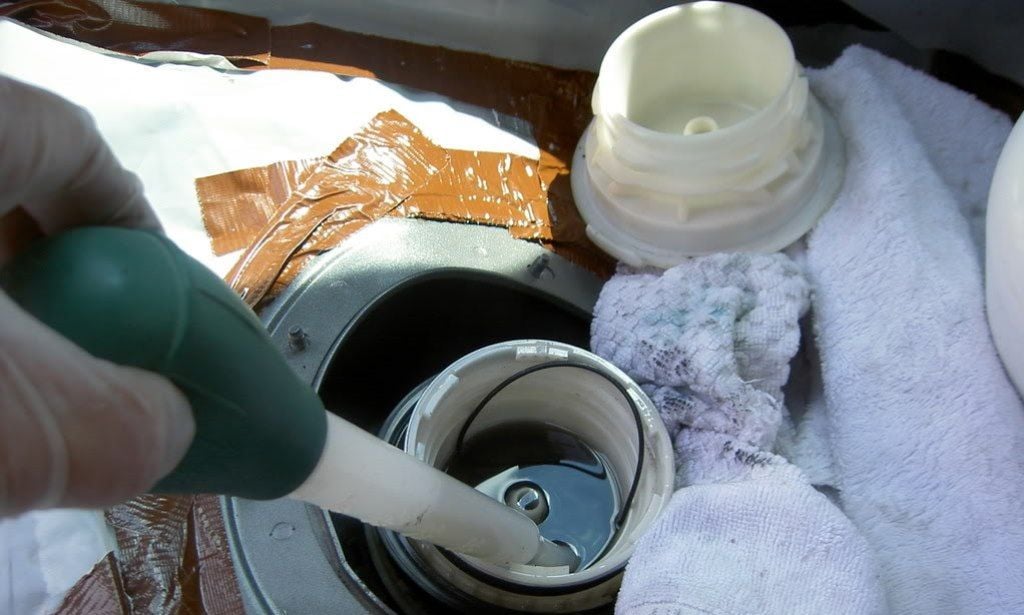
Figure 12. Suck out the old fuel in the canister. 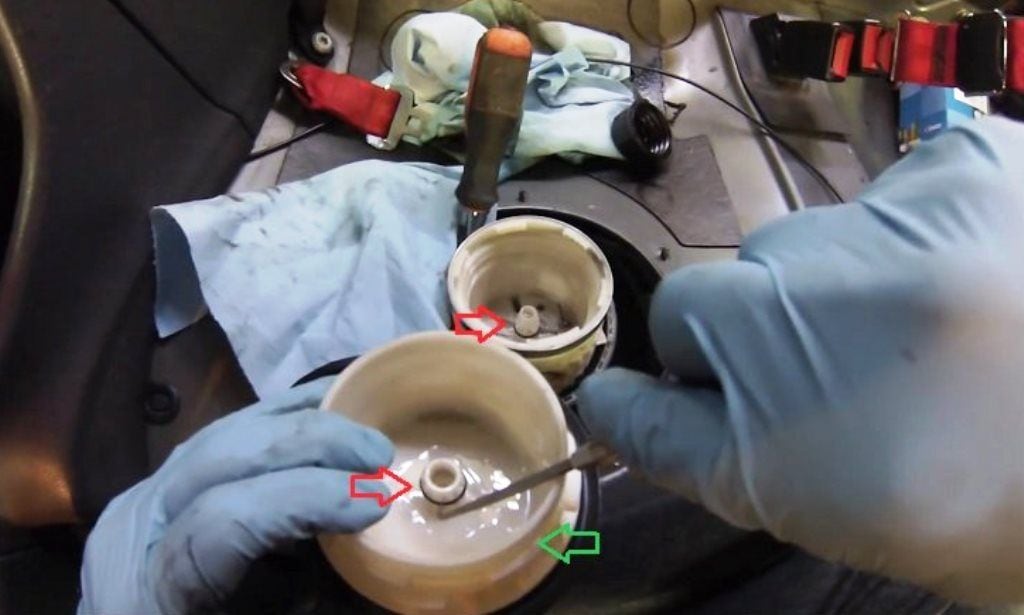
Figure 13. The 3 O-rings which need replacement.
Step 6 – Close up everything
Place the lid back onto the canister housing with the locking tabs in their proper slot, then twist a 1/4 turn clockwise to lock it. Lowering the canister back into the fuel tank with the rubber gasket in place on the fuel tank flange. Be careful as you replace the canister not to damage the gasket, as it is easily torn. With the canister in place, put the locking ring back and turn back to the original position to lock into place. Reconnect the fuel line. Reconnect the battery and turn the ignition on/off several times to cycle the fuel pump and refill the canister with fuel. It may be a little hard to start the car at first due to air being in the line. Don't crank the starter for more than 10 to 15 seconds at a time to prevent burning it out. Once started, let the car run and check the work area for leaks.
Note
If the car won't start after a few minutes of trying, unlock the ring and recheck that you installed the O-rings properly on the canister and locked the two halves together completely. If it is not sealed properly, the fuel pump will not be able to get fuel up to the motor.
Once satisfied the car runs properly and nothing leaks, replace the access cover and snug down the 10mm nuts. Replace the rear seats and you are done.
Featured Video: Fuel Filter Replacement
Related Discussions and Site
- Fuel Filter Change - NorthAmericanMotoring.com
- Fuel Filter DIY - NorthAmericanMotoring.com
- Fuel Filter Replacement - PelicanParts.com