Mini Cooper 2001-2006: How to Change Oil
We recommend that your MINI Cooper get an oil change before reaching its next 5,000 mile interval. If yours is past due, read on for quick and easy directions to DIY.
This article applies to the MINI Cooper S (2001-2006).
MINI engines contain a ton of small and large components in constant motion. Since these parts include hinges, chains, springs, and other metal parts, they are all susceptible to extreme wear and tear. Hence, the role of motor oil, which is used to lubricate these parts and allow them to move smoothly as well as regulate the engine’s overall heat.
However, over time and after several thousand miles, the oil will become contaminated and even collect metallic shavings that may damage your Cooper’s engine if left unchanged. So the most essential and significant maintenance procedure you can do for your car is giving it regular oil changes. Continue reading for the instructions to do the job yourself.

Materials Needed
- MINI Cooper oil filter with O-ring
- 5 quarts of 0W-30 or 5W-30 synthetic motor oil
- Socket wrench
- 13 and 36mm sockets
- Small flat head screwdriver
- Oil drain pan
- Funnel
- Paper towels
- Hydraulic floor jacks and jack stands
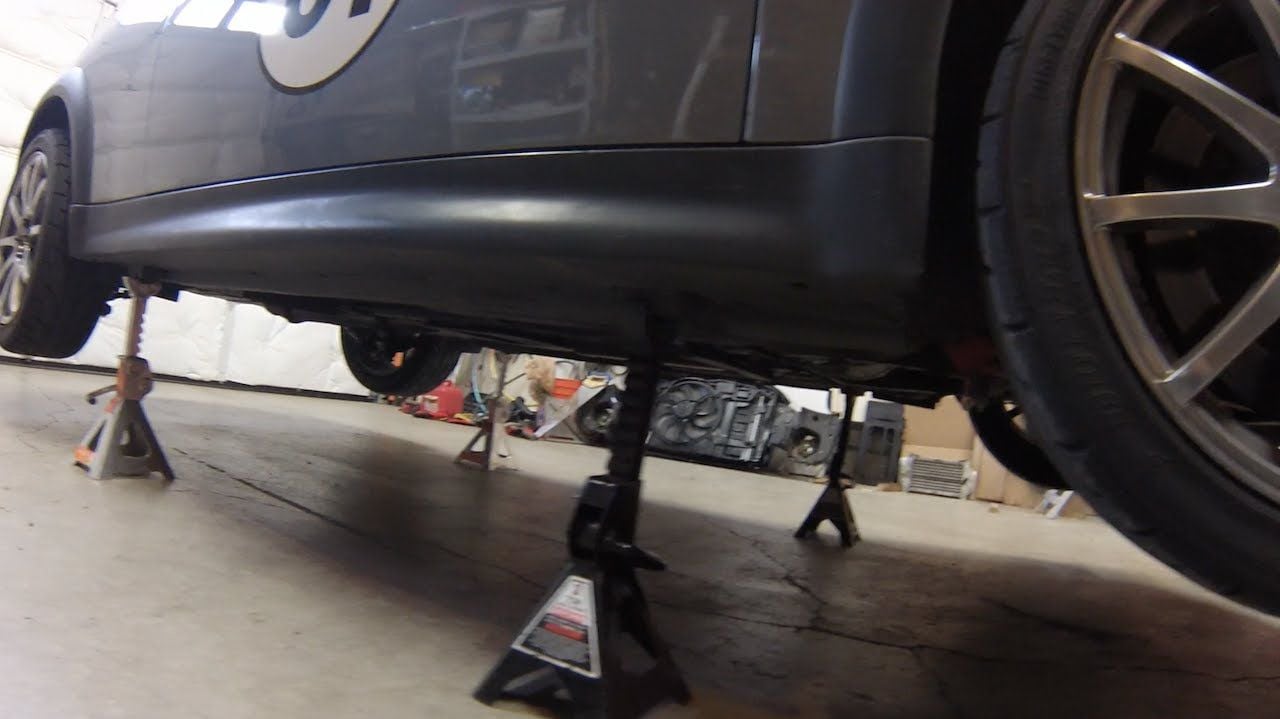
Step 1 – Raise your car
- Park your car on flat, level ground.
- Turn off the engine and engage the parking brake. Make sure the engine has cooled down for at least 30 minutes before changing the oil.
- Place the hydraulic floor jacks underneath the front jack points, and then raise the car.
- Support the front of the car using jack stands.
(Related Article: How to Jack Up Your Car - NorthAmericanMotoring.com)
Step 2 – Remove the oil filter
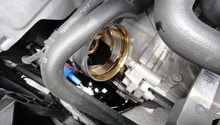
- The oil filter cap is located on the rear side of the engine, on the passenger side.
- Using a 36mm socket and wrench, loosen and remove the oil filter cap. Make sure to remove the cap facing upward, so as not to spill any oil.
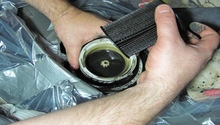
- Slide out the oil filter from the oil filter cap, and drain the excess oil into the oil drain pan.
- Clean the inside of the oil filter cap with paper towels.
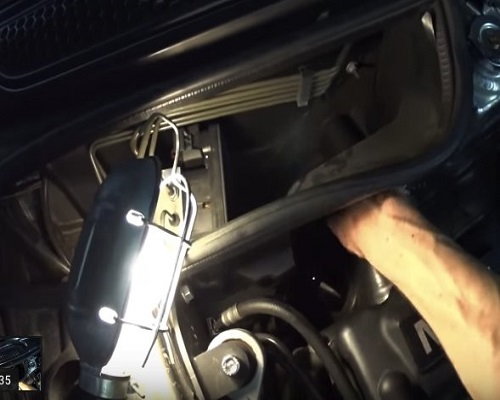
Figure 2. Loosen and remove the oil filter cap. 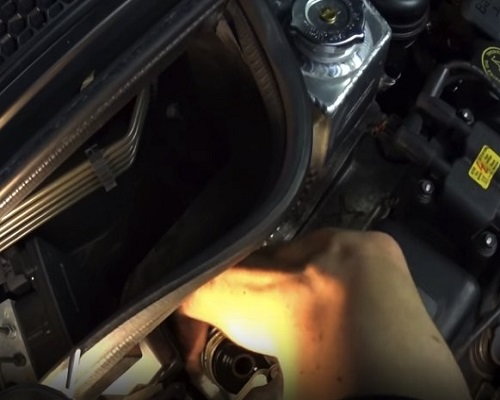
Figure 3. Remove oil filter cap from the engine bay facing upward. 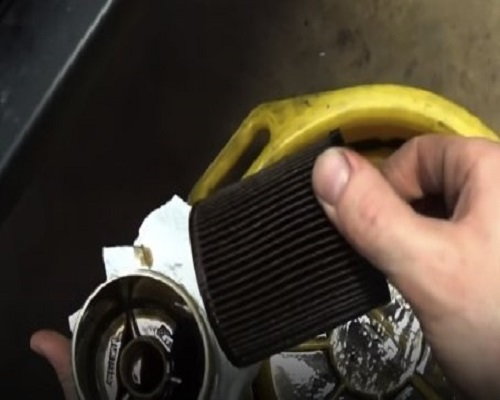
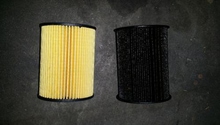
Figure 4. Remove oil filter from the cap.
Pro Tip
If the oil filter cap is tight, attach a pipe to the end of the wrench for extra leverage and loosen with a firm, smooth movement.
Step 3 – Install the new oil filter
- Use a small flat head screwdriver to remove the old O-ring from the oil filter cap.
- Lubricate the new O-ring with fresh motor oil.
- Install the new O-ring, and make sure it sits on the grooves at the end of the oil filter cap's threading.
- Use some fresh engine oil and lightly coat the oil filter, this will prevent the dry filter from deforming during reassembly.
- Slide the new oil filter into the cap, placing the side with a larger hole inside.
- Clean any excess oil from the oil filter housing with paper towels.
- Hand-tighten the oil filter cap into the housing, and tighten it to 18 ft-lbs.
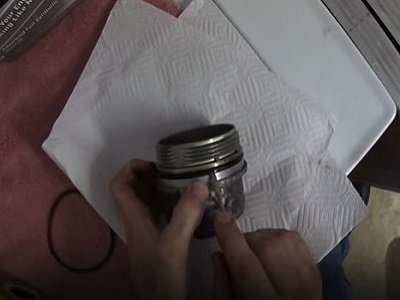
Figure 5. Remove the old O-ring using a small flat head screwdriver. 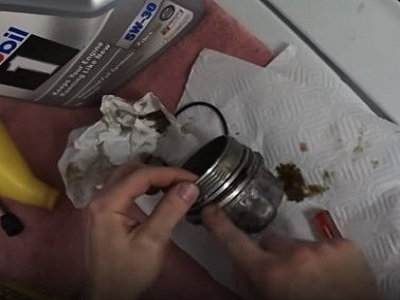
Figure 6. Install and lubricate the new O-ring. 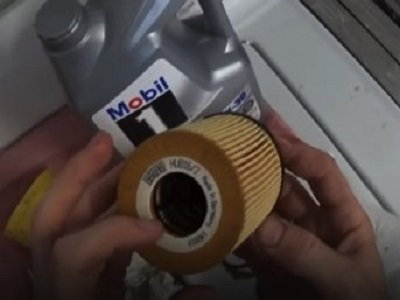
Figure 7. Insert side of filter with larger hole into the oil filter cap. 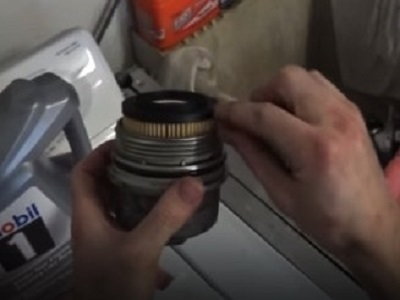
Figure 8. Oil filter inserted into the cap.
Pro Tip
Be very careful when re-installing the oil filter cap, as cross threading can occur. Also, take care not to over-tighten the cap, as the O-ring may get damaged.
Step 4 – Drain the oil
- Loosen and remove the oil filler cap, this will create vacuum to expel the engine oil faster.
- Underneath the car, the oil drain plug is located in front of the power steering pump fan.
- Place an oil drain pan under and a little toward the back of oil drain plug, as the oil will shoot out horizontally when you remove the plug.
- Using a 13mm socket and wrench, loosen the oil drain plug.
- Quickly remove the drain plug with your hand and allow the oil to drain into the pan. Move the oil pan as needed, so as not to spill oil on the ground.
- Clean the oil drain plug with paper towels.
- When the oil has stopped draining, re-install the oil drain plug and tighten it to 18 ft-lbs.
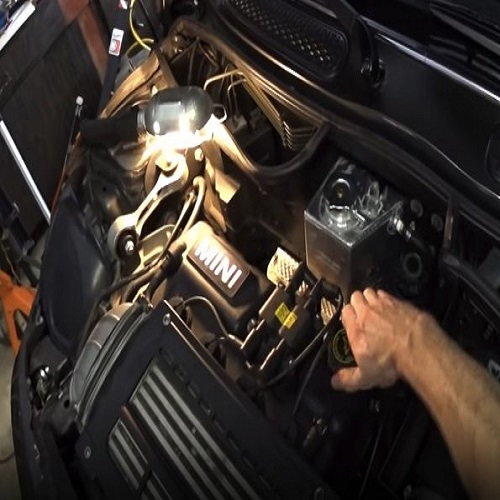
Figure 9. Loosen the oil filler cap. 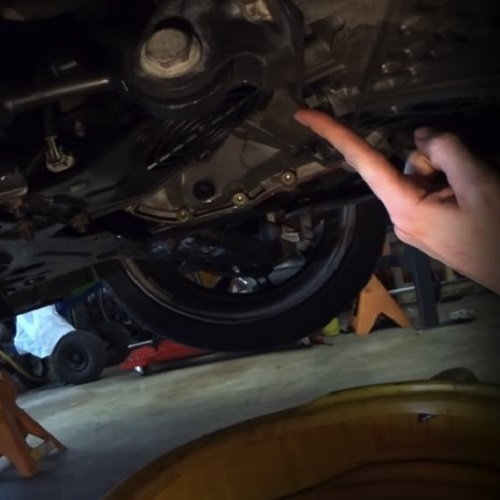
Figure 10. Location of oil drain plug. 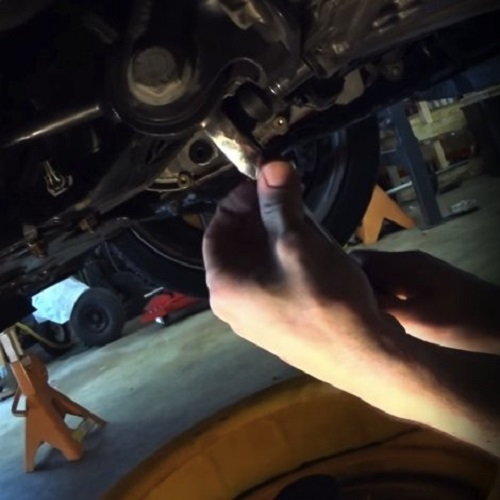
Figure 11. Loosen the oil drain plug. 
Figure 12. Remove the oil drain plug by hand.
Step 5 – Pour in the new engine oil
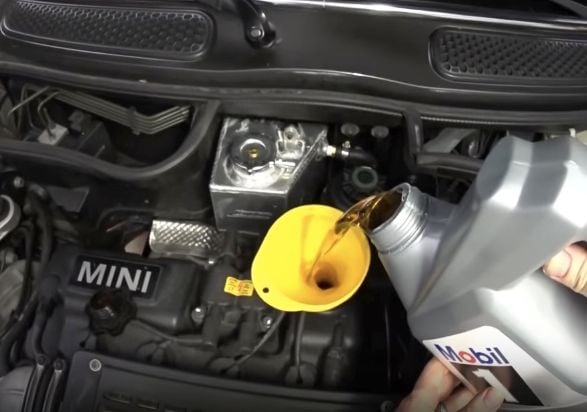
- Place a funnel into the oil filler hole.
- Pour in about four and a half to five quarts of oil into the engine.
- Tighten the engine oil cap to a snug fit.
- Remove the jack stands and lower your car.
- Start the engine and make sure the oil light has turned off, and check your oil level with the dipstick.
Featured Video: Mini Cooper S Oil Change
Related Discussions
- Oil Change - NorthAmericanMotoring.com
- R53 Plastic Oil Filter Cap - NorthAmericanMotoring.com
- Oil Pan Plug Tight - NorthAmericanMotor.com
- R50 Oil Filter - NorthAmericanMotoring.com